Pattern review and update 19-02-2020
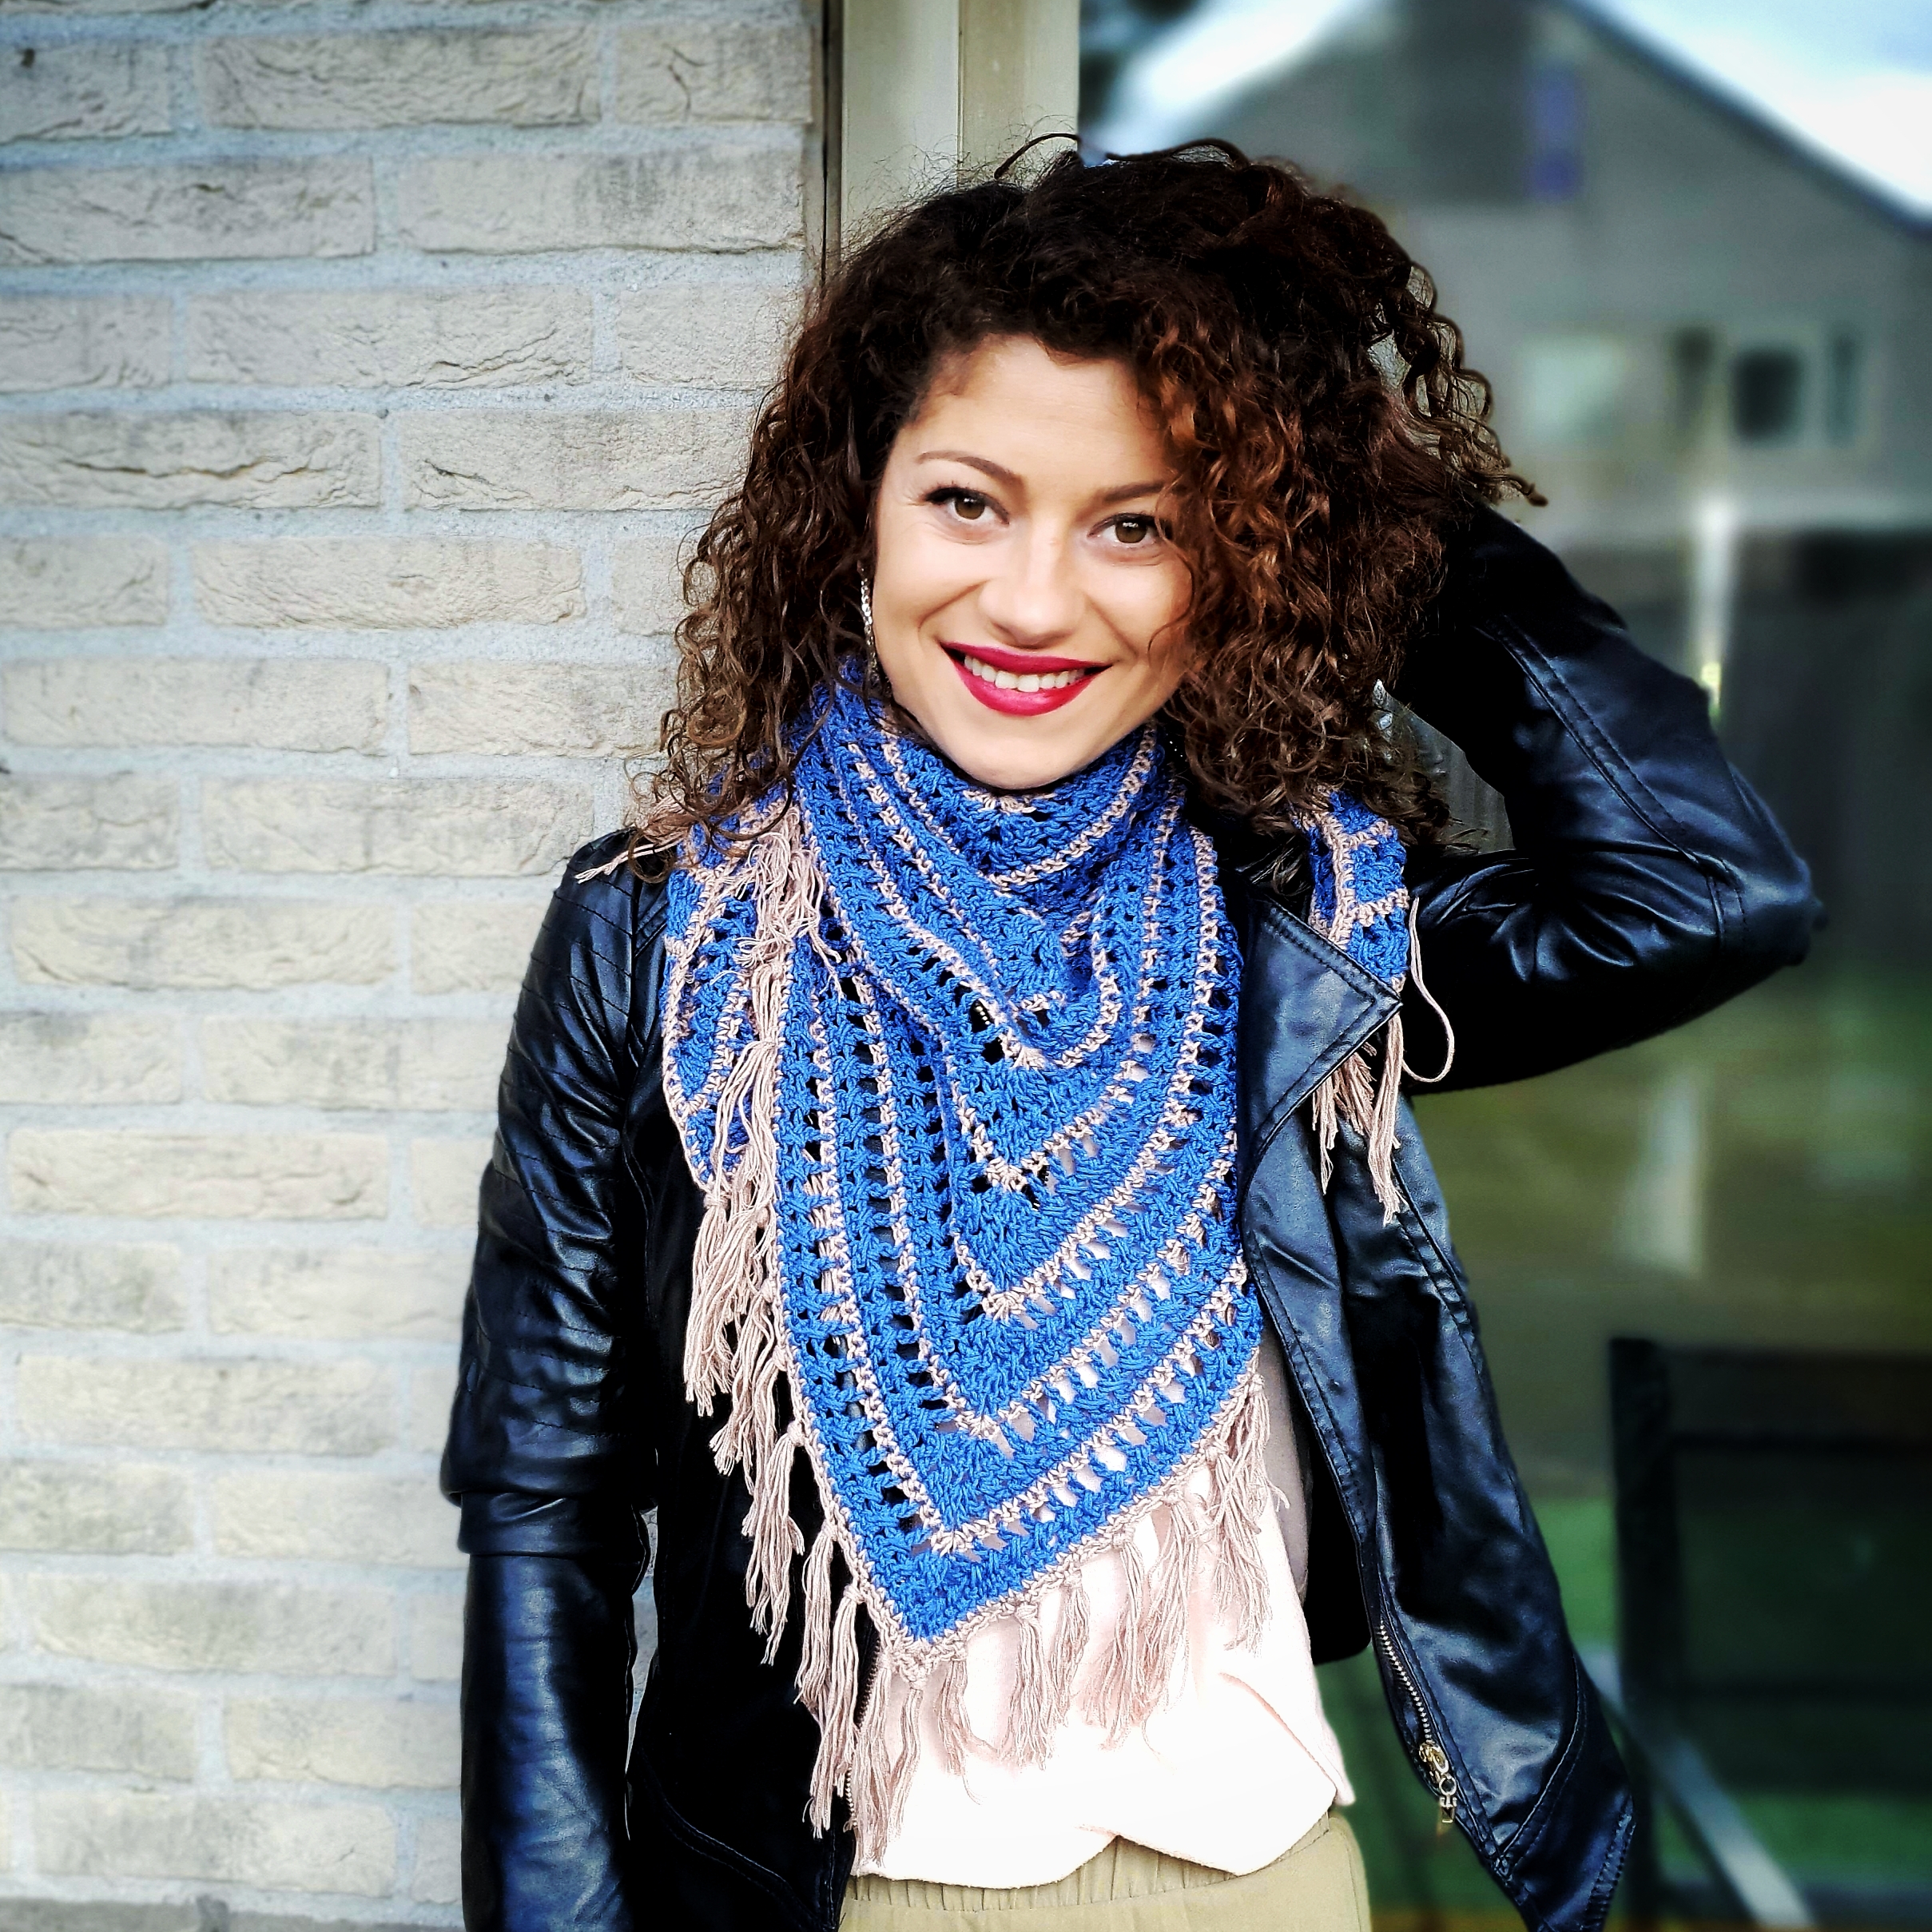
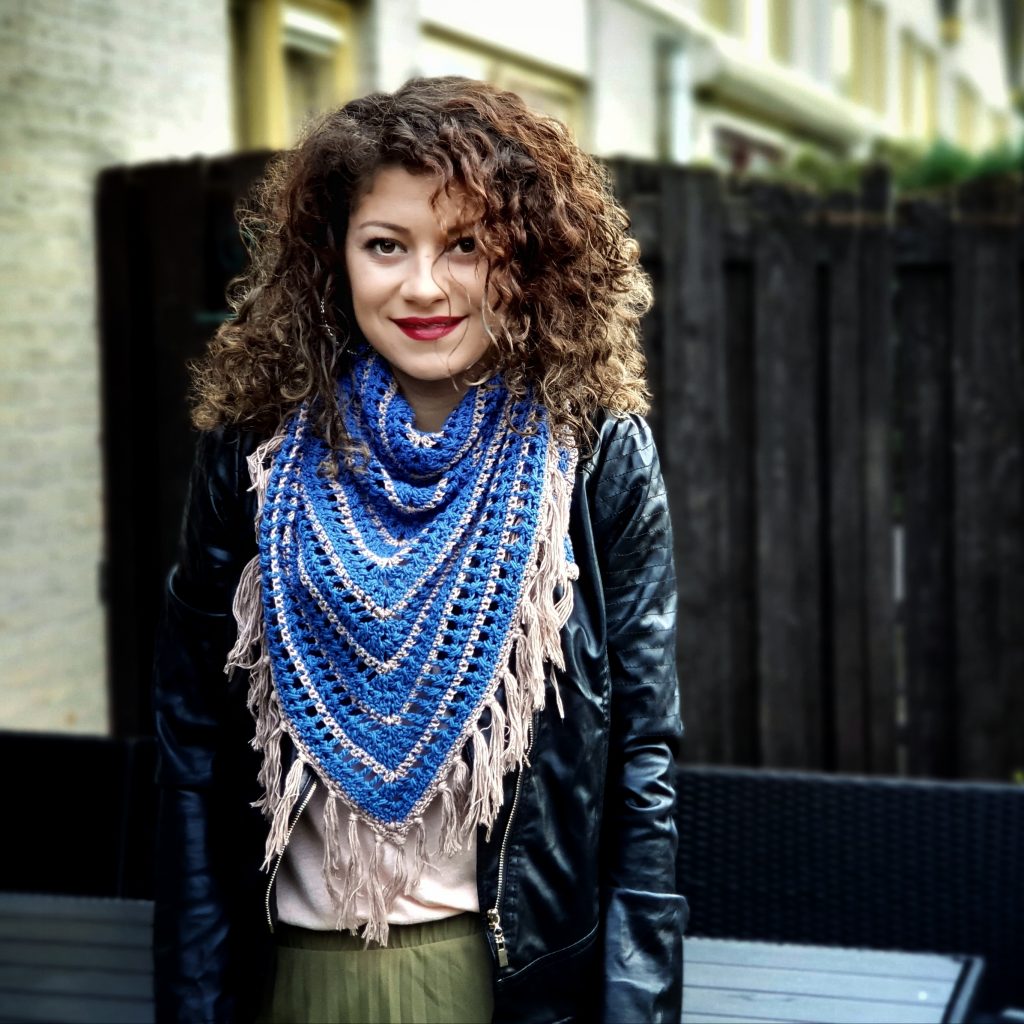
I don’t have to many scarfs or shawls designs, but I decided to give to this Jeanie Triangle Scarf a refresh, because it has a beautiful stitch pattern and because is that kind of accessory that you are making to be worn for good.
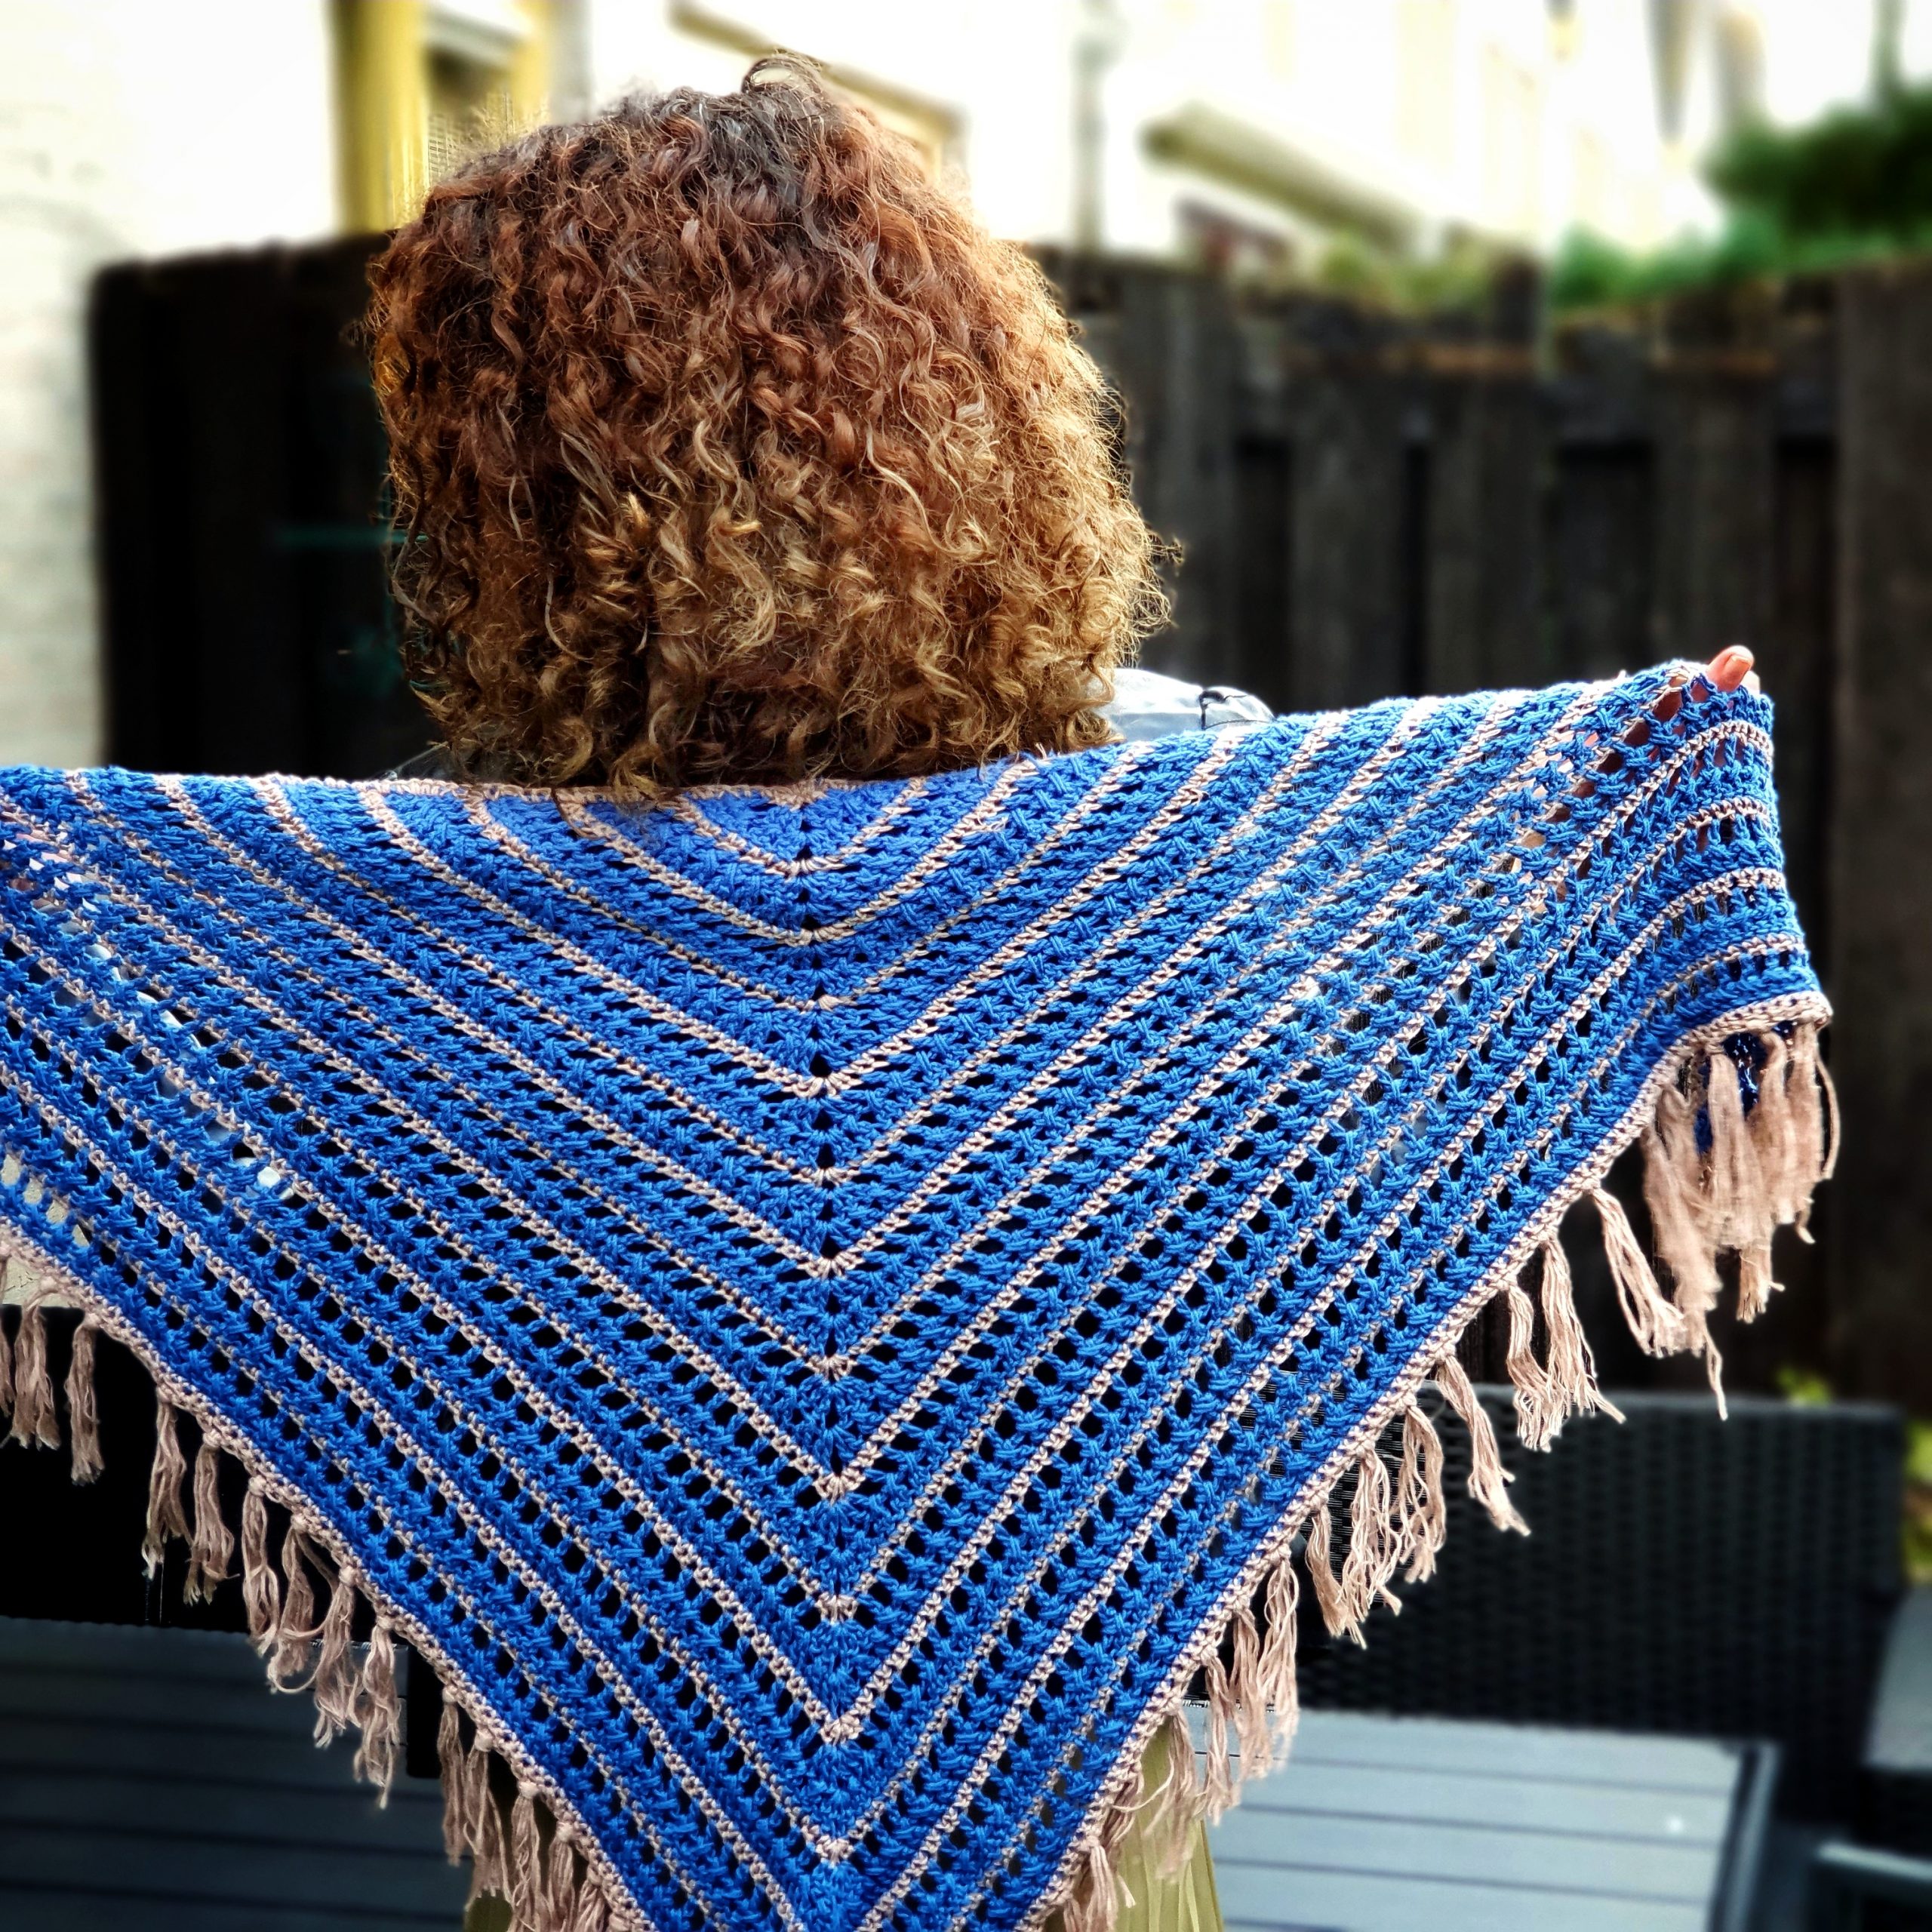
Imagine that I made this Jeanie Triangle scarf, almost 2 years ago, and all the photos in this post update are made recently. This scarf was worn and washed so many times in this 2 years and I am really happy that it’s still gorgeous and it’s looking like it was finished yesterday.
You can Purchase the easy printable PDF version of this pattern here:
If you already purchased this pattern, please send me an e-mail at contact@by-katerina.com and I will send you the new version.
I have to mention that the main pattern of this Jeanie Triangle Scarf is the same. I only added a few more information about supplies, measurements, gauge which I didn’t mentioned in previous version.
I learned so many thinks in these 2 years, about how important is to know how to promote and put in value the things you’ve made. Back then I did’t paid to much attention on how I was taking photos with my makes and didn’t realized that this is one of the most important thing in this job.
It doesn’t matter that you make amazing staff, if you don’t know how to show them to people.
Because this is a great pattern and a great scarf that deserves to be made in many others versions of colors, I decided to bring it back to life with this pattern update.
Even I, started to make another one, using some amazing yarn that I had in my stash for so long.
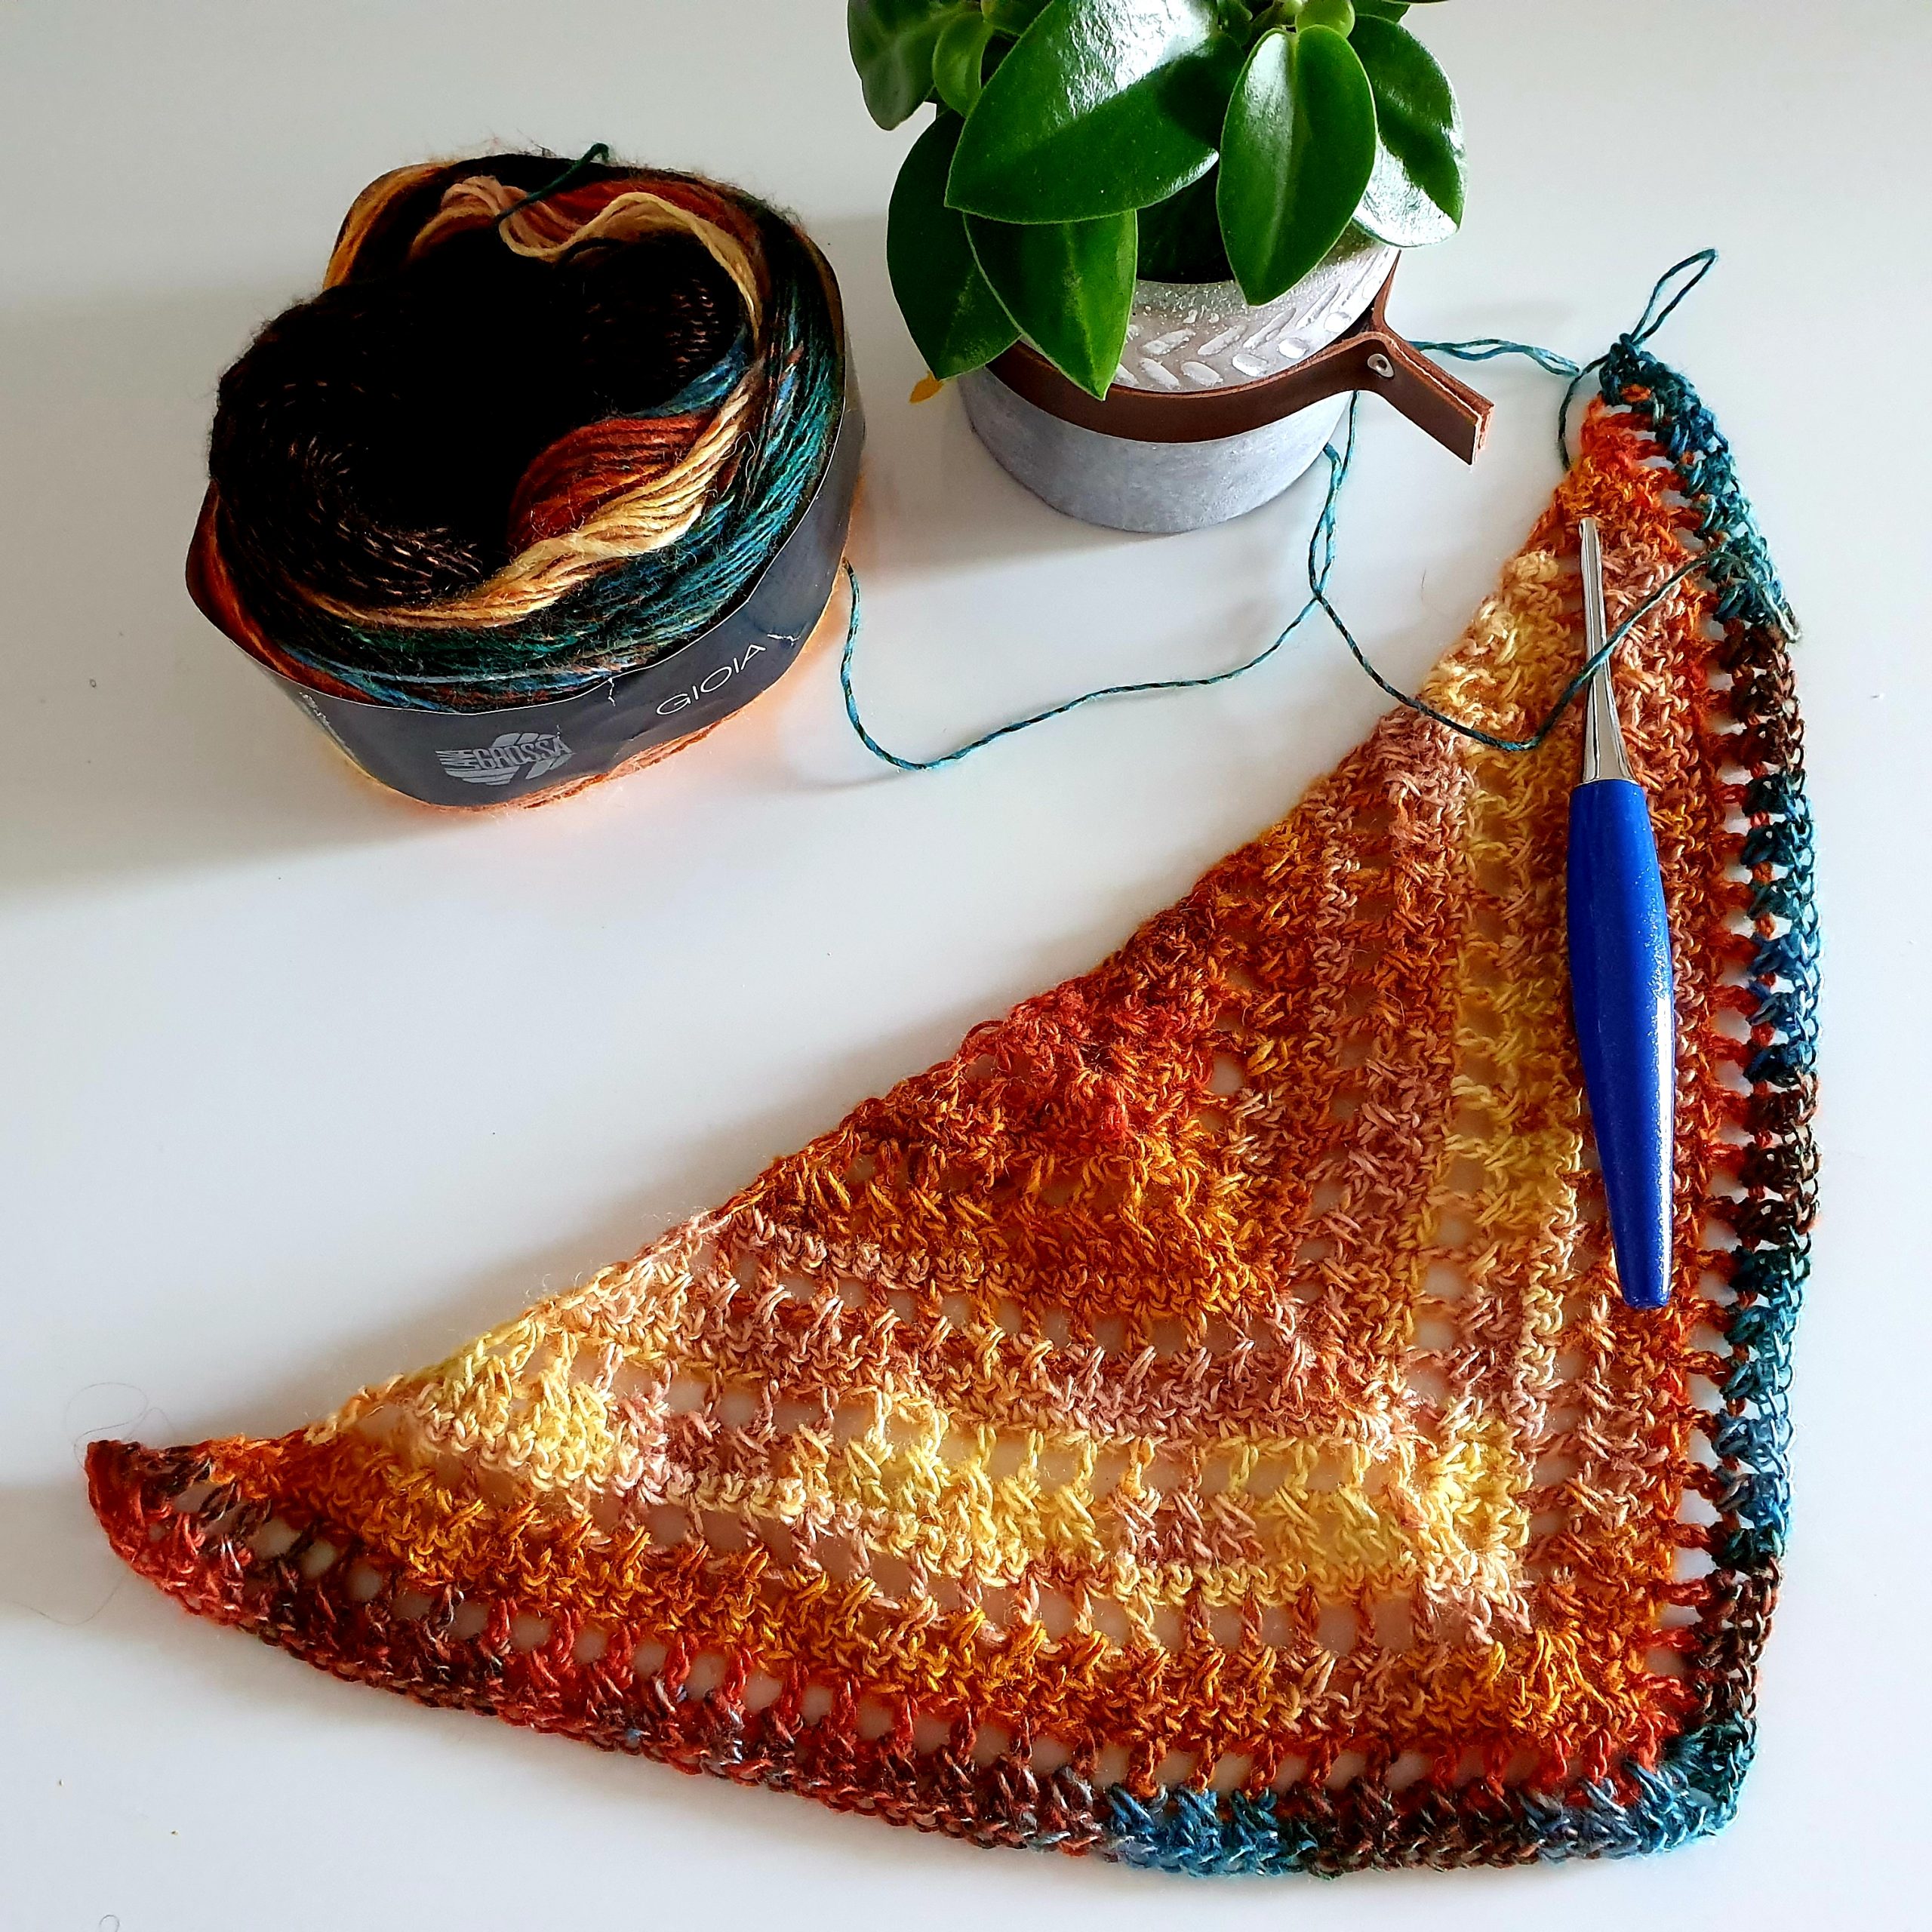
This yarn is from Lana Grossa, Goia, and I love the colors.
Anyways, I hope you are happy with this pattern update and you will want to make this Jeanie Triangle Scarf. Can’t wait to see all your versions. Happy Hooking!!!
But let’s see what is all about:
Materials you will need
- Yarn
- Category 2, Fingering weigh Yarn
- Crochet hook
- 4 mm crochet hook (US G size)
- You will hide the ends
- Scissors
- Stitch marker (optional)
Pattern notes
The Jeanie Triangle Scarf is an easy to make accessory. To obtain the triangle shape we will increase at the beginning, in middle and at the end of the row.
Chain 3 at the beginning of the row, counts as first double crochet.
Ch 1, at the beginning of a single crochet row, doesn’t count as first single crochet.
The pattern is one size and you can make a bigger or smaller scarf just by working more or less rows.
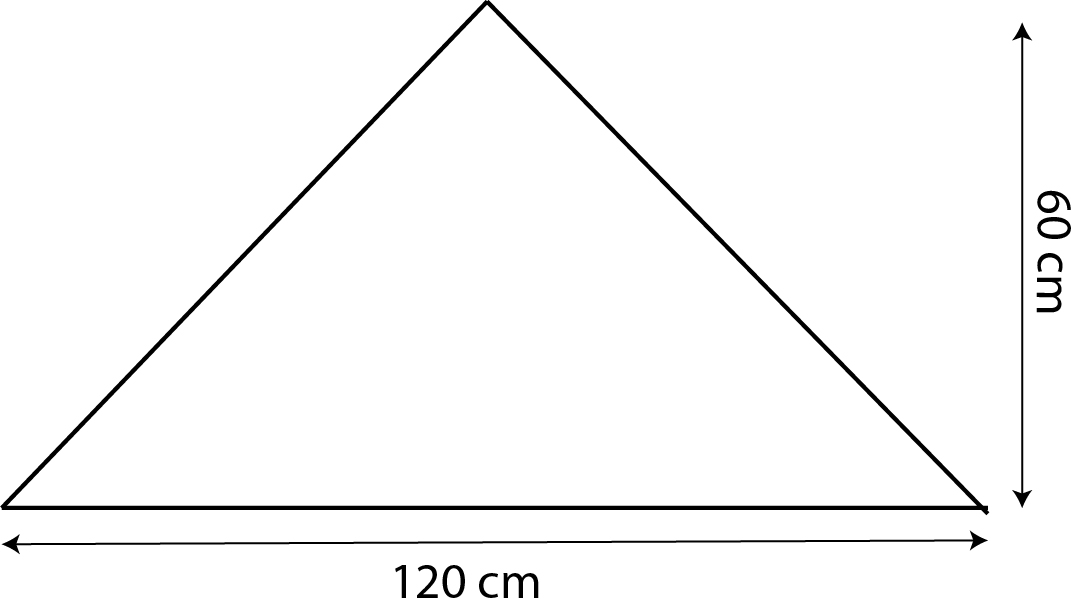
Final measurements
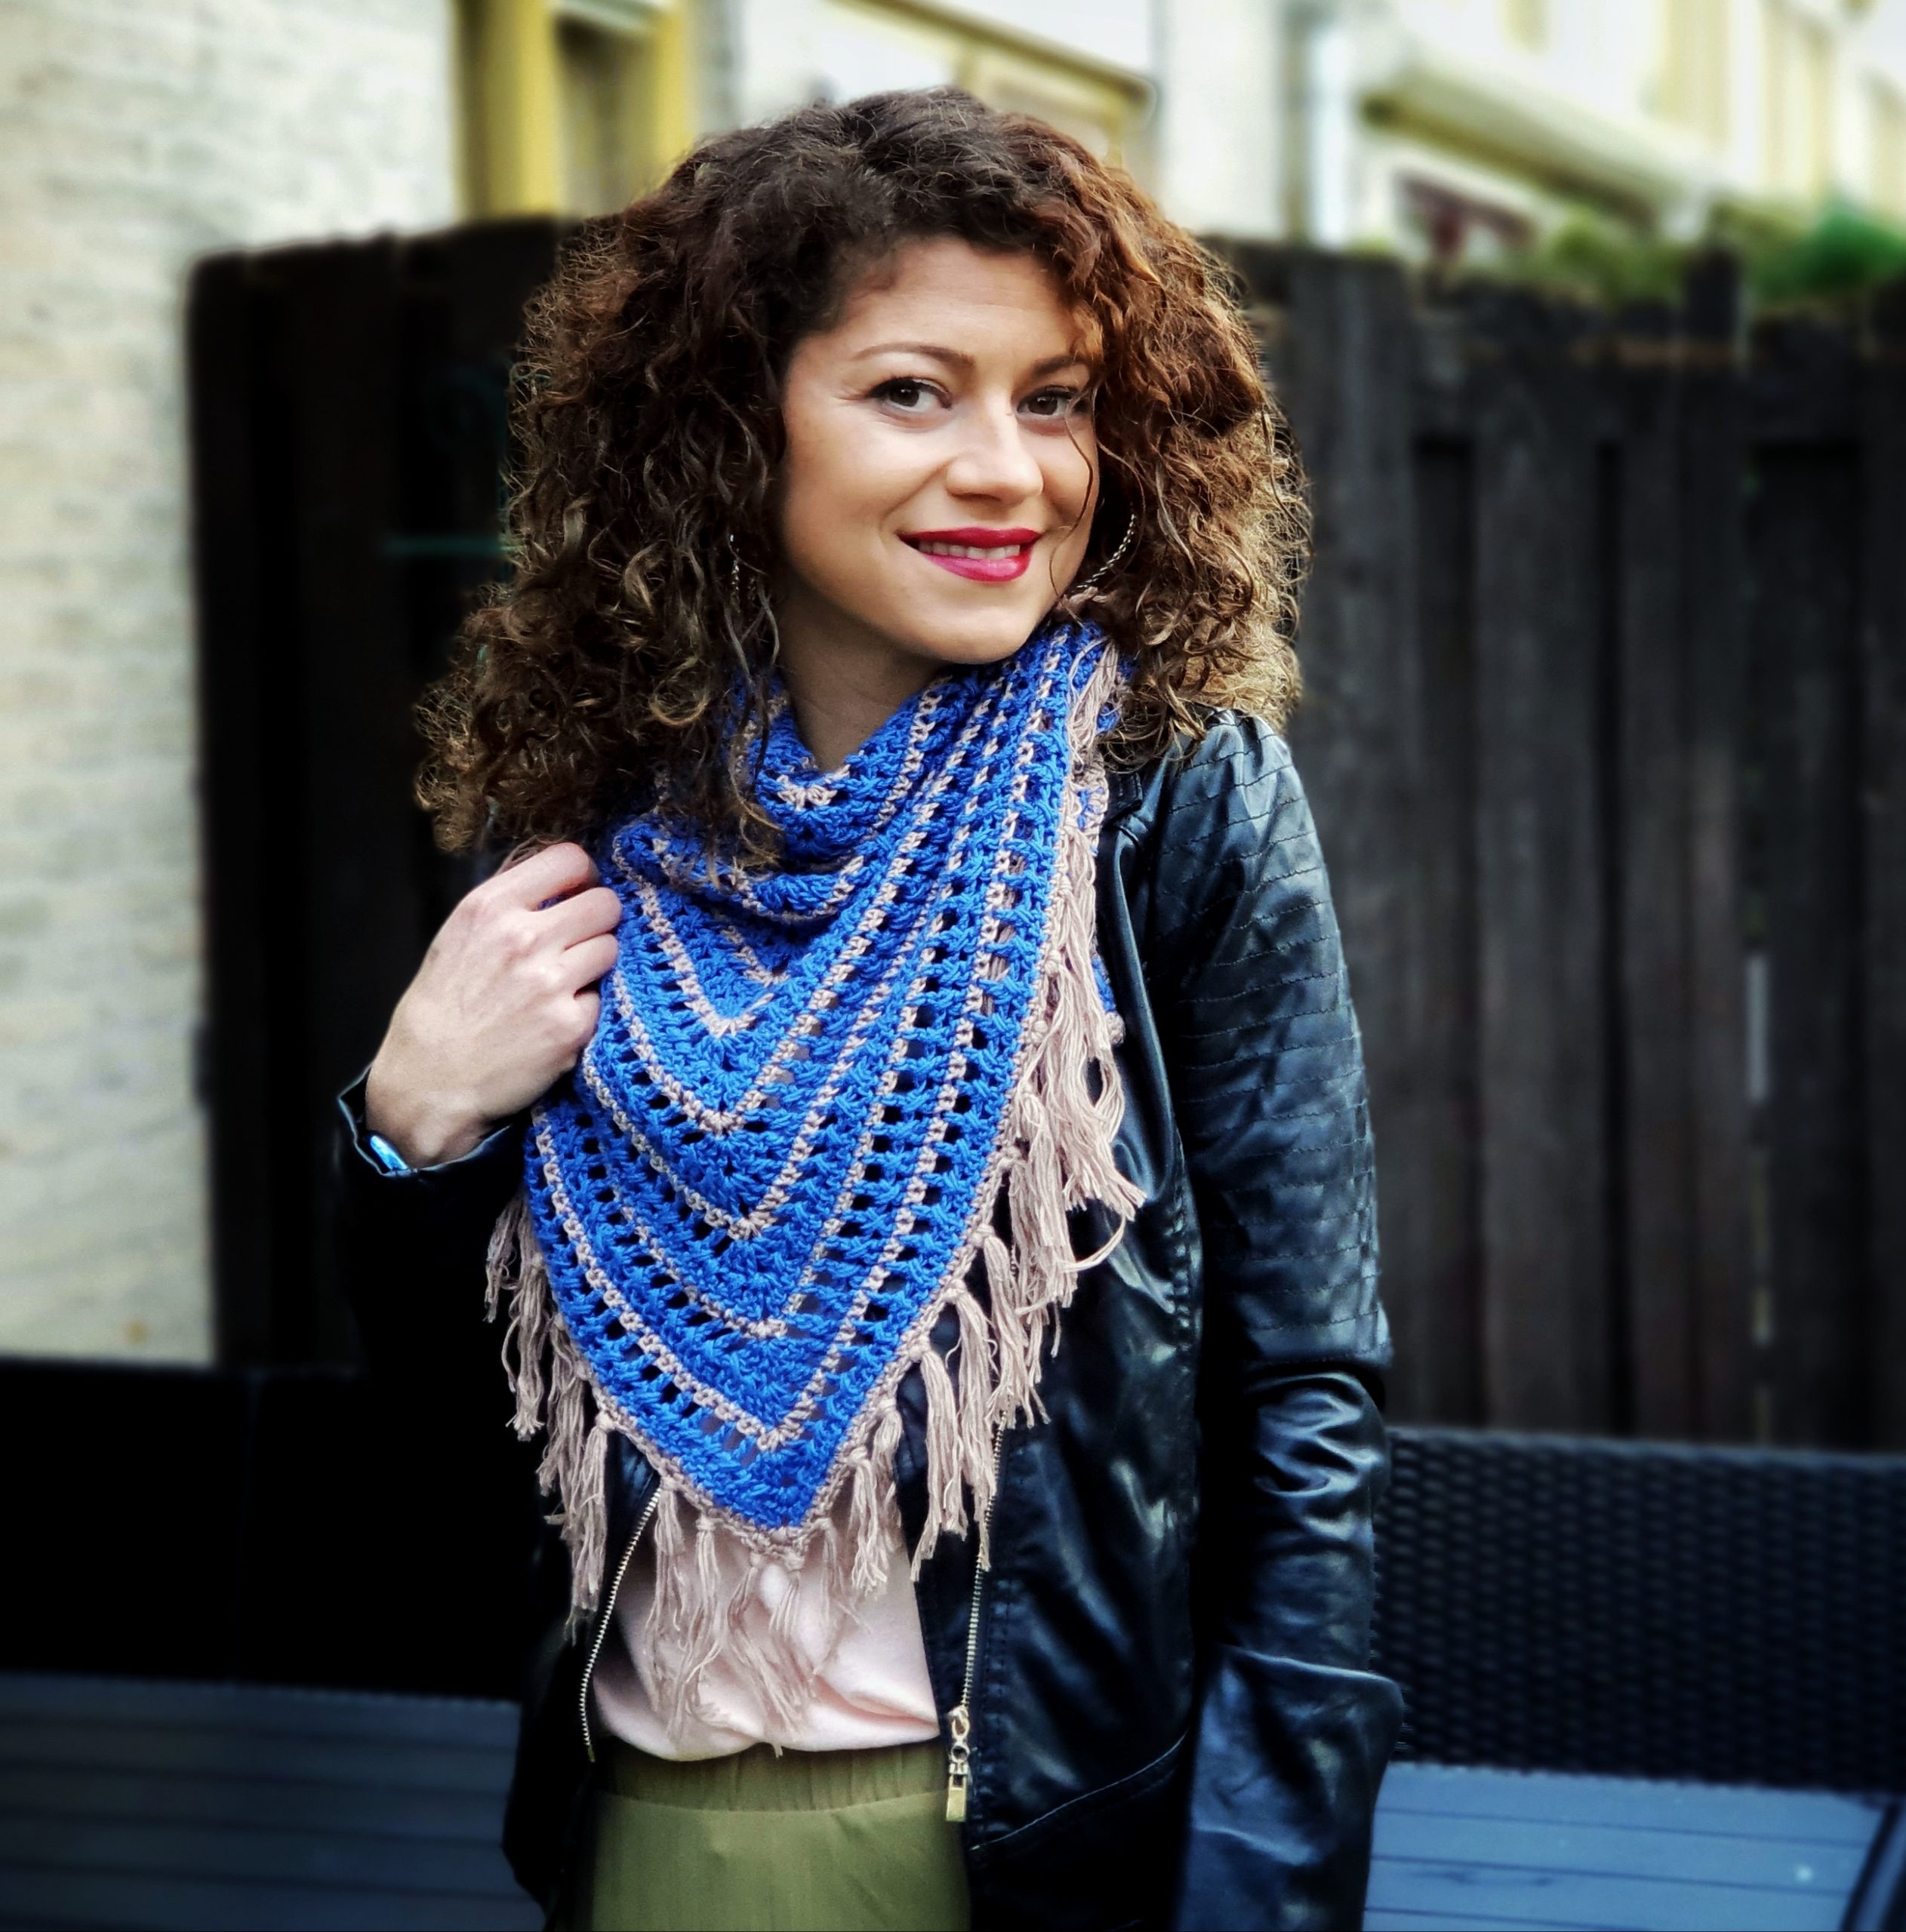
Final measurements of the scarf are listed below:
How much yarn do you need?
For this pattern I used 1 skein of Katia Saigon in color Jeans and 1 skein of Go Homemade Tencel Bamboo in color Walnut from Hobbii.
You can use any type of yarn you want for this pattern, even a different weight. Just follow the pattern and when you get to the desired measurements of the scarf, you are done.
About the stitch pattern.
We are using for this Jeanie Triangle Scarf the stitch pattern known as “crosses and zeros”.
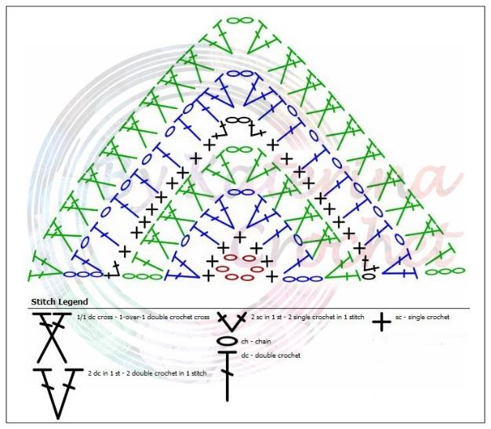
This pattern is 3 rows repeat: 1 row in window stitch, 1 row in double crochet cross stitches and 1 in single crochet.
Windows Stitch Pattern: 1 double crochet, chain 1, skip 1
Cross stitch Pattern: In this pattern the double crochet cross stitches pattern is made always after a window row.
1 dc in next window, 1 dc in previous window. In each window (ch 1 space of the previous window row) you will have 2 dc’s.
Below you can find the stitch pattern chart:
Abbreviations used in this pattern
- Ch – chain
- Sc – single crochet
- Dc – double crochet
- St(s) – stitch(es)
Gauge
After 2 patterns repeats, 7 rows, the triangle measures 18 cm width and 9 cm length.
You can Purchase the easy printable PDF version of this pattern here:
If you already purchased this pattern, please send me an e-mail at contact@by-katerina.com and I will send you the new version.
Pattern
R1: Ch 6, sl st to make a circle, ch 1, 7 sc inside circle. Ch 3 and turn
R2: 1 dc in the first st ( the same st with ch 3), ch 1, skip 1 st, 1 dc in the next st, [2 dc, ch 2, 2 dc] in the next st – the center point of our triangle, 1 dc in the next, ch 1, skip 1, 2 dc in the last st. Ch 3 and turn.
R3: 1 dc in the first st, skip the next dc, 1 dc in the next ch 1 space, 1 dc in the skipped dc, 1 dc in the next st, 1 dc in the previous ch 1 space, skip next dc, 1 dc in the next (the last before center point), 1 dc in the skipped dc, [2 dc, ch 2, 2dc] in the ch 2 space of the center point.
Skip next dc (the first after center point), 1 dc in the next, 1 dc in the skipped dc, skip the next dc, 1 dc in the next ch 1 space, 1 dc in the skipped dc, 1 dc in the next dc, 1 dc in the previous ch 1 space, 2 dc in the 3rd st of the turning ch. Ch 1 and turn.
R4: 2 sc in the first st, 1 sc in each st to the center point, [2 sc, ch 2, 2 sc] in the ch 2 space of the center point, 1 sc in each st to the end of the row, ending with 2 sc in the 3rd st of the turning chain.
R5: 1 dc in the first st, [ch 1, skip 1, 1 dc in the next st] repeat until the center point. [2 dc, ch 2, 2 dc] in ch 2 space, [1 dc, ch 1, skip 1] repeat section to the end of the row, ending with 2 dc in the 3rd st of the turning chain. Ch 3 and turn
R6: 1 dc in the first st, skip 1 dc, 1 dc in the next ch 1 space, 1 dc in the skipped dc.
[1 dc in the next ch 1 space, 1 dc in the previous ch 1 space] repeat this section until you have 3 dc to the center point.
Then continue with 1 dc in the next dc, 1 dc in the previous ch 1 space, skip 1 dc, 1 dc in next, 1 dc in the skipped dc. Continue with center point [2 dc, ch 2, 2 dc] in the ch 2 space of the center point.
Skip next dc, 1 dc in next, 1 dc in the skipped dc, skip next dc, 1 dc in the next ch 1 space, 1 dc in the skipped dc, [1 dc in the next ch 1 space, 1 dc in the previous 1 ch space] repeat this section until you have 1 dc left. Continue with 1 dc in the last dc, 1 dc in the previous ch 1 space. Finish the row with 2 dc in the 3rd stitch of the turning ch.
Next, repeat rows 4 to 6 until you have in total 43 rows, or until you get to the desired width and length of the scarf.
Edging
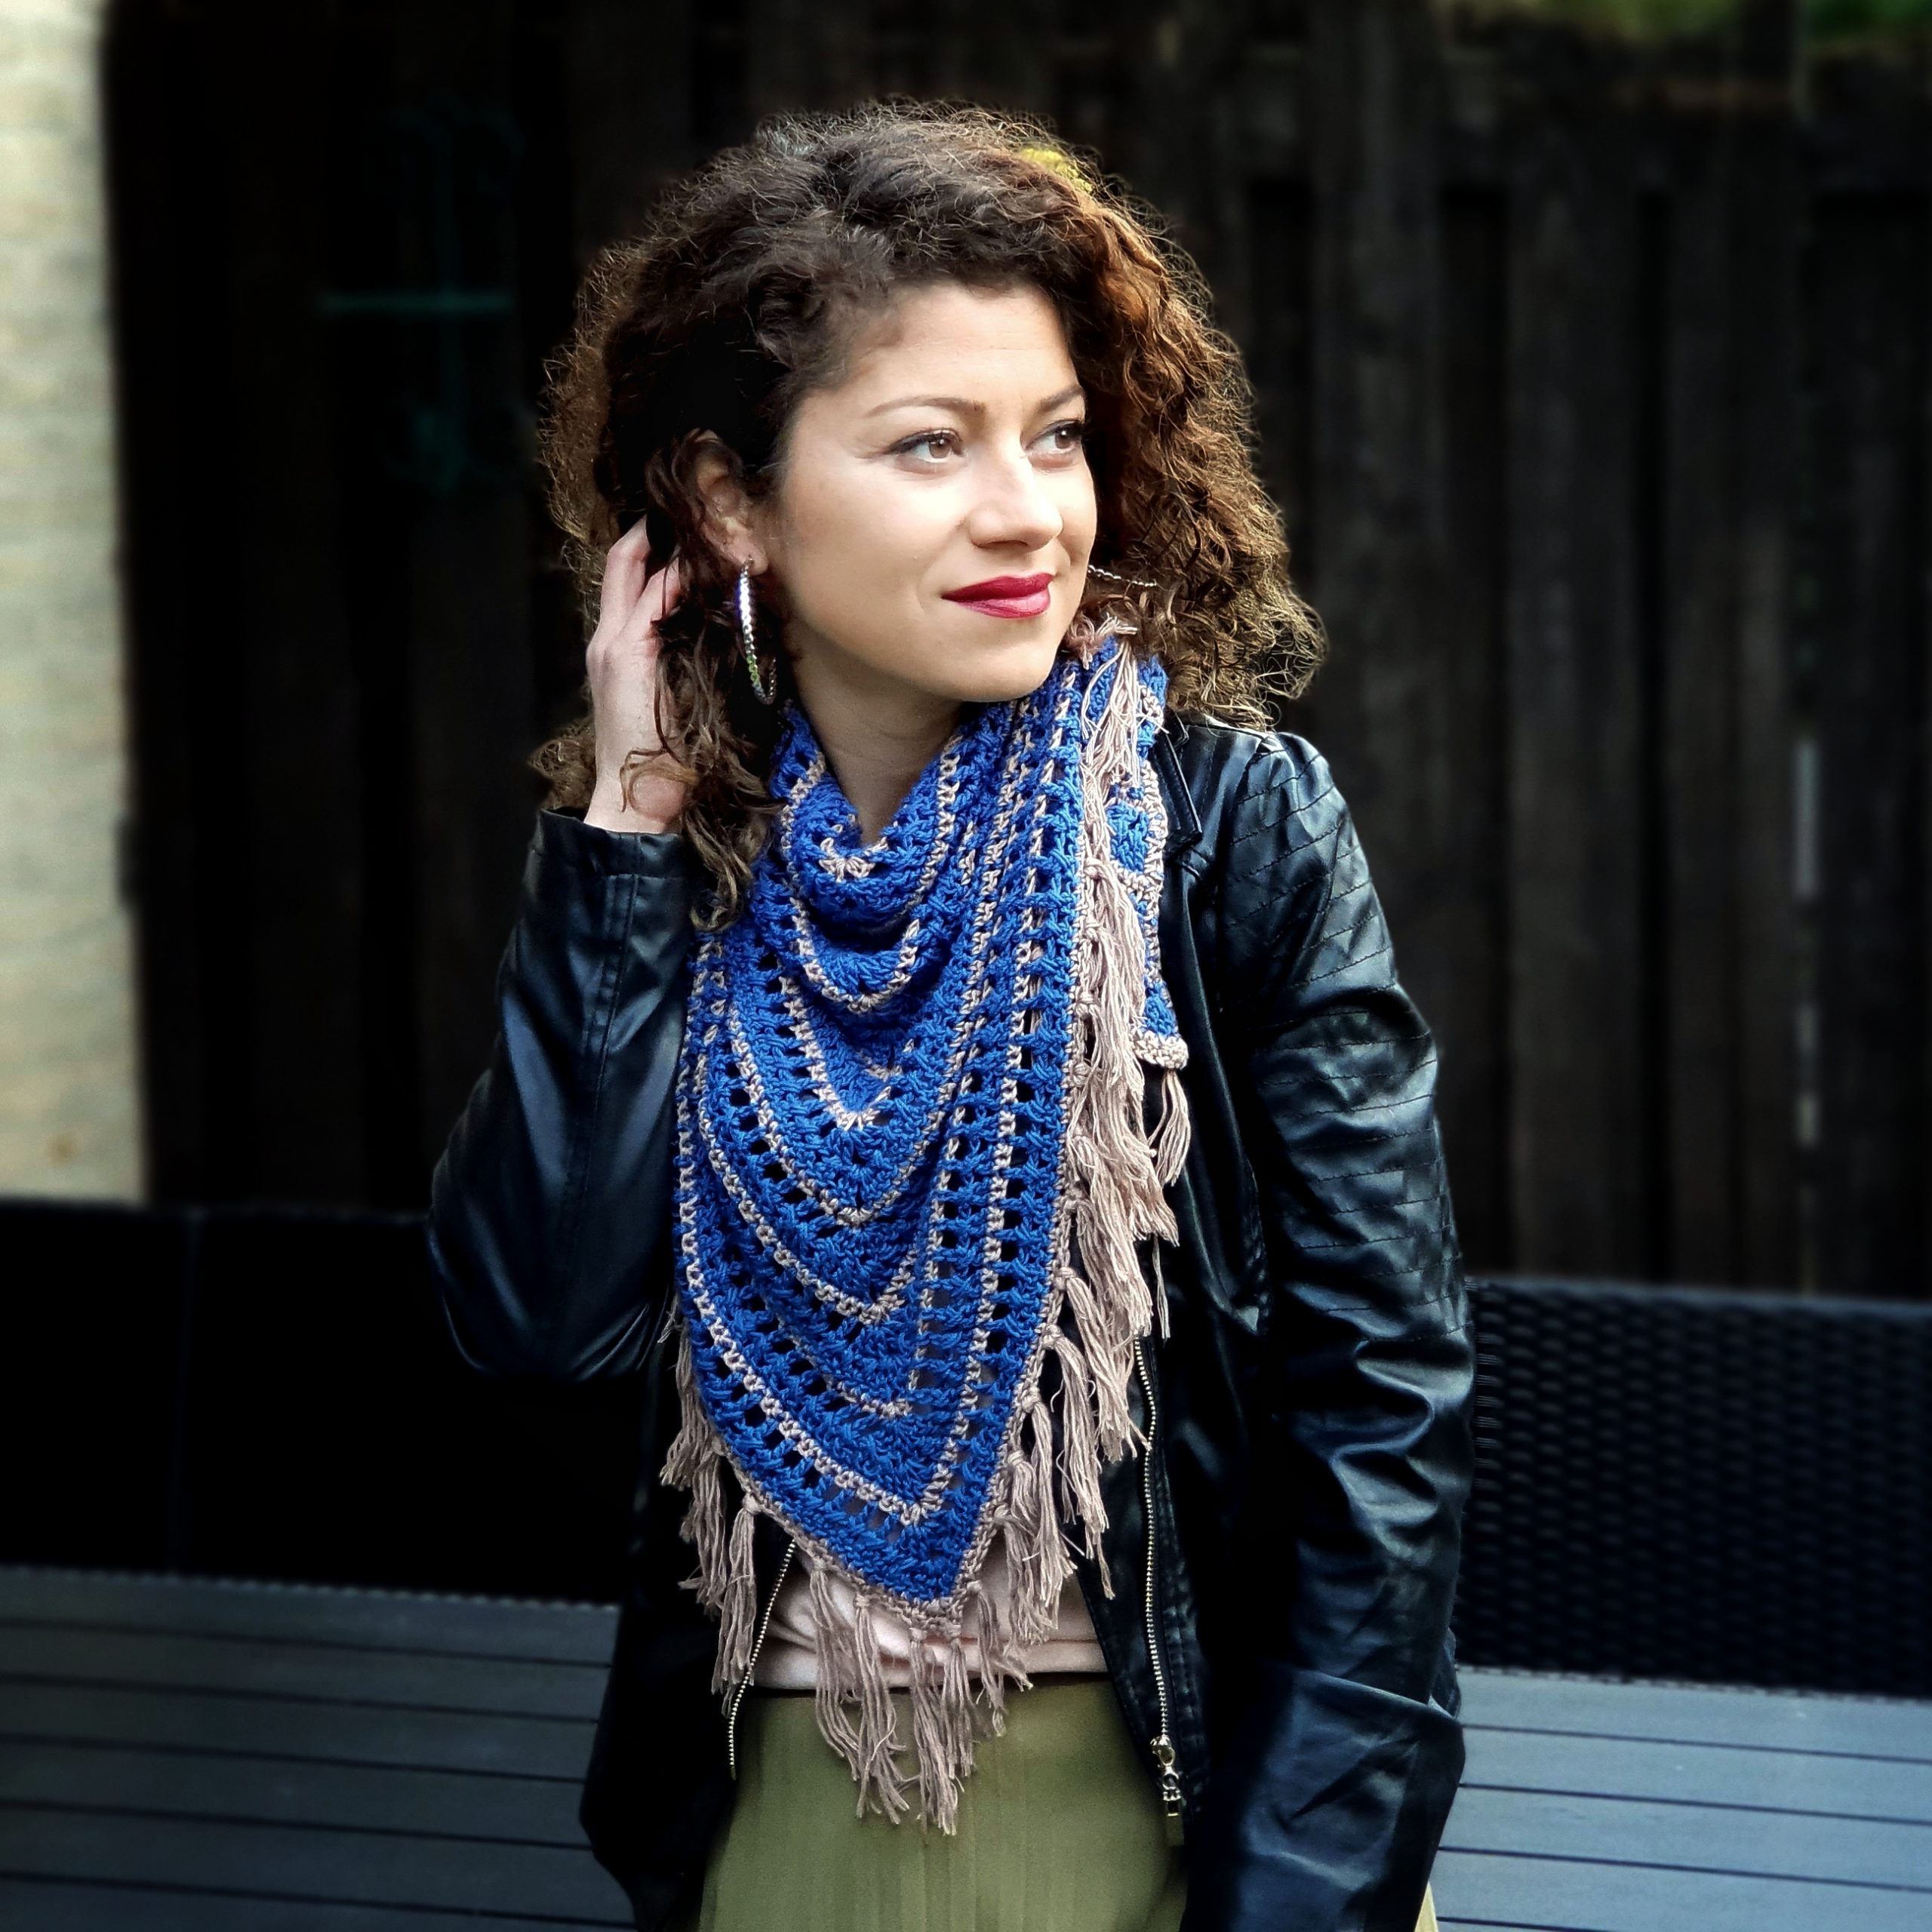
From where your yarn is, continue on the width of the scarf to make a single crochet edge. When working into the side rows, make 2 sc in each dc row (crosses or windows) and 1 sc in each sc side row. Continue with 1 sc in each st to the center point. In the center point make the same increase as you did on each single crochet row and then continue with 1 sc in each st until you get to the end of the round.
Fringe
Cut 4 strands of yarn of about 20 cm, fold them in half, insert the loop through ch 2 space of the center point, pull the ends through the loop and tie. Repeat and add fringe at every 5 sts until you complete the entire edge of the scarf.
To finish
Wave in all ends and block to measurements.
Below you can find also a video tutorial.
You can Purchase the easy printable PDF version of this pattern here:
If you already purchased this pattern, please send me an e-mail at contact@by-katerina.com and I will send you the new version.



Comments are closed.