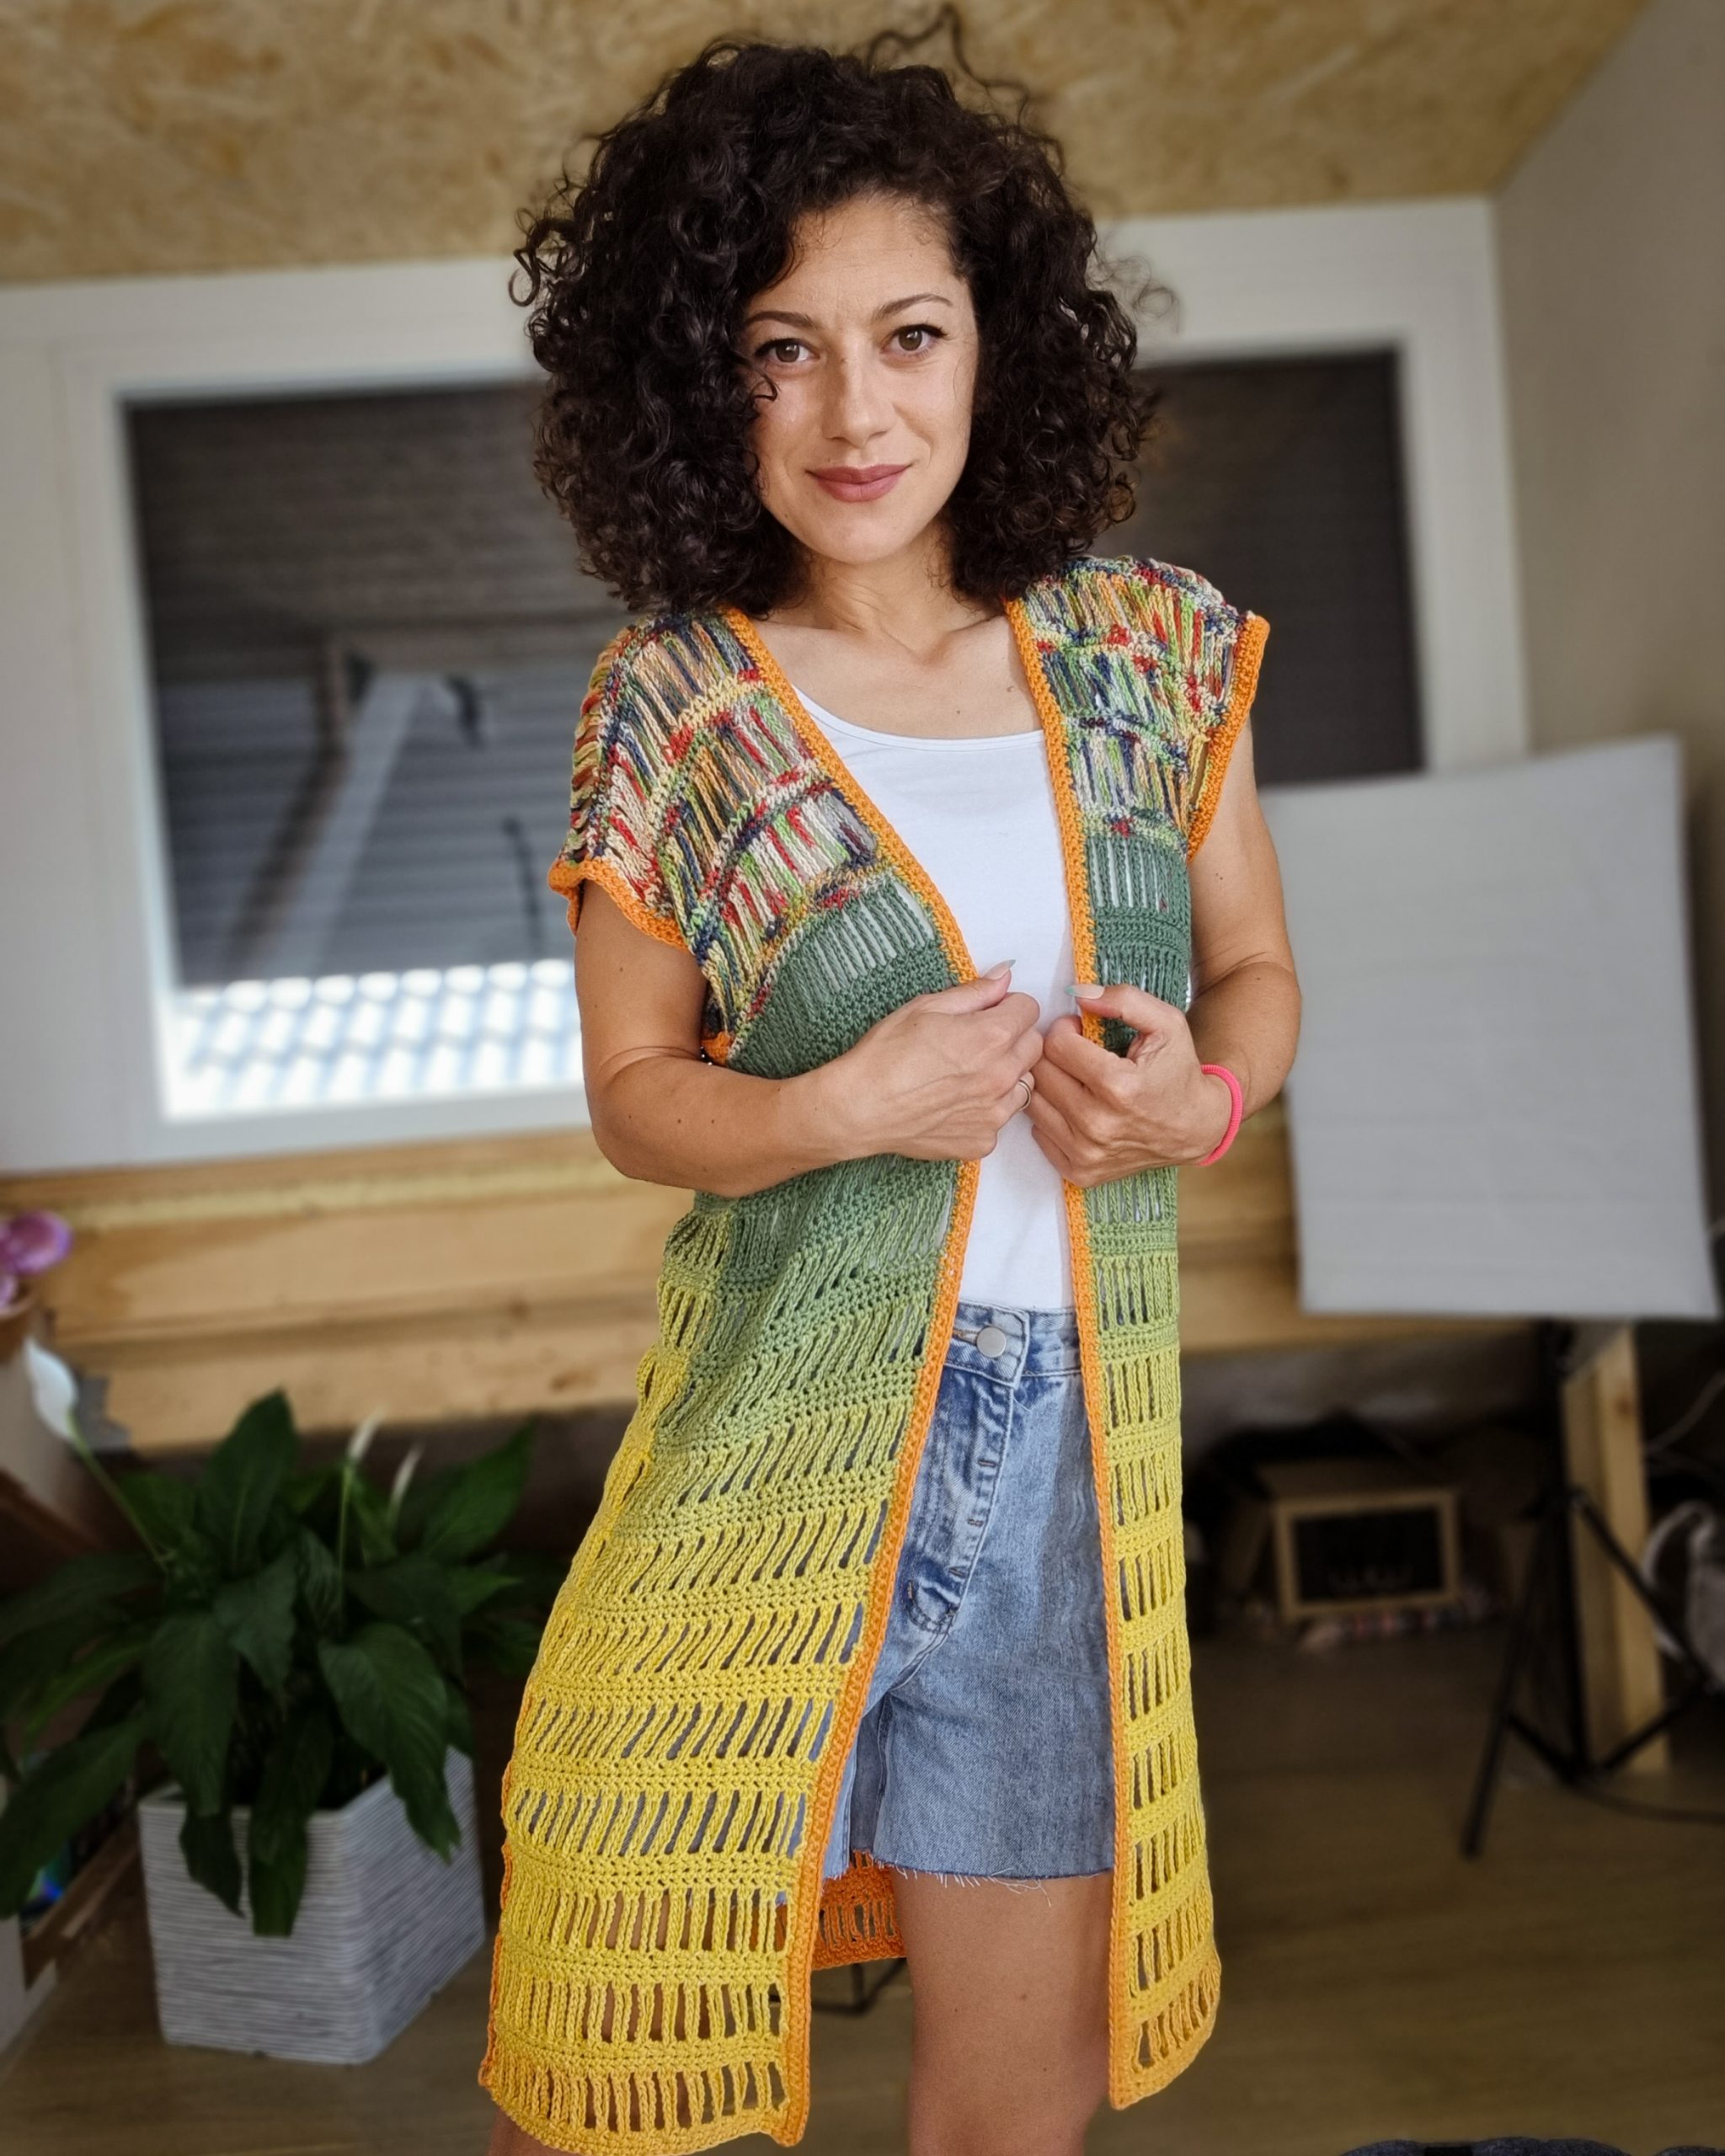
I started working on the Briolette Vest last year, but unfortunately, I didn’t have time to finish it.
When I picked it up again this year, I didn’t remember what I wanted to make. But you helped me out. When I posted about it, many of you asked for a Summer Cardigan/Vest. It was difficult because I imagined a Vest more oversized with this stitch pattern or with sleeves. But, because the yarn was insufficient, I just ended up with this version.
What I can say is that I am happy with the result, so no regrets here. Plus, I can make the more oversized cardi next year!
You can Purchase the easily printable PDF pattern here:
Before jumping into the process of making this Vest, I want to tell you a bit about the name I chose. Briolette is a type of chain. (I didn’t know that there are so many types of chains before starting to do my research for finding a name) So, because the stitch pattern has so many chains, I said it would be a cute name. Don’t you think?
And with this being said, now I can start to talk about the pattern and how you can make this vest.
MATERIALS
• Yarn: Size 2, Sport weight yarn
• Crochet Hook:
o 4.5 mm crochet hook
• yarn needle for weaving in ends
• Scissors
NOTES ABOUT DESIGN
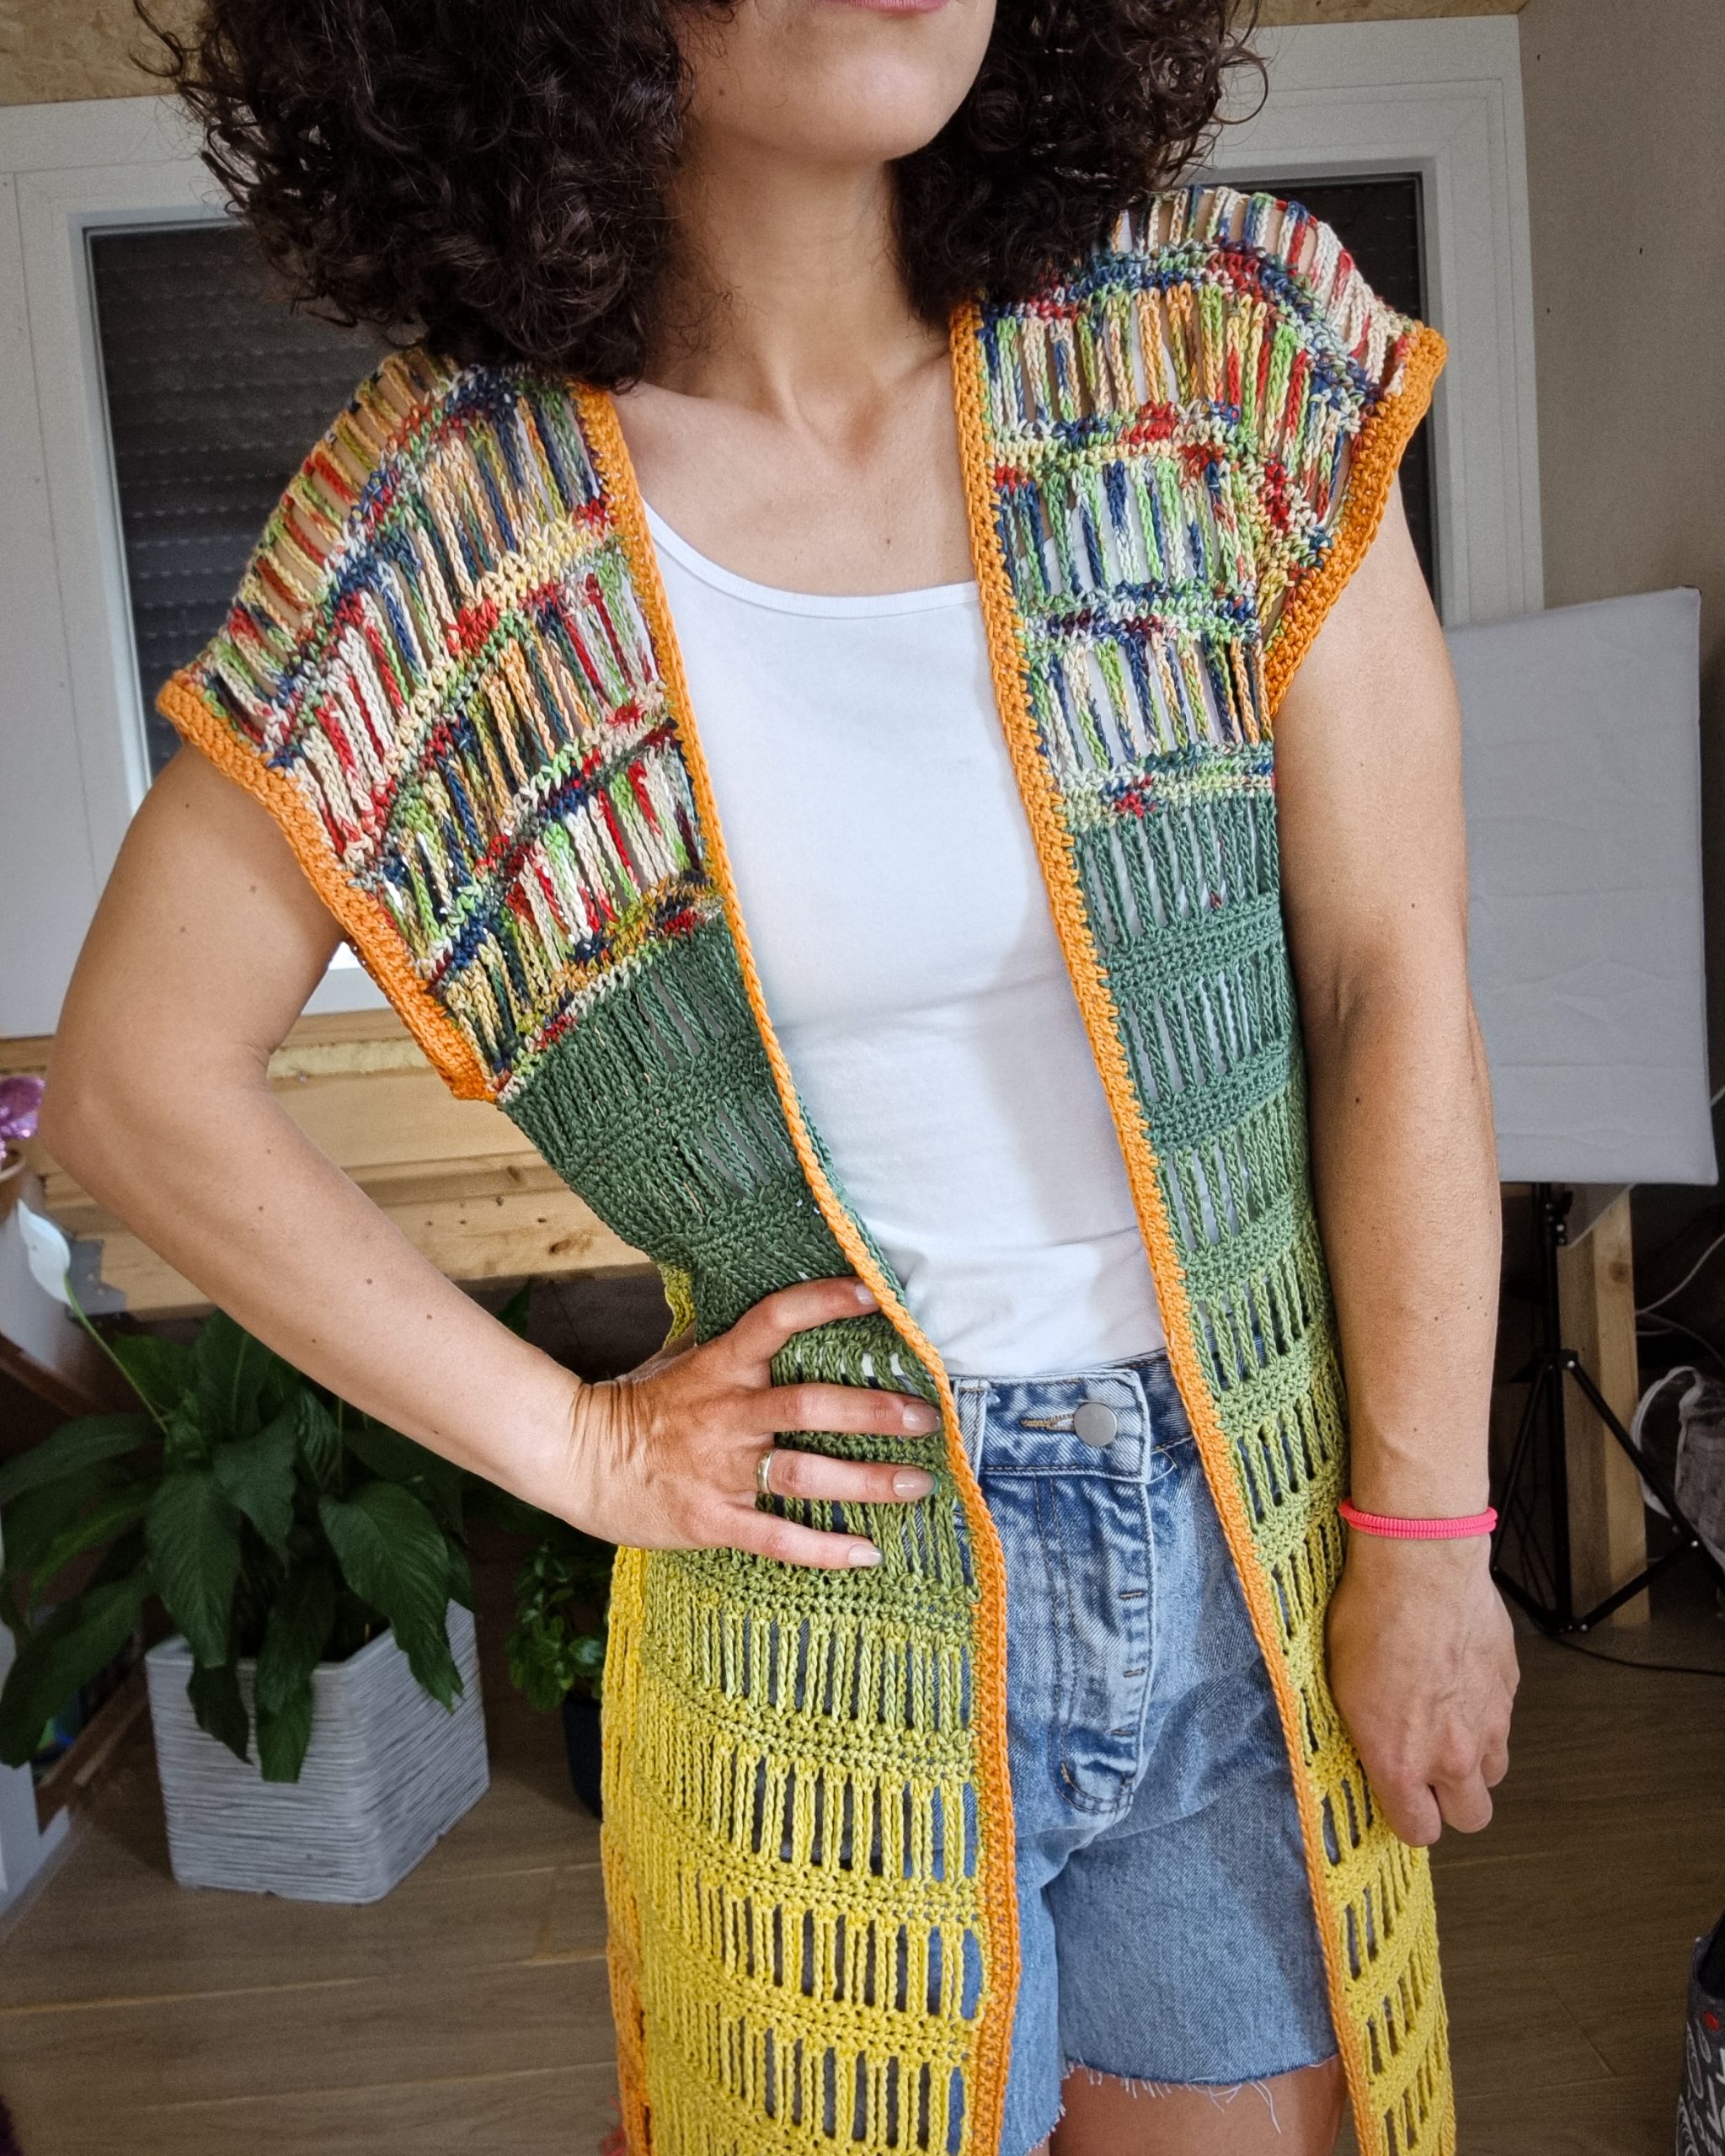
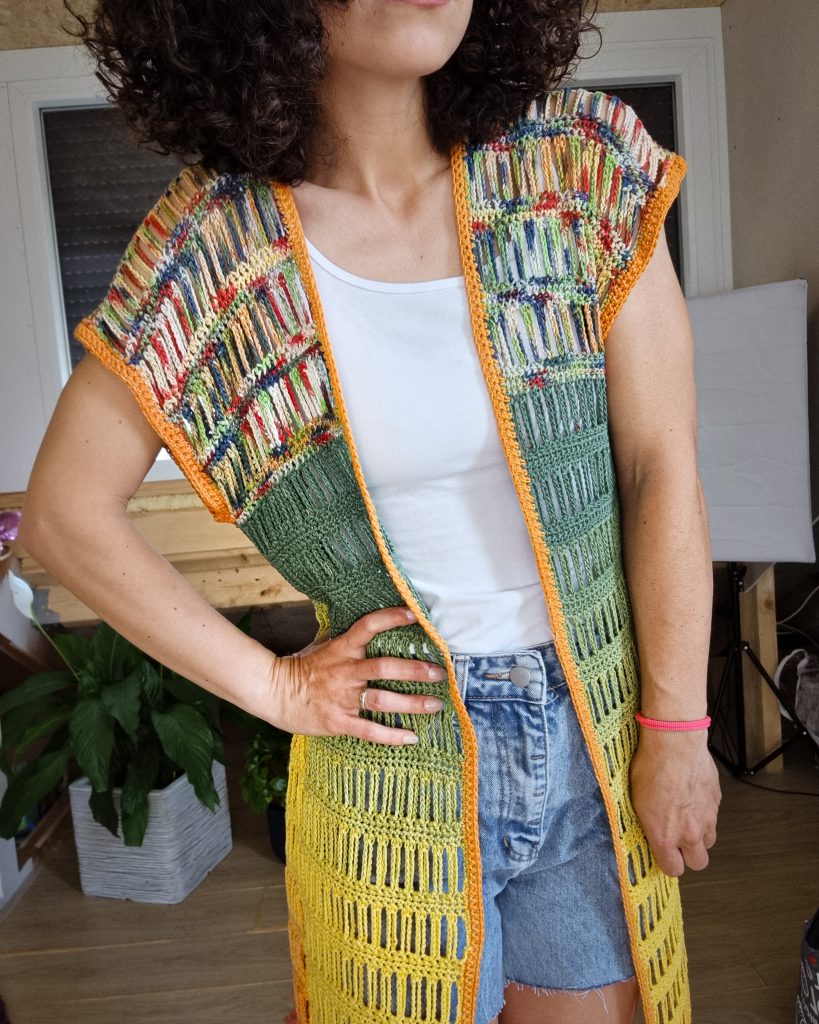
The Briolette Vest has a beautiful lace pattern, easy to make, only by working chain and single crochet stitches.
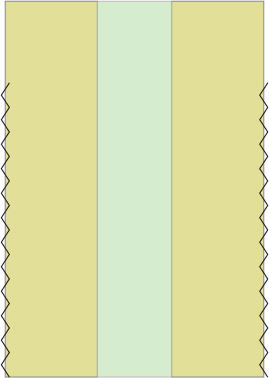
It has an easy construction, 3 straight panels, back and front panels assembler. The front panels are worked, continuing the back panel to avoid a shoulder seam.
The Briolette Vest is easy to customize to any length, and you can also add sleeves.
MEASUREMENTS AND SIZES
The Briolette Vest Pattern is available in 9 sizes, from XS to 5X Large. The model is 168 cm tall, with an 86 cm Bust circumference, and wears a size Small.
The numbers are written below as follows: XS (S, M, L) (XL, 2XL, 3XL, 4XL, 5XL);the US sizes 0/2 (4/6, 8/10, 12/14) (14/16W, 18/20W, 22/24W, 26/28W, 30/32W)
All the measurements use as reference Standard Body Measurements by ASTM International.
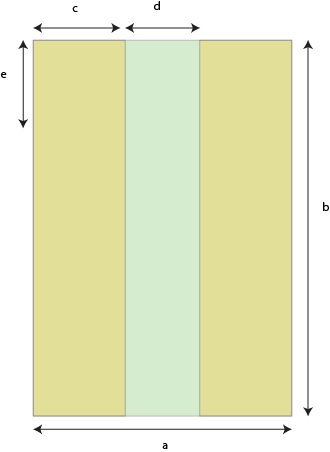
Final Measuremnts of the Briolette Vest
Back Panel width a: 51 cm (54, 56.5, 60) (63.5, 68.5, 73.5, 78.5, 83.5)
Length b: 86 cm (86, 86, 91), (91, 91, 91, 96, 96)
Front Panel Width c: 19 cm (21, 22, 23), (25, 27, 30, 33, 35)
Neckline width d: 13 cm (13, 13, 14), (14, 14, 14, 13, 13)
Armhole Depth e: 21 cm (21, 21, 26), (26, 26, 26, 31, 31)
How much yarn do you need?
For the Briolette Vest, I used:
Fair Cotton Crafts 175, in color 802; Yarn composition: 100% Organic Cotton; Each Cake has 175 grams and is approximately 542 meters.The Brand lists the Yarnnd as a Fingering weight cotton, but in my opinion, this yarn is more like a sport weight yarn, so a bit thicker.
You can use fingering weight or even DK weight yarn if you reach the same gauge.
The same brand also has the same yarn in a solid color that you can add to this project to supplement the cake and not buy an entire cake for just a little yarn.
For each size, you will need:
880 (950, 990, 1110), (1190, 1280, 1390, 1590,1680) meters
ABBREVIATIONS
Ch – chain
sc – single crochet
ss – slip stitch
St(s) – stitch(es)
R – rows
** – repeated section.
TENSION
Usina g 4.5.mm crochet hook in the main stitch pattern
15sts (sc) = 10 cm
4 rows (1 pattern repeat) = 5 cm
You can Purchase the easily printable PDF pattern here:
STITCH PATTERN AND TECHNIQUES
The stitch pattern requires a multiple of 2+1 sts.
It has 4 rows repeat: 3 rows in sc stitches and 1 row in sc and long chains.
The chain can be shorter, with fewer chain stitches, or longer; adjusting the chain length will affect the pattern gauge. Also, you can adjust the chain length to reach the pattern gauge.
R2 – R3: 1sc in each st to the end of the row. 1ch and turn
R4: 1sc in the first st, *ch16, 1sc in next 2sts; *rep. until the end of the row. ch9 and turn.
R5: 2sc in each 16ch loop to the end of the row.
Rep. R2 – R5 until the desired length
PATTERN NOTES
- work front and back panel flat; turn after each row.
- ch1 at the end of each sc row and turn; ch1 does not count as first sc;
- at the end of the ch row, you will ch9; the last ch will count as first sc; don’t forget to work a sc in it on the turning row.
- work the front panels continuing the back panel.
- the pattern is written in US terms.
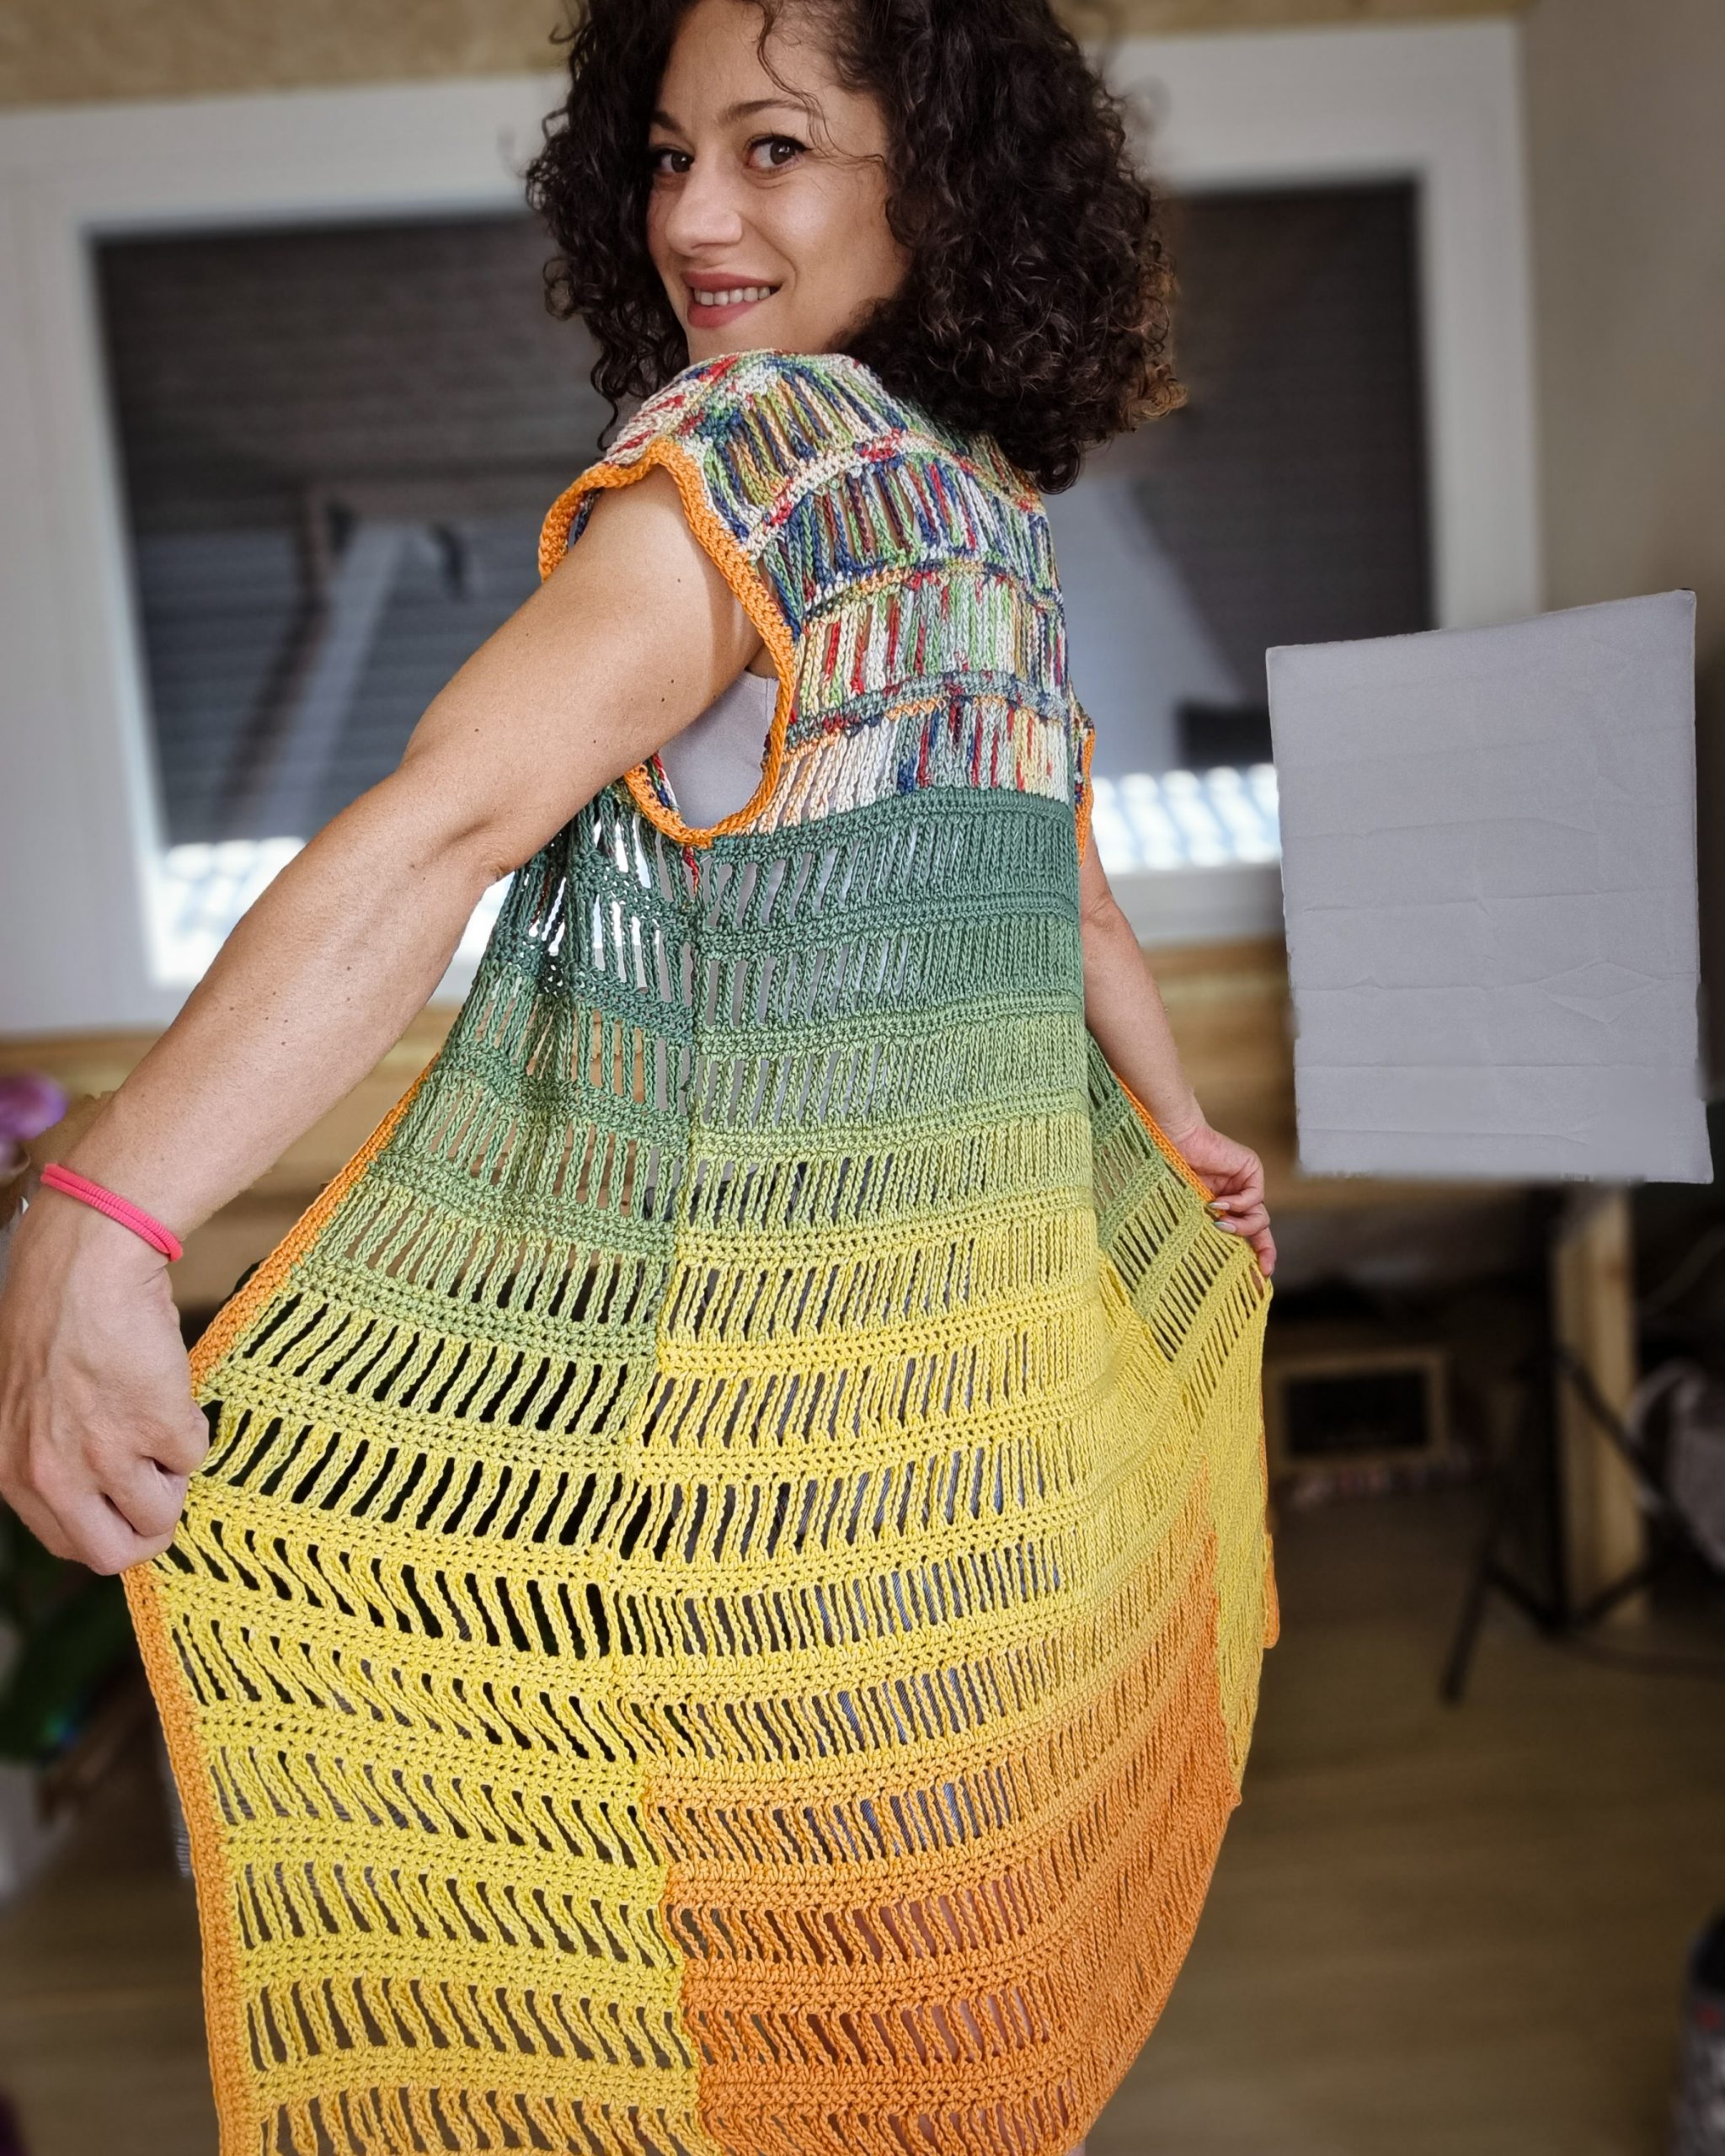
- for the particular yarn I used for the sample, I used approximately one cake for the back. Then I started a new cake for the front. Because both fronts are narrower than the back panel, I worked the armhole section and then started to work with the next color in the cake to match the back panel. For the rest of the front panels, I continued working with the yarn as it is; You can match the colors with the back panel if you like. I worked on the front panels, alternating one pattern repeat on each side.
You can Purchase the easily printable PDF pattern here:
INSTRUCTIONS
BACK PANEL
Start: ch 78 (82, 86, 92) (96, 104, 112, 118, 126)
R1:starting with the second st, 1sc in each st to the end of the row, 1ch and turn
R2: 1sc in each st to the end of the row, 1ch and turn
R3: rep. R2
R4: 1sc in the first st, *ch16, 1sc in next 2sts; *rep. until the end of the row. ch9 and turn.
R5: 2sc in each 16ch loop to the end of the row.
Rep. R2 – R5 until you have in total: 71 (71, 71, 75) (75, 75, 75, 79, 79) rows or 17 (17, 17, 18) (18, 18, 18, 19, 19) pattern repeat, +3 more rows in sc.
FRONT PANELS
For this particular yarn or any other variegated yarn is better to alternate one pattern repeat on each front panel.
Use stitch markers to mark the front panels sts: 29 (31, 33, 35) (37, 41, 45, 49, 53)
Start from where your yarn is:
R1: 1sc in each st, 1ch, and turn
R2-R3; rep. R1
R4: 1sc in the first st, *ch16, 1sc in next 2sts; *rep. until the end of the row. ch9 and turn.
R5: 2sc in each 16ch loop to the end of the row.
Rep. R2-R5 until you have the same number of rows as the back panel.
ASSEMBLING FRONT AND BACK PANELS
Use a Darn Needle with 1.5 – 2 meters of yarn; you can use a thinner yarn than one used in the pattern for seaming.
Place stitch markers to mark the armholes: 4 (4, 4, 5) (5, 5, 5, 6, 6) pattern repeats.
SEAMING
Place the Back and Front panels next to each other, facing the right side.
You can use stitch markers or safety pins to pin the edges.
Step 1: Insert the needle into the bottom st, right side, from back to front. then into the bottom st of the left side, from front to back. Tie the end with the working yarn.
Step 2: Insert the needle into the last st (the one you insert the needle in Step1), of the right side, and pull it through the next st; then insert the needle into the last st of the left side, and pull it through the next st.
Rep. Keep weaving the needle like this until you get to the armpit; On the chain side rows, skip 1ch.
EDGING
Front Panels and neckline Edging
When working across the side edge, work 1sc in each sc side row; on the chain edge, work 1sc, skip 1ch, 1sc in next.
Work into the right front panel edge, then around the neckline, and continue with the left panel edge.
Facing the right side, rejoin yarn into the bottom st of the right front panel and ch1
R1: 1sc in each st to the end of the row (the last st will be the bottom st of the left front panel:
R2 – R3: 1sc in each st.
Sleeve Edging
Rejoin yarn at the armpit.
R1: Follow the instruction above when working into the side rows. ss into the first sc.
R2 – R3: 1sc in each st around. Close the round with an ss into the first sc
TO FINISH
Weave in all looser ends and block to measurements.
And done! This was an easy one, right?
You can Purchase the easily printable PDF pattern here:





Comments are closed.