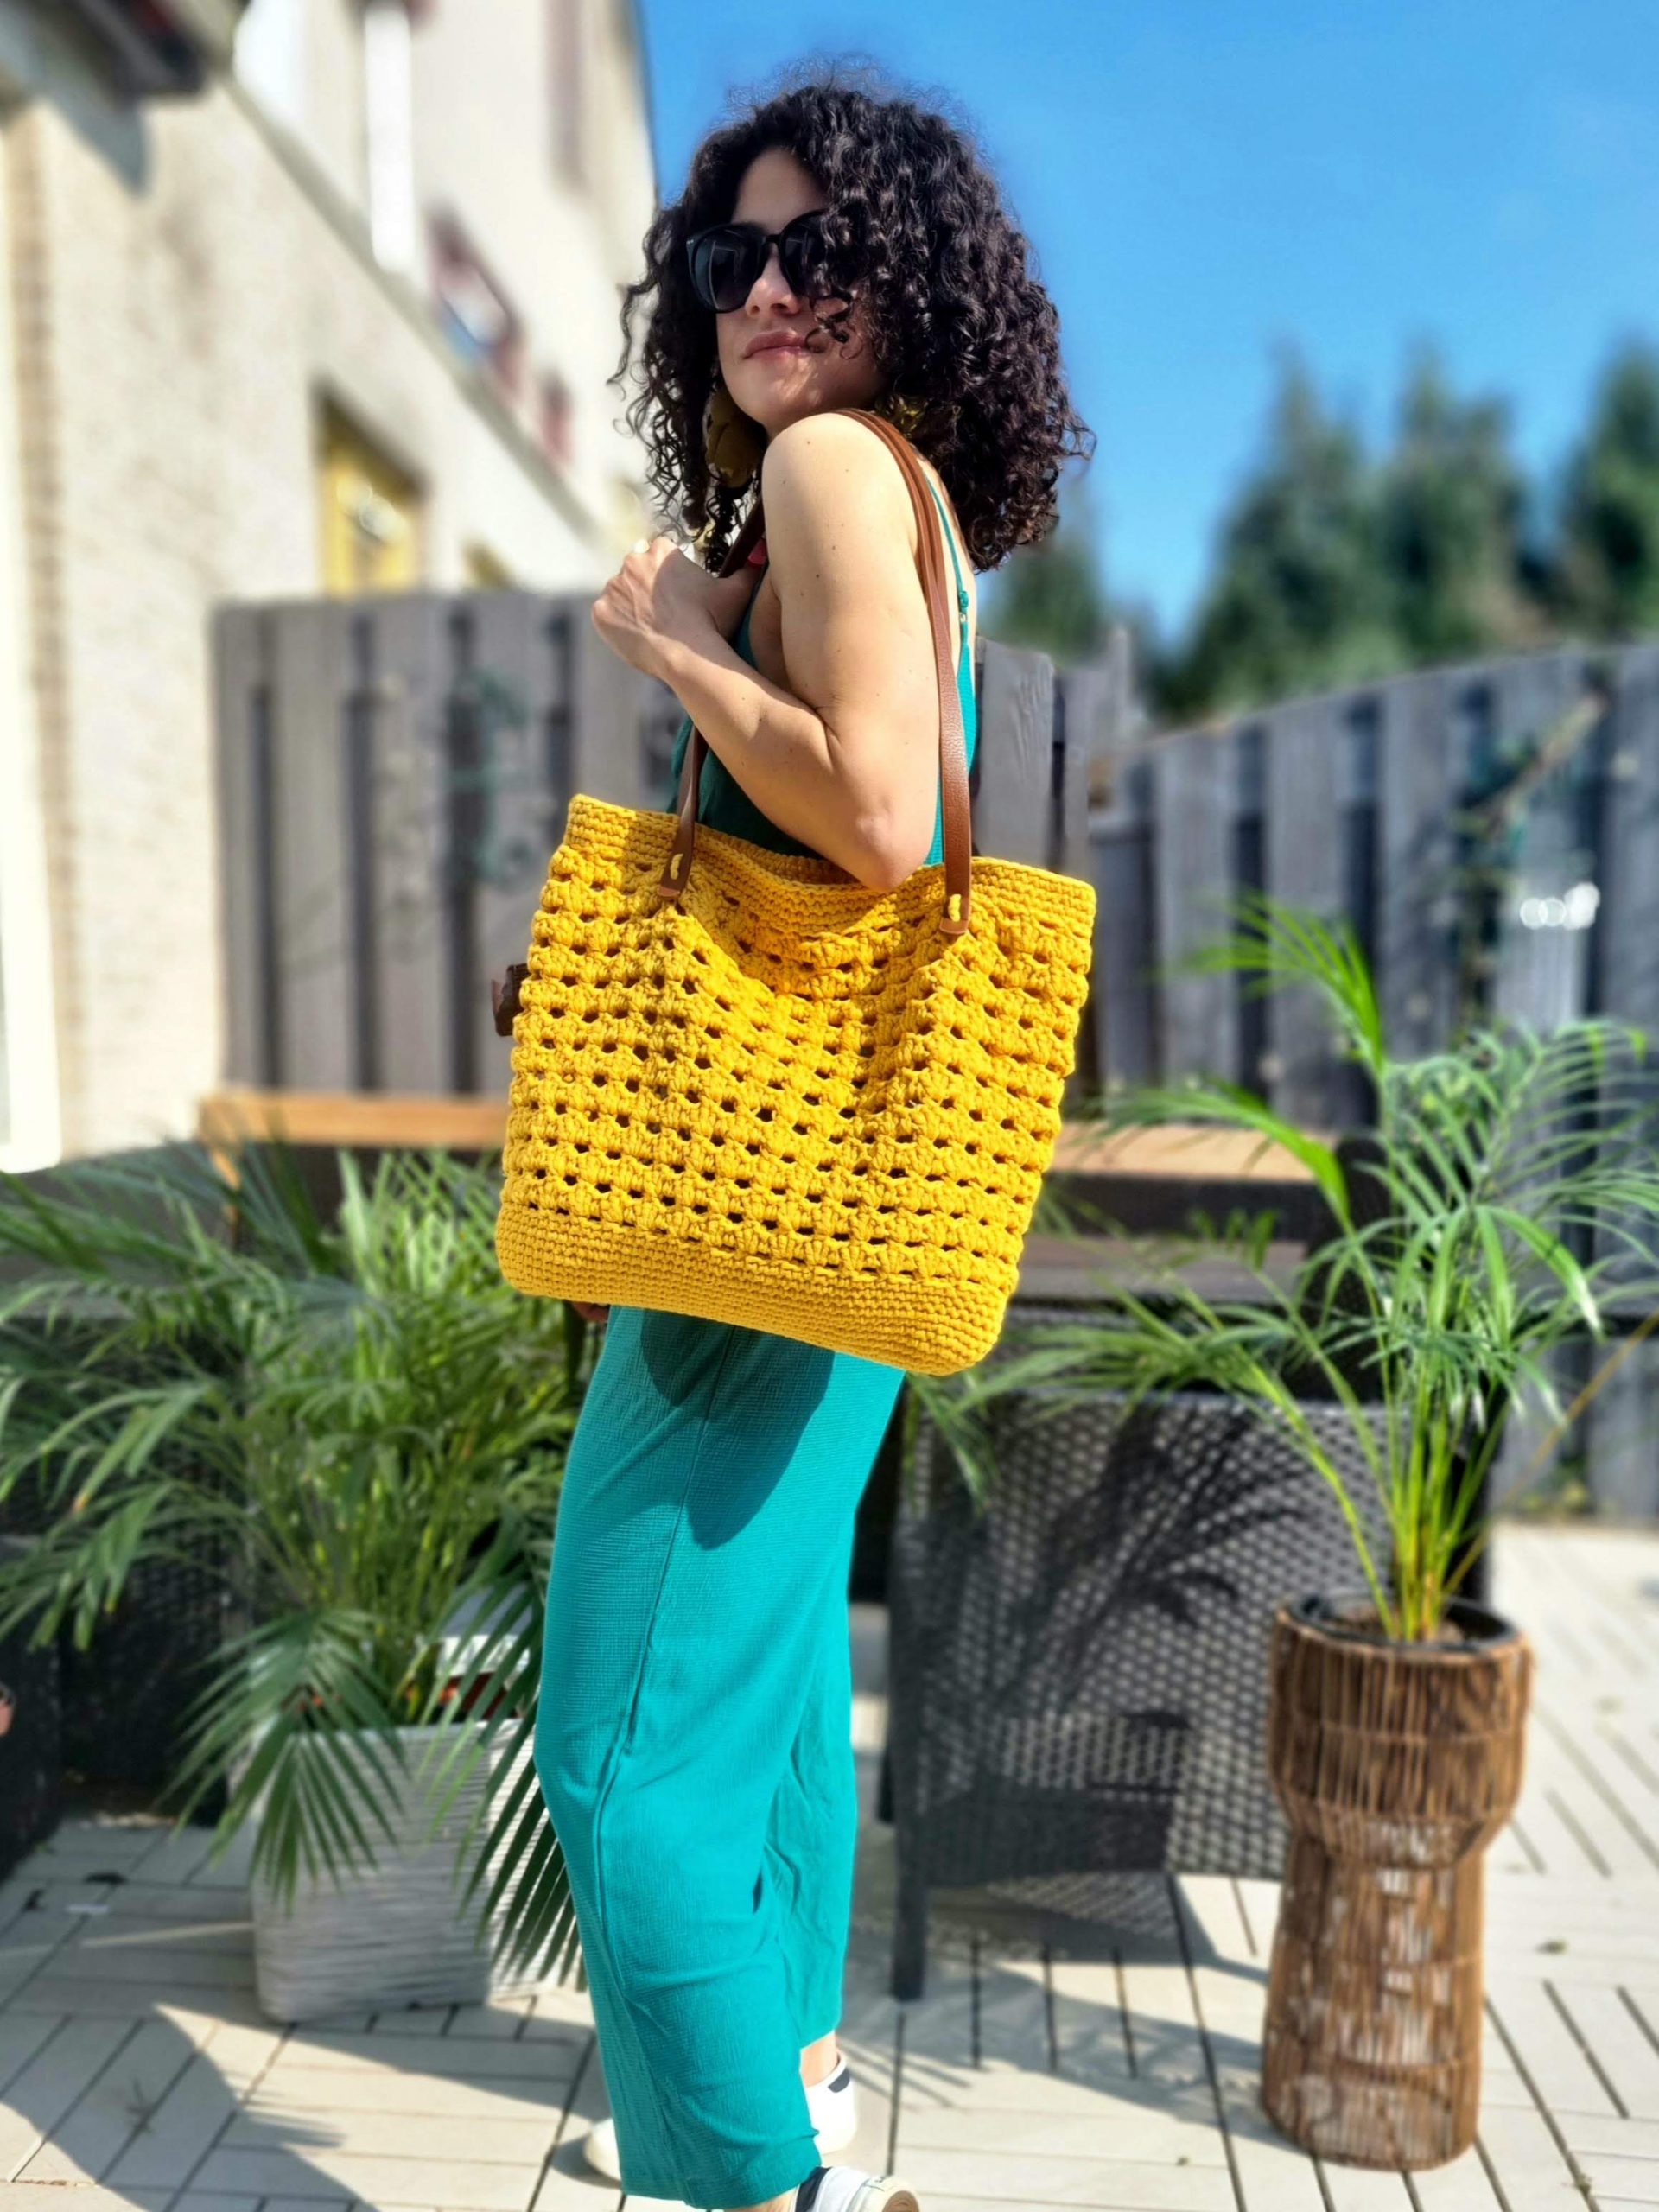
I am delighted to share with you the Lindsay’s Bag Pattern. A few months ago, one of my YouTube subscribers, Lindsay, requested a bag tutorial from me. Unfortunately, my first attempt was unsuccessful as the design concept didn’t work in reality. Initially, I was ready to give up on the project, but I didn’t want to disappoint Lindsay. Although I still feel that the Lindsay’s Bag isn’t exactly what Lindsay had in mind, I am pleased with the final outcome and would like to share the pattern with you.
Pentru Postarea în Limba Română click aici
You can purchase the easily printable PDF pattern here at the links below. The PDF contains stitch charts also.
So today I am introducing Lindsay’s Crocheted Bag: Your Perfect Summer Accessory
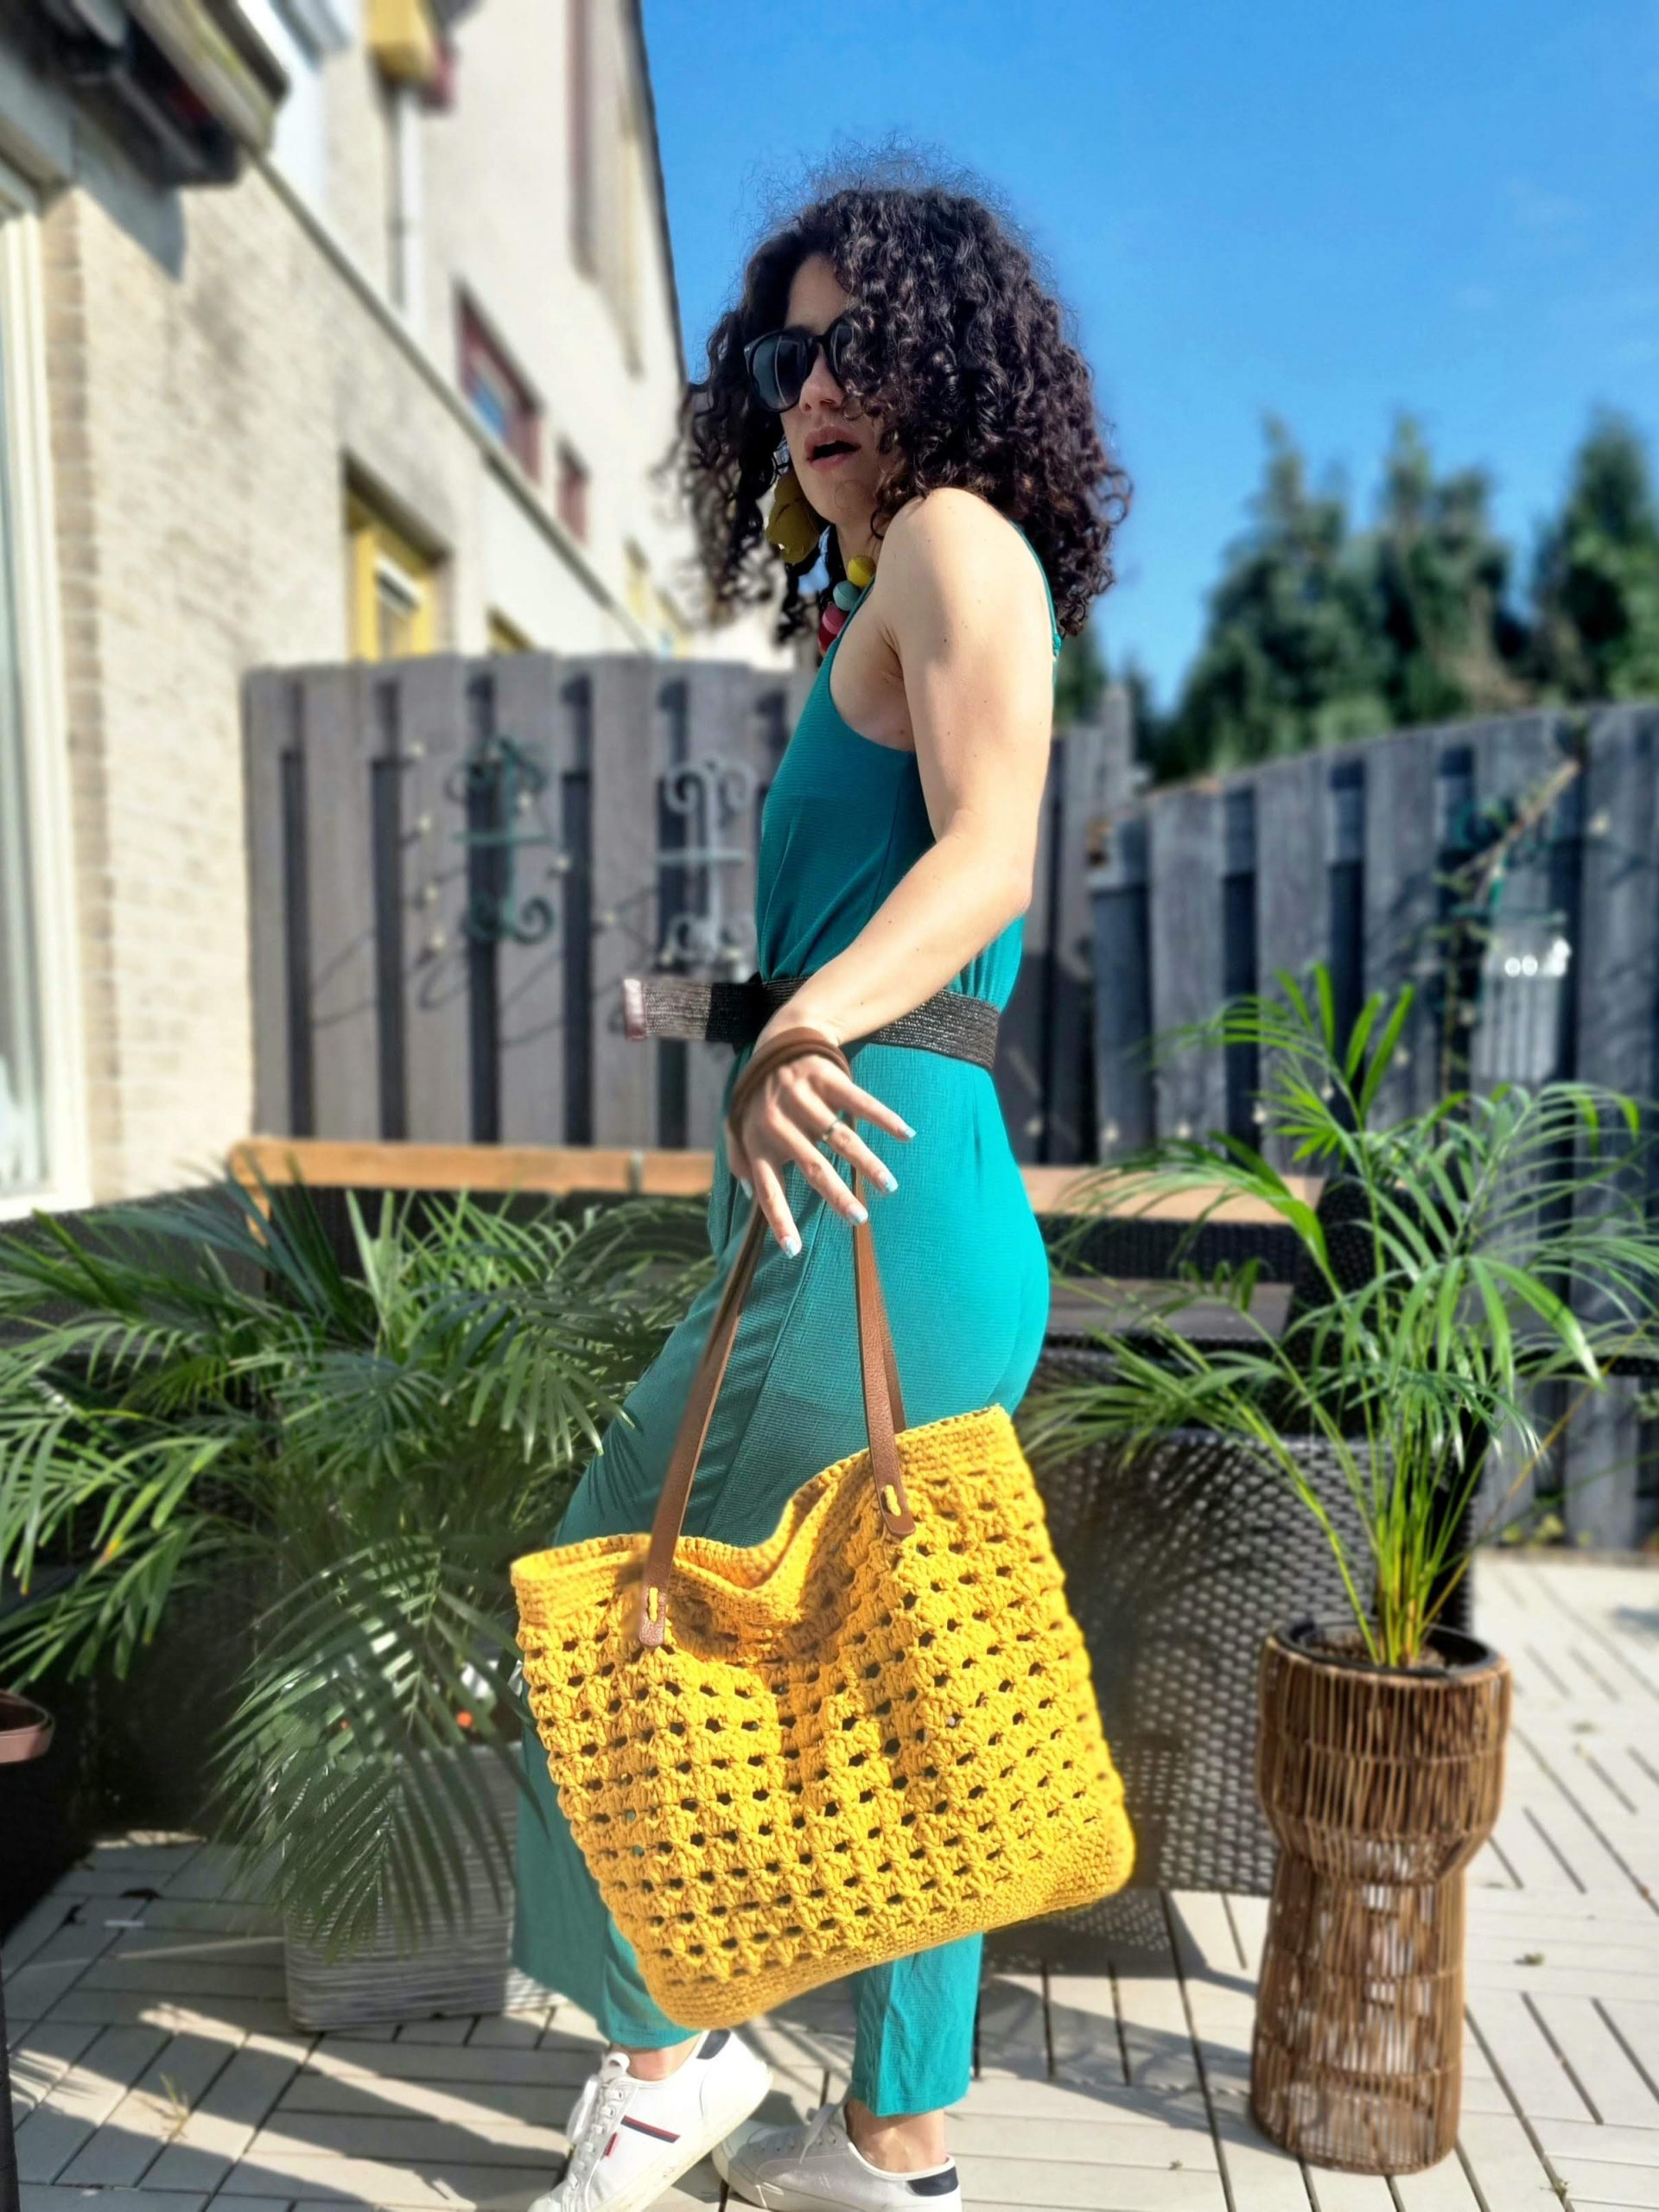
Embrace the essence of summer fashion with Lindsay’s Crocheted Bag, a delightful blend of style and functionality. This charming bag is the ultimate companion for your sunny escapades, whether it’s a shopping spree, a day at the beach, or a leisurely stroll in the park. With its versatile design, you can be confident that you’ll have more than enough room for every occasion.
Let’s see what we will need and how we can make the Lindsay’s Bag.
MATERIALS
• Yarn: 2mm Macrame cord
• Crochet Hook:
o 4 mm crochet hook (or the size needed to meet the gauge)
• stitch markers (at least 4)
• 2 bag handles (optional)
• yarn needle for weaving in ends
• Scissors
NOTES ABOUT DESIGN
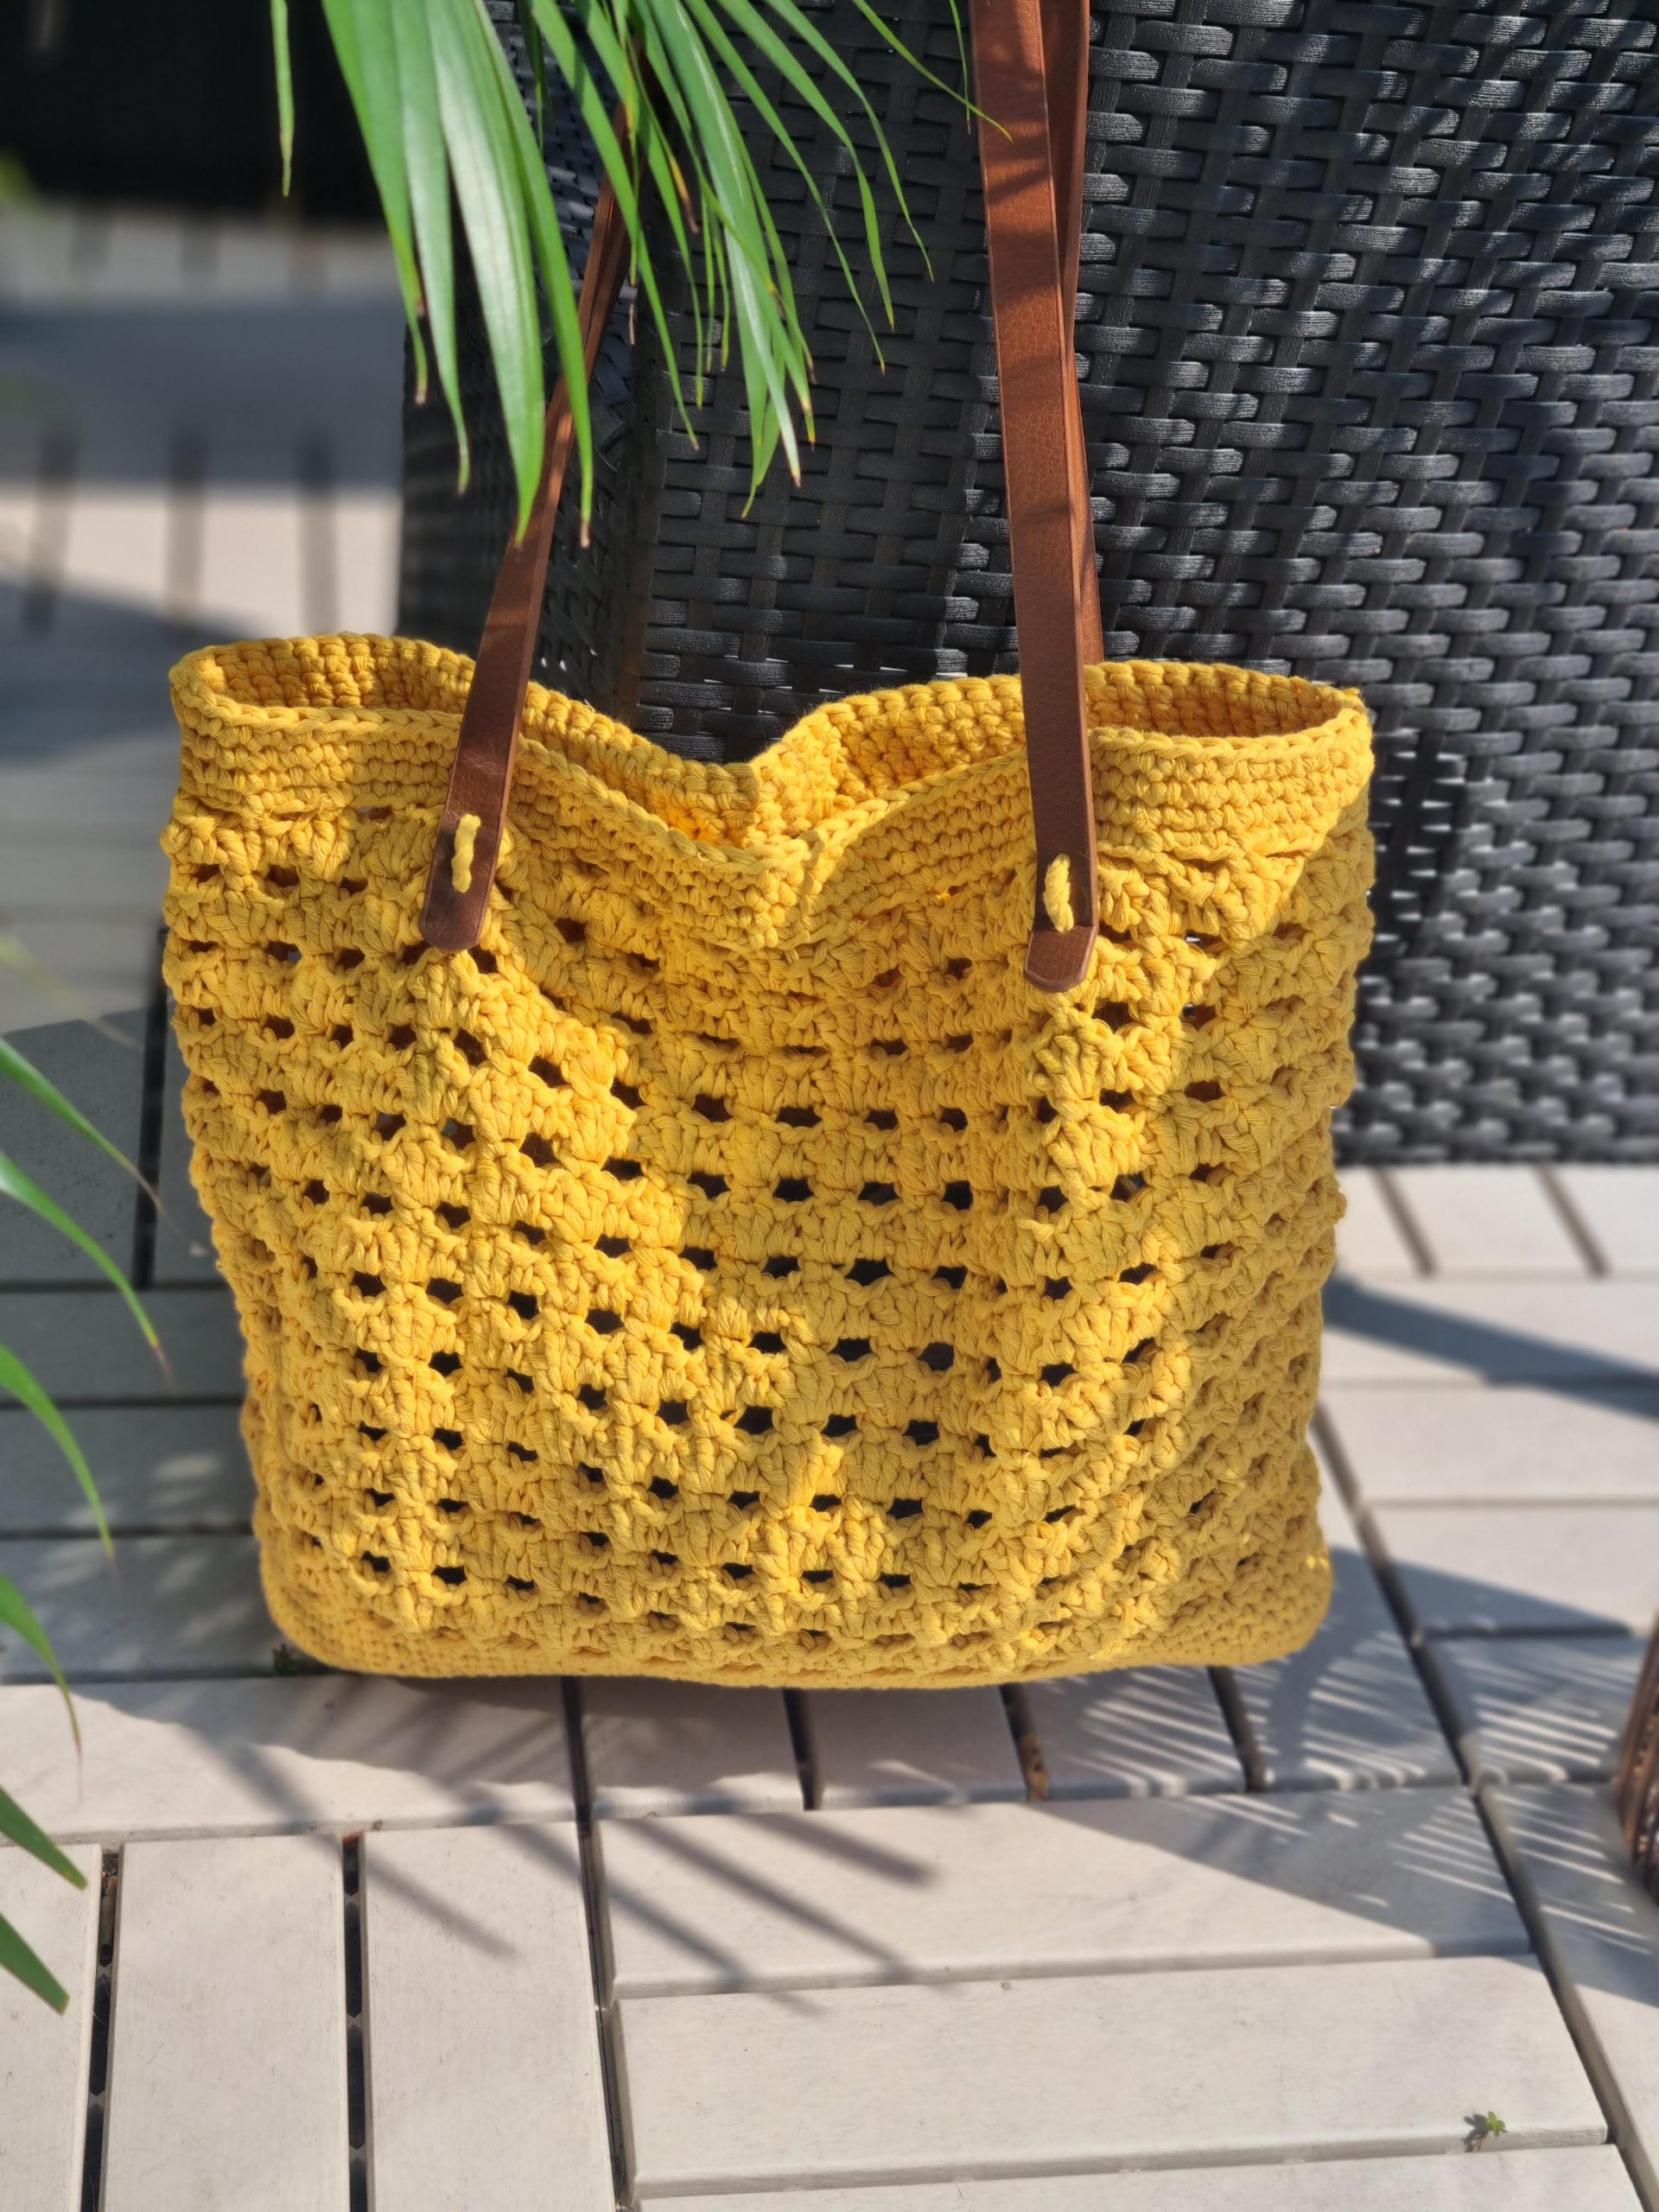
Crafted with care and an eye for detail, this exquisite bag exudes elegance with its intricate crochet patterns, making it a true fashion statement. Its lightweight yet durable construction ensures it’s easy to carry around all day, no matter where your summer adventures take you.
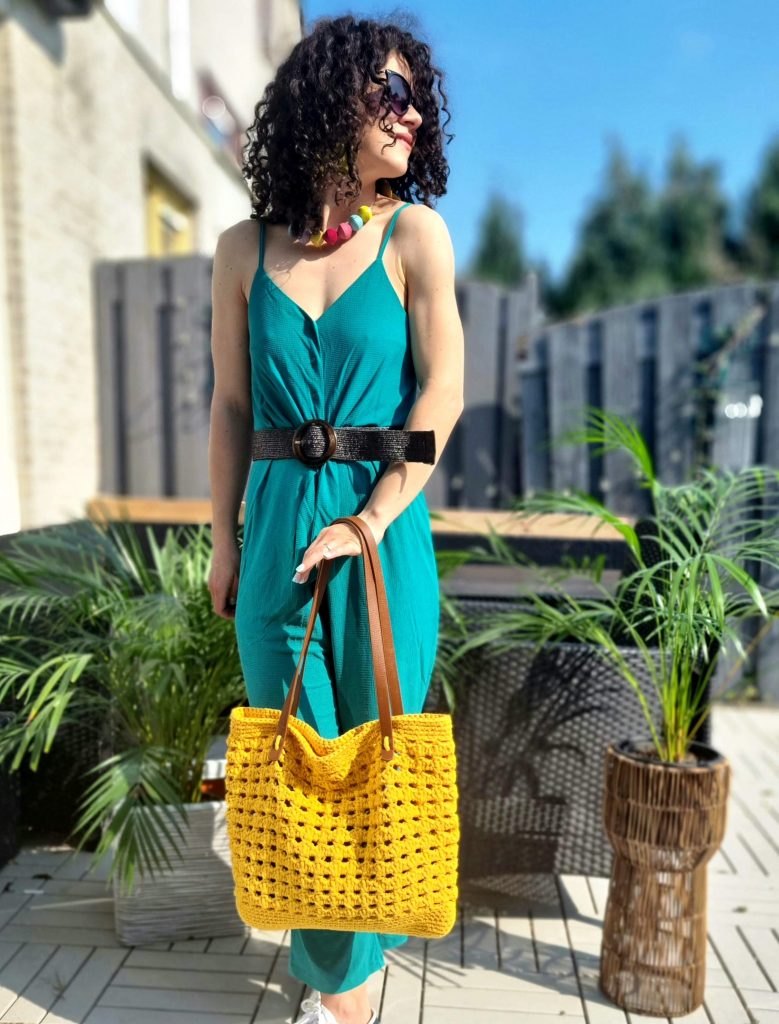
The Lindsay’s Crocheted Bag perfectly complements any summer outfit, adding a touch of bohemian charm to your look. You can make it in any color to blend with various styles, making it a versatile accessory that matches any ensemble.
So, step into summer with confidence, grace, and the Lindsay’s Crocheted Bag by your side. Embrace the season’s spirit and make this stylish and functional accessory an indispensable part of your summer wardrobe. Get ready to create unforgettable memories with your new favorite bag!

MEASUREMENTS AND SIZE
The Lindsay’s Bag is written for one size, but you can customize it and make it in the size you want.
Final Measurements of the Lindsay’s Bag Width a: 43 cm
High b: 36 cm
YARN
I used 2mm macrame cord. Unfortunately, no brand is written on the label, but any 2mm macrame cord will work.
Each cake has 330 grams and 198 meters. For the bag in the size mentioned above, I used 2 cakes.
ABBREVIATIONS
Ch – chain
dc – double crochet
sc – single crochet
ss – slip stitch
St(s) – stitch(es)
R – row
** – repeated section.
TENSION
Using a 4mm crochet hook, working shell stitch pattern
4 pattern repets = 10 cm
9 rows = 10 cm
STITCH PATTERN AND TECHNIQUES
Lindsay’s Bag, has a seamless design worked in the round. This project has three distinct sections, resulting in a stunning bag combining style and practicality.
First, the foundation – an oval base made with single crochet stitches. This essential starting point ensures a sturdy and durable foundation for your bag, providing a solid base for all your belongings.
You can purchase the easily printable PDF pattern here at the links below. The PDF contains stitch charts also.
Once the base is complete, we move on to the trunk. The trunk has three sections, each adding its unique charm to the bag’s overall design.
In Section 1, we continue with single crochet stitches, creating a smooth transition from the base while maintaining a consistent and elegant texture.
Section 2 is where the bag truly comes alive, showcasing a captivating shell stitch pattern. This eye-catching design adds a touch of sophistication and visual appeal, making your bag a true fashion statement.
Finally, in Section 3, we return to the tried-and-true single crochet stitches, ensuring a beautifully balanced and cohesive finish to your Lindsay’s Bag.
Shell Stitch Pattern
This shell stitch pattern requires a multipl of 3 sts, when working in the round
R1: 1ch, *1sc, ch3, skip the next 2sts. *rep. to the end of the round; ss into the first sc.
R2: 3ch, 1dc in the same st, 1sc into the next 3ch-sp, *3dc into the next sc, 1sc into the next 3ch-sp; *rep until the last 3ch-sp; close the round with 1dc in the first st and ss into the third ch.
R3: 1ch, *1sc, 3ch, skip (1dc, 1sc, 1dc); *rep. until the end of the round; ss into the first sc.
Rep. R2 and R3.
PATTERN NOTES
– work the piece in the round, only on the right side;
– close each round with a slip stitch
– if the round starts with sc, ch1 at the beginning of the round; ch1 will not count as a first sc
– if the round starts with dc, ch3 at the beginning of the round; ch3 will count as first dc;
-the pattern includes a video tutorial;
HOW TO ADJUST THE SIZE
Step 1: Create a gauge swatch in the shell stitch pattern. This will help you determine the stitch count required for your desired bag size.
Step 2: Calculate the number of pattern repeats needed to achieve your desired bag width. Remember, each pattern repeat is a multiple of 3 stitches.
Step 3: Now, subtract 9 stitches from the total number calculated in Step 2. These 9 stitches account for the additional stitches added on one side after completing 4 rounds of increases. If you opt for more rounds of increases, adjust the subtraction accordingly. The final number obtained will be the foundation chain count.
Step 4: Add 2 more stitches to the foundation chain count to set the stage for your project. These two stitches will be used for creating the increases. The result will give you the exact number of stitches to begin your project with.
Following these straightforward steps, you can craft a bag tailored to your preferred size. Whether you envision a compact purse or a more spacious tote, these adjustments will ensure your bag perfectly accommodates your needs.
With the freedom to customize and the beauty of the shell stitch pattern, your bag will be functional and an exquisite expression of your unique style.
INSTRUCTIONS
BASE
Start: ch41
R1: ch1, 1sc in next 40sts, 3sc in next, turn on the other side of the ch, 1sc in next 39sts, 2sc into the first st, ss ino the first sc (90sc)
You can use 4st markers to marke the middle section, 39 sts on each side.
R2:1ch, 2sc in next st, 1sc in next 39 sts, 2sc in next 3sts, 1sc in next 39 sts, 2sc in the last 2sts. (102sts)
R3: 1ch, 1sc in next st, 2sc in next, 1sc in next 39 sts, (1sc in next, 2sc in next) x 3 times, 1sc in next 39 sts, (1sc in next, 2sc in next) x 2 times; (114sts)
R4: 1ch, 2sc, 1sc in next 2sts, 1sc in next 39 sts, (2sc in next st, 1sc in next 2sts) x 3 times, 1sc in next 39 sts, (2sc in next st, 1sc in next 2sts) x 2 times, (126sts)
TRUNK
We will continue to count from the last round of the base
R5: 1ch, 1sc in each st around
R6 – R10: Rep. R5
R7: 1ch, 1sc, 3ch skip 2sts, *1sc in next st, 3ch, skip 2sts; *rep. to the end of the round; ss into the first sc.
R8: 3ch, 1dc in the same st, 1sc into the next 3ch-sp, *3dc in next sc, 1sc in next 3ch-sp; *rep. until the last 3ch-sp; close the round with 1dc into the first st and ss into the third ch.
R9: 1ch, 1sc, 3ch, skip (1dc, 1sc, 1dc), *1sc n next dc, 3ch, skip (1dc, 1sc, 1dc); *rep to the end of the round;ss into the first sc.
R10: rep. R8
R11 – R28: rep. R9 and R10
R29: 1ch, 1sc, 2ch, skip (1dc, 1sc, 1dc), *1sc n next dc, 2ch, skip (1dc, 1sc, 1dc); *rep to the end of the round; ss into the first sc.
R30 – 34: 1sc in each st around.
You can purchase the easily printable PDF pattern here at the links below. The PDF contains stitch charts also.
TO FINISH
Weave in the ends and sew the handles.
That was it. You now have a beautiful bag to complete your summer outfit.




Comments are closed.