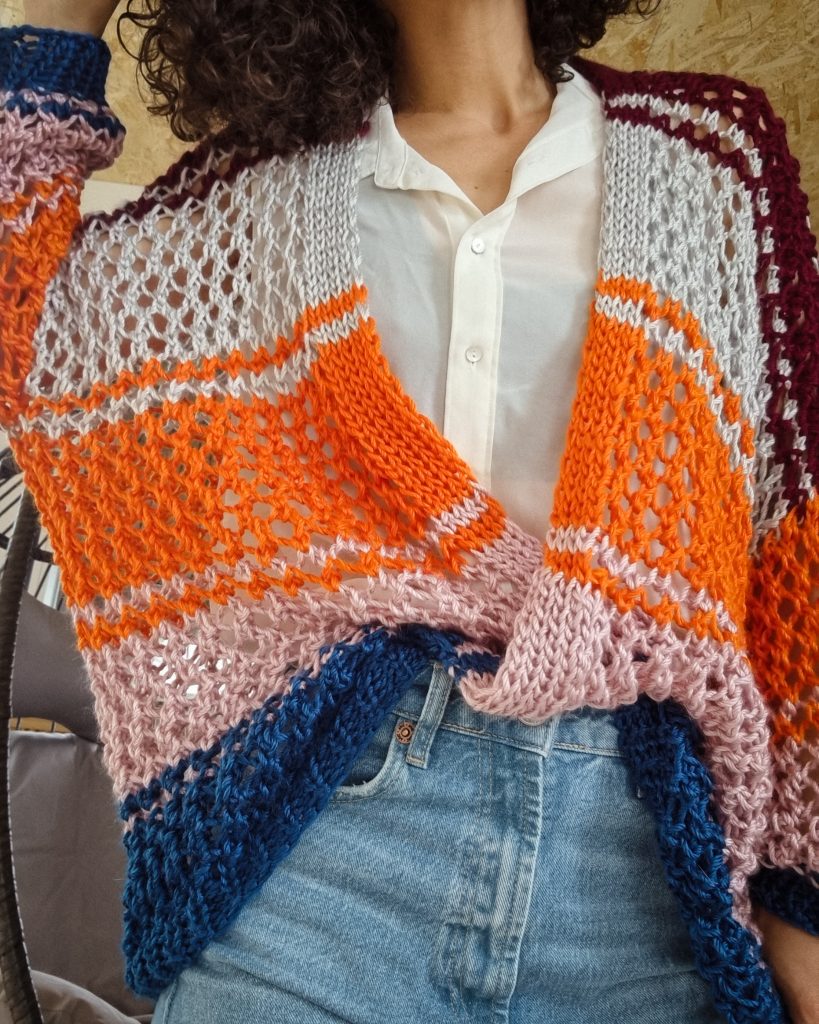
I started this Rayee Cardigan as a backup project to have it on hand when I need a break from my other projects. I always had and have something like this, usually a knitting one.
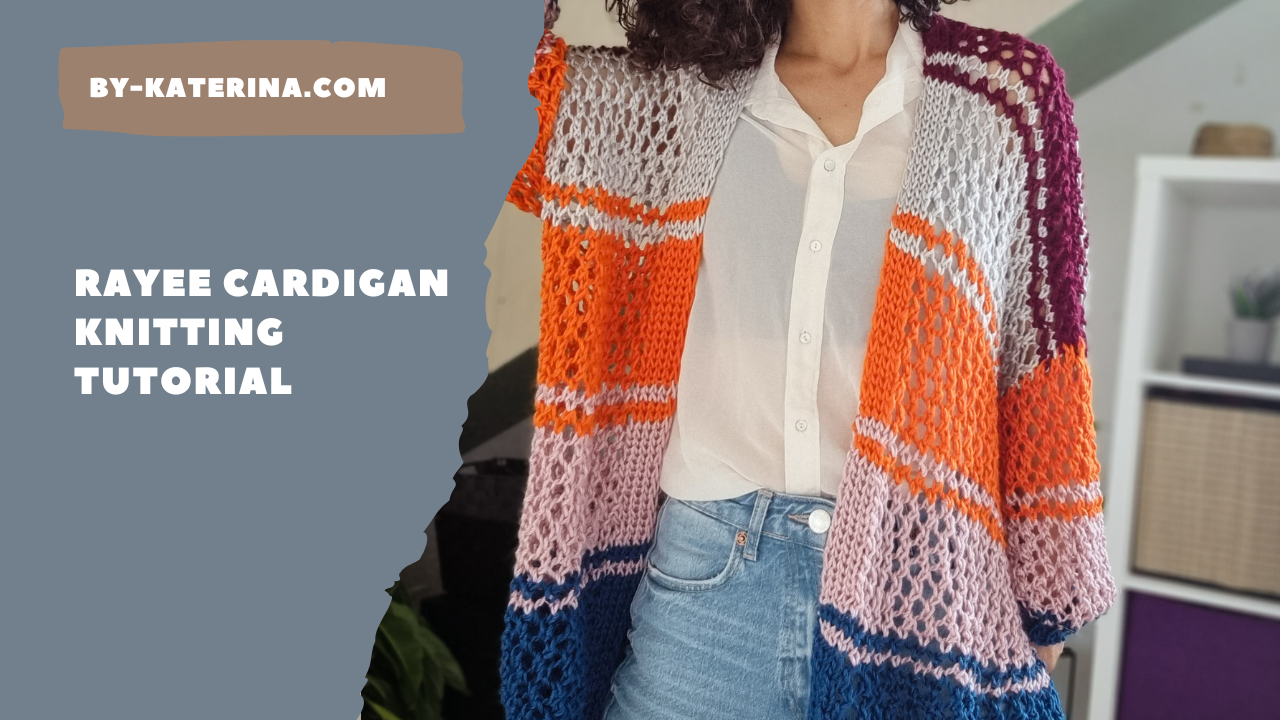
It’s funny that I never think about these projects as a future pattern; everything is so relaxing. But, when I posted about this Rayee Cardigan on Social Media, you asked for the pattern, so here I am. The challenge was also to make a video tutorial. And because I didn’t want to make another full-size cardigan, I went for a smaller version for my daughter. I hope the video tutorial and this written pattern will help you make your own Rayee Cardigan.
I wanted to use some of the single-color skeins I had in my stash with this project, and color blocks or stripes were perfect.
You can purchase the easily printable PDF version of this pattern here:
This post contains affiliate links. By purchasing from this page, I may receive some commissions. This won’t cost you anything, no additional costs for you, as the merchant pays the commission.
In this way, you support me, and I will be highly grateful.
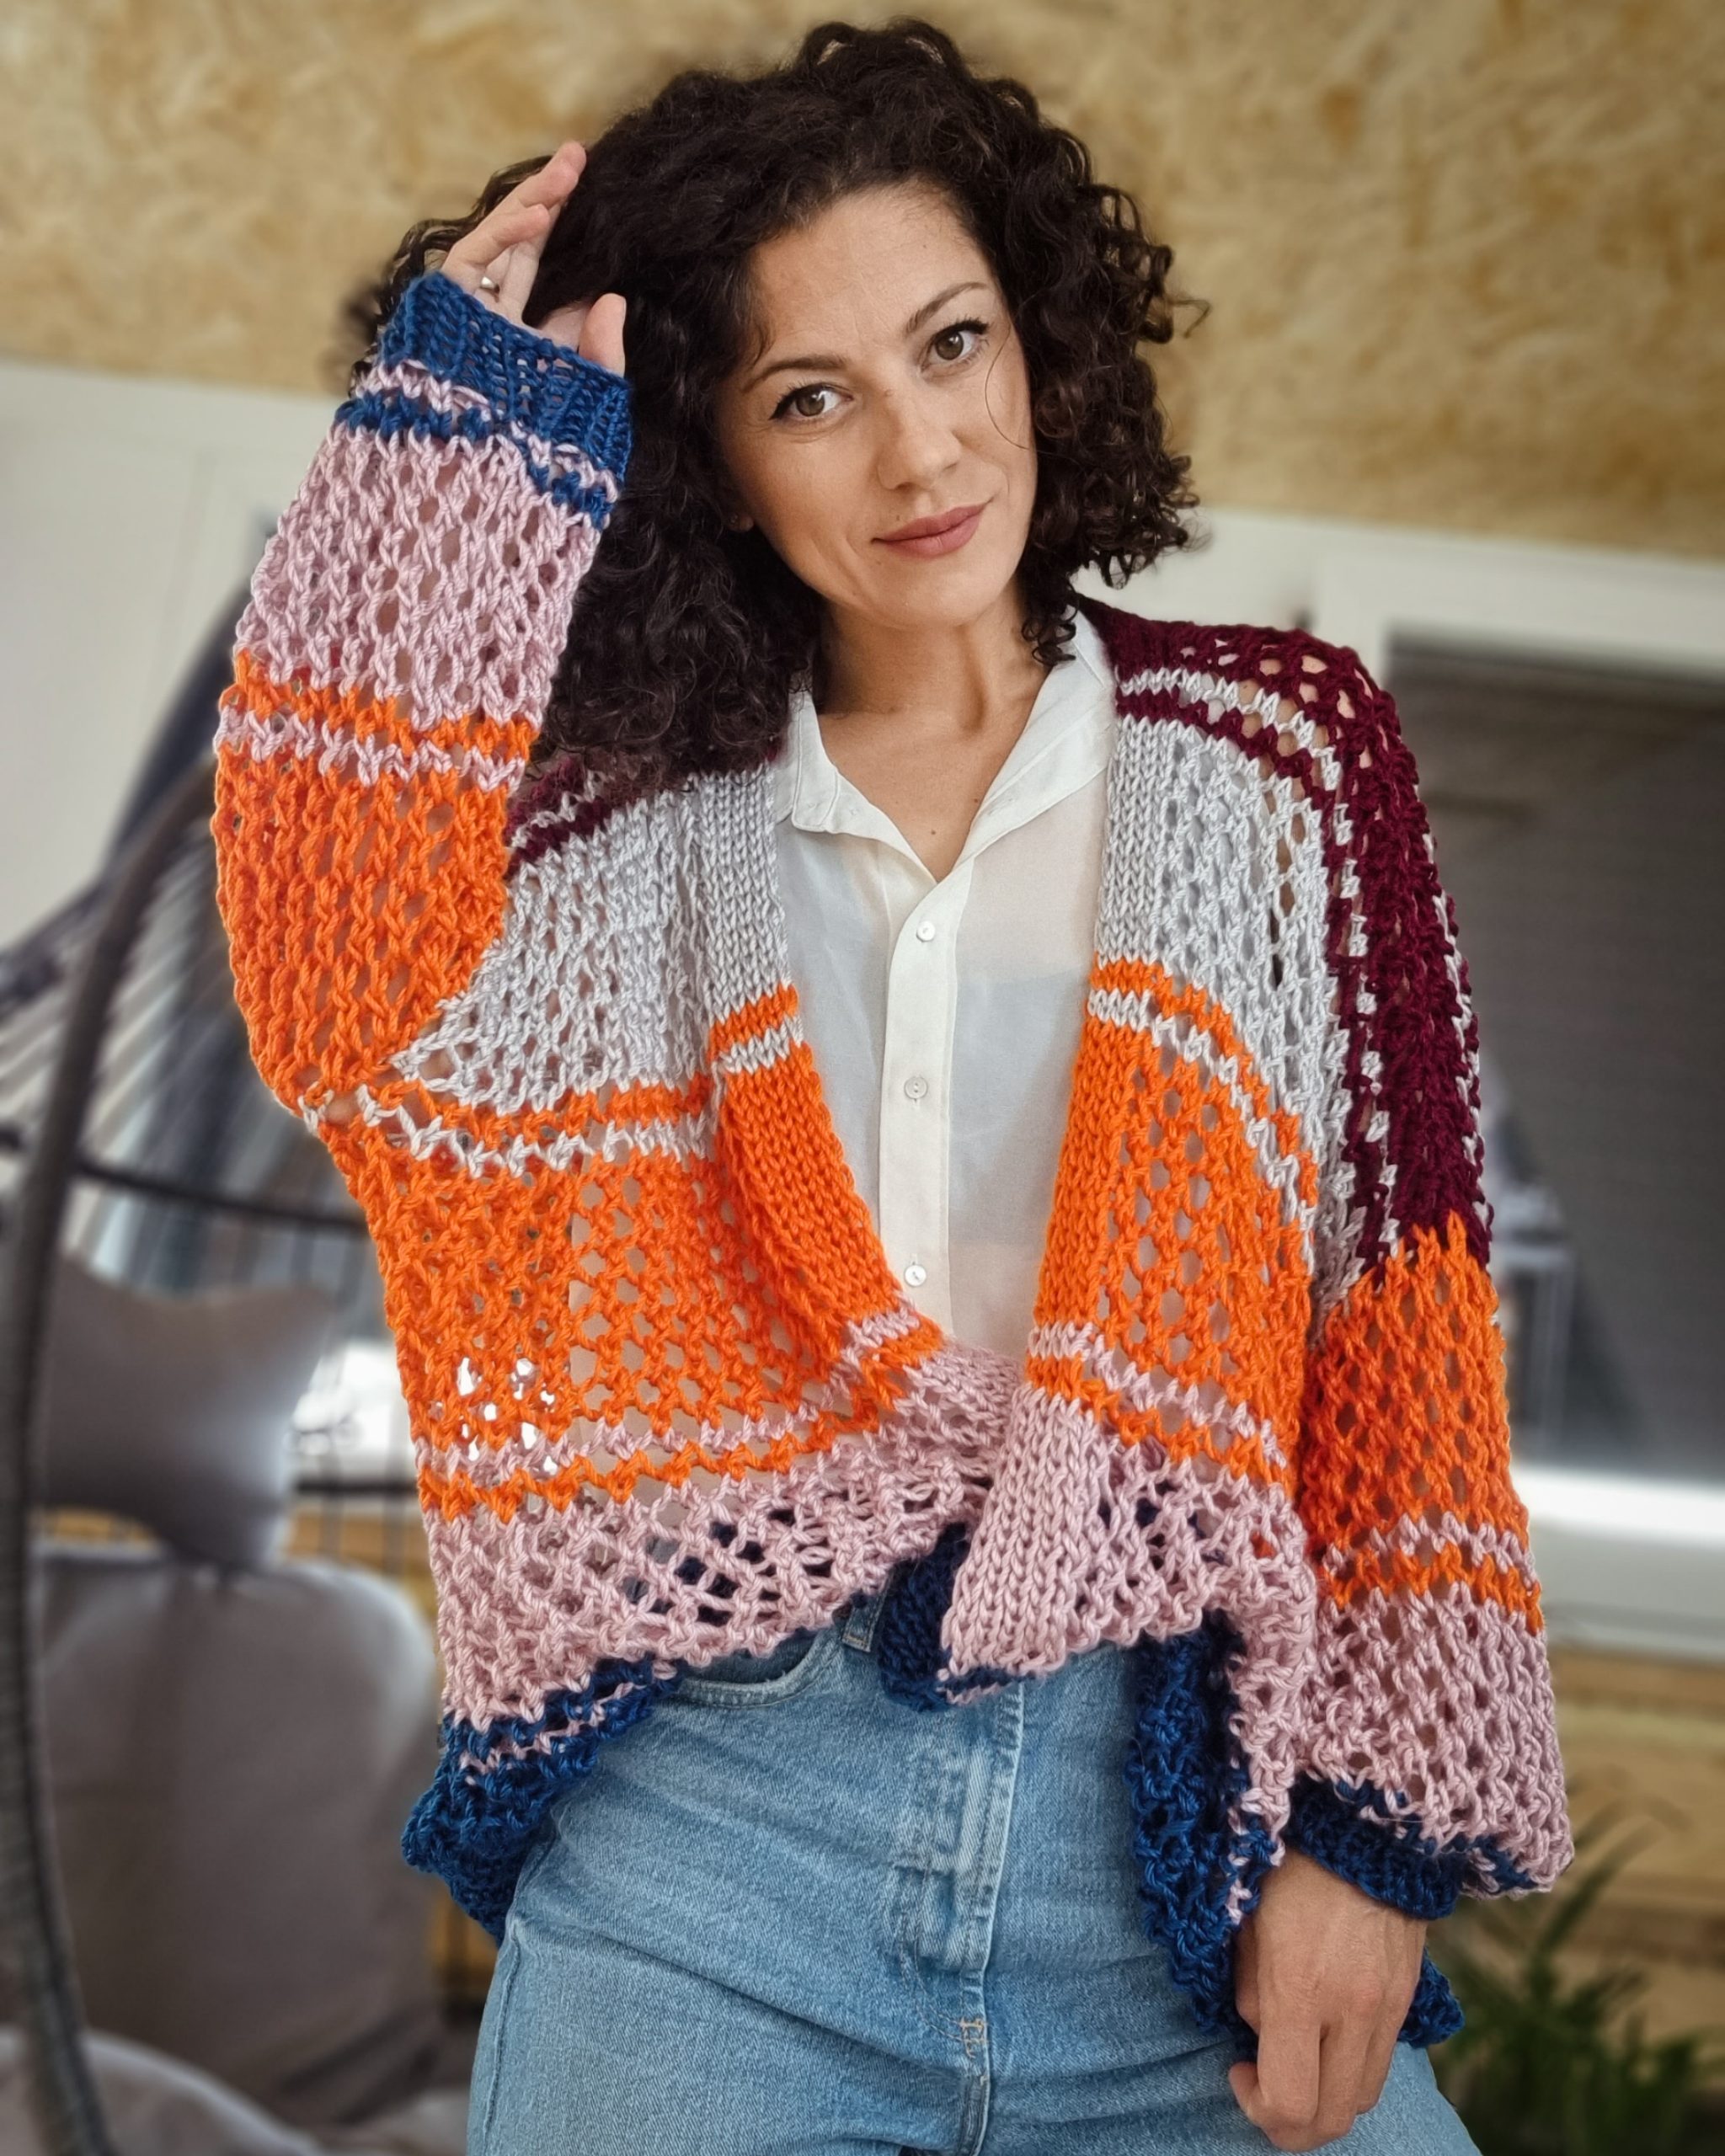
So. let’s see what we need and how to make this Rayee Cardigan.
MATERIALS
• Yarn: Medium weight yarn, size 4, worsted, heavy worsted, aran
• Knitting Needles
o 8 mm cable needles (80 cm cable, or more)
• 8 mm cable needle short (40 cm length counting the hands and the cable) or double pointed needles or you can use another method to work short circumference like loop method)
• optional 8 mm crochet hook for binding off and assembling (you can also choose to join the shoulders differently.
• yarn needle for weaving in ends
• Stitch markers
• Scissors
NOTES ABOUT DESIGN
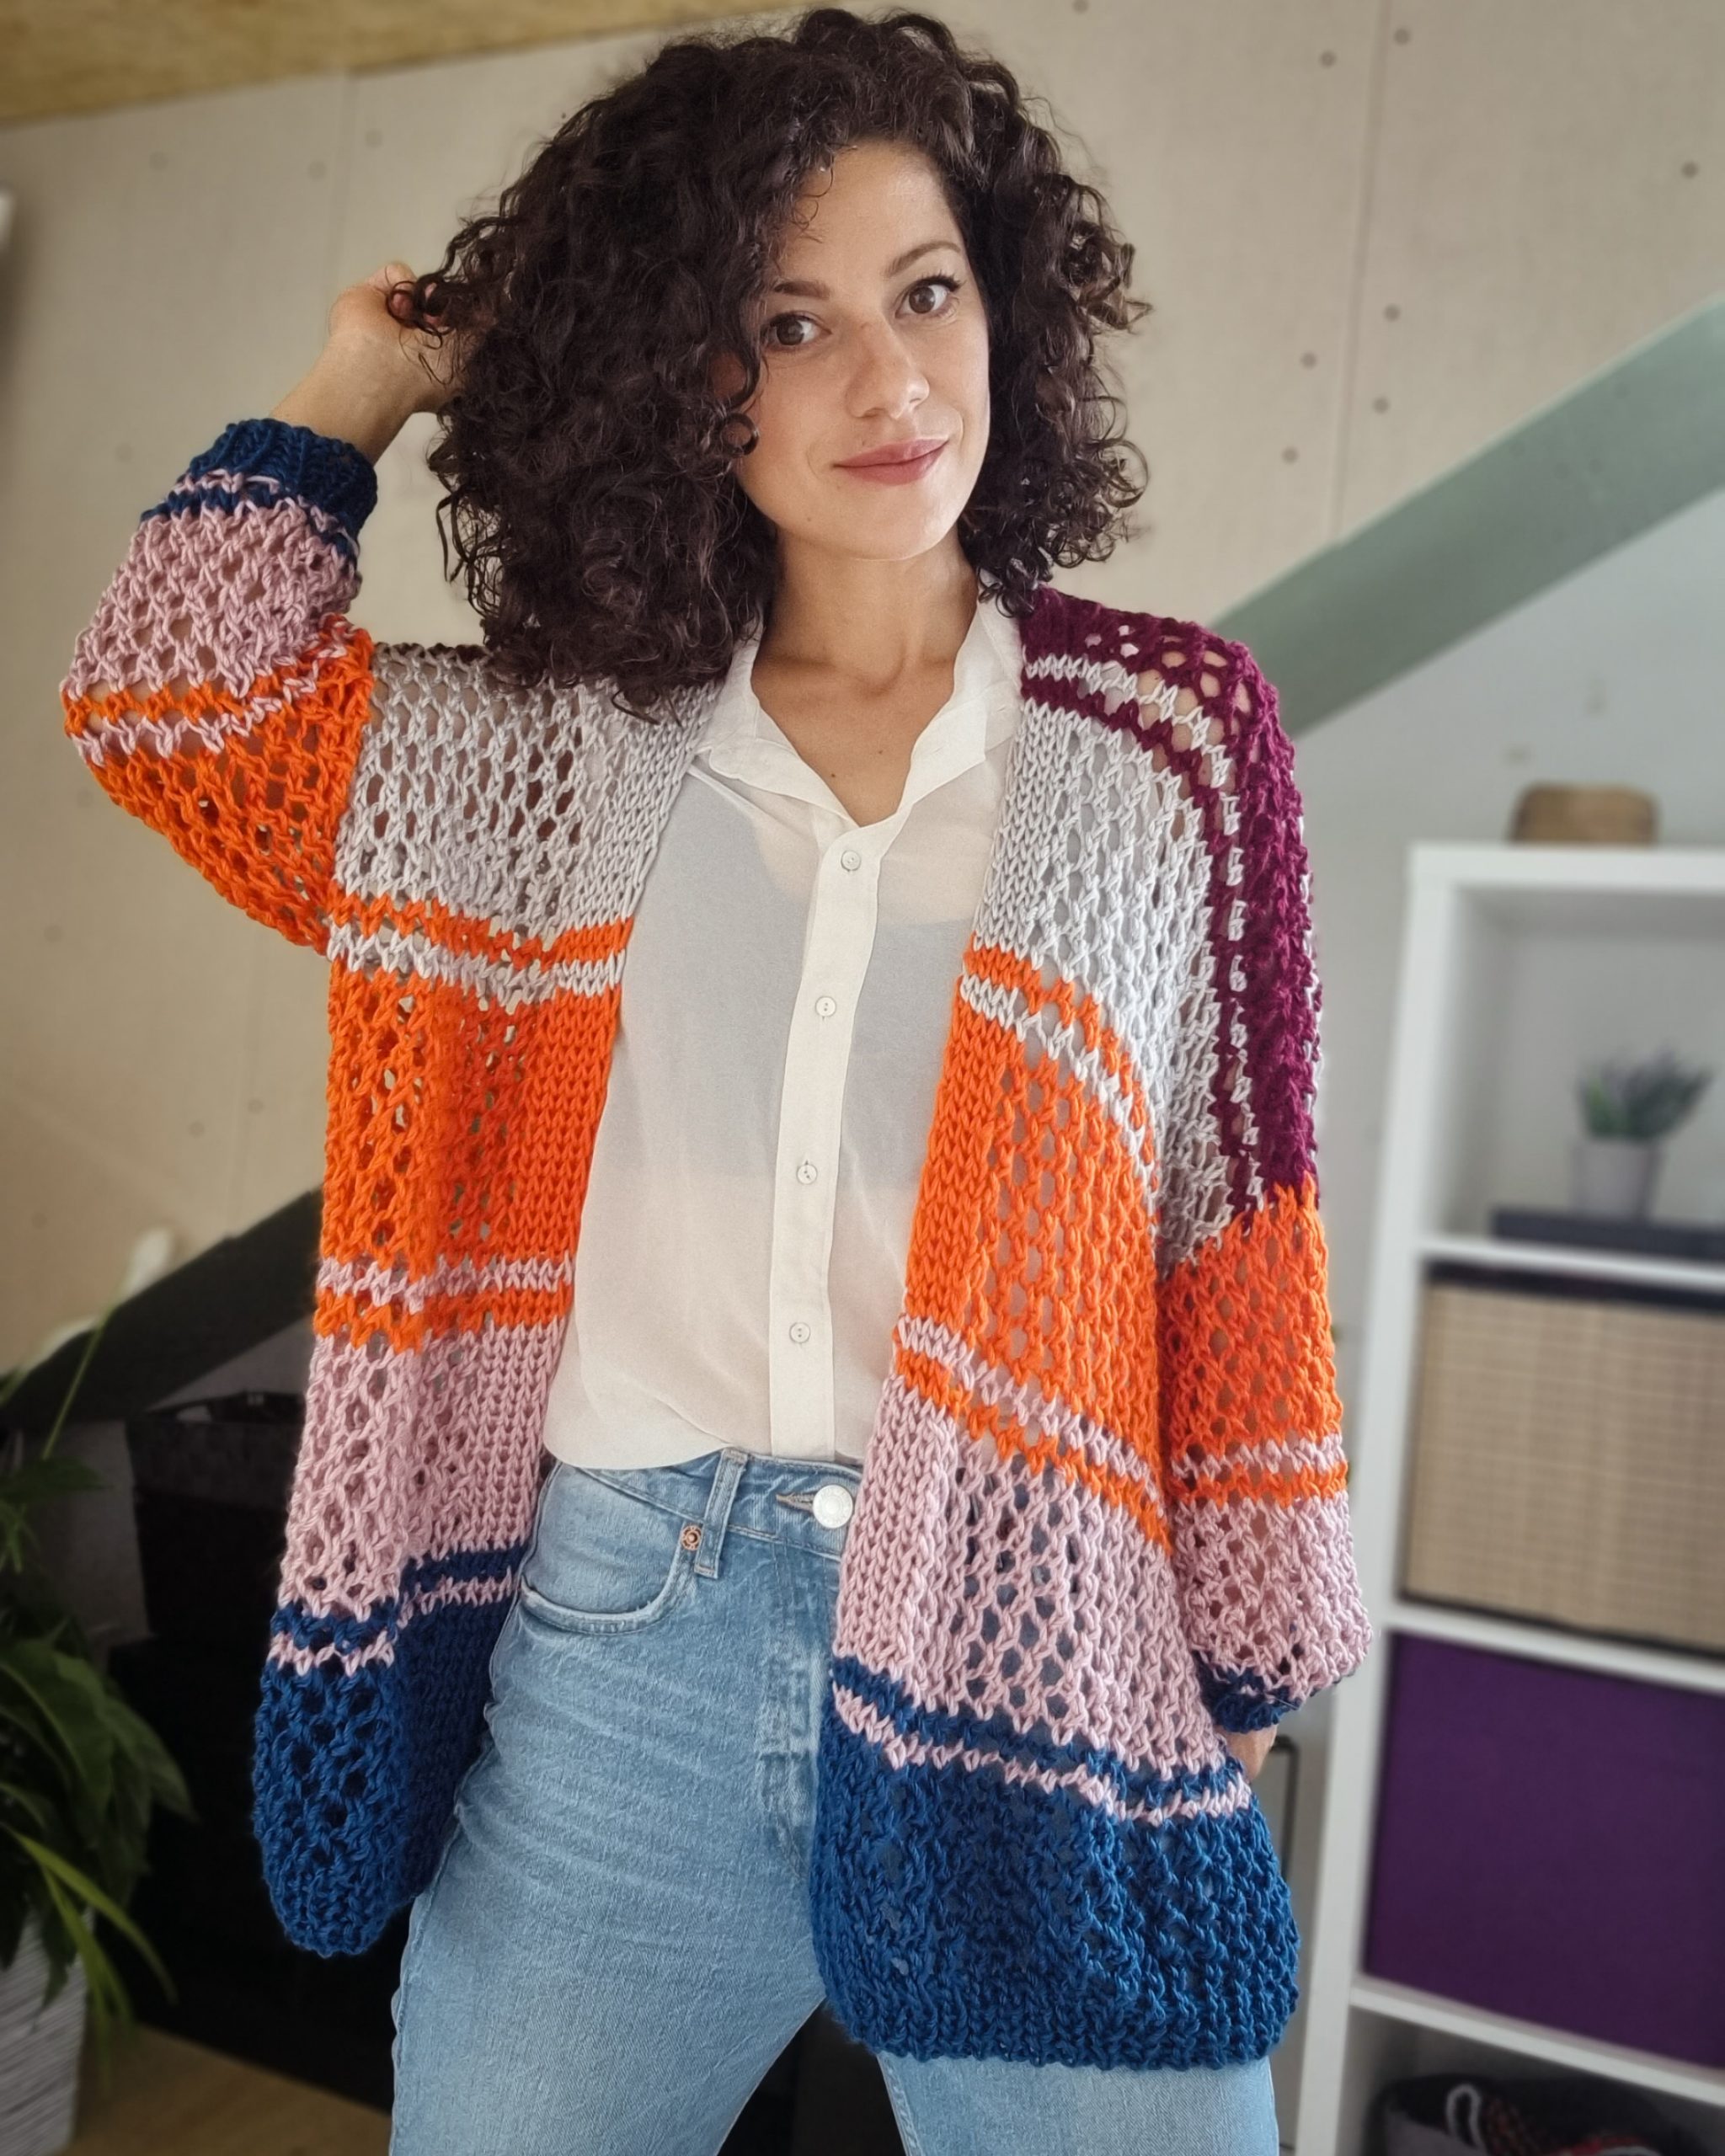
The Rayee Cardigan has a classic drop-shoulder design with an oversized fit with a positive ease of about 41 cm around the bust circumference.
The front and back panels are worked together up to the armpit. Then split the entire piece into front and back panels which are worked individually.
After finishing the entire piece, pick up the stitches from the armhole and work the sleeves.
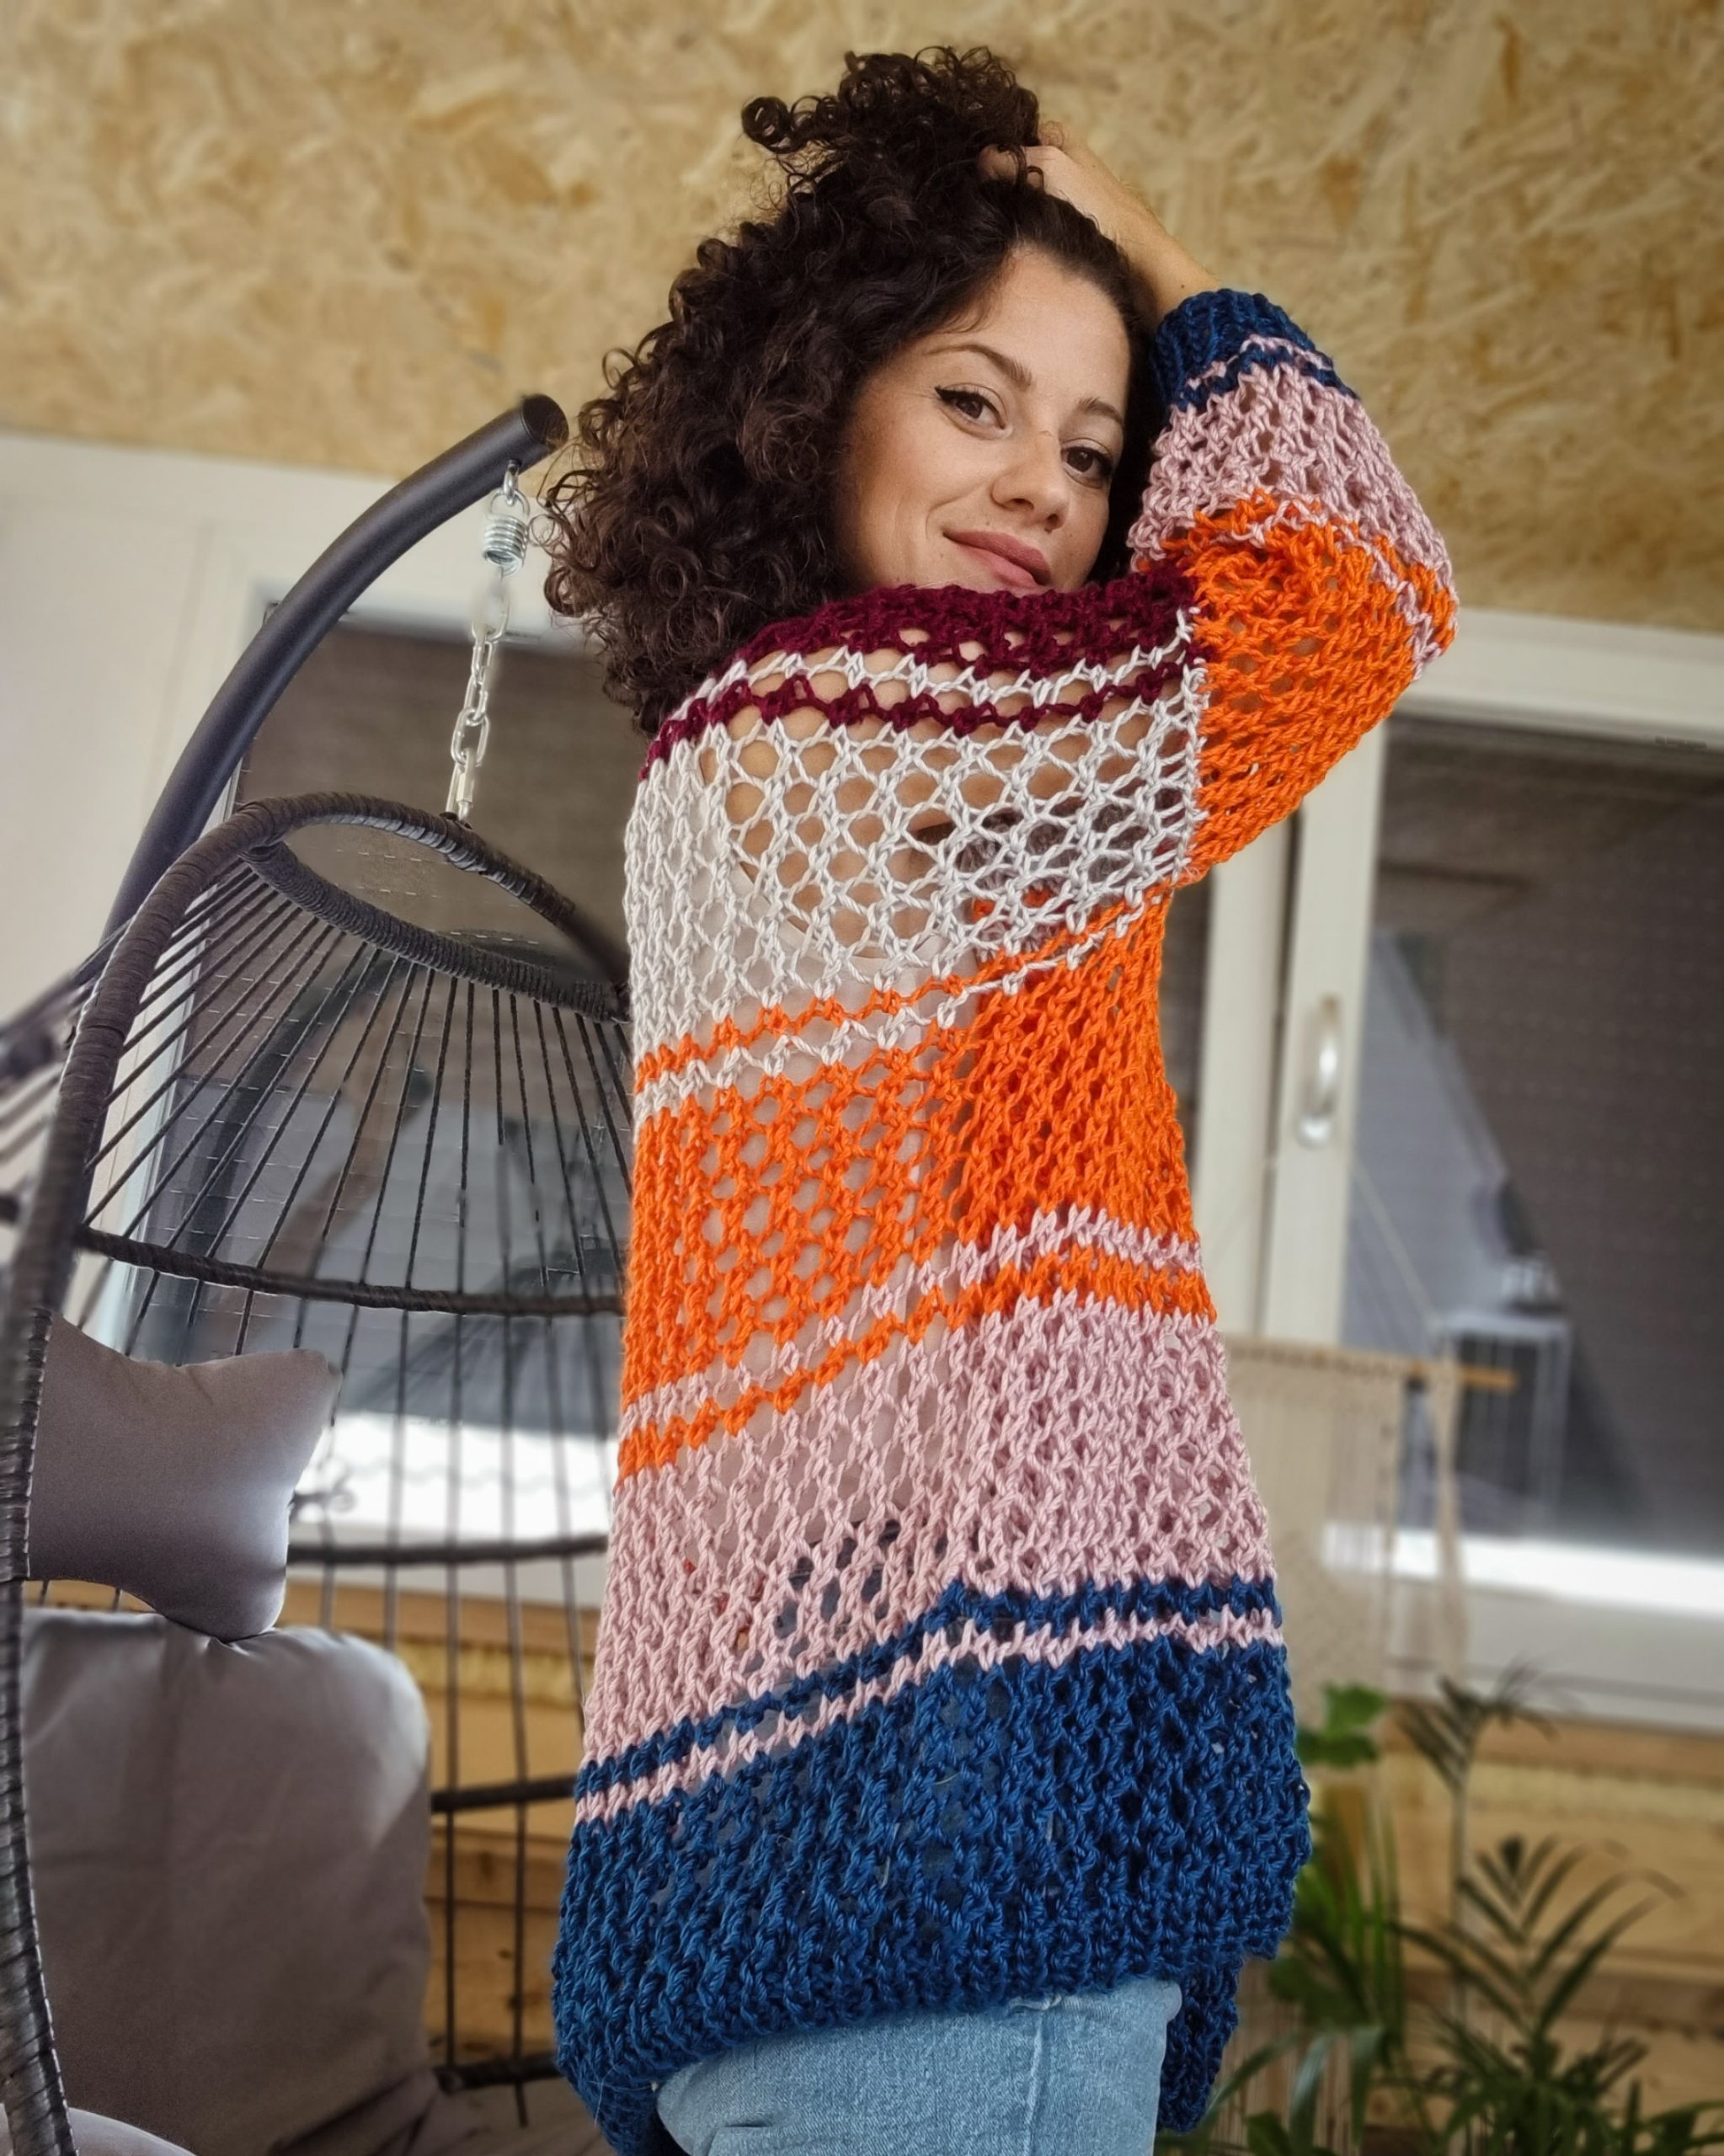
The cardigan is worked in a stripe pattern, but it can also be worked in one single color. Also, the number of rows for each color block can be adjusted as we want or need.

MEASUREMENTS AND SIZES
The Rayee Cardigan is available in 9 sizes, from XS to 5X Large. The model is 168 cm tall, with an 88 cm Bust circumference, and wears a size Small.
The numbers are written below as follows: XS (S, M, L) (XL, 2XL, 3XL, 4XL, 5XL); the US sizes 0/2 (4/6, 8/10, 12/14) (14/16W, 18/20W, 22/24W, 26/28W, 30/32W)
All the measurements use as reference Standard Body Measurements by ASTM International.
Bust width a: 61.5 cm (64.5, 67, 70.5) (74, 79, 84, 89, 94)
Armhole depth b: 18 cm (19, 19, 21) (22, 22, 23, 24, 26)
Sleeve Length c: 30 cm (29, 29, 29) (28, 28, 29, 29, 30)
Length d: 56.5 cm (56.5, 56.5, 56.5) (57.5, 57.5, 58.5, 58.5, 58.5)
How much yarn do you need?
I used for my sample Wander Acrylic Yarn by Furls Crochet. Each skein has 100 grams and approximately 109 meters / 120 yds. I used 5 colors: Laguna, Campfire, Moonbeam, Aurora, Velvet
For each size, you will approximately need:
Laguna (blue): 98 meters (102, 106, 112) (118, 125, 136, 142, 153)
Aurora (Pink): 94 meters (98, 102, 107) (113, 119, 129, 137, 145)
Campfire (orange): 94 meters (98, 102, 107) (113, 119, 129, 137, 145)
Moonbeam (Grey): 84 meters (88, 91, 96) (102, 107, 116, 123, 131)
Velvet (Burgundy): 32 meters (33, 35, 36) (39, 41, 44, 46, 50)
In total: 402 meters (416, 434, 457) (482, 510, 552, 583, 623)
You can purchase the easily printable PDF version of this pattern here:
ABBREVIATIONS
k – knit
p – purl
k2tog – knit two together
yo – yarn over
s – slip purlwise
R – rows
** – repeated section.
TENSION
Using 8 mm needles:
in eyelet stitch pattern
11 sts = 10 cm
16 rows = 10cm
in stockinette stitch pattern
12 sts = 10 cm
15 rows = 10 cm
You can purchase the easily printable PDF version of this pattern here:
STITCH PATTERN AND TECHNIQUES
The entire cardigan is worked in a mesh (eyelet) stitch pattern with a knit 1, purl 1 ribbing.
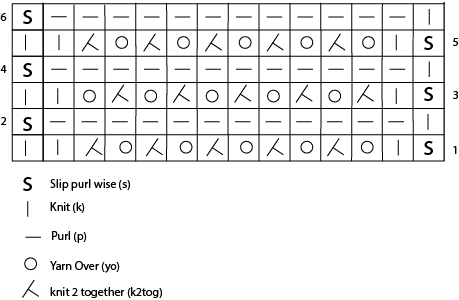
*The stitch pattern above shows the main stitch pattern, the eyelet stitch pattern. Consider that for the Rayee Cardigan, the repeated section will be the same, only that we will work within the same row, the side ribbings.
PATTERN NOTES
- The stitch pattern requires a multiple of 2sts.
- Always slip purlwise the first st in a row and finish the row with a knit stitch.
- the front panels ribbing is worked in the same row
- if you want to adjust the pattern (number of sts or rows), keep a multiple of 2 sts and a multiple of 4 rows to be easier to follow the pattern along
- Use any method you like for casting on and binding off.

You can purchase the easily printable PDF version of this pattern here:
INSTRUCTIONS
The instructions below are written without color change. The color pattern I used for the sample was:
16 rows with color A
2 rows with color B
2 rows with color A
repeat this pattern; color A will be color B and color B will be color C, and so on
I worked only 6 rows for the last color to complete the length.
LENGTH TO THE ARMPIT
Cast on 138 (142,148, 156) (164, 174, 186, 196, 208)
R1: k1, p1 until the end of the row.
R2-R8: rep. R1
R9: s1, (k1, p1) 7sts, * k2tog, yo. *Rep. until you have 8sts left, (p1, k1) 8sts;
R10: s1, (k1, p1) 7sts, p all sts until you have 8sts left, (p1, k1) 8sts;
R11(rs): s1, (k1, p1) 7sts, * yo, k2tog, . *Rep. until you have 8sts left, (p1, k1) 8sts;
R12: rep. R10
Rep. R9 – R12 until you have in total:
56 (56, 56, 56) (56, 52, 52, 52, 50) rows.
*if you want to adjust the length, work as many rows as you wish on this section, but keep a multiple of 4 rows.
DIVIDE FOR BACK AND FRONT PANELS
use stitch markers and mark the stitches for the left front panel, back panel, and right front panel as follows:
XS: 35, 68, 35 sts
S: 35, 70, 35 sts
M: 37, 74, 37 sts
L: 39, 78, 39 sts
XL: 41, 82, 41 sts
XXL: 43, 88, 43 sts
3XL: 47, 92, 47 sts
4XL: 49, 98, 49 sts
5XL: 53, 102, 53 sts
You can purchase the easily printable PDF version of this pattern here:
RIGHT FRONT PANEL
R1: s1, (k1, p1) 7sts, *k2tog, yo; *rep. until you have 1sts left, k1
R2: p all sts until you have 8sts left, (p1, k1) 8sts
R3: s1, (k1, p1) 7sts, *yo, k2tog; *rep. until you have 1sts left, k1
R4: rep R2
Rep. R1 – R4 until you have: 28 (30, 30, 34) (34, 36, 38, 40, 42) rows.
Put all the sts on hold;
BACK PANEL
R1: k1, *yo, k2tog; *rep. until you have 1sts left, k1
R2: p all sts
R3: k1, *k2tog, yo; *rep. until you have 1sts left, k1
R4: rep. R2
Rep. R1 – R4 until you have: 28 (30, 30, 34) (34, 36, 38, 40, 42) rows.
put all the sts of the back panel on hold.
LEFT FRONT PANEL
R1:k1,*k2tog, yo; *rep. until you have 8sts left, (p1, k1) 8sts;
R2: s1, (k1, p1) 7sts, p all sts
R3: k1,* yo, k2tog; *rep. until you have 8sts left, (p1, k1) 8sts;
R4:rep. R2
Rep. R1 – R4 until you have: 28 (30, 30, 34) (34, 36, 38, 40, 42) rows.
keep the sts on the needles and cut the yarn;
ASSEMBLING SHOULDERS
Use any method you want to join the back panel with the front panels;
below you will find the steps I followed:
Joining the left front panel
- lay your work on the right side;
- the Left Front Panel you just finished should be on your left with the sts on the right needle
- take the left needle and pick up the sts for the back panel from right to left; the point of the needle should be at the armhole next to the other needle;
- overlap the front panel over the back panels, with the needles pointing to the right;
- use an 8mm crochet hook;
Step 1: slip the first st from the front needle on the crochet hook;
Step 2: slip the first st from the back needle on the crochet hook and pass it through the st on the hook;
Step 3: slip the first st from the front needle on the crochet hook and pass it through the st on the hook;
Rep. Step 2 and 3 until you have only the sts for the ribbing left on the front panel needle (the one in front)
Next, continue working the ribbing for half of the neckline as follow:
Step 1: Pass the 8 sts you have on the left needle, on the right needle (the needle with the back panel sts; turn
Step 2: s1, follow the ribbing pattern until you have 5sts on the right needle; work the next st together with the next st of the back panel neckline; slip the next st of the back panel neckline on the right needle and turn.
Step 3: work the first 2sts together, then work the ribbing stitch pattern until the end of the row;
Rep. Steps 2 and 3 for 4 more rows;
Joining the right front panel
Half of the cardigan is now folded, and you have half of the back panel and the right front panel facing the wrong side.
- take the free needle and pick up the front panel sts from right to left; the needlepoint should be next to the armhole
- use the same method as on the other shoulder to join the back and front panel, except for the ribbing sts;
then work the neckline ribbing in the same way as for the opposite side until you complete all the sts of the back panel - join the ribbing using the same method as for the shoulder or any other method you will wish.
SLEEVES
Work the sleeves in the round using a smaller cord needle (20 cm), DPN needles, or the loop method.
You can also work the sleeves flat, but it will be difficult for the first few rows.
The color pattern for the sleeve is the same as for the body of the cardigan:
16 rows with color A
2 rows with color B
2 rows with color A
Pick the sts for the sleeve around the armhole edge as follows:
Pick 2 sts, through the first 2 side rows, and skip 1 row. In the end, you should have an even number of sts.
The pattern below is written for working in the round
R1: *k2tog, yo; *rep. until the end of the row
R2: k all sts
R3: *yo, k2tog; *rep. until the end of the round
R4: Rep. R2
Rep. R1 – R4 until you have in total:
42 (40, 40, 40) (40, 40, 40, 40, 42) rows.
Last row before cuffs:
*k2tog, k1. *rep. until the end of the row.
CUFFS
R1: *k1, p1; *rep. until the end of the row.
R2 – R8: rep R1
TO FINISH
Weave in all looser ends and block to measurements.
That was it!
You can find the video tutorial at the link below (click the image):
You can purchase the easily printable PDF version of this pattern here:


Comments are closed.