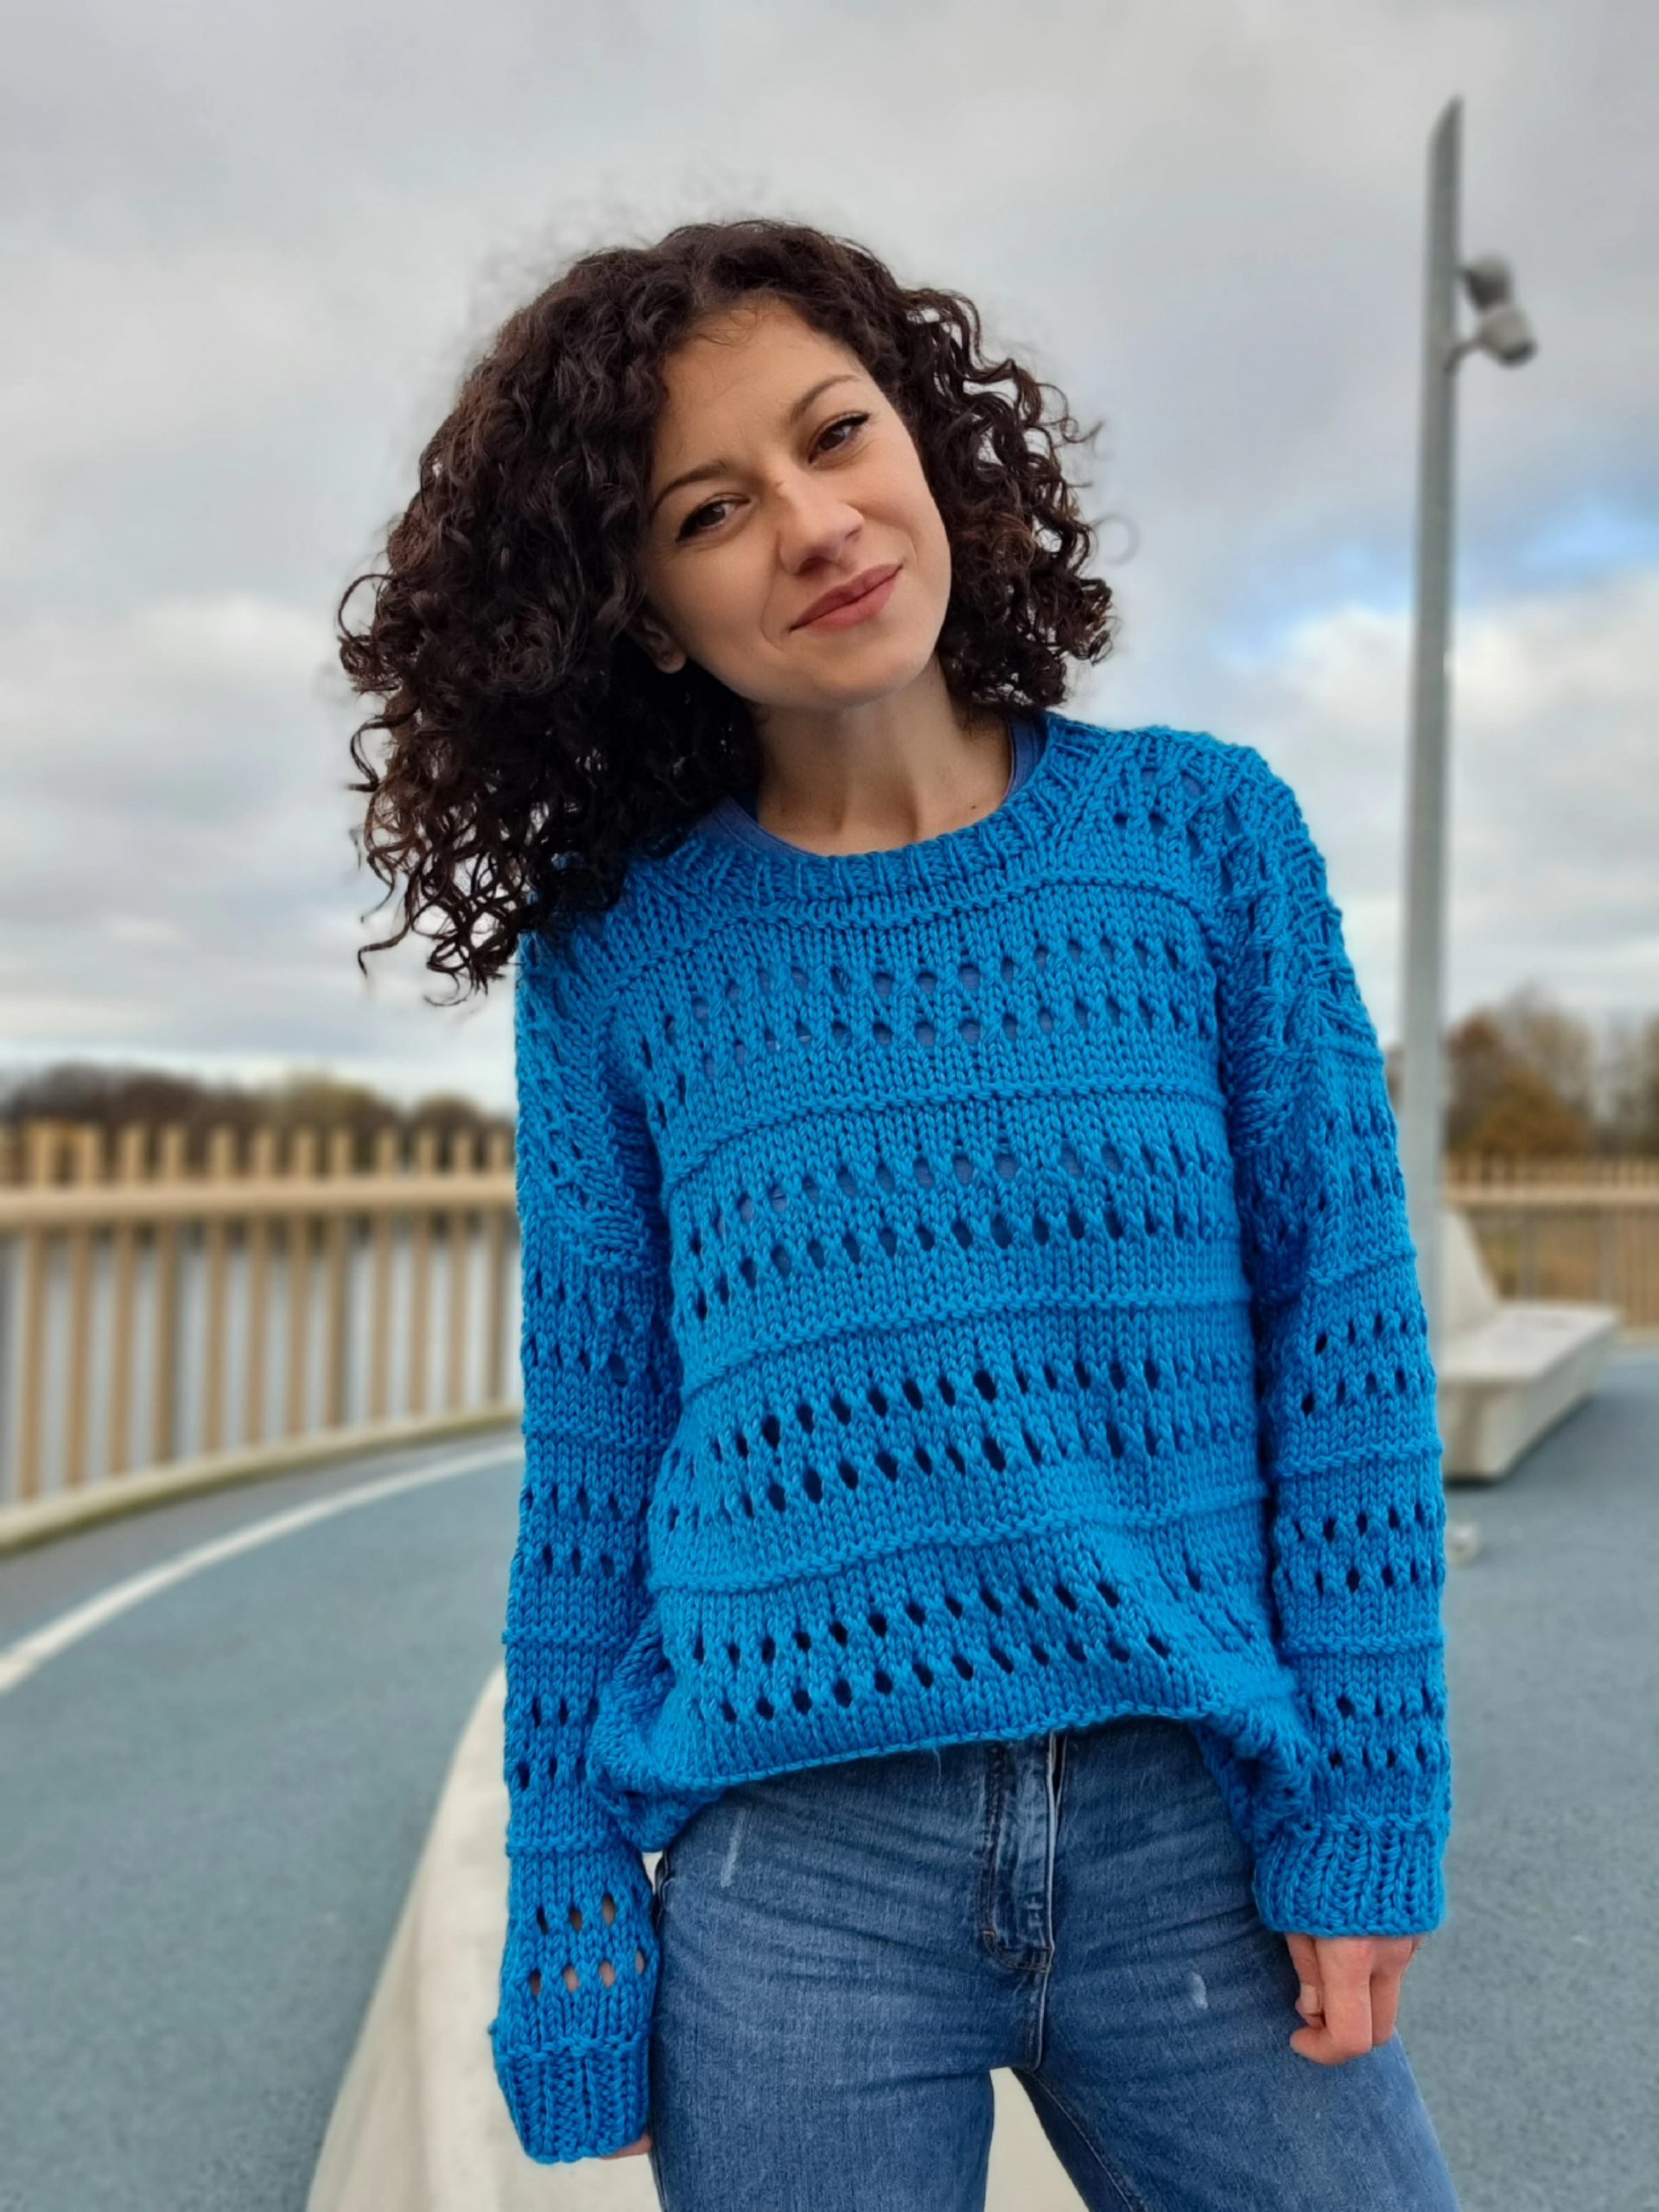
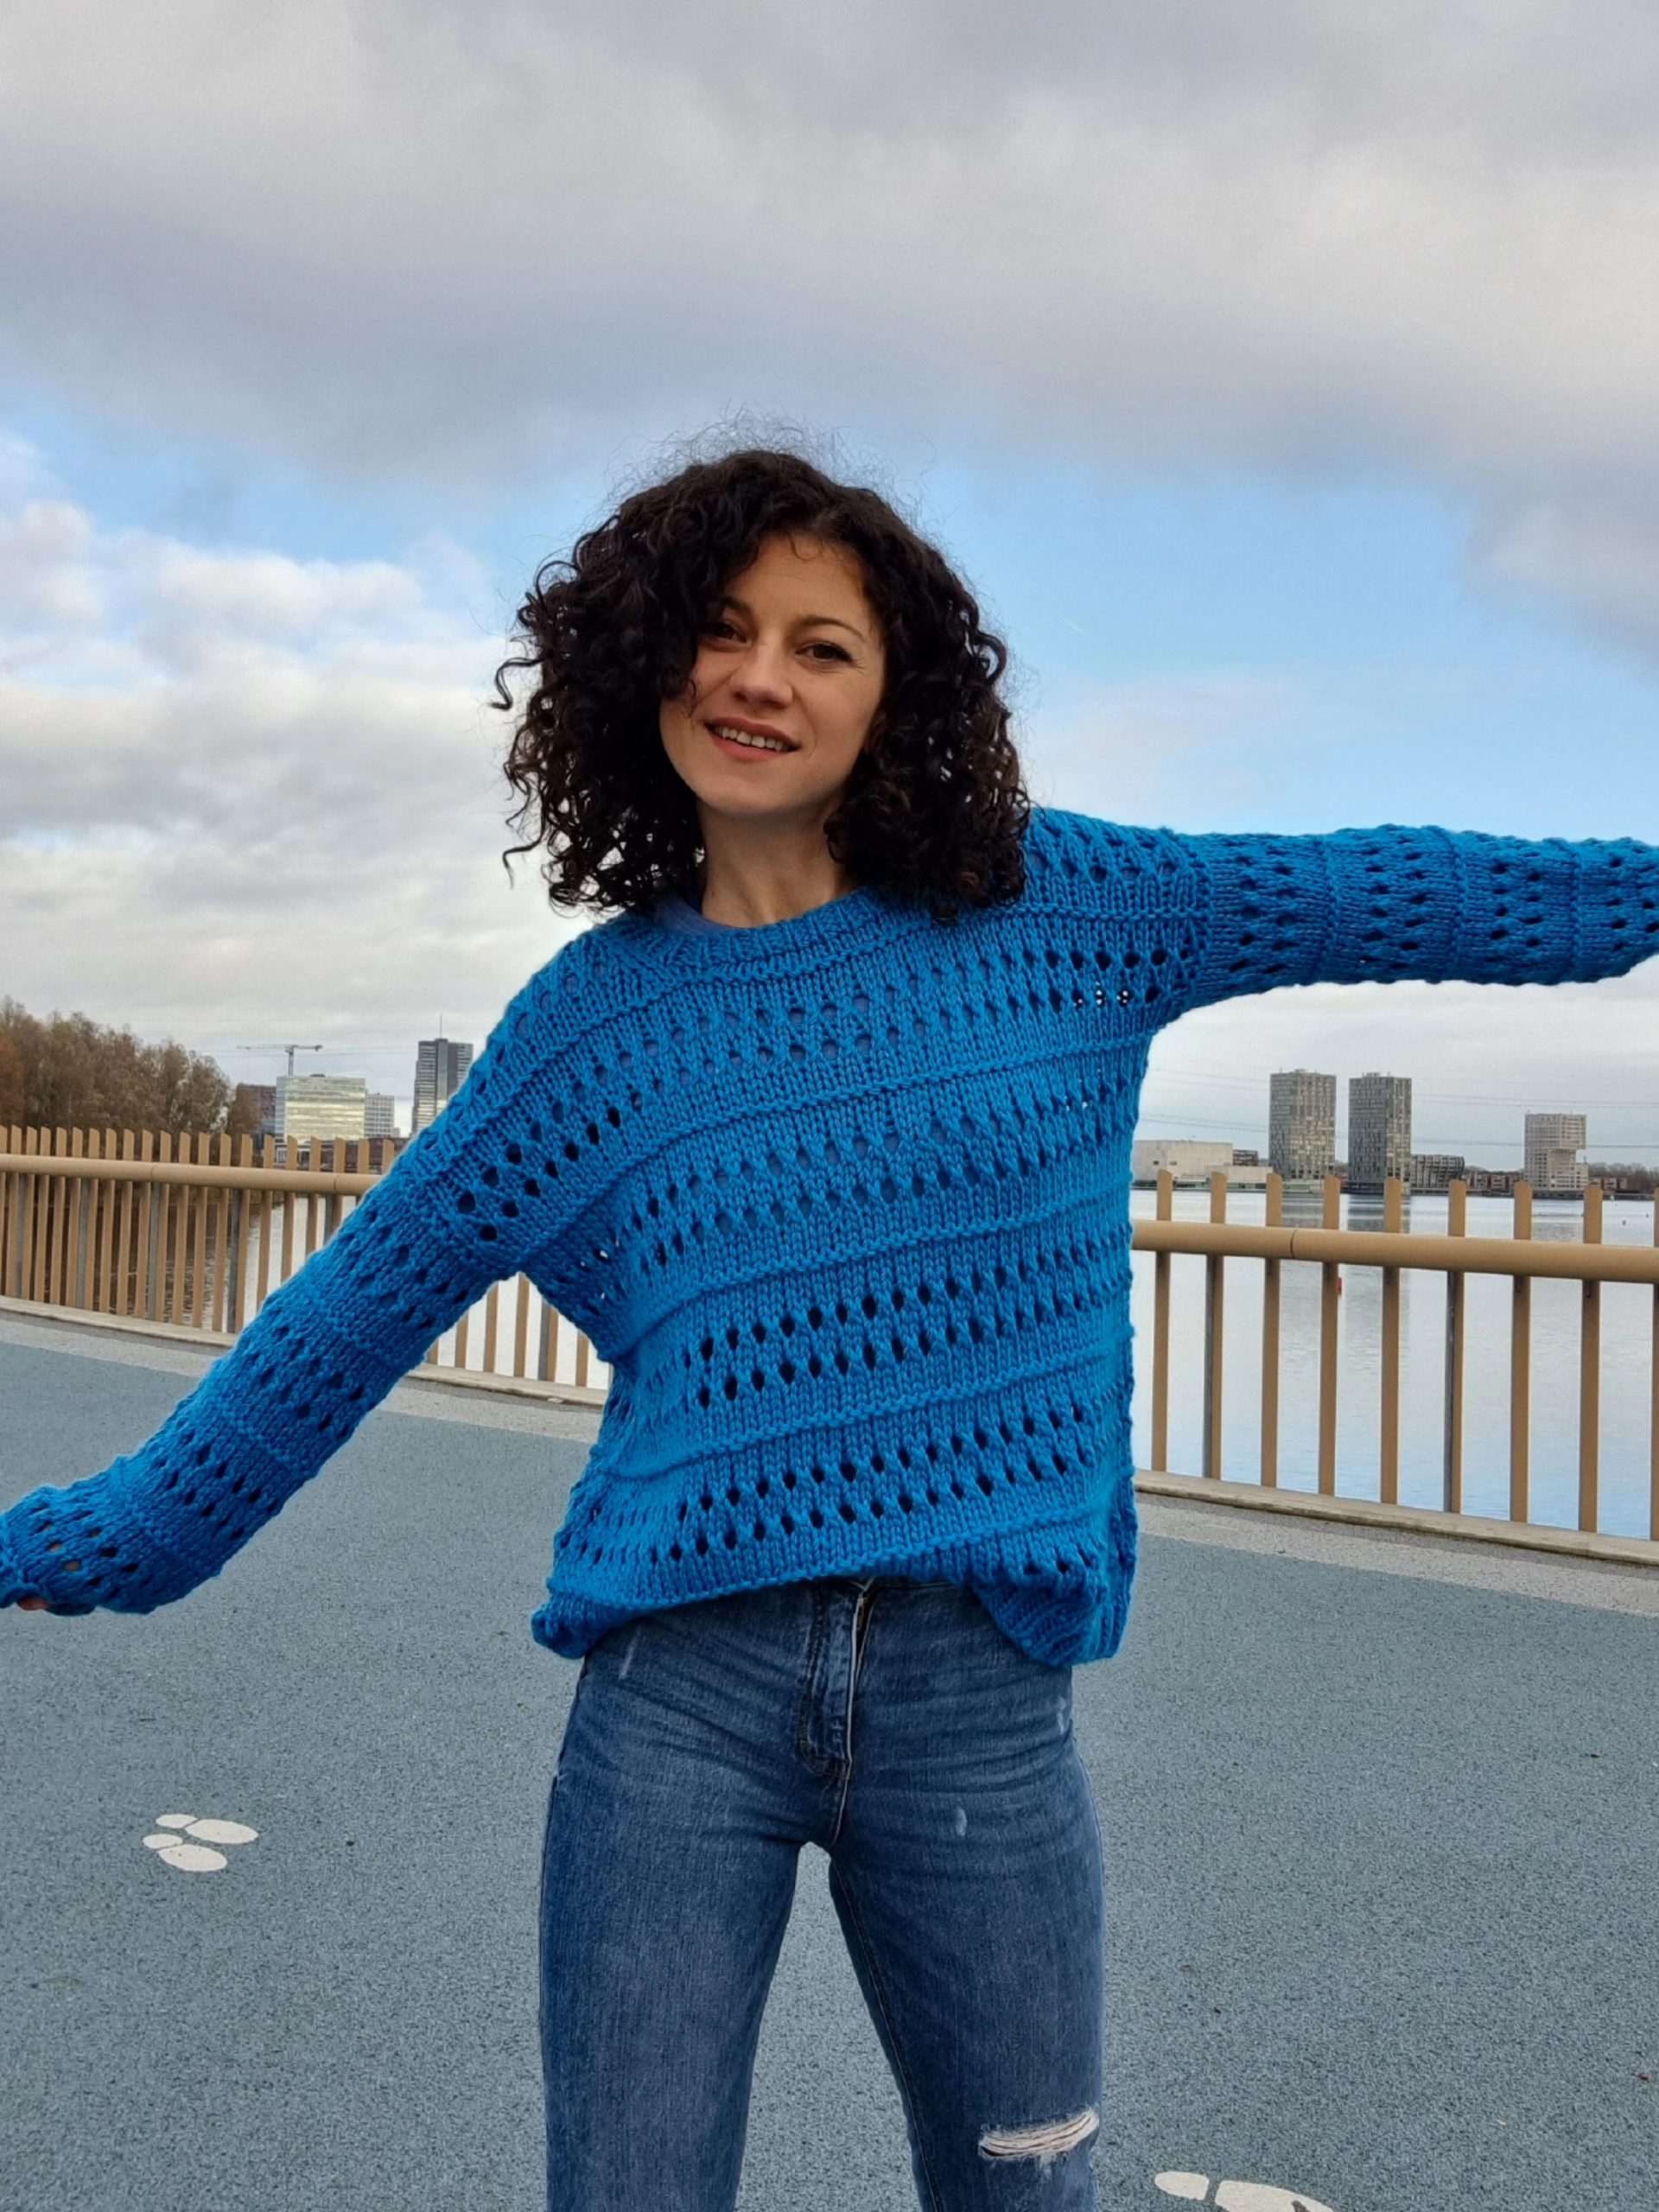
I am always saying that knitting for me is an escape. Most of the time, I crochet, but I always have at least one knitting project to work on when all the crochet stuff becomes overwhelming. And this is how Kleos Sweater was born.
I was inspired by the stitch pattern I used for the Sea Breeze Cover-Up knitting version, and I just used the same stitch pattern to make the Kleos Sweater. I loved it so much, and for a while, it was my favorite project to pick it up in the evenings. It was so relaxing to work on it. But it didn’t last too much because it’s a pretty fast project :), which I know is a good thing :).
When I chose the name for this sweater, I was inspired by the yarn name, which is Glory. It felt so “glorious” that I finished another knitting sweater, and I knew that needs to be something related :). After a short research, I found that “Kleos” from Greek is often translated as “glory,” and I liked it so much.
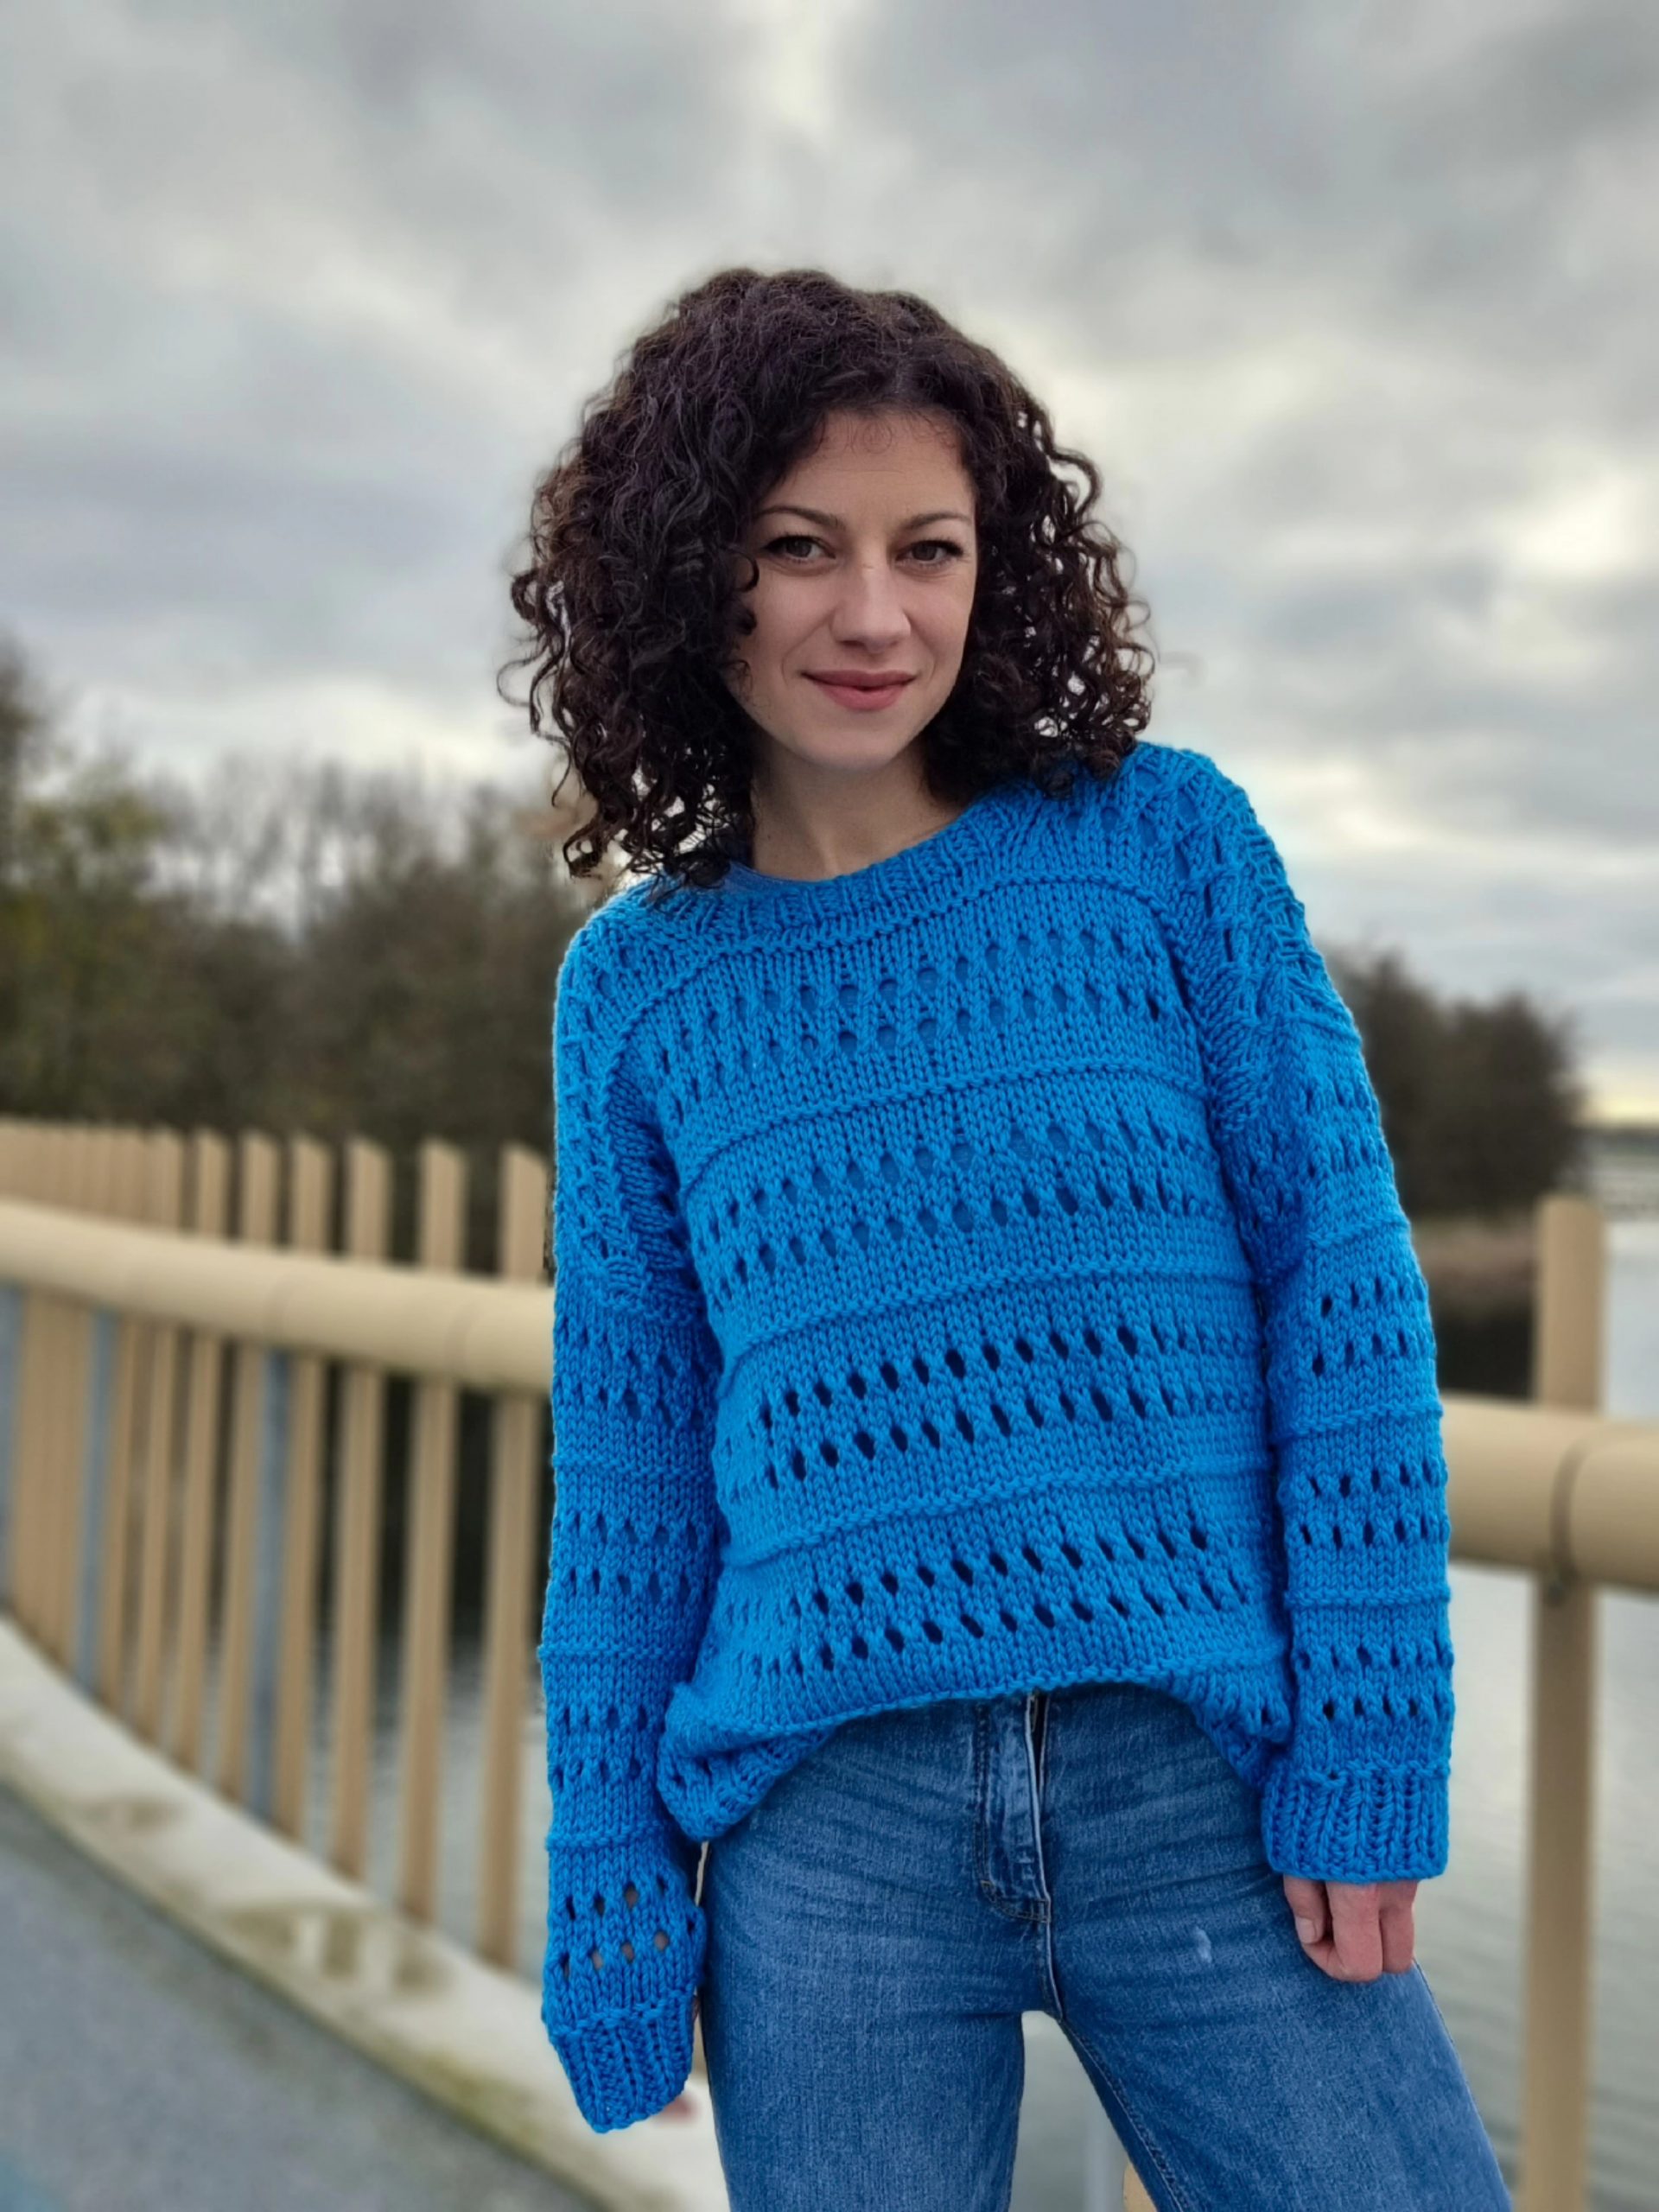
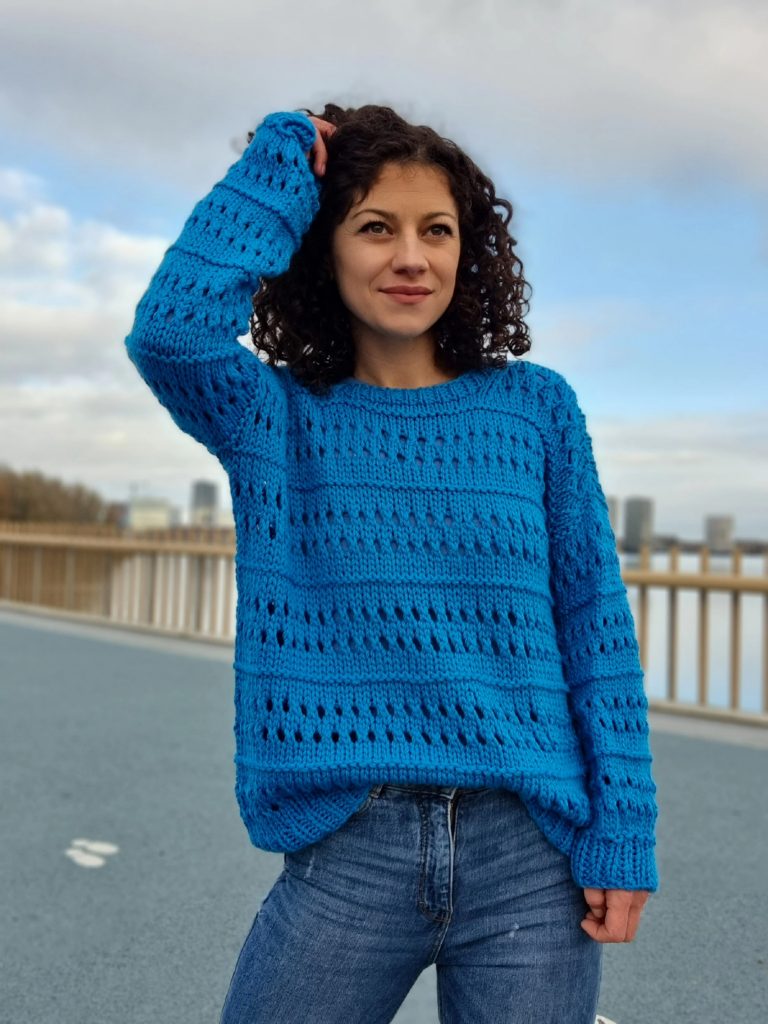
I don’t know what else to say about the Kleos Sweater except that it is one of my favorite sweaters to wear right now. But I think it’s also because I don’t have too many knitting sweaters :).
So, let’s jump into the best part of this post and see how to make the Kleos Sweater.
You can purchase the easily printable PDF version of this pattern here:
MATERIALS
Yarn: Bulky Weight Yarn (Size 5 )
Knitting Needles
o 8 mm circular needles (80 cm or more cord length)
o 8 mm small circular needles (40 cm cord length) or double pointed needles for the sleeves
• optional 8 mm crochet hook for binding off and assembling (you can also choose to join the shoulders differently).
• yarn needle for weaving in ends
• Stitch markers
• Scissors
NOTES ABOUT DESIGN
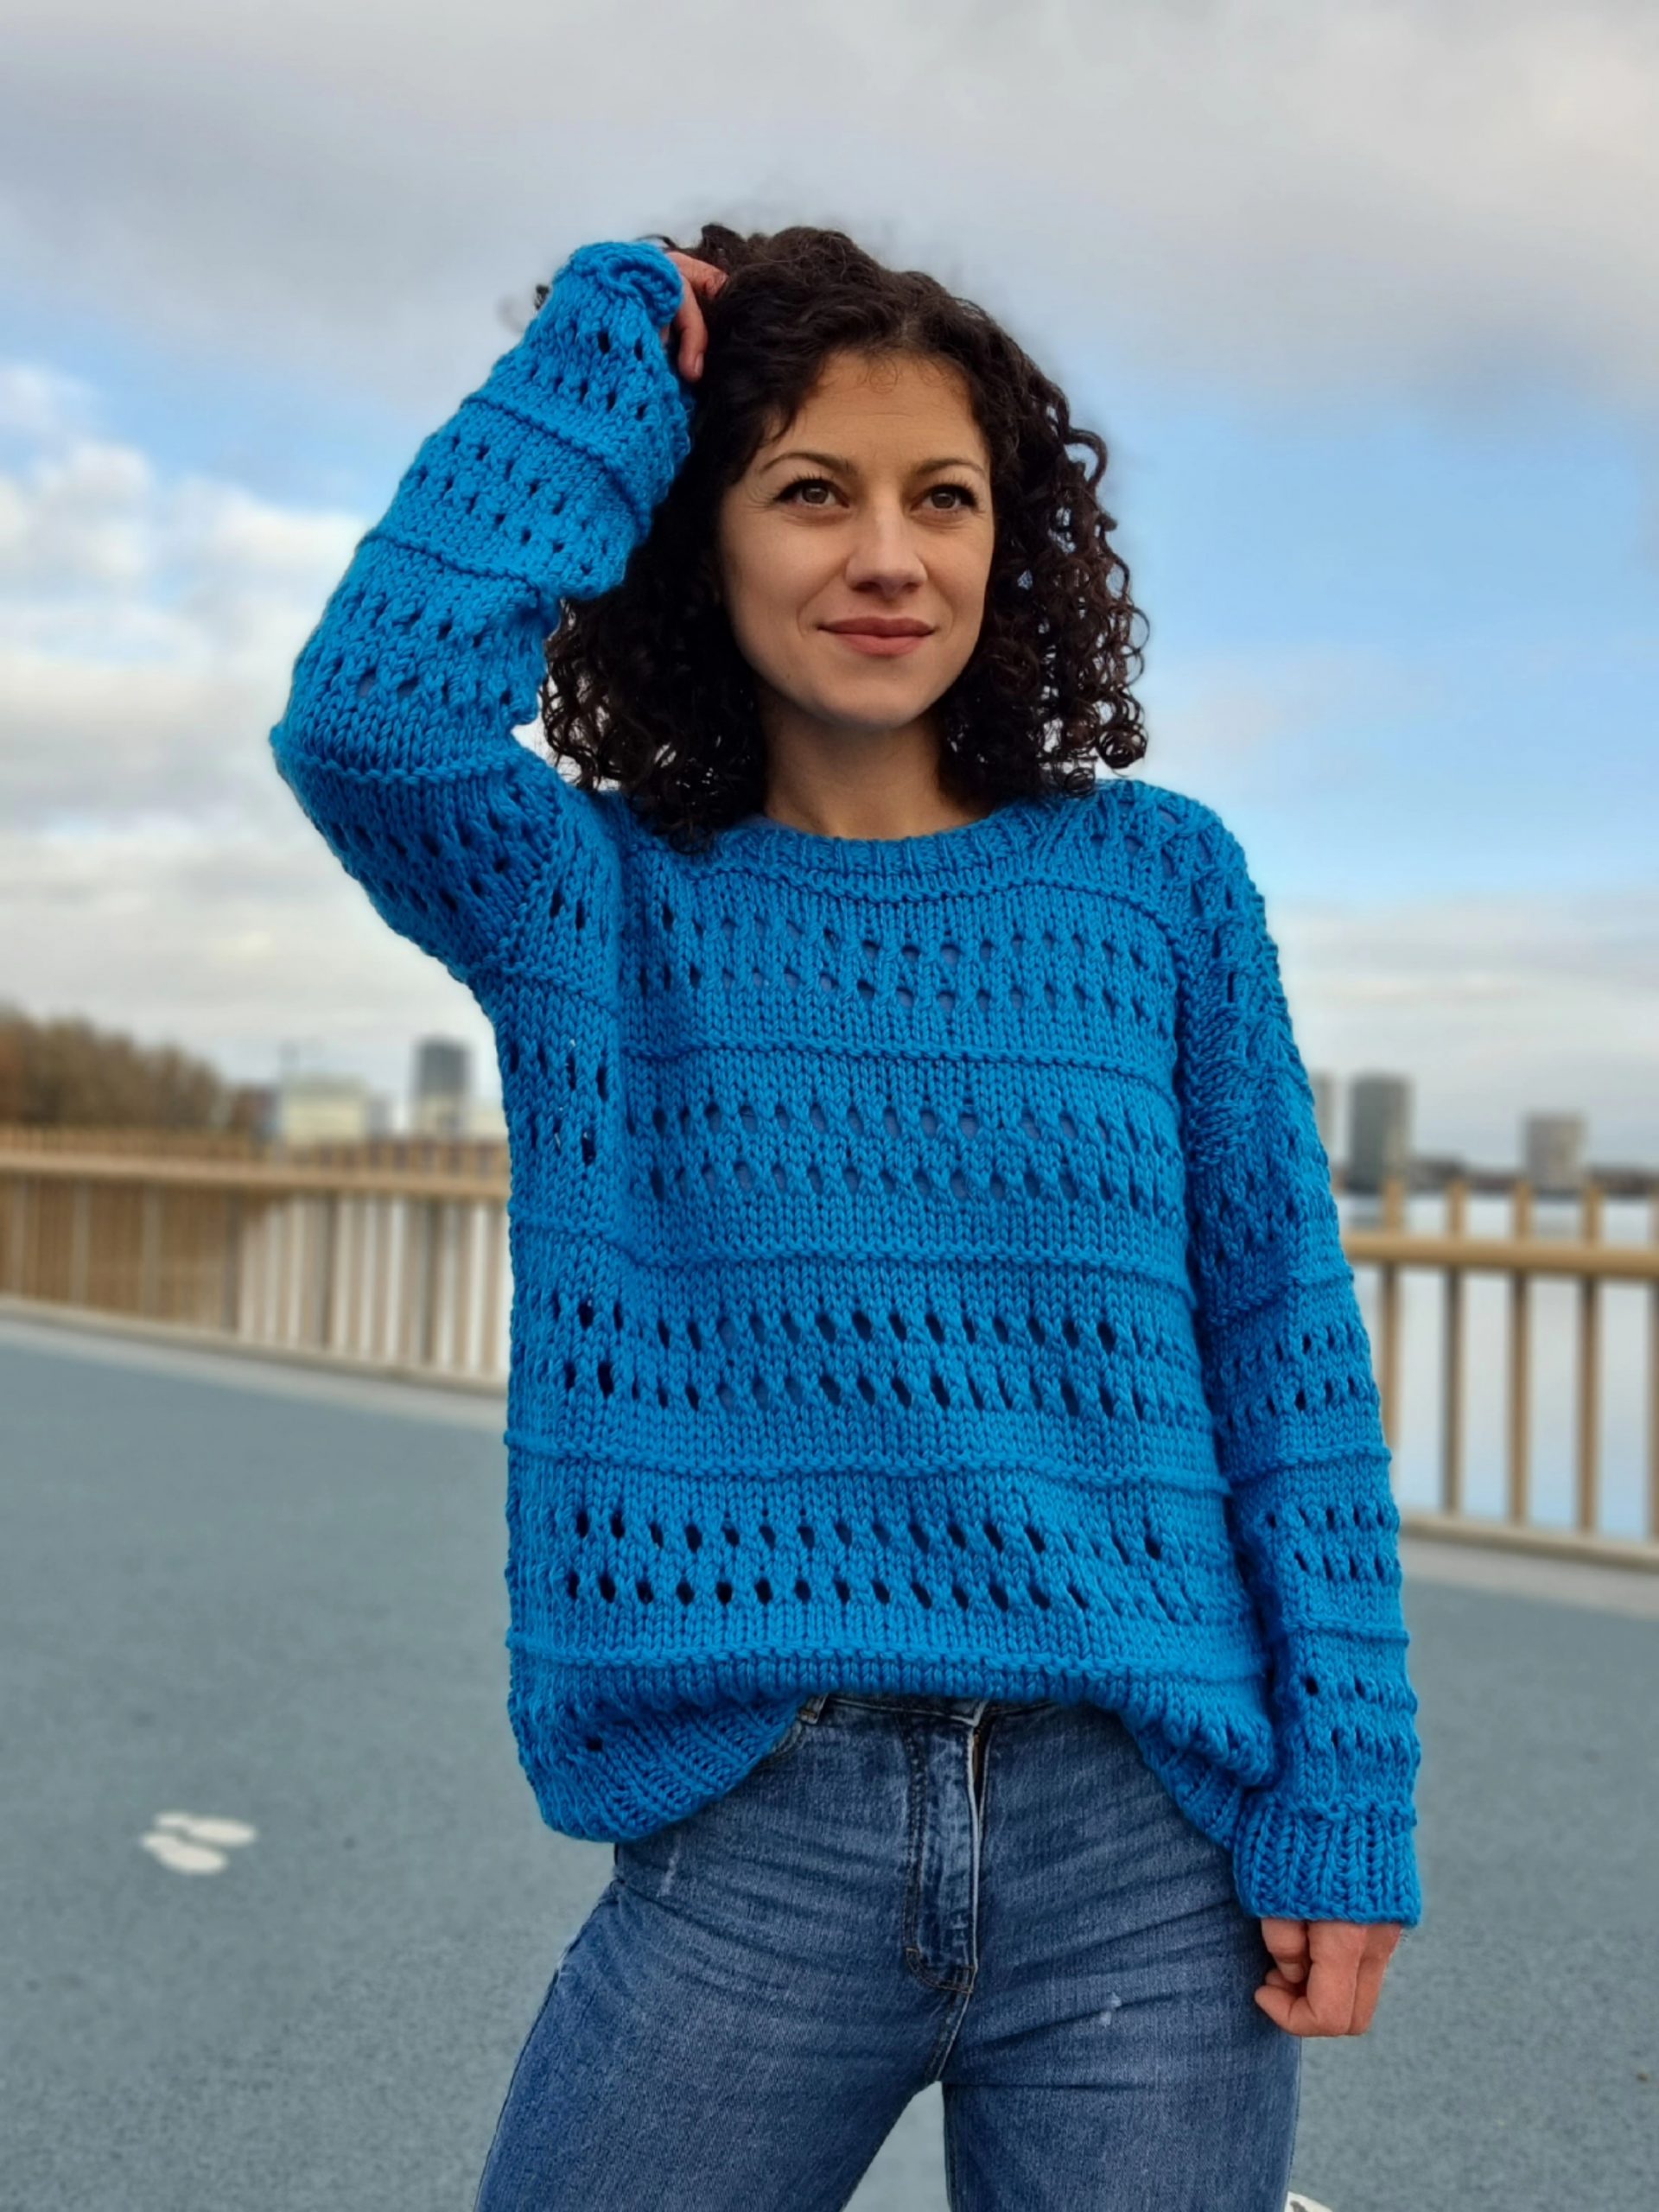
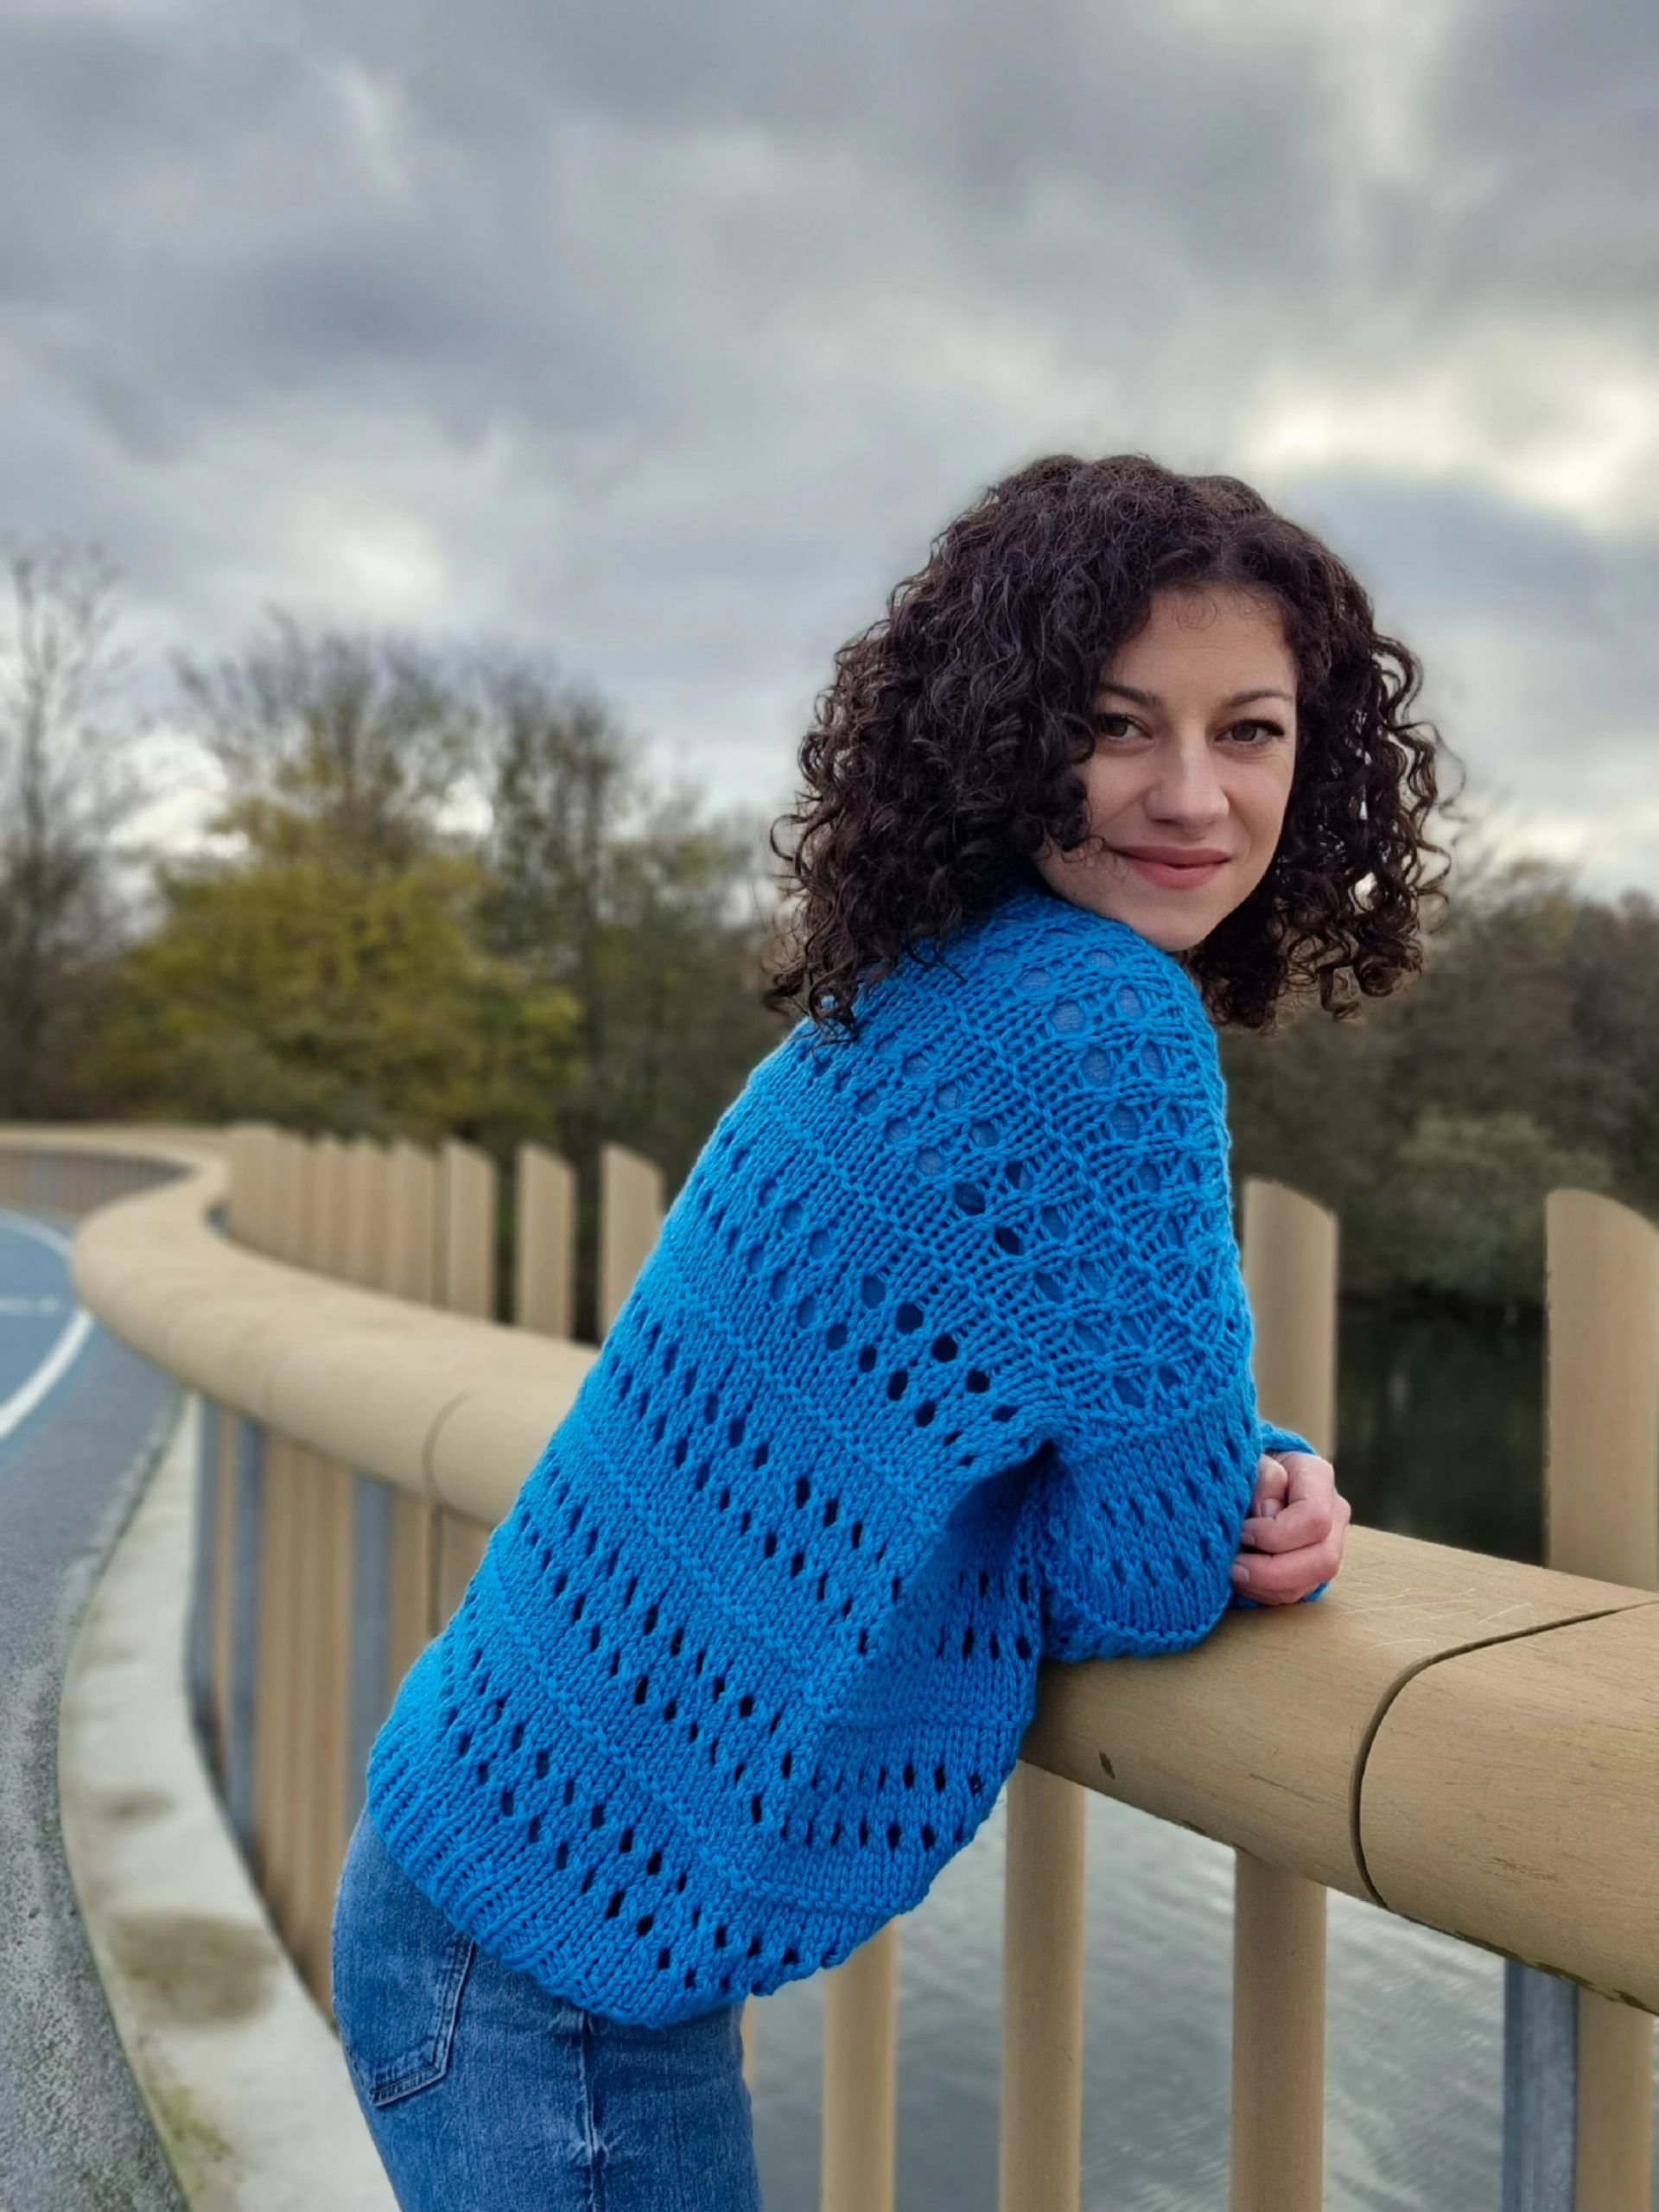
The Kleos Sweater has a classic drop-shoulder design with an oversized fit with a positive ease of about 20 cm around the bust circumference.
The Kleos Sweater has a bottom-up construction. The first section is the length up to the armpit. Work this section in the round. Then work for the front and back panels separately across the armhole.
To shape the neckline, work the shoulders separately for the last few rows of the front panel.
After completing the front and back panels, join the shoulders stitches.
The last step is the sleeves. Pick up the sts around the armhole, and work in the round in the established pattern.
MEASUREMENTS AND SIZES

The Kleos Sweater is available in 9 sizes, from XS up to 5X Large. The model is 168 cm tall, with an 88 cm Bust circumference, and wears a size Small.
The numbers are written below as follows: XS (S, M, L) (XL, 2XL, 3XL, 4XL, 5XL); US sizes 0/2 (4/6, 8/10, 12/14) (14/16W, 18/20W, 22/24W, 26/28W, 30/32W)
All the measurements use as reference Standard Body Measurements by ASTM International.
Neckline width a: 19 cm (20, 21, 22) (23, 24, 25, 25, 26)
Bust Width b: 51 cm (54, 57, 60) (64, 69, 74, 79, 84)
Armhole depth c: 17.5 cm (18.5, 19, 20.5) (21.5, 22, 23, 24, 25.5)
Sleeve Length d: 43 cm (42, 42, 42) (41, 41, 42, 42, 43)
Length e: 59 cm (59, 61, 62) (63, 64, 65, 66, 67)
How much yarn do you need?
I used for my sample WoolAddicts Glory in color 078. Composition: 100% Merino. Each ball has 50 grams and is approximately 70 meters.
For each size, you will approximately need:
8 (9, 9, 10) (11, 11, 12, 13, 14) balls or
560 meters (590, 630, 680) (720, 770, 840, 900, 970)
ABBREVIATIONS
k – knit
p – purl
k2tog – knit two together
yo – yarn over
R – rows
** – repeated section.
TENSION
Using 8 mm needles:
in stockinette stitch pattern
11 sts = 10 cm
14 rows (1 pattern repeat) = 9.5 cm
The gauge is measured after blocking.
You can purchase the easily printable PDF version of this pattern here:
STITCH PATTERNS AND TECHNIQUES
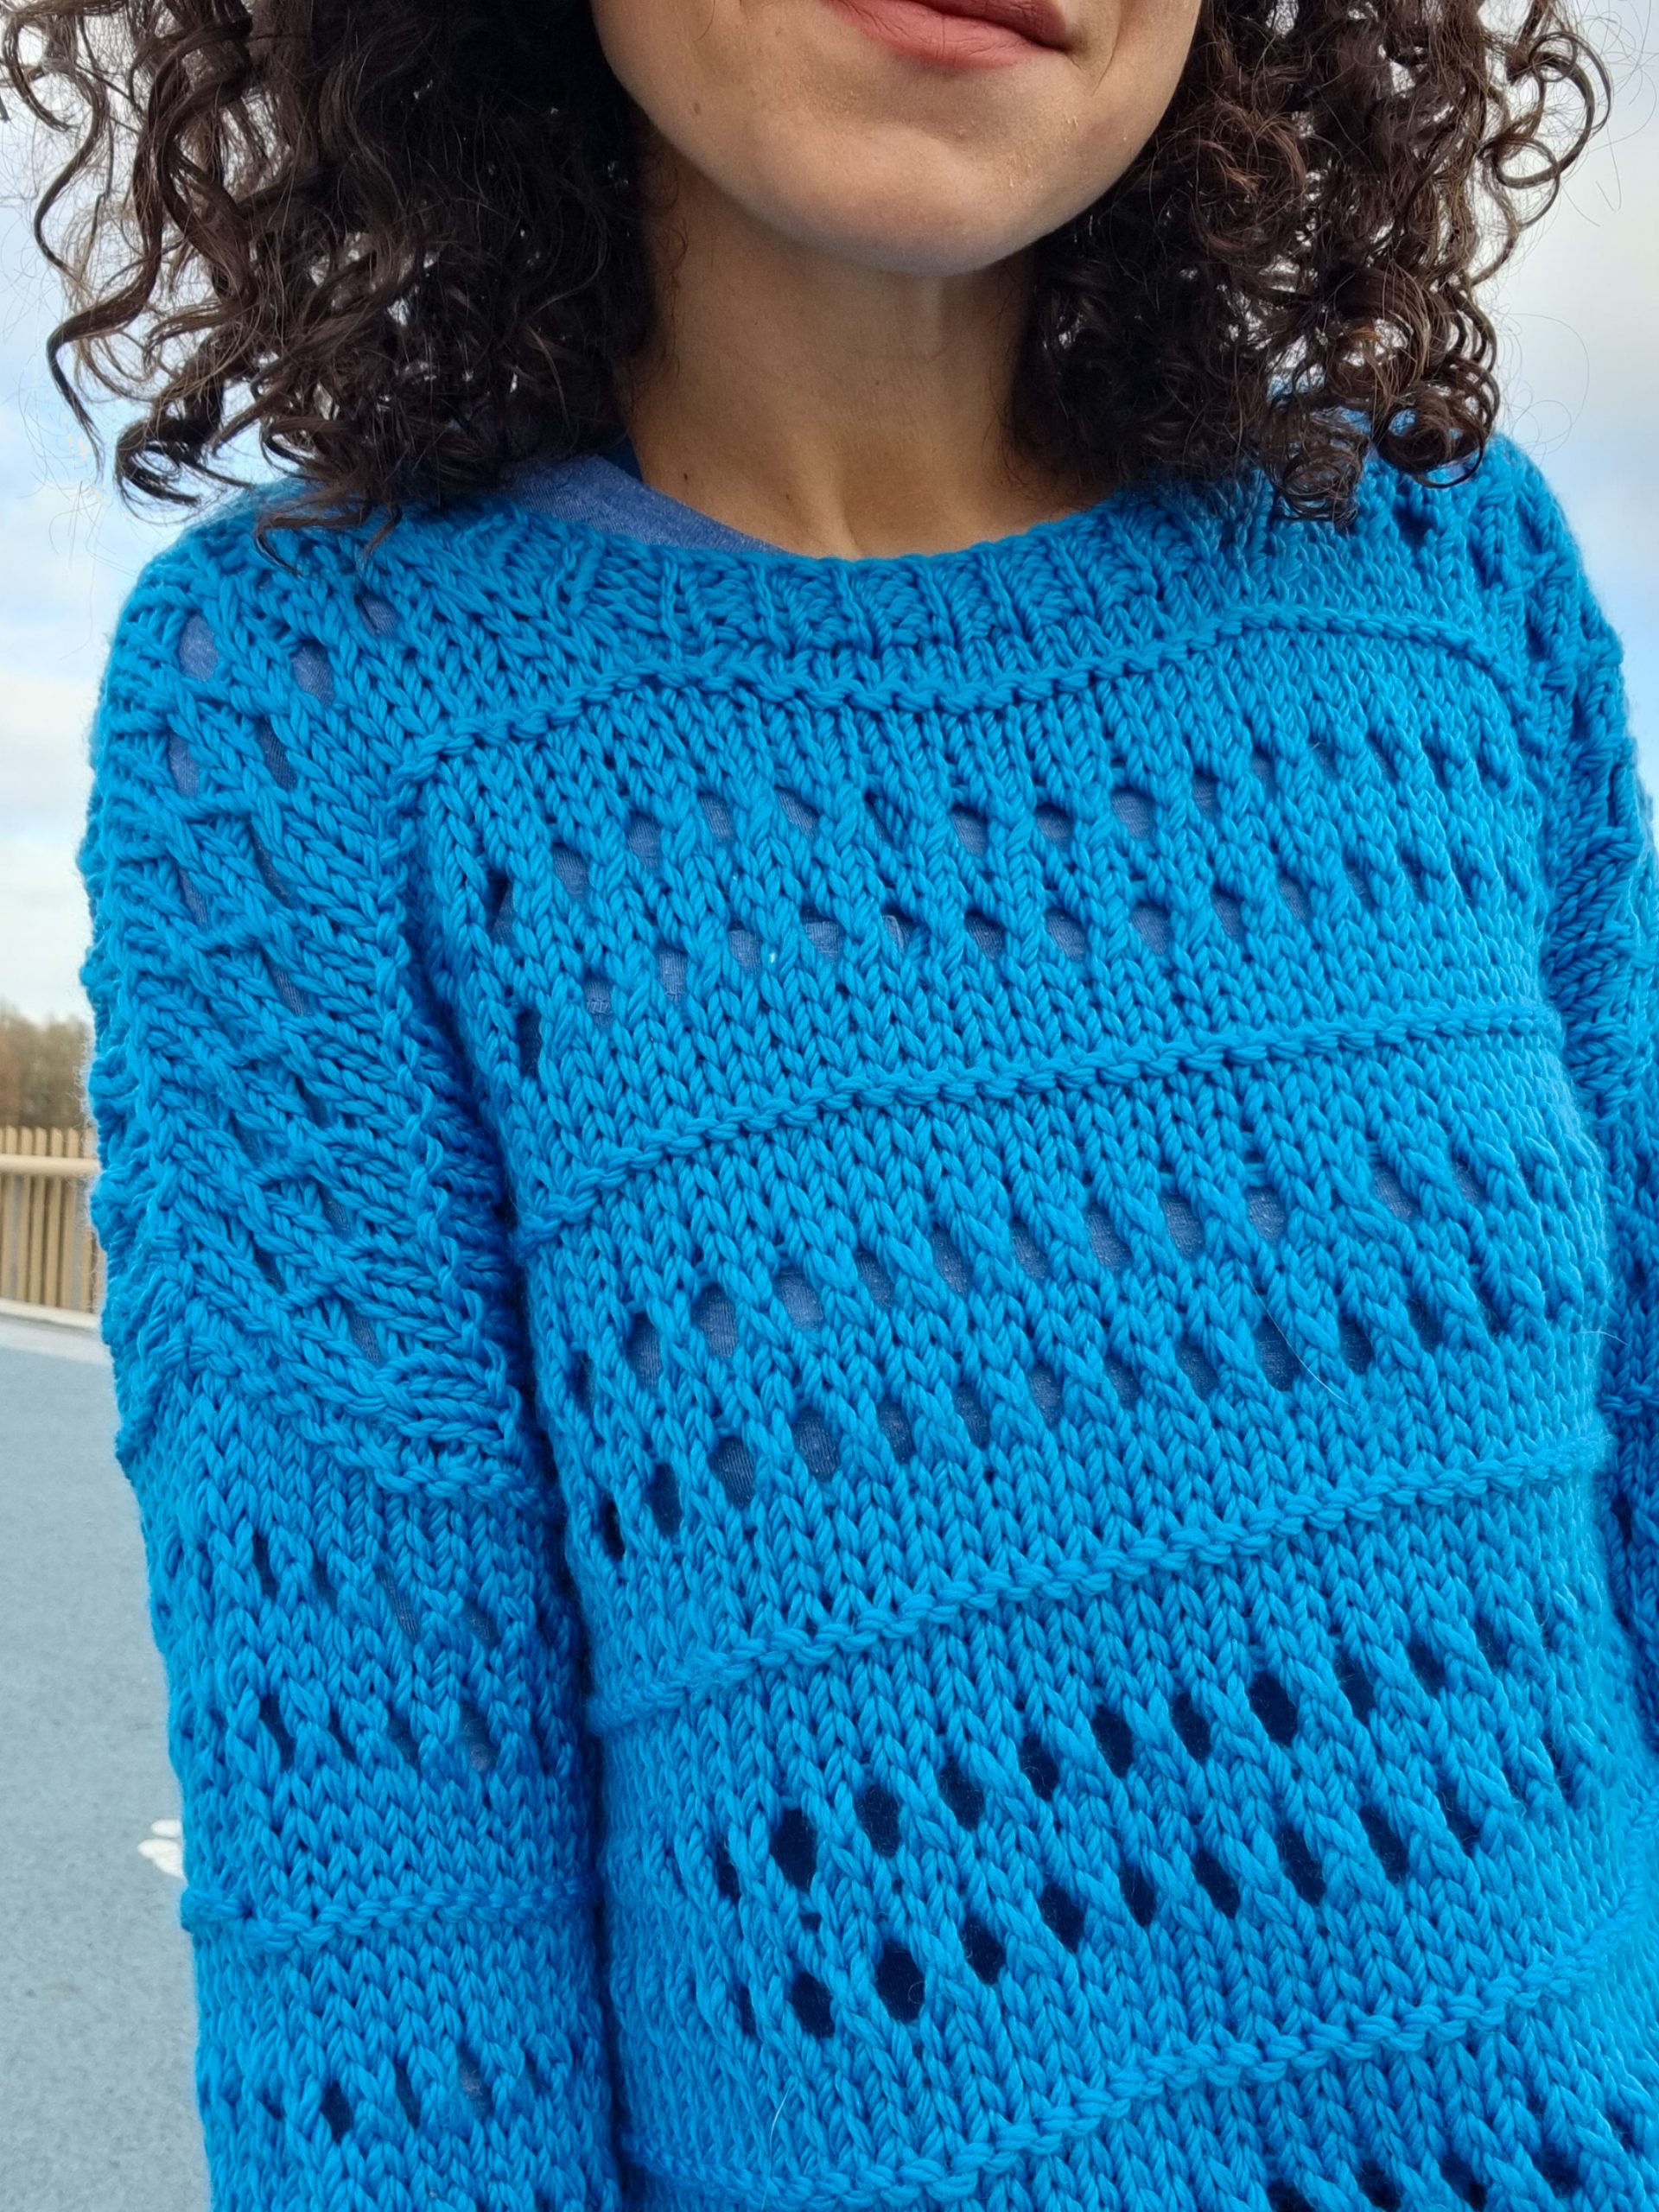
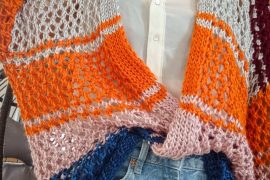
The entire sweater is worked in a pattern that combines stockinette stitch, eyelet stitch, and garter stitch. One stitch pattern repeat has 14 rows.
For the bottom hem, cuffs and neckline, the stitch pattern is 1-to-1 ribbing.
Stitch pattern repeat (in the round):
R1 – R4: k all sts
R5: *k2tog, yo; *rep. until the end of the round.
R6 – R8: k all sts
R9: rep. R5
R10 – R13: k all sts
R14: p all sts
When working flat (front and back panels across the armhole), purl the wrong side rows.
PATTERN NOTES
– The stitch pattern requires a multiple of 2sts.
– follow the instructions below if you want to make this cardigan to measure using your desired yarn weight and needle size.
– If you want to adjust the length, work the desired number of rows into the length up to the armpit.
– Use any method you like for casting on and binding off.
MADE TO MEASURE
Step 1: Choose your yarn and needle size and make a gauge swatch;
– work the gauge swatch in the eyelet stitch pattern for a better view of the final fabric of the cardigan;
– if needed, block the gauge swatch before any measurements because some fibers might change after blocking.
– measure the number of sts and rows you have in a 10cm square
Step 2: Take measurements
– use as reference bust circumference;
measure your bust circumference or take the measurements from the standard measurements table;
– add the ease (the ease is the room you will like between your body and the sweater; write the result down
– for the length, measure first the length to the armpit and then the armhole; if the sweater is wider than your shoulders, the armhole can be smaller, using as reference the upper arm and not the armscye; write this number down
– measure your arm length, starting from where the edge of the cardigan body will be; you can adjust the sleeve length while working as it is worked from the armhole to the cuff.
Step3: transform measurements into stitches and rows:
– using your gauge information, transform the measurements at Step2 into stitches and rows;
– adjust the result to a multiple of 2 for the stitch number.
INSTRUCTIONS
LENGTH TO THE ARMPIT
Cast on 114 (120, 126, 132) (142, 152, 162, 174, 184)
R1: k1, p1 until the end of the row.
R2-R8: rep. R1
R9 – R12: k all sts
R13: *k2tog, yo; *rep. until the end of the round.
R14 – R16: k all sts
R17: rep. R13
R18 – R21: k all sts
R22: p all sts
Rep R9 to R22 3 more times (64 rounds in total, counting with the ribbing)
*if you want to adjust the length, work as many rounds as needed.
FRONT PANEL ACROSS THE ARMHOLE
Next, we will work only on the front panel sts.
Use stitch markers and mark half the number of sts: 57 (60, 63, 66) (71, 76, 81, 87, 92) sts.
The number of rows is calculated to keep all the sts on the needles. If you find it easier to put the sts you are not working it on hold, do so.
This section, as well the as the back panel section, is worked flat; turn after each row.
Purl the wrong side rows.
Knit the garter stitch row (the last row in the stitch pattern repeat)
Start the eyelet row with k1 and finish it with k1 if you have an even number of sts. If you have an uneven number of sts, start with k2 and finish with k1 or reverse.
Work into the established pattern until you have rows for the front panel 16 (16, 18, 20) (22, 22, 24, 26, 28).
You can purchase the easily printable PDF version of this pattern here:
Shaping the neckline
Left Shoulder
For the left shoulder, we will decrease at the end of the row.
Before start working on the shoulders, use st markers to mark the shoulders sts:
23 (24, 25, 26) (28, 30, 32, 35, 37) sts for each shoulder.
Next row (only left shoulder sts): work in the established pattern until you have 4sts left, k2tog, k last 2sts turn
Next Row (only left shoulder sts): purl all sts
Rep. the last 2 rows, 5 times (for 10 rows); you will have in total, for the front panel, on the left side shoulder, 26 (26, 28, 30) (32, 32, 34, 36, 38) rows.
Next row: k all sts
Cut the yarn
Right Shoulder
Rejoin yarn and bind off the remaining sts up to the Right shoulder 12 (13, 14, 15 (16, 17, 18, 18, 19); with the stitch left on the right needle, you should have left for the right shoulder 23 (24, 25, 26) (28, 30, 32, 35, 37) sts.
For the right shoulder, we will decrease at the beginning of the row.
Next row (only right shoulder sts):k2, k2tog (or ssk2tog), work into the established pattern to the end of the row
Next Row (only right shoulder sts): purl all sts
Rep. the last 2 rows, 5 times (for 10 rows); you will have in total, for the front panel, on the left side shoulder, 26 (26, 28, 30) (32, 32, 34, 36, 38) rows.
Next row: k all sts
Cut the yarn
Now, the front panel is finished. Depending on how you will like to join the shoulders, you can bind off the sts (for the left shoulder, you need to do it right after finishing it);
Put the sts on hold, or keep them live on the needles.
BACK PANEL ACROSS THE ARMHOLE
Work into the established pattern until you have the same number of rows as for the front panel: 27 (27, 29, 31) (33, 33, 35, 37, 39) rows.
Next, depending on the method you would like to use for joining shoulders, you can keep the sts live or bind off.
I will explain below the method I used; you can also watch the video tutorial here.
Joining the shoulders
Start with the shoulders where the needles are now; use an 8 mm crochet hook or bigger. Place the needles one next to the other, pointing to the right.
Step 1: slip the first st of the top needle on the hook;
Step2: slip the first st on the bottom needle on the hook and pass it through the st you have already on the hook;
Step 3: Slip the next st on the top needle and pass it through the stitch on the hook
Step 4: Slip the next st on the bottom needle and pass it through the stitch on the hook;
Rep. Steps 3 and 4 until you finish all the shoulder sts.
Next, pass the back panel neckline sts on the small circular needles (that you will use for the neckline ribbing): 21 (22, 23, 24) (25, 26, 27, 27, 28) sts.
*if you don’t want to work the neckline ribbing next, you can bind off the sts or put them on hold
Next, follow the same method for the other shoulder to join the second shoulder.
As you have part of the neckline sts on the needles, you can pick up the rest and work the neckline ribbing.
You can purchase the easily printable PDF version of this pattern here:
SLEEVES
Work the sleeves in the round using smaller cord needles (40 cm), DPN needles, or the loop method.
You can also work the sleeves flat, but it will be difficult for the first few rows.
Pick the sts for the sleeve around the armhole edge as follows:
Pick 2 sts through the first 2 side rows, and skip 1 row. In the end, you should have an even number of sts.
Work in the established pattern until you get to the desired length or until you have:
56 (56, 56, 56) (56, 56, 58, 58, 58) rows.
Before working the ribbing of the cuff, you can work one more round and make some decreases:
*k2tog, k1. *rep. until the end of the row.
CUFFS
R1: *k1, p1; *rep. until the end of the row.
R2 – R8: rep R1
Suppose you didn’t work the neckline ribbing after joining the shoulders. You can work on it now.
Pick up the sts around the neckline; make sure you have an even number of sts;
Work the ribbing pattern for 4 or as many rounds as you like.
TO FINISH
Weave in all loose ends and block to measurements
And done! I hope you like it!



Comments are closed.