Tag

Love crochet

Browsing

Well, I am far away to finish the hole team of crocheted little bunnies. I have 4 until now and I have to make at least 10 more.

The little bunnies team will go to my daughter’s kinder garden colleagues as a present for her birthday. Is like a tradition here in Netherlands, every time a kid celebrate his/her birthday, to bring something for the other kids. I loved the idea and first thing that I had in mind was to make some crocheted toys.

Pentru postarea in limba romana, click aici
crocheted little bunnies

And because Easter is coming too, I thought little bunnies will be great.

These bunnies are worked from pieces: head, body, legs, arms, ears and tail then all the pieces are assembled by sewing all the parts together.

I made the little bunnies with cotton thread and a 2.5 mm crochet hook ( yarn weight fingering (1) and C-2 crochet hook) and they are about 20 cm high.

If you choose to work with a different weight of yarn and another hook side they will be taller but sure cute as well.

You will also need some fiber to stuff the parts, scissors, tapestry needle and stitch markers.

Abbreviations used in this pattern:

  • Ch – chain
  • Sc – single crochet
  • St(s) – Stitch(es)
  • Inc – Increase ( 2 sc in same st)
  • Dec – Decrease (2 sc together)

We will work all pieces in continuous rounds (without joining at the end of the row).

Head

Row 1: Magic ring and 6 sc in it

Row 2 : [Inc] repeat 6 times (1 inc in each st)  (12 sts)

With every row mark your first stitch. It will be easy to know where to start your row and where it ends.

Stuff with fiber as you go.

 Row 3: [1 sc, 1 Inc in the next st] repeat 6 times (18 sts)

Row 4: [2 sc, 1 Inc] repeat 6  times (24)

Row 5: [3 sc, 1 Inc] repeat 6 times (30)

Row 6: [4 sc, 1 Inc] repeat 6 times (36)

Row 7: [5 sc, 1 inc] repeat 6 times (42)

Rows 8 – 12 (5 rows): 1 sc in each st (42)

Row 13: [ 1 dec, 5 sc] repeat 6 times (36)

Row 14: [1 dec, 4 Sc] repeat 6 times (30)

Row 15:[1 dec, 3 sc] repeat 6 times (24)

Row 16: [1 dec, 2 sc] repeat 6 times (18)

Row 17: [1 dec, 1 sc] repeat 6 times (12)

Row 18: [1 dec] repeat 6 times (6).

Fasten off and wave in the end.
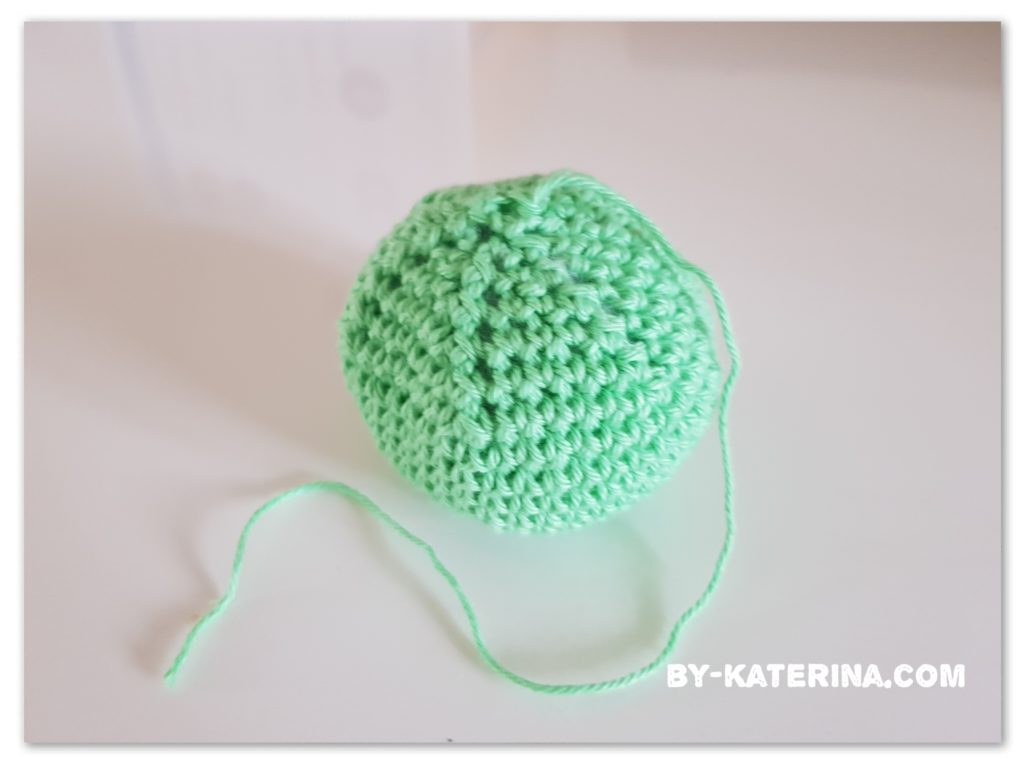
crocheted bunny head

Body

Row 1: Magic ring and 6 sc

Row 2 : [Inc] repeat 6 times (12)

Row 3: [1 sc, 1 Inc in the next st]  repeat 6 times (18)

Row 4: [2 sc, 1 Inc] repeat 6  times (24)

Row 5: [3 sc, 1 Inc] repeat 6 times (30)

Rows 6 – 7 : 1 sc in each st (30)

Row 8: [1 dec, 8 sc] repeat 3 times (27)

Row 9: 1 sc in each st (27)

Row 10: [1 dec, 7 sc] repeat 3 times (24)

Row 11: [1 dec, 6 sc] repeat 3 times (21)

Row 12 :[1 dec, 5 sc] repeat 3 times (18)

Row 13 : 1 sc in each st (18)

Stuff with fiber and leave a long tail for sewing at the end.
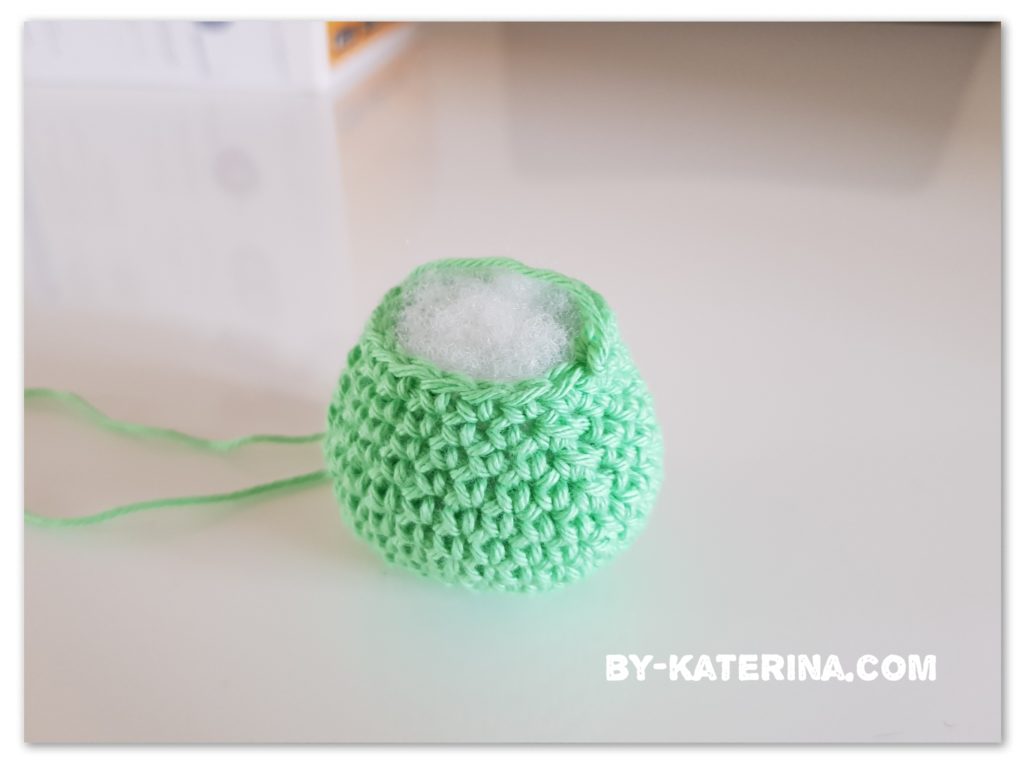
crocheted bunny body

Legs

Ch 5. We will work in continuous rounds making an oval.

Row 1: Start with the second st and make 3 sc, 1 inc in next st. Turn to the other side of the chain an sc in next 2 sts, 1 inc in the last st.(10)

Row 2: [1 sc, 1 inc] repeat 5 times (15)

Row 3: [4 sc, 1 inc] repeat 3 times (18)

Rows 4 – 5: 1 sc in each st (18)

Row 6: 3 sc, [1 dec] ×6, 3 sc (12)

Stuff with fiber

Row 7: 3 sc, [1 dec]×3, 3 sc (9)

Rows 8 – 9: 1 sc in each st (9)

To close the top of the leg, make one row in sc trough the sts from the both side.

Fasten off and leave a long tail for sewing.

Repeat the pattern for the second leg.
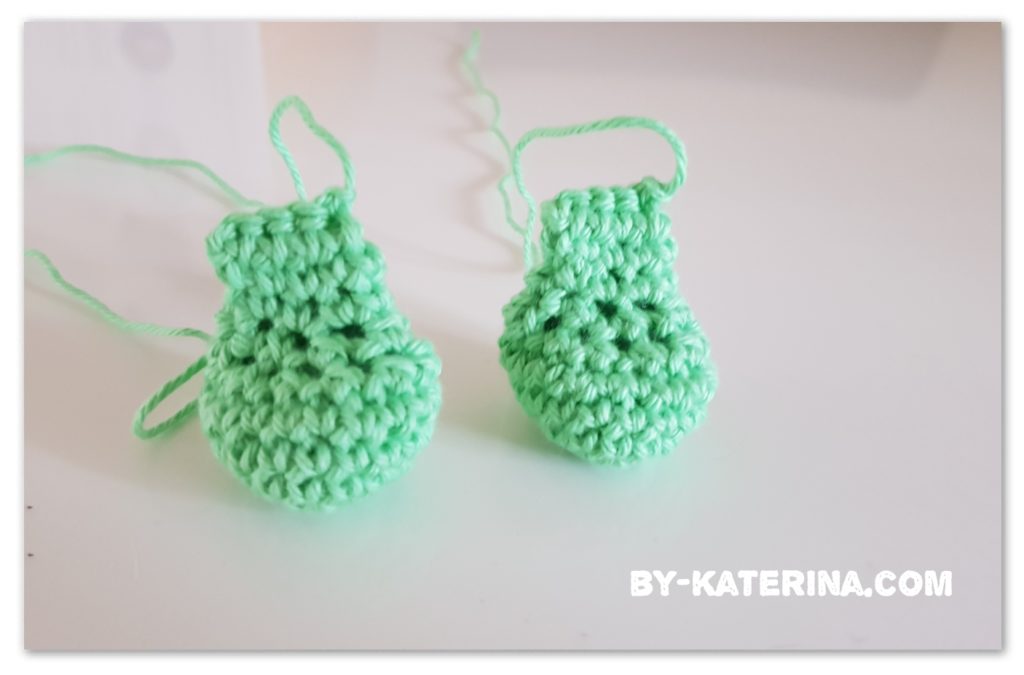
crocheted bunny legs

Arms

Row 1: Magic ring and 6 sc

Row 2: [inc] repeat 6 times (12)

Row 3: 1 sc in each st (12)

Row 4: [2 sc, 1 dec] × 3 (9)

Row 5:  1 sc in each st (9)

Row 6: 1 dec, 7 sc (8)

Row 7: 1 sc in each stitch (8)

Stuff the bottom of the arm

Row 8: 1 dec, 6 sc (7)

Row 9: 1 sc in each st (7)

Row 10: 1 dec, 5 sc (6)

Row 11: 1 sc in each st
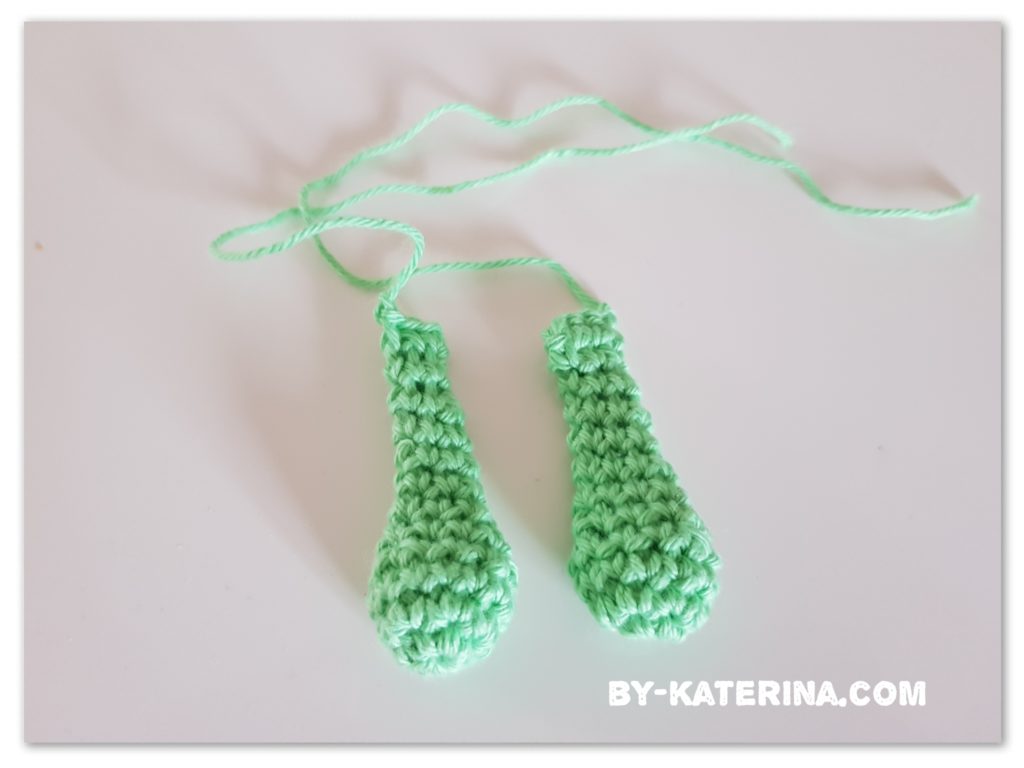
crocheted bunny arms

Close the arm opening as you made for the legs. Leave a long tail for sewing. Repeat the same pattern for the other arm.

Ears

Row 1: Magic ring and 6 sc

Row 2: [inc] repeat 6 times (12)

Row 3: 1 sc in each st (12)

Row 4:  [1 sc, 1 Inc] × 6 (18)

Rows 5 – 7: 1 sc in each st (18)

Row 8: [1 dec, 4 sc] × 3 (15)

Rows 9 – 10 : 1 sc in each st (15)

Row 11: [1 dec, 3 sc] × 3 (12)

Row 12: 1 sc in each st (12)

Row 13: [1 dec, 1sc] ×4 (8)

Fasten off and leave a long tail. You don’t have to stuff the ears.

Repeat the same pattern for the second ear.
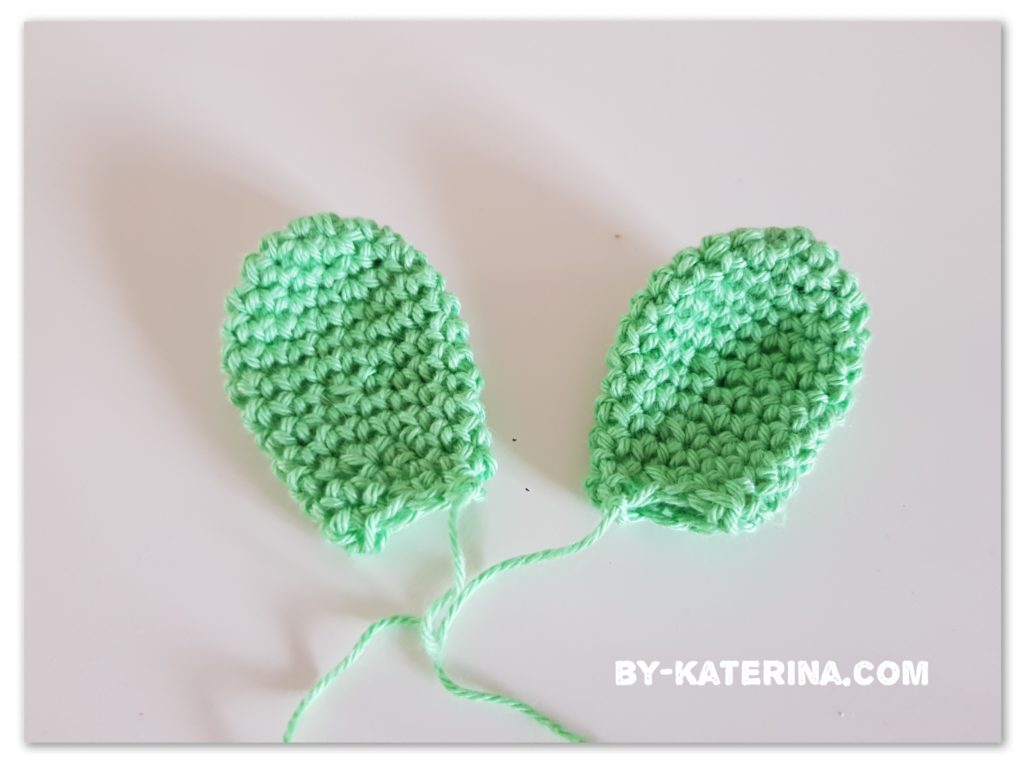
crocheted bunny ears

Tail

Row 1: magic ring and 6 sc

Row 2: [inc] repeat 6 times (12)

Row 3: 1 sc in each st (12)

Row 4: [1 dec, 2 sc] ×3 (9)

Fasten off and leave a long tail. Stuff just a little.
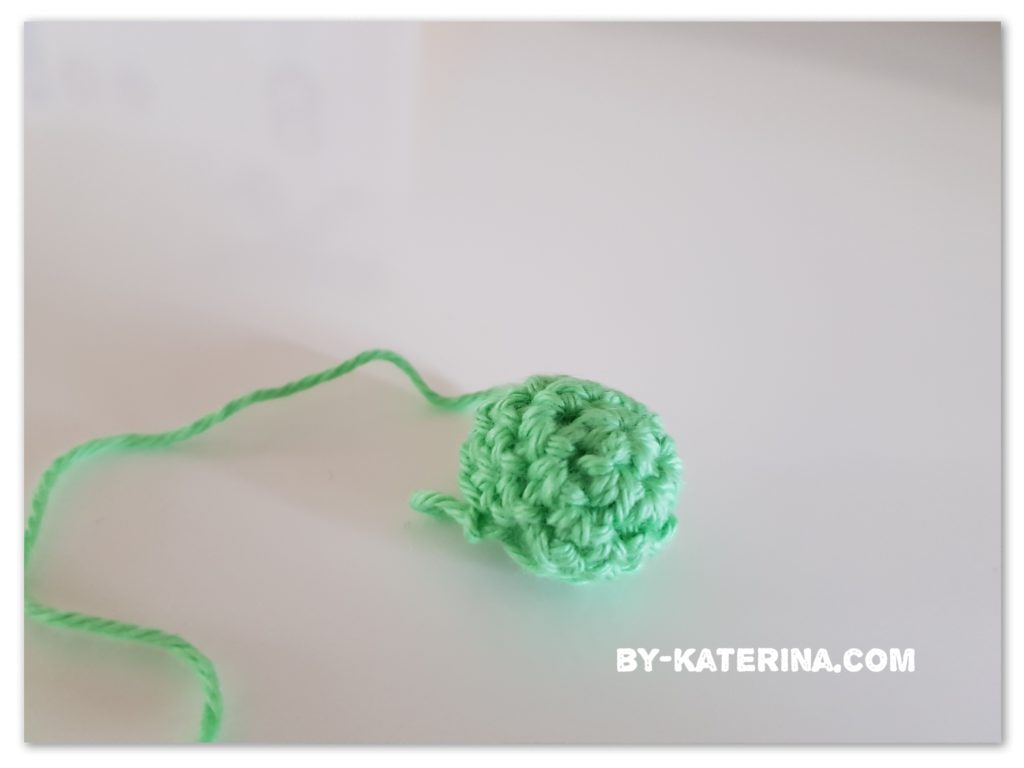
crocheted bunny tail

Now all the pieces are done and is time for assembling.

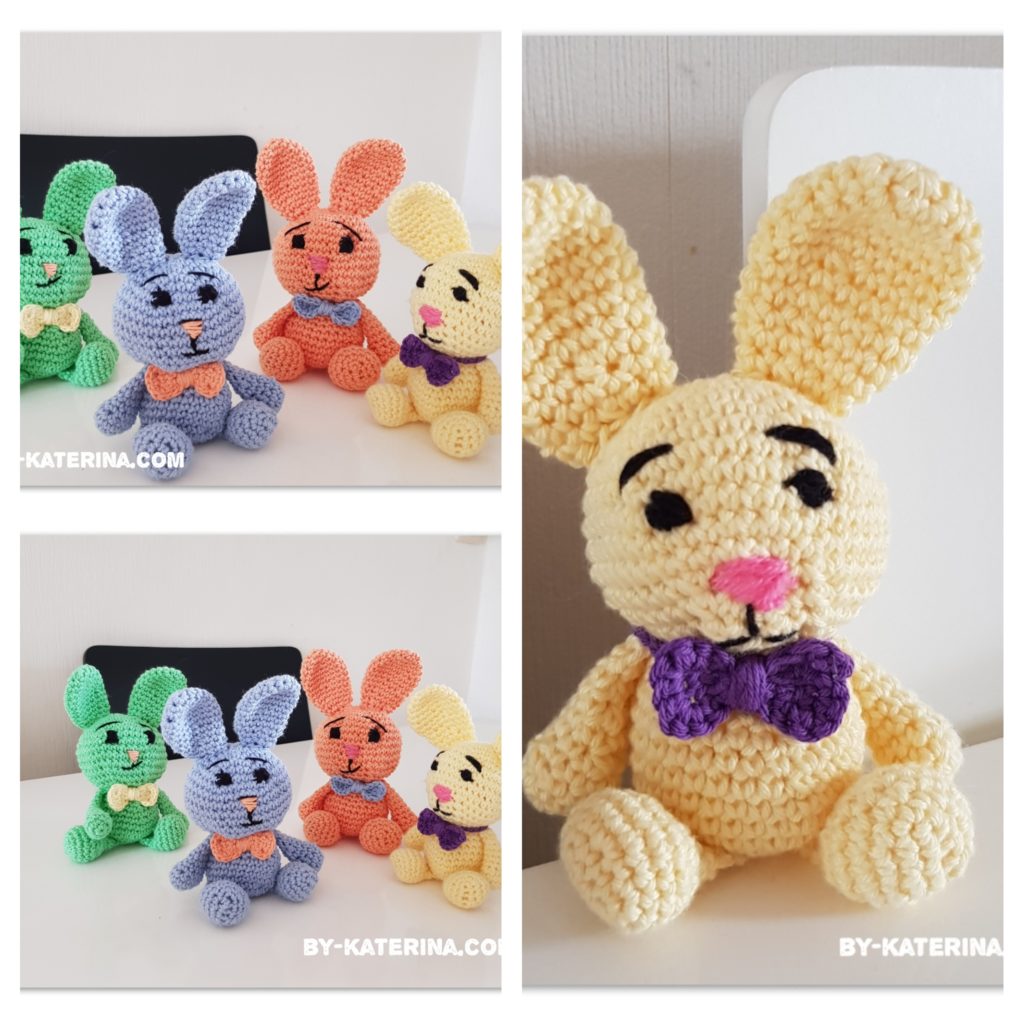
Sew each piece, using the long tail. At the end make the face details. If you want you can use beads for the eyes. I embroidered the eyes and nose and made also a little mouth and eyebrows. Make it as you wish. As you see in picture none of my 4 little bunnies are the same but they are all cute.

I also add a bow that I made from 3 st in sc. Then I just wrap the middle with yarn to make the little piece looking like a bow. I sew it on the neck of the little bunnies. Again feel free to add anything you like ( a bow near the ear for example )
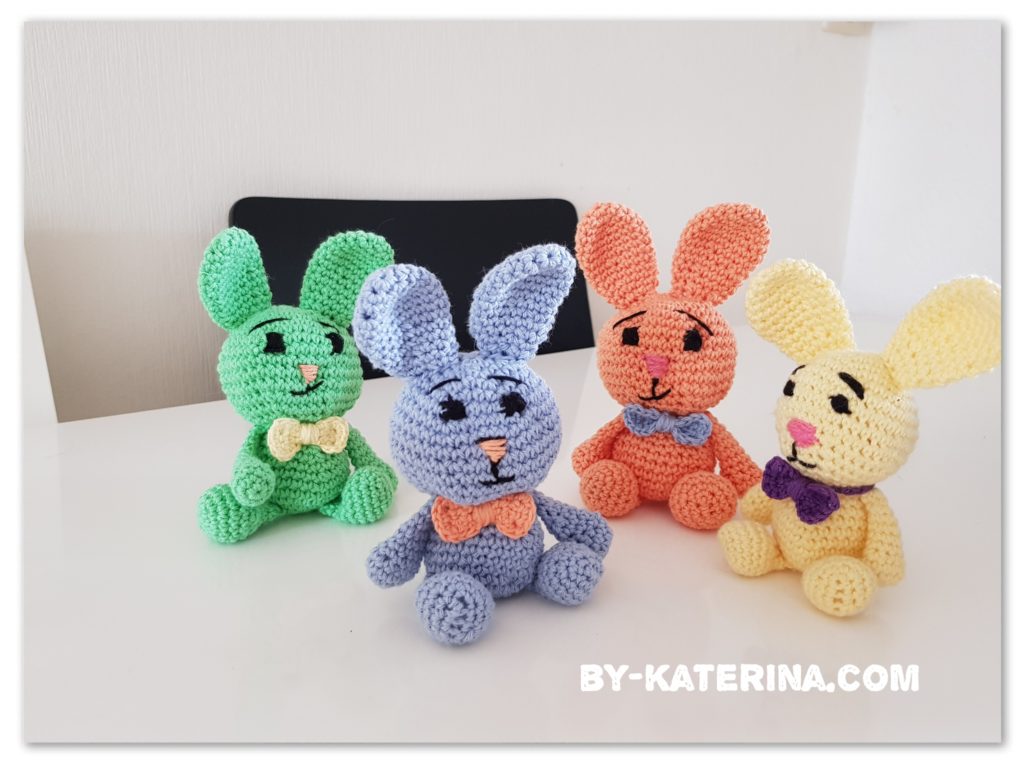
little bunnies

I hope you liked this pattern too. Is something else as almost all my patterns are garments.

You will find the video tutorial bellow. Is very detailed but also long but I hope you will watch it.

Follow my Free Crochet Patterns Pinterest Board for more free crochet patterns and video tutorials every week.

https://ro.pinterest.com/katerina6795/free-crochet-patterns/

If you liked this pattern, save it for later
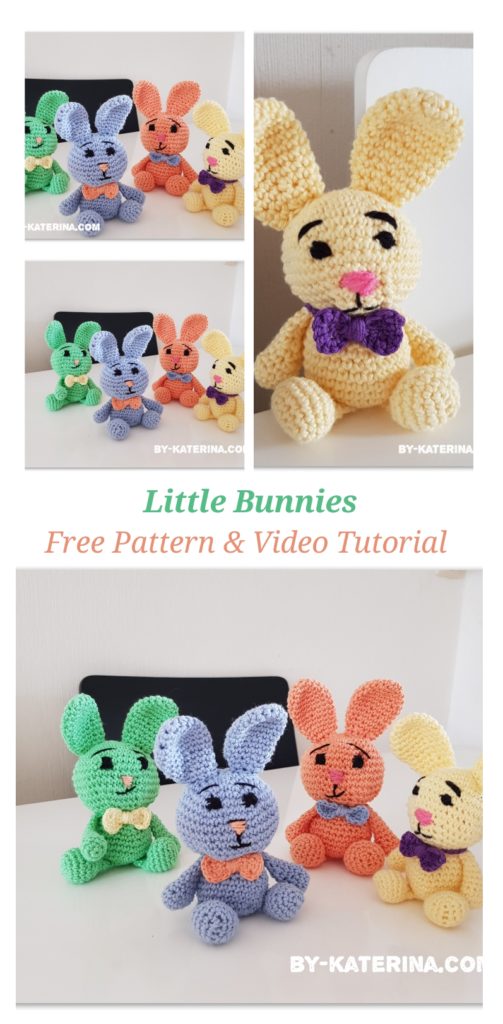
little bunnies. Free crochet pattern and video tutorial

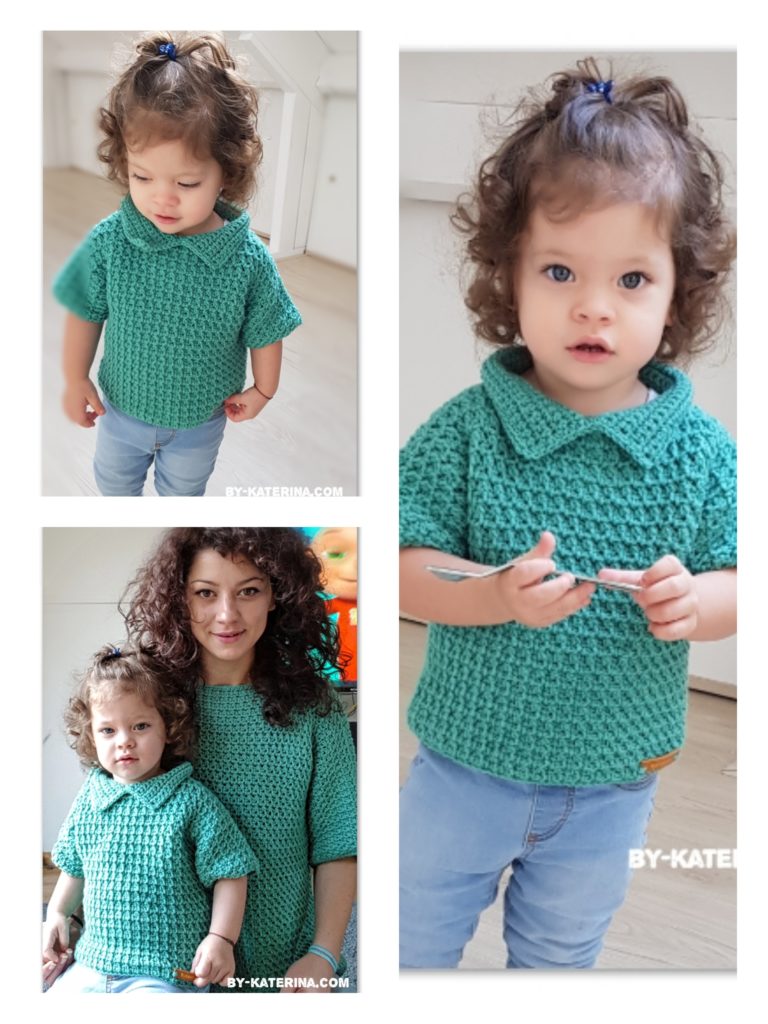
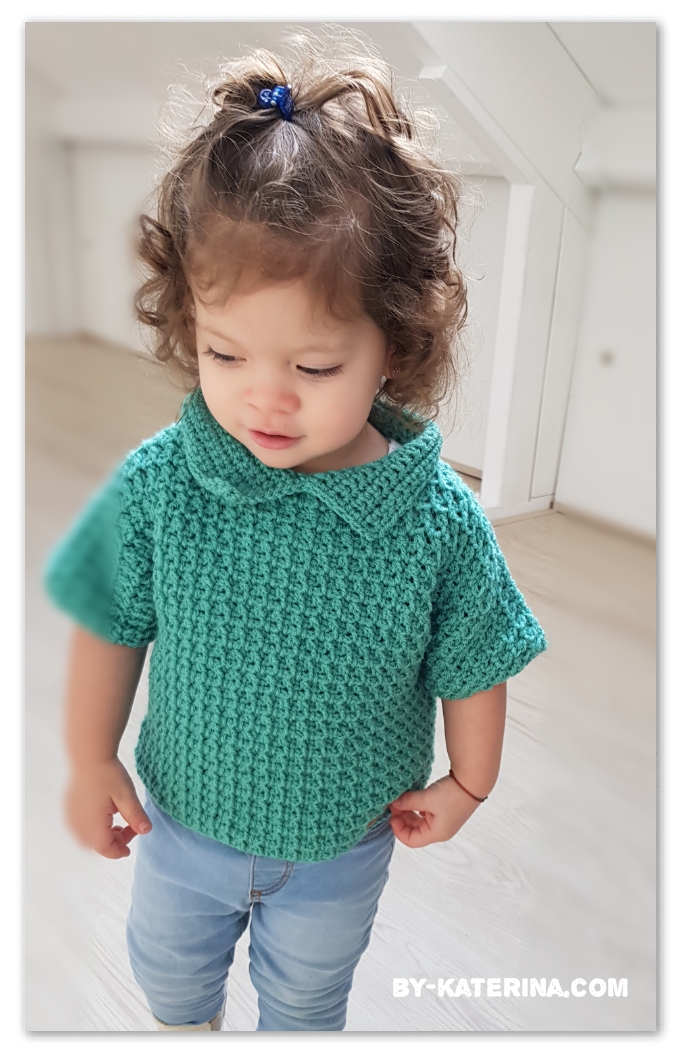
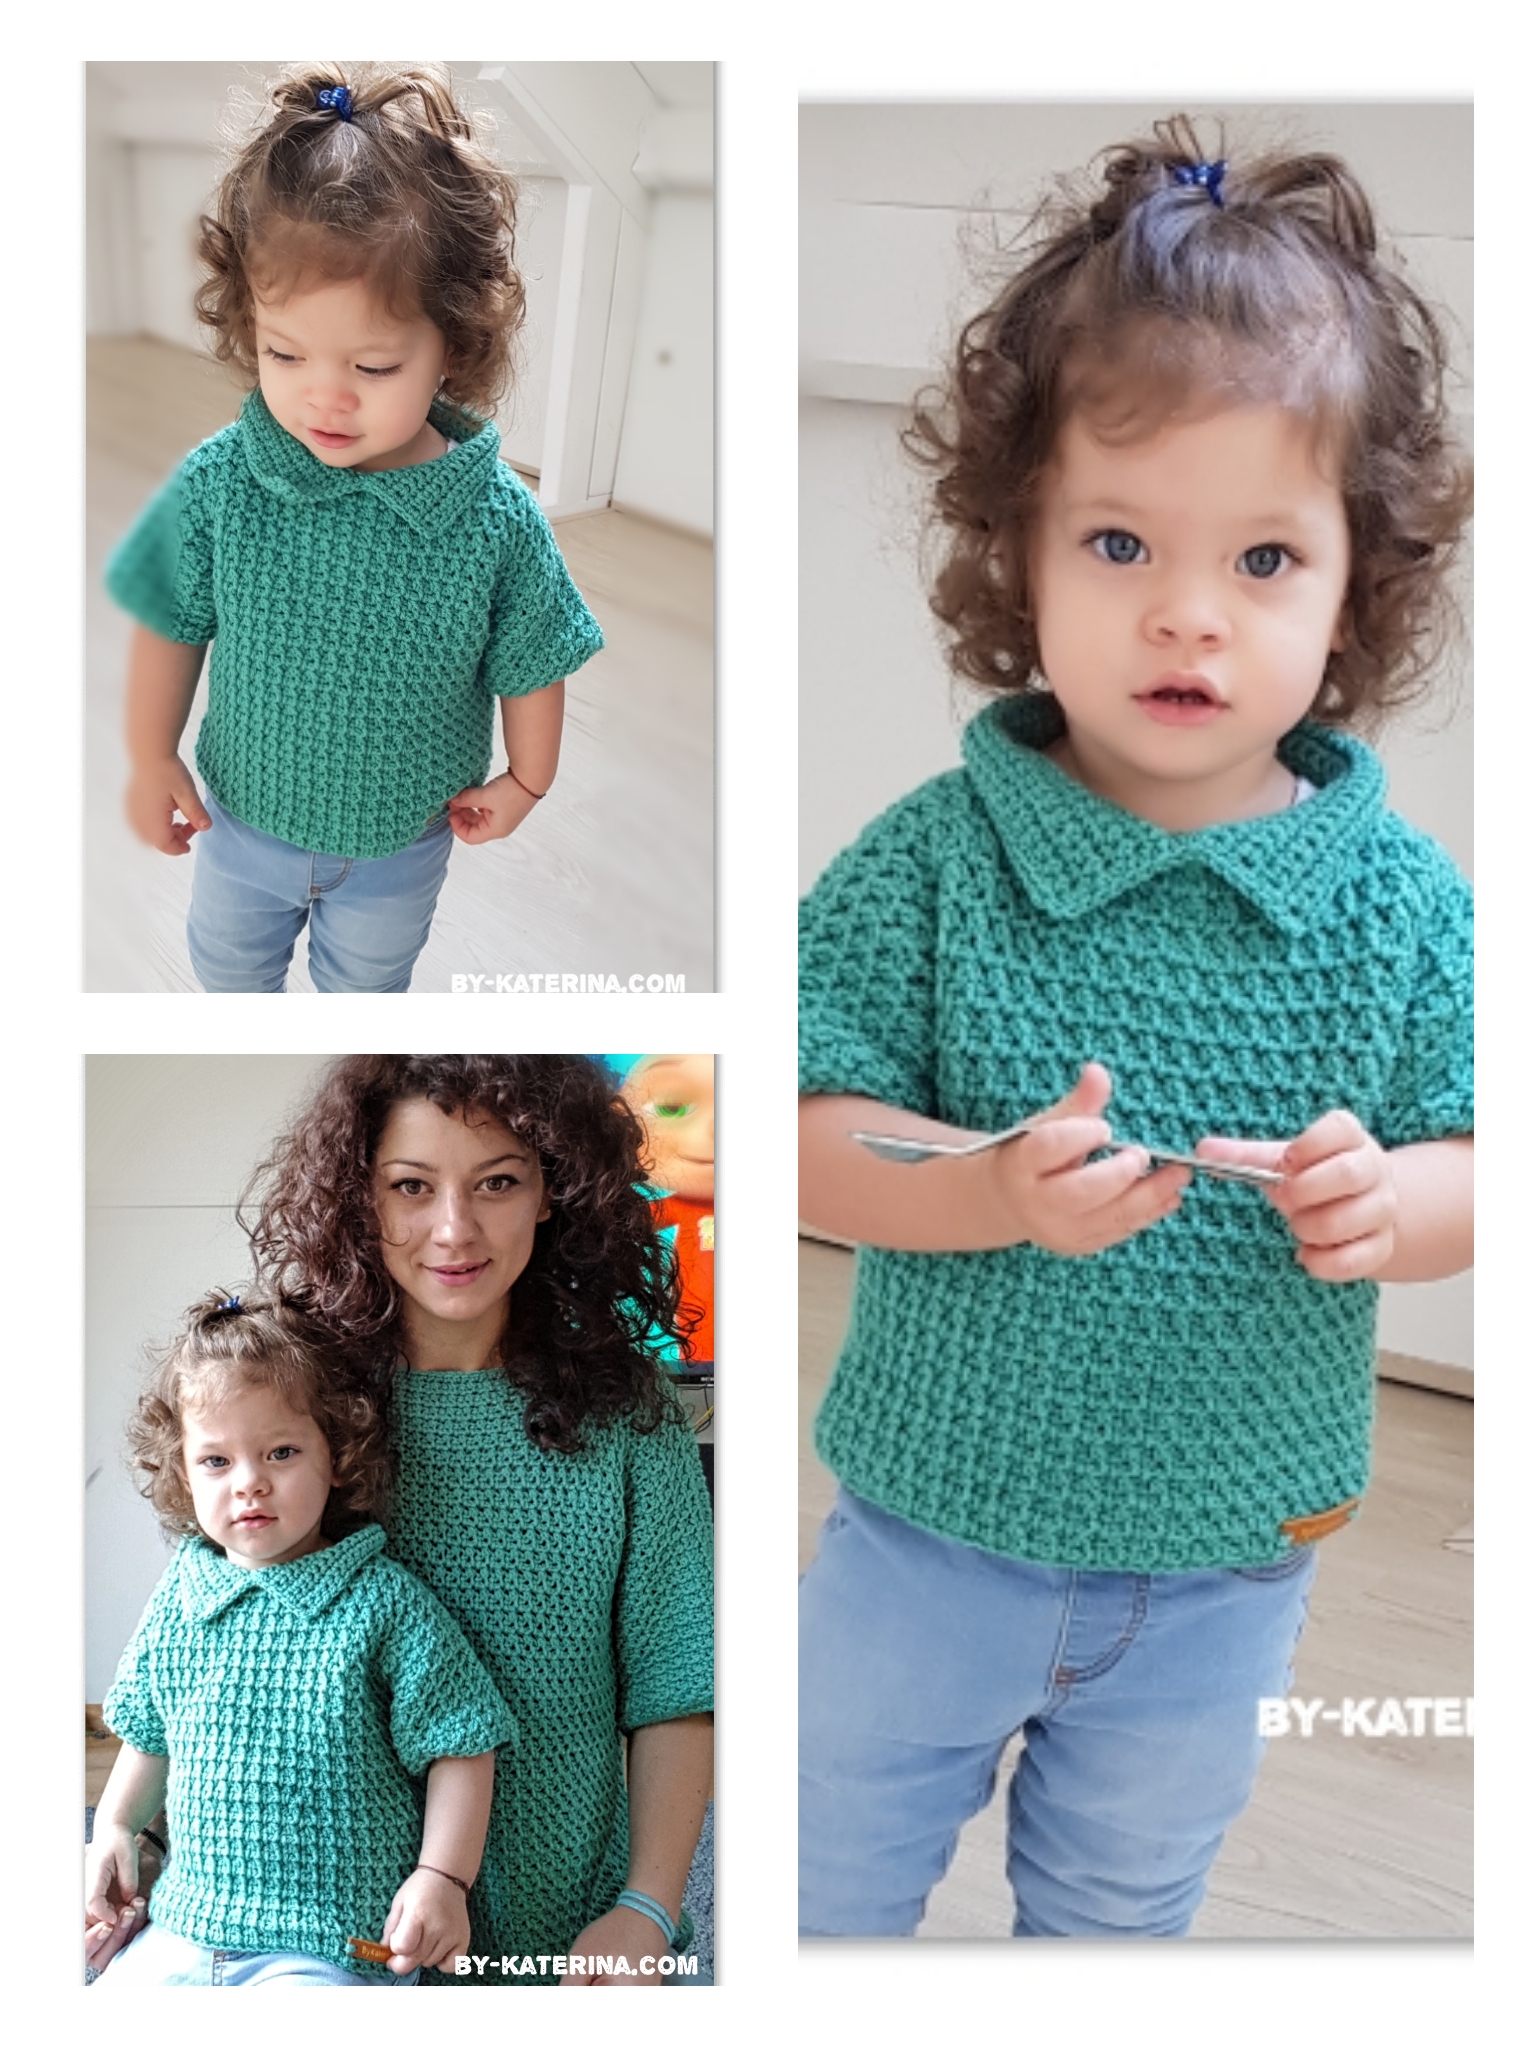
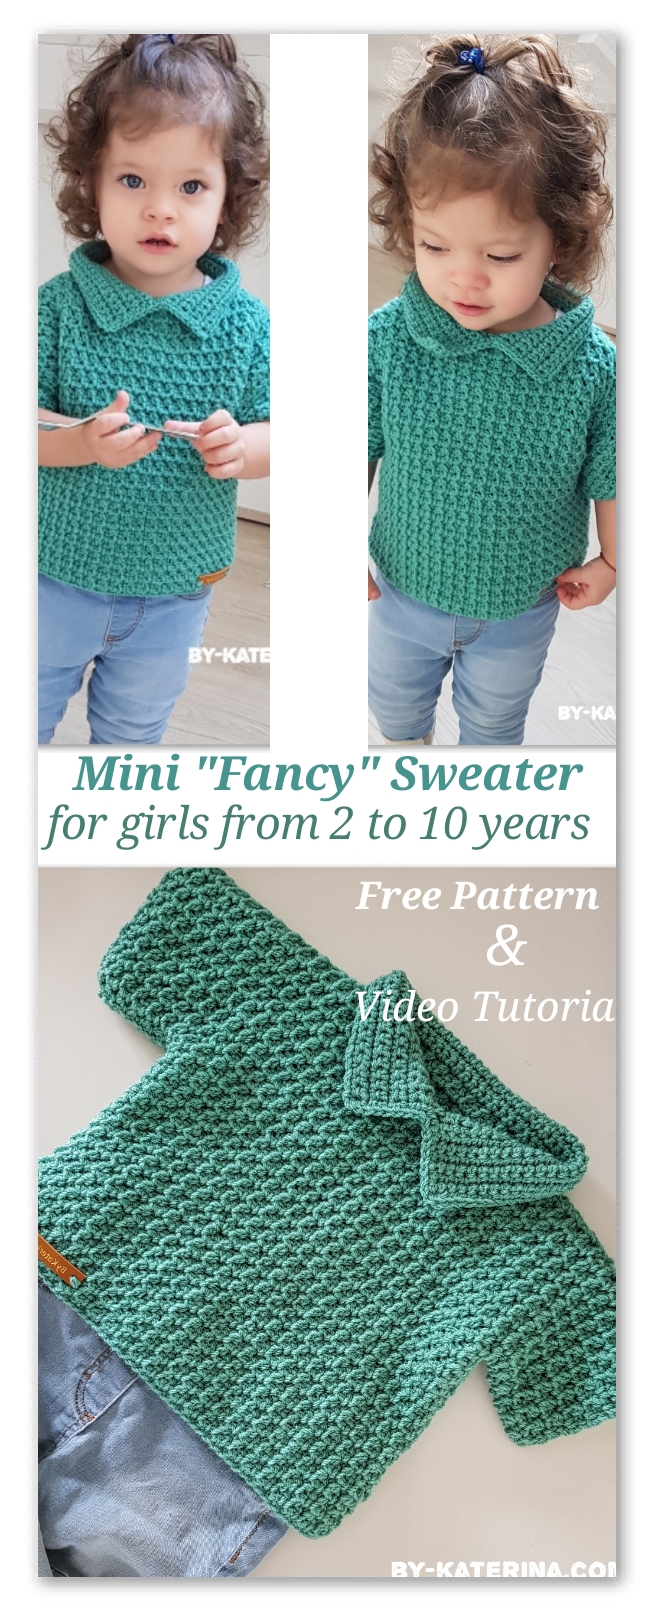
This Mini Fancy Sweater is the same design as Fancy Sweater  only that the pattern is for sizes from 2 to 10 years.

I liked so much the Fancy Sweater that I wanted one for my daughter too. It was so easy to make on women sizes and you can imagine that for children is even easier.

Pentru postarea in limba romana, click aici

Mini Fancy Sweater

If you want the ad-free, printable pdf pattern, you can purchase it from here

My intention was to add a girly element, the collar but it looks like more boyish. This is even better, meaning that you can make this Mini Fancy Sweater for a boy too.

Mini Fancy Sweater

This pattern is for sizes from 2 to 10 years and you can use any type of worsted yarn.

The approximate amount of yarn for each size is:

yarn amount

I uses 1 skein and some of the second of Scheepjes Color Crafter. 1 skein have 300 m and 100 grams. I used a 3.5 mm crochet hook (US E size).

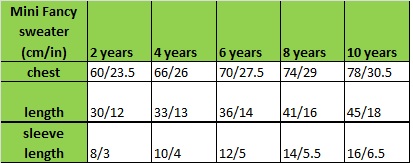
Final dimensions for the Mini Fancy Sweater are

dimensions mini fancy sweater

Gauge

16 st and 14 rows for a 10 cm / 4 ” square.

The stitch for the gauge is the single crochet decrease.

Abbreviations uses in this pattern:

  • Ch – chain
  • Sc – single crochet
  • St(s) – stitch(es)
  • sc2tog – 2 sc worked together (insert the hook in the stitch, yarn over, pull the yarn trough that st, insert the hook in the next st, yarn over and pull the yarn trough (3 loops on your hook), yarn over and pull the yarn trough all the loops on your hook)

Special stitch

Single crochet decrease – sc2tog, ch 1

We will work 2 sides, back and front and then will sew the 2 pieces together.

Back side

Begin with a chain.

  • 2 Years – ch 50
  • 4 Years – ch 54
  • 6 Years – ch 58
  • 8 years – ch 62
  • 10 years – ch 66

The foundation chain has to be an even number of sts.

Row 1

Ch 2, 1 sc in the 3rd st, *ch 1, sc2tog. Repeat from to the end of the row. Work in each st, don’t skip after ch 1. Ch 2 and turn.

Repeat first row, untill the armpit length.

  • 2 years – 26 more rows (27 rows in total)
  • 4 years – 27 more rows (28)
  • 6 years – 30 more rows (31)
  • 8 years – 34 more rows (35)
  • 10 years – 37 more rows (38)

If you want the Mini Fancy Sweater to be longer, add more rows.

At row 28 (29, 32, 36, 39) we will make the sleeve.

Begin the row as usual: ch 2, 1 sc in the first st, ch 1, sc2tog and repeat the st to the end of the row. At the end of the row we will chain extra st(s) for the sleeve.

  • 2 years – ch 14 st(s)
  • 4 years – ch 18 st(s)
  • 6 years – ch 20 st(s)
  • 8 years – ch 24 st (s)
  • 10 years – ch 26 st(s)

If you want a longer sleeve, ch more st(s)

After chaining the extra st(s) for the sleeve, ch 2 more and turn.

Row 29 (30, 33, 37, 40)

Continue with the sc decrease stitch to the end of the row. At the end of the row chain the extra st(s) for the sleeve, 2 more and turn.

Row 30 (31, 34, 38, 41)

Sc decrease st to the end of the row. at the end of this row you will have in total

  • 2 years – 78 st(s)
  • 4 years – 90 st(s)
  • 6 years – 98 st(s)
  • 8 years – 110 st(s)
  • 10 years – 118 st(s)

Rows 31 – 43 (32- 47, 35 – 52, 39-58, 42-65)

Repeat the Row 30 (31, 34, 38, 41)

Fasten up.

The back side is done.

For the front side follow the same pattern.

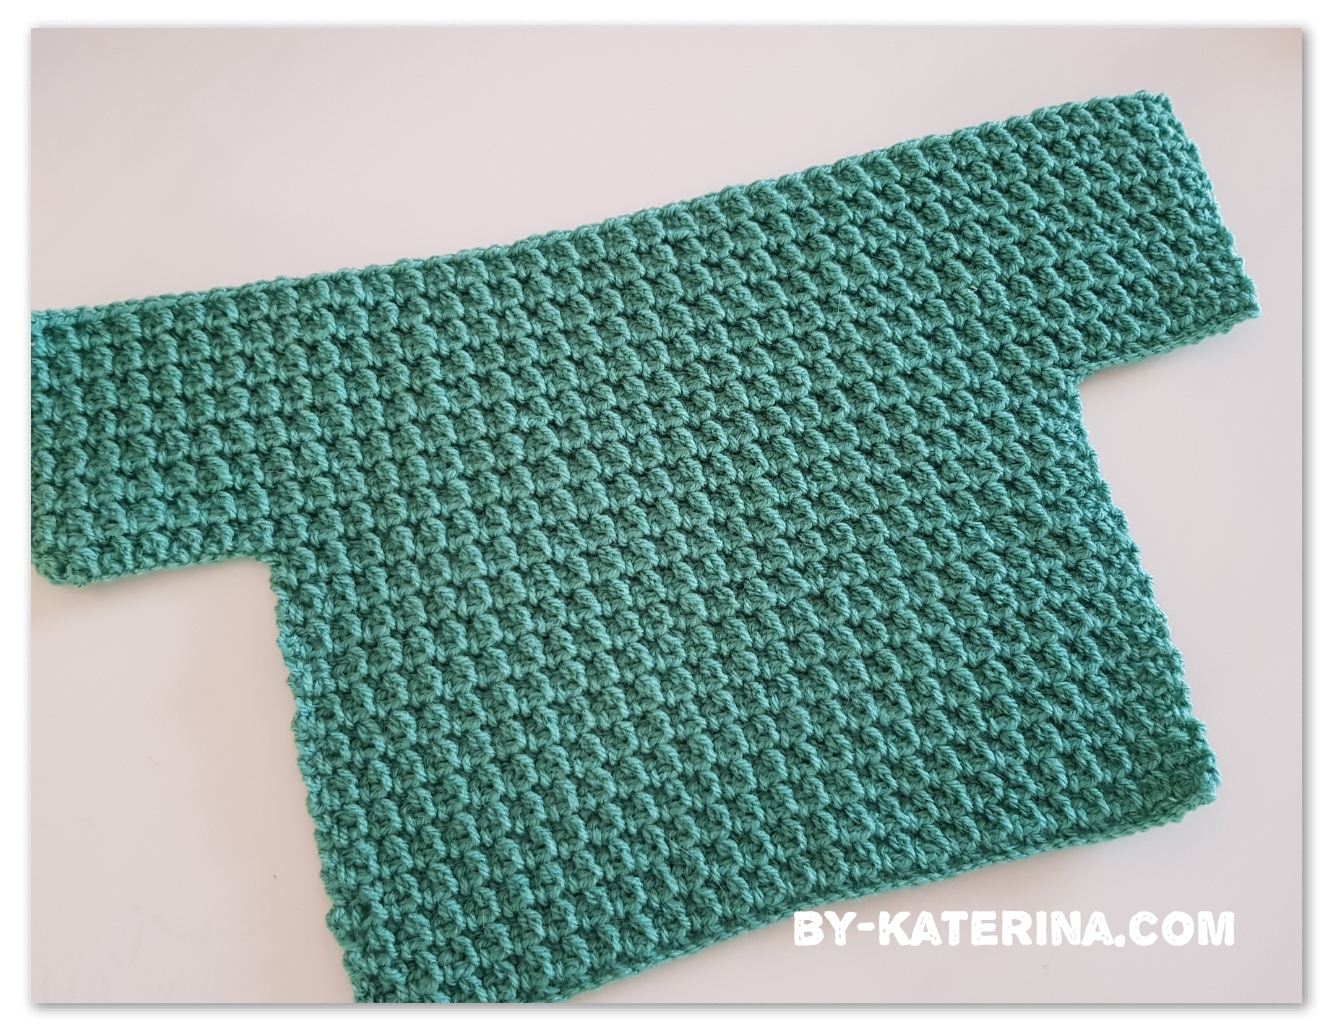
Mini fancy sweater back side

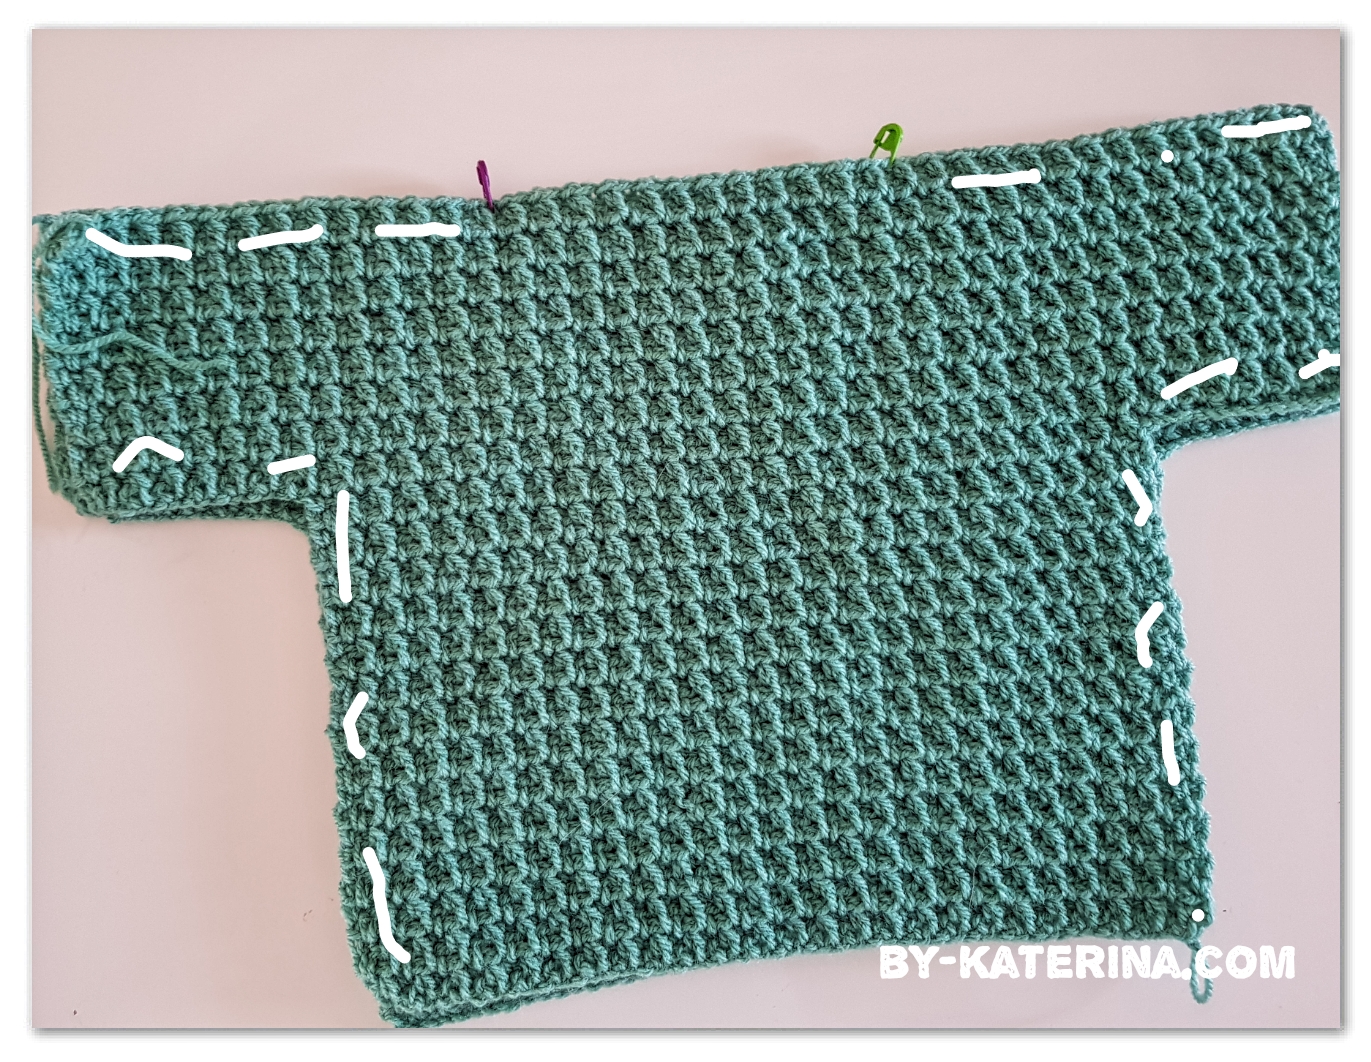
After you finish the both sides is time to assemble the sweater.

We will begin to sew the top of the sleeves and the shoulders.

  • 2 years – 26 st(s) each side
  • 4 years – 31 st(s) each side
  • 6 years – 34 st(s)
  • 8 years – 39 st(s)
  • 10 years – 42 st(s)

Then sew the bottom of the sleeve and the edges of the Mini Fancy Sweater.

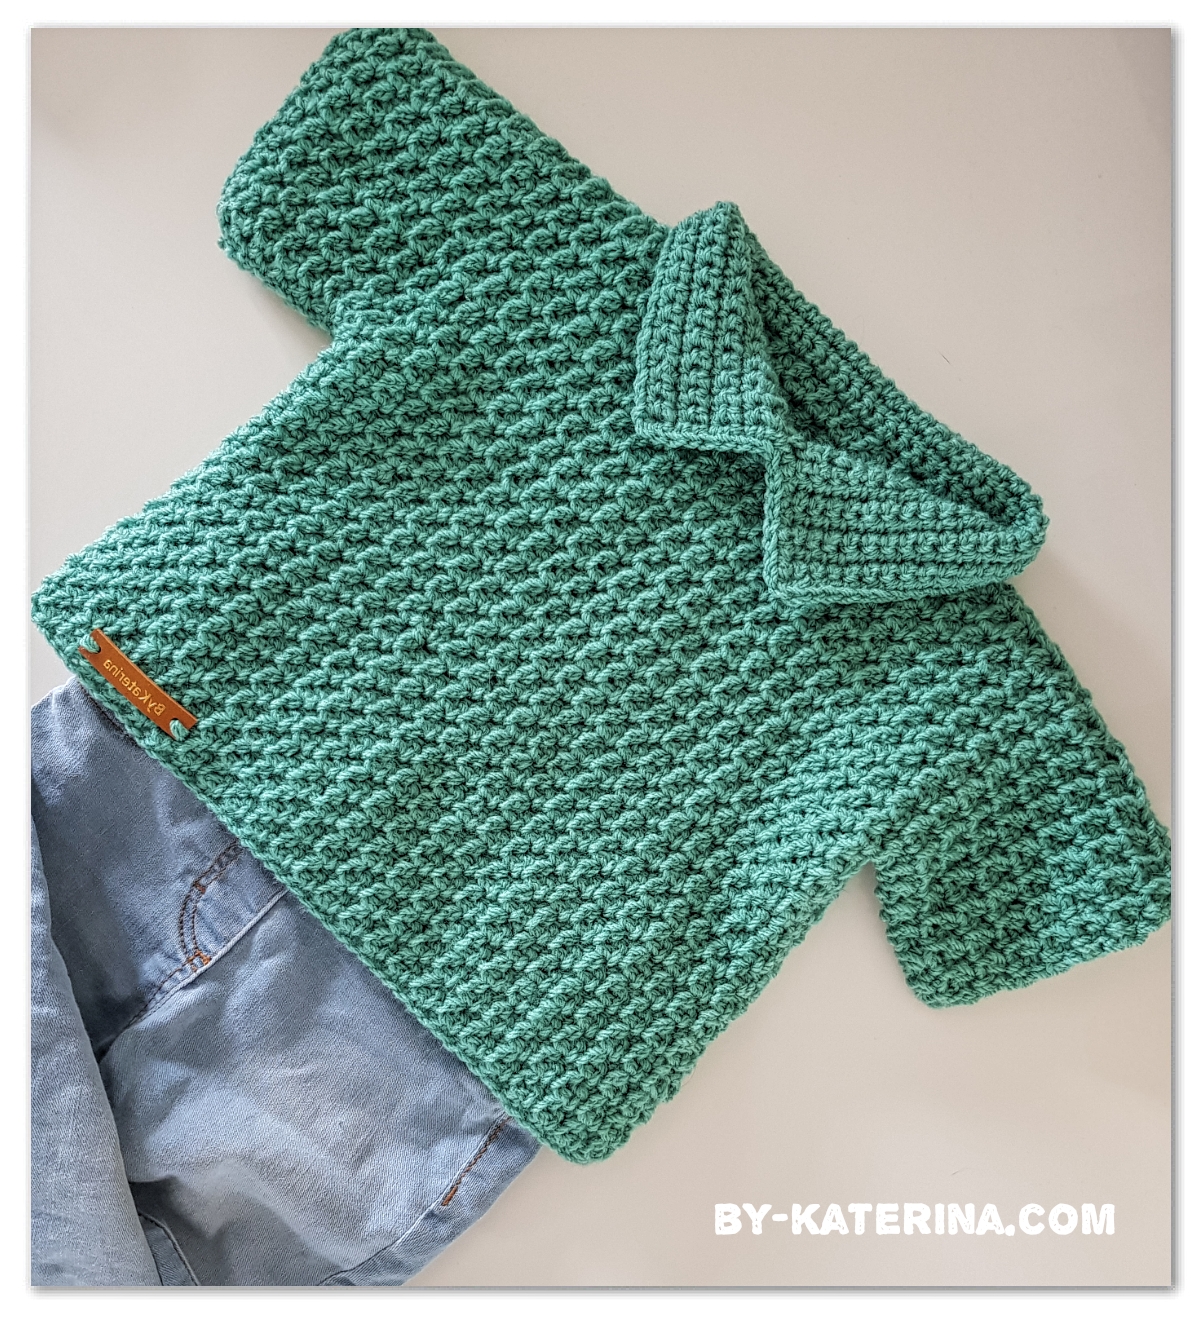
Mini Fancy Sweater

After this stage the Fancy Sweater on women sizes was ready, but for the Mini Fancy Sweater I added a collar.

The collar is easy to make, only in sc.

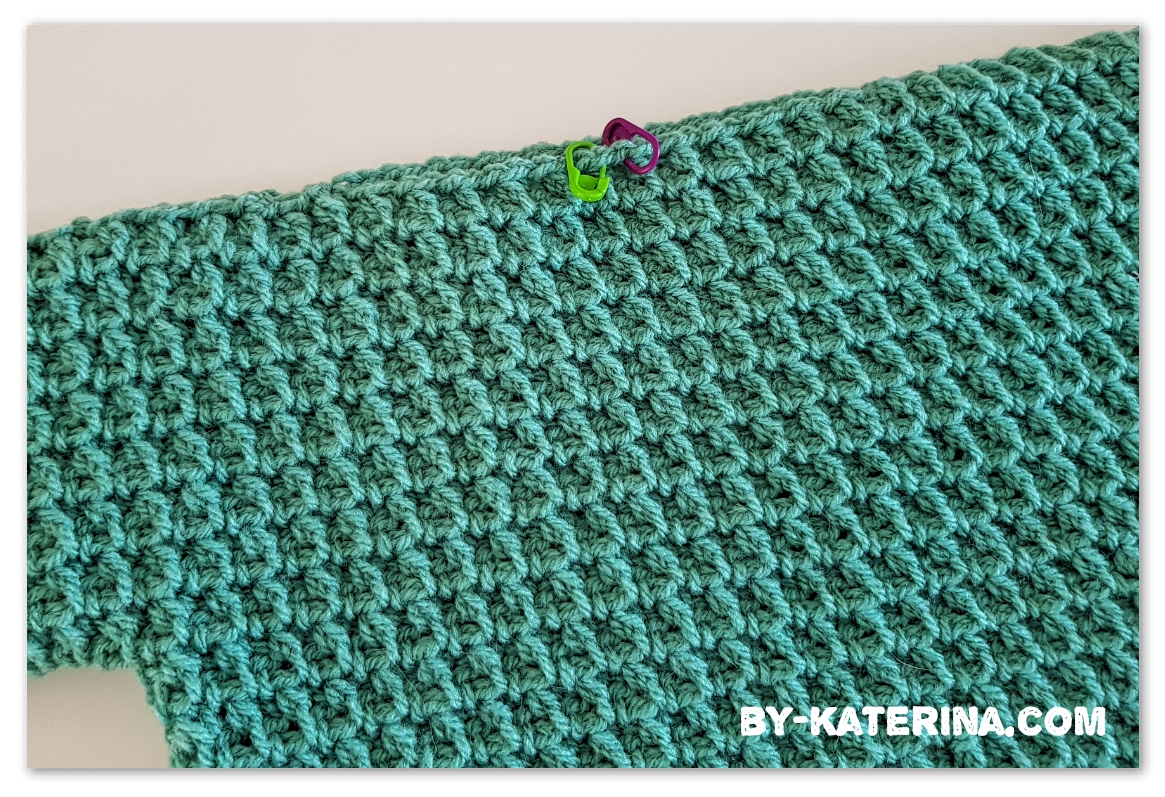
Put the sweater on the right side and mark the 2 st from the middle of the neck line.

Mini Fancy Sweater

Row 1

Insert the hook and yarn in the left st and ch 1, 1 sc crochet in the same st, 1 sc across the entire neck line until you get to the second marked st

Repeat row 1 7 more rows or as many rows as you want. The last row work it in round to, making sc also on the st on the edges of the collar.

After the collar, the Mini Fancy Sweater is done.

Mini Fancy Sweater

If you want the ad-free, printable pdf pattern, you can purchase it from here

Love it. This is the first Mother & Daughter piece of clothes that we have, but maybe there will be more.

For the Mini Fancy Sweater I didn’t make another video tutorial, but the steps are the same as for the Fancy Sweater only that you work with less stitches.

So I will put the link from the Fancy Sweater video tutorial in case you need it.

I hope you liked this pattern and you will make this cute Mini Fancy Sweater. I would love to see your picture on ByKaterina Crochet Facebook page or ByKaterina Crochet Facebook Group

Follow me on Pinterest to see more free patterns and other things crochet related.

https://ro.pinterest.com/katerina6795/free-crochet-patterns/

If you want to save this pattern for later click the image bellow.

Mini Fancy Sweater


When you are a crocheter, you want your projects to be perfect.

Happens very often, at the end of one beautiful project still to find some things that aren’t as you wished.

Also happens to realise at the end of the project that is a mistake at the beginning of it and you think that project is ruined and you have to start all over again.

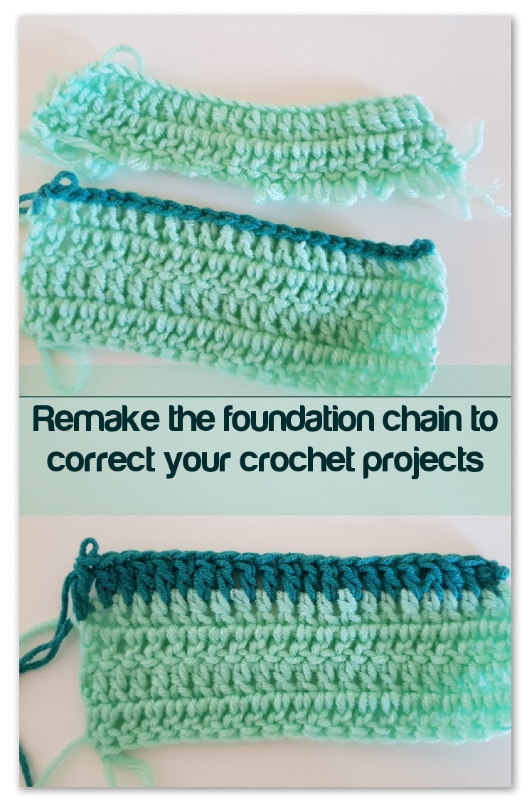
Here is a trick on how to fix this: remake foundation chain.

Pentru postarea in limba romana, click aici

remake the foundation chain

Let me tell you some problems that you can fix with this method:

  1. A mistake at the beginning of your project when you are about to finish the item and don’t want to frog and start all over again

  2. At the end of the project, after assembling all the parts, let’s say on a sweater, you realise that the sleeve is too long.

  3. The foundation chain is too tight and your projects are waving.

And maybe there are more, but those are in my mind right now.

Ok, so now let me explain you how you can do this.

First, decide on which row you want to make this procedure and be sure that the stitches are facing you on the wrong side (the stitches are bumping a little when they are on the wrong side).

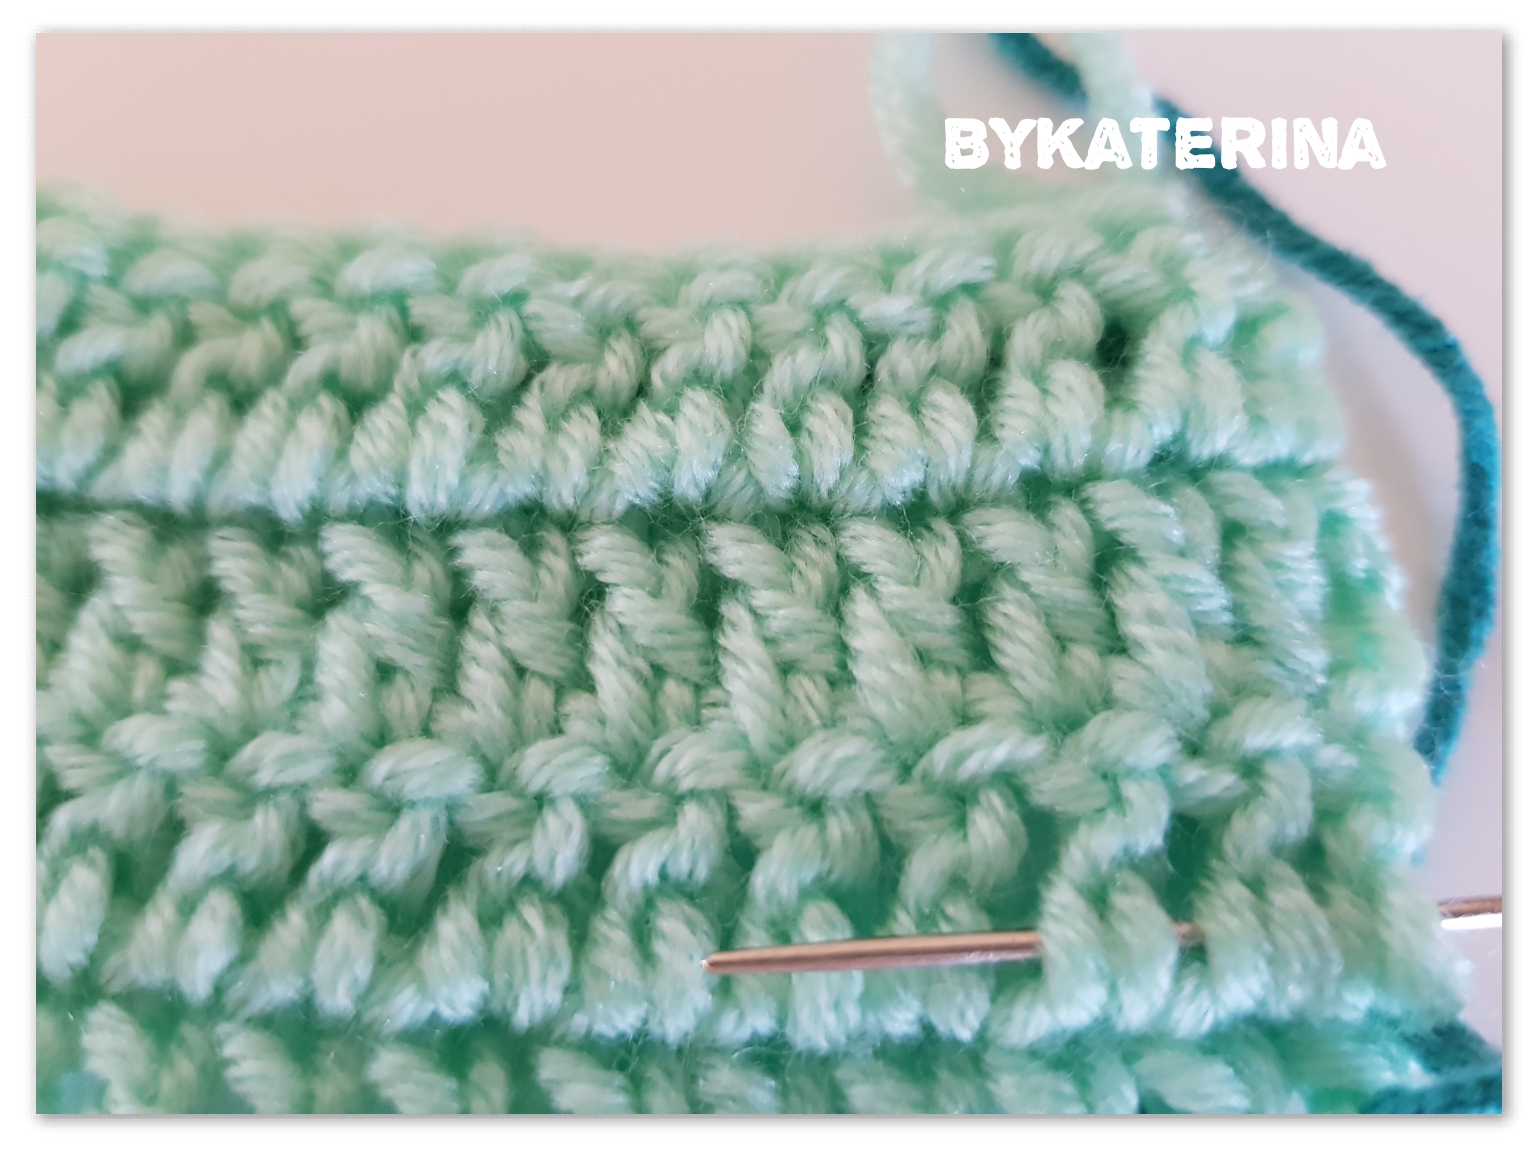
Then, with a tapestry needle, insert the yarn trough the bottom of the stitches of this row, like you see in the picture bellow.

remake the foundation chain:insert the yatn

Go with the needle trough each stitch of this row and pull the yarn trough those stitches.

After this step, all you have to do is to CUT the stitches from the row bellow and pull out all the little pieces of yarn until you have the row with the yarn trough stitches as your first row.

Try to leave a long tail at one edge to wave in at the end.

All the hard work is done now, and you can start now to remake the foundation chain.

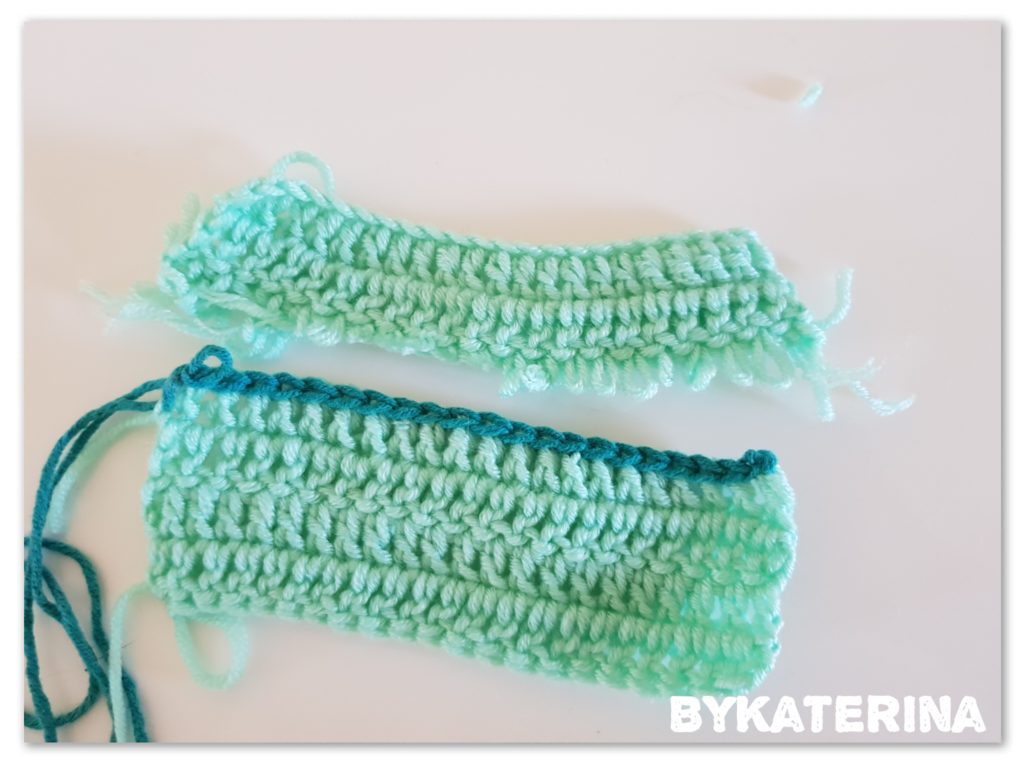
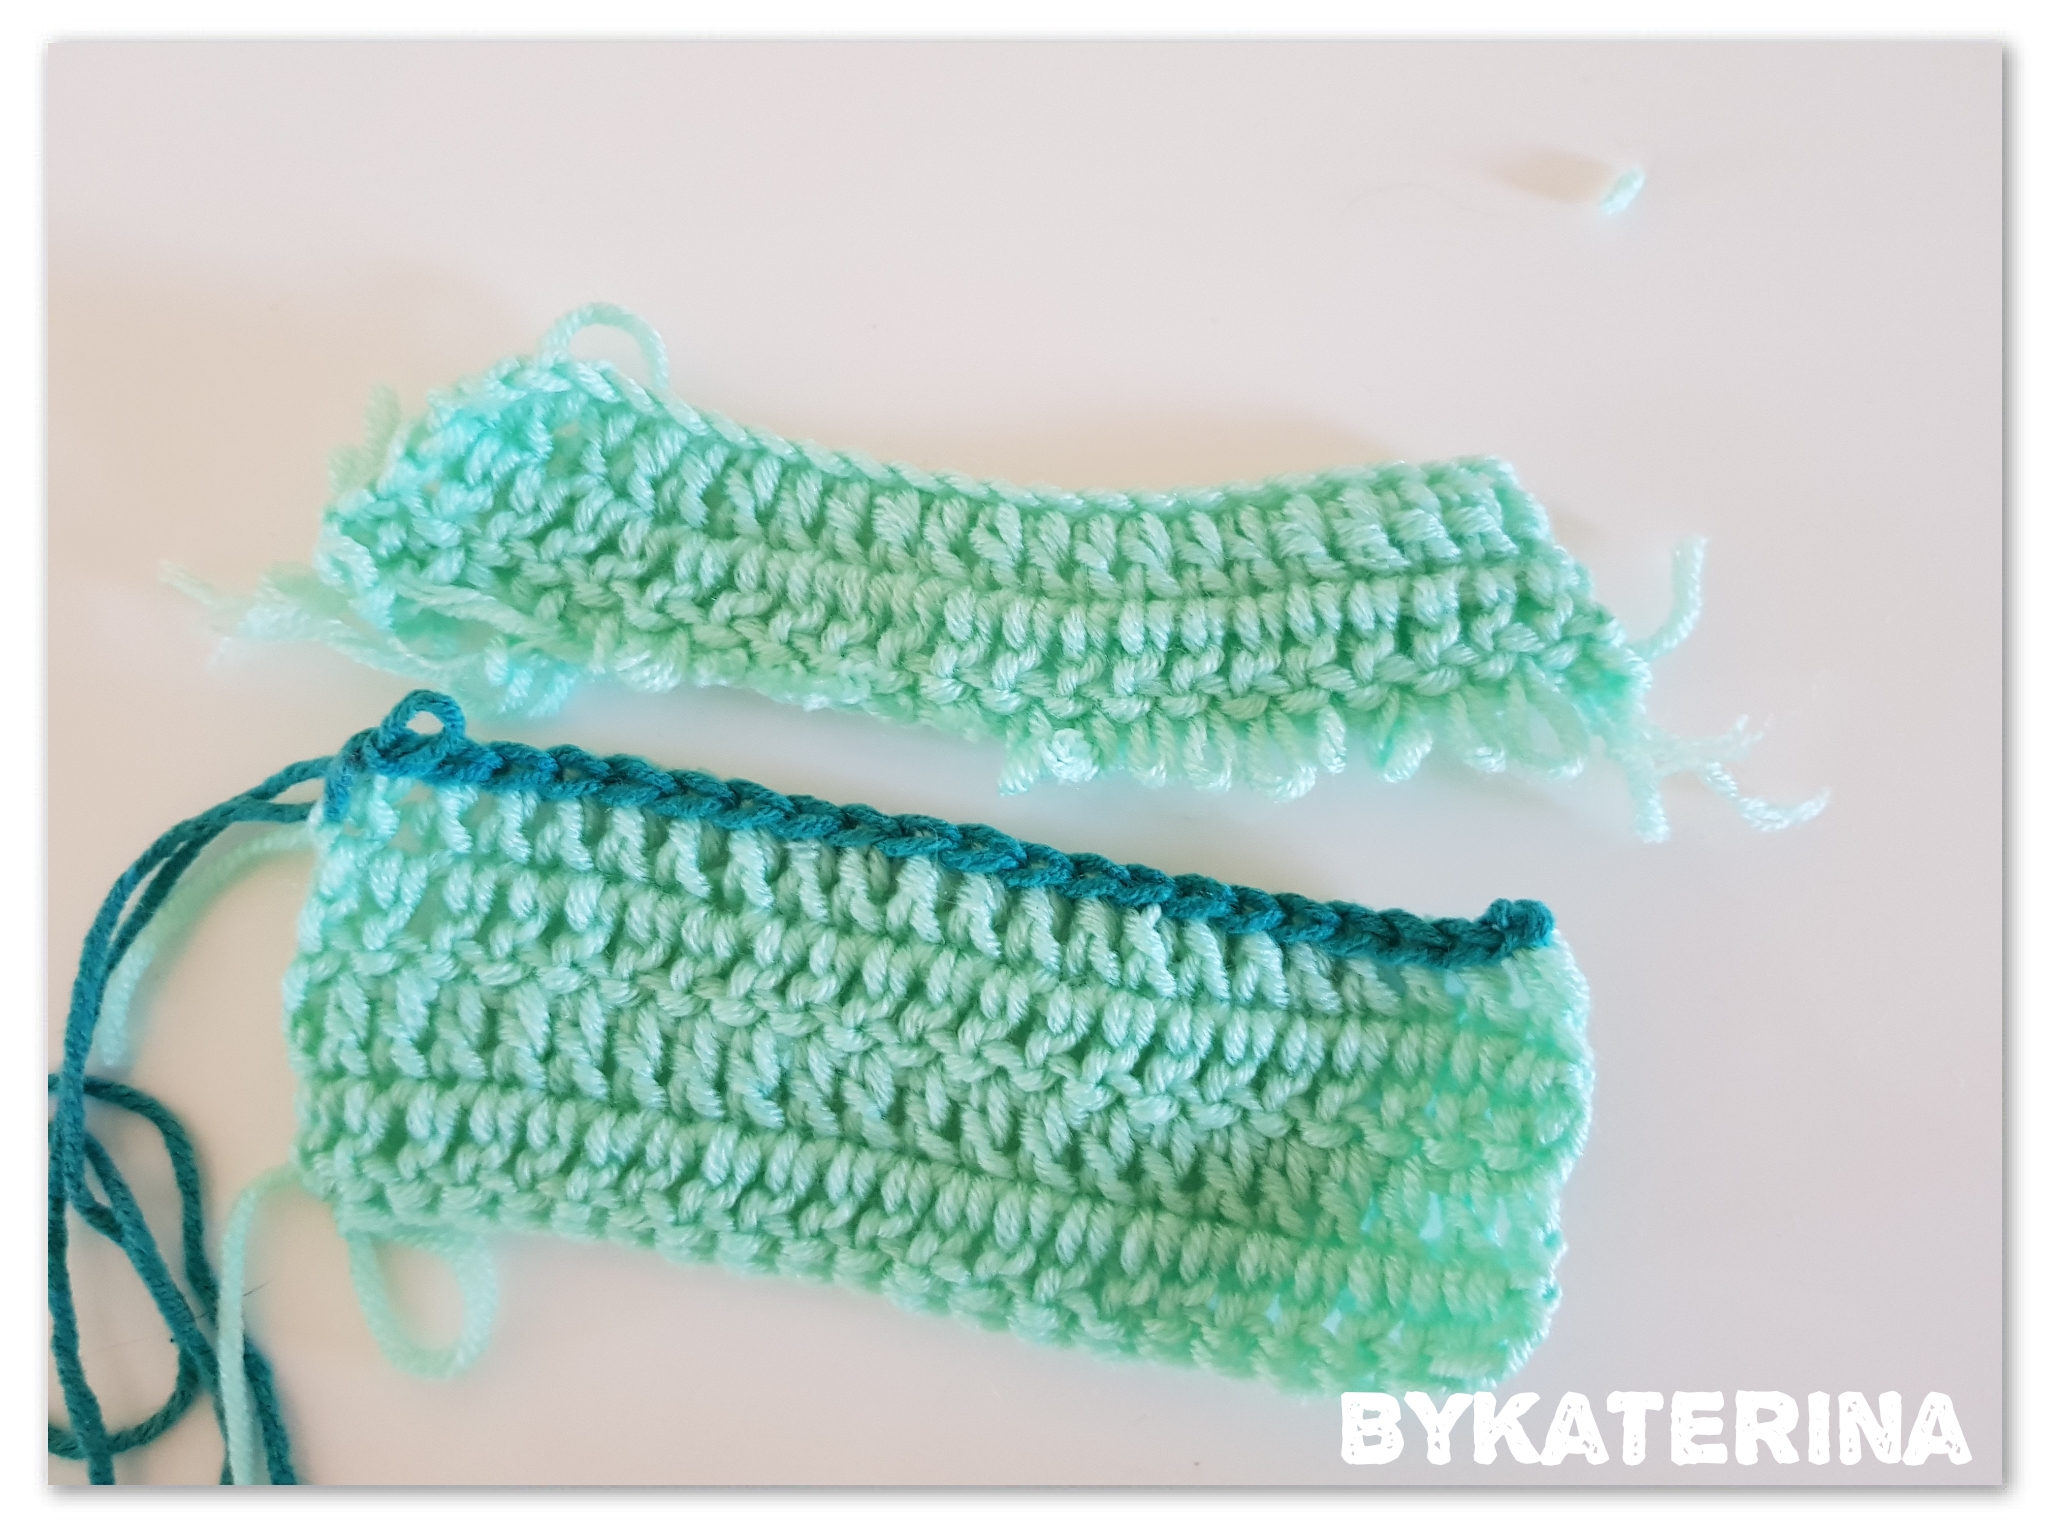
remake the foundation chain

How you make that? Easy.

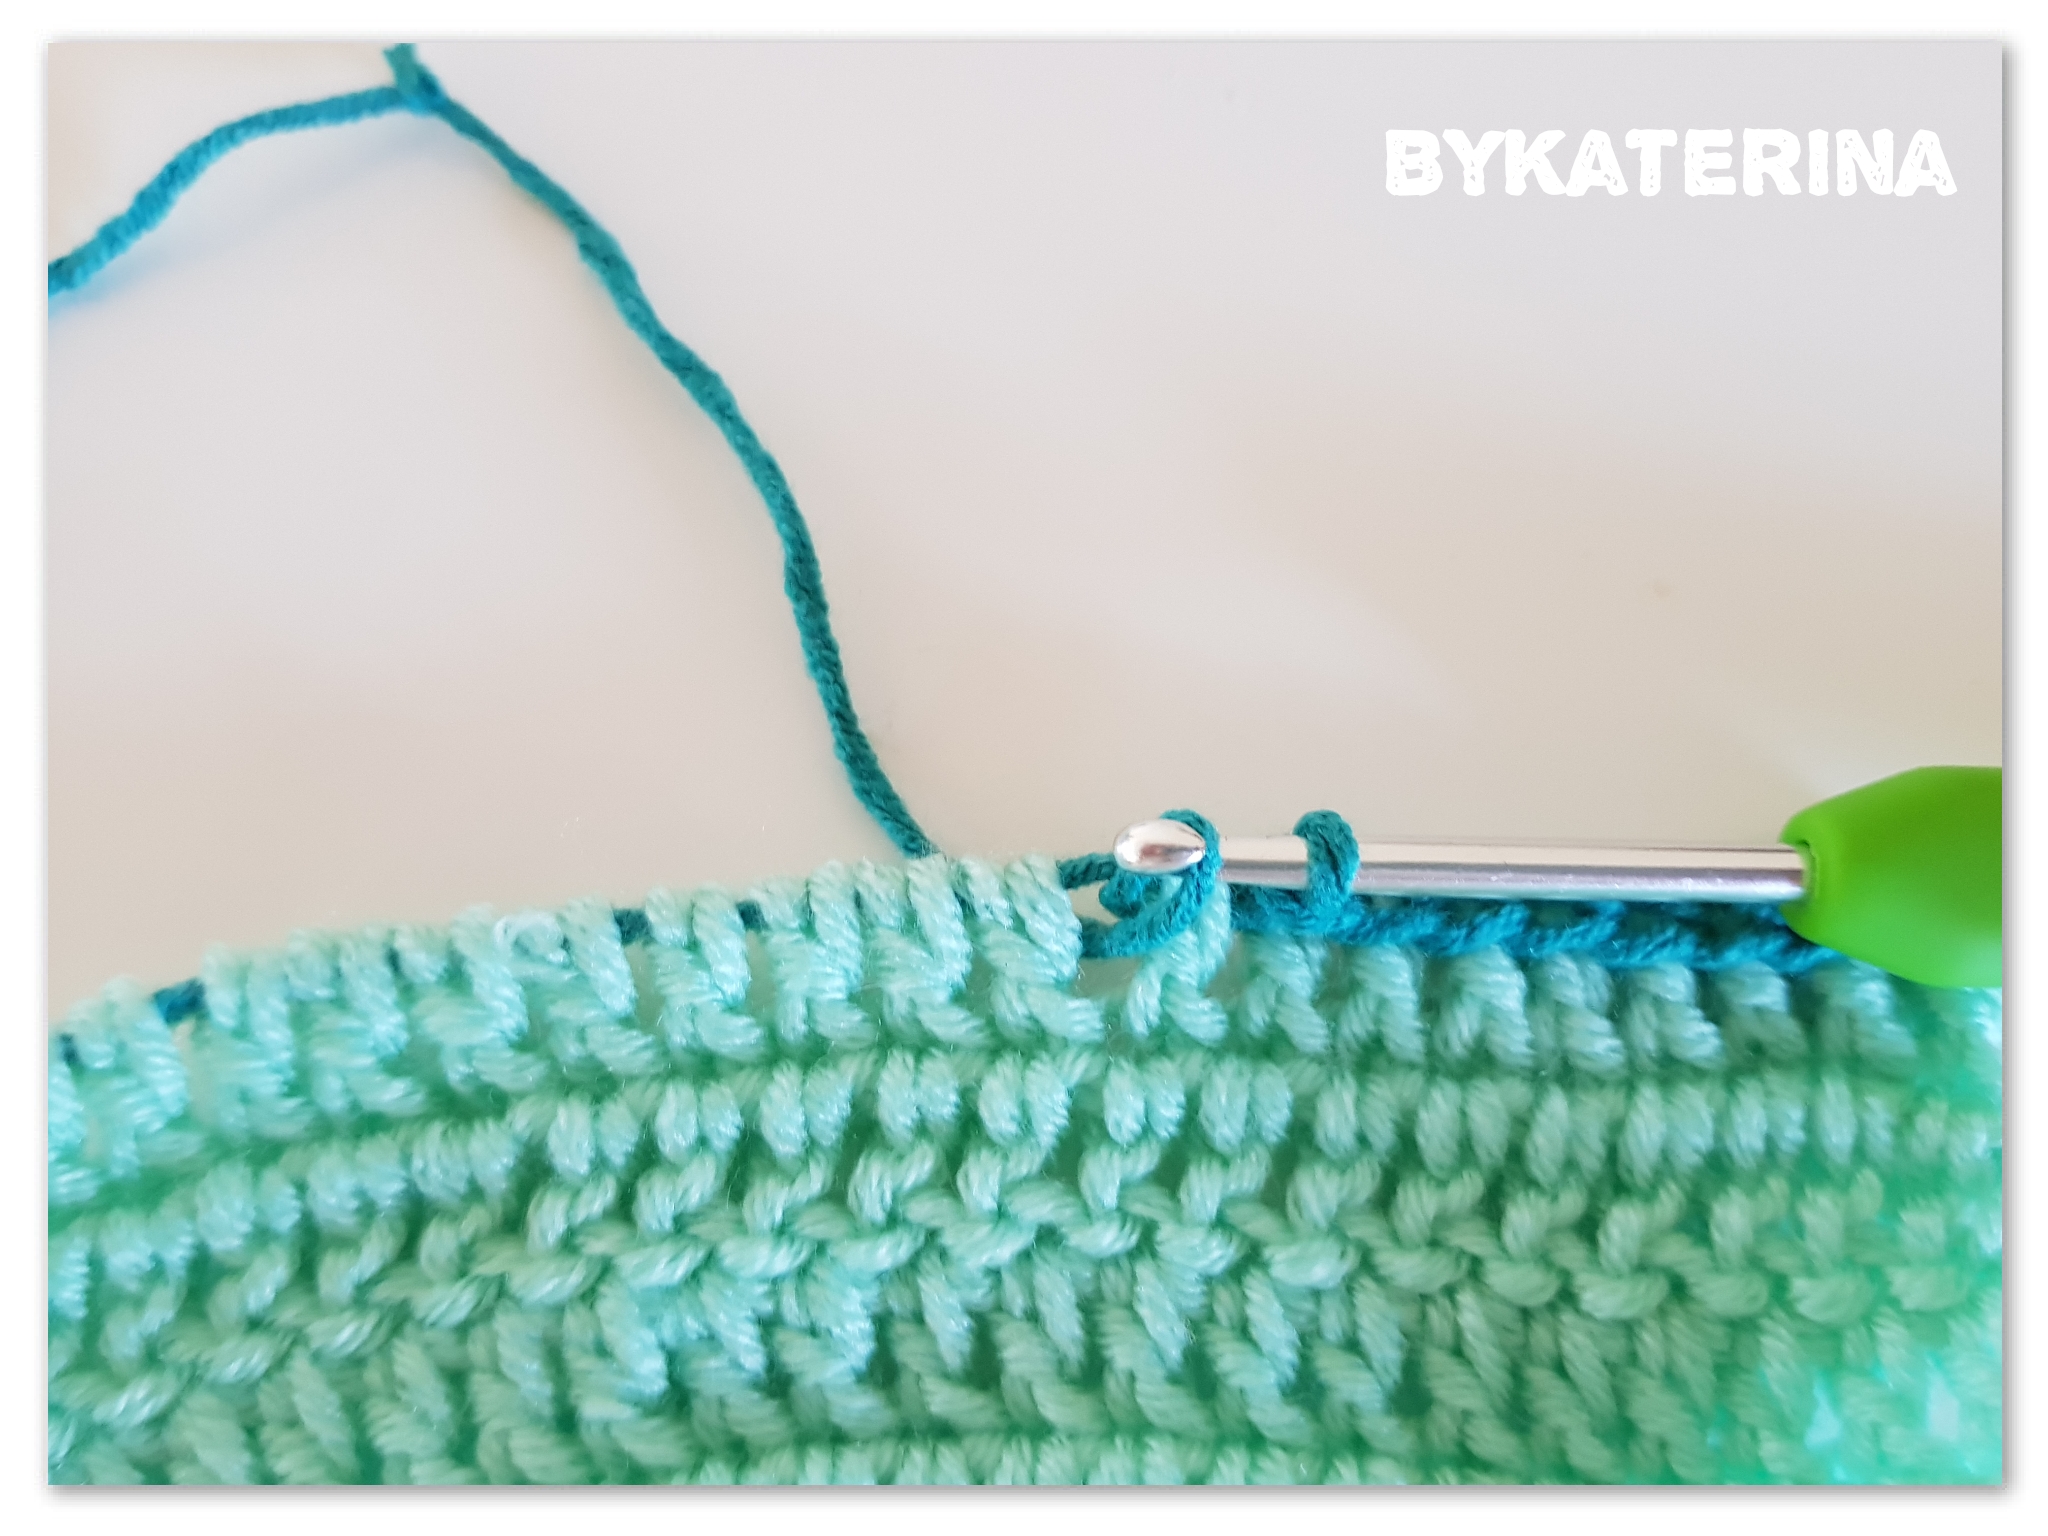
At one end of the yarn that you inserted, make a slip knot and pull the other end until your slip knot is near the first stitch.

Maybe you also be interested in how to make the ripple double crochet.

Insert the hook in the loop, split the first 2 stitches and insert the hook underneath the inserted yarn, yarn over and pull the yarn trough the stitches and trough the loop on your hook.

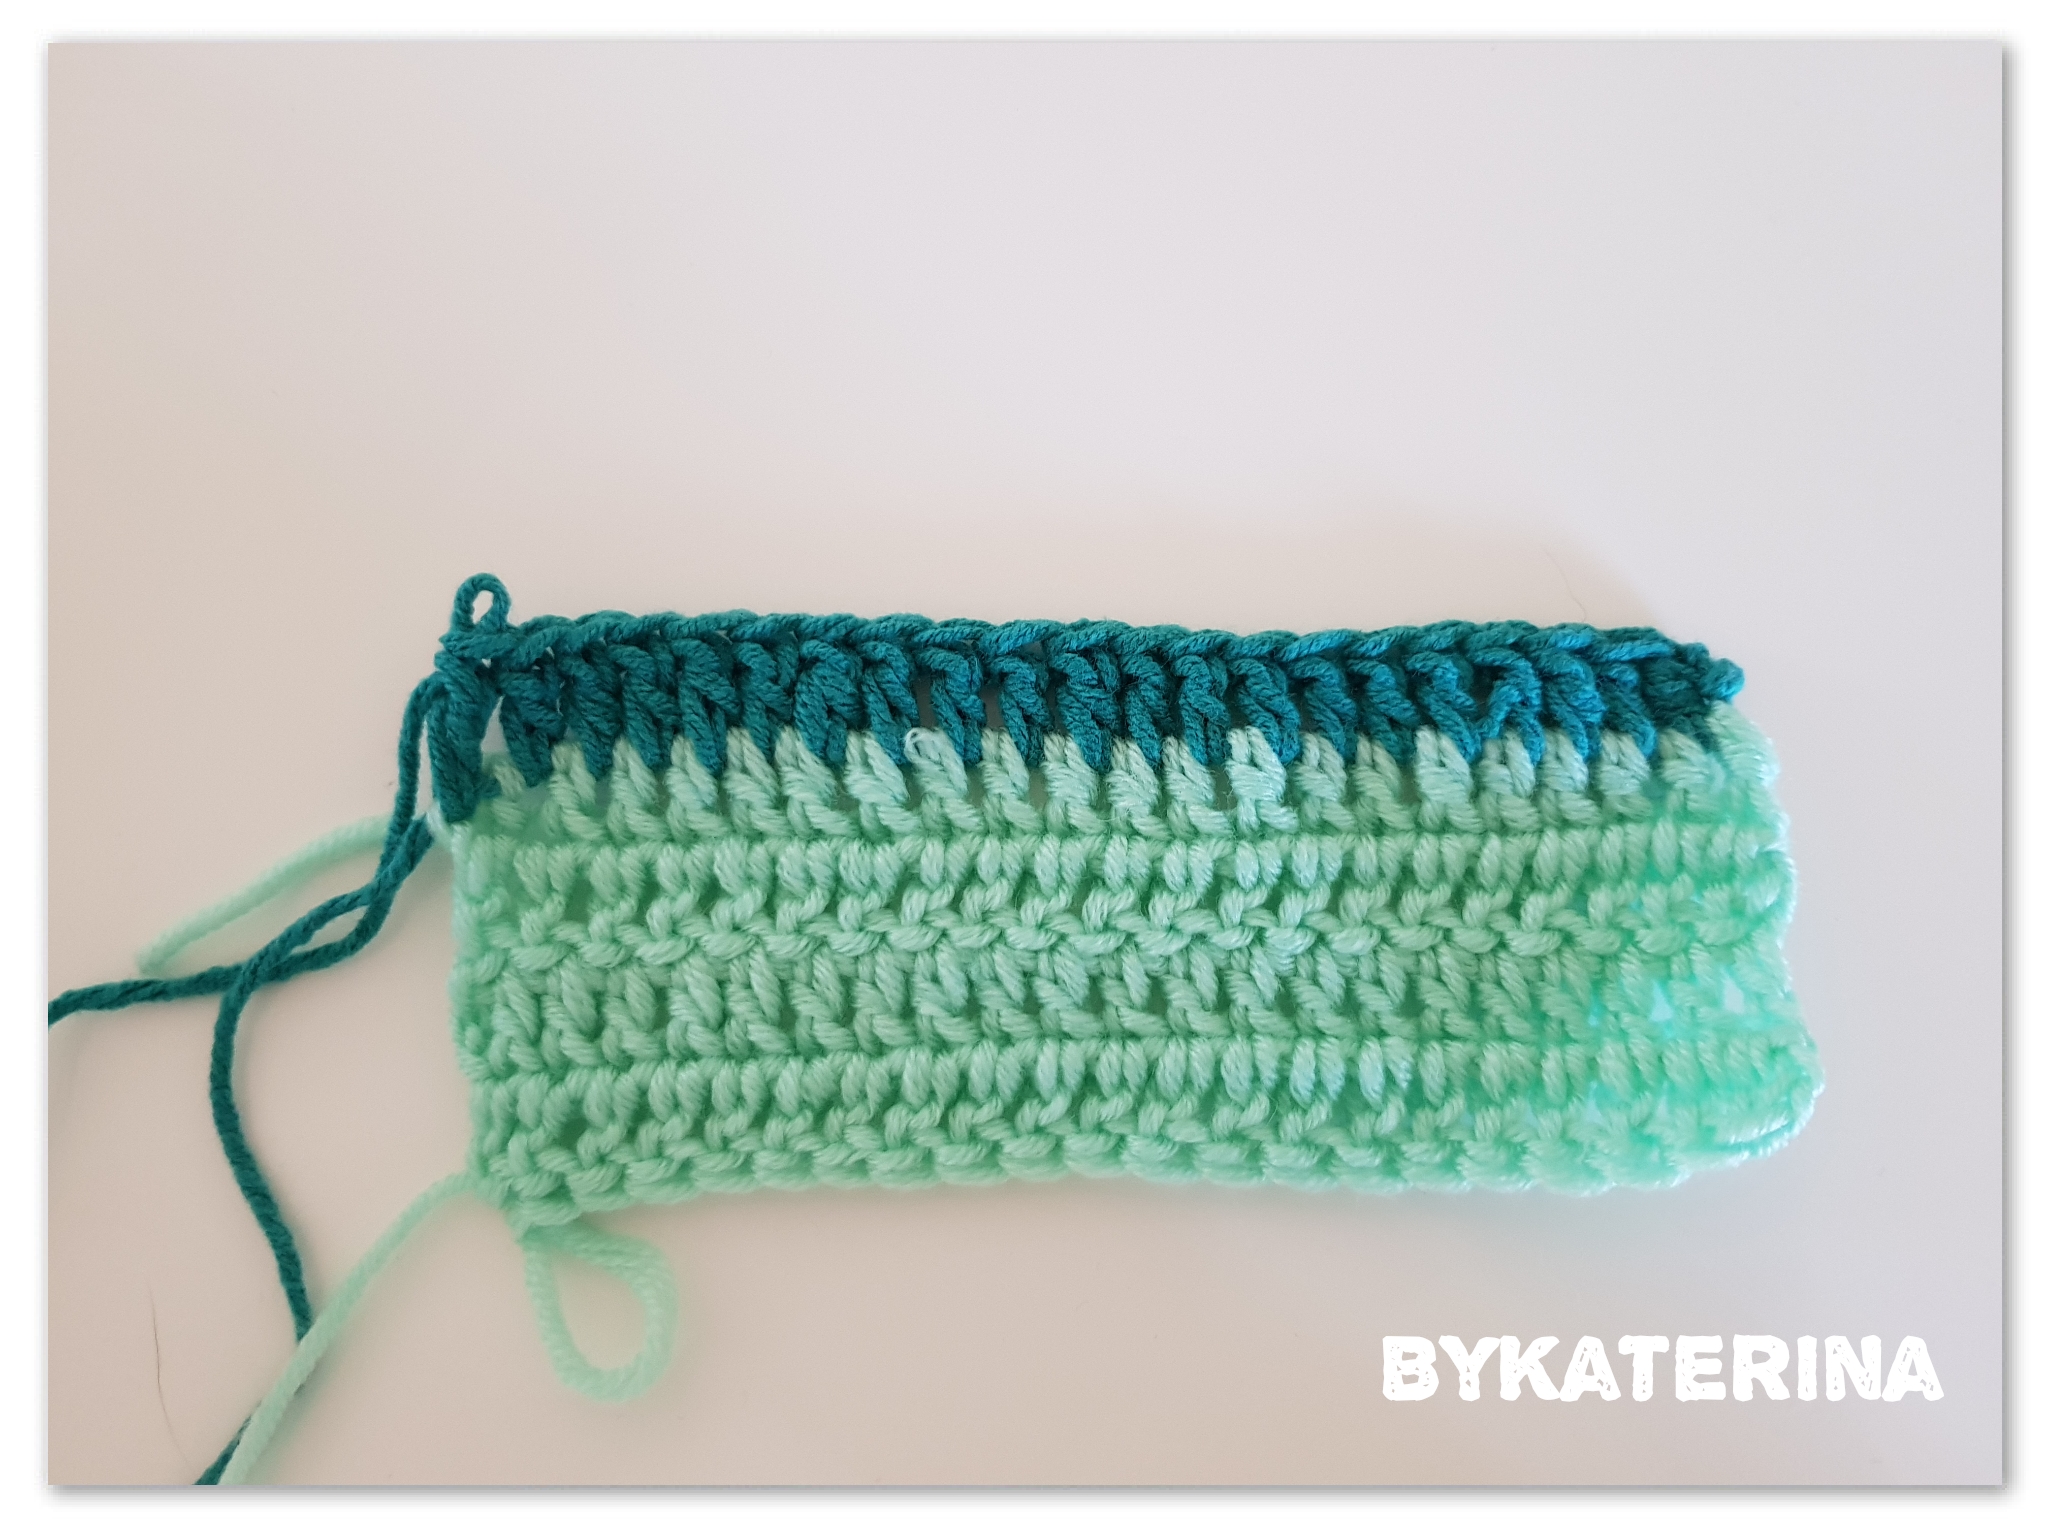
Proceed the same between all the stitches to the end of the row. After finishing you have a new foundation chain

remake the foundation chain

You can use this method to remake foundation chain when you want to make your project shorter or if you want to actually remake the initial foundation chain that is too tight.

If you want to fix some error at the beginning of your project, after cutting the rows that you wanted to get rid of them, you have to remake those rows.

You will proceed the same as for the remake foundation chain method above, only that instead of slip stitch you will make the stitch of your project, in my case double crochet.

Basically you will start to crochet in the opposite direction.

remake foundation chain

And this is it!! No more ruined projects from now on!!

As you know, bellow you will find the video tutorial.

Enjoy crochet!!!

If you liked this tutorial, save it for later in your pin list.

Remake the foundation chain