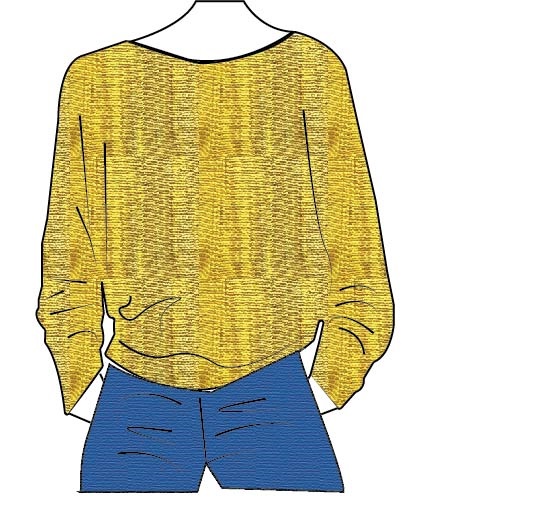
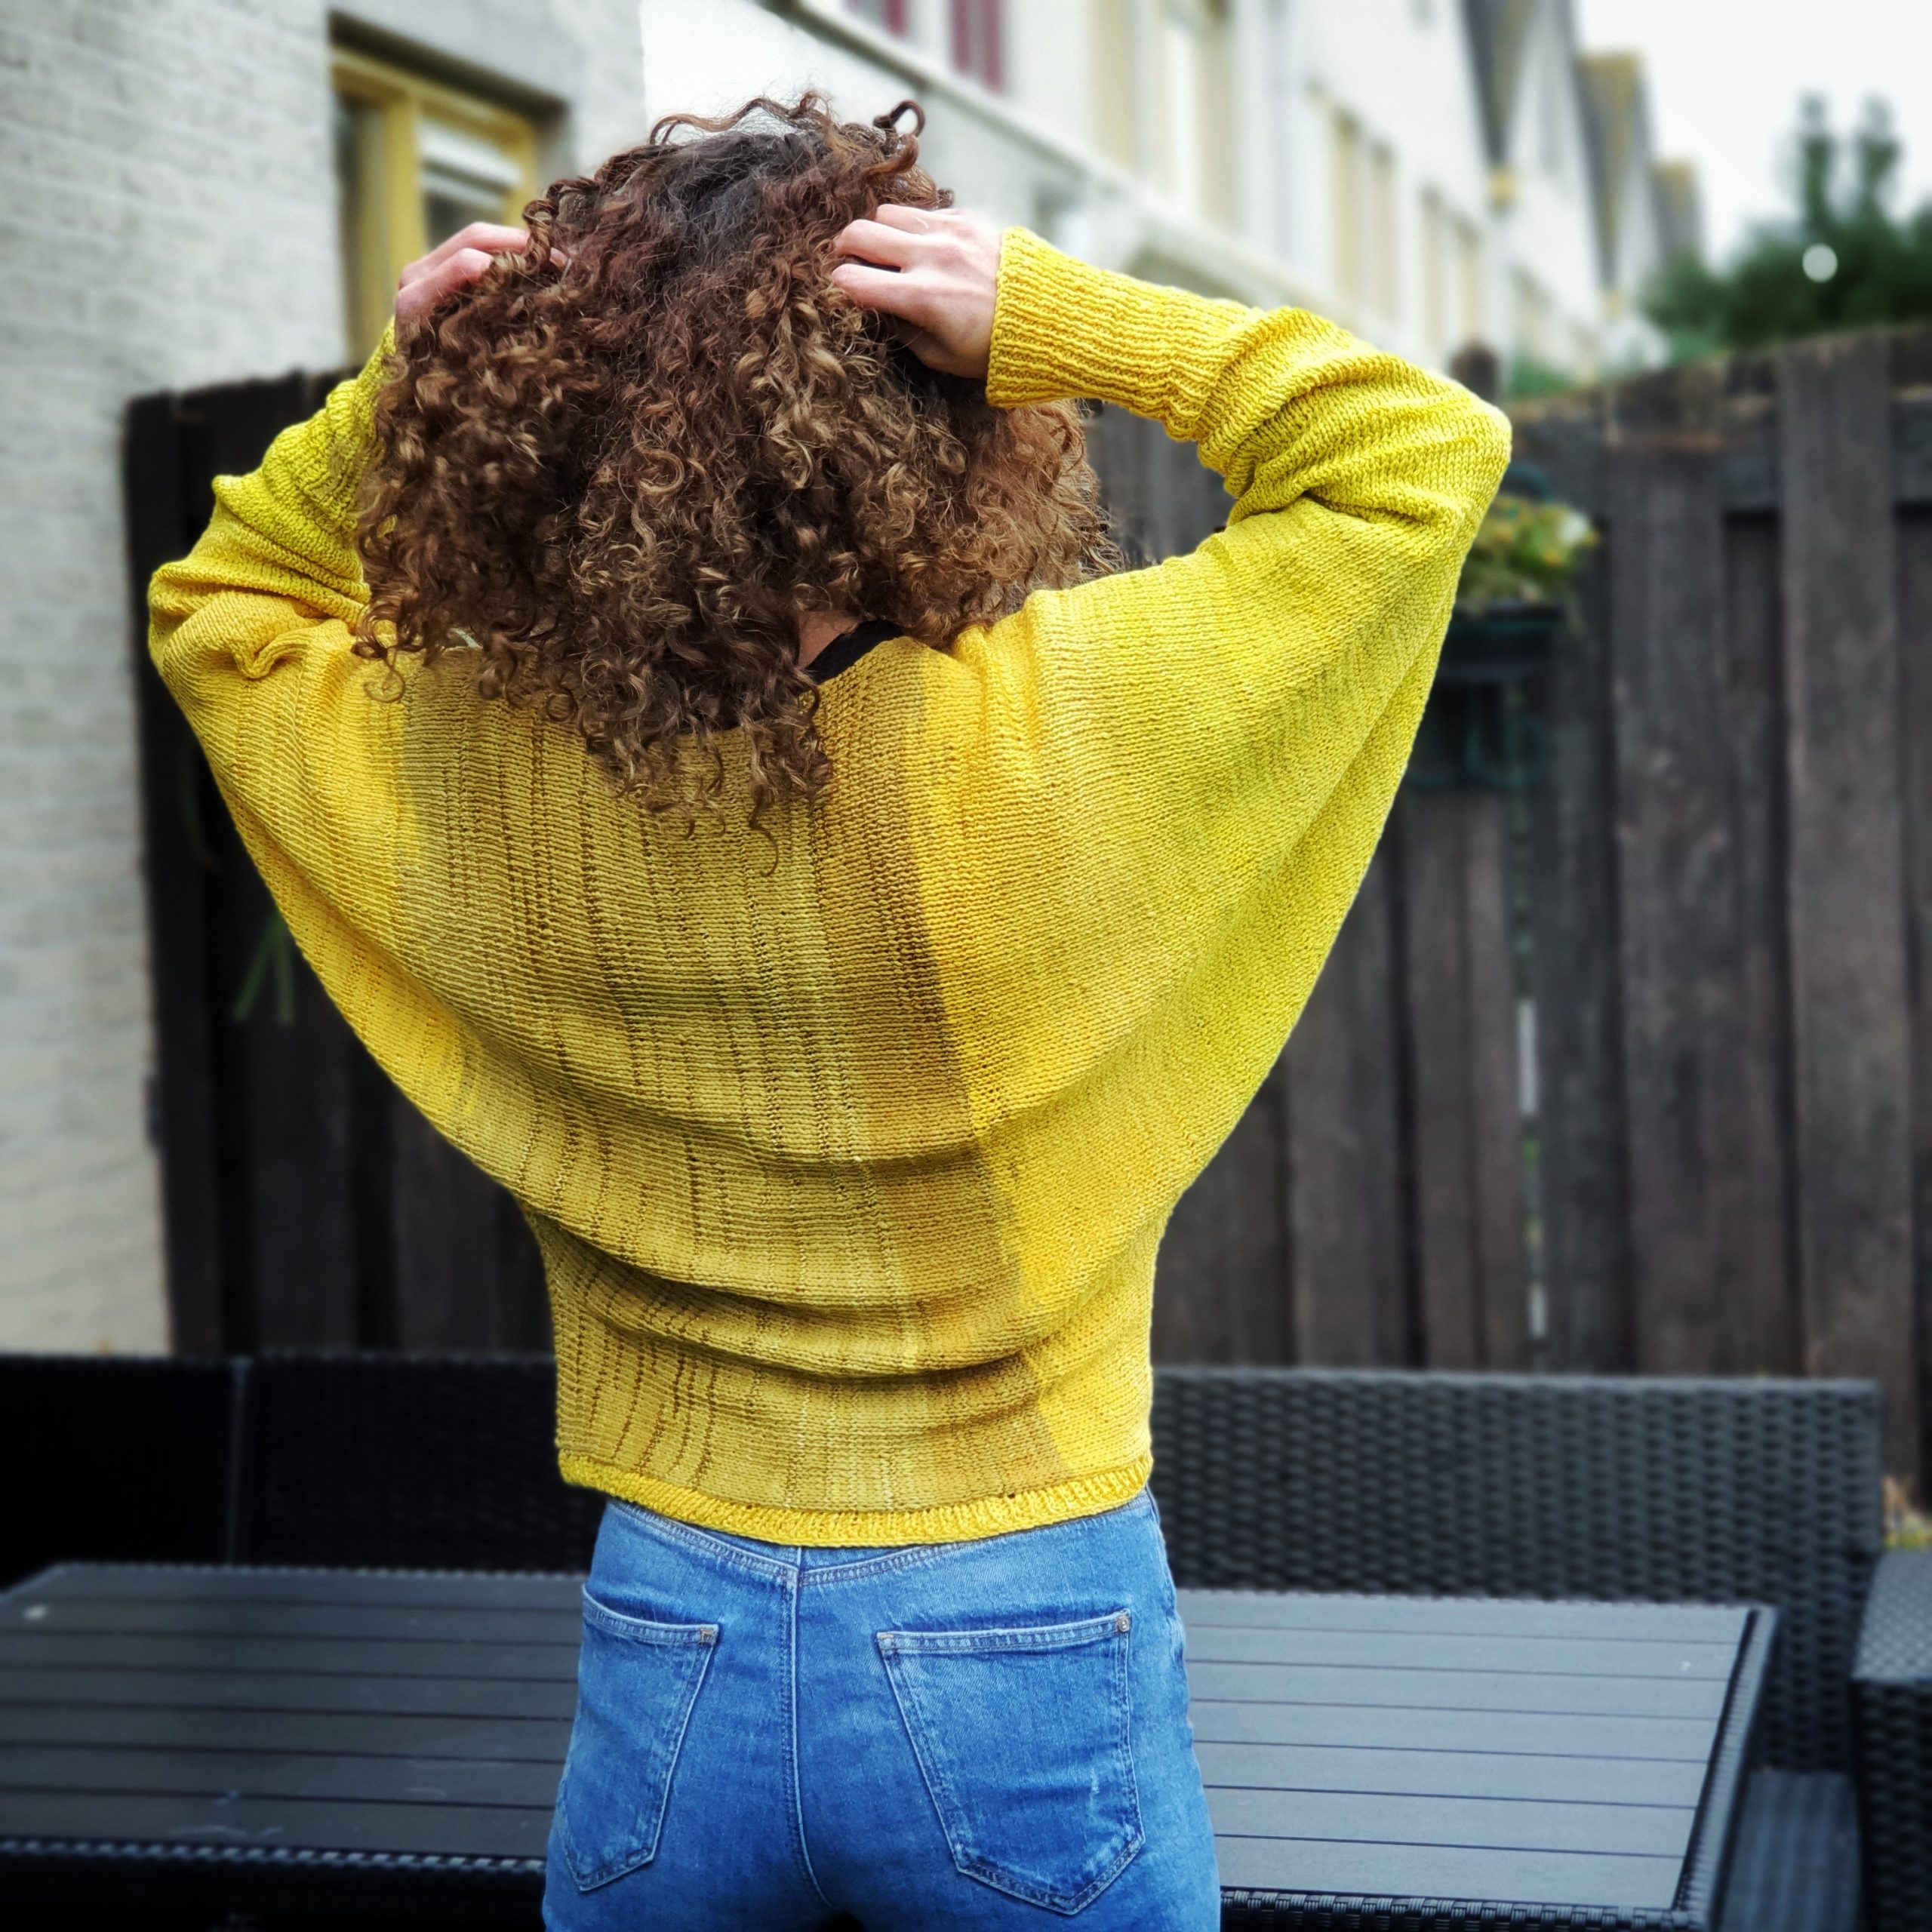
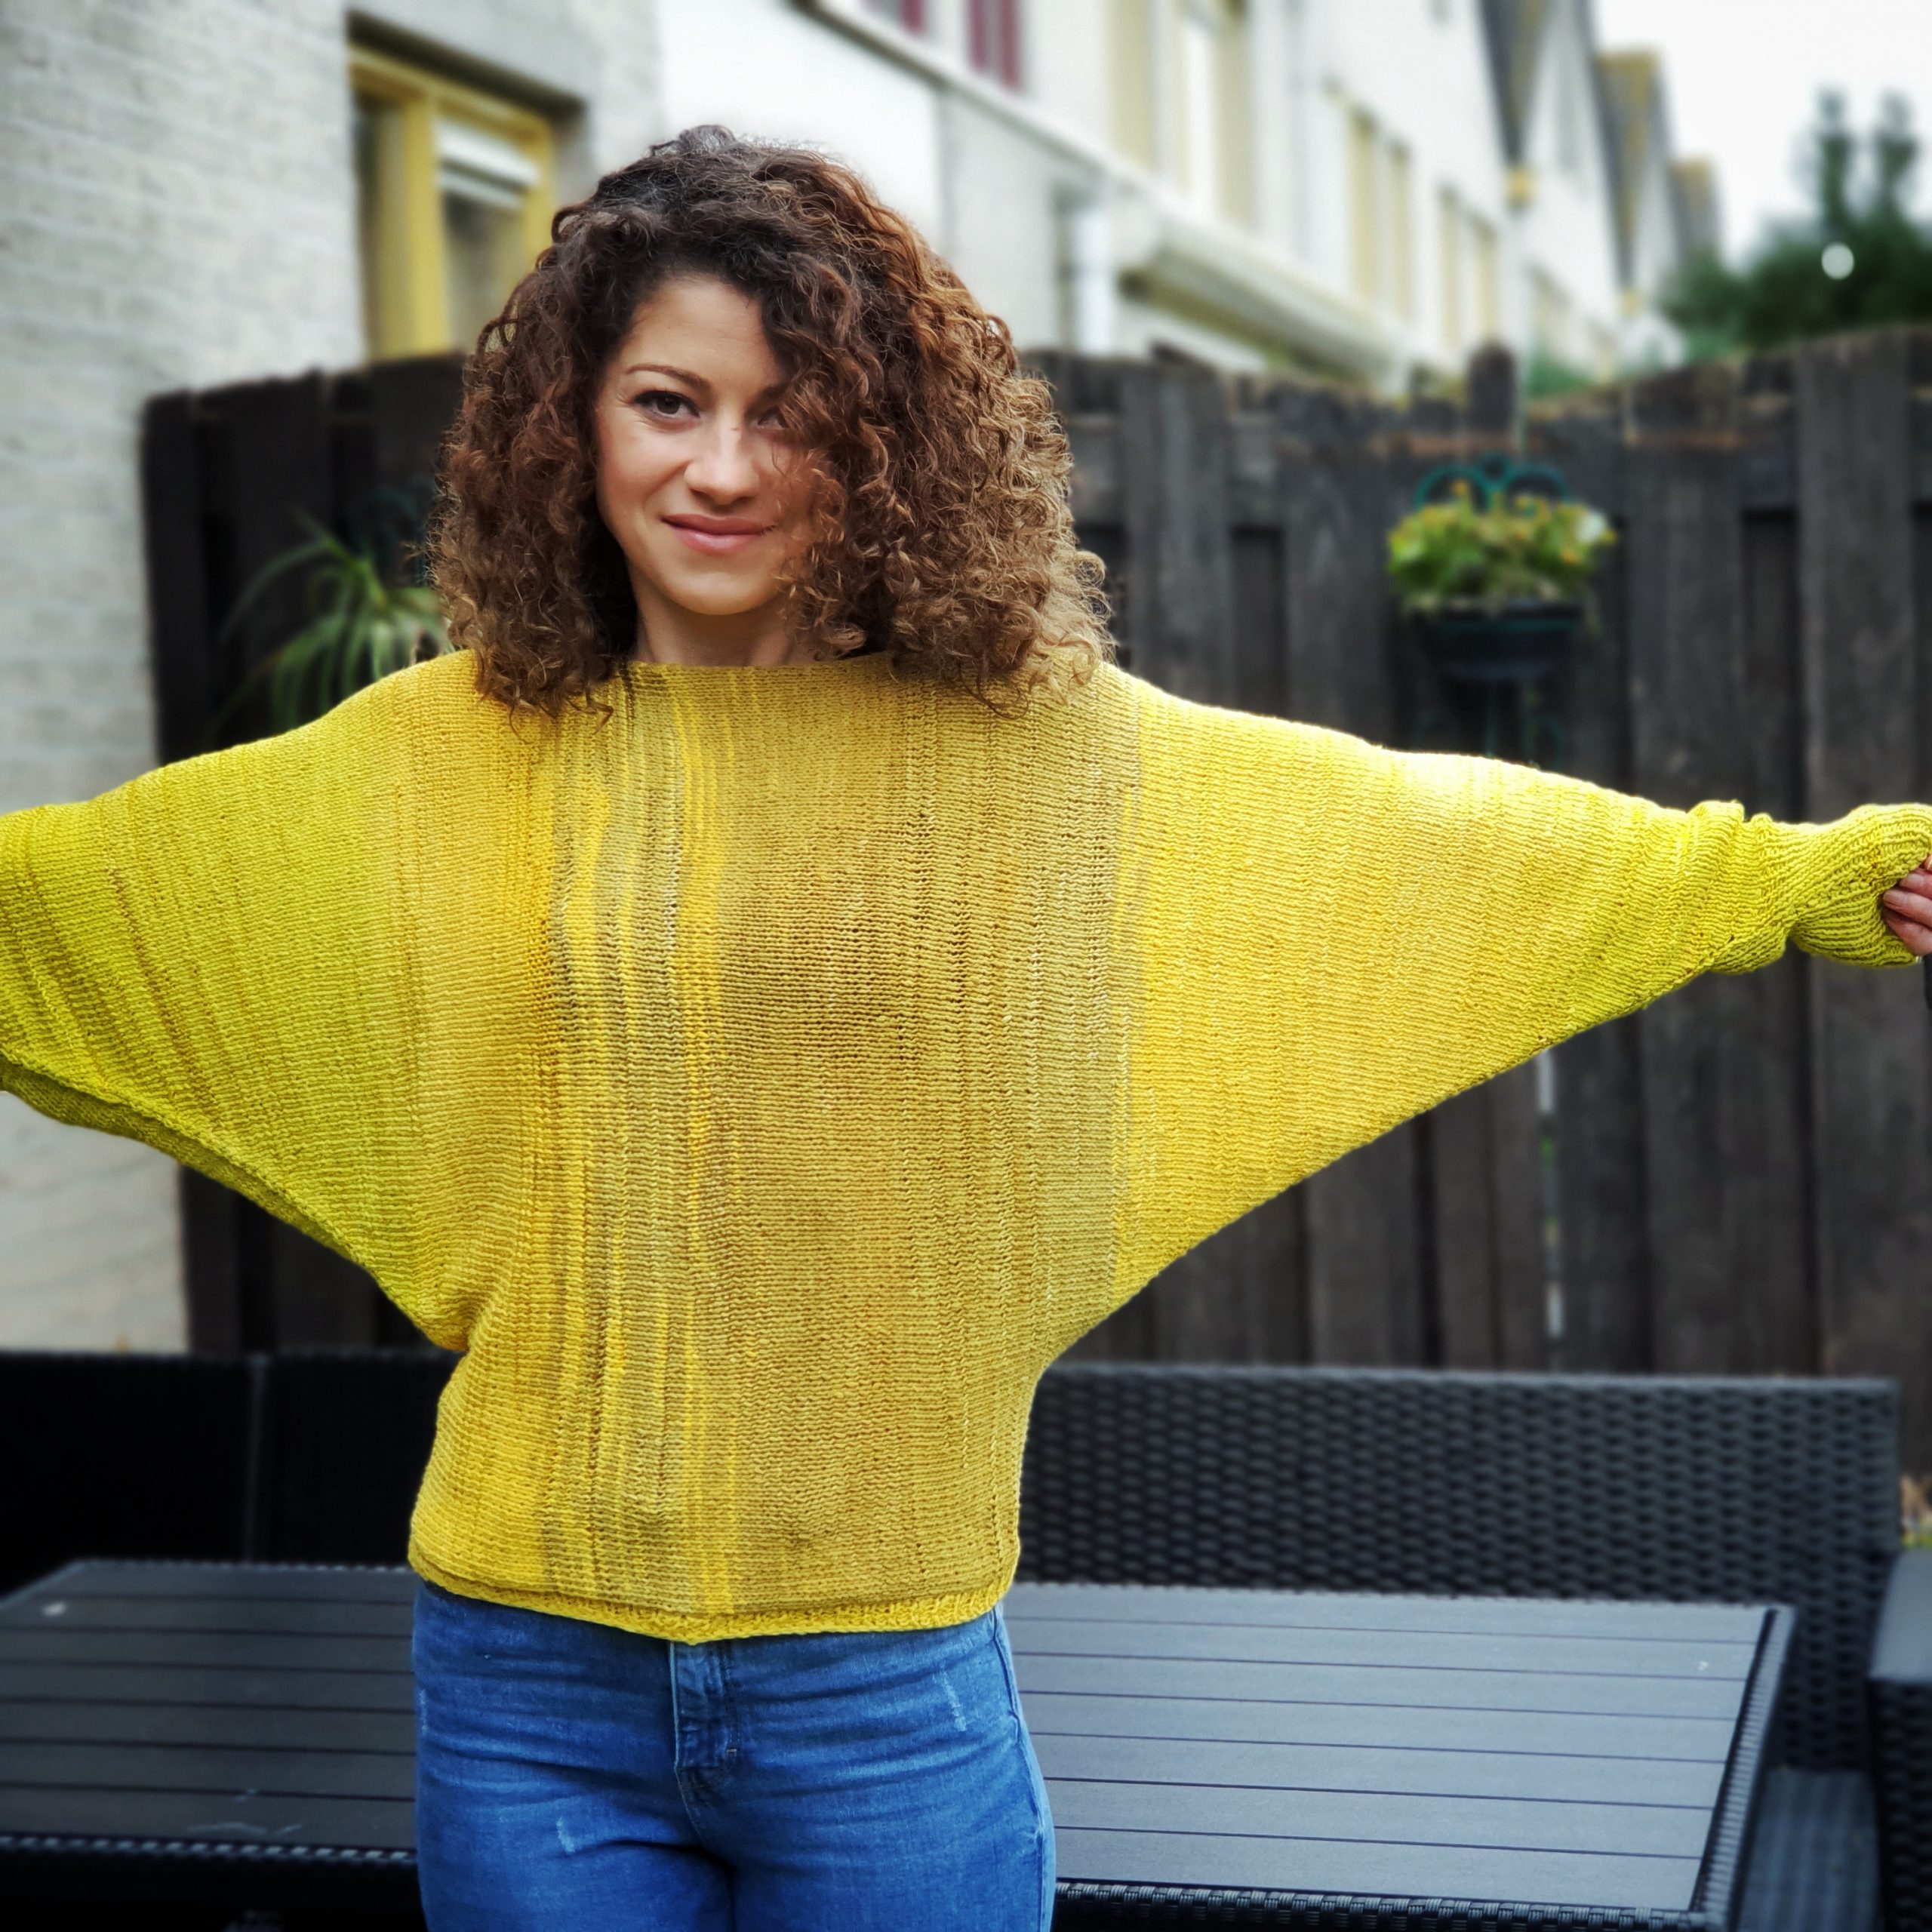
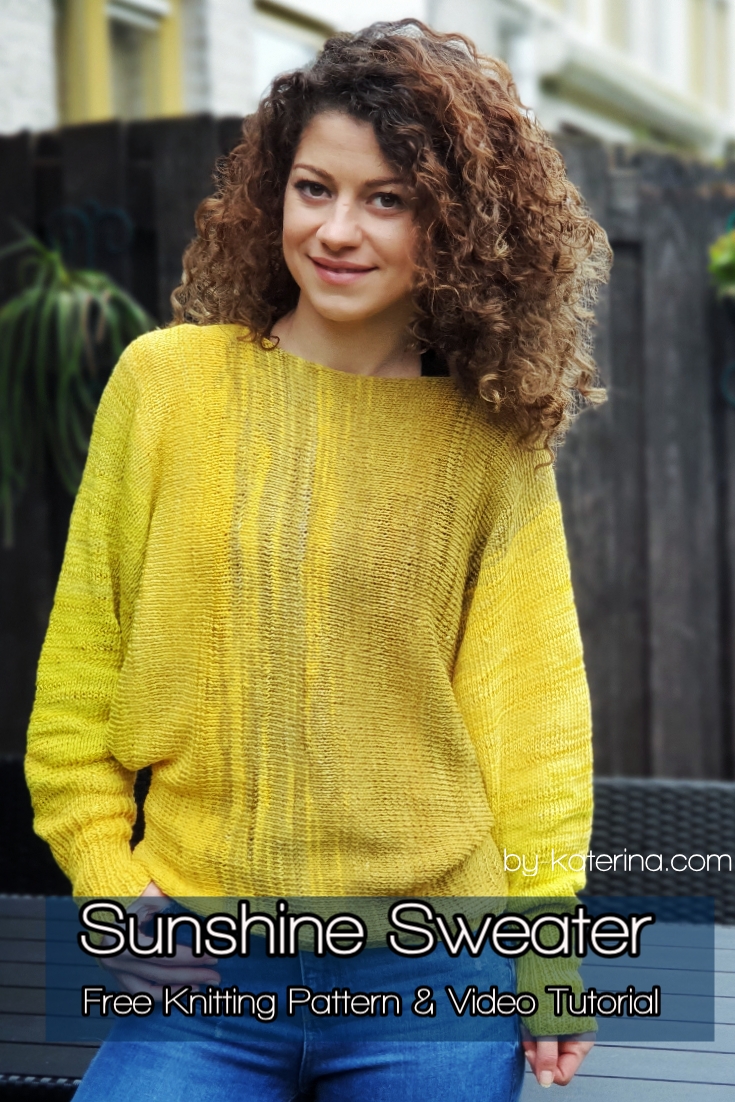
This Sunshine Sweater is one of my favorite design until now. This is maybe because is knitted and I don’t have yet to many knitted designs.

I wanted for so long to knit a sweater like this and I am so proud and happy that I finally did it.
Hope you all enjoy and love this pattern as much as I do.
You have to know from the beginning that I included in this pattern some indications about how you can customize this sweater to your own body, what to measure and how to calculate to your needs different sections of the sweater.
Hope you will find these info useful and if not you can just scroll down to the pattern.

You can Purchase the easy printable PDF version of this pattern here:
Materials you will need
- Yarn
- Category 3 ( Light weight yarn; DK)
- Needles
- 3.5 mm cable needles
I used interchangeable cables needles: 100 cm cable. Optional you can use one extra cable for the stitches you are not working with (when splitting for neckline)
- You will need a yarn needle for assembling and to wave in ends
- Scissors
Pattern notes
This Sunshine Sweater pattern uses techniques like stockinette stitch, elastic ribbing (knit 1, purl 1), increase, decrease
Skill Level required is beginner. You don’t need any experienced skills to make this sweater, only a lot of patience.
This Sunshine Sweater is worked from cuff to cuff working the back and front panels at ones. When we are getting to the neck line, we split the number of stitches in half and work the 2 panels individual. Then we are joining again and working the other half of the sweater.
The pattern is available in 8 sizes, from Small to 5 X Large and is written in US terms
Final measurements
Final measurements of the sweater are listed below.
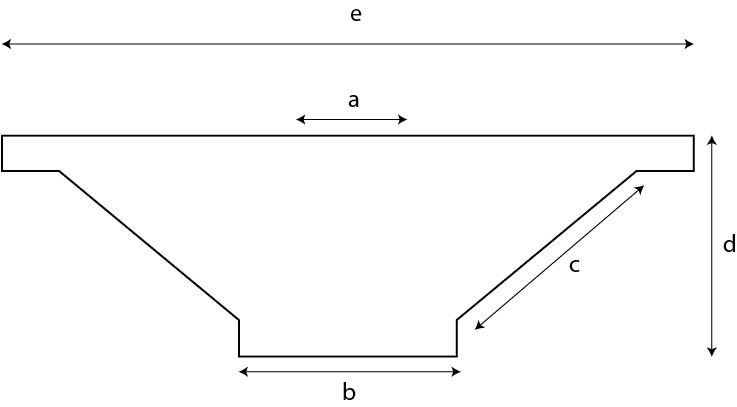
Neck Line a: 20 cm (21, 22, 23, 24, 25, 26, 27)
Hem b: 43 cm (48, 53, 58, 63, 68, 73, 78)
Sleeve length c: 43 cm (43, 43, 43, 43, 43, 41, 39)
Length d: 52 cm (53, 54, 55, 57, 60, 60, 60)
Cuff to Cuff e: 160 cm (165, 170, 175, 180, 185, 185, 185)
This measurements will fit:
| To Fit cm | S | M | L | XL | 2XL | 3XL | 4XL | 5XL |
| Bust | 43 | 48 | 53 | 58 | 63 | 68 | 73 | 78 |
How much yarn do you need?
For this Sunshine Sweater I used Lang Bloom, from Lang Yarns. This yarn is 70% Cotton, 18% Viscose and 12% Linen.
Each cake has 150 grams and approximate 450 m
This is a self-striping yarn, I started the first cake pulling the yarn from inside and the second one from outside.
For each size you will approximate need:

About the stitch pattern.
The Sunshine Sweater is worked entirely in stokinette stitch except the cuffs and the ribbed edging at the bottom, which are worked in elastic ribbing (knit 1, purl 1)
Abbreviations used in this pattern
- K – knit
- P – purl
- St(s) – stitch(es)
- Inc – Increase (Make 1 right and Make 1 left method; you can find a useful video tutorial here )
- Dec – Decrease (k2 tog)
- Sl st – slip sttch – always slip the first st
Gauge
- 21 sts = 10 cm
- 29 rows = 10 cm
*In stockinette stitch

How to measure and adjust the pattern in case you need/want it.
I added this part to the pattern, because not all of us has standard measurements and I want to help you to customize this sweater to your own body.
Scroll down for the pattern in case you want to skip this part.
Before to start any measurements, you have to make a swatch. Work a few stitches and rows, a square of about 10/10 cm.
This sweater is worked from cuff to cuff.
Measure your cuff to cuff length, or measure the neck to cuff and multiply by 2.
This length that you have includes the sleeves length and bust width.
Because we are increasing from the cuff, the bust circumference of the sweater will be wide enough to fit, but we have to make sure that the hem of the sweater will be wide enough to fit our bust when dressed.
The sweater is designed with the bottom having the standard bust width for each size.
To adjust this in case you need that the bottom of the sweater to be wider, measure your bigger part of your body, bust or waist.
Then from the cuff to cuff length, you have to decrease the bust or waist width; Divide by 2 and this will be the length of the sleeve.
To put all in a math formula:
Sleeve length = (cuff to cuff length – bust or waist width)/2
Now measure your cuff circumference. Having the swatch you will know with how many sts to start.
Work the elastic ribbing for the cuff, then you will start increasing at the beginning and at the end of the row only on the right side rows. Keep increasing until you have the sleeve length (from the formula above)
Fold the piece in half, horizontally, and measure from top to bottom. This is your sweater length. To add extra length you will have to add some stitches on each side.
After adding the extra sts, you will start working on the body of the sweater. From the width you need you will have to decrease the width for your neck line. Divide the result by 2 and this will be the length you will have to work before splitting the work in 2 to make the neck/head hole.
After working separately the back and front to create the neck hole, you will have to work in the mirror, what you did before.
After neck hole, join and work the same number of rows you did from the length extension until the neck hole. Then cast off the extra sts you added for length.
Start decrease with 1 st, at the beginning and at the end of the row, only on the right side rows until you have the same number of sts as the one you start with.
Make the elastic ribbing.
Fold the piece horizontally and sew the sides.
Next, you will have to work the bottom ribbing. This can be worked after assembling or before if you don’t want to work in circular rounds.
Pick up sts from the bottom of the sweater. Insert needle in each side row, yarn over and pull out a loop/ st. Continue like this until you all the sts around the hem.
Work for as many rows as you want the elastic ribbing.
You can Purchase the easy printable PDF version of this pattern here:
Pattern
Numbers for sizes M, L, XL, 2XL, 3XL, 4XL and 5 XL are written between
1st Sleeve
Cast on 50 (54, 58, 66, 74, 84, 88, 96) sts
R1: k1, p1 to the end of the row
R2 – 40: repeat R1
R41: sl st, Inc, k all sts to the end except last 2 sts, 1 Inc, k the last st. Turn
R42: p all sts to the end of the row.
Repeat R41 and R42 until you have in total (not counting the cuff’s rows:
- S – 125 rows
- M – 125 rows
- L – 125 rows
- XL – 125 rows
- 2XL – 125 rows
- 3XL – 125 rows
- 4XL – 119 rows
- 5XL – 113 rows
*Mention
Because this sweater is designed from cuff to cuff, on size 4XL and 5XL, the sleeves has to be a little shorter, to have a bigger bust width and to get to the cuff to cuff length.
Body
After finishing the last row of the sleeves add 22 sts (knit the last st, and put the st from the right needle to the left needle. Repeat until you have 22 sts or the needed number of sts to get to the desired length of the sweater)
R1: p all sts to the end (including the extra sts). At the end of the row cast on 22 sts and turn.
R2: k all sts.
Repeat R1 and R2 until you have in total:
- S – 35 rows
- M – 41 rows
- L – 49 rows
- XL – 55 rows
- 2XL – 59 rows
- 3XL – 65 rows
- 4XL – 69 rows
- 5XL – 75 rows
Next, we will split the worked piece in 2 and work a few rows to leave the neck hole.
You can transfer half of the sts on a strand of yarn or you can use an extra cable if you are working with interchangeable cable needles as I did.
Take the working needle from the current cable, and place a stopper instead. Attach the new cable to the needle and start working the half of the total number of sts. Take of the left hand needle and attach it to the new cable and put a stopper instead. Continue working the rows needed for the neck hole:
- S – 57 rows
- M – 59 rows
- L – 61 rows
- XL – 63 rows
- 2XL – 67 rows
- 3XL – 69 rows
- 4XL – 73 rows
- 5XL – 75 rows
Attach the needles to the first cable and work the other side. The row will start from the middle, because you have to work in the same direction as the first row of the first side. Make sure you are making the same number of rows as for the first one.
Next row will be on the wrong side and you will have to join both sides and start working the whole piece again.
R92 (100, 110, 118, 126, 134, 142, 150): p all sts to the half except the last one, p the first st from the other half and then turn and purl the last st (cross the sts to make the join). P all sts to the end of the row.
R93 (101, 111, 119, 127, 135, 143, 151): k all sts
Repeat previous 2 rows until you have in total for the body:
- S – 127 rows
- M – 141 rows
- L – 157 rows
- XL – 171 rows
- 2XL – 185 rows
- 3XL – 199 rows
- 4XL – 211 rows
- 5XL – 223 rows
Second Sleeve
R1: Cast 0ff first 22 sts, k all sts to the end of the row.
R2: cast off first 22 sts, p all sts to the end of the row.
R3: sl 1st st, 1 dec (k 2 tog), k all sts except the last 3 sts, 1 dec, k last st.
R4: p all sts
Repeat R3 and R4 until you have the same number of rows for the sleeve as for the first one, or until you have the same number of sts as the one you start with.
Last 40 rows: *k 1, p 1. Repeat to the end of the row.
Cast off.
You can Purchase the easy printable PDF version of this pattern here:
Assembling
Fold the piece in half and sew the sides of the sweater, starting from the cuff and finishing at the hem.
Bottom Ribbing
You can work this ribbing before assembling if you don’t want to work in circular rounds.
Pick up the sts around the bottom of the sweater. Insert the needle into the side row and pull out a loop/st. continue like this until you complete the entire hem.
Work as many rounds as you want in elastic ribbing (*k1, p1 to the end of the round)
To finish
Wave in all ends and block to measurements.
You can Purchase the easy printable PDF version of this pattern here:
Find a video tutorial here





Comments are closed.