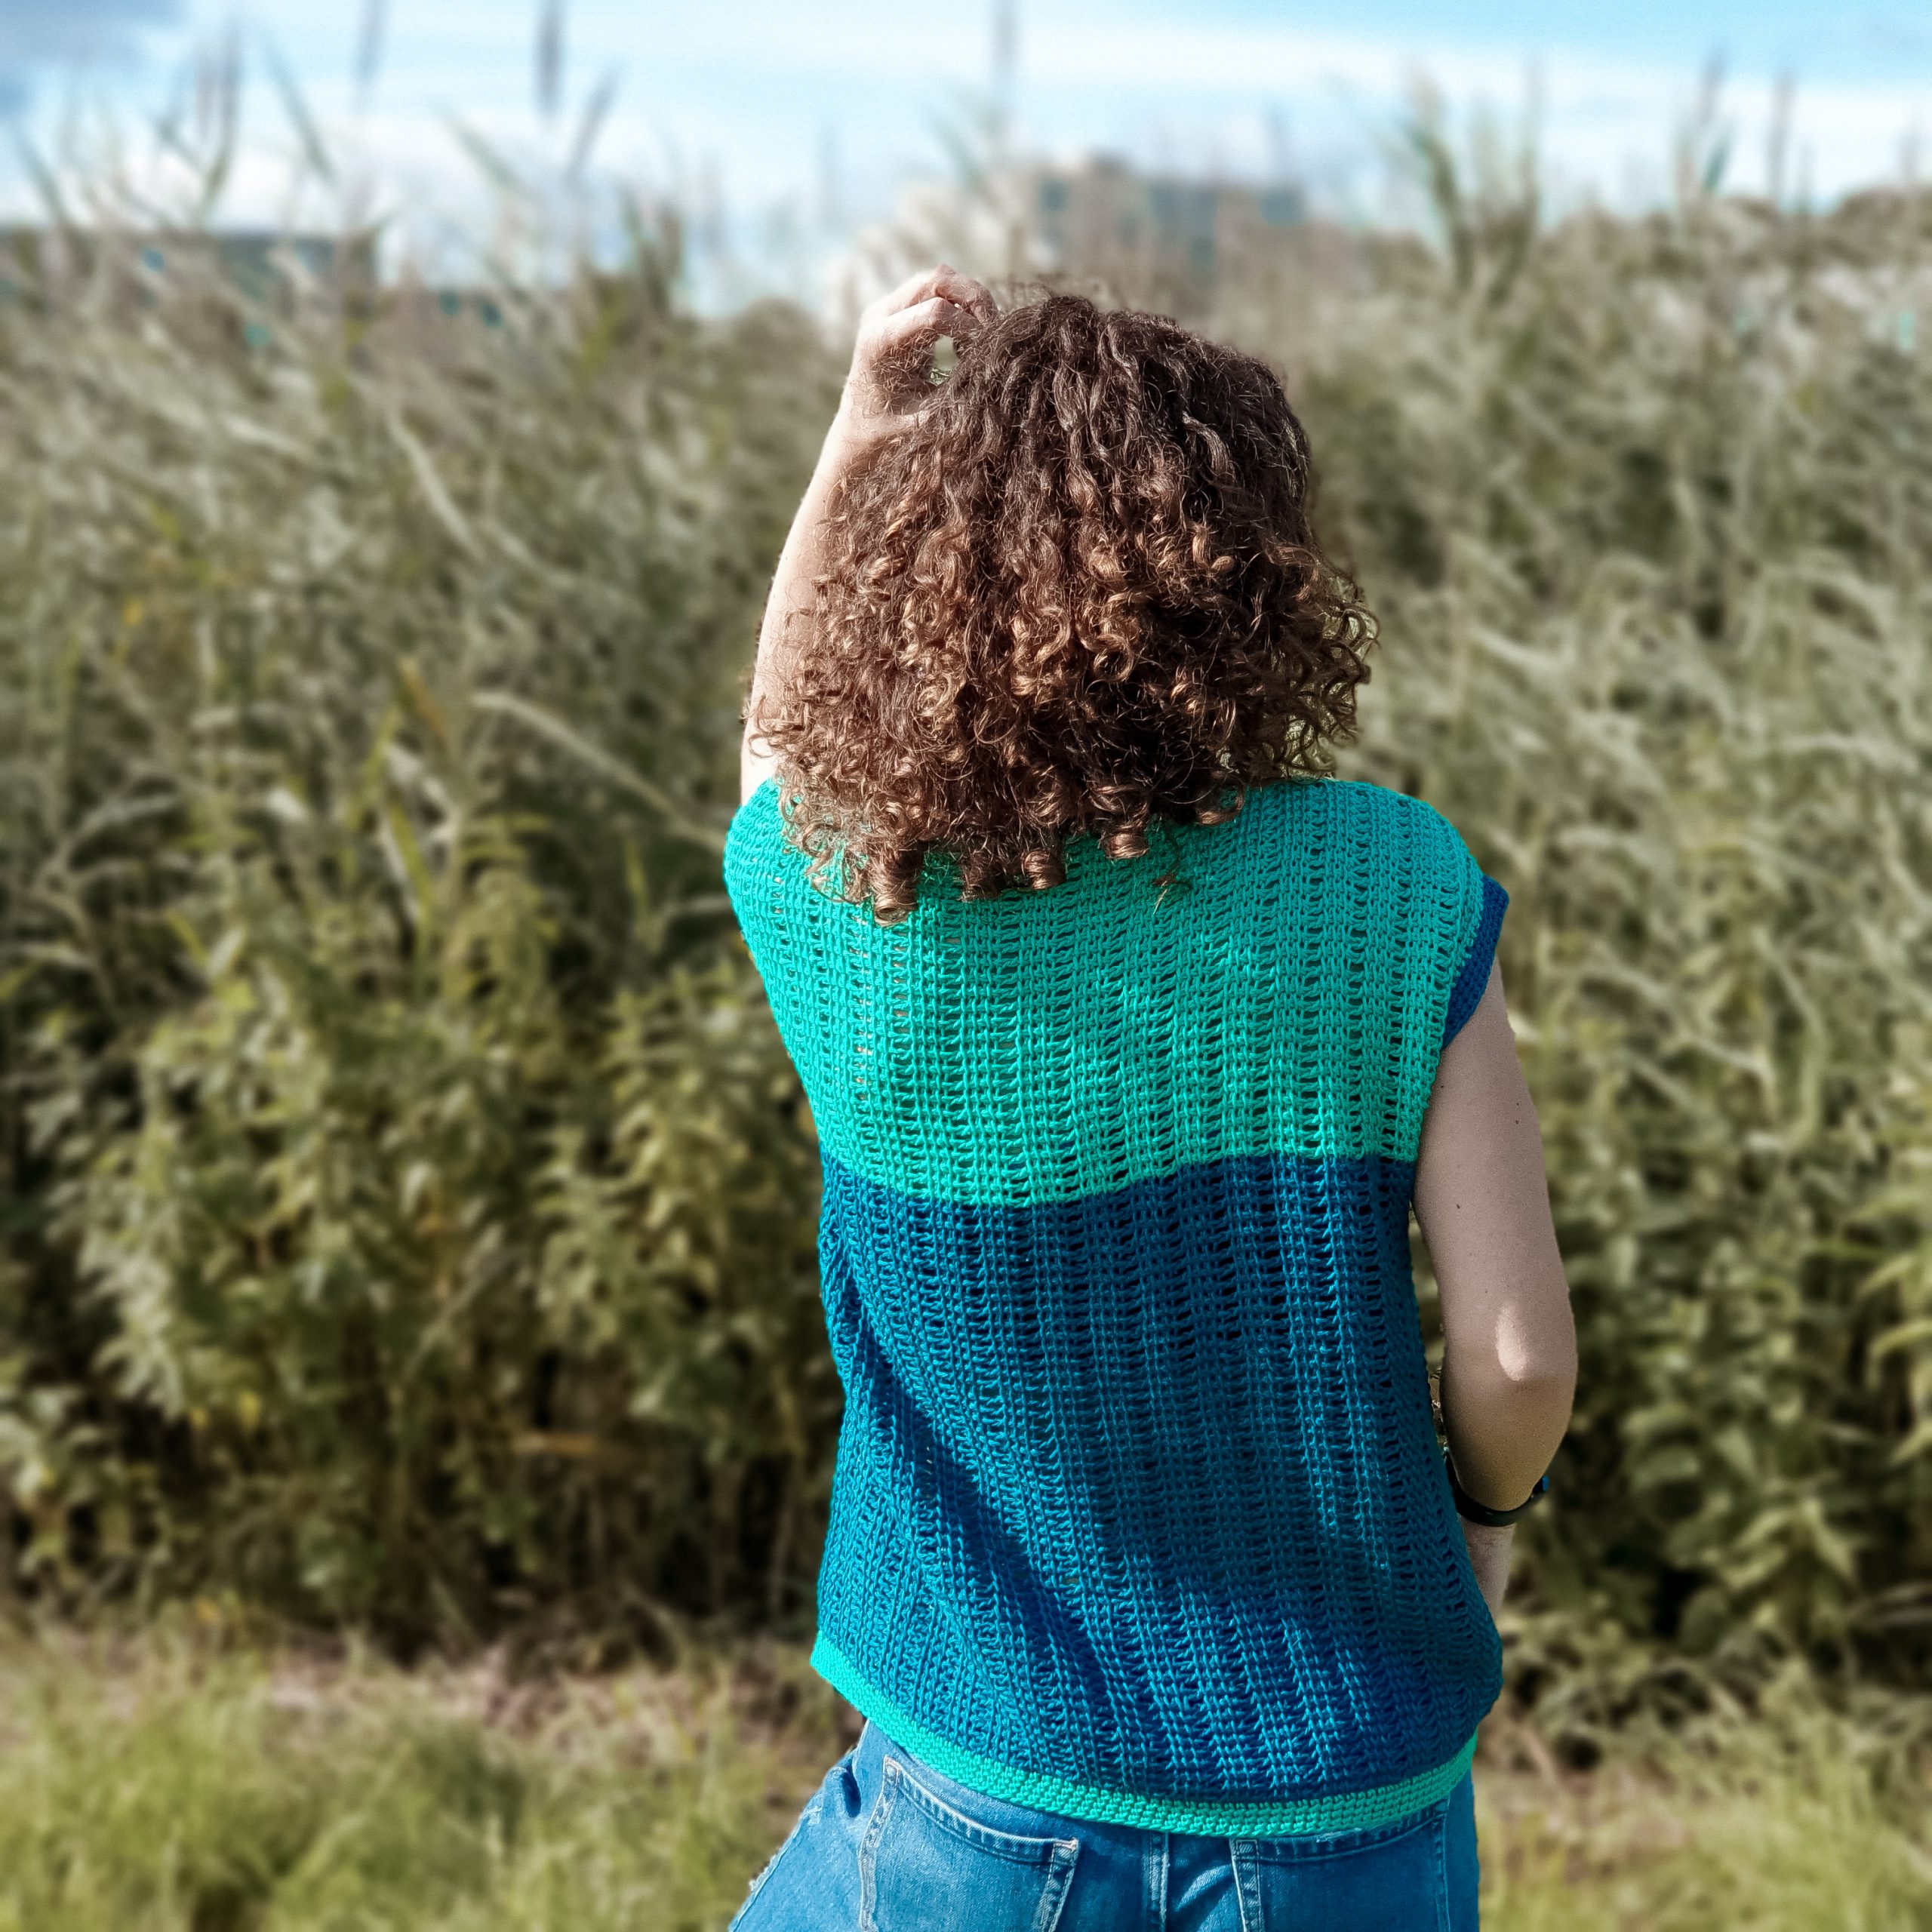
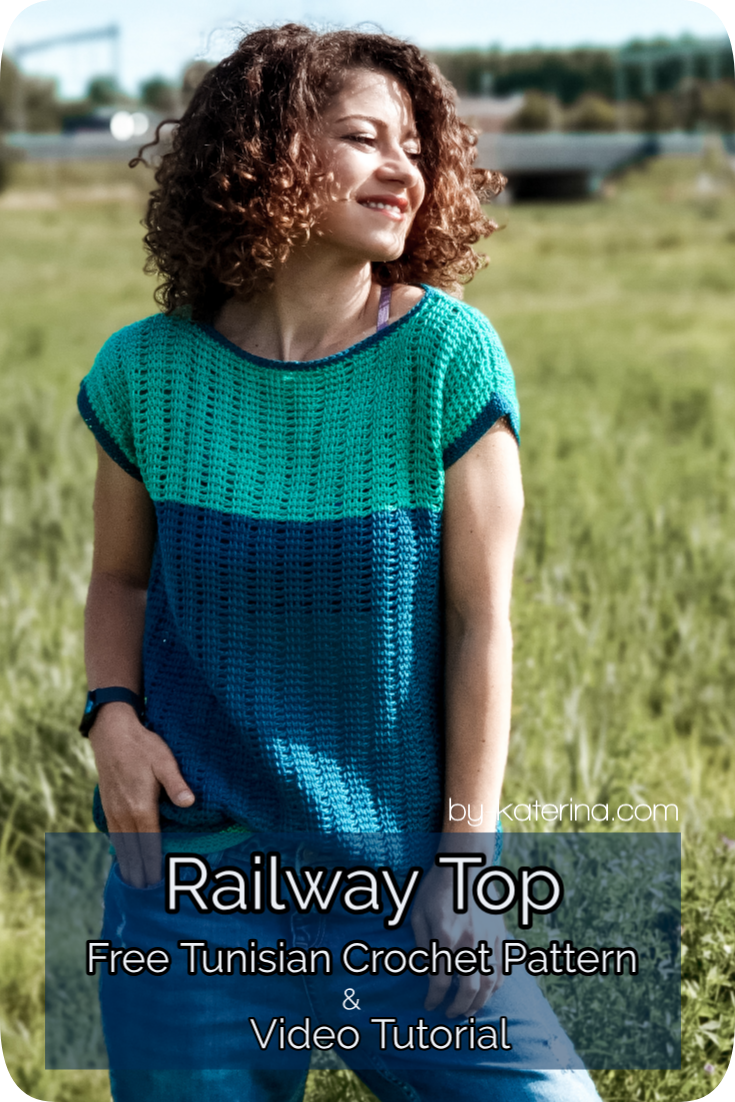
I am so happy to share with you this Railway Top Pattern, which is my second Tunisian Crochet Pattern and I simply love it.
At first I wanted to make it with long sleeves, but then I was thinking that without sleeves or short sleeves will be more wearable in the summer. This will give me space for another long sleeves sweater in Tunisian Crochet for the cold season.

You can Purchase the easy printable PDF version of this pattern here:
You can now have the PDF version with 20% Discount or even for FREE if you want to support ByKaterina on Patreon
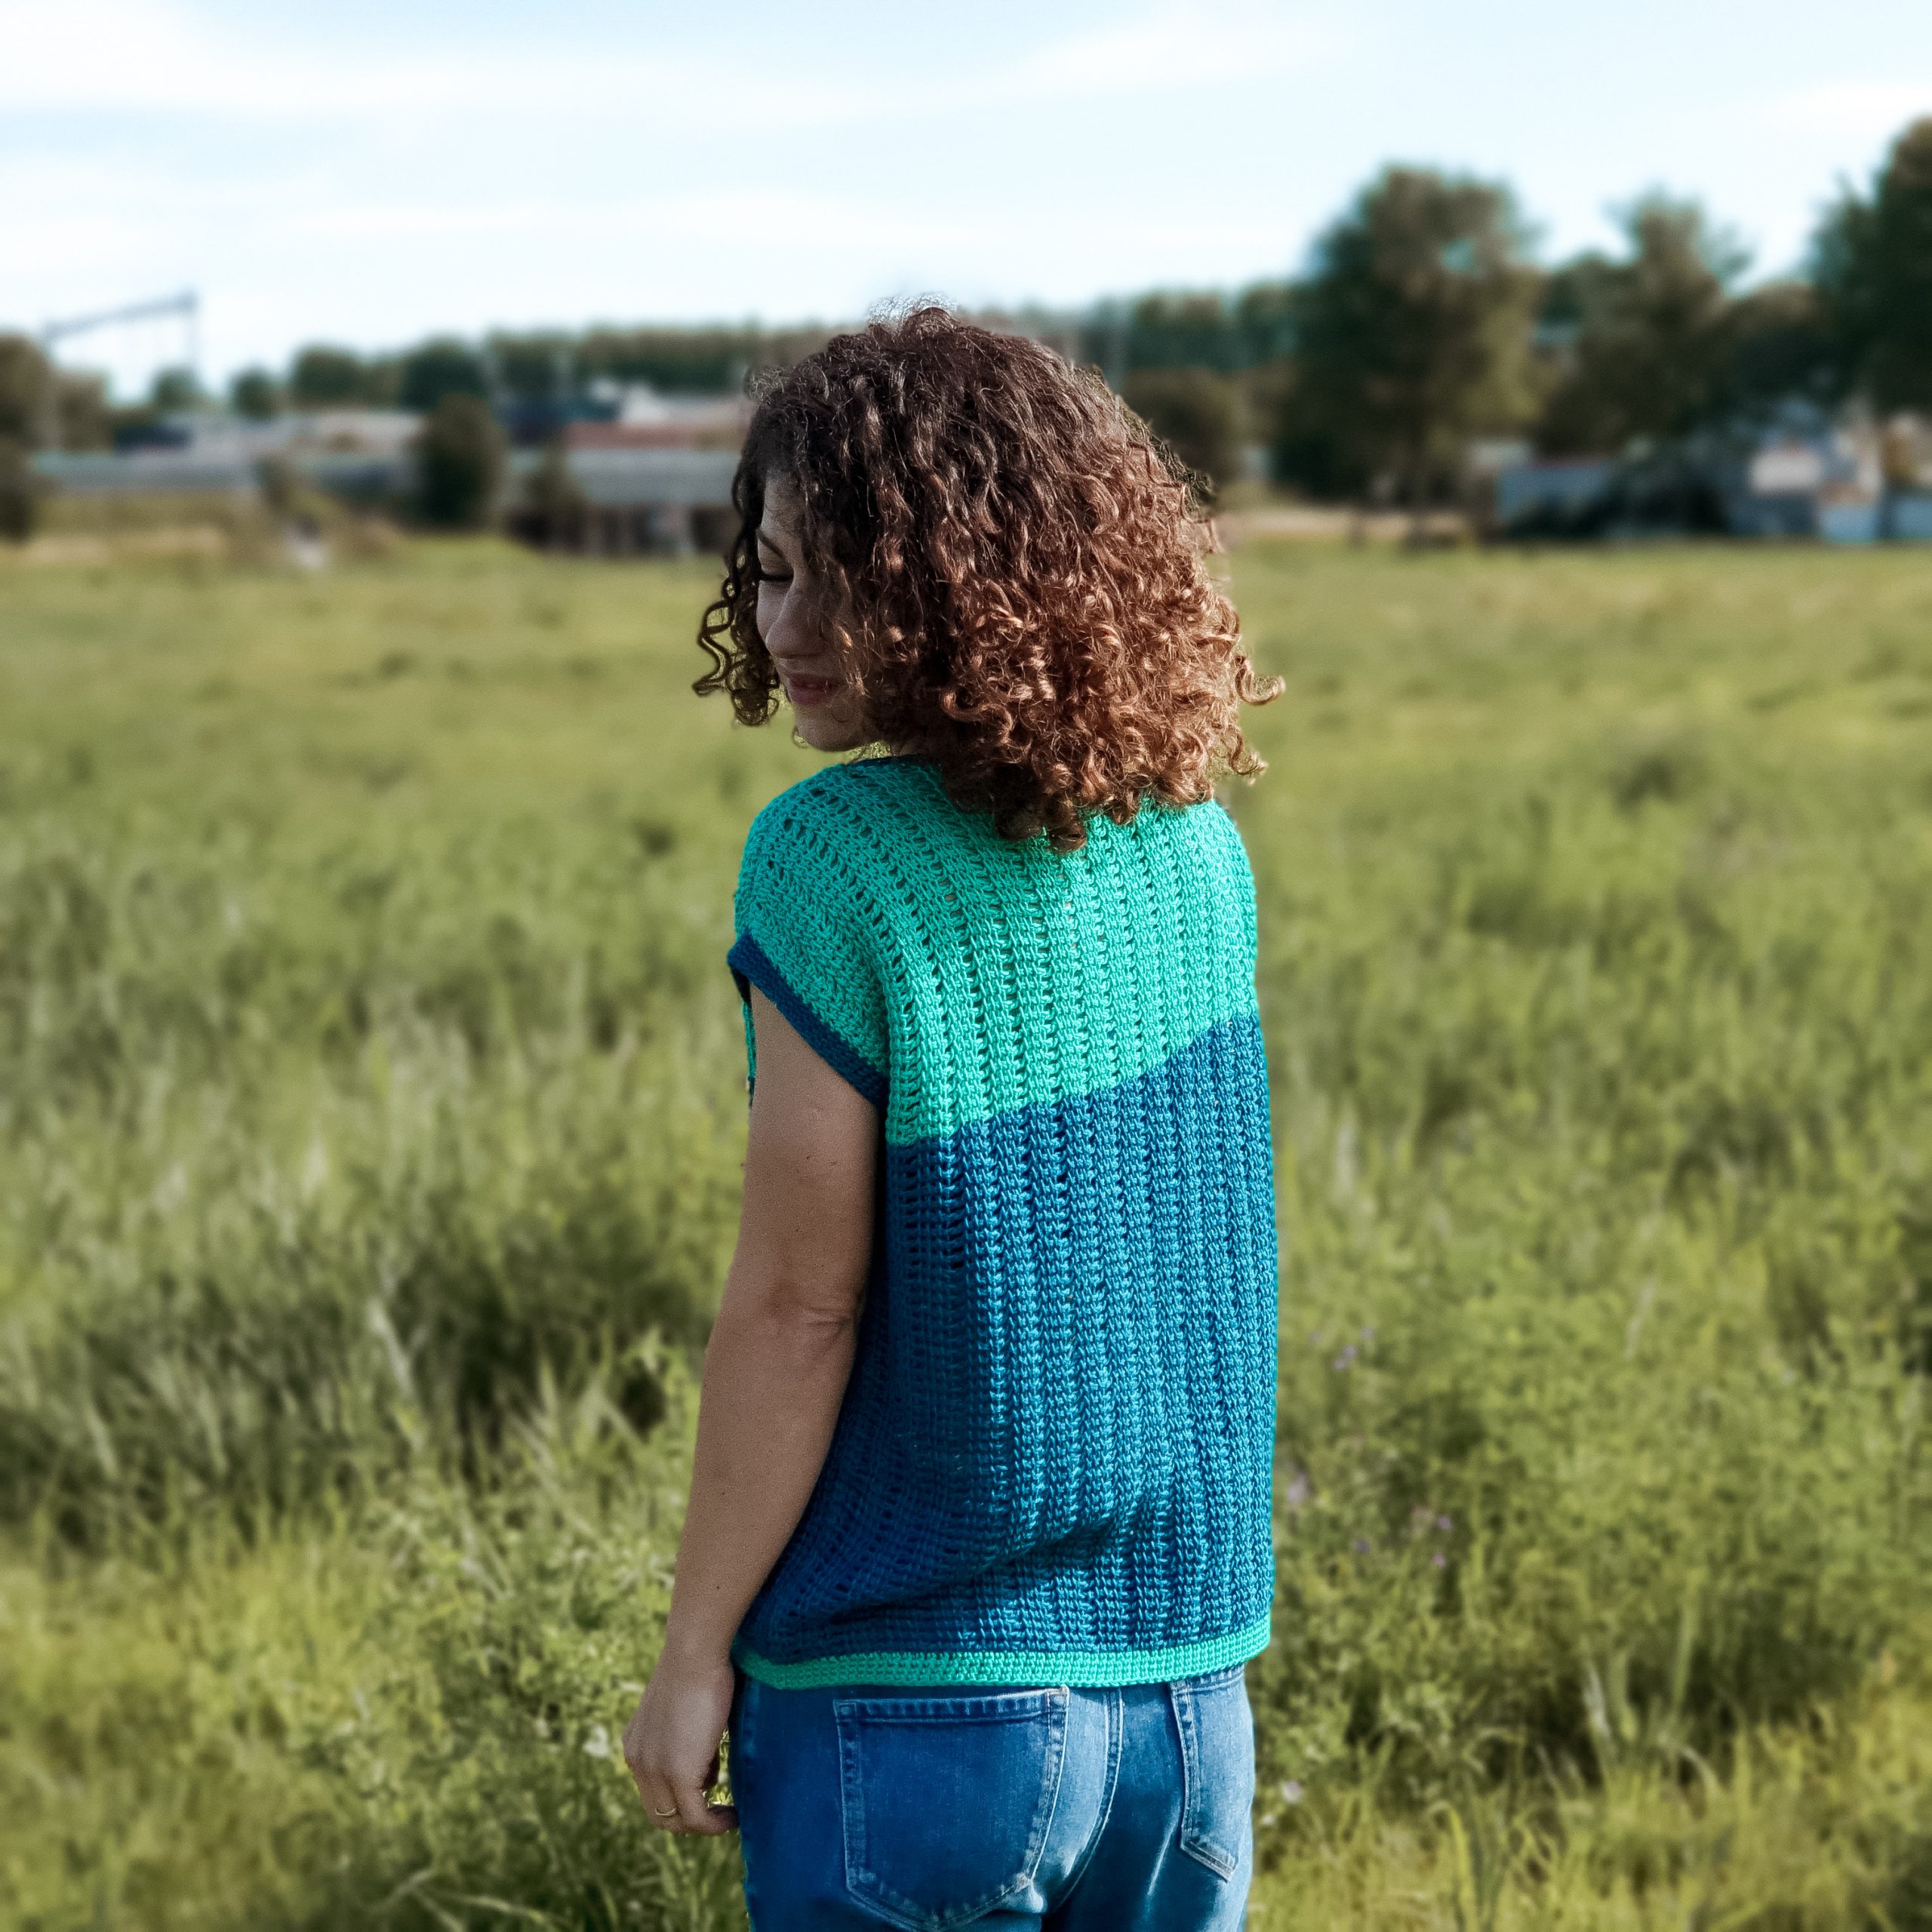
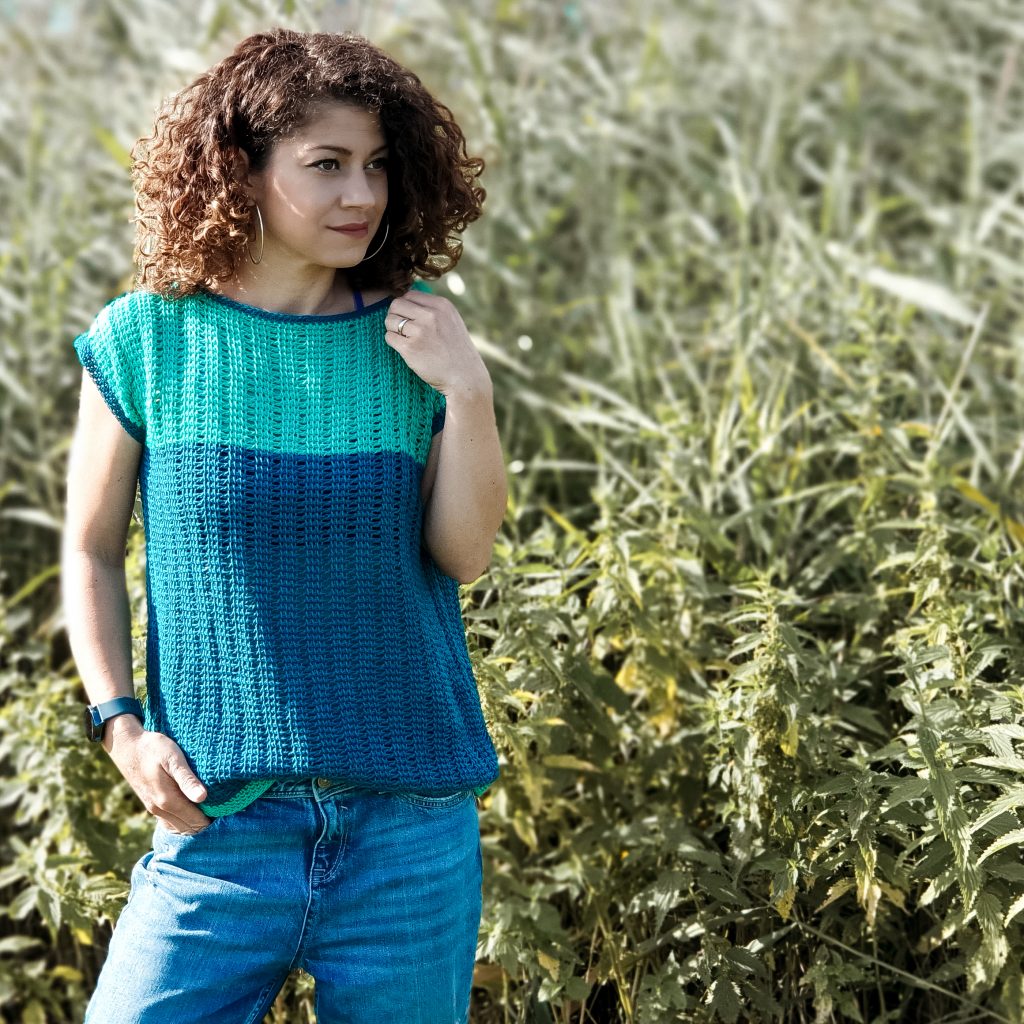
Since I found the perfect tension to work in Tunisian Crochet, to give my garments the drape that I want, I am just in love. For this top I used a variation of the Simple Tunisian Stitch, that creates this mesh look and makes the final fabric more airy and suitable for a summer t-shirt.
Did you knew that back in the past Tunisian Crochet was also called “Railway Stitch” or “Railway knitting”? . I loved it and I thought that the name will match perfectly with the stripes effect that the stitch pattern is giving to the fabric. So, here “she” is, The Railway Top!
I hope you will enjoy it and give it a try!
Materials you will need
- Yarn
- Category 1 ( Super Fine, 4 ply)
- Needles
- 5 mm Tunisian Crochet Hook with cable of 40
- 4 mm Crochet Hook for edging
- You will need a yarn needle for wave in ends
- Scissors
- 2 stitch markers
Pattern notes
This Railway Top pattern uses both Tunisian and traditional crochet. We will use traditional crochet only for edging, the rest of the sweater is worked just in a variation of Tunisian Simple Stitch.
This pattern requires techniques as Tunisian simple stitch, changing colors in Tunisian Crochet and single crochet stitch,
The top construction is from 2 almost identical panel. For the front panel we will work less rows on the neck line section to make the top comfortable when wearing.
I used 2 colors for this top, but it can be made in one single color also
The length to the armpit is the same for all sizes. In case you want adjust length, work more or fewer rows to the armpit.
The written instructions below are only for the forward row. The turning row will be always worked the same:
Turning row
Yarn over and pull the yarn through the first loop only. *yarn over and pull the yarn through 2 loops. *Repeat to the end of the row.
Bind off
Insert the hook into the next st, YO, pull out a loop, pull the new loop through the loop on your hook
*when bind off the neck line sts for the front panel, new loop is pulled only through first loop on the hook
The pattern is available in 8 sizes, from Small to 5 X Large and is written in US terms
Final measurements
Final measurements of the sweater are listed below.
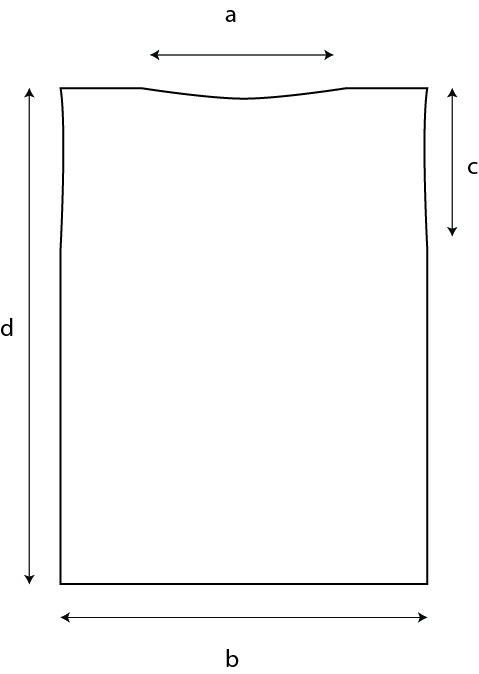
Neck Line a: 26 cm (27,28,29,30,31)
Bust Width b: 53 cm (58,63,68,73,78)
Armhole Depth c: 18 cm (21,21,24,24,27)
Length d: 58 cm (61,61,64,64,67)
This measurements will fit:
| To Fit cm | S | M | L | XL | 2XL | 3XL | 4XL | 5XL |
| Bust | 43 | 48 | 53 | 58 | 63 | 68 | 73 | 78 |
How much yarn do you need?
For the Railway Top I used Scheepjes Catona in colors Dark Teal and Jade. Each Skein has 50 grams and approximate 126 meters.
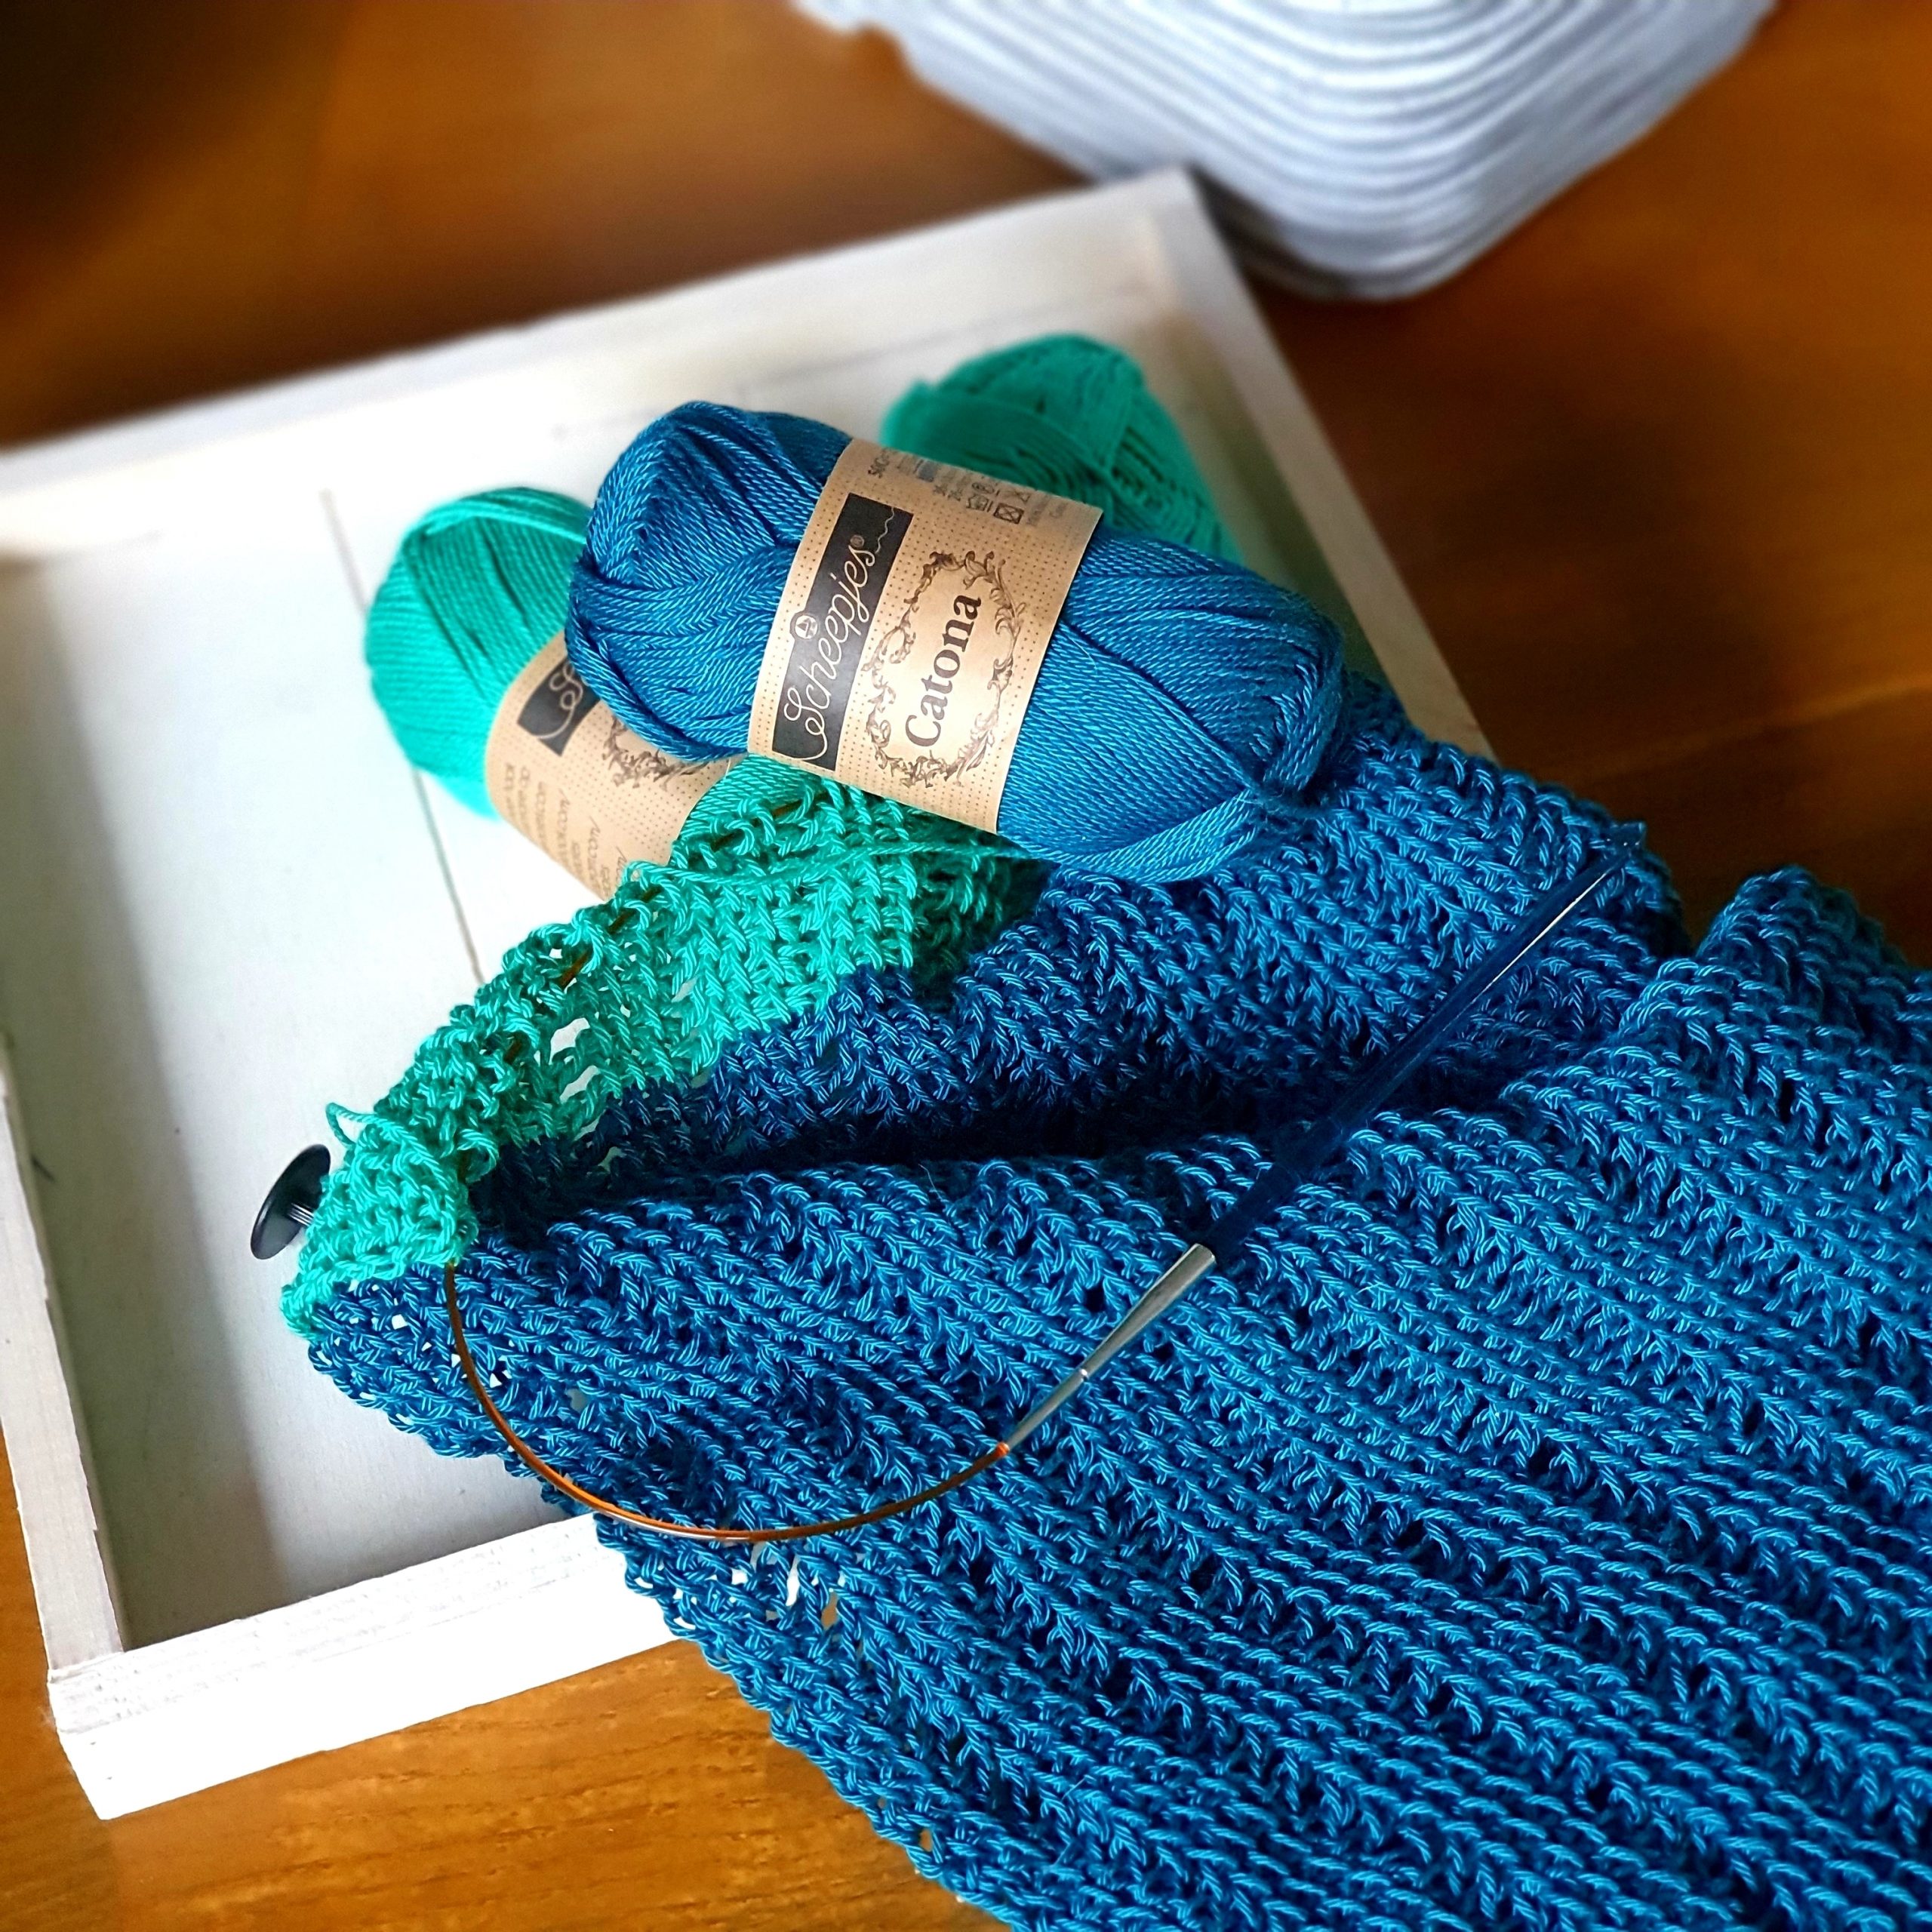
For each size you will approximate need:
| Catona | S | M | L | XL | 2XL | 3XL | 4XL | 5XL |
| Dark Teal | 5 | 6 | 6 | 7 | 7 | 8 | 8 | 9 |
| Jade | 2 | 3 | 3 | 3 | 3 | 4 | 4 | 4 |
About the stitch pattern.
The Railway Top is worked in a variation of the Tunisian Simple Stitch.
The repeated section is:
1 Tss in next 3 sts, YO, skip 1 st (starting with Row skip the 1 st space)
Abbreviations used in this pattern
- Ch – chain
- Sc – single crochet
- Ss – slip stitch
- Tss – Tunisian simple stitch
- St(s) – stitch(es)
- YO – yarn over
- Sp – space
- R| – row
- ** – Repeated section
Gauge
- 15 sts = 10 cm ([3 Tss, 1 Sp] x 4 + 1 Sp)
- 13 rows = 10 cm
*in the stitch pattern used
You can Purchase the easy printable PDF version of this pattern here:
You can now have the PDF version with 20% Discount or even for FREE if you want to support ByKaterina on Patreon
Instructions
Numbers for sizes M, L, XL, 2XL, 3XL, 4XL and 5 XL are written between.
Front Panel
Using Dark Teal
Start| ch 79 (87, 95, 103, 111, 119)
R1| starting with the second st, 1 Tss in each st
R2| 1 Tss in first 2 sts, *YO, skip the next st, 1 Tss in next 3 sts*. * * Repeat to the end of the row.
R3| 1 Tss in first 2 sts, *YO, skip 1 st – sp, 1 Tss in next 3 sts*. **Repeat to the end of the row.
Repeat R3 until you have 50 rows in total
*if you want to adjust the length of the Railway Top work as many rows as you need, up to armpit to get to the desired length.
Change the color to Jade
*change the color at the end of the R50 turning row. When you have 2 loops on the hook, cut the yarn, make a slip knot with the other color you will want to use and pull the loop through the last 2 loops that you have on the hook.
Repeat R3 working with the other color 20 (24, 24, 28, 28, 32) more rows or until you have in total 70 (74, 74, 78, 78, 82) rows in total.
Neck line
Use 2 st markers and mark the sts for the neck line: 39 (41, 41, 43, 45, 47). You should have left for each shoulder 20 (23, 27, 30, 33, 36) sts.
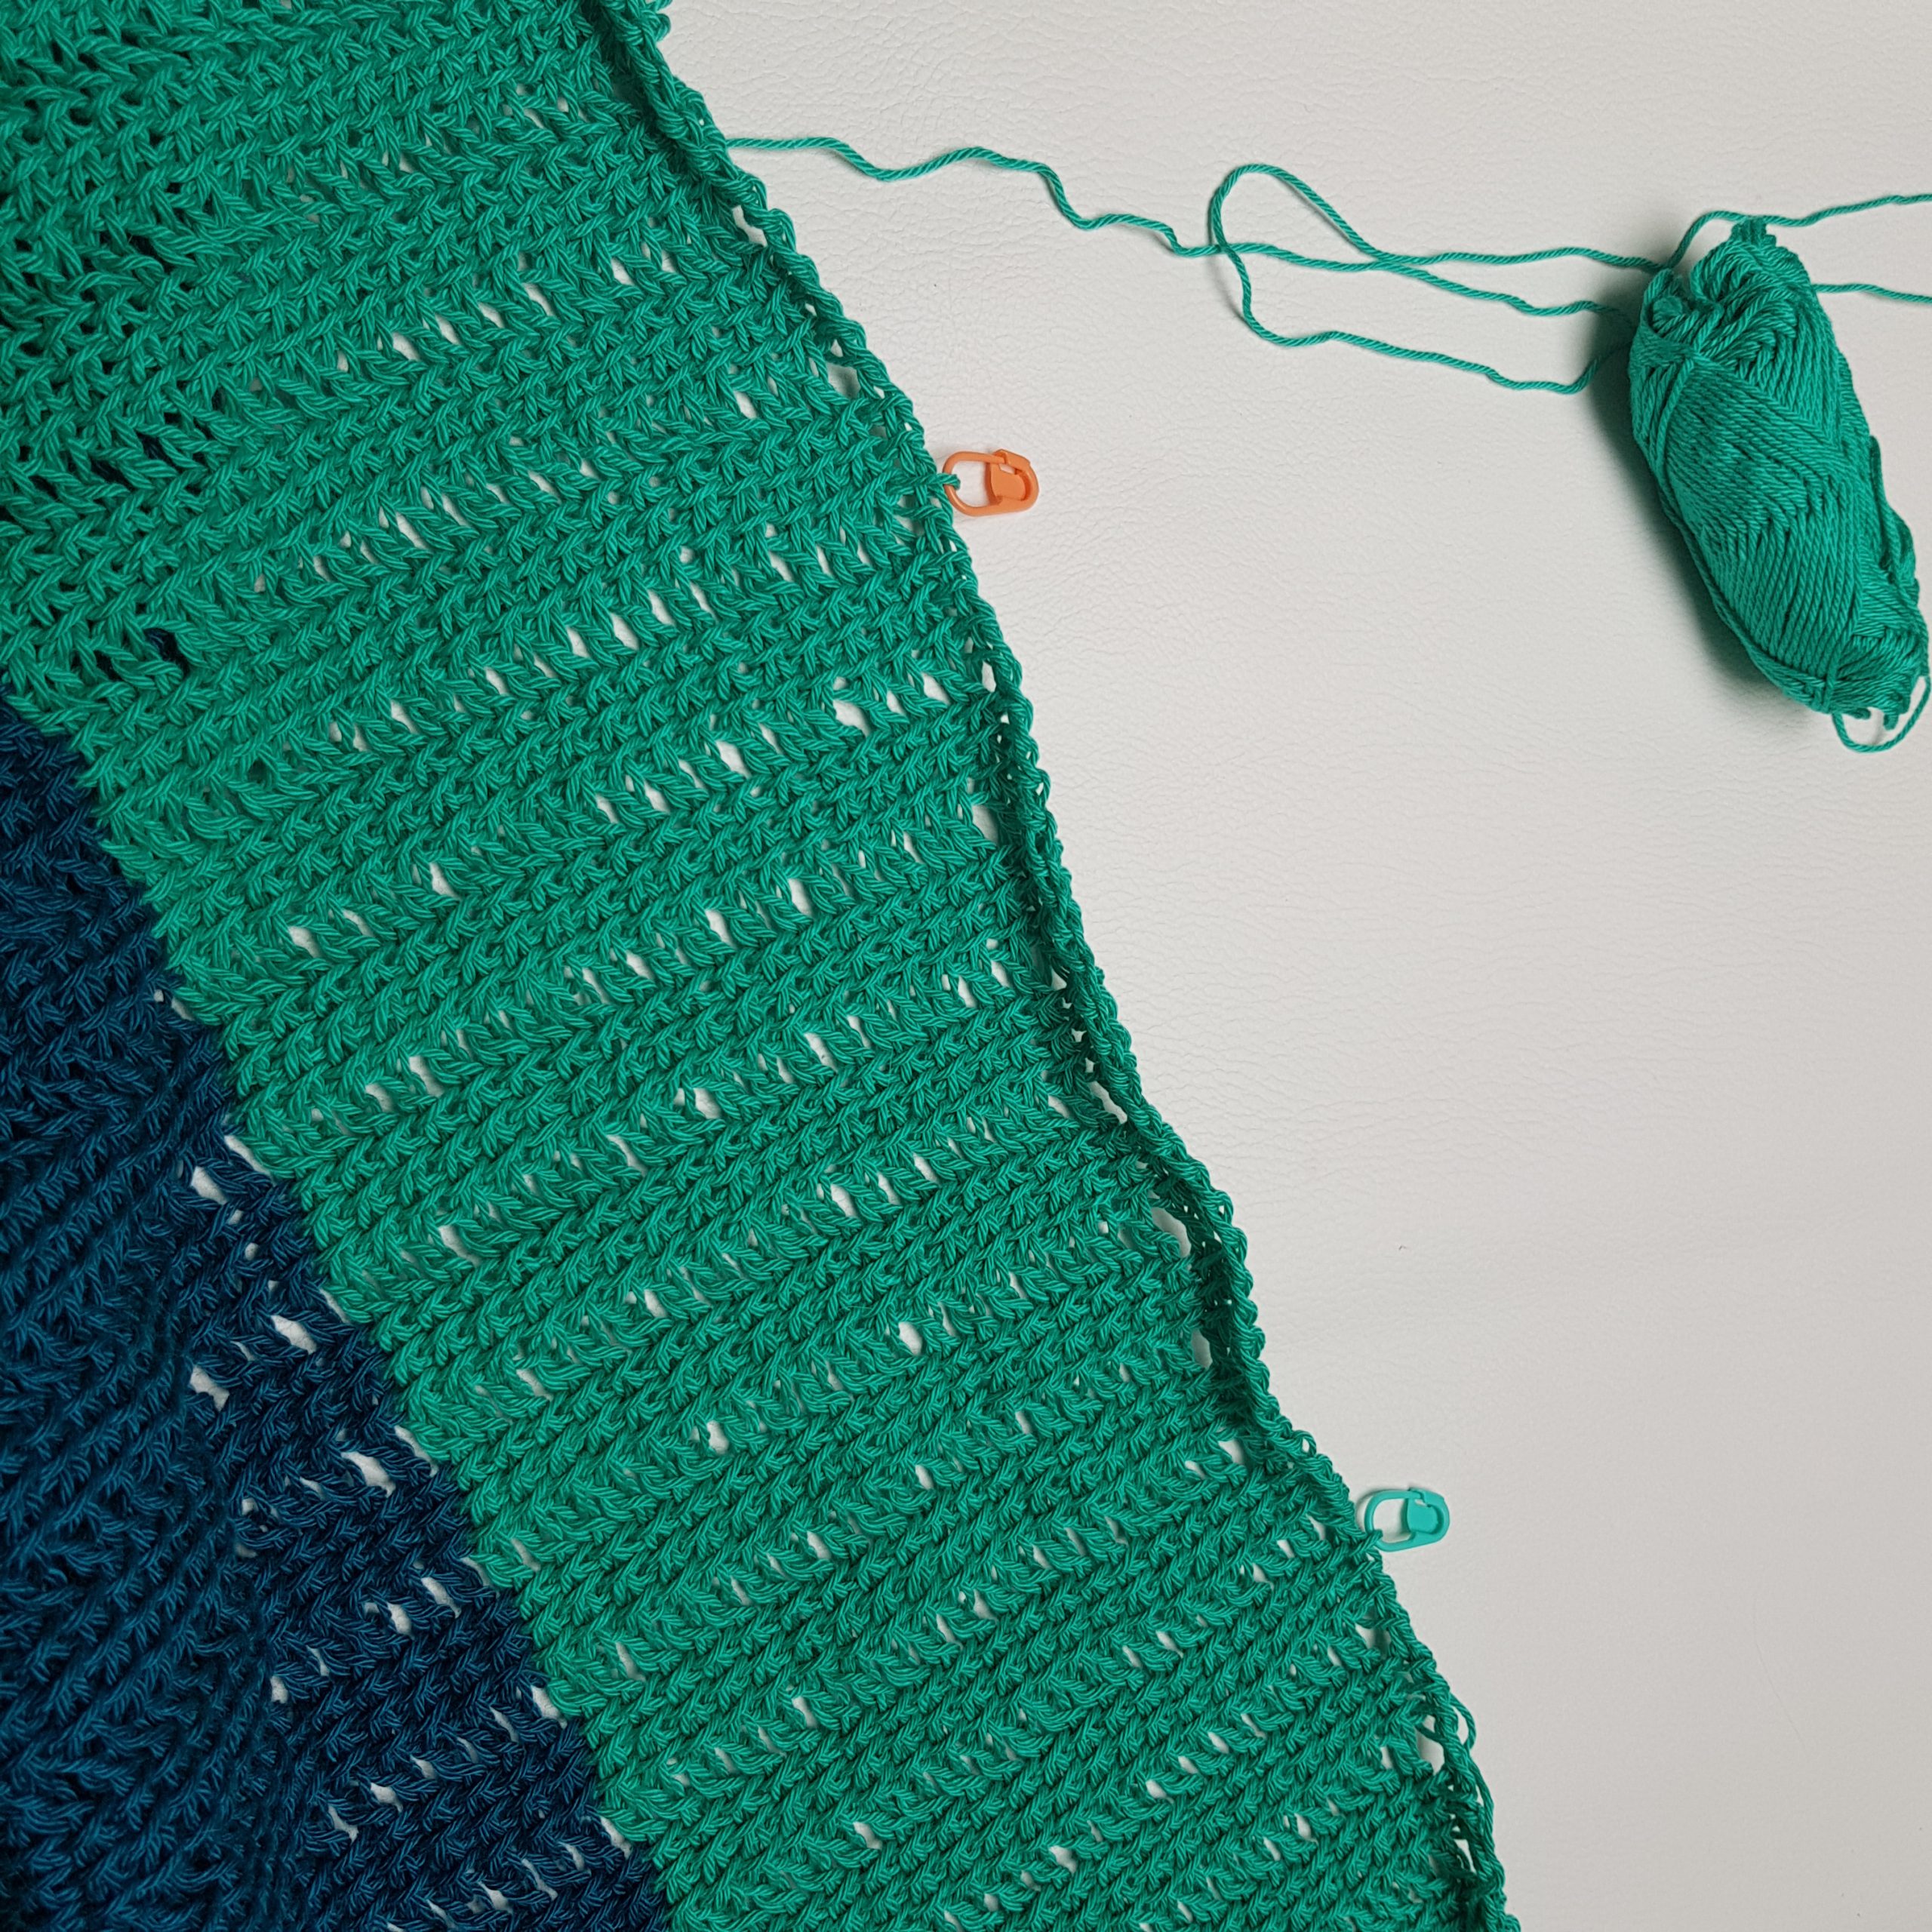
R71 (75, 75, 79, 79, 83)| start the row as usual and work the sts in the same way until now, to the 1st st marker: 19 (22, 26, 29, 32, 35) sts, bind off next 39 (41, 41, 43, 45, 47), work in the same pattern the last sts : 20, (23, 27, 30, 33, 36) sts.
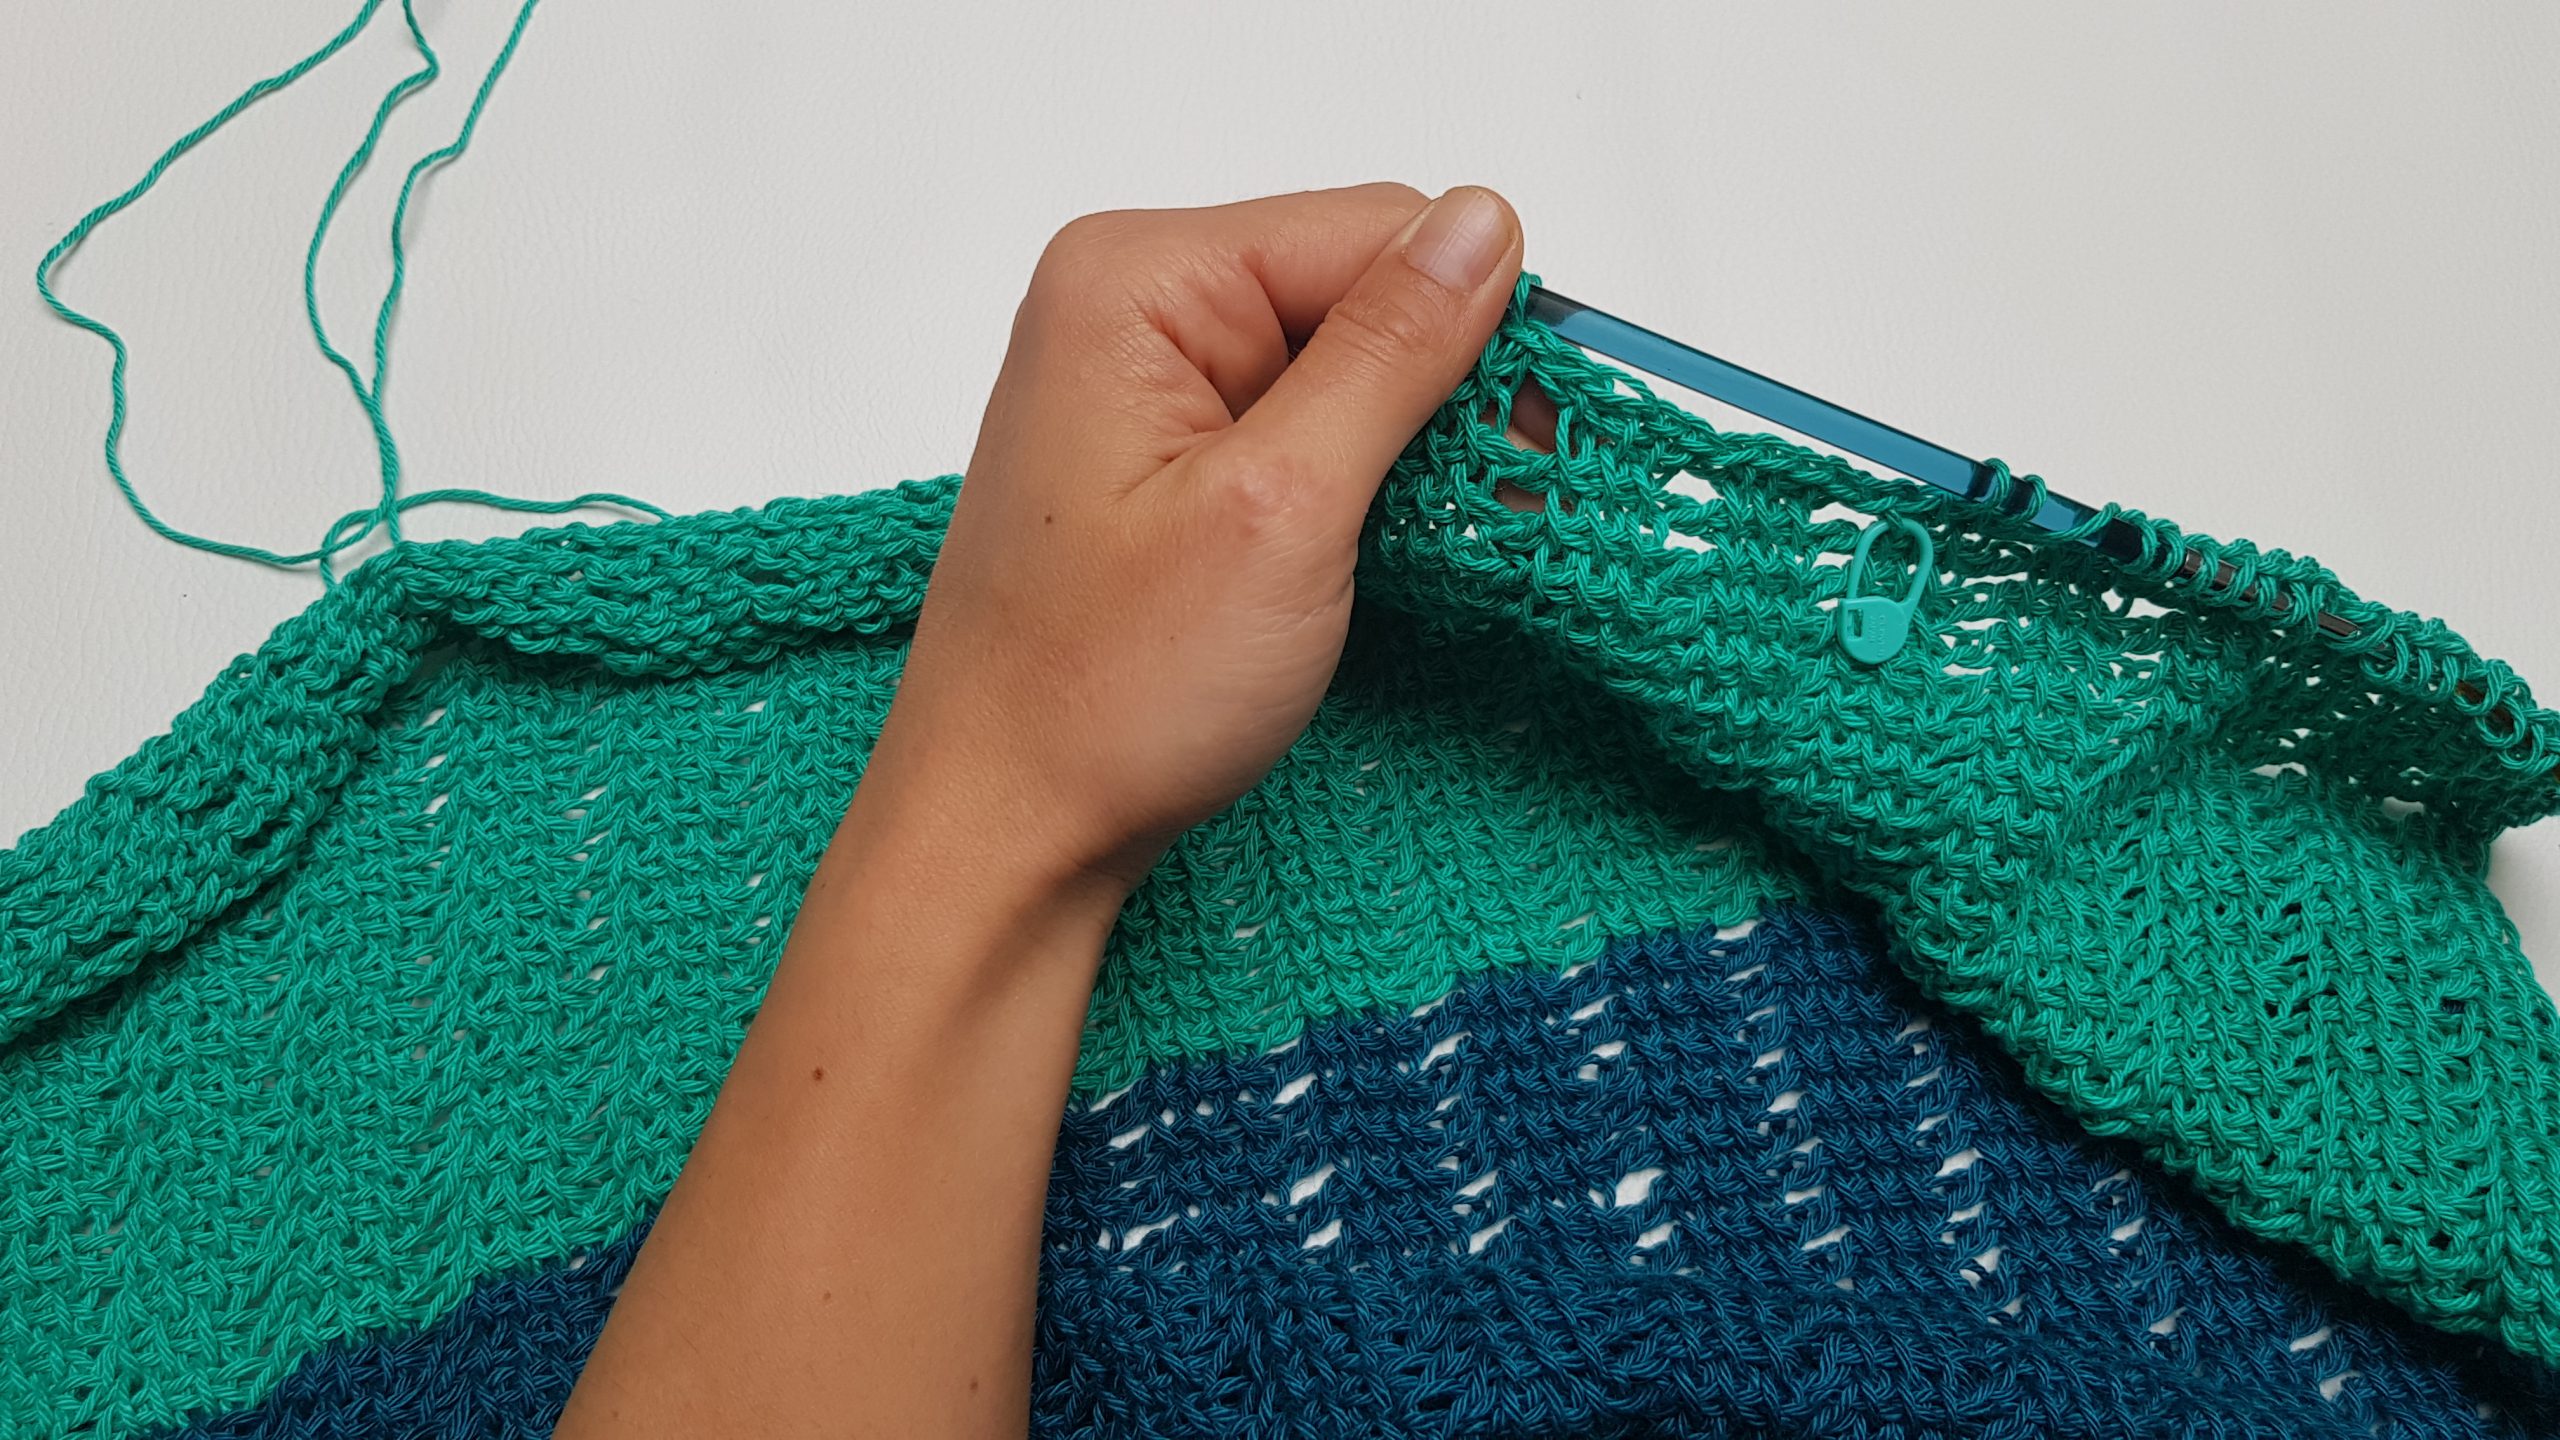
Next, we will work 3 more rows only on the shoulders’ sts.
Start by working the side where your yarn is. You have to make now the turning row, and then work 2 more rows in the same stitch pattern.
Bind off.
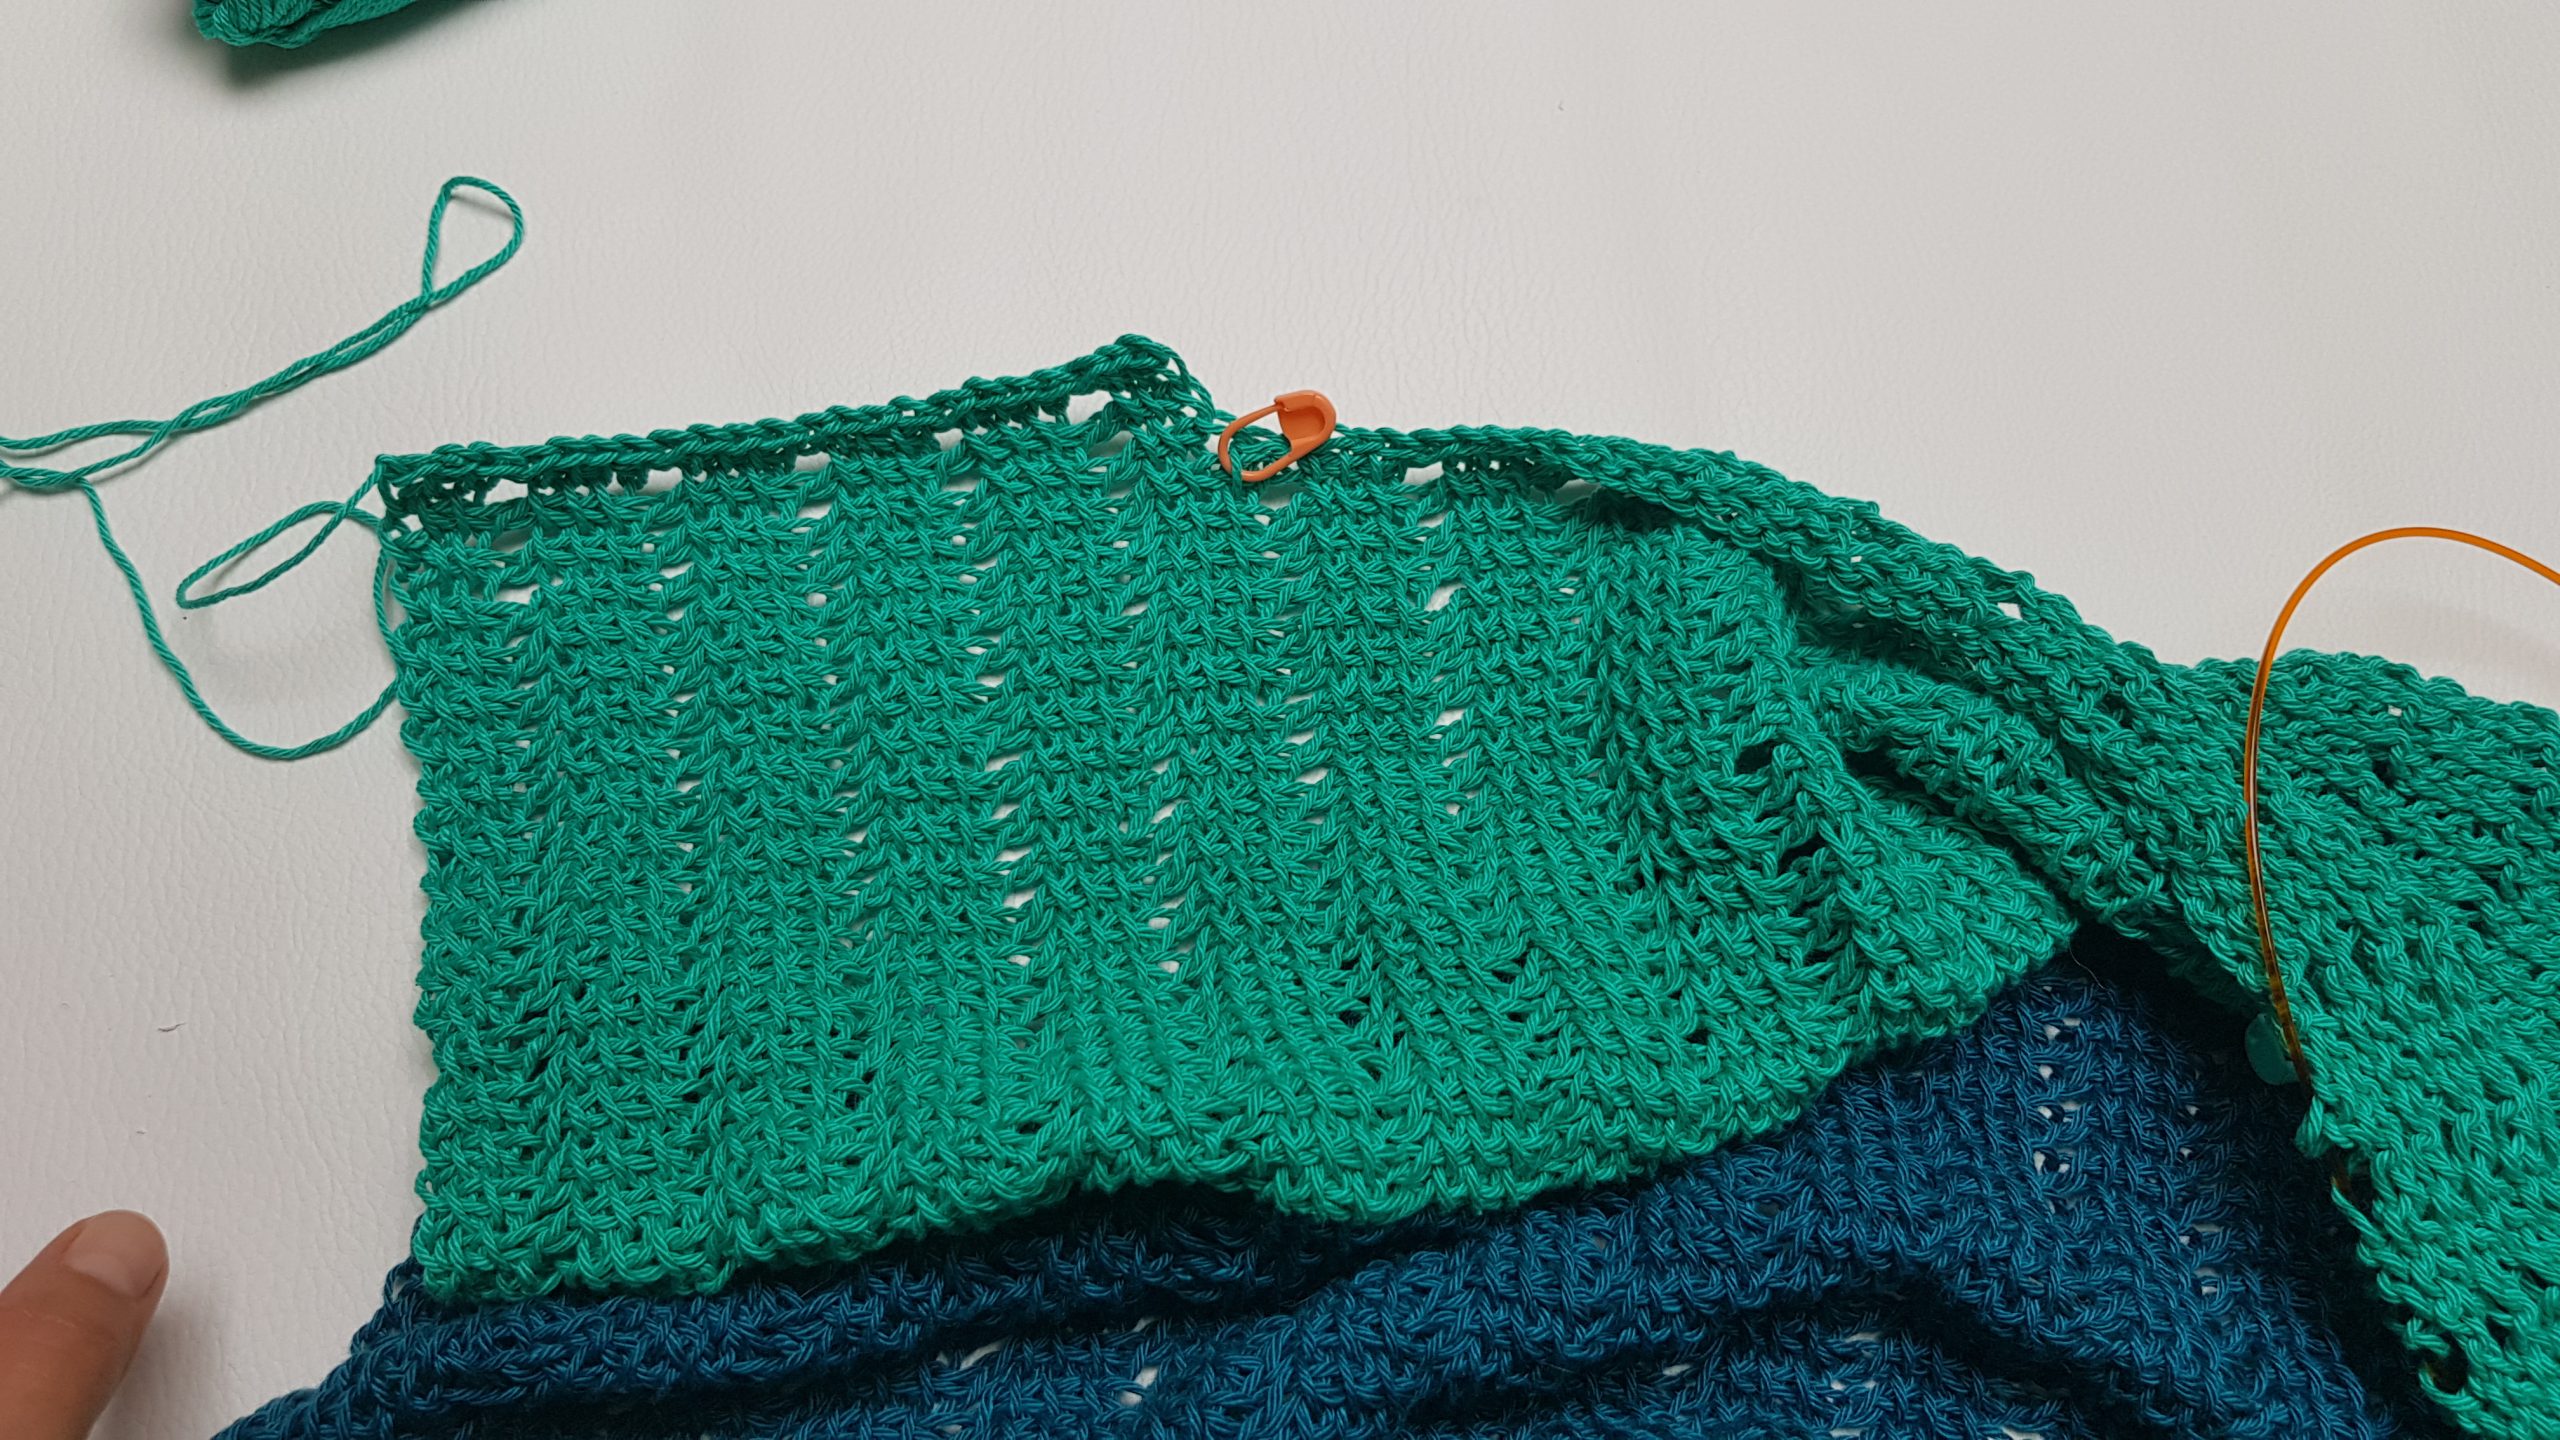
Rejoin yarn on the other side. Make a sl knot and start making the turning row. Work 2 more rows in the same st pattern.
Bind off.
Fasten off.
Back Panel
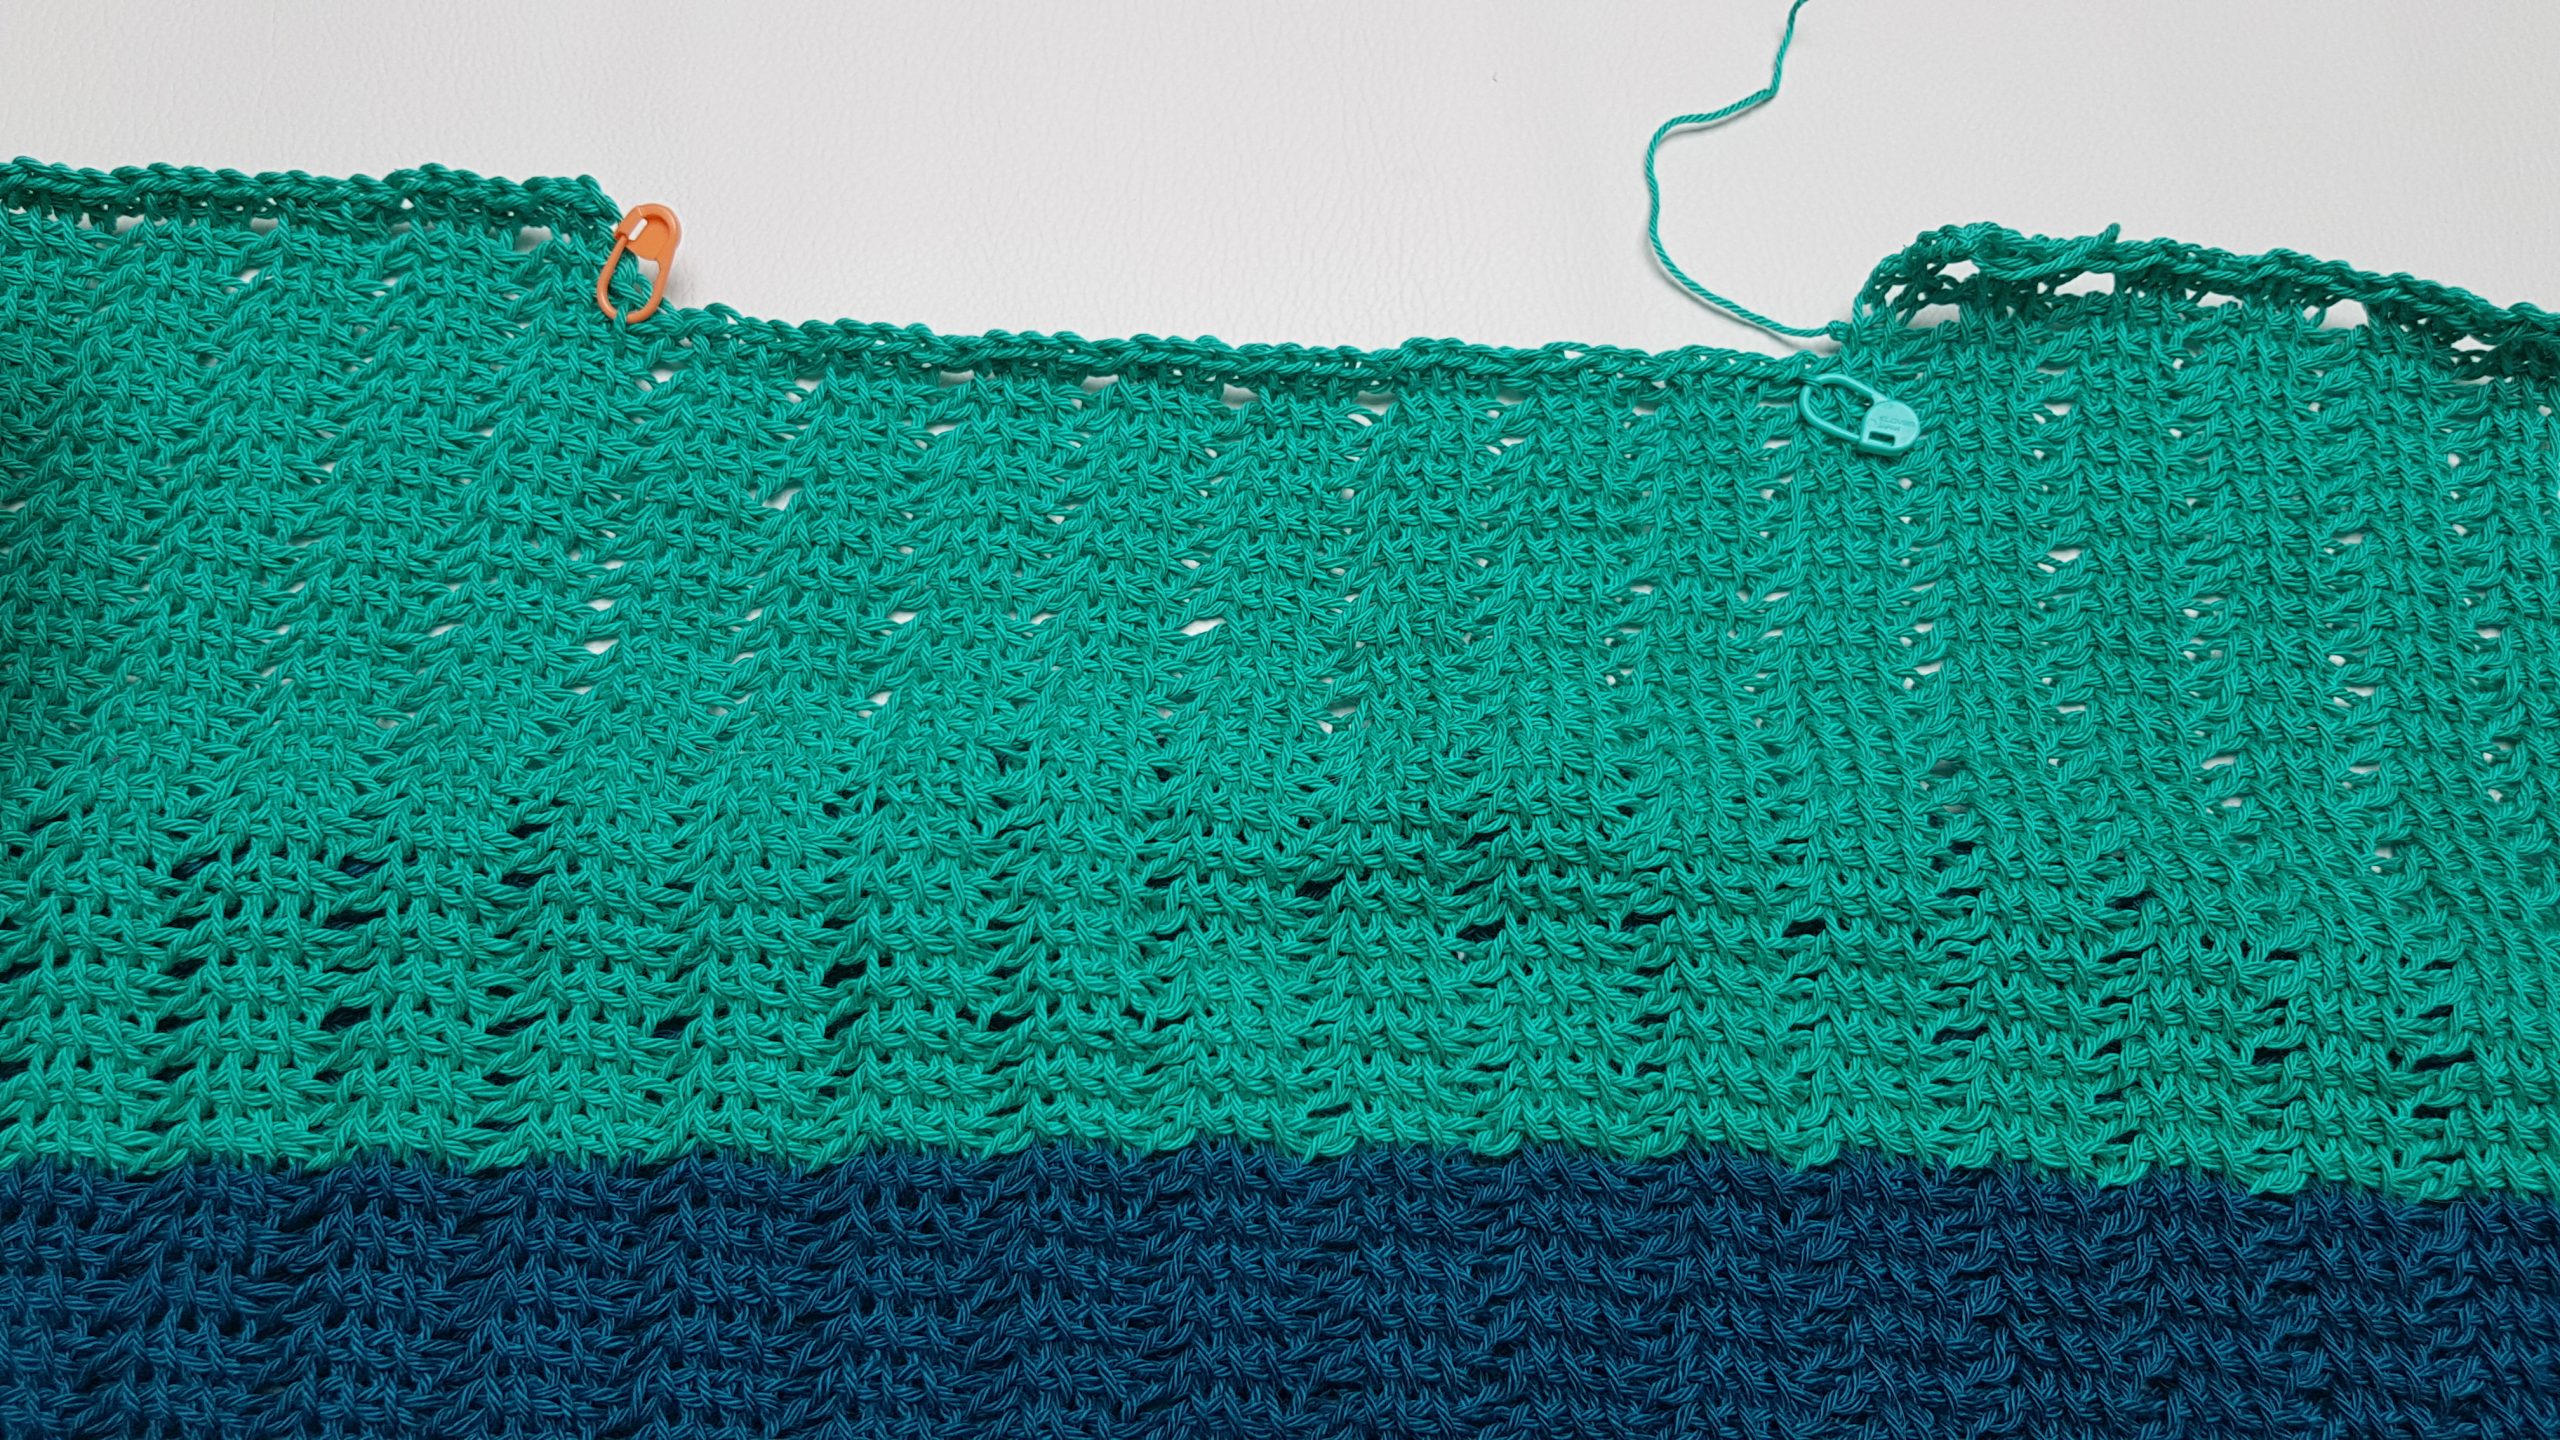
For the back panel follow the same pattern as for the Front Panel except the last 3 rows. The last 3 rows will be full rows , without binding off the neck line sts.
So, after changing the color at the armpit you will make in the second color 23 (27, 27, 32, 32, 35) rows or until you have in total for the back panel 73 (77, 77, 81, 81, 85) rows.
Bind off.
Assembling
Stitch the 2 pieces together on shoulders and on sides. On sides you have to stitch only the dark teal rows, because the jade color rows represent the armhole.
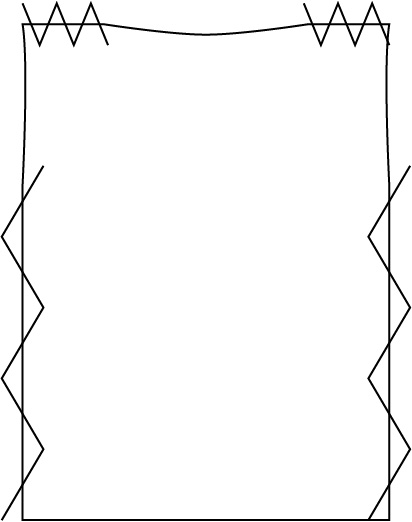
*if you used one single color, before stitching the side, mark the armholes: 23 (27, 27, 31, 31, 35) rows.
Edging
For edging we are using traditional crochet stitches, like single crochet and 4 mm crochet hook.
We will make the edge on the armholes and bottom hem.
Use for edging the contrasting color.
Start| rejoin yarn at the armpit for sleeves or in one of the sts at the back for neck line and bottom hem.
R1| ch 1, 1 sc in the same st, 1 sc in each st around. Join with a sl st with 1st sc.
For the neck line repeat R1 one more row. For sleeves and bottom hem repeat R1 3 more rows or until the edge is as thick as you want.
To finish
Wave in all end and block to measurements.
And this was it! You have a new hand made t-shirt to wear with pride or give it to someone you love.
You can Purchase the easy printable PDF version of this pattern here:
You can now have the PDF version with 20% Discount or even for FREE if you want to support ByKaterina on Patreon
Here you can find a step by step video tutorial
https://youtu.be/jqgKLzAFHKE




Comments are closed.