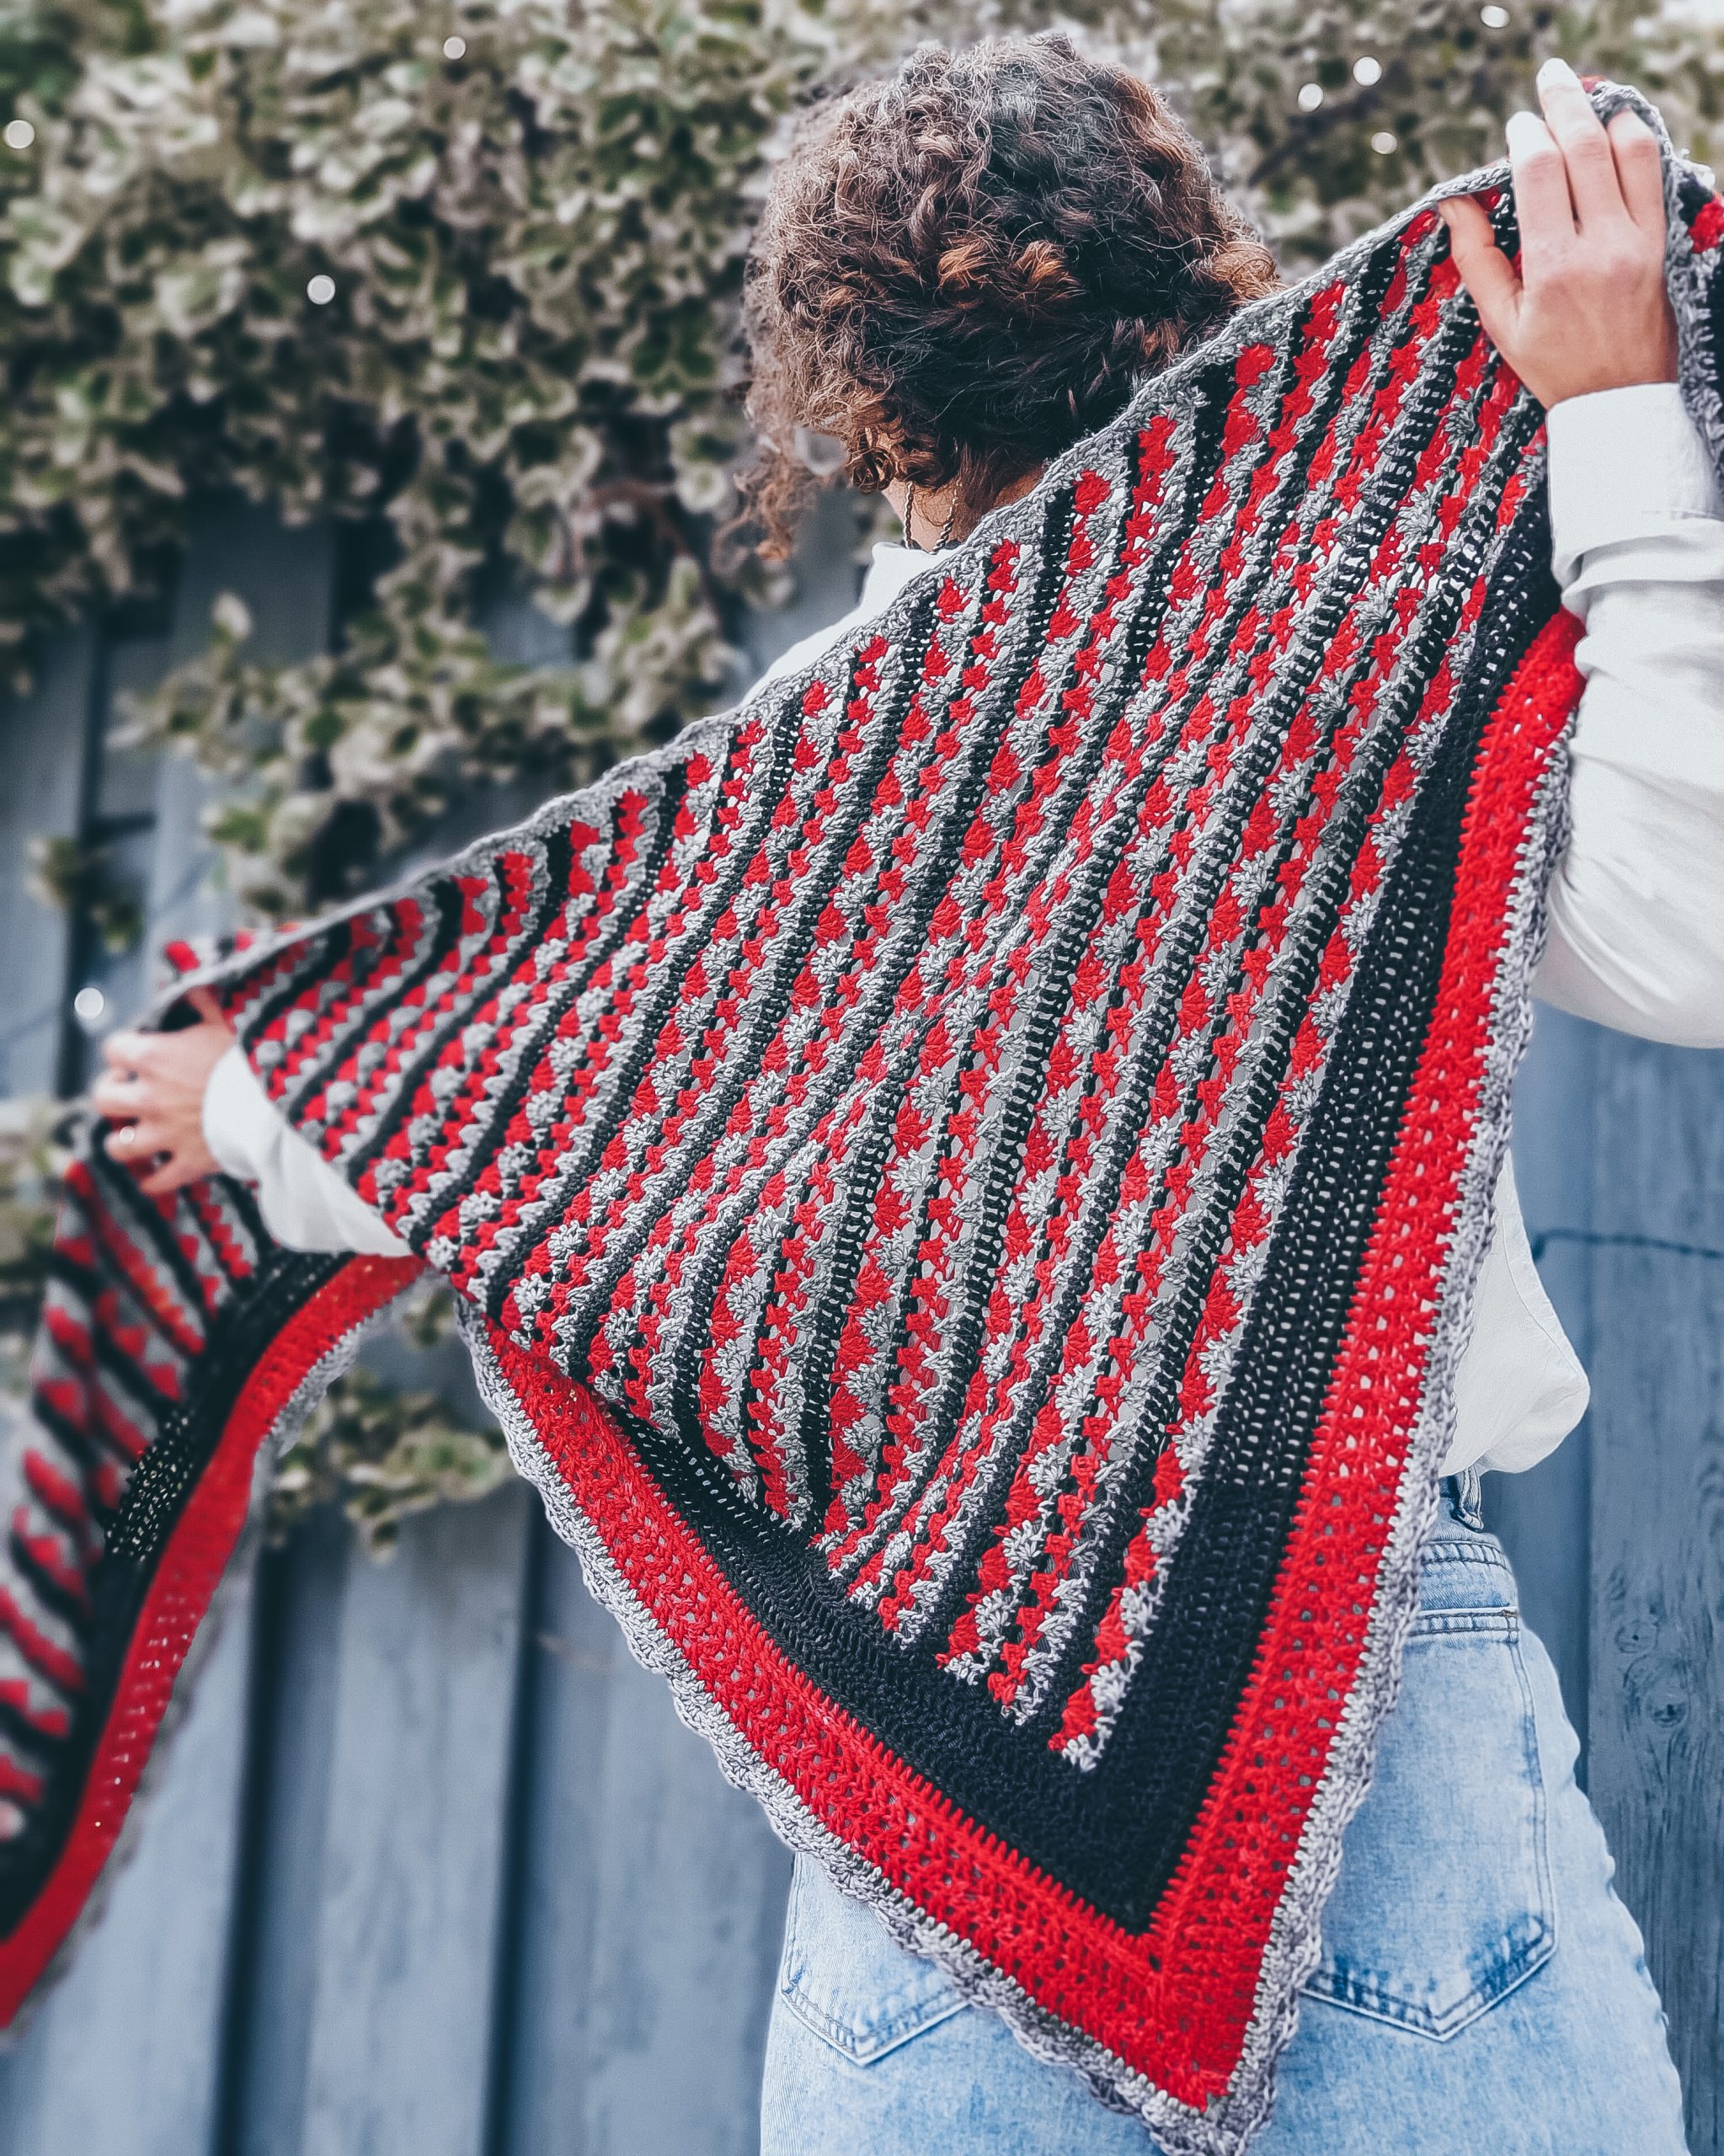
How happy I am that I am about to share with you this Poppy Flowers Shawl Pattern!
As I wrote in a post on Instagram, I don’t like to make shawls, but I love to wear them. I am that kind of a person, that if I have my neck covered, the rest doesn’t matter 😁. Especially with this weather changing, when it’s not that cold anymore, but neither warm enough.
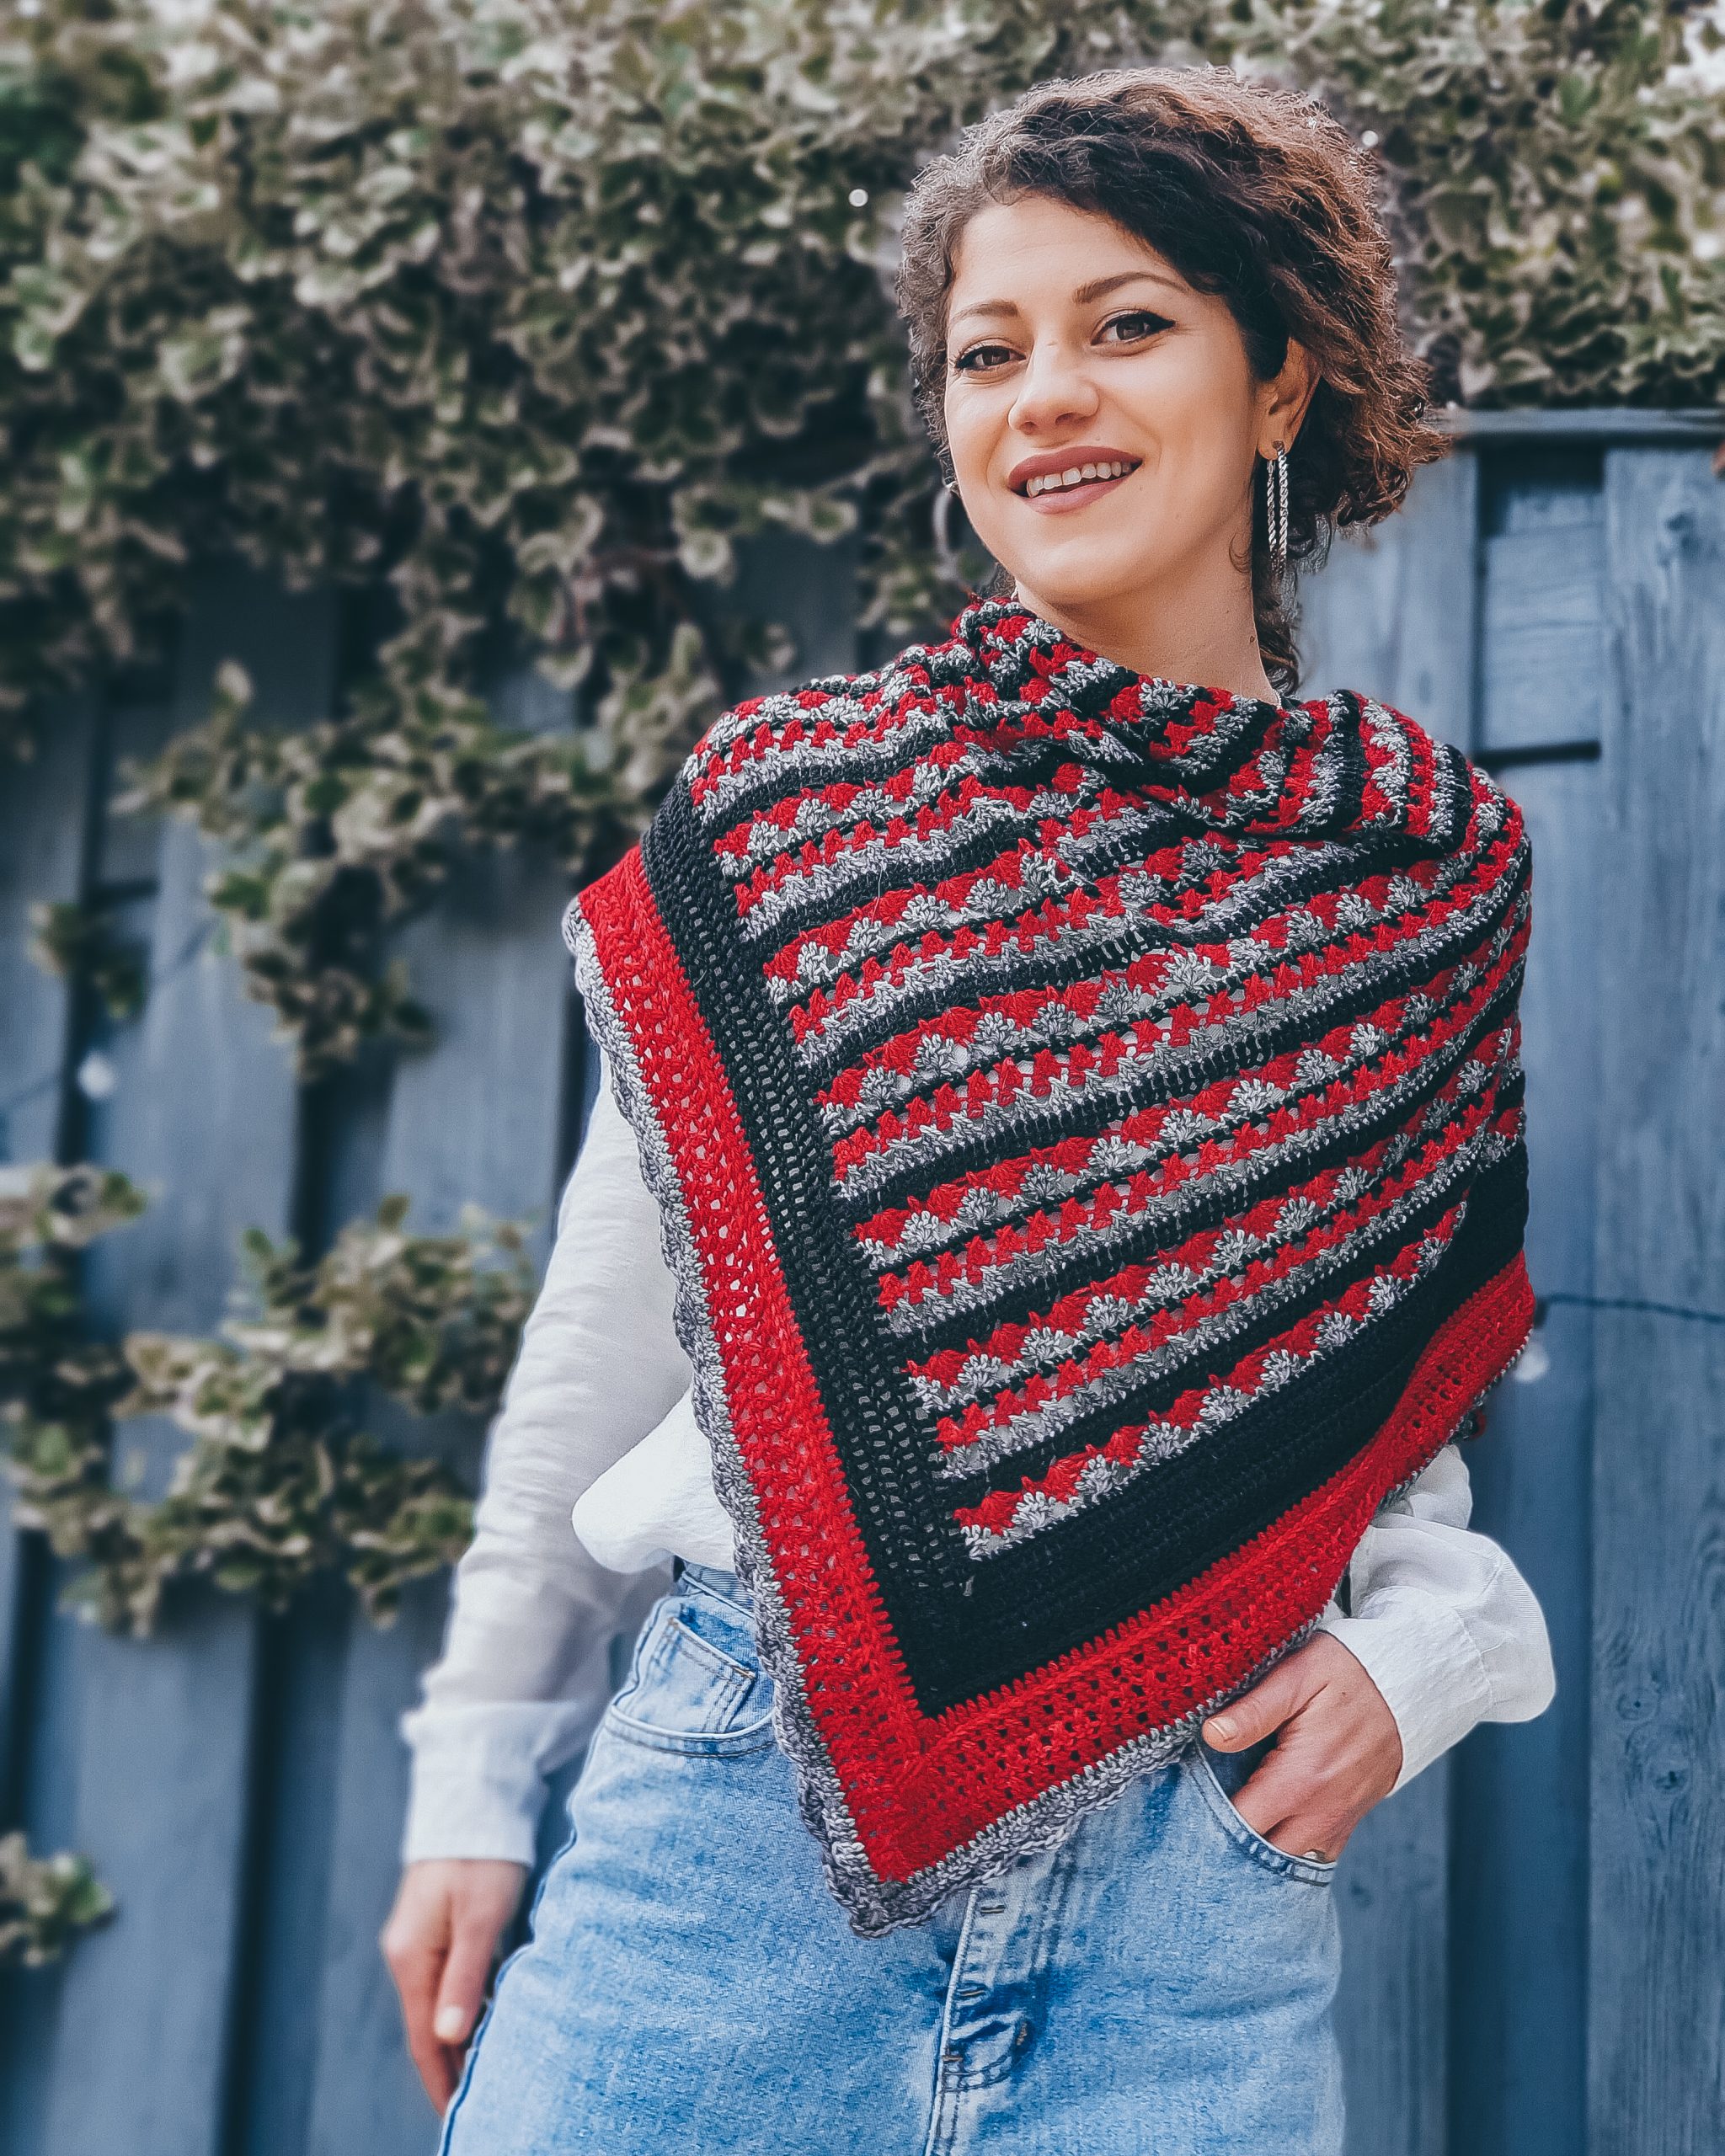
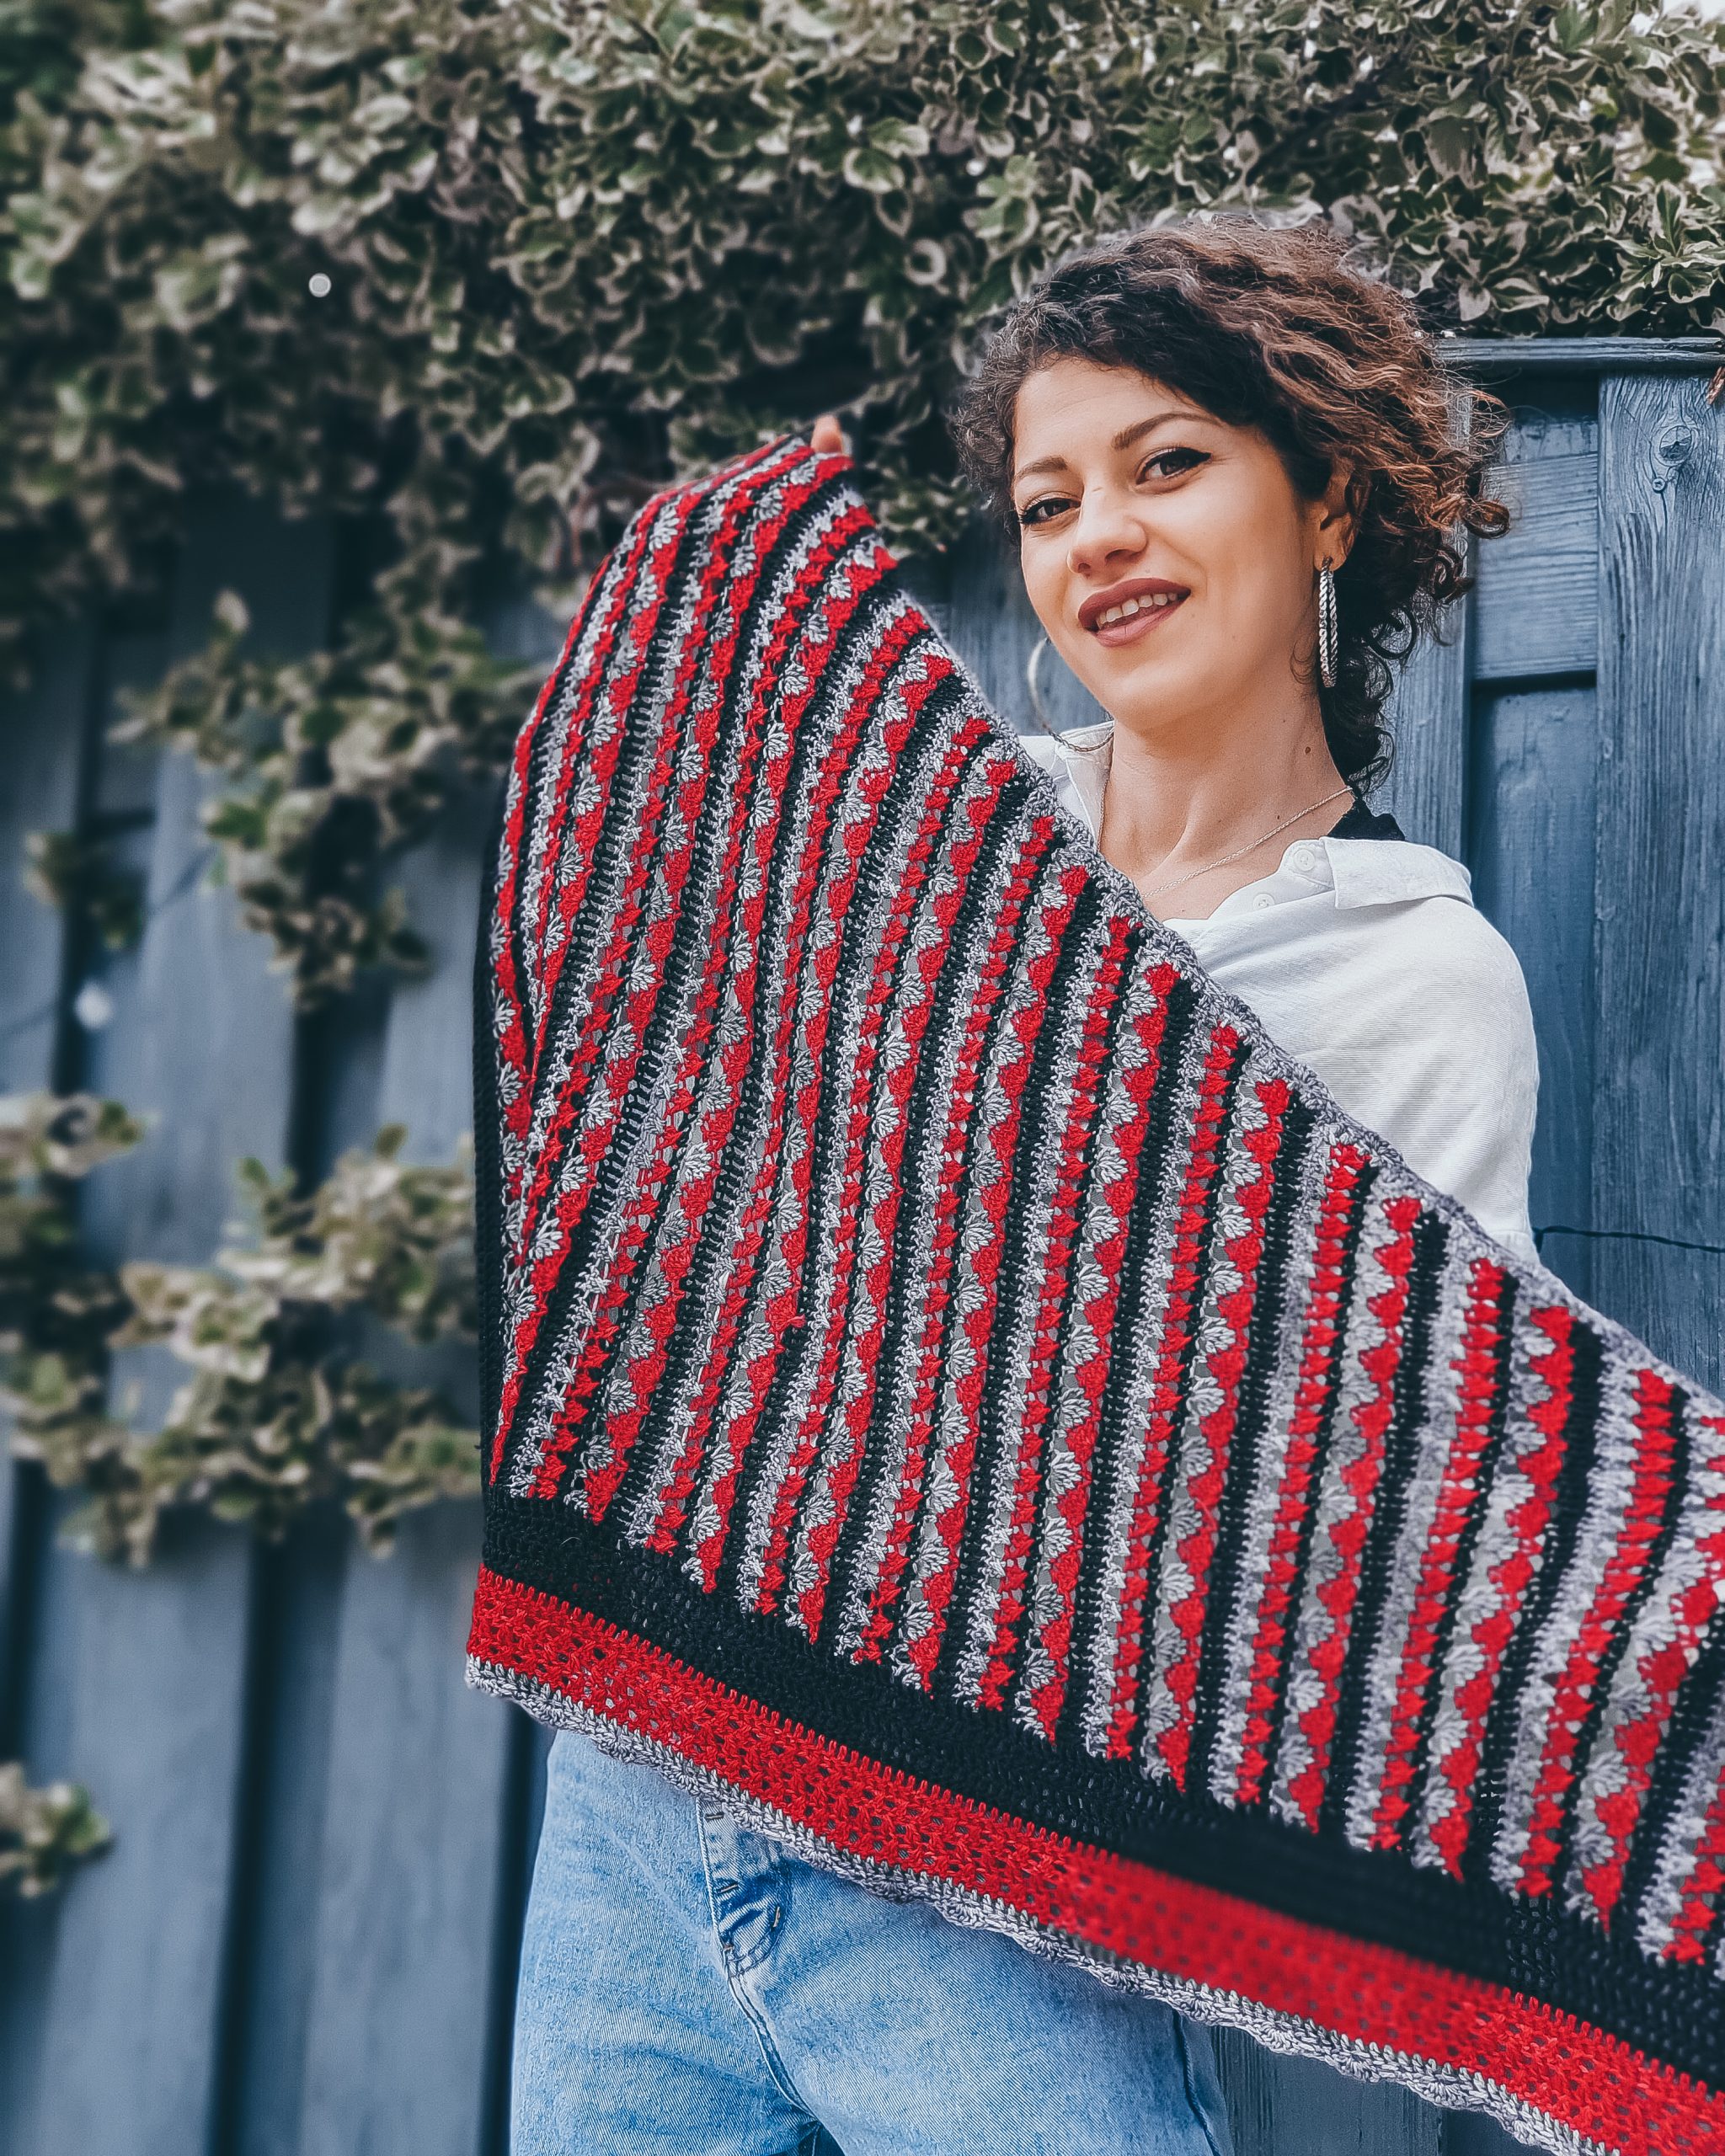
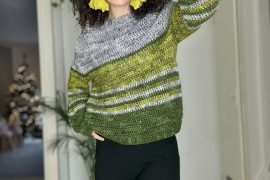
For this Poppy Flowers Shawl, I used the same combination of stitches as for the Snowflakes Sweater, but this time using only 3 colors and I am happy with how everything comes together.
I have to say that I am not a fan of red, but in combination with Grey and Black I think is looking pretty good.
Plus the combination of colors is infinite and can’t wait to see what you have for this design.
You can Purchase the easily printable PDF version of this pattern here:
I have a video tutorial coming for this Poppy Flowers Shawl soon. So if you are a visual maker and want to make this, don’t worry I got you covered.
I don’t know what to say more about the inspiration of this design, so I think I will next get right into the instructions and let you all know how to make this shawl.
You can Purchase the easily printable PDF version of this pattern here:
MATERIALS
- Yarn
- Category 2 ( Fingering weight yarn)
- Crochet Hook
- 4 mm crochet hook
- You will need a yarn needle for weave in ends
- Scissors
NOTES ABOUT DESIGN
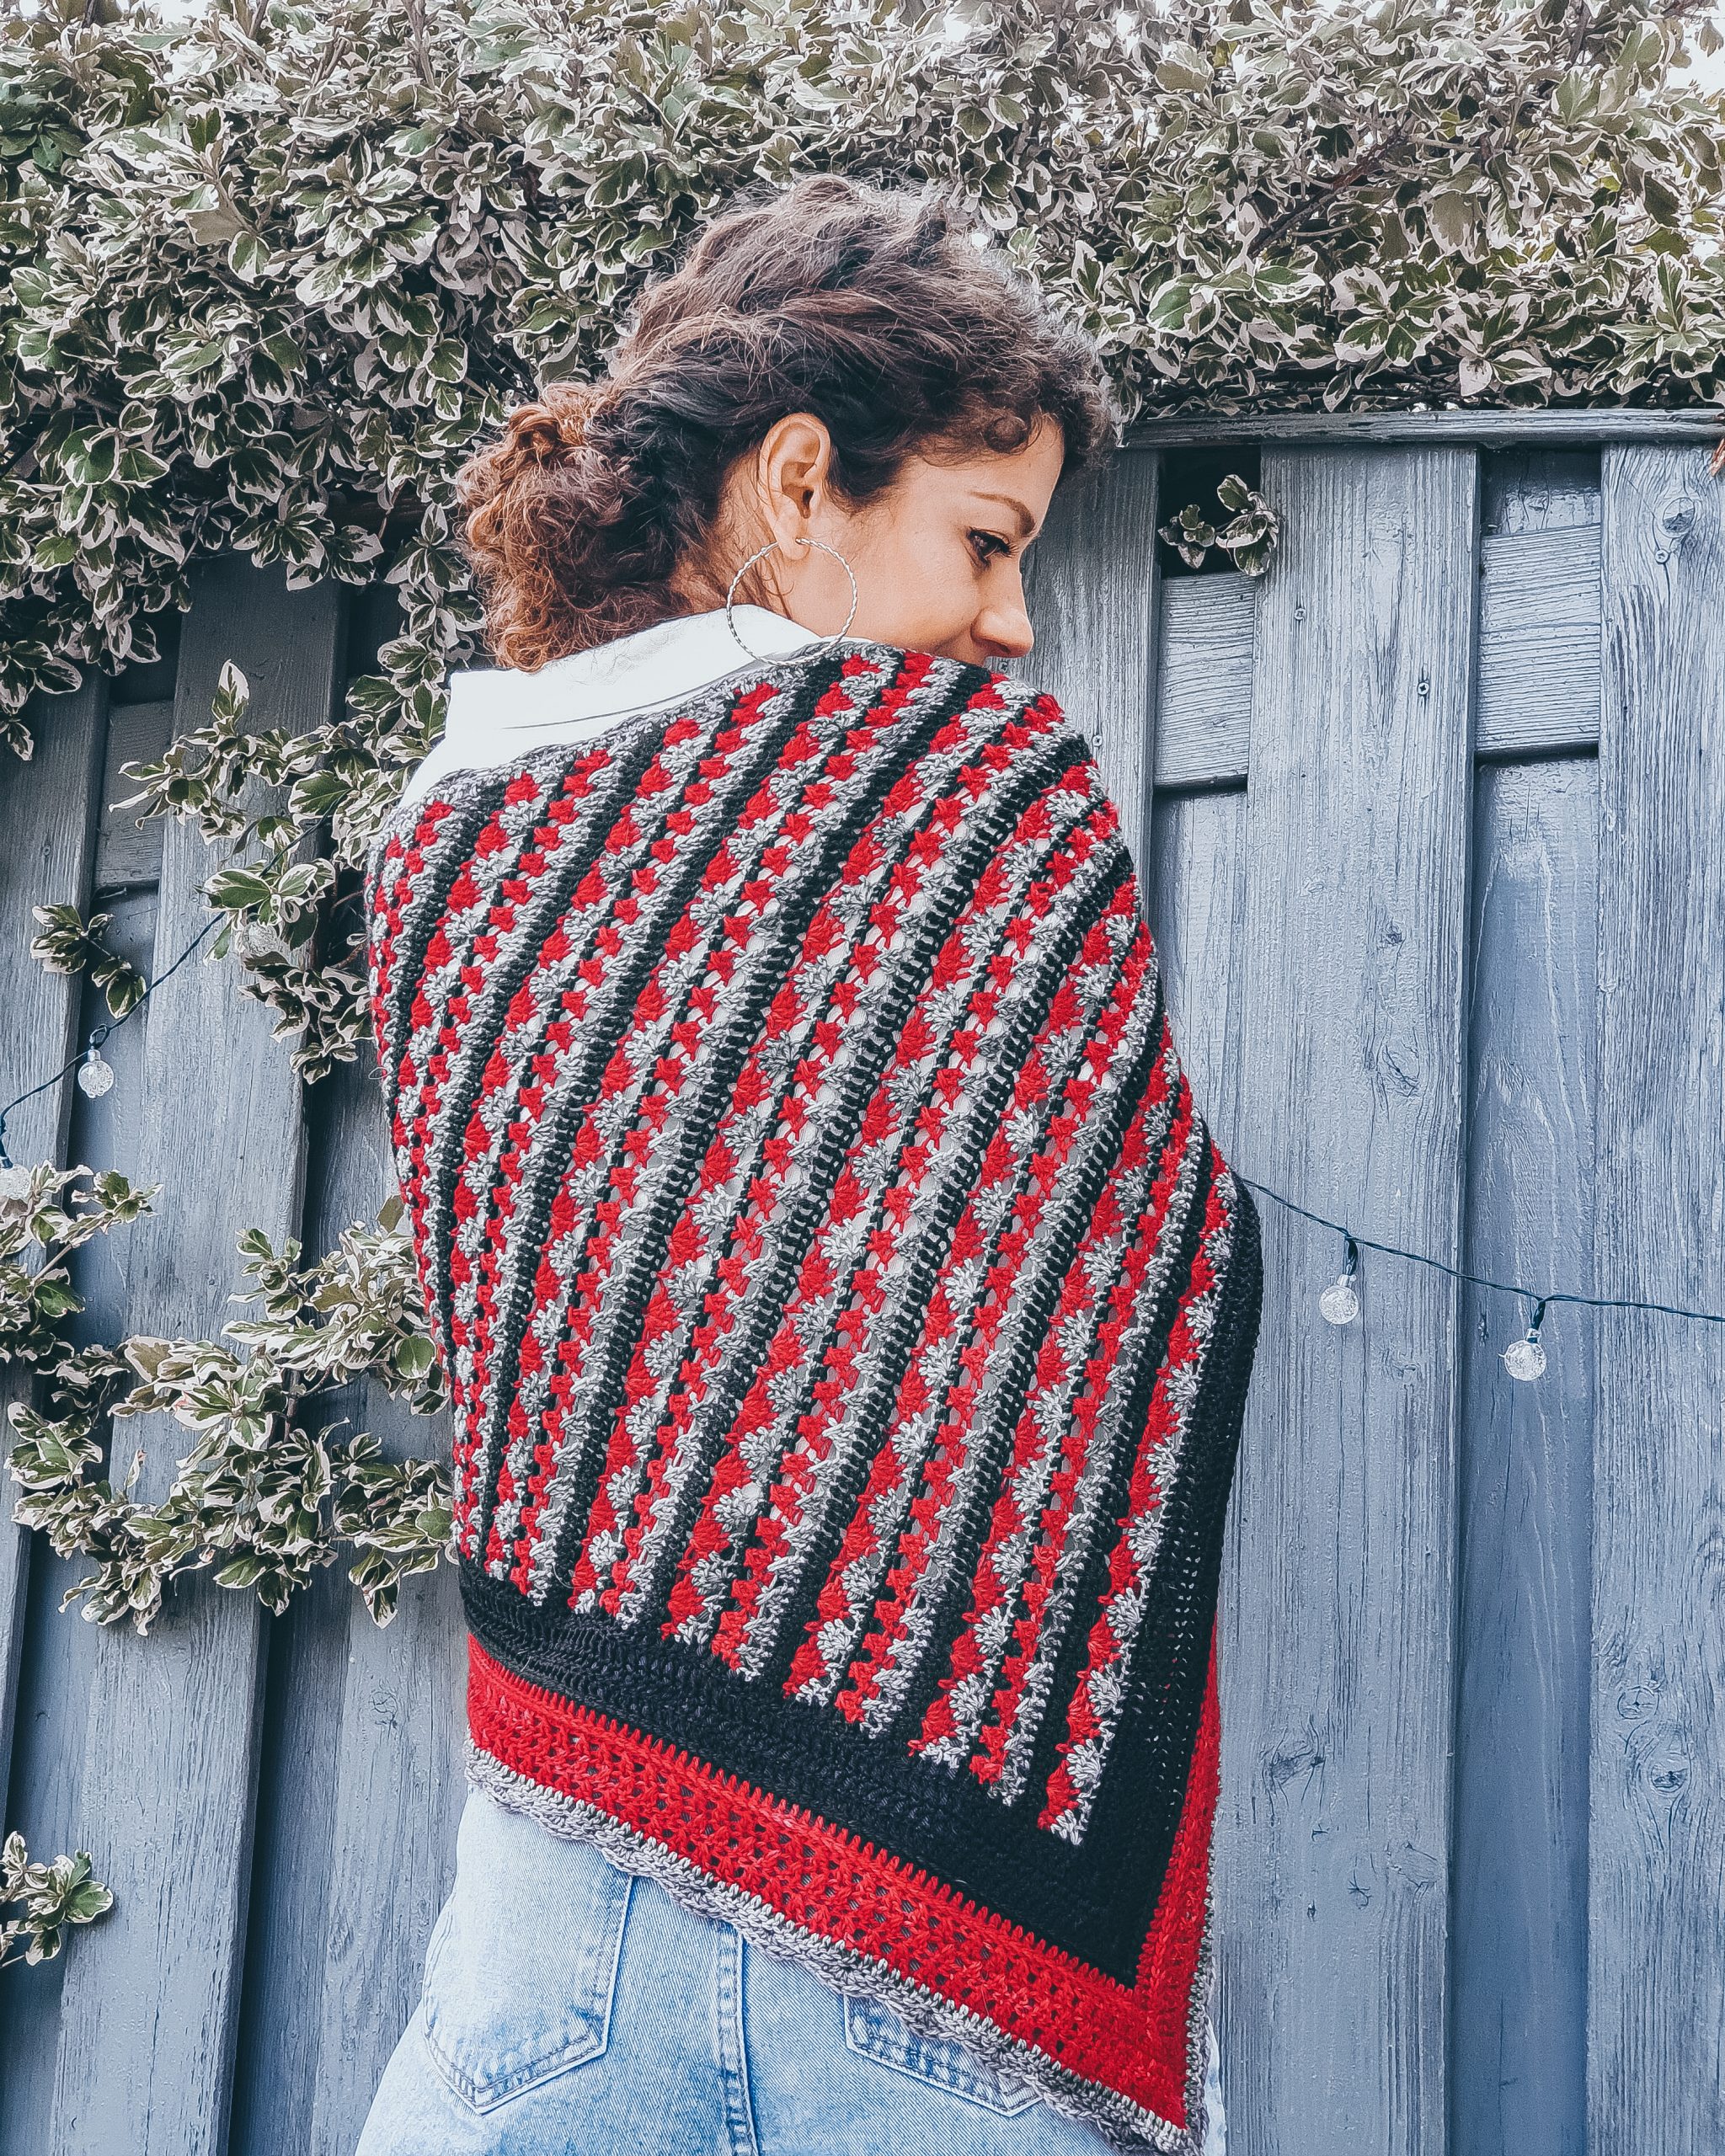
This shawl has an asymmetrical construction by increasing only on one side.
After completing the first part of the shawl, work a border on 2 sides of the triangle (length and width). Work the last 2 rounds of the edge around the entire scarf.
This pattern requires single crochet, double crochet, 3 double crochet cross stitch, 2 double crochet cross stitch, 5 double crochet shell stitch, 3 and 5 double crochet cluster or group.
MEASUREMENTS AND SIZES

Width a: 90 cm
Length b: 140 cm
Diagonal c: 170 cm
*all measurements are taken after blocking and include border
How much Yarn do you need?
I used Hand Dyed yarn by Needle Hook Fibers in colors Black, Red, and Grey.
For the entire shawl, I used approximately one hank of each color. Each skein has 100 grams and 400 yards.
STITCH PATTERN AND TECHNIQUES
The pattern for the part of the main shawl is a combination of rows in different stitch patterns.
More exactly will be six different rows.
1st row: single crochet
2nd and 3rd row: 3dc cross stitch
*Skip the next st, 1dc in next 2 sts, 1dc in the skipped st. *Rep. to the end of the row
4th row: double crochet
5th Row: 5 double crochet shell stitch
*1sc, skip next 2 sts, 5dc in next st, skip the next 2 sts. *Rep. until the end of the row.
6th row: 5 double crochet worked together (dc5tog)
Dc2tog (dc3tog, dc5tog) – *yarn over, insert the hook into the next st, yarn over, and pull it through the first 2 loops on the hook. *rep 2 (3 or 5 times for dc3tog and dc5tog) times, yarn over and pull the yarn through all loops on your hook
These stitch patterns will have minor variations to fit the shawl design
To obtain the asymmetrical shape, increase on single crochet and double crochet row.
ABBREVIATIONS
- Ch – chain
- Sc – single crochet
- Dc – double crochet
- St(s) – stitch(es)
- R – rounds
- ** – repeated section.
TENSION (GAUGE)
Using a 4 mm crochet hook
- 19 sts and 10 rows = 10 cm
*in the 6 rows repeat stitch pattern
NOTES
Always ch3 at the beginning of each row that starts with double crochet.
Ch3 counts as the first double crochet.
Work the last st into the 3rd st of the turning ch.
Always ch1 at the beginning of a row which starts with sc.
Ch1 does not count as first sc.
Change the color after each row, in the last st.
If you are working with 3 colors, you don’t have to cut the yarn. Carry the thread on the side.
After completing one set of 6 rows, the number of stitches will increase with 6.
Increase only on single crochet row and double crochet row: with 2 sts on single crochet row and 4 sts on double crochet row.
Work the shawl flat. Turn after each row (except for the 2 last rounds of the border)
Working in the side rows sts, work 3dc in one space followed by 2 dc in next. Where you have 1 sc row, make only one dc.
You can Purchase the easily printable PDF version of this pattern here:
INSTRUCTIONS
You can follow the stitch chart or the written pattern below.
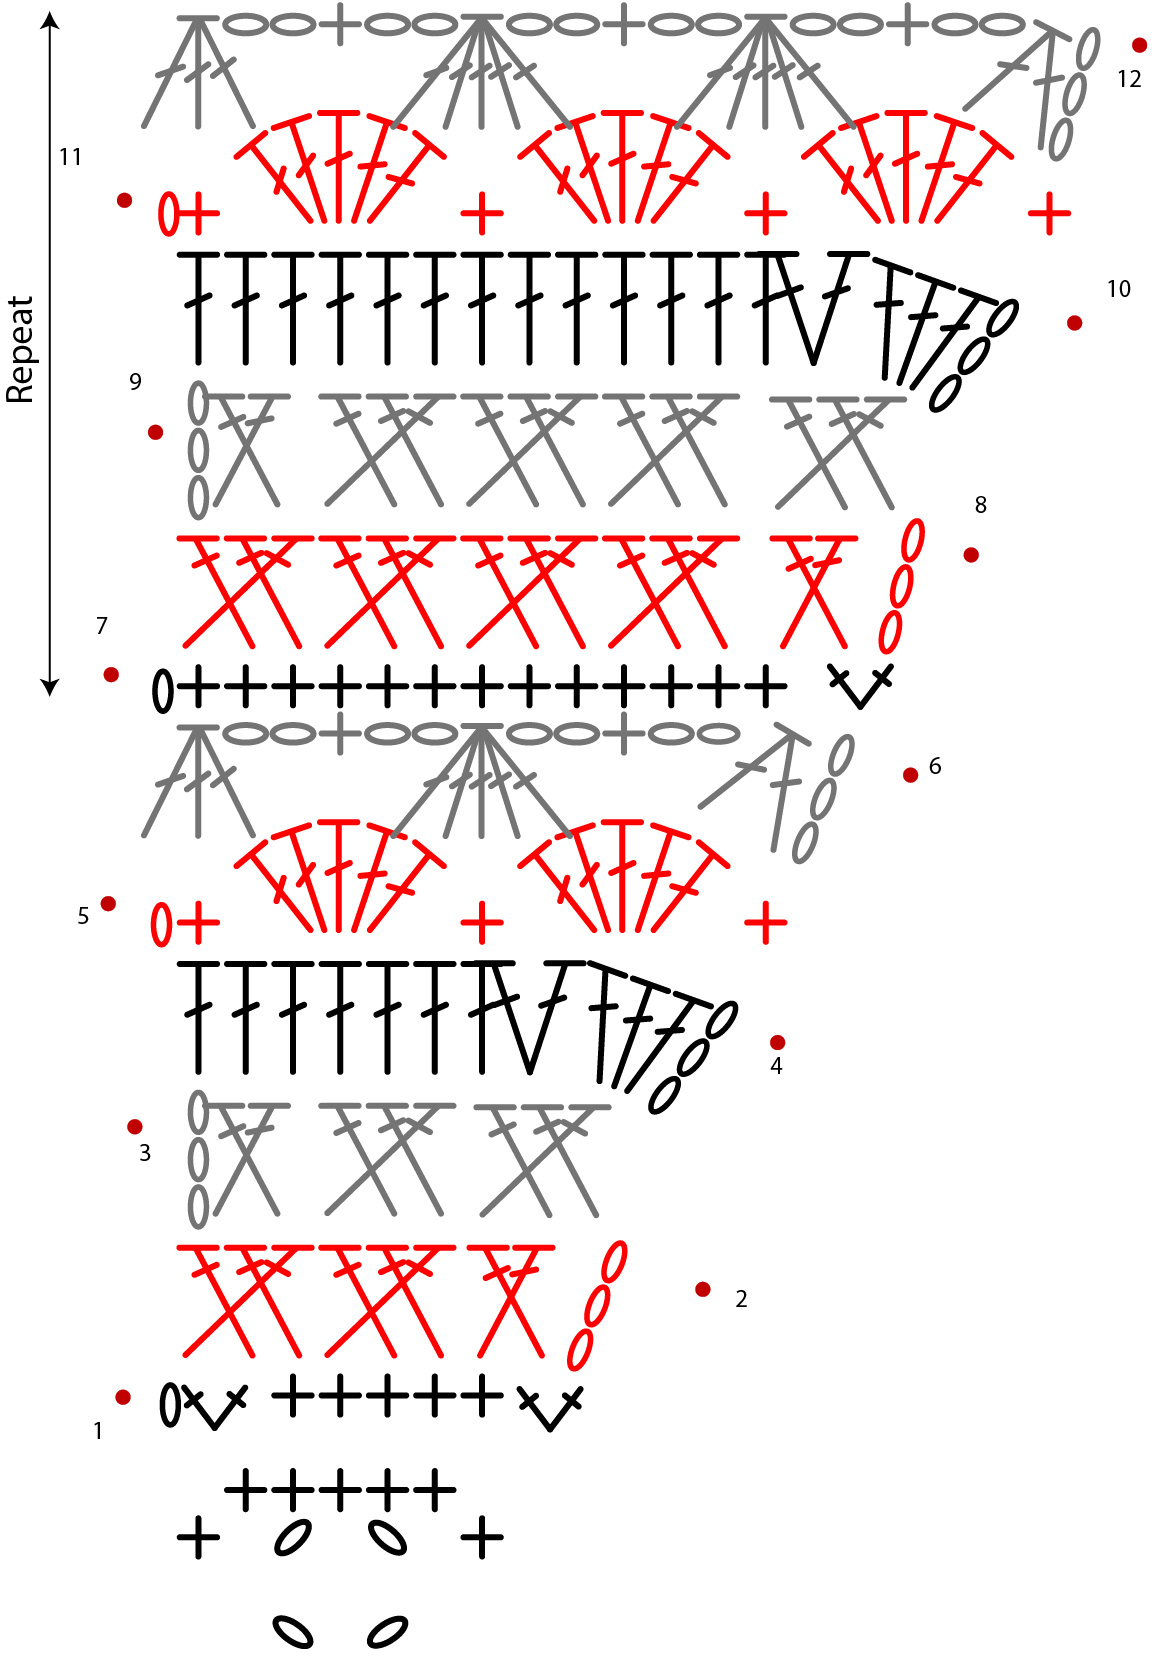
Using Black
Start: Make a magic ring (or ch4 and join to make a small circle) ch1, 7 sc inside the circle. Ch 1 and turn.
R1: 2sc in the 1st st, 1sc in each of the next sts, 2sc in last st (9 sc) Change to red
R2: ch3, skip the next st, 1dc in next st, 1dc in the skipped st, *skip the next st, 1dc in next 2 sts, 1dc in the skipped st. *Rep. until the end of the row. Change to Grey.
R3: Rep. R2. Change to black
R4: ch3, 3dc in the 1st st (same as ch3, 3dc increase), 2dc in next st, 1dc in each of the next sts until the end of the row. Change to Red (13 sts)
R5: ch1, 1sc in first st, *skip the next 2 sts, 1 shell st in next, skip the next 2 sts, 1sc in next. *Rep. until the end of the row. Change to Grey
R6: ch3, dc2tog, ch2, 1sc in next st, ch2, *dc5tog, ch2, 1sc in next st, ch 2. *Rep. until the end of the row except for the last 3 sts, dc3tog in the last 3 sts. Change to black.
R7: ch1, 1sc in each st, except the last one, 3sc in the last st (15 sts) change to Red.
R8: Rep R2
R9: Rep R2
R10: Rep. R4 (19 sts)
R11: Rep. R5
R12: Rep. R6
R13 – R114: Rep R7 to R12 (123 sts)
R115: Rep. R7 (125 sts), ch 3 and turn.
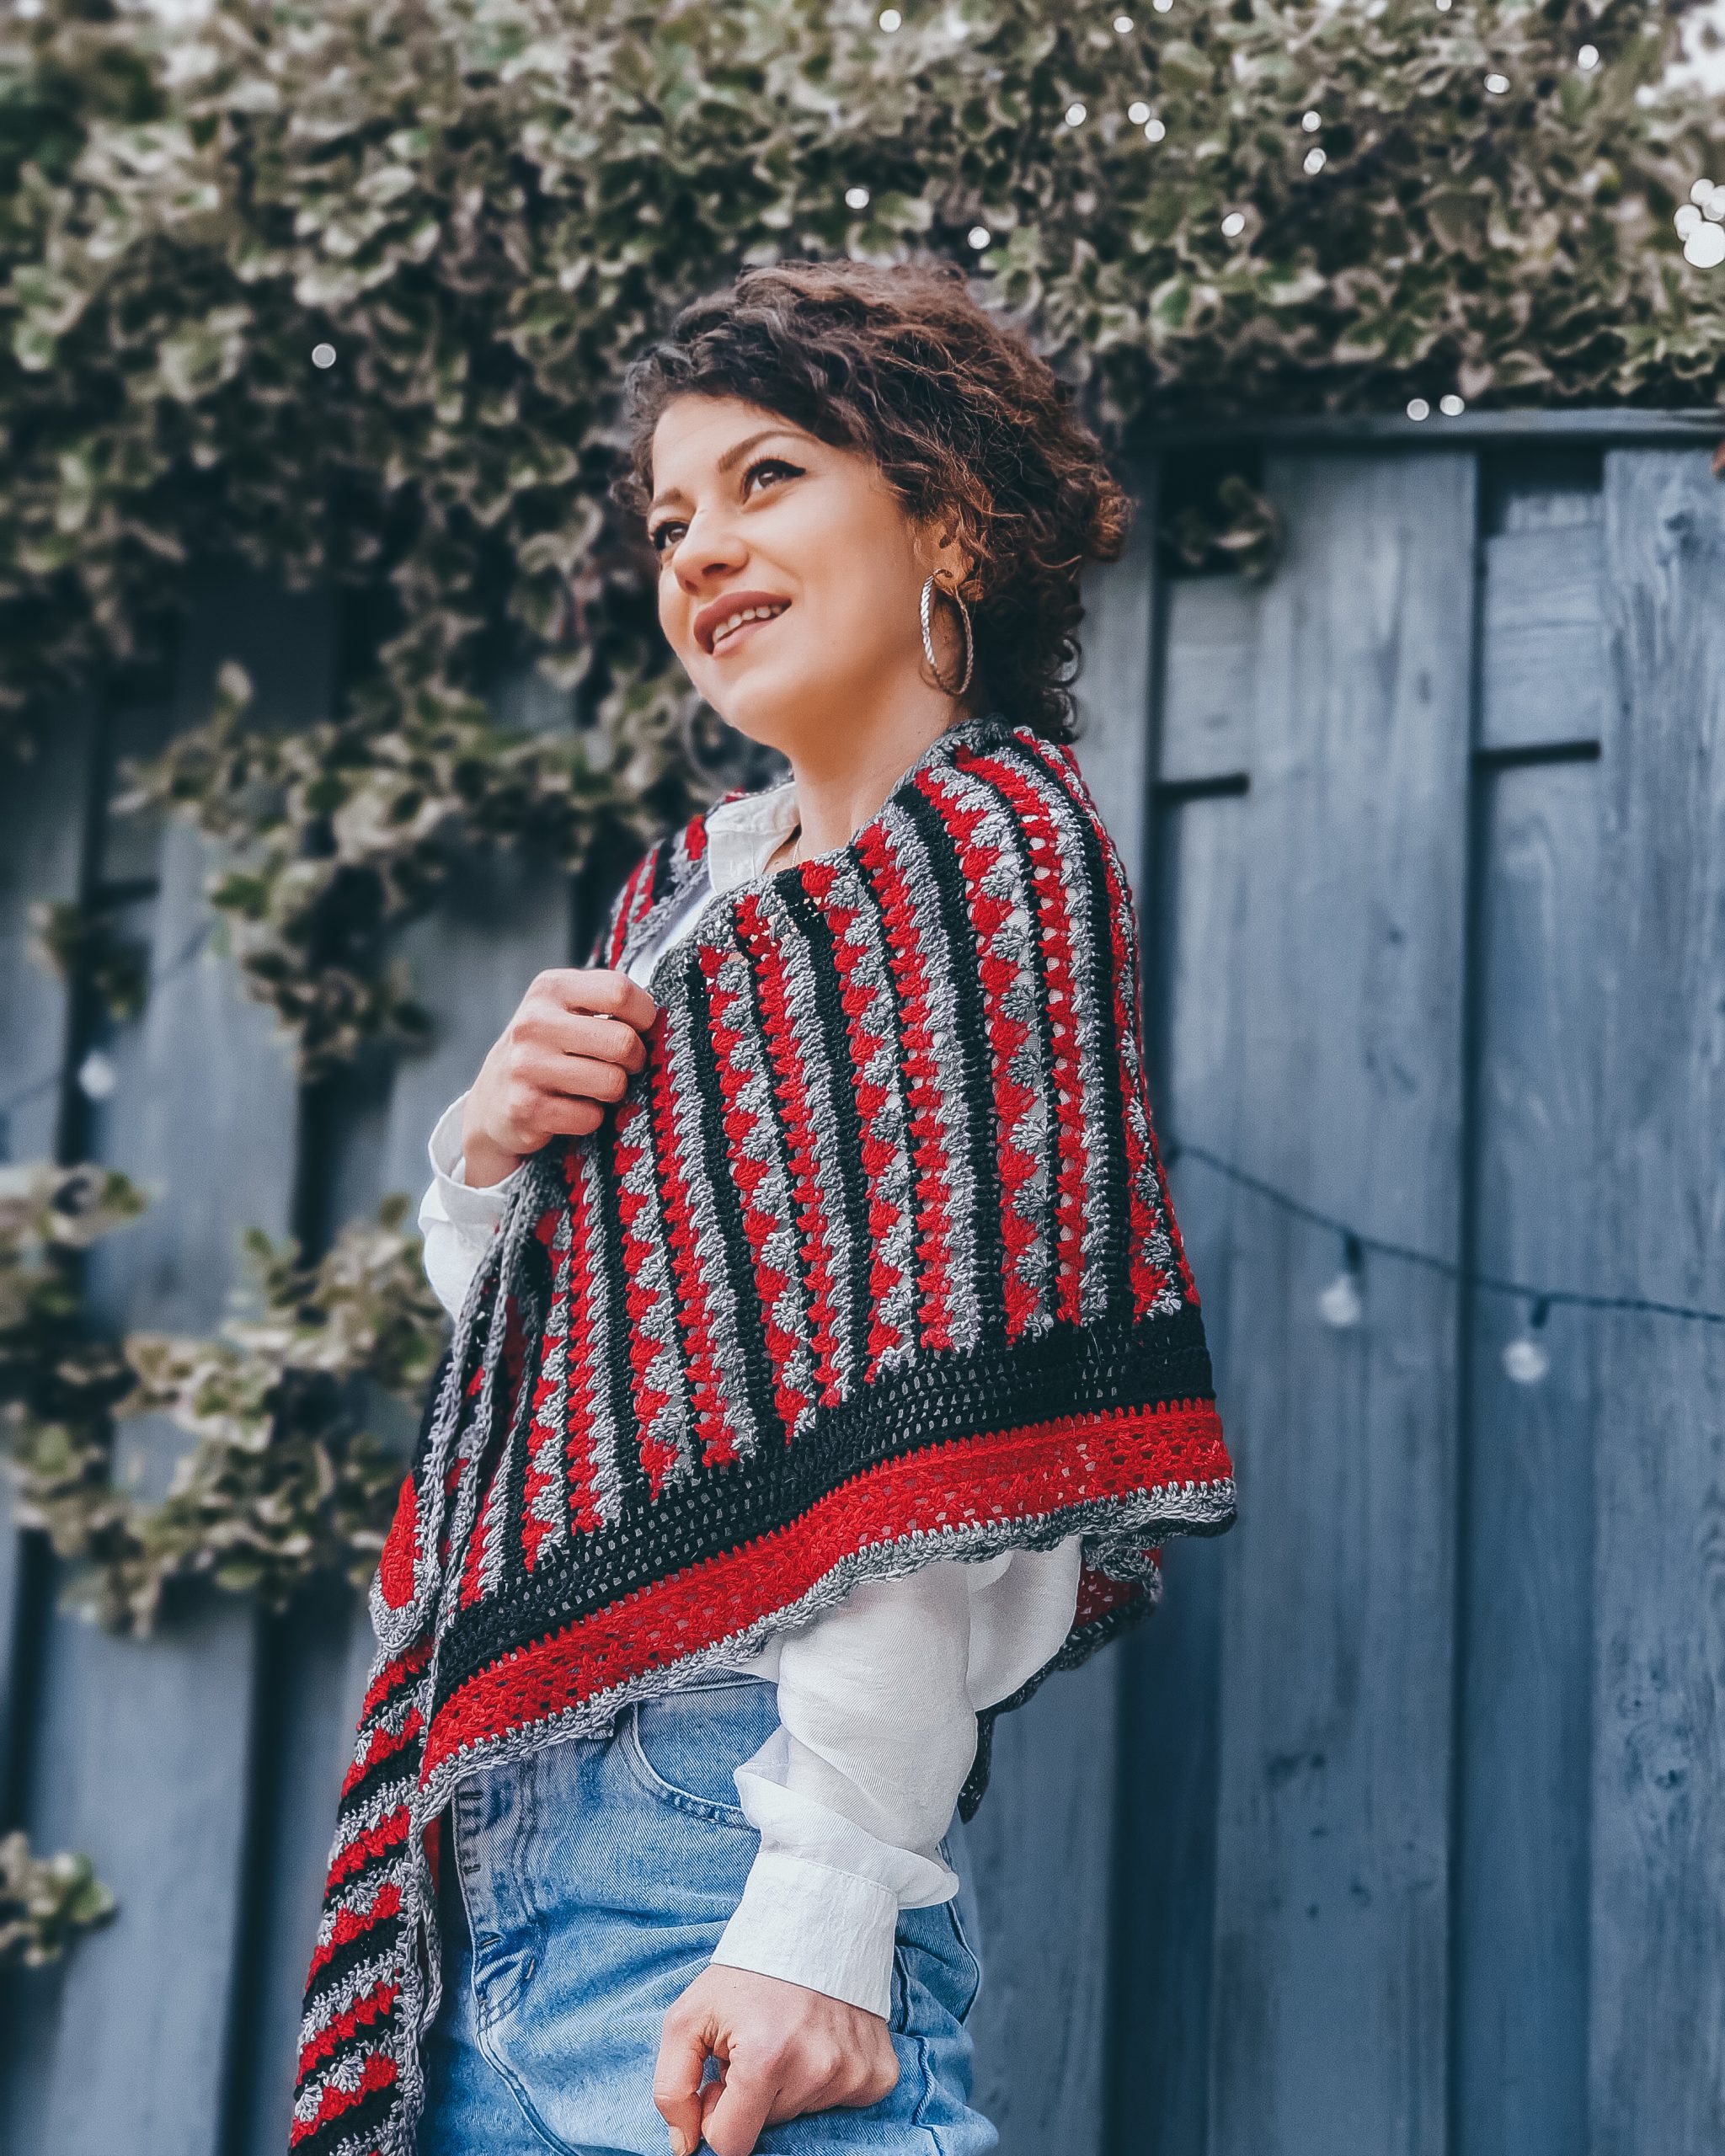
BORDER
In color black (same as the last row)
R1: 1dc in first st (inc), 1dc in next 123 sts, (2dc, ch2, 2 dc – center point) into the next st (last st of the row), turn on the other side and work 1dc in each st (as written in notes), 2dc in the last st, ch 3 and turn.
R2: 1dc in the first st, 1dc in each of the next sts to the center point (ch2sp), (2dc, ch2, 2 dc) in the ch2 sp, 1dc in each of the next sts, except the last one, 2dc in the last st.
R3 – R5: Rep. R2. Change to Red.
R6: ch3 1dc in first st, *skip the next st, 1dc in next st, 1dc in the skipped sts. *repeat to the center point. 2dc, ch2, 2dc in the ch2 sp, *skip the next st, 1dc in next, 1dc in the skipped st. Rep. until the end of the row, except the last st, 2dc in the last st.
*note: if you don’t have 2 sts before and after the center point, work just a dc
R7 – R11: Rep. R6. Change to Grey.
Work the next 2 rounds around the entire edge of the shawl. Work 3dc in each of the 3 corners of the triangle. Join with an sl st.
When working the sts on the diagonal, keep the same pattern as on the length. (working in the side rows sts; see pattern notes)
R12: ch3, 2dc in first st (inc the first corner), 1dc in each of the next st until the next corner 9center point), 3dc, 1dc in each of the next st until the next corner, 3dc, 1dc in each of the next st until the end of the round. Sl st with 3rd st of the starting ch.
R13: ch1, 1sc in the same st, *skip the next 2 sts, 1shell st, skip the next 2 sts, 1 sc. *Repeat all around.
TO FINISH
Weave in all looser ends and block to measurements.
I hope you like this one too, and can’t wait to see yours.
You can Purchase the easily printable PDF version of this pattern here:
Find a step by step video tutorial here:



Comments are closed.