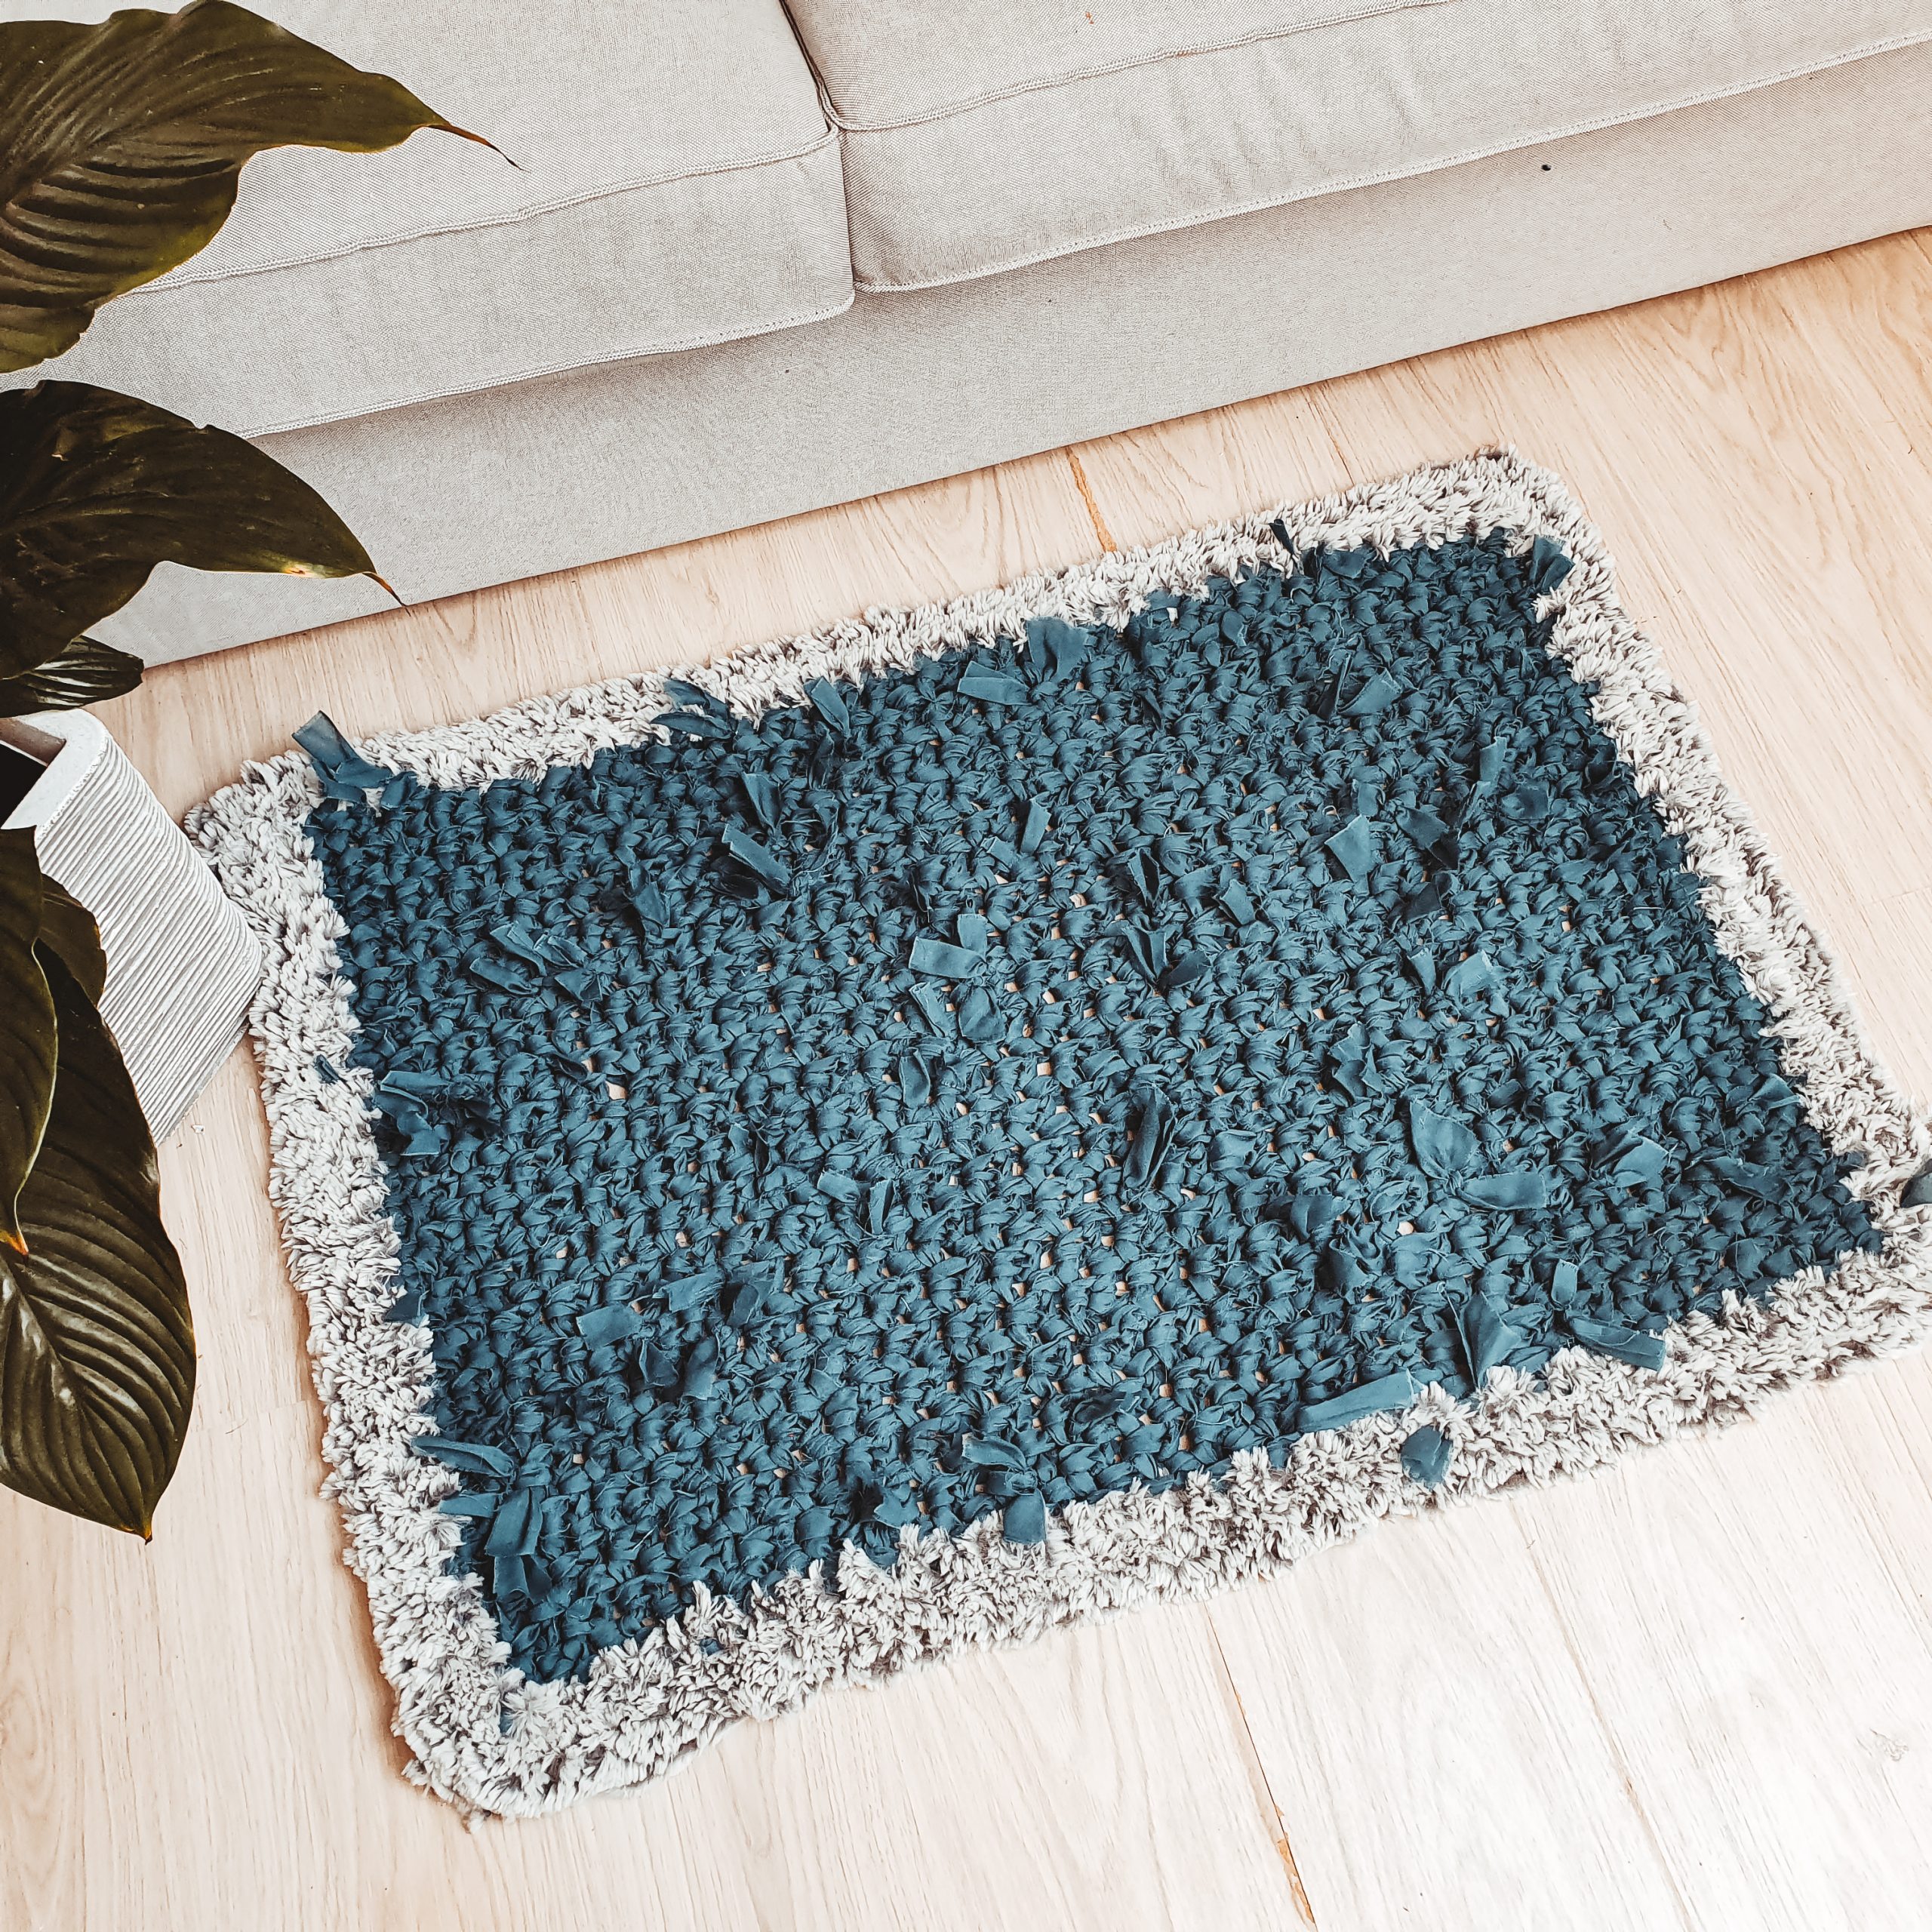
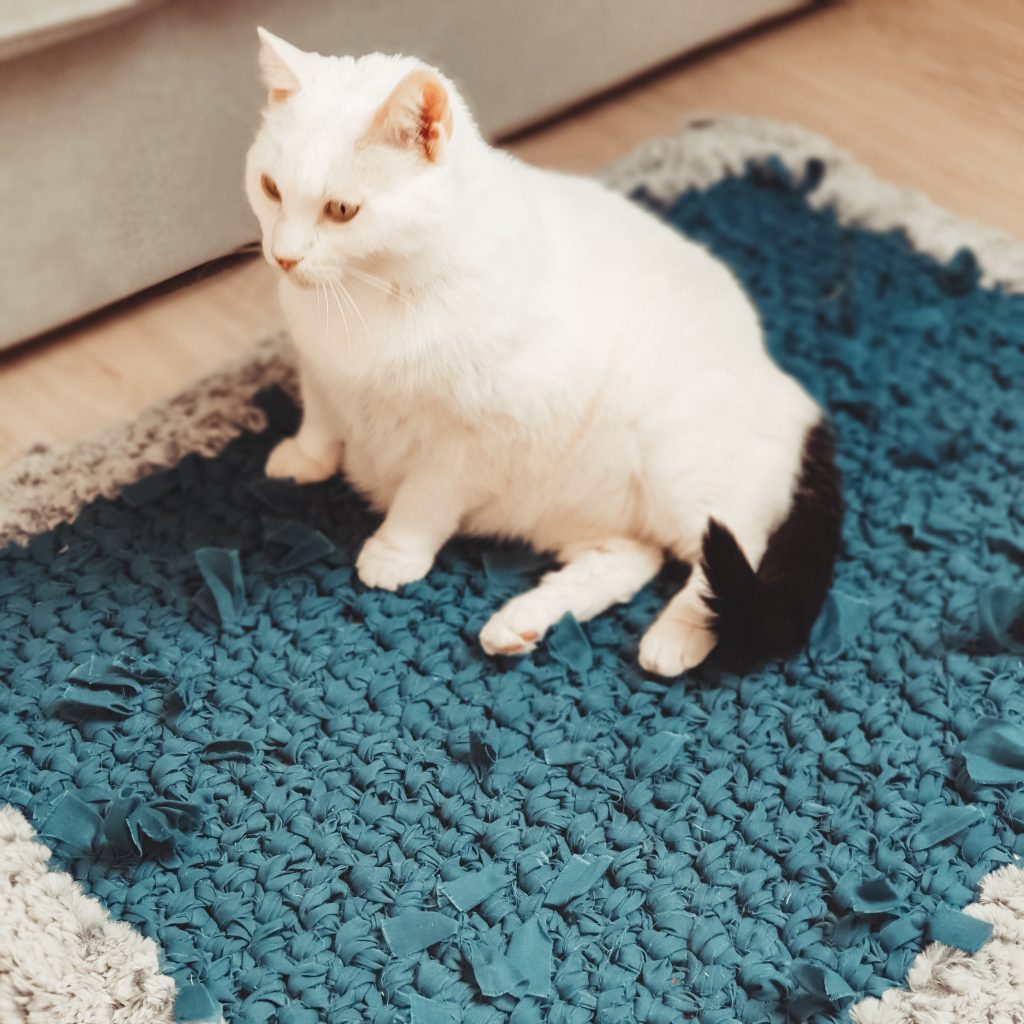
I wish I could have more time to make all the things I want!! I have so many ideas and so many things that I have around the house and I could use to transform them into something new! I threw away a lot of things that I was thinking they are no longer useful, but with these curtains, I said enough, it’s time to make something from them. And I am happy that I made this Old curtains rug.
This summer I made myself a working corner in my house, because before this year I was working all over. Where my daughter wanted to play, there I was with my yarn. Now that she got bigger and she started to want her own place and space as well, it was finally time to have mine.
You can download for FREE (except Etsy where is listed at 1 Euro) the easy printable PDF version of this pattern here:
And because of that, I decided that in my working space I will have a crocheted rug. I am also planning to make a crocheted curtain as well, now that old ones are in the rug 😂
I wish I had more curtains to cut and make it bigger, but I am happy with it in this shape and maybe the next one will be bigger.
But anyways, let’s talk more about how you can make your own Old curtains rug, or old sheets rug, or any type of fabric rug, depending on what you have in your house, that need to be transformed in something 😁
MATERIALS
- Yarn
- Old curtains or any other fabric cut into stripes and joined into a big ball of fabric yarn
- Super bulky fur yarn (1 skein 100 grams, 57 meters or more depending on how big you make the rug)
- Crochet hook
- 15 mm and a 10 mm (for border)
- Scissors
This Old Curtains Rug is an upcycle project. A way of make something new from things that you are not using anymore.
This pattern, requires techniques like linen stitch or moss stitch and single crochet in the round.
MEASUREMENTS
The final measurements of the rug really depends on how much fabric do you have.
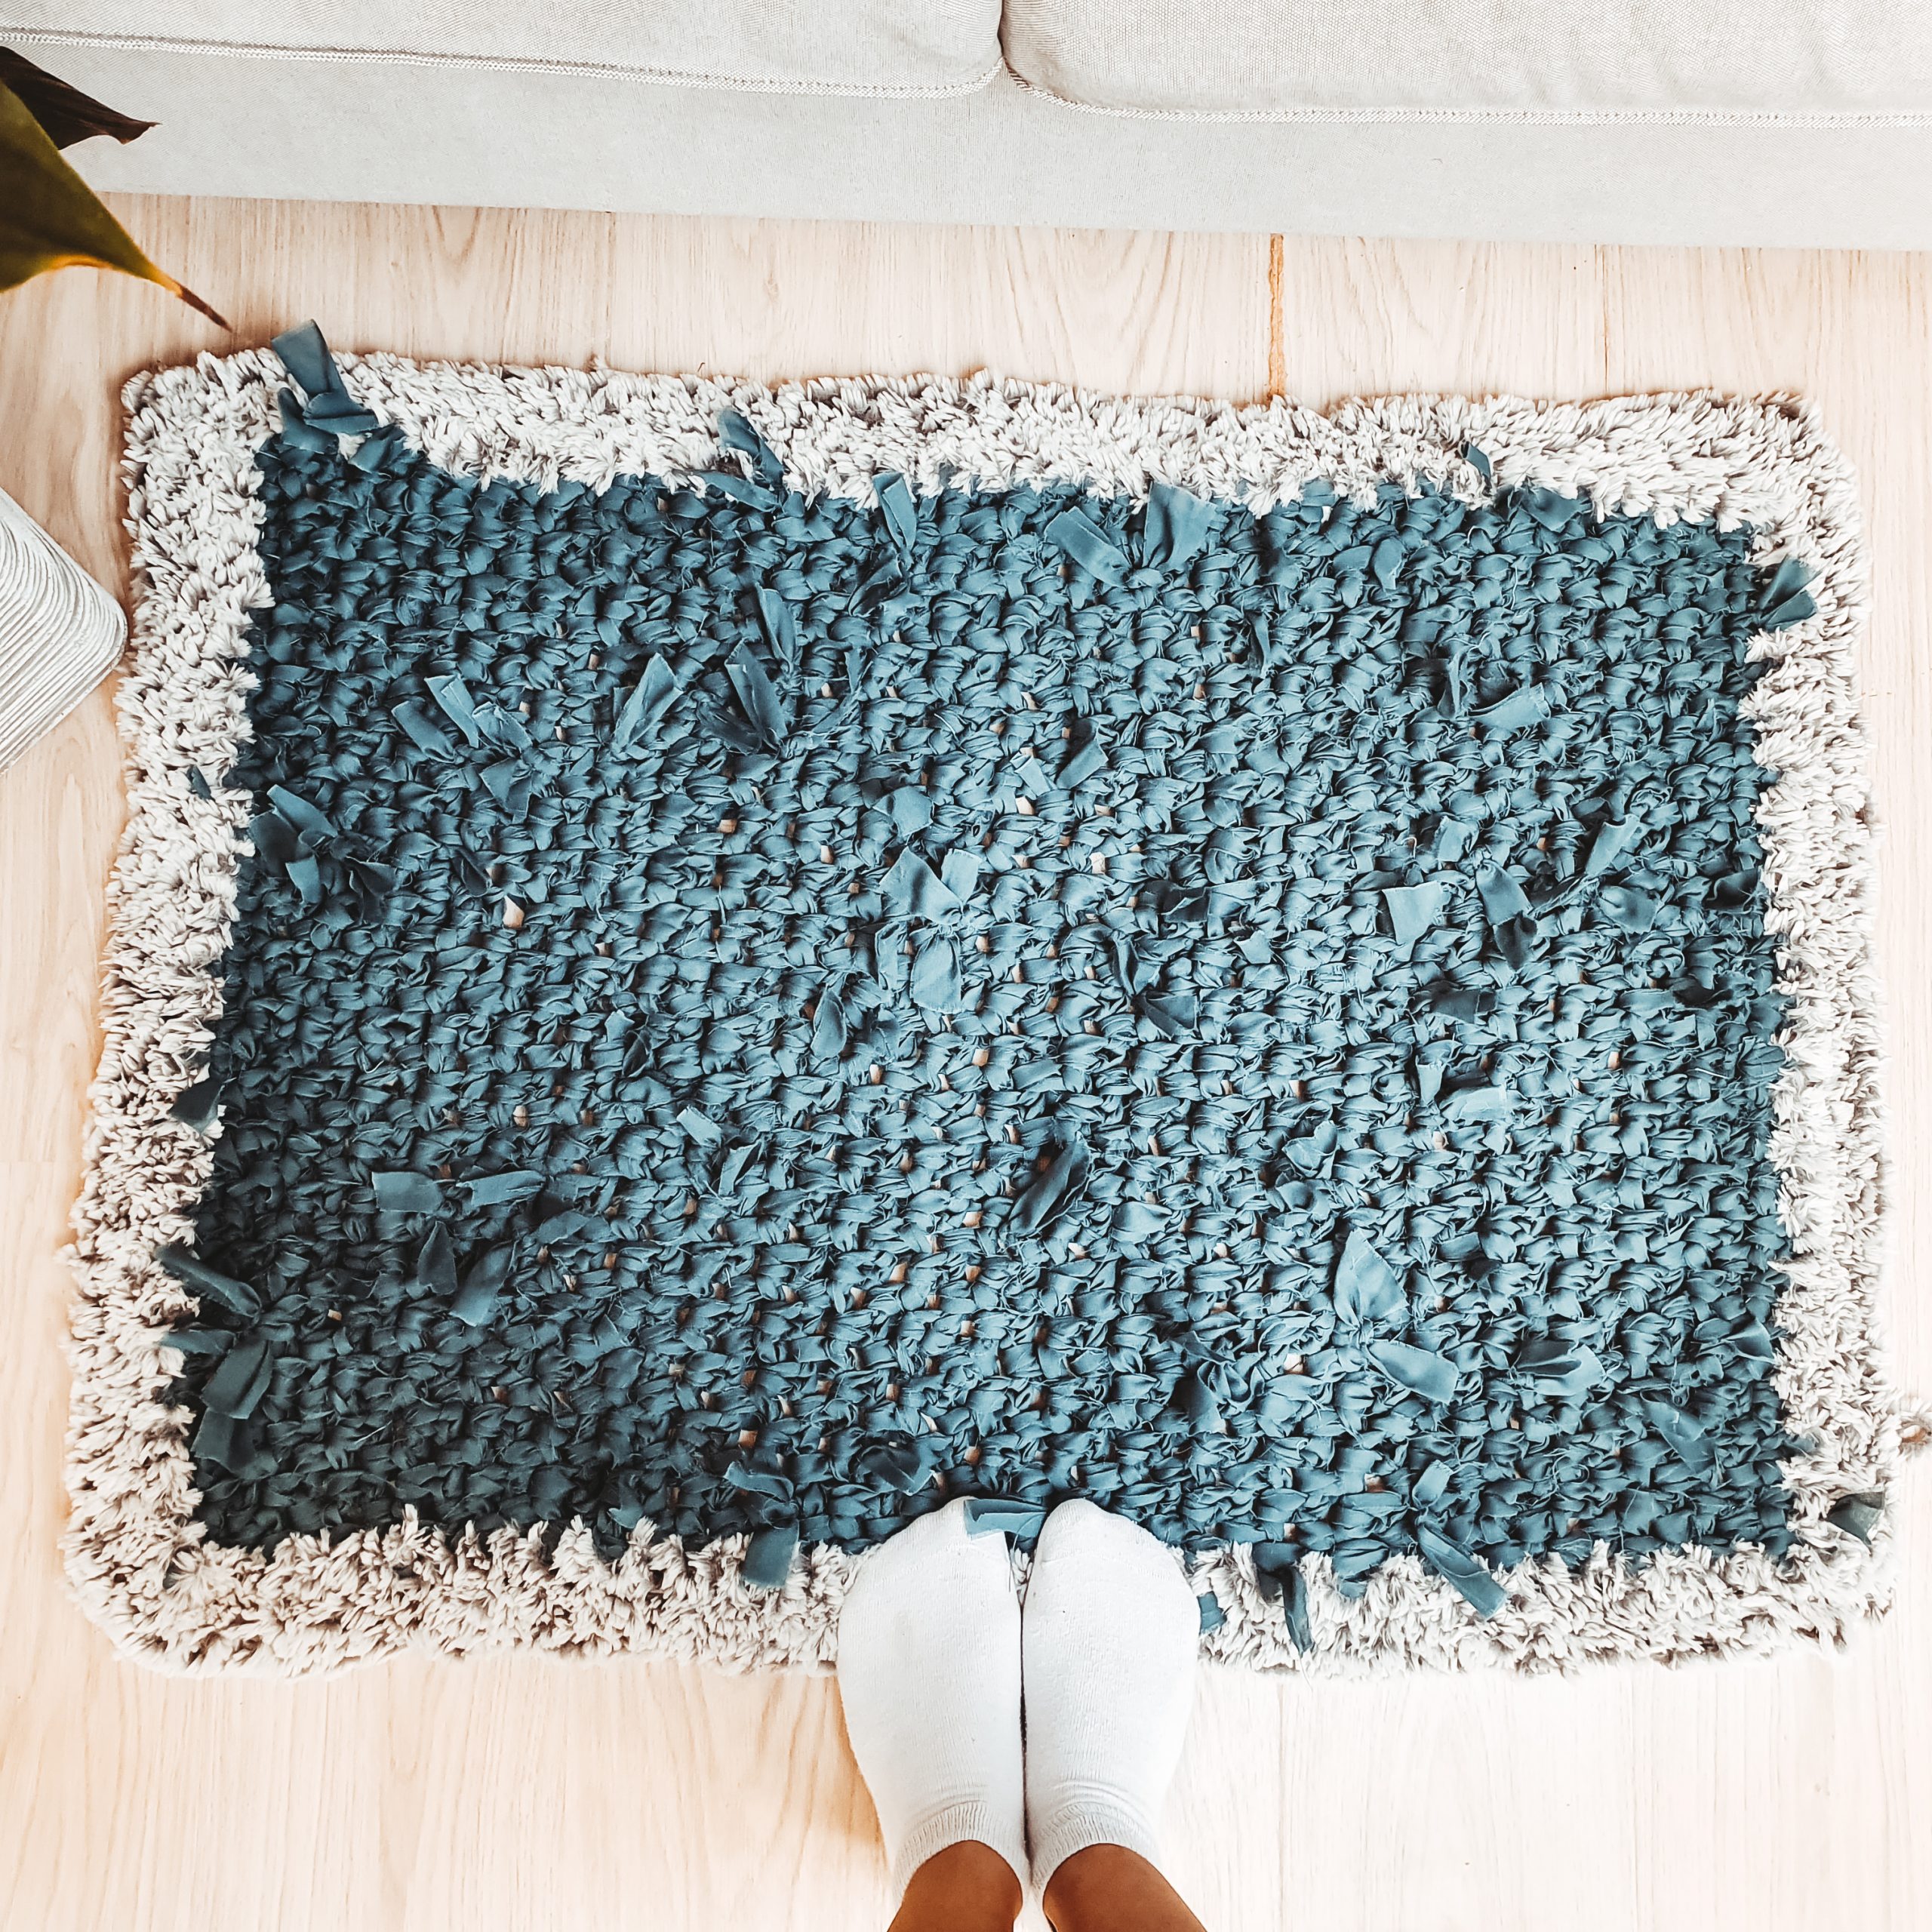
The rug I made is 75 cm wide and approximate 100 cm long.
You can download for FREE (except Etsy where is listed at 1 Euro) the easy printable PDF version of this pattern here:
PREPARING THE “YARN”
I used for this rug 5 cotton and polyester curtains of 120 cm wide and 250 cm long. The fabric is not that thick and you can see through it.
Fold the curtain and using good scissors cut 4 cm stripes.
Then take each stripe and join them one by one, by making a knot.
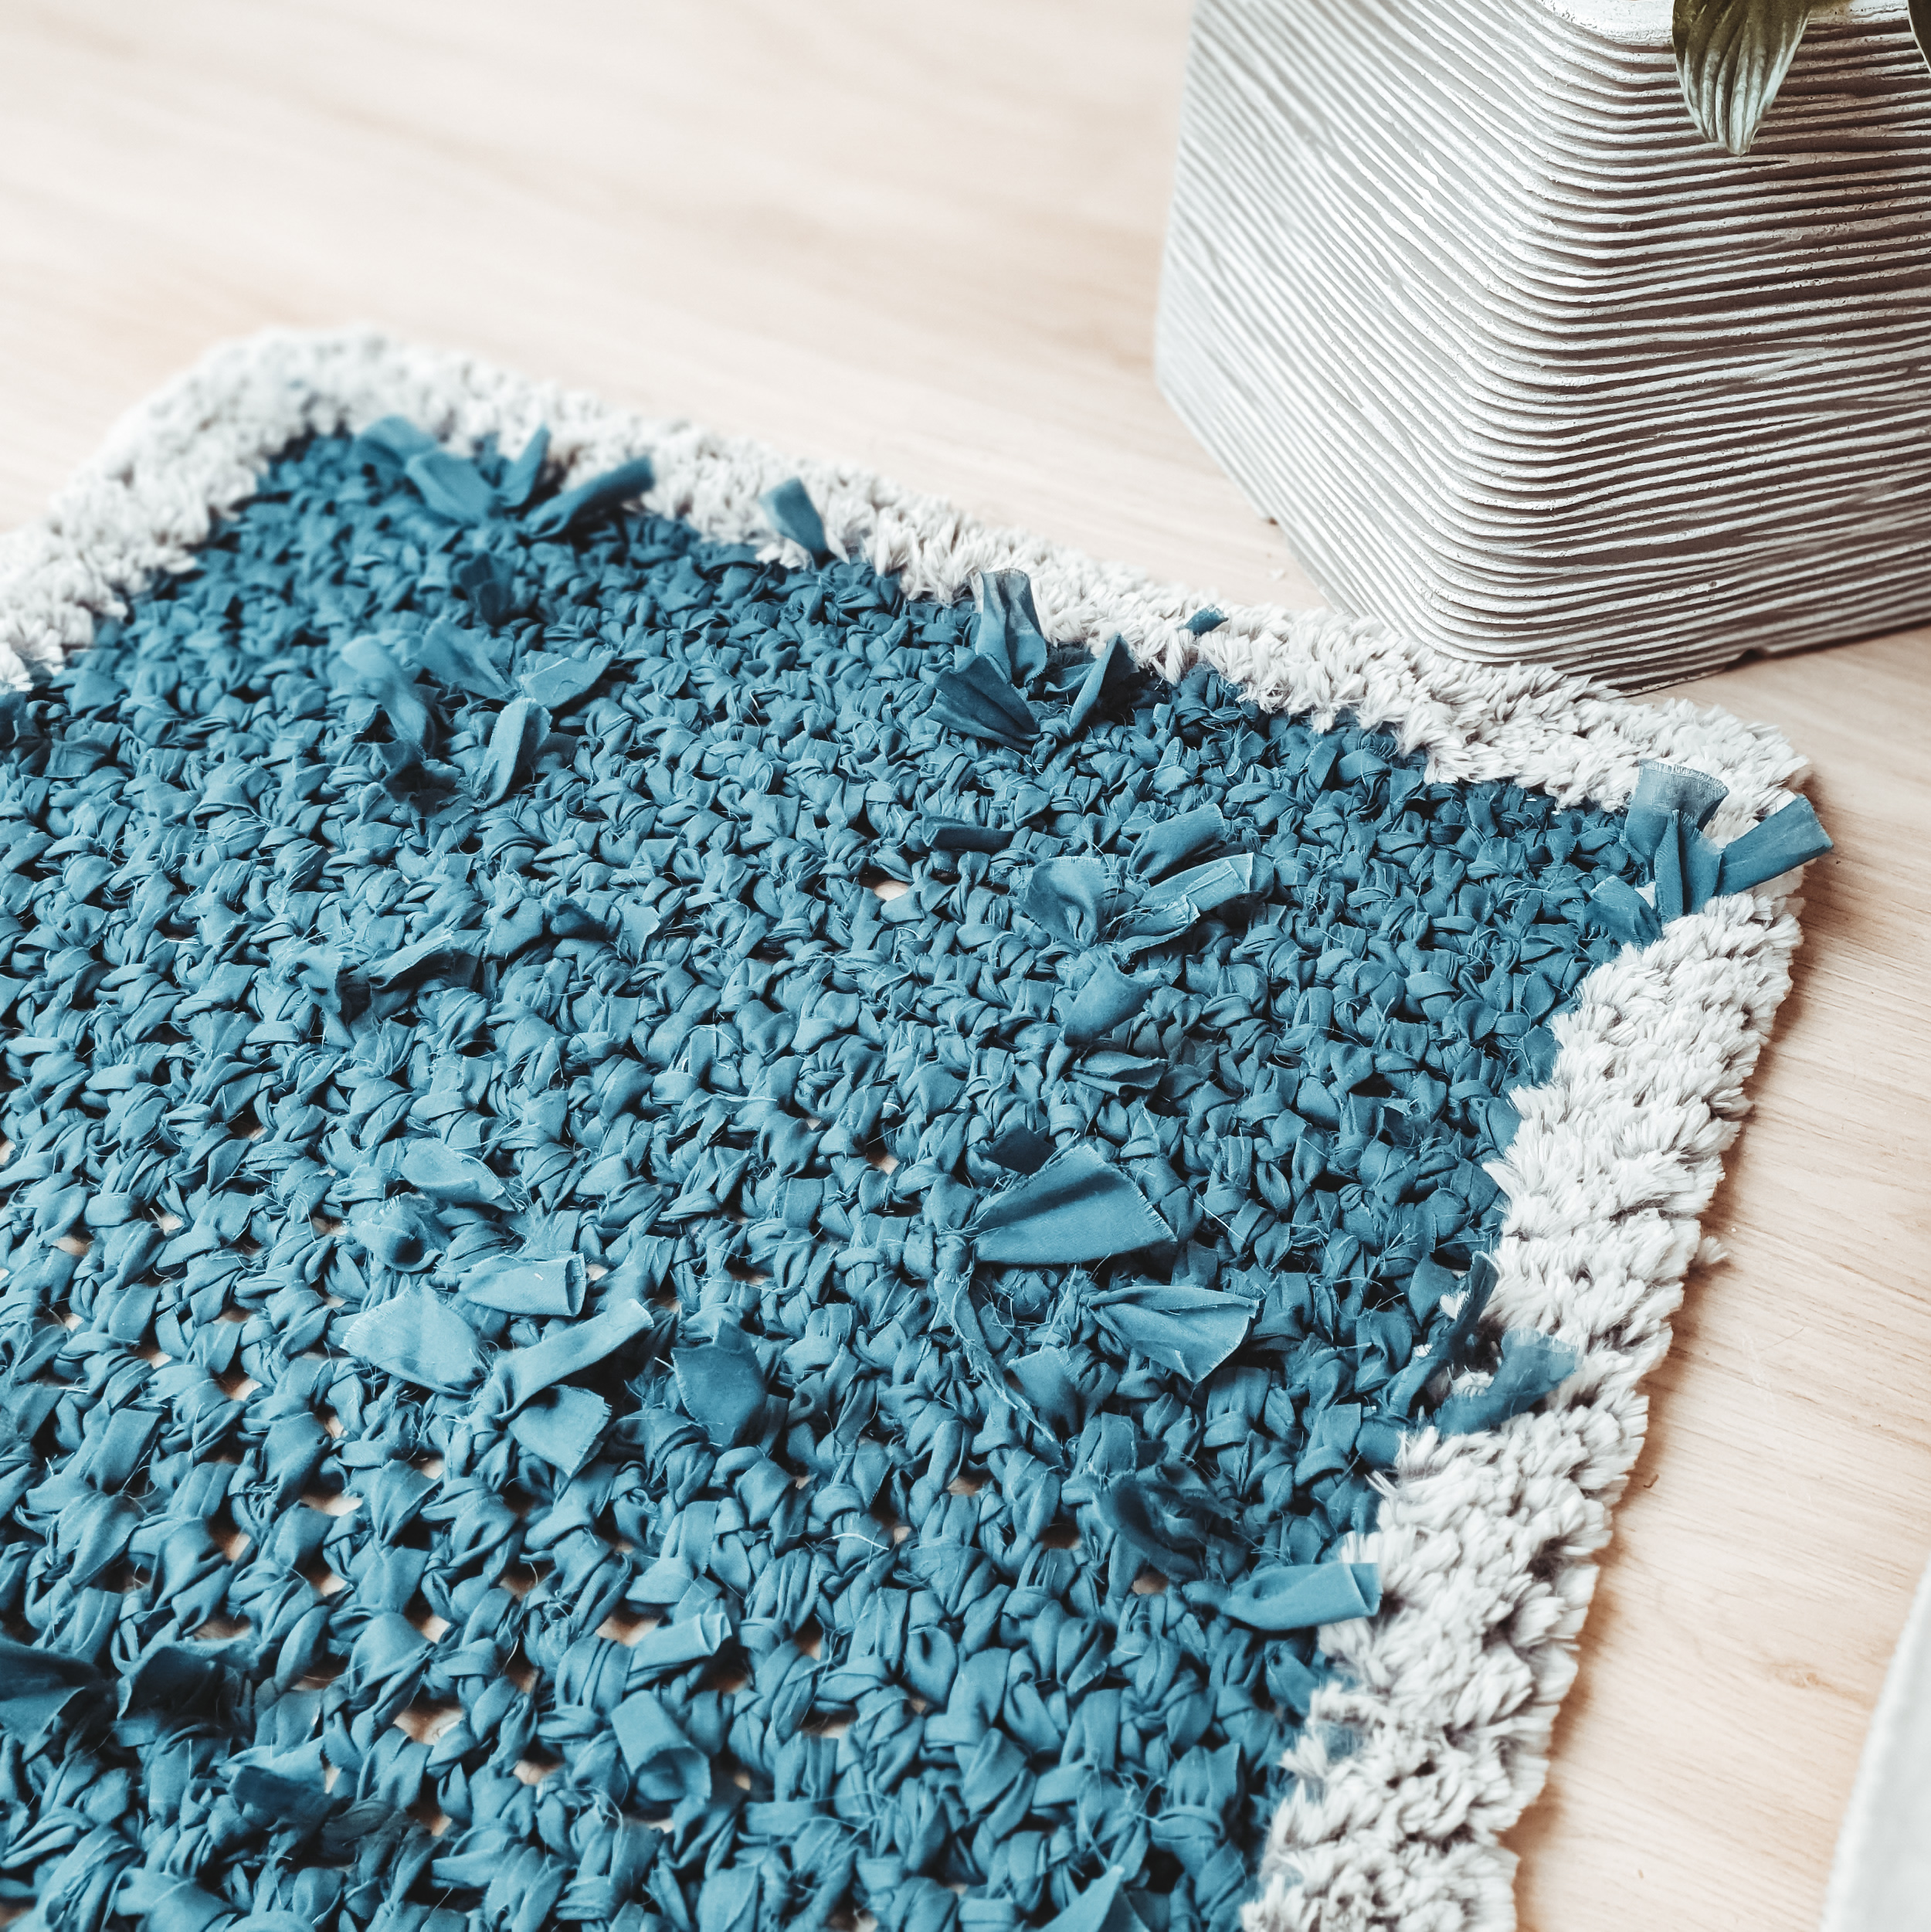
I really like the look of the knot showing on the rug, they are looking like bows, but in case you want a neater look, you can stitch them together (it will take some while J)
From 5 curtains I got approximate 265 meters of fabric yarn.
Now that you have this ball of fabric yarn, you can start to crochet.
ABBREVIATIONS
- Ch – chain
- Sc – single crochet
- R| – row
- ** – Repeated section
STITCH PATTERN
For this Old Curtains Rug, I used the linen stitch, which is a variation of single crochet stitch.
R1: *1sc, ch 1, skip 1 st. *repeat to the end of the row, ch 2 and turn.
R2: skip the first st, *1 sc in the next ch 1 space, ch 1, skip the next sc. Repeat to the end of the row. Ch 2 and turn.
Repeat R2 until you complete the desired length.
TENSION
- 6 sts = 10 cm
- 5 rows = 10 cm
*in linen stitch
PATTERN NOTES
Ch 2 to turn your work
Ch 1 at the beginning of each row, doesn’t count as a first st.
INSTRUCTIONS
With 15 mm crochet hook
Start|: ch 42 (you will need a multiple of 2 sts +1 +1 the turning ch)
R1|: 1sc in the second st, *ch 1, skip 1 st, 1 sc in next st. *Repeat to the end of the row. Ch 2 and turn.
R2|: skip the first sc, 1 sc in next ch 1 space, *ch 1, skip the next sc, 1 sc in the next ch 1 space. * Repeat to the end of the row. Finish the row with 1 sc in the turning ch 2. Ch 2 and turn.
R3 – R50| Repeat R2.
BORDER
For the border I use 1 skein of super bulky fur yarn and a 10 mm crochet hook.
The border is worked in sc around.
When working in side rows, each side row represent one st.
Start|: join the yarn in the last works st, ch 1
R1|: 3 sc in the first st (corner), *2 sc in each st to the corner, 3 sc in the last st of the side. *Repeat on all sides and finish the row with a slip st in the first sc
R2|: Start in the corner (the second stitch of the previous round increase), *3 sc in the corner, 1 sc in each st to the next corner. Repeat on all sides. Finish the round with a slip st in the first sc.
Repeat R2 for as many rounds as you want.
I made in total for the border 3 rounds.
Fasten off!
TO FINISH
Wave in all ends. Use sewing yarn to secure the ends.
And done! You now have a cute little rug made out of things that you won’t use anymore.
You can download for FREE (except Etsy where is listed at 1 Euro) the easy printable PDF version of this pattern here:



Comments are closed.