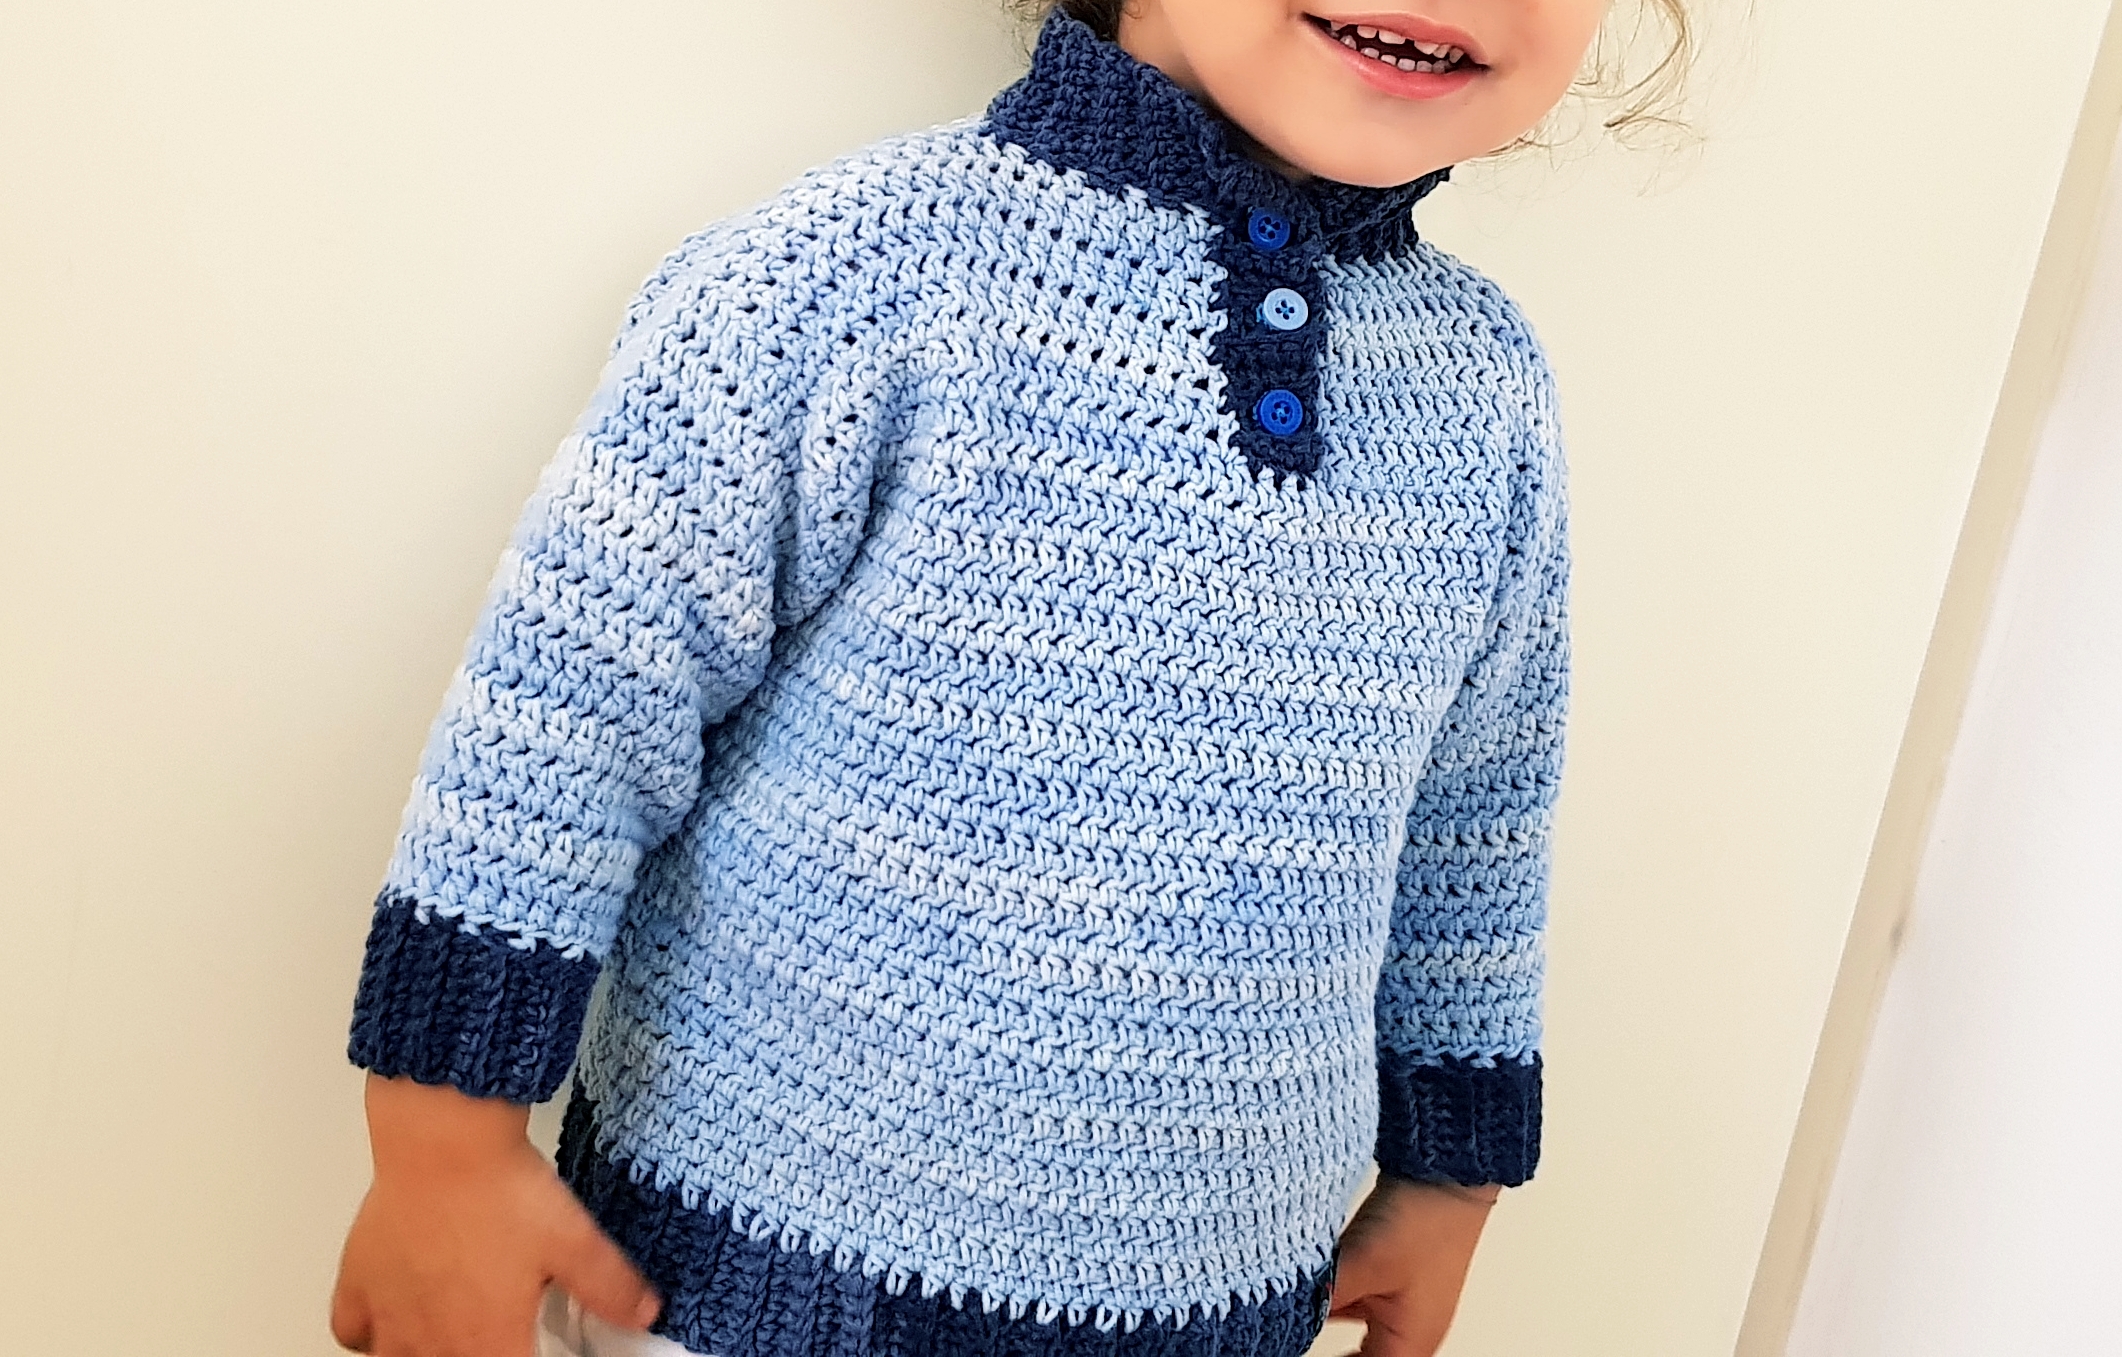
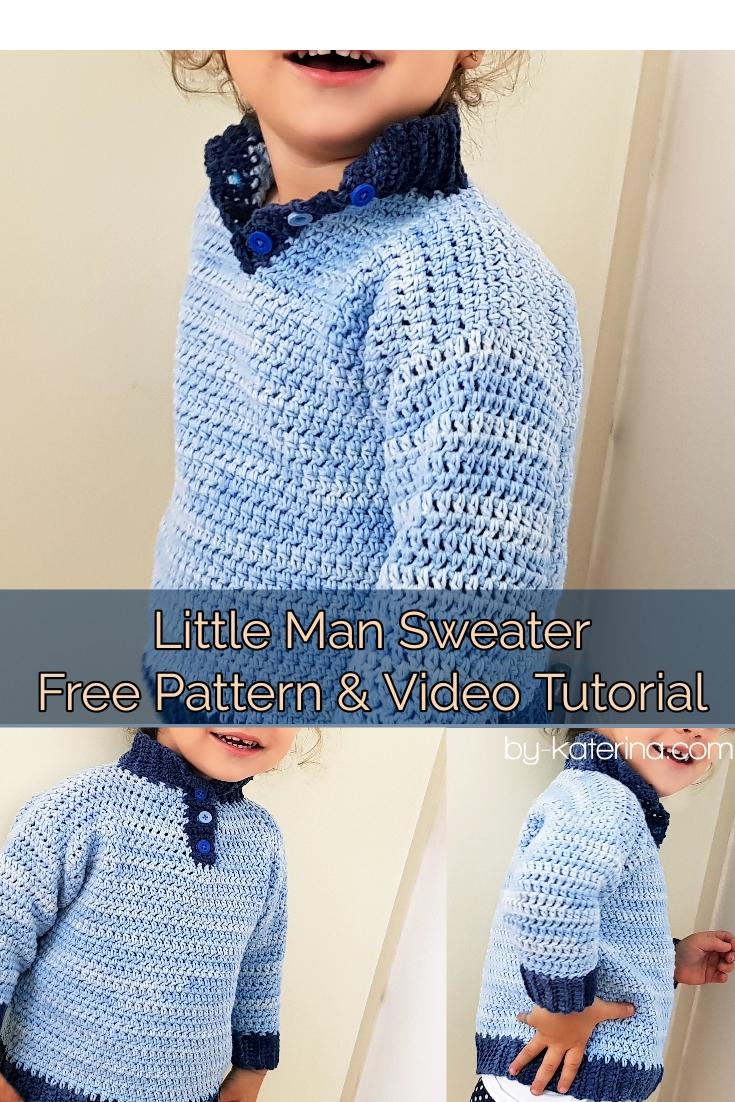
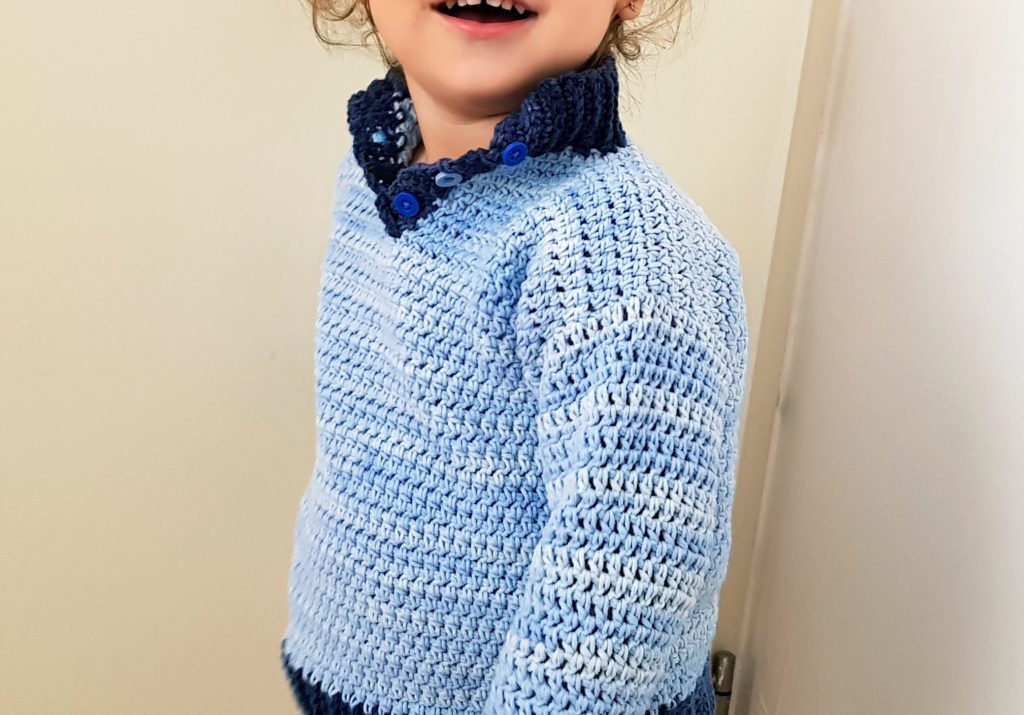
This Little Man Sweater was the first item that I made from the series of Christmas Gifts.
I loved it very much that I made 2 and I hope you will love it too and you will make one for your little men.
Pentru postarea in limba romana, click aici
You can purchase the easy printable add-free pdf pattern from here
Well, o didn’t have a “little man” to make some photos, but my daughter is a great model even when she is wearing boyish stuff 🙂
About Design
This ” Little Man Sweater” has an easy design and is a perfect project for beginners too.
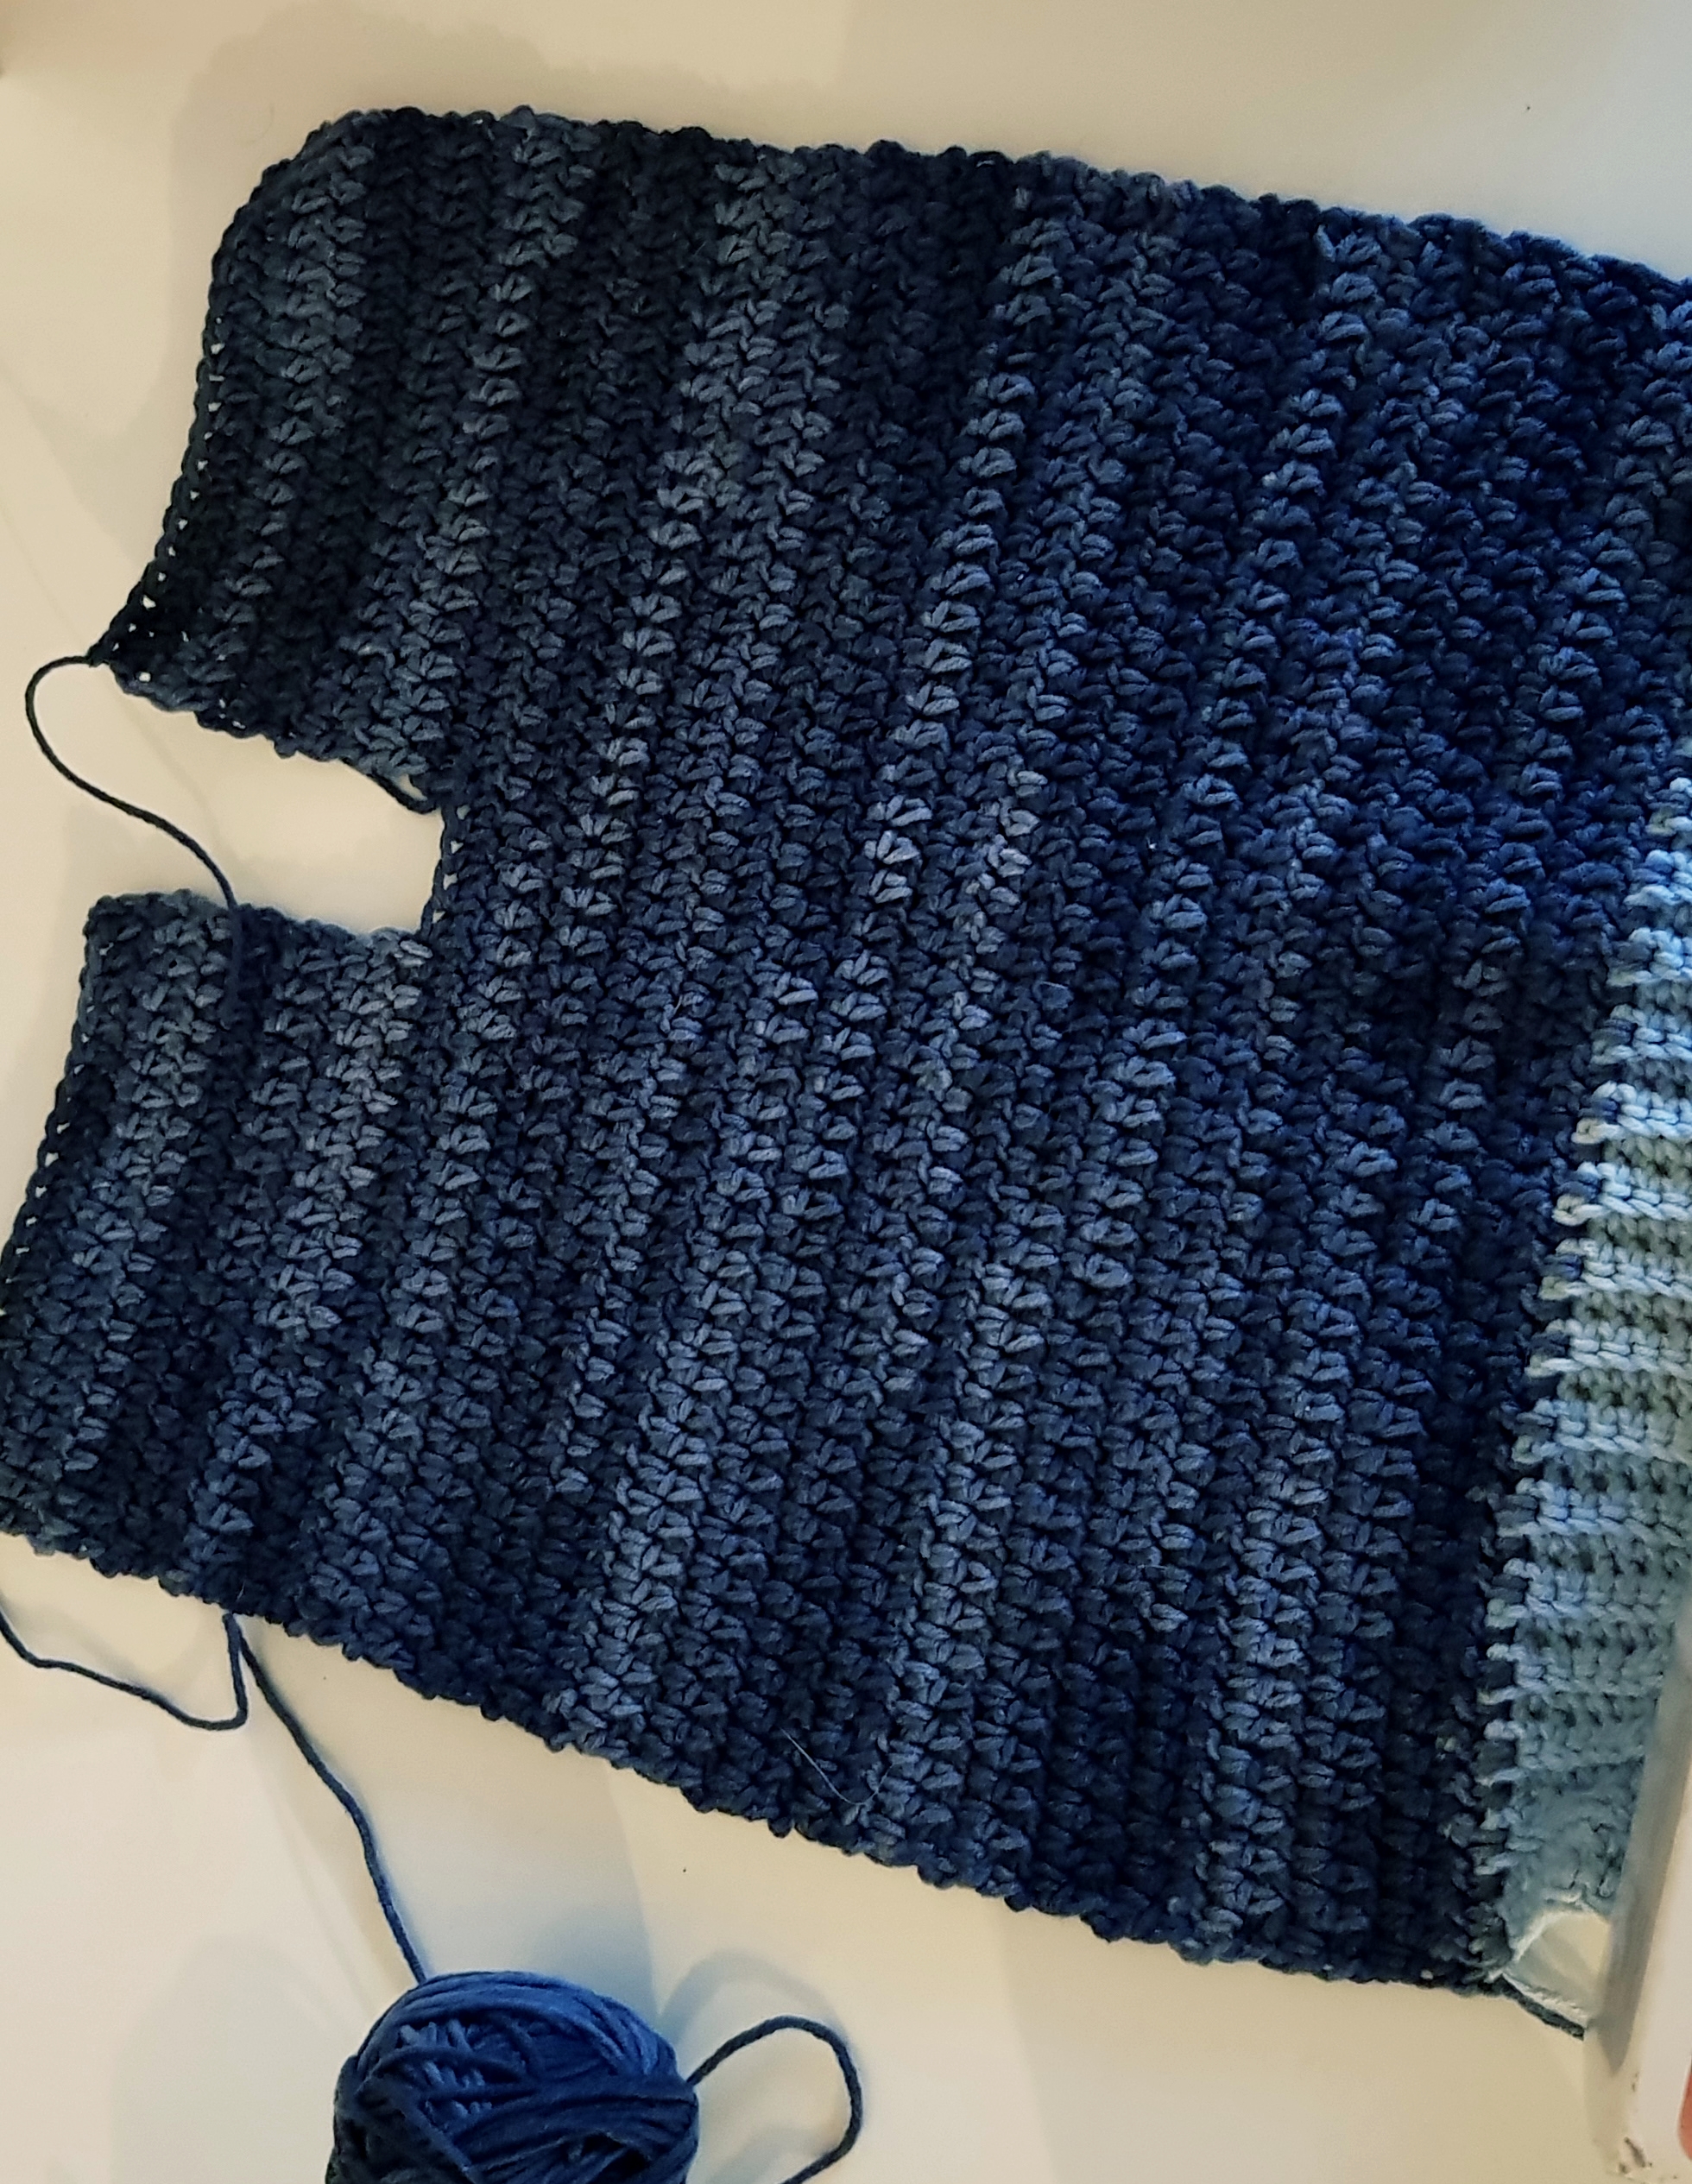
We will start with the front panel, first making a ribbed band and then keep working until we get to the neck line opening or collar opening. We will let in the middle a few stitches to make later the ribbed band on the collar and work left and right side separately until we finish the front panel.
We will continue our work with the back, making 1 row to separate the 2 panel and to make the neck opening. We will do next the back panel.
Sleeves are worked directly from the back a front panels stitches. So, we don’t have to sew them to the sweater.
After finishing the sleeves we will do the ribbed band on the collar, sew the side edges and the “Little Man Sweater” is done.
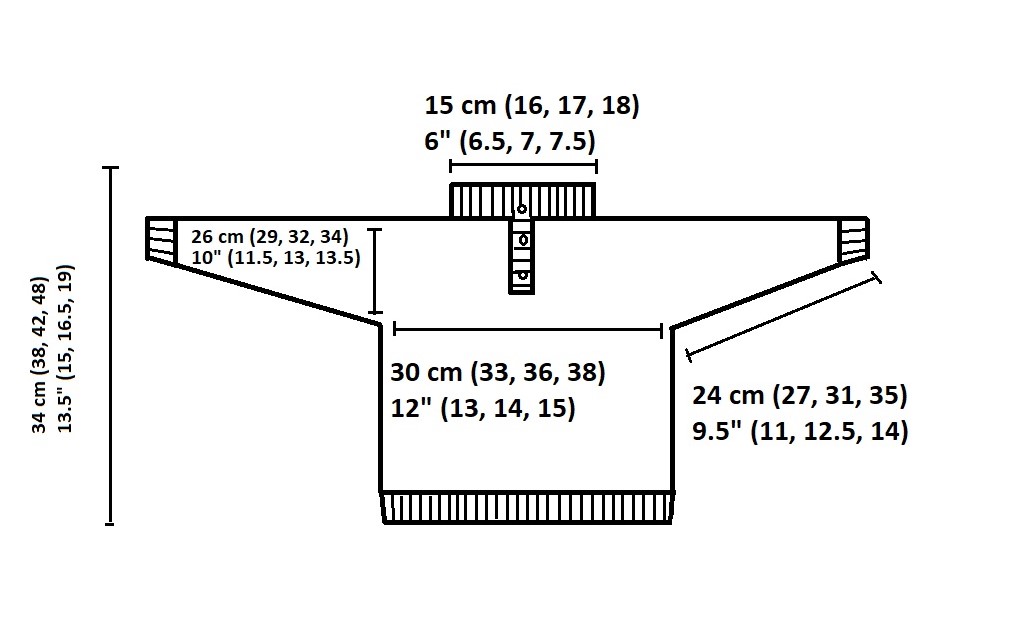
The pattern is available for sizes from 2 to 8 years old. Bellow you can find the diagram with final measurements. The values between brackets are for sizes 4, 6, 8 years old. On the first line you have the values in centimeters and on the second in inches.
 About Materials you will need
- Yarn
I used Scheepjes Soft Fun Denim in colors Denim Dark Blue and Denim Light Blue which is a 8 ply, Dk, Medium weight yarn
You will approximate need for each size:
- 2-3 Y – 200 grams / 560 m / 610 yds
- 4-5 Y – 240 grams / 660 m / 720 yds
- 6-7 Y – 280 grams / 790 m / 860 yds
- 8-9 y – 340 grams / 910 m / 990 yds
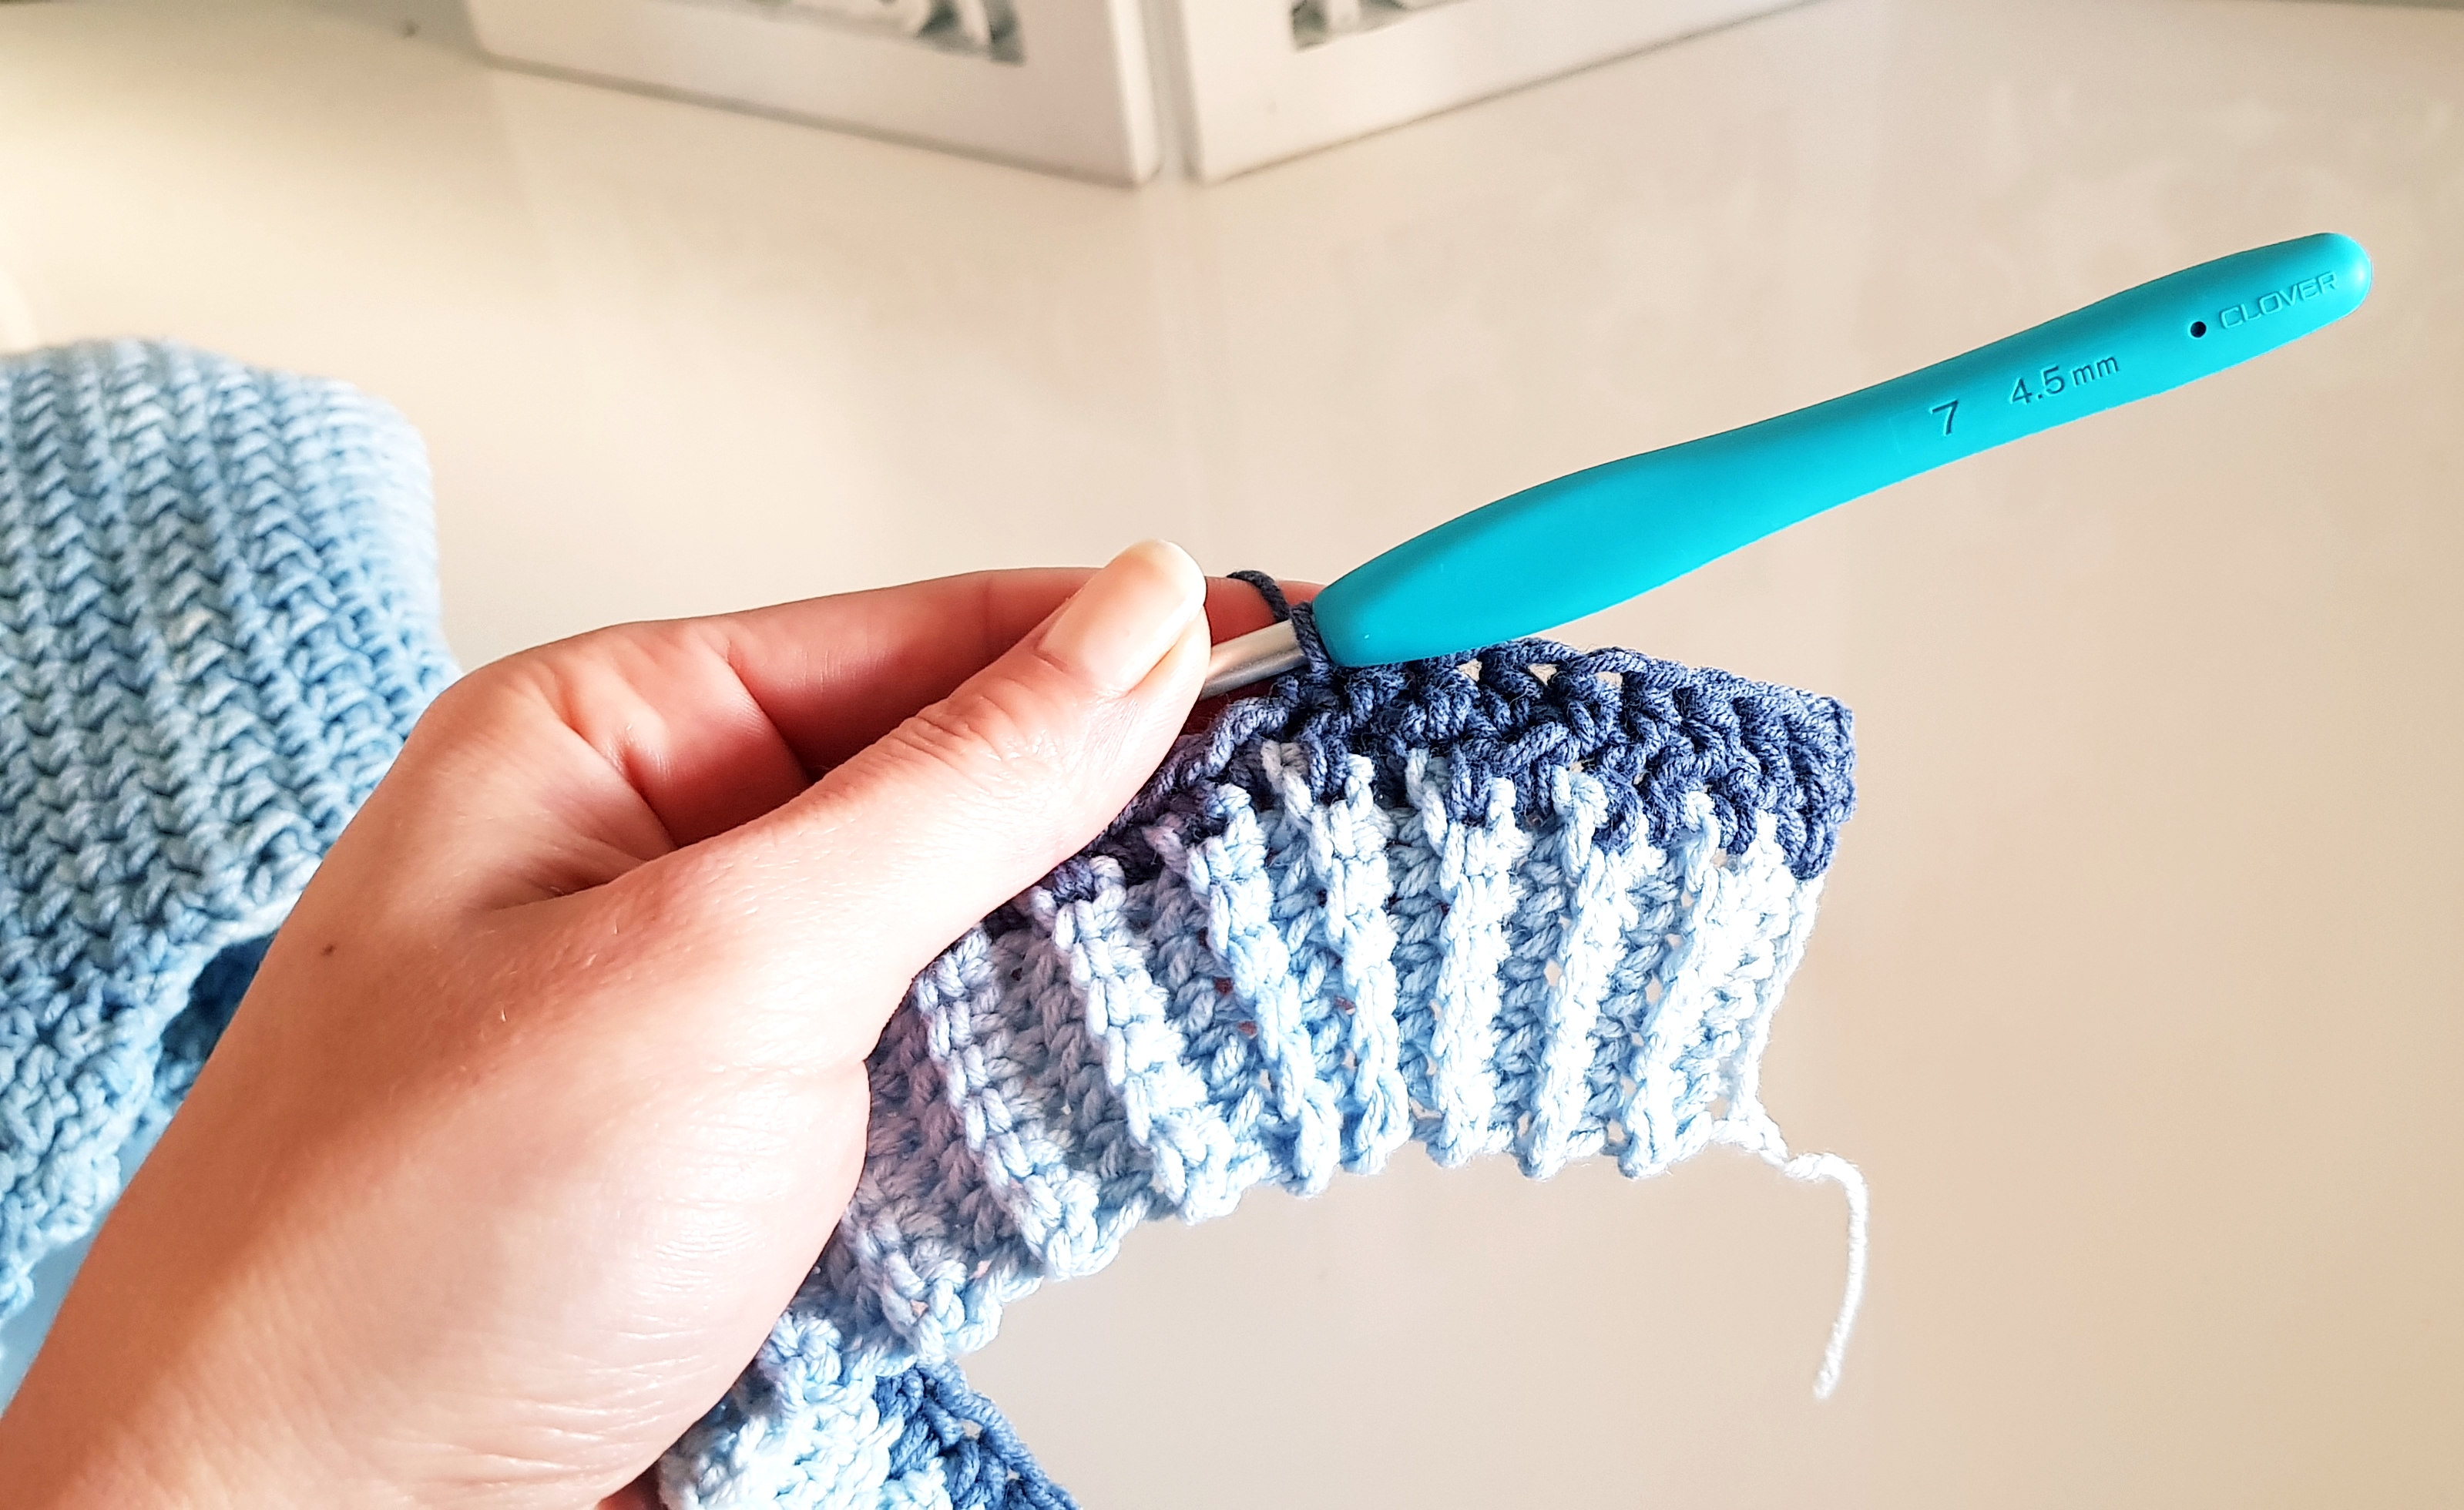
- 4.5 mm ( size 7) crochet hook
- 3 small buttons
- tapestry needle
- scissors
About the stitch pattern
I used for the ribbed band single crochet worked in the back loop only
For the rest of the sweater I used half double crochet but I worked the double crochet trough all 3 loops, I inserted the hook between stitches.
Gauge
14 hdc = 10 cm (4″)
15 rows = 10 cm (4″)
Abbreviations used in this pattern
Ch – chain
sc – single crochet
hdc – half double crochet
sc blo – single crochet in back loop only
St(s) – stitch (es)
inc – increase (2 hdc in the same st)
dec – decrease (2 sc worked together)
Ok. Let’s start to make this cute Little man Sweater
We will start with the front panel and we will work first the ribbed band.
Ribbed band
Ch 7+ 1
Row 1
1 sc in each st (7 sc). Ch 1 and turn
Row 2
1 sc blo in each st
Repeat row 2 until you have in total
2-3 Y – 40 rows
4-5 Y – 44 rows
6-7 Y – 48 rows
8-9 Y – 52 rows
Front panel
Row 1
Connect the other color that you want to use as a main color of the sweater
ch 2, 2 hdc in the first st, 1 hdc in each st until you get to the last one, 2 hdc in the last st. Ch 2 and turn
Row 2
1 hdc in each st across
Repeat row 2 until you have in total
2-3 Y – 32 rows
4-5 Y – 37 rows
6-7 Y – 39 rows
8-9 Y – 40 rows
Use 2 stitch markers to mark 4 sts in the middle
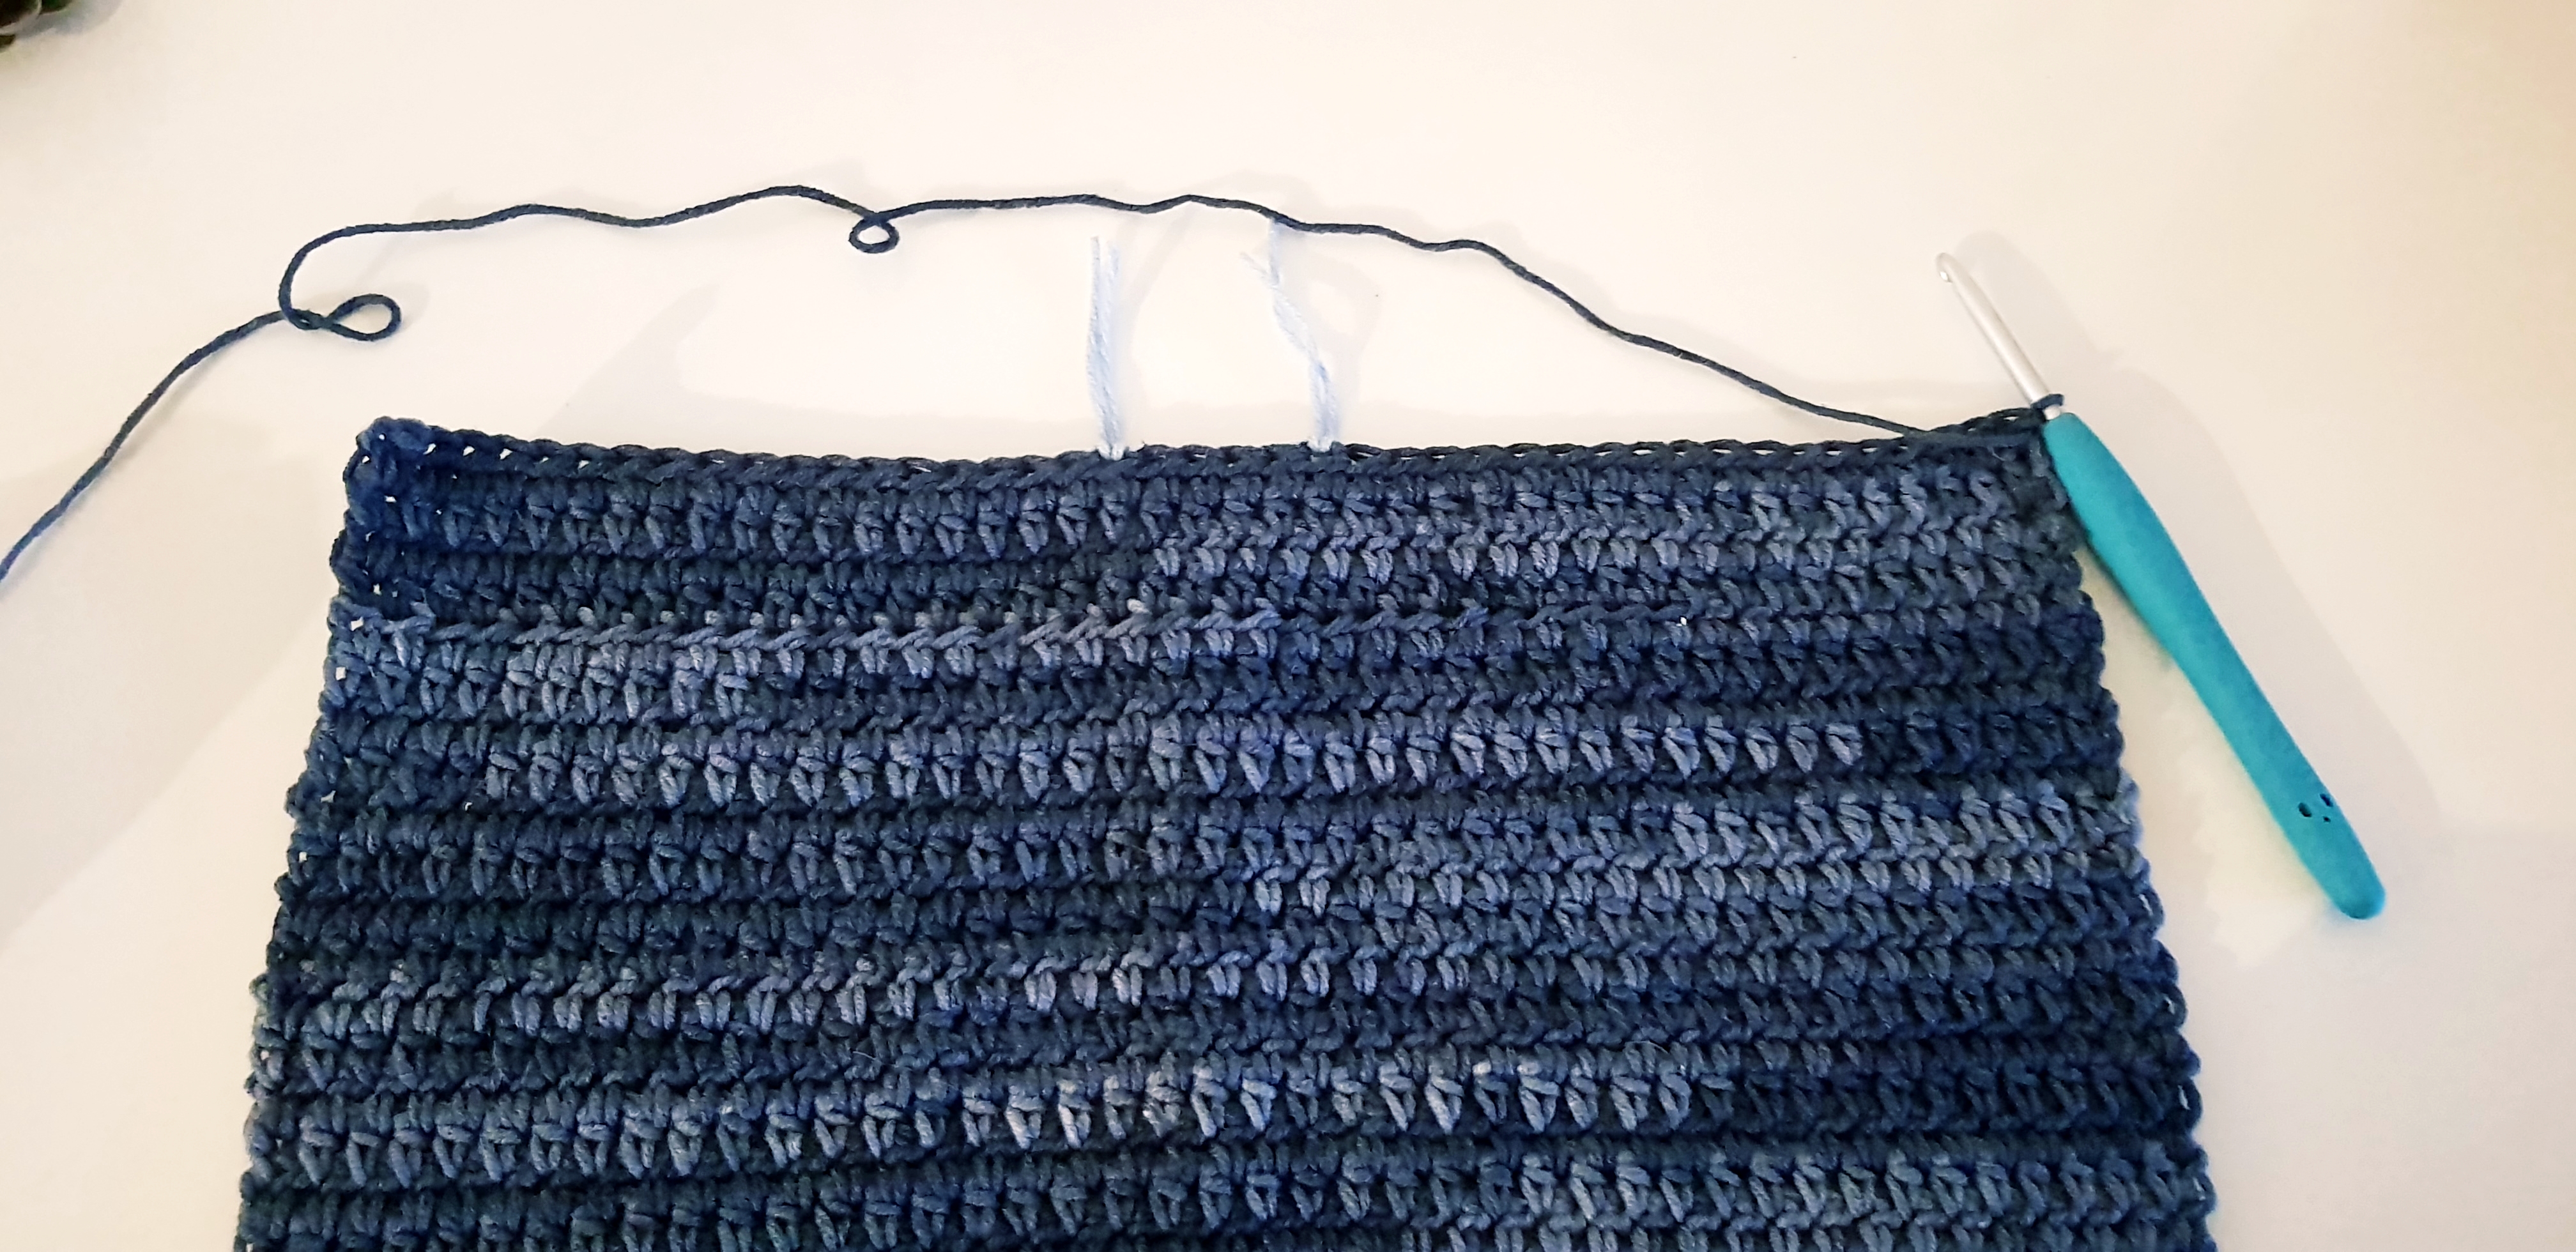
You will have for each size
2-3 Y – 19 sts left and right, 4 sts in the middle
4-5 Y – 21 sts left and rigt, 4 sts in the middle
6-7 Y – 23 sts left and right, 4 sts in the middle
8-9 Y – 25 sts left and right, 4 sts in the middle
Next, we will work left side and right side separately for:
2-3 Y – 11 rows
4- 5 Y – 12 rows
6-7 Y – 14 rows
8-9 Y – 16 rows
And the front panel is done.
You can purchase the easy printable add-free pdf pattern from here
You can now purchase the ready made item. Click here for more details
We will continue now with the back, but first we will do a separating row. If necessary connect the yarn again to start working on the wrong side of the work.
2 -3 Y ch 2, 1 hdc in the first 10 sts, ch 22, skip 9 sts, 1 hdc in the last 10 sts
4-5 Y – ch 2, 1 hdc in the first 11 sts, ch 24, skip 10 sts, 1 hdc in the last 11 sts
6-7 Y – ch 2, 1 hdc in the first 12 sts, ch 26, skip 11 sts, 1 hdc in the last 12 sts
8-9 Y – ch 2, 1 hdc in the first 13 sts, ch 28, skip 12 sts, 1 hdc in the last 13 sts
Back Panel
Row 1
1 hdc in each st. ch 2 and turn
Repeat row 2 until you have in total
2-3 Y – 42 rows
4-5 Y – 48 rows
6-7 Y – 51 rows
8-9 Y – 55 rows
Last row
ch 1, 1 dec, 1 hdc in each st until you have 2 sts left, 1 dec
After finishing the hdc rows on the back panel we have to add the ribbed band
Face your work on the right side. Start to work from your right to the left (for right-handed).
Row 1
Insert the hook and change yarn color in the first st. Ch 8. 1 sc in each st (7 sc), sl st in the next 2 sts. of the back side
Row 2
1 sc blo in each st, ch 1 and turn
Row 3
1 sc blo in each st, sl st in the next 2 sts of the back side.
Repeat rows 2 and 3 until you get to the end of the back panel width.
Sleeves
face your work on the right side.
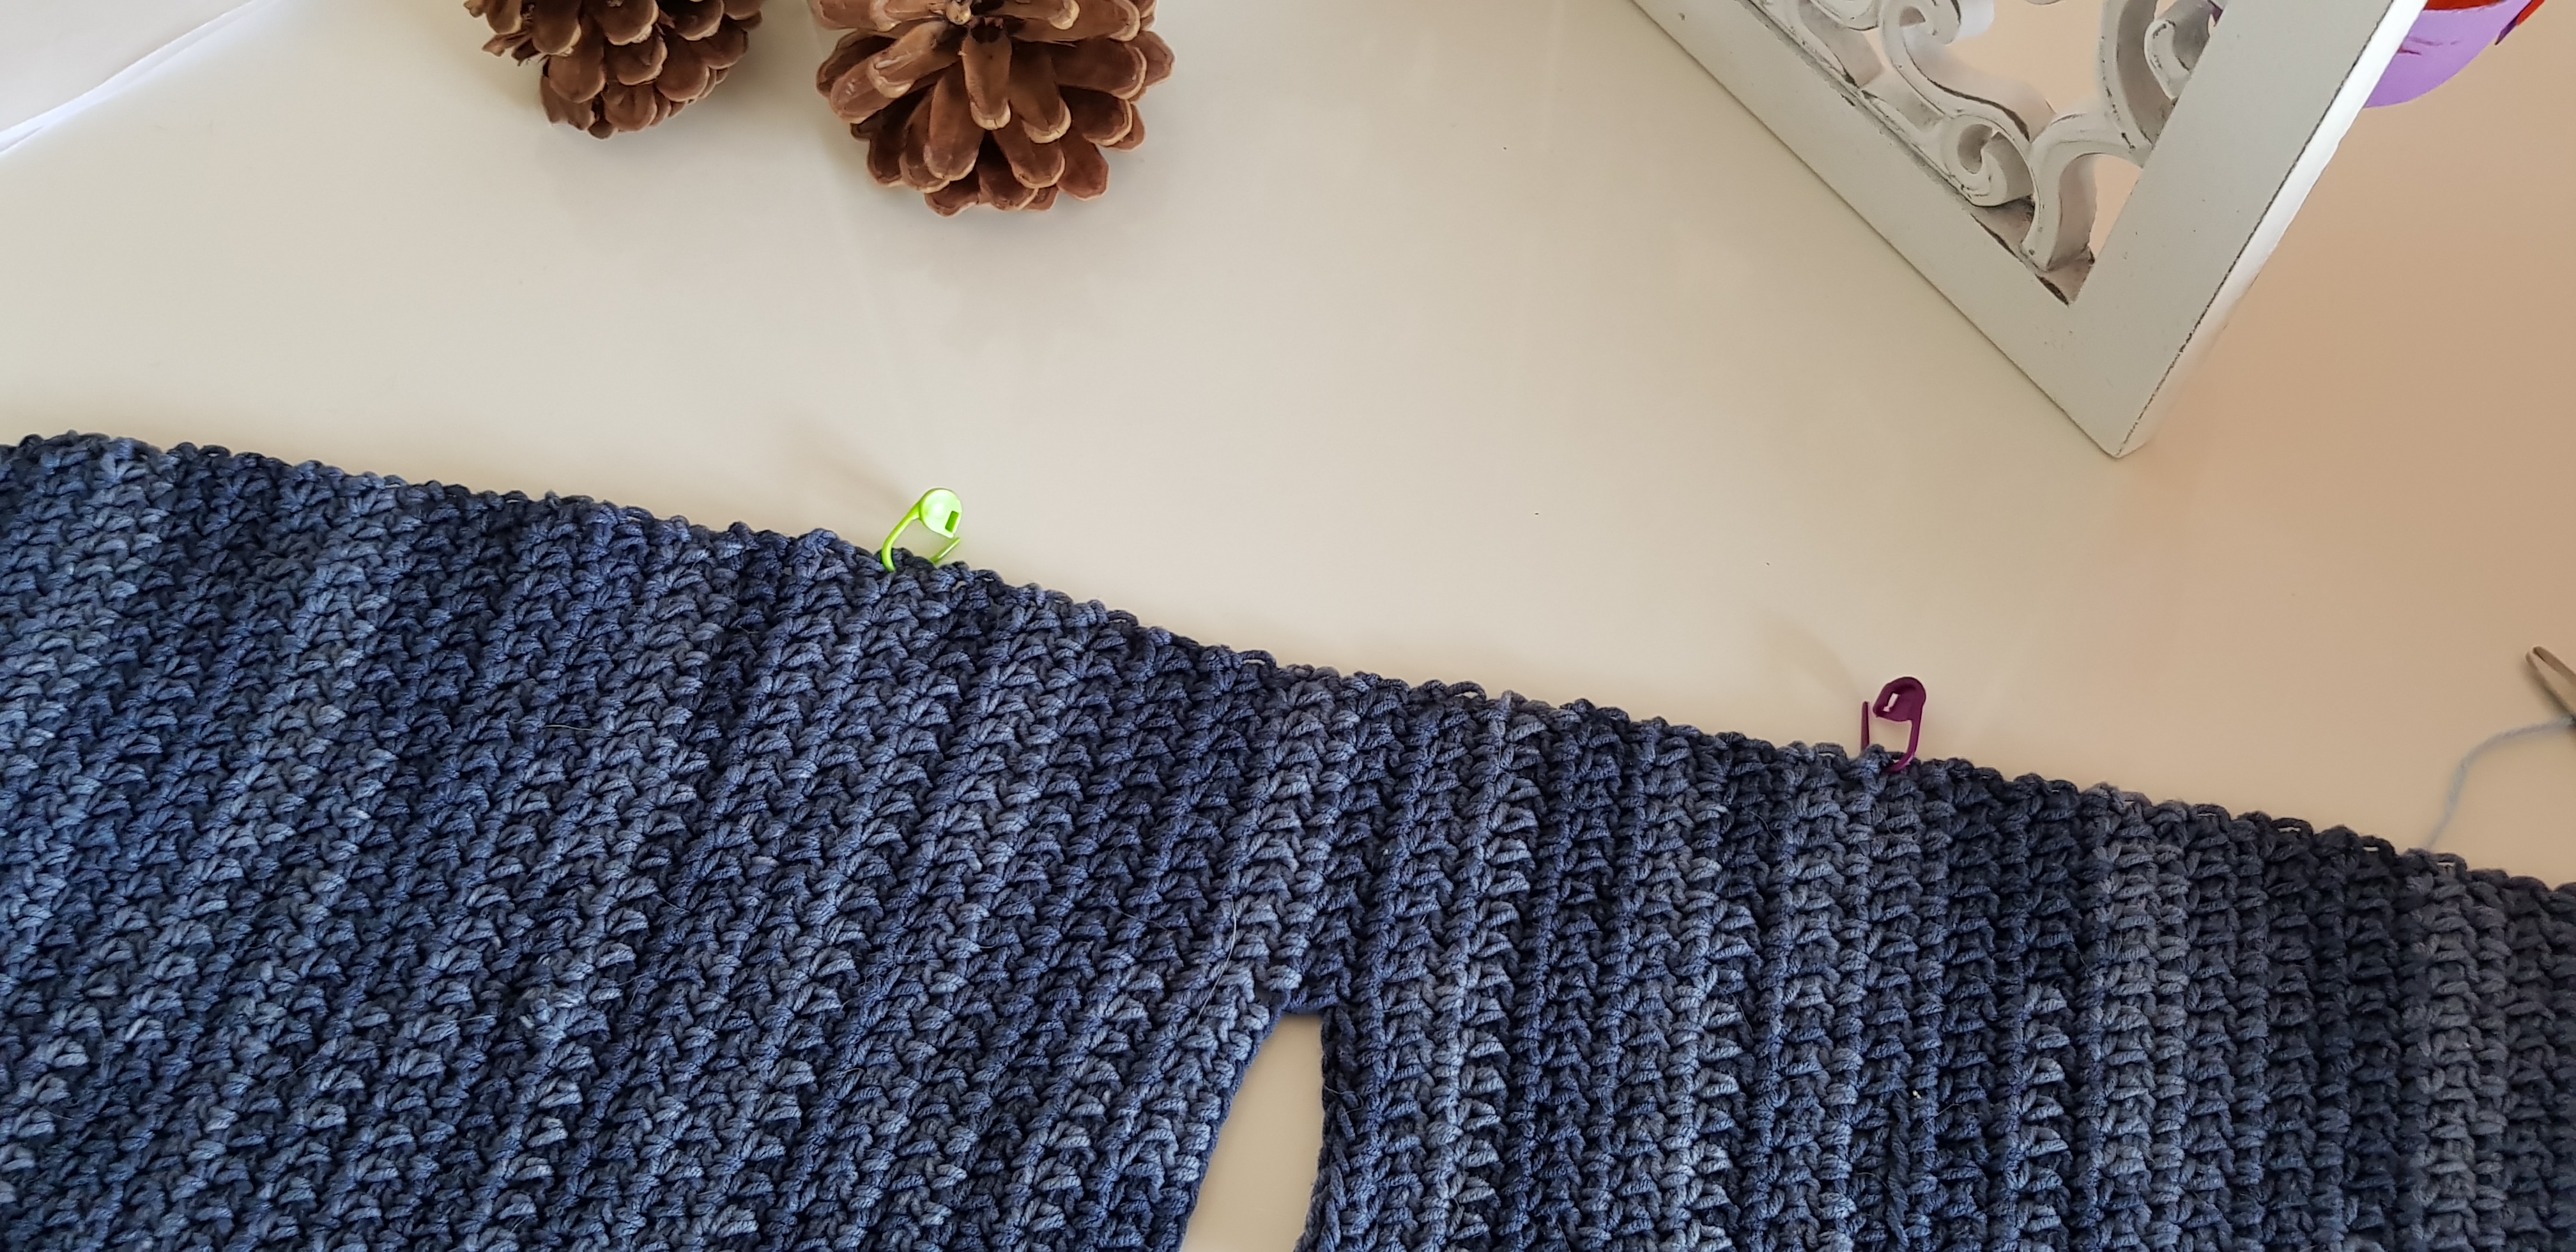
Starting from the middle row that we made between back panel and front panel, mark on the back panel and on the front panel:
2-3 Y – 18 sts
4-5 Y – 20 sts
6-7 Y – 22 sts
8-9 Y – 24 sts
2-3 Y
Row 1
Starting with first marked stitch make 1 hdc in each st until you get to the second stitch marker.
Row 2
1 dec (2 sc together), 1 hdc in each st until you have 2 sts left, 1 dec, ch 2 and turn.
Rows 3-4
1 hdc in each st
Repeat rows 2-4 7 times until you have in total 22 rows
Rows 23 – 27
1 hdc in each st
4-5 Y
Row 1
Starting with first marked stitch make 1 hdc in each st until you get to the second stitch marker.
Row 2
1 dec (2 sc together), 1 hdc in each st until you have 2 sts left, 1 dec, ch 2 and turn.
Rows 3-5
1 hdc in each st
Repeat rows 2-5 8 times until you have in total 33 rows
Rows 34 – 35
1 hdc in each st
6-7 Y
Row 1
Starting with first marked stitch make 1 hdc in each st until you get to the second stitch marker.
Row 2
1 dec (2 sc together), 1 hdc in each st until you have 2 sts left, 1 dec, ch 2 and turn.
Rows 3-5
Repeat rows 2-5 9 times until you have in total 37 rows
Rows 37 – 39
1 hdc in each st
8-9 Y
Row 1
Starting with first marked stitch make 1 hdc in each st until you get to the second stitch marker.
Row 2
1 dec (2 sc together), 1 hdc in each st until you have 2 sts left, 1 dec, ch 2 and turn.
Rows 3-5
Repeat rows 2-5 10 times until you have in total 41 rows
Rows 42 – 46
1 hdc in each st
After finishing the rows in hdc add the ribbed band in the same way as you did on the back panel.
Ribbed band on the collar
face your little man sweater with the right side.
We are starting to work first the left side (the right side of the sweater)
Row 1
insert the yarn in the last st of those 4 that we let in the middle. make 1 sc crochet in each st. Sl st in the next 2 rows of the left side edge. Turn.
Row 2
Work 1 sc blo in each of the 4 sts. ch 1 and turn.
Row 3
1 sc blo, ch 1, skip 1 ( to make one button-hole), 1 sc blo in the last 2 sts join with 2 sl sts.
Continue like this until you finish the ribbed band.
Repeat row 3 one more time along to make another button-hole
*you will join the ribbed band with the sweater in the same way as you did with the others ribbed band that you made, with 2 sl st.
When you are making the ribbed band on the other side, you will have to start from the top, because we have to work from right to left, facing the sweater on the right side.
So, insert the hook in the first stitch, Ch 5, 1 sc in each st ( 4 sc), join with 2 sl st.
Proceed the same as you did on the other ribbed band. When you get to the end you will have to sew the bottoms.
Collar
Insert the iarn and hook in the first stitch of the left side (right side of the sweater)
Ch 8, turn and make 1 sc in each st. Join with 2 sl st.
On the 3rd row make 1 last button-hole
Proceed the same as you did before and make the ribbed band all over the neck line.
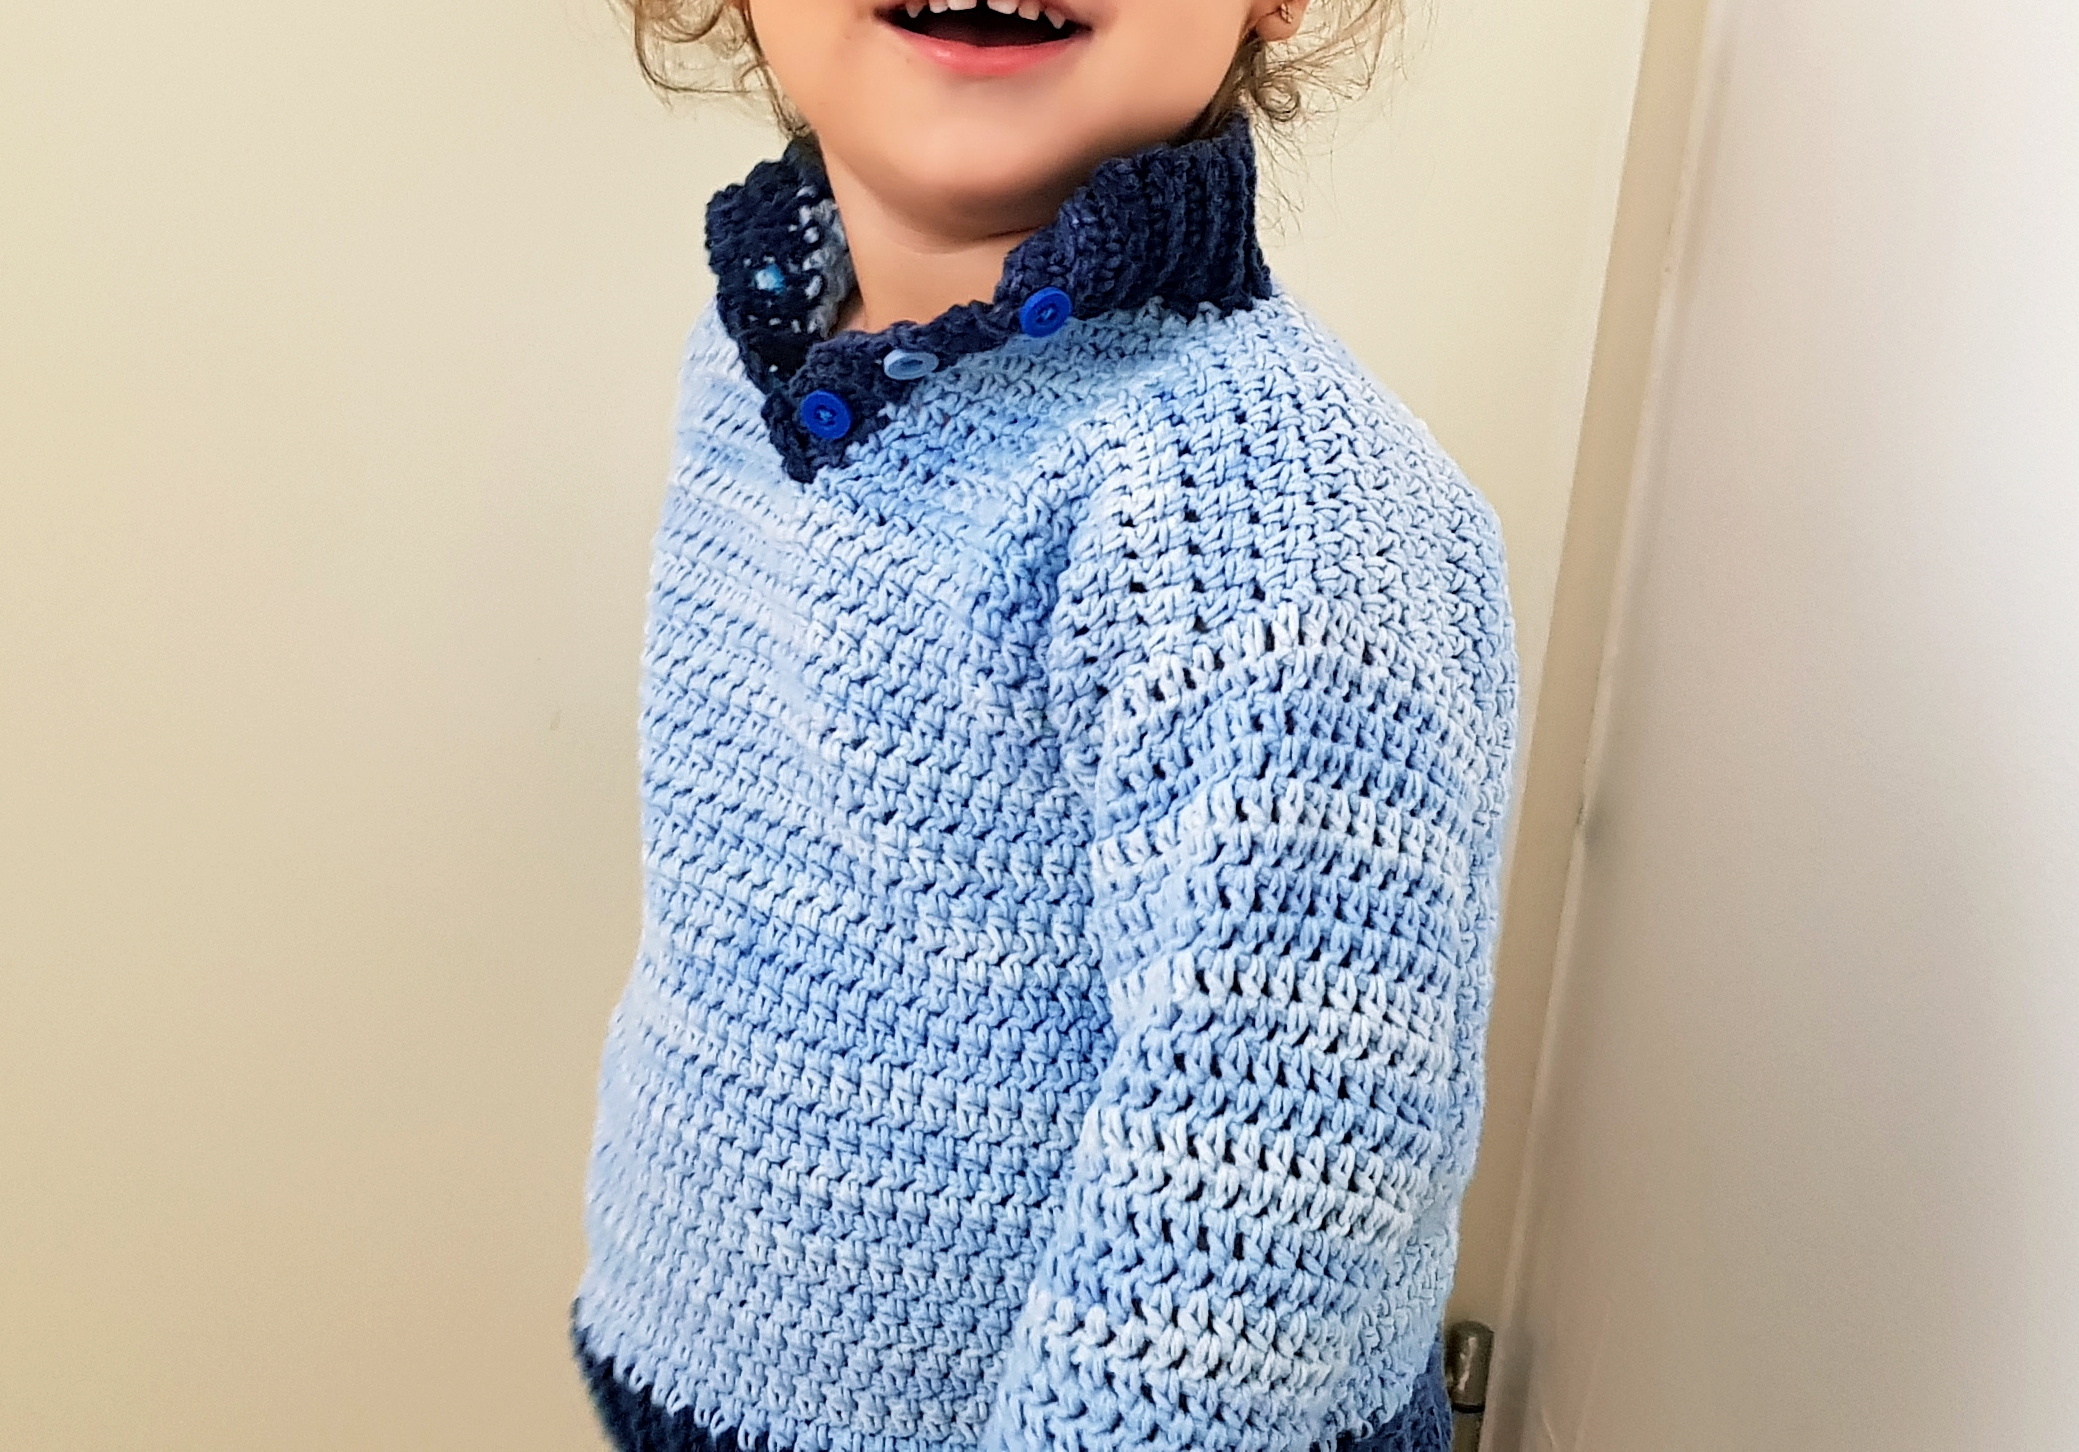
After finishing the collar, sew the side edges of the sweater and 3 small buttons on the collar and your Little Man Sweater is done.
You can purchase the easy printable add-free pdf pattern from here
Hope you enjoyed this pattern and if it was something unclear you can watch the video tutorial bellow.
https://ro.pinterest.com/katerina6795/free-crochet-patterns/




Comments are closed.