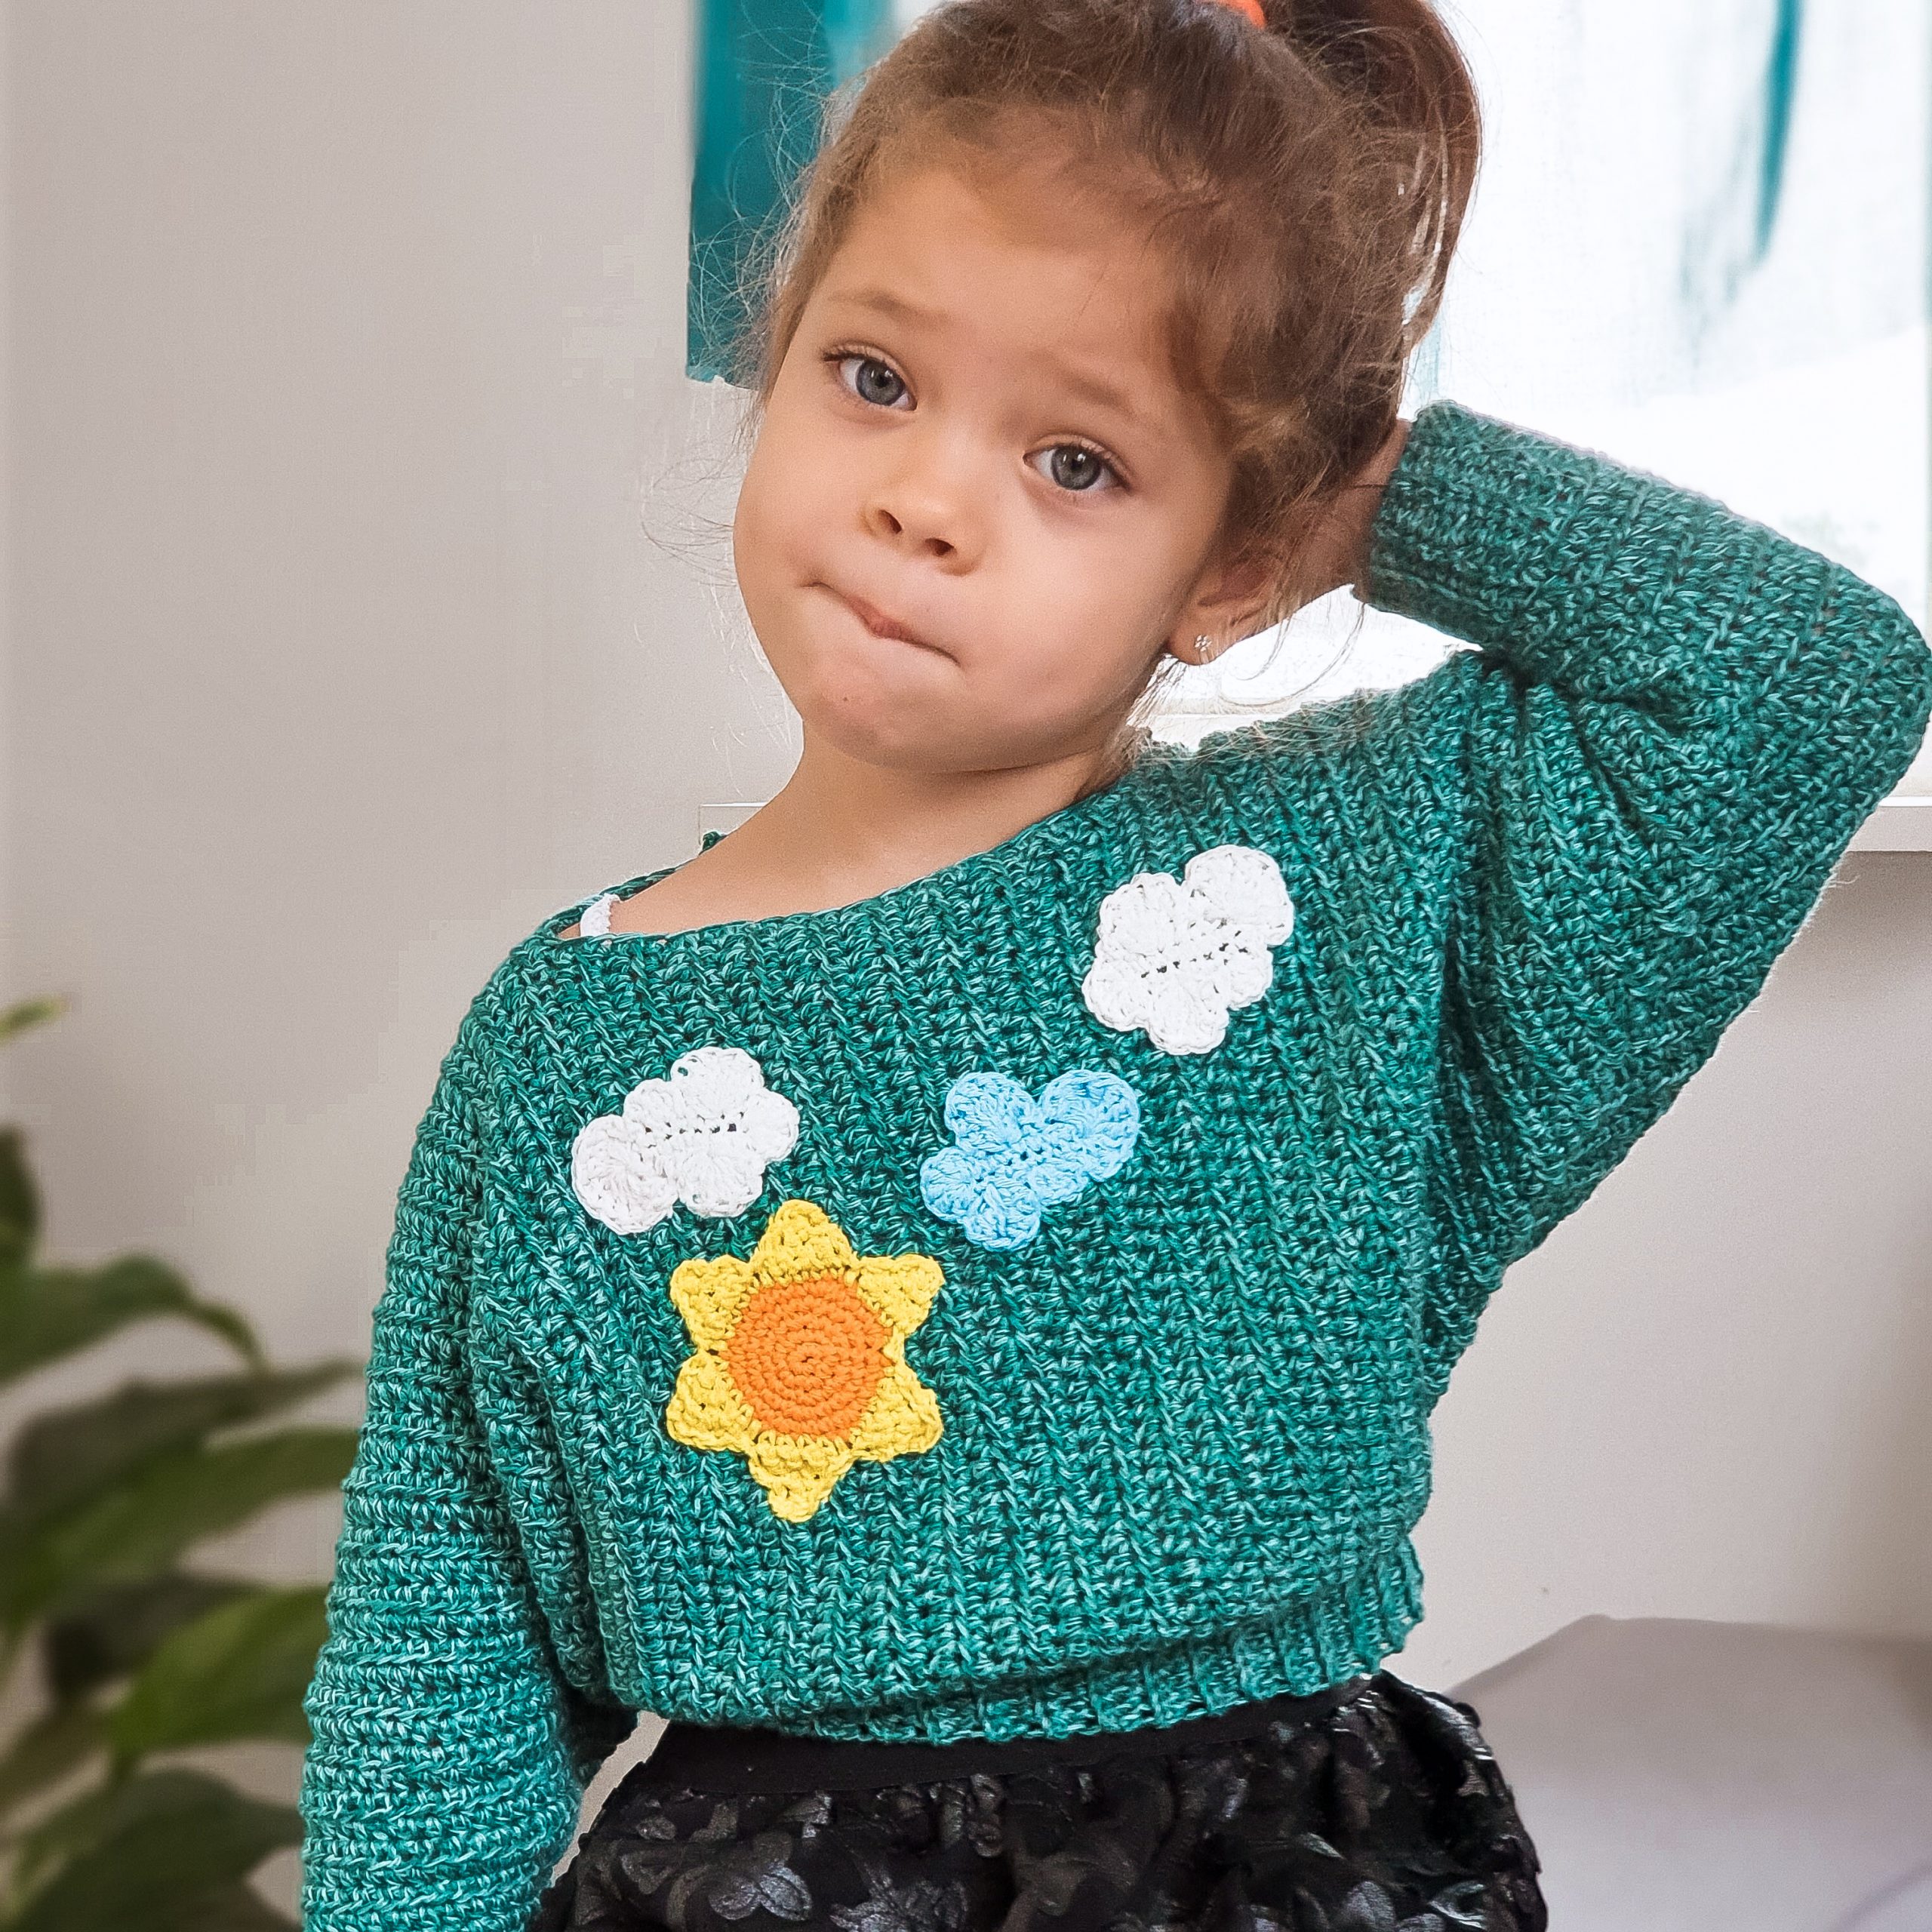
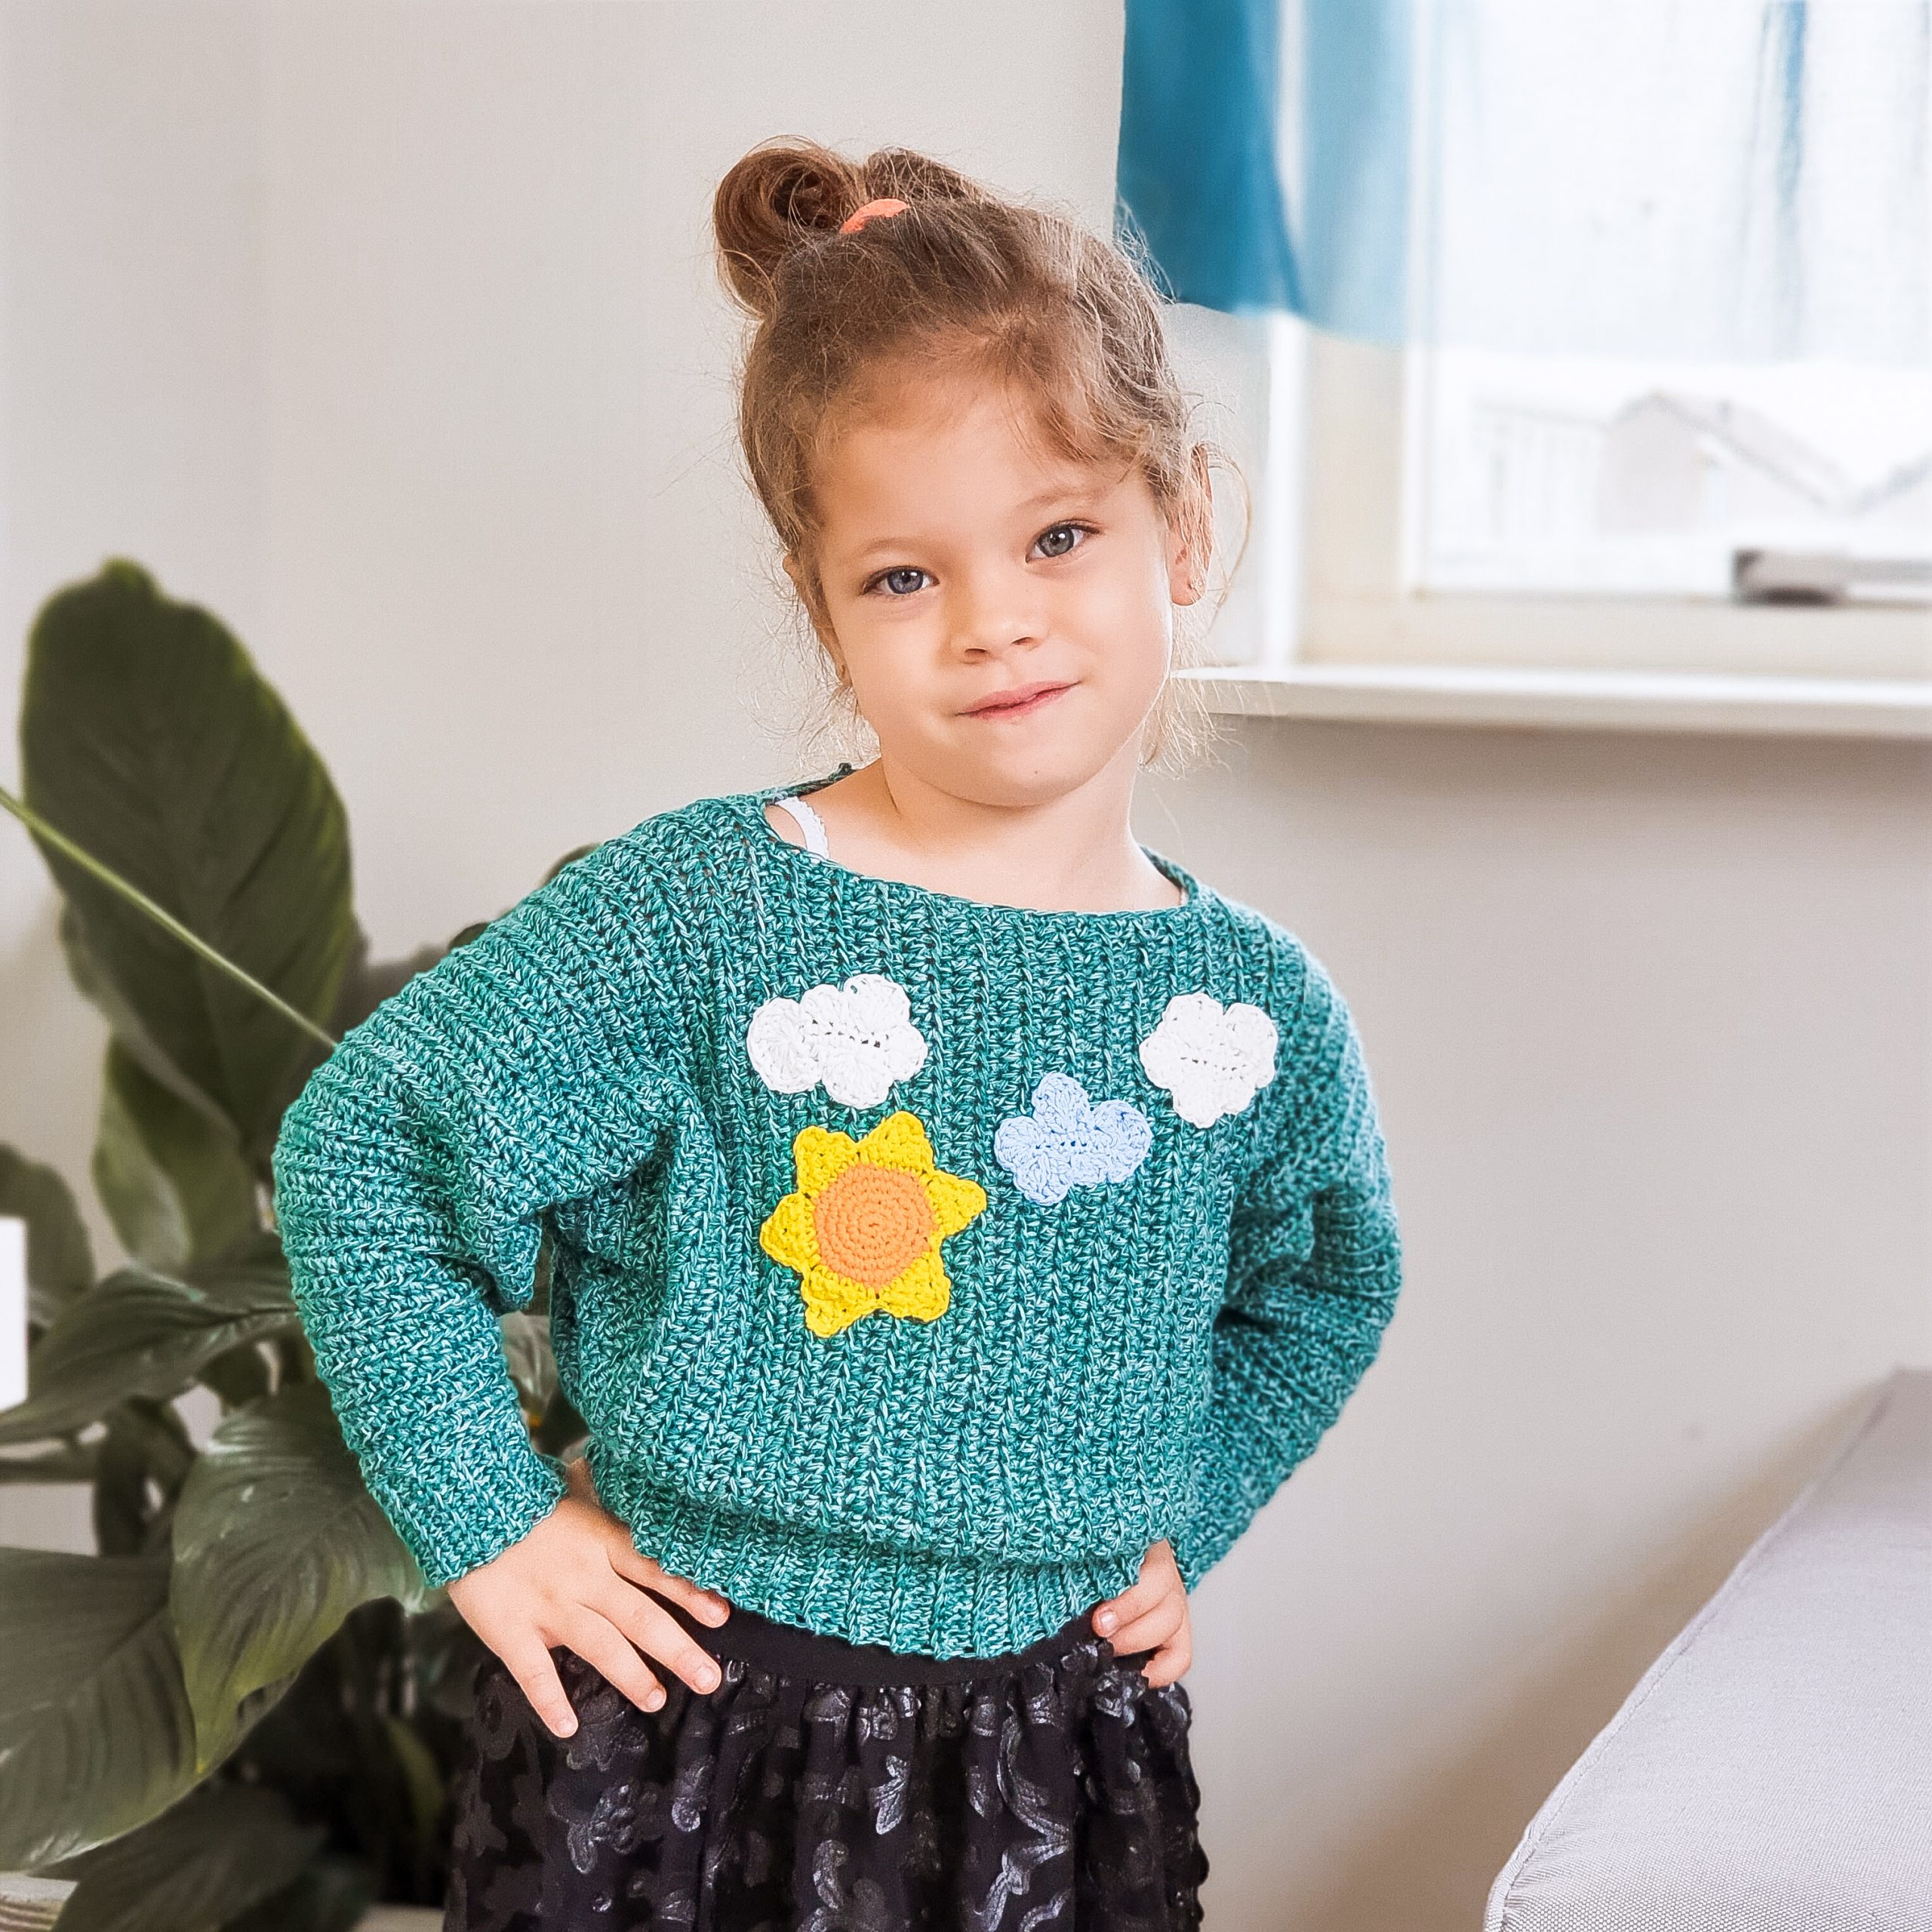
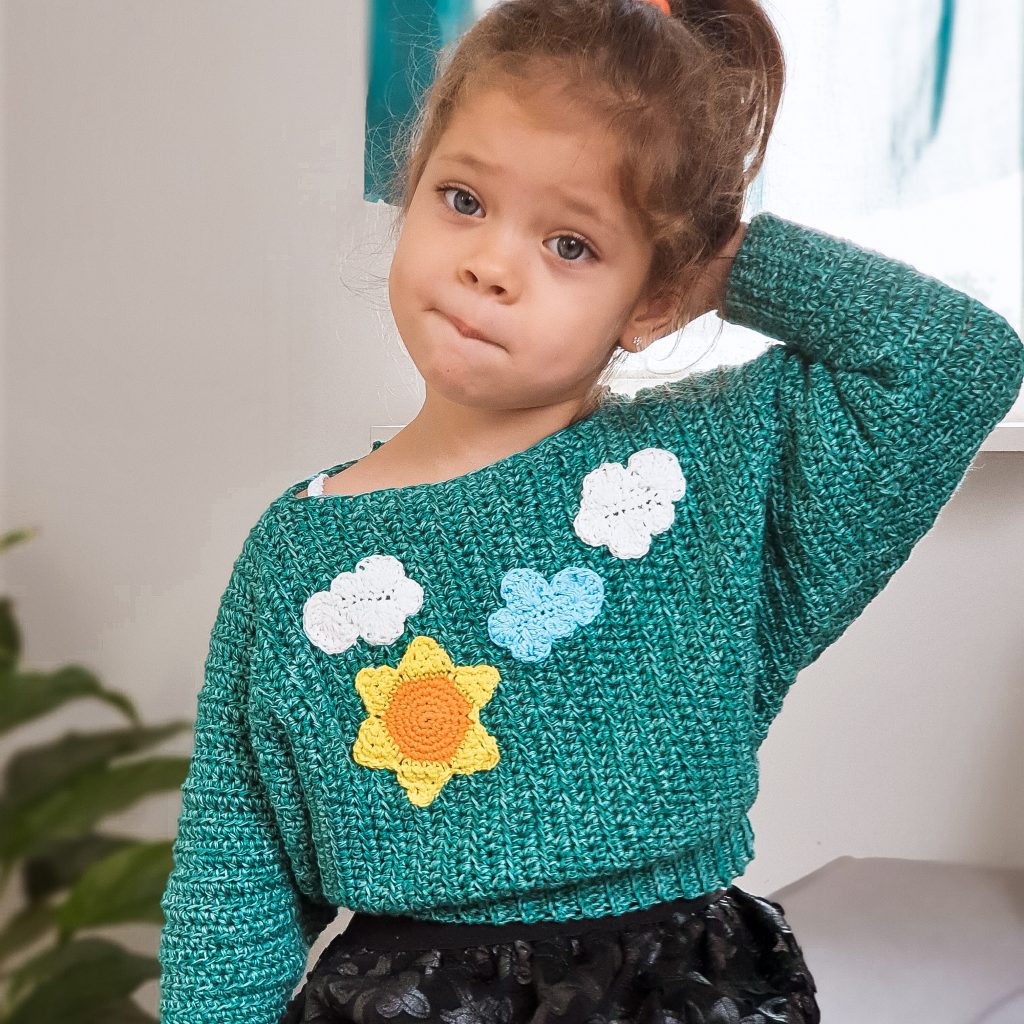
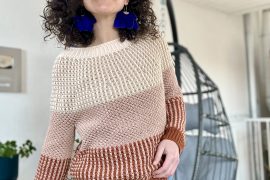
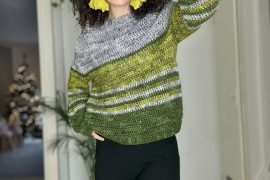
Soon after finishing the Sunset Sweater, I knew that I have to make a mini version for my daughter and before even started I had all the math done for this cute Happy Clouds Sweater. This because the pattern is easy to customize if you have all the measurements. That is why I included in both patterns, how to measure and what to measure to make these sweaters in the exact needed size.
You can Purchase the easy printable PDF version of this pattern here:
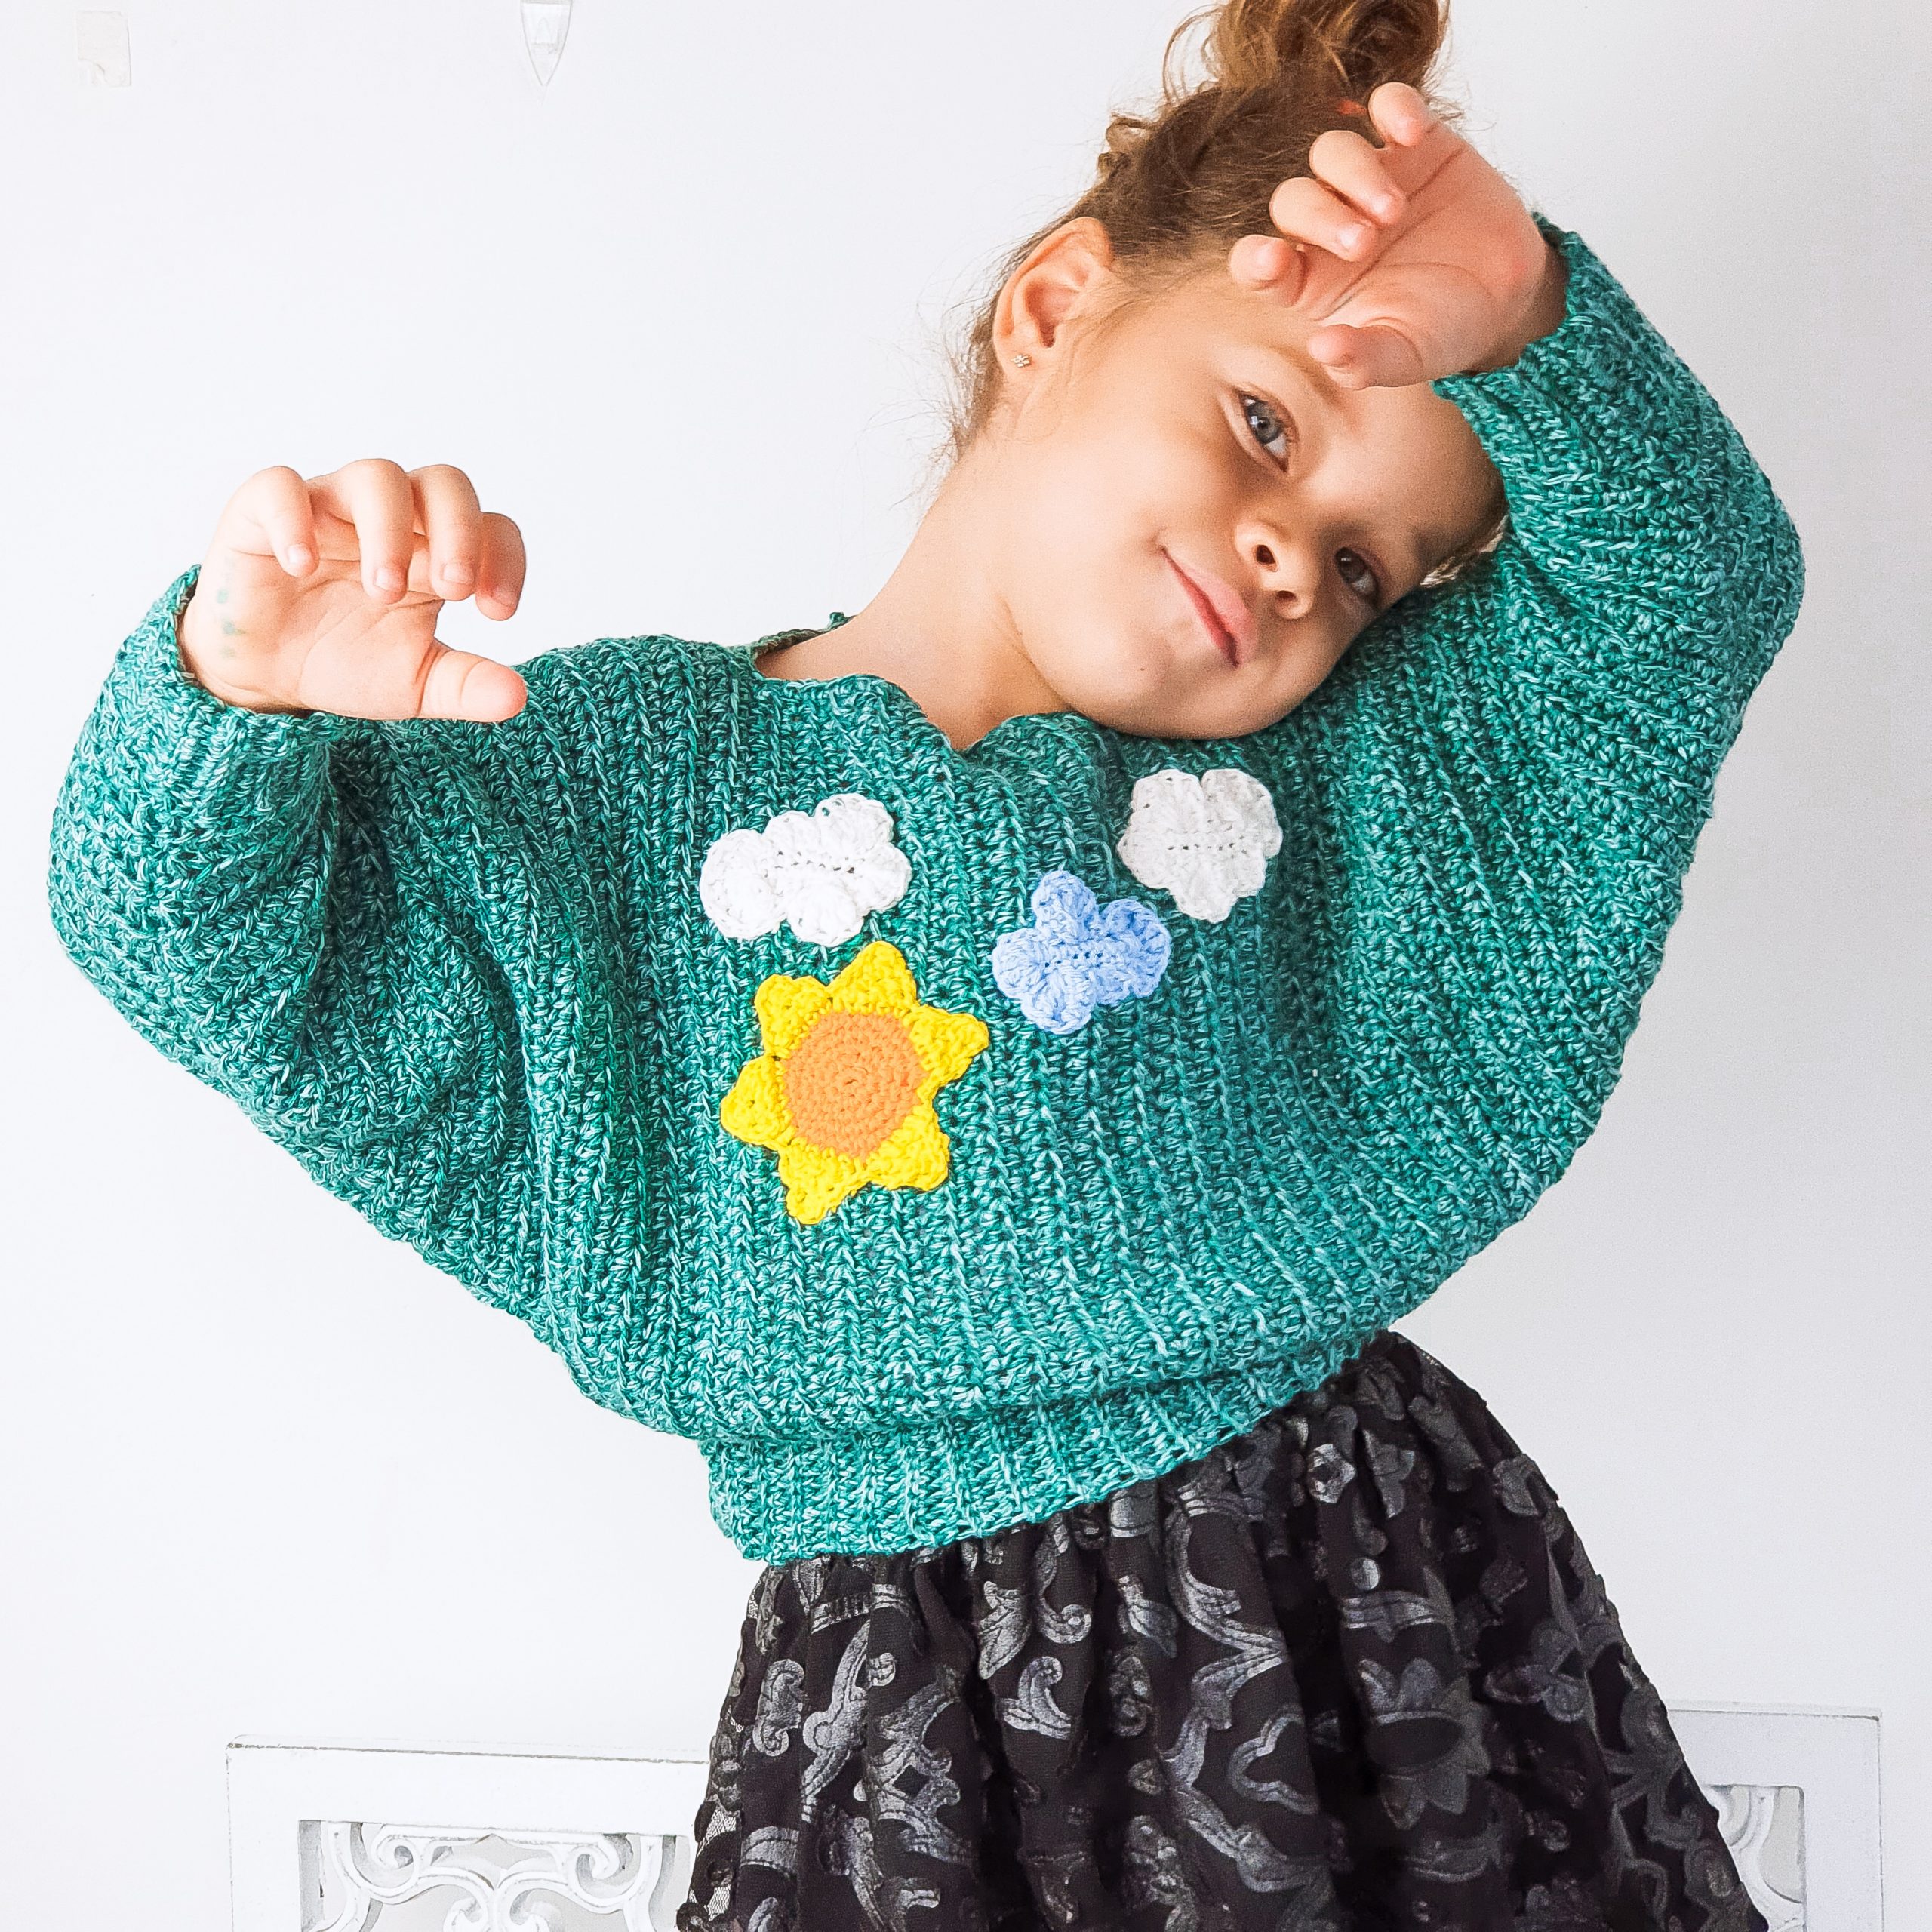
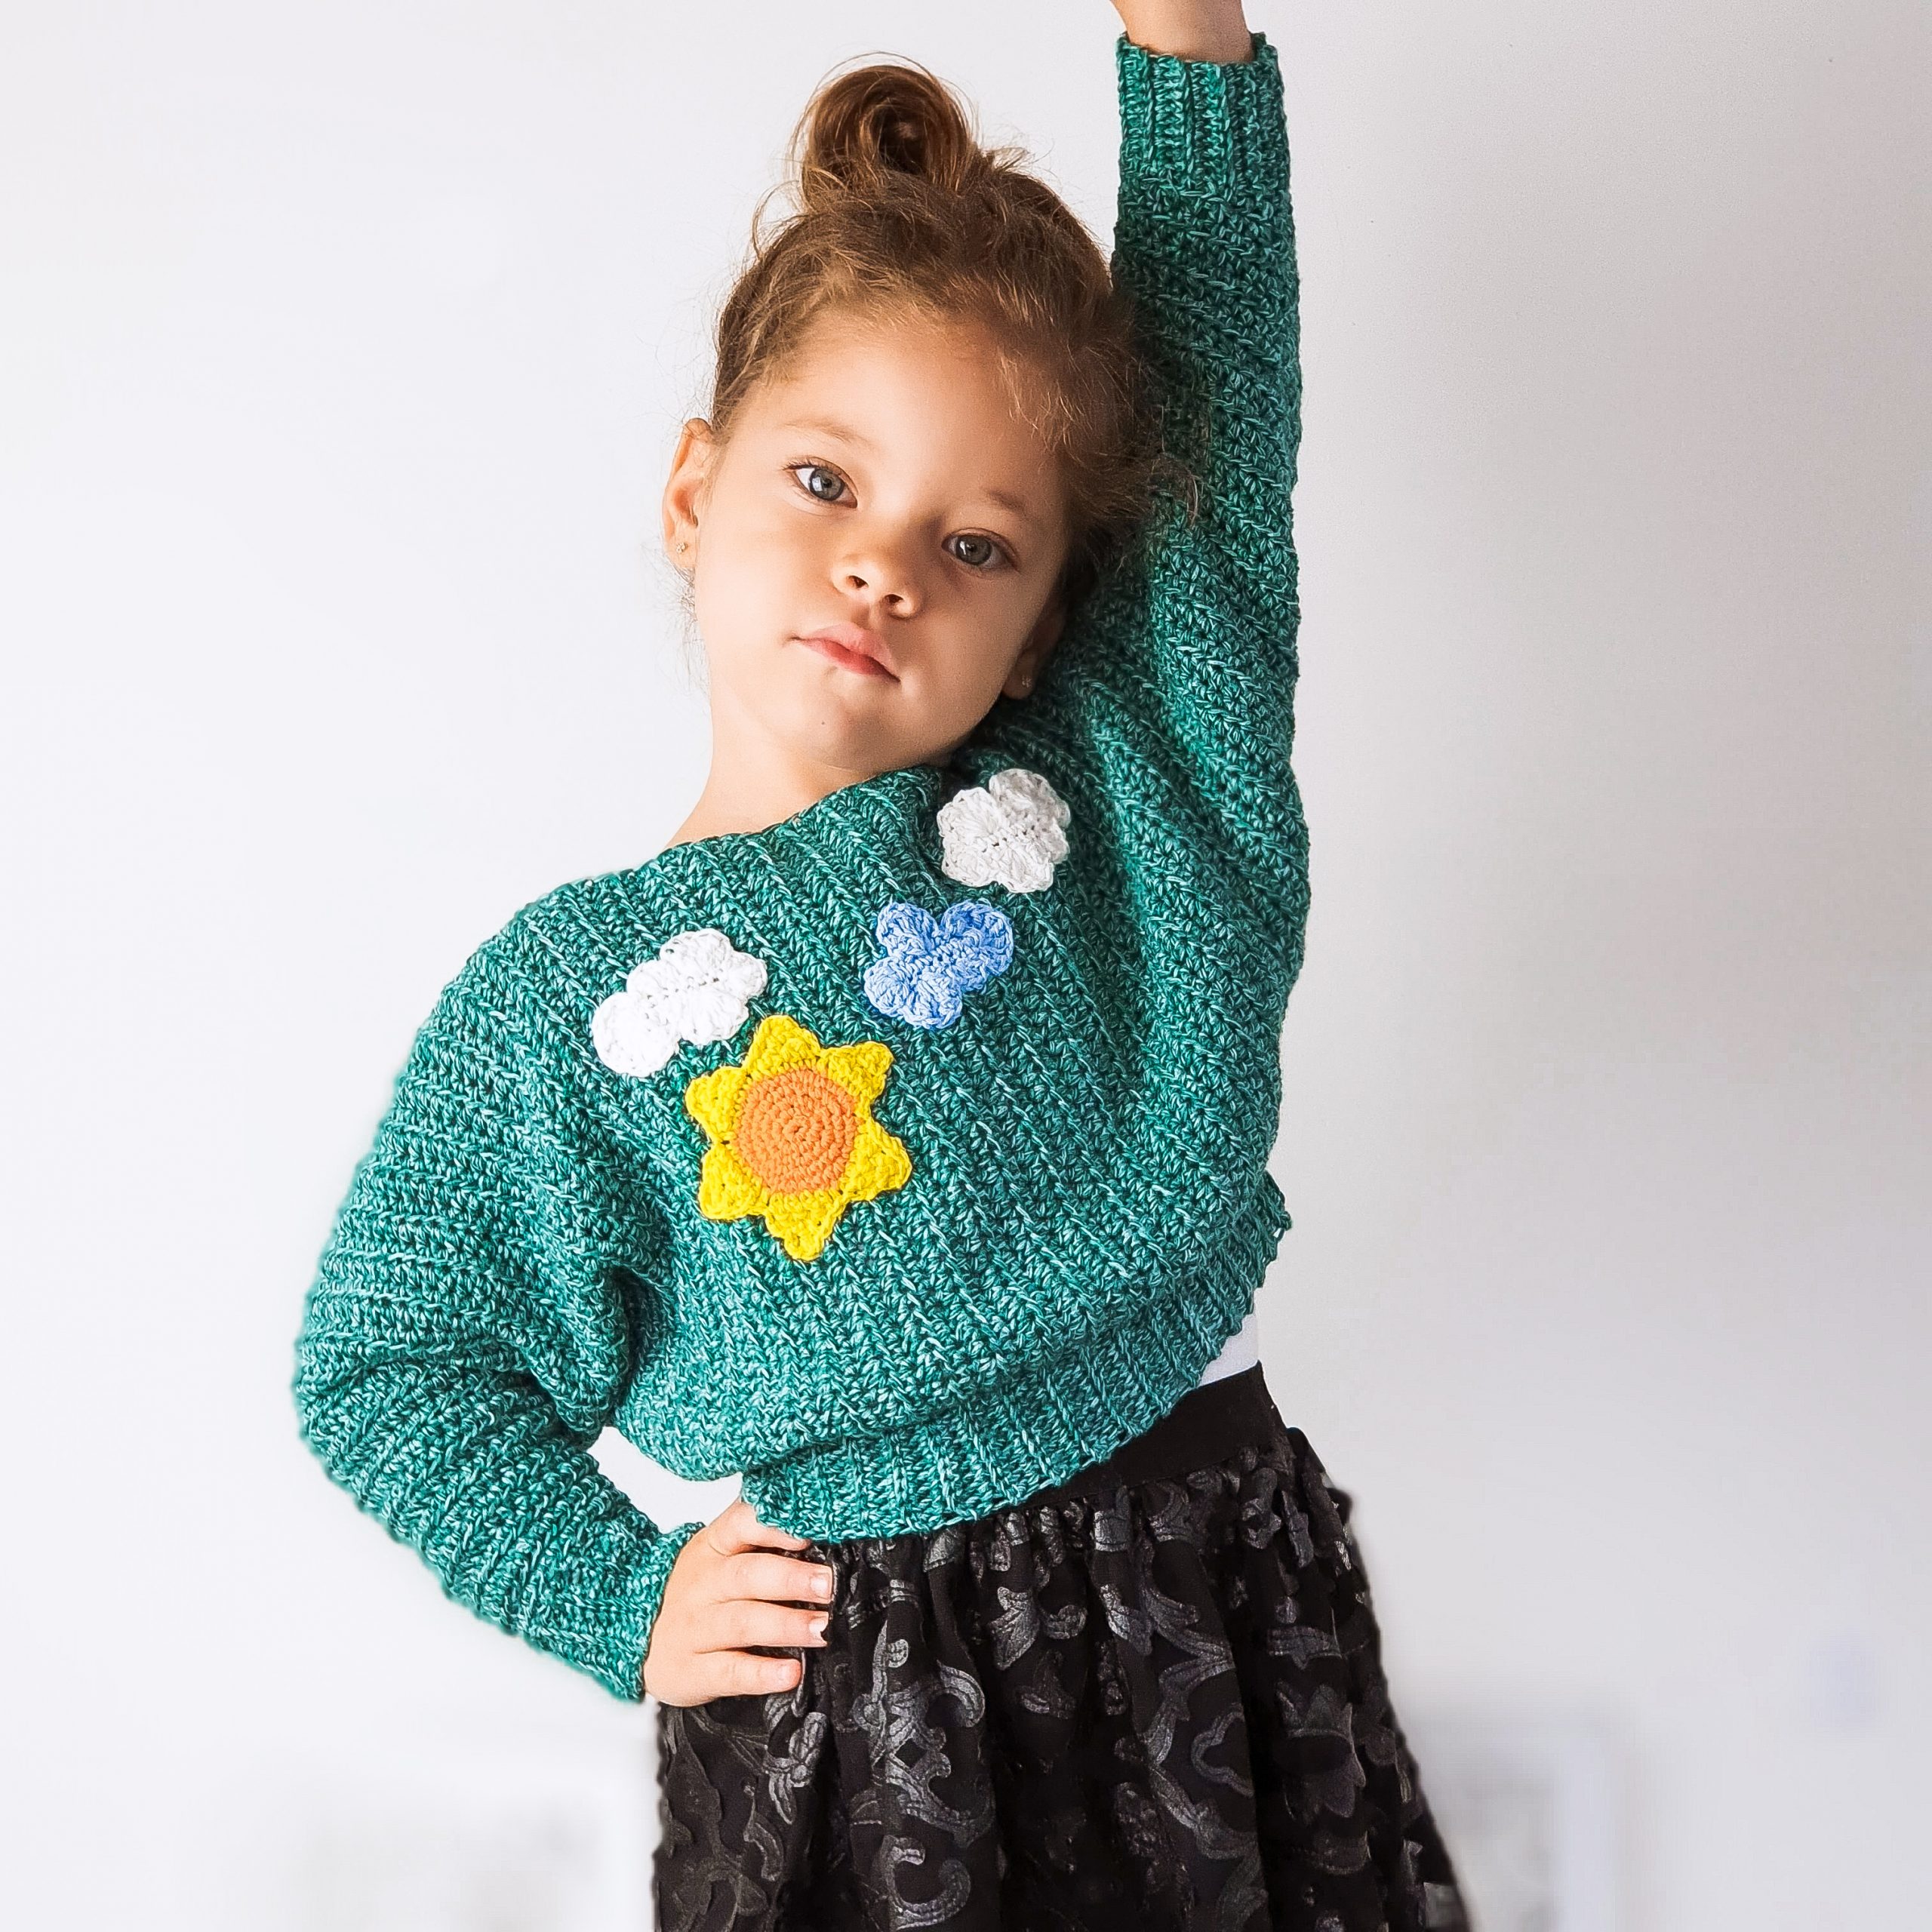
The idea of adding those appliques came while I was working on the sweater. It felt like it needed something to make it happier and my daughter to like it and actually wear it. 🙂
I love this sweater so much and she loves it too and she couldn’t wait to wear it at school and show to her colleagues what mummy made for her. I am so happy when she is so proud of what I am making.
So, if you want a bit of happiness in your life and in your daughter wardrobe, let’s see what you will need and how you can make this sweater.
MATERIALS
- Yarn
- Category 3 ( Light weight, DK)
- Crochet Hook
- 4 mm
- You will need a yarn needle for assembling and to wave in ends
- Scissors
- 1 stitch marker
- Fingering weight yarn cotton in light blue, white, orange and yellow (optional for apliques)
- 3 mm crochet hook
ABOUT DESIGN
The Happy Clouds Sweater uses techniques like half double crochet, single crochet worked in the back loop only for ribbing, increasing and decreasing
Skill Level required is beginner. You don’t need any experienced skills to make this sweater, only a lot of patience.
This Happy Clouds Sweater is worked from cuff to cuff working the back and front panels at ones. When we are getting to the neck line, we split the number of stitches in half and work the 2 panels individual. Then we are joining again and working the other half of the sweater.
The pattern is available in 5 sizes, from 2y to 10 y old and is written in US terms
MEASUREMENTS
Final measurements of the sweater are listed below.
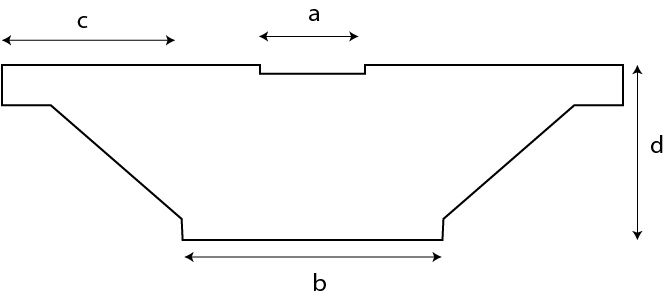
Neck Line a: 13 cm (14, 16, 18, 18)
Bust width: 26.5 cm (29, 32, 33.5, 35.5)
Sleeve length c: 21 cm (26, 28.5, 31, 34)
Length d: 27.5 cm (30, 32.5, 37.5, 41.5)
This measurements will fit:
| To Fit cm | 2y | 4y | 6y | 8y | 10y |
| Bust
Circ. |
53 | 58.5 | 63.5 | 67 | 71 |
How much yarn do you need?
For the Happy Clouds Sweater, I used Coconut Six from Kokonki Yarn, which is a blend of Cotton, and Acrylic. Each cake has 100 grams and approximate 250 meters
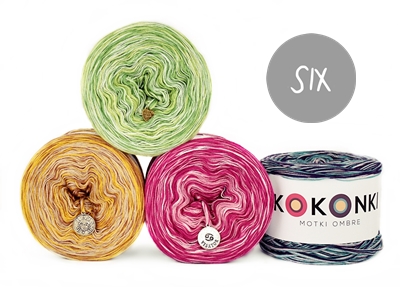
For each size you will approximate need:
| Coconut Six | 2Y | 4Y | 6Y | 8Y | 10Y |
| 100g/250 m | 2 | 2 | 3 | 3 | 3 |
STITCH PATTERN
The Happy Clouds Sweater is worked entirely in half double crochet except the cuffs and bottom hem ribbing. Those are worked in single crochet in the back loop only
ABBREVIATIONS
- Ch – chain
- Sc – single crochet
- Sc blo – single crochet in the back loop only
- Hdc – half double crochet
- St(s) – stitch(es)
- Inc – Increase: 2 hdc in the same st
- Dec – Decrease: yarn over, insert the hook into the next st, yarn over pullout a loop, insert the hook into the next st, yarn over and pull out a loop, yarn over and pull it through all loops on your hook
- R| – row
- * – repeated section
TENSION
- 17 hdc = 10 cm
- 14 hdc rows = 10 cm
- 22 sc blo = 10 cm
- 16 sc blo rows = 10 cm
*the tension is measured before blockimg
How to measure and adjust the pattern in case you need/want it.
I added this part to the pattern, because not all the kids are the same and measurements might be different even if they have same age
Scroll down for the pattern in case you want to skip this part.
Before to start any measurements, you have to make a swatch. Work a few stitches and rows, a square of about 10/10 cm.
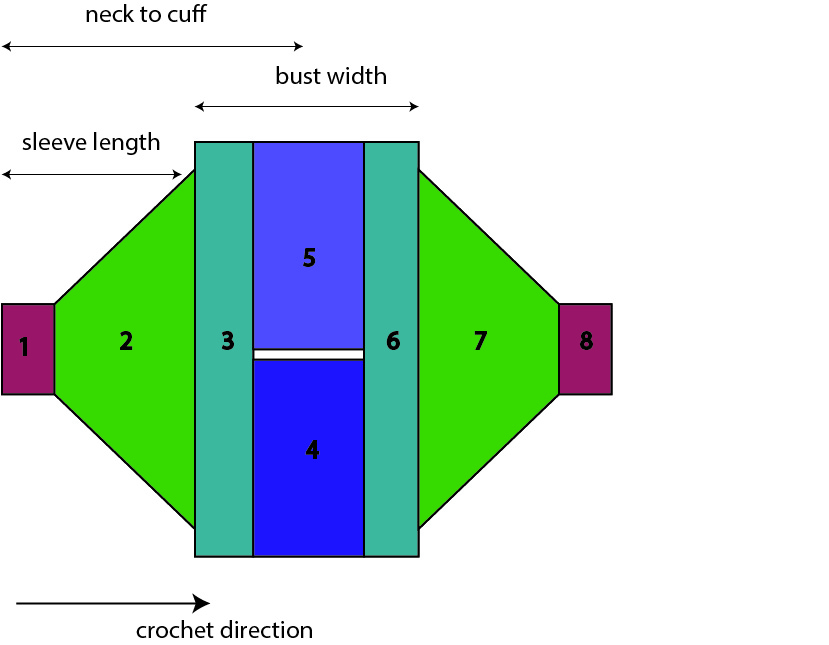
This sweater is worked from cuff to cuff.
Here is a diagram with all the sections of the sweater:
You can Purchase the easy printable PDF version of this pattern here:
Measure your cuff to cuff length, or measure the neck to cuff and multiply by 2.
This length that you have includes the sleeves length and bust width.
Because we are increasing from the cuff, the bust circumference of the sweater will be wide enough to fit, but we have to make sure that the hem of the sweater will be wide enough to fit our bust when dressed.
Then from the cuff to cuff length, you have to decrease the bust or waist width; Divide by 2 and this will be the length of the sleeve.
To put all in a math formula:
Sleeve length = (cuff to cuff length – bust or waist width)/2
Now measure your cuff circumference. Having the swatch you will know with how many sts to start.
Work the elastic ribbing for the cuff, in single crochet stitches in the back loop only. The first row of the sleeve will be worked in the side rows and then start increasing at the beginning and at the end of the row. Keep increasing until you have the sleeve length (from the formula above)
Fold the piece in half, horizontally, and measure from top to bottom. This is your sweater length. To add extra length you will have to add some stitches on each side. On the sample I added only the ribbing sts, but in case you need extra length you can add a few sts more.
You will see how to add extra length in the pattern, because some sizes will need adjustment on the length. You can do this by adding more extra stitches when starting to work on the body, or by increasing with 4 stitches per row, instead of 2 for the last few rows of the sleeve.
After adding the extra sts, you will start working on the body of the sweater. First you will work the shoulder. To know how many rows to work on each shoulder you have to calculate how many rows you will need for the neck line. Subtract this number from the total number of rows needed for the bust width and divide the result by 2. The result will be the number of rows you will have to work for the shoulder, before splitting for neck line.
To make the neck line hole, you will have to work the front panel and back panel separately.
After working separately the back and front to create the neck hole, you will have to work in the mirror, what you made before.
After neck hole, join and work the same number of rows you made for the shoulder. Then decrease the number of sts you made for ribbing and start decrease with 1 st at the beginning and at the end of the row to work the other sleeve. When you have worked the same number of rows as for the other sleeve and you have the same number of sts as you start with, start working the ribbing cuff.
Fold the piece horizontally and sew the sides.
PATTERN NOTES
Ch 2 at the beginning of the row does not count as first hdc
Increases are made in second and second to last st. Each row starts and ends with a hdc.
Decreases are made in second and third st and third and second to last st. The same as increasing rows, when decreasing, each row starts and ends with a hdc.
You can Purchase the easy printable PDF version of this pattern here:
INSTRUCTIONS
Numbers for sizes 4Y, 6Y, 8Y and 10Y are written between brackets. If not, pattern applies for all sizes
Cuff
Start| ch 11
R1| start with 2nd st, 1 sc in each st to the end of the row. Ch 1 and turn
R2| 1 sc blo in each st to the end of the row
Repeat R2 until you have 24 (26, 28, 30, 30) rows
1st SLEEVE
R1| work in the side rows sc. Each side row sc represents 1 st
Ch 2, 1 hdc in each st to the end of the row. Ch 2 and turn.
R2| 1 hdc in 1st st, 1 inc in next st, 1 hdc in each of the next sts except the last 2 st, 1 Inc, 1 hdc in the last st. Ch 2 and turn.
Size 4Y, 6Y
Repeat R2 until you have in total 30 (34) rows.
Size 2Y, 8Y, 10Y
For this sizes the last few rows will be made by increasing with 4 sts/row instead of 2.
This double increase will be made in the second and 3rd st and in the 3rd and 2nd to last st, by making 2 hdc in the same st.
Repeat R2 until you have in total 19 (33, 34) rows
The next 4 (4, 7) rows are worked with double increase.
You will have in total for the sleeve 23 (37, 41) rows
After finishing the sleeve you will have in total 78 (86, 96, 112, 126) sts
Cut the yarn.
BODY
1st Shoulder
R1| ch 10 on the hook (the ribbing sts), 1 hdc in each st to the end of the row ch 11 and turn.
R2| Starting with the 2nd st, 1 sc in next 10 sts, 1 hdc in each of the next sts, except the last 10 ch sts, 1 sc in each of the last 10 sts. Ch 1 and turn.
R3| 1 sc blo in 1st 10 sts, 1 hdc in each of the next sts, exept the last 10, 1 sc blo in the last 10 sts. Ch 1 and turn.
Repeat R3 until you have in total for the shoulder
9 (10, 11, 11, 13) rows.
Neck line
For all sizes
Divide the total number of sts by 2, and place a stitch marker in the middle stitch.
Front panel
R1|1 sc blo in first 10 sts, 1 hdc in each of the next sts, until you have 2 sts left to the stitch marker. Ch 2 and turn.
R2| 1 hdc in each st except the last 10, 1 sc blo in the last 10 sts.
R3| 1 sc blo in the first 10 sts, 1 hdc in each st to the end of the row. Ch 2 and turn.
Repeat R2 and R3 until you have in total for the neck line 17 (19, 21, 23, 23) rows
Back panel
Rejoin yarn in the marked stitch
R1| ch 2, 1 hdc in each st, except the last 10, 1 sc blo in the last 10 sts.
R2| 1 sc blo in the first 10 sts, 1 hdc in each st to the end of the row. Ch 2 and turn
R3| 1 hdc in each st, except the last 10, 1 sc blo in the last 10 sts. Ch 1 and turn.
Repeat R2 and R3 until you have in total for the neck line 17 (19, 21, 23, 23) rows
2nd Shoulder
R1| 1 sc blo in the 1st 10 sts, 1 hdc in each st to the last st of the front panel, ch 2, 1 hdc in the first st of the front panel, 1 hdc in each of the next sts, except the last 10, 1 sc blo in the last 10 sts, ch 1 and turn.
R2| 1 sc blo in the first 10 sts, 1 hdc in each of the next st (including the ch sts), except the last 10, 1 sc blo in the last 10 sts.
Repeat R2 until you have in total for the second shoulder 8 (9, 10, 10, 12) rows.
Next row (last BODY row)
Slip 11 sts, until you are on the top of the first hdc, ch 2, 1 hdc in each of the next sts, except the last 10 sts. Ch 2 and turn.
2nd SLEEVE
R1| 1 hdc in 1st st, 1 dec, 1 hdc in each of the next sts, except the last 3, 1 dec, 1 hdc in the last st. ch 2 and turn.
Size 4Y, 6Y
Repeat R2 until you have in total 30 (34) rows.
Size 2Y, 8Y, 10Y
For this sizes the last few rows will be made by decreasing with 4 sts/row instead of 2.
This double increase will be made in the next 4 sts after the first st, and in the last 4 sts before the last one.
Repeat R2 until you have in total 19 (33, 34) rows
The next 4 (4, 7) rows are worked with double decrease.
Next row (last row of the sleeve)
1 hdc in each st to the end of the row.
At the end of this row you should have the same number of sts as you had when you start working on the other sleeve.
CUFF
Start| ch 11
R1| starting with the 2nd st, 1 sc in each sts (25 sc), sl st with 1st 2 sts from the sleeve’s hem. Turn
R2| 1 sc blo in each st to the end of the row. Ch 1 and turn.
R3| 1 sc blo in each st to the end of the row, sl st with next 2 sts of the sleeve’s hem.
Repeat R2 and R3 until you complete the entire sleeve width.
Fasten off
ASSEMBLING
Fold the piece in half horizontally and stitch the edges, start from the bottom hem and finish with the cuff.
If you are more of a visual maker, tou can find a video tutorial here
APPLIQUES
CLOUDS
The appliques are made using fingering cotton yarn and 3 mm crochet hook.
For the clouds I used light blue and white. You will need less than 10 grams of yarn. The pattern is not mine, it belongs to MummaJ Crochet and you can find the original pattern here.
Start| ch 9
R1| starting with the 2nd st, 1 sc in the next 7 sts, 3 sc in the last st, turn and work on the other side of the chain, 1 sc in the next 7 sts, 5 dc in the last st, ss with first sc.
R2| 10 tr in the next st, skip 2 sts, ss to the next 2 sts, skip 1 st, 8 dc in the next st, ss to the last st.
Cut the yarn and hide the ends.
SUN
Start with the Orange Color
Start| make a magic ring
R1| ch 1, 5 sc inside the ring. Join with a ss with first sc.
R2| ch 1, 2 sc in each st around. Join with a ss with 1st sc. (10 sc)
R3| ch 1, *2 sc in next st, 1 sc in next. *Repeat 5 time to the end of the round. Join with a ss with 1st sc (15 sc)
R4| ch 1, *2 sc in next st, 1 sc in next 2 sts. *Repeat 5 times to the end of the round. Join with a ss with 1st sc. (20 sc)
R5| ch 1, *2 sc in next st, 1 sc in next 3 sts. *Repeat 5 times to the end of the round. Join with a ss with 1st sc. (25 sc)
Triangles (using yellow)
Triangle
R1| ch 1, 1 sc in next 5 sts, ch 1 and turn.
R2| sc2tog, 1 sc in next 3 sts, ch 1 and turn
R3| sc2tog, 1 sc in next 2 sts, ch 1 and turn
R4| sc2tog, 1 sc in next ts, ch 1 and turn
R5| sc2tog
Ss in each side row sc, on the side of triangle to get to the base round.
Repeat the pattern for the triangle all around. You will have 5 triangles in total. You will end the round of triangles in the top of last triangle. You don’t have to make the ss.
Hide the ends
TO FINISH
Wave all ends and block to measurements.
Sew the appliques on the sweater in desired spot.
*I recommend to sew the appliques after blocking.
Here you can find video tutorials for the sweater and for the appliques. If you watch the video for the sun, make sure you are making just 5 rounds on the main circle and just the first round of triangles.
I really Hope you like this pattern and you will make it with joy for your lovely princesses in your life.
You can Purchase the easy printable PDF version of this pattern here:



Comments are closed.