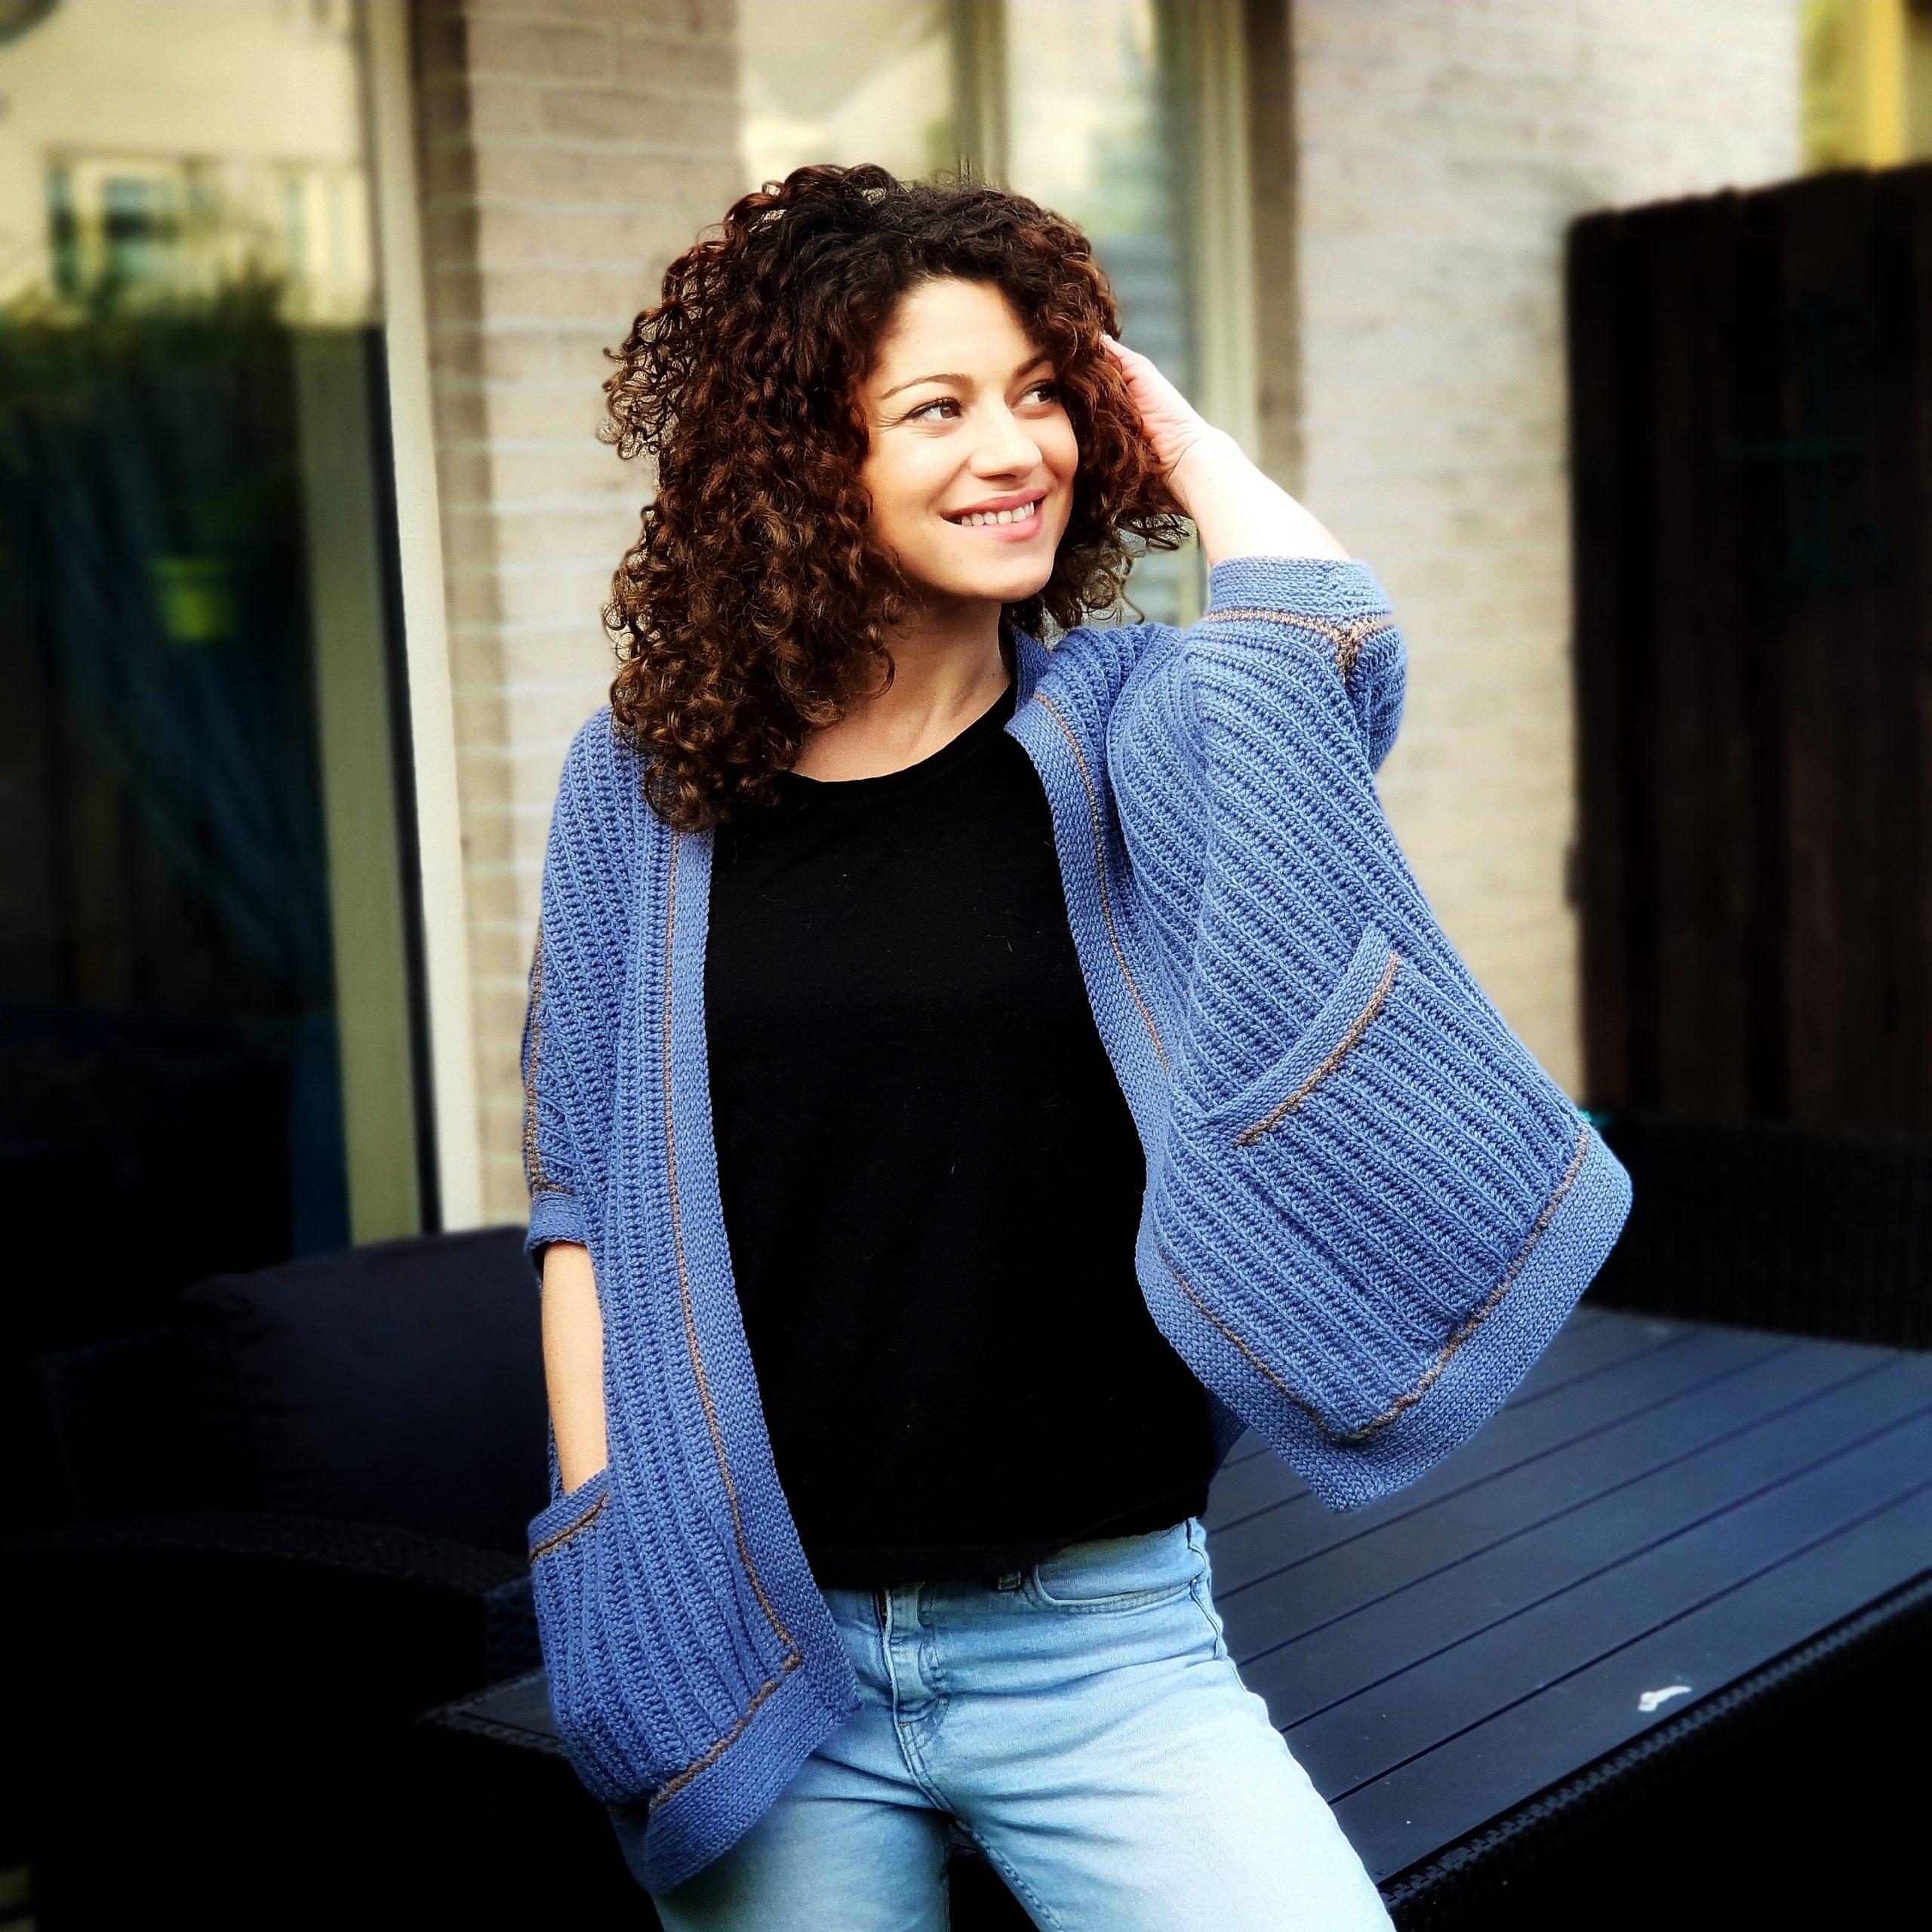
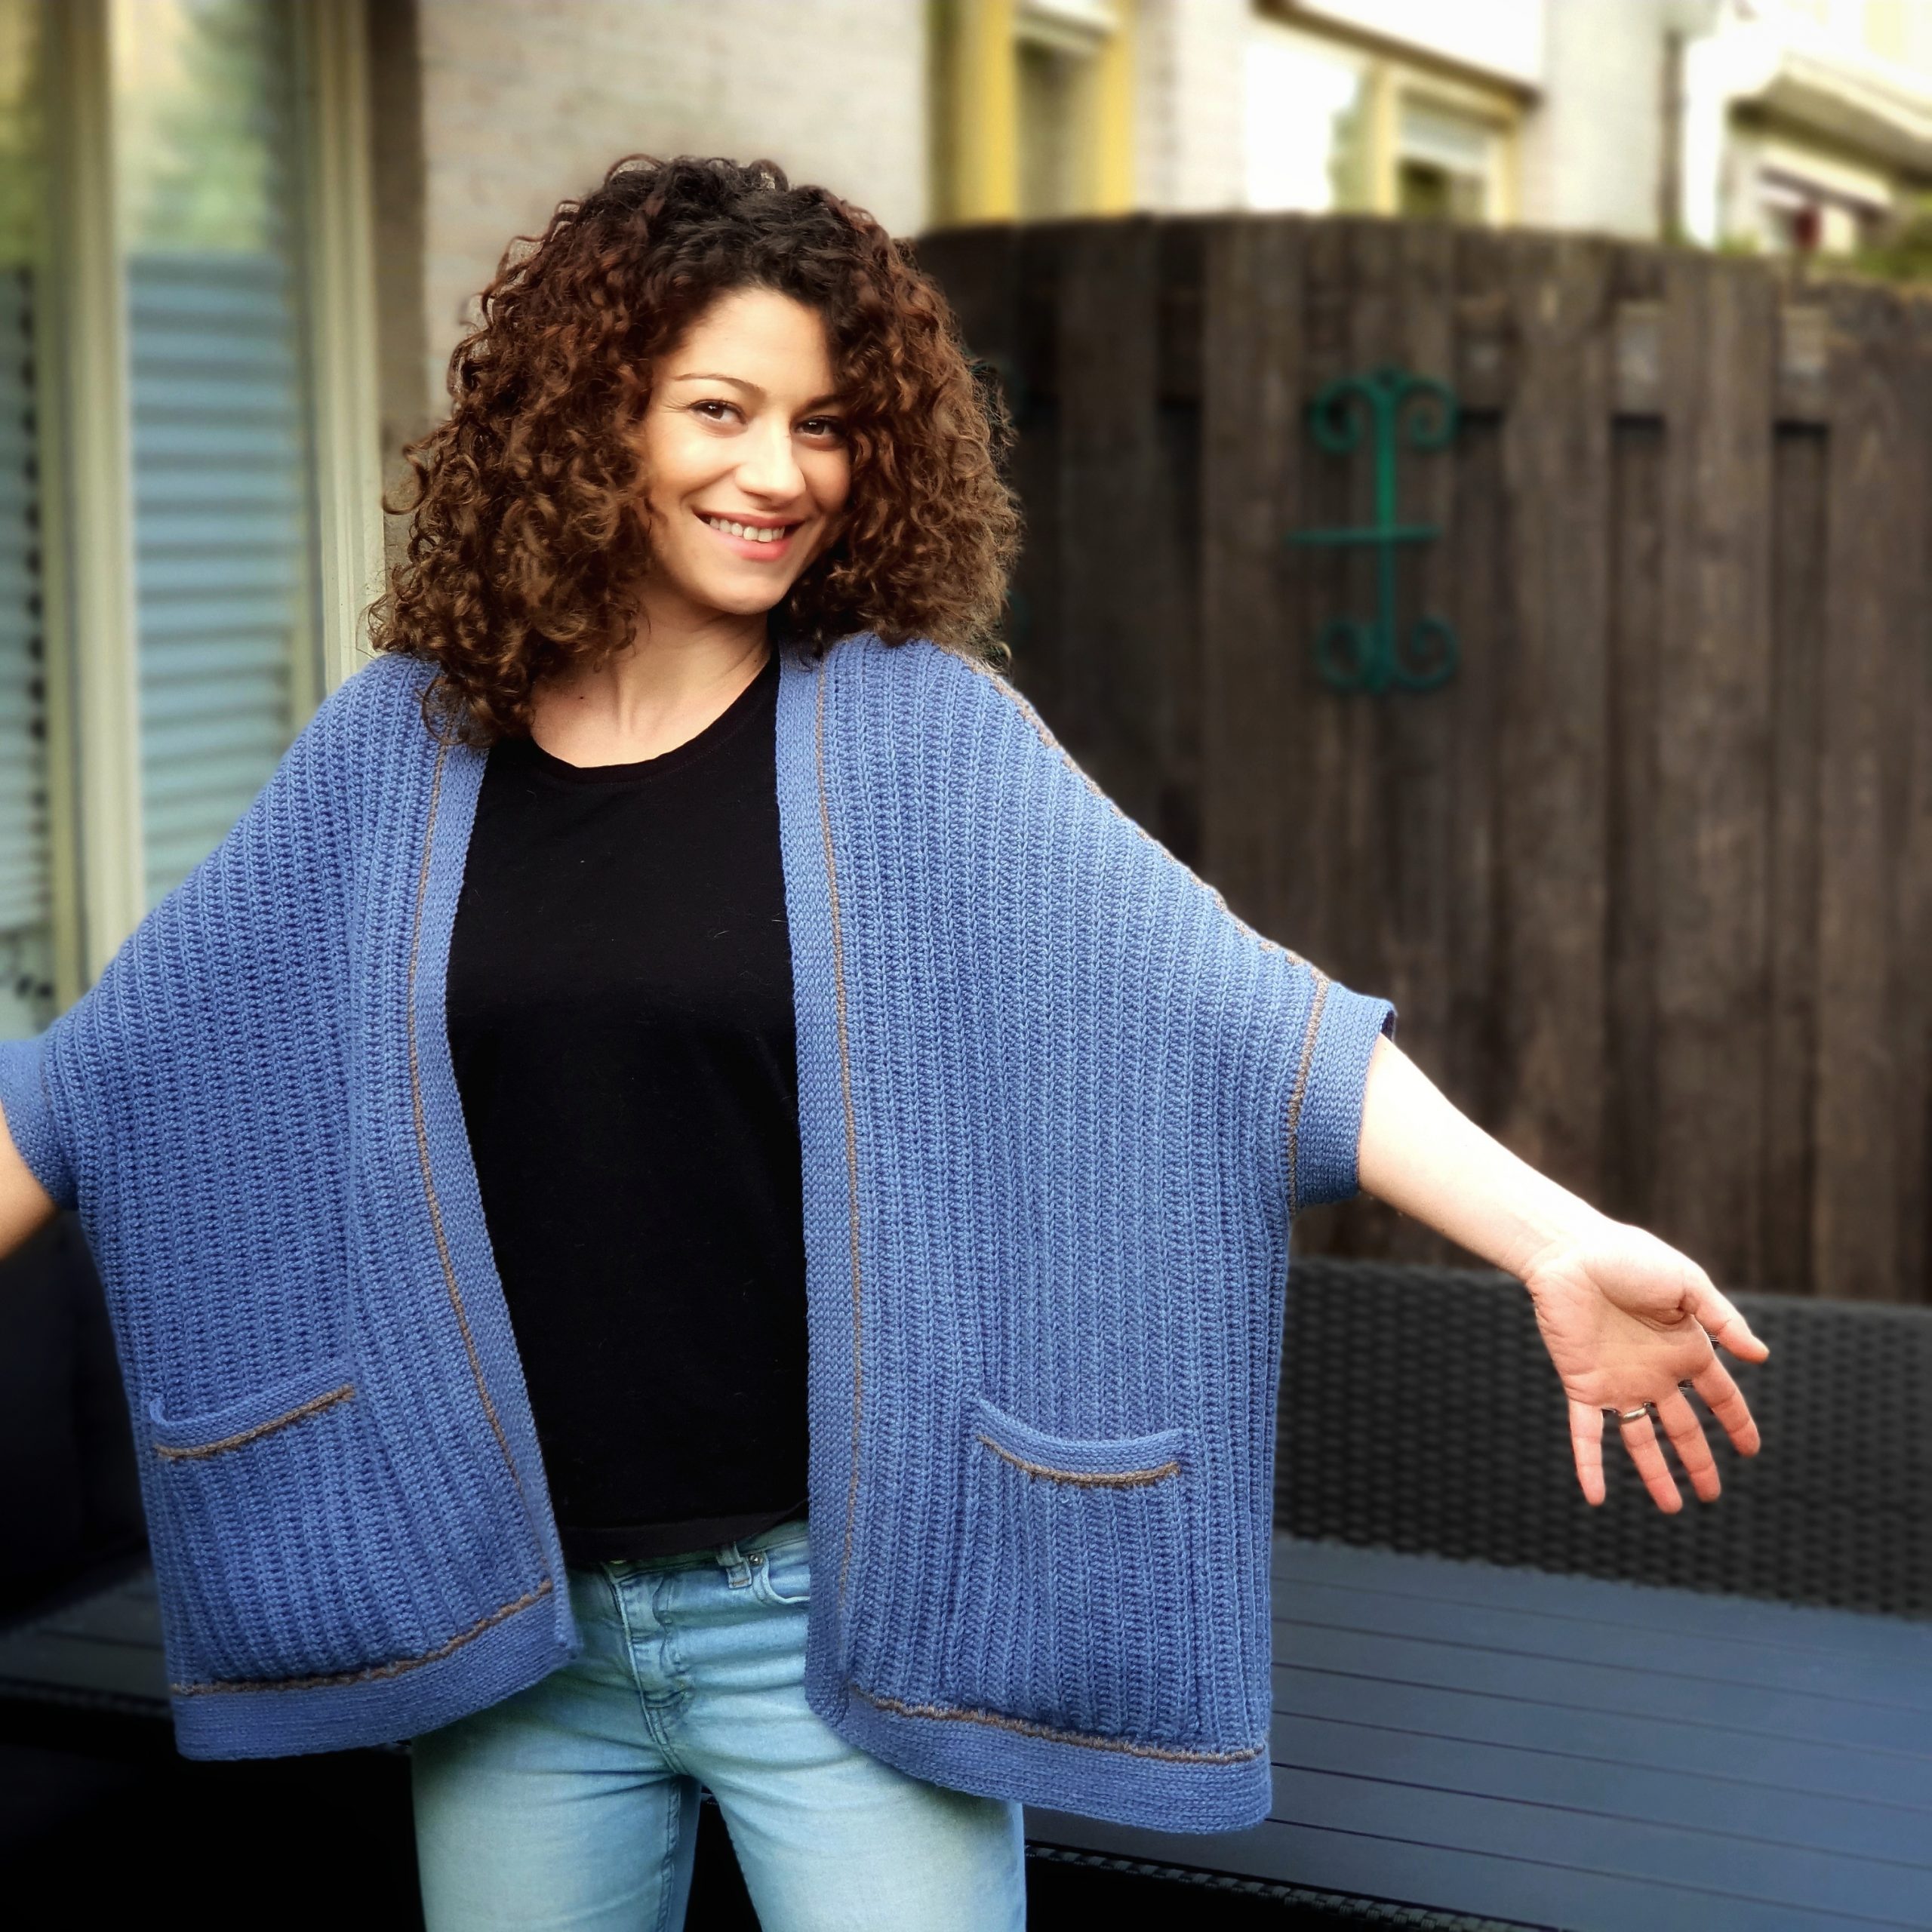
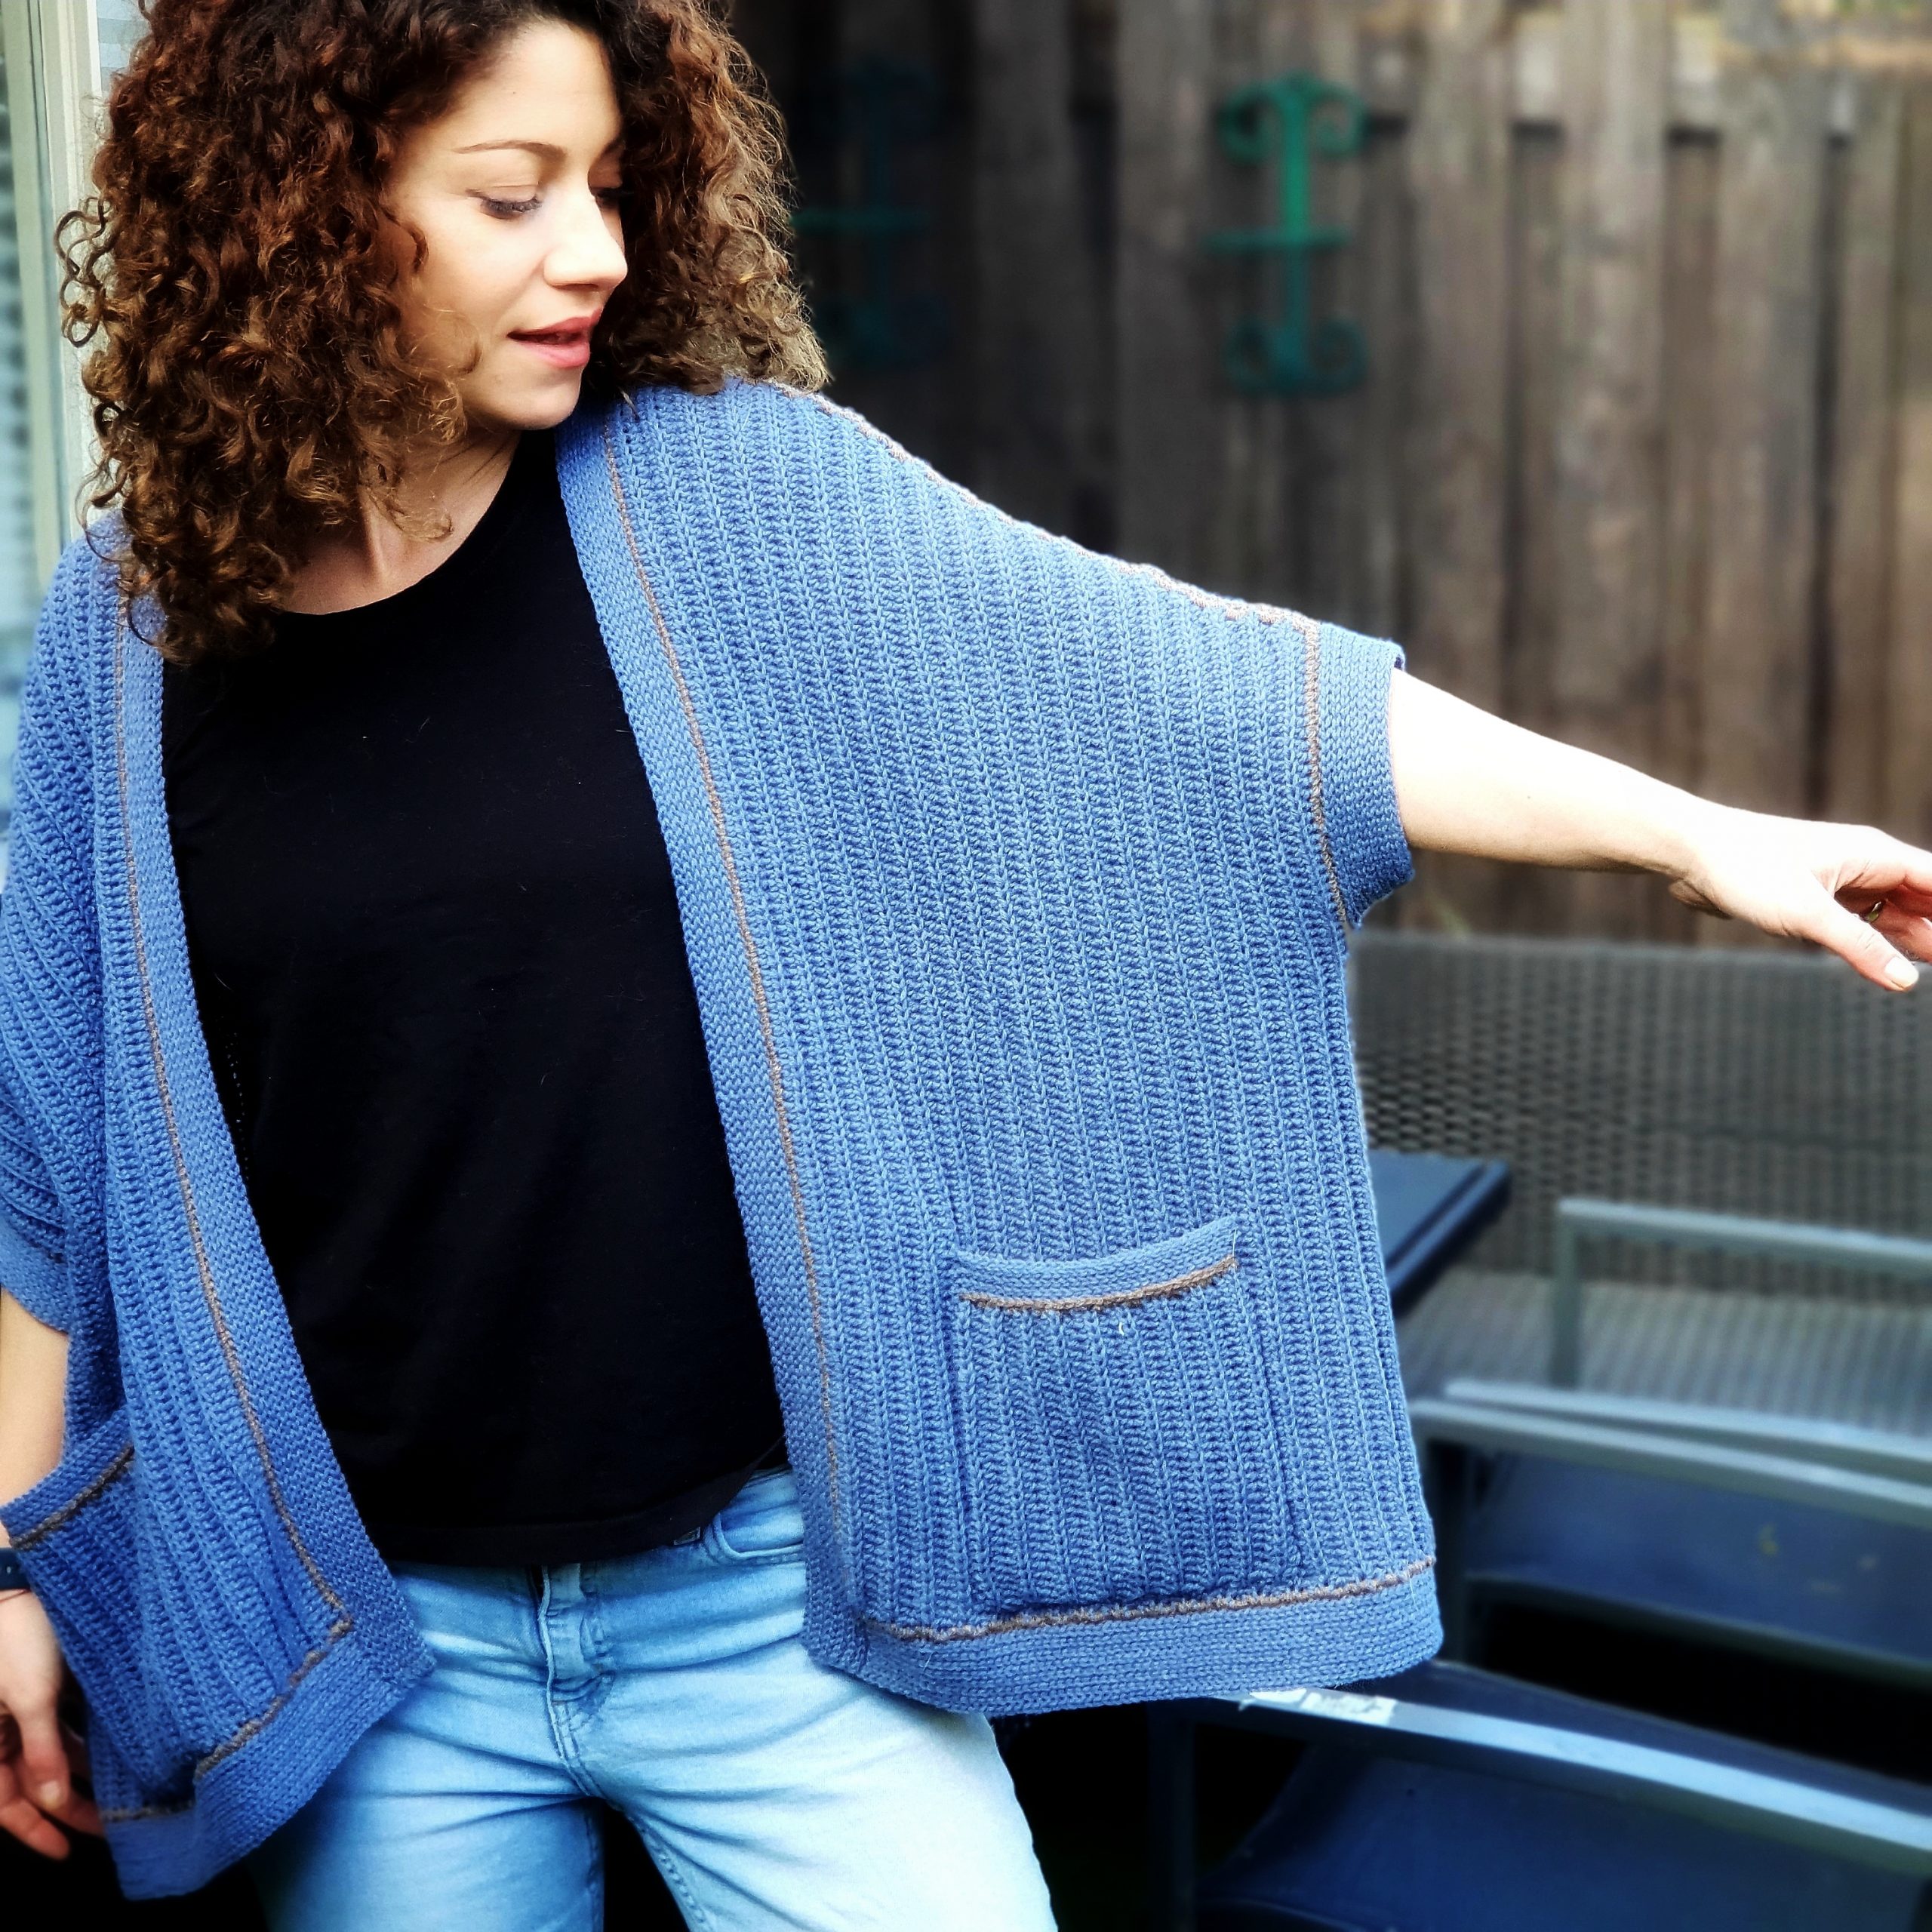
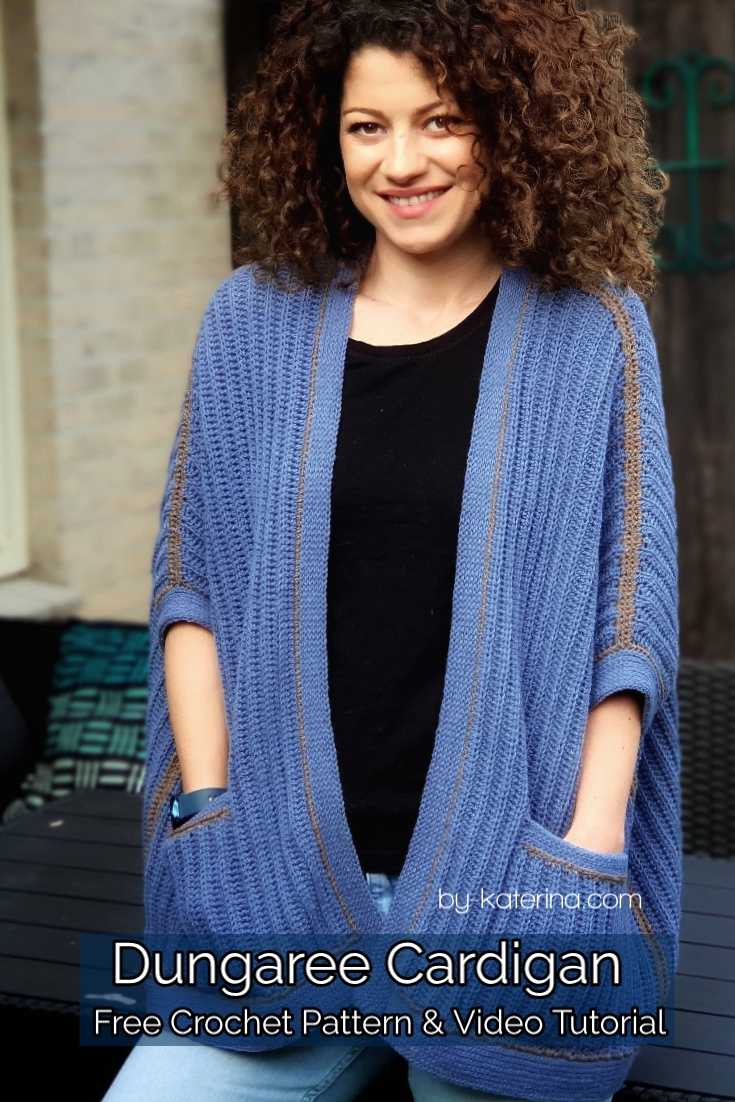
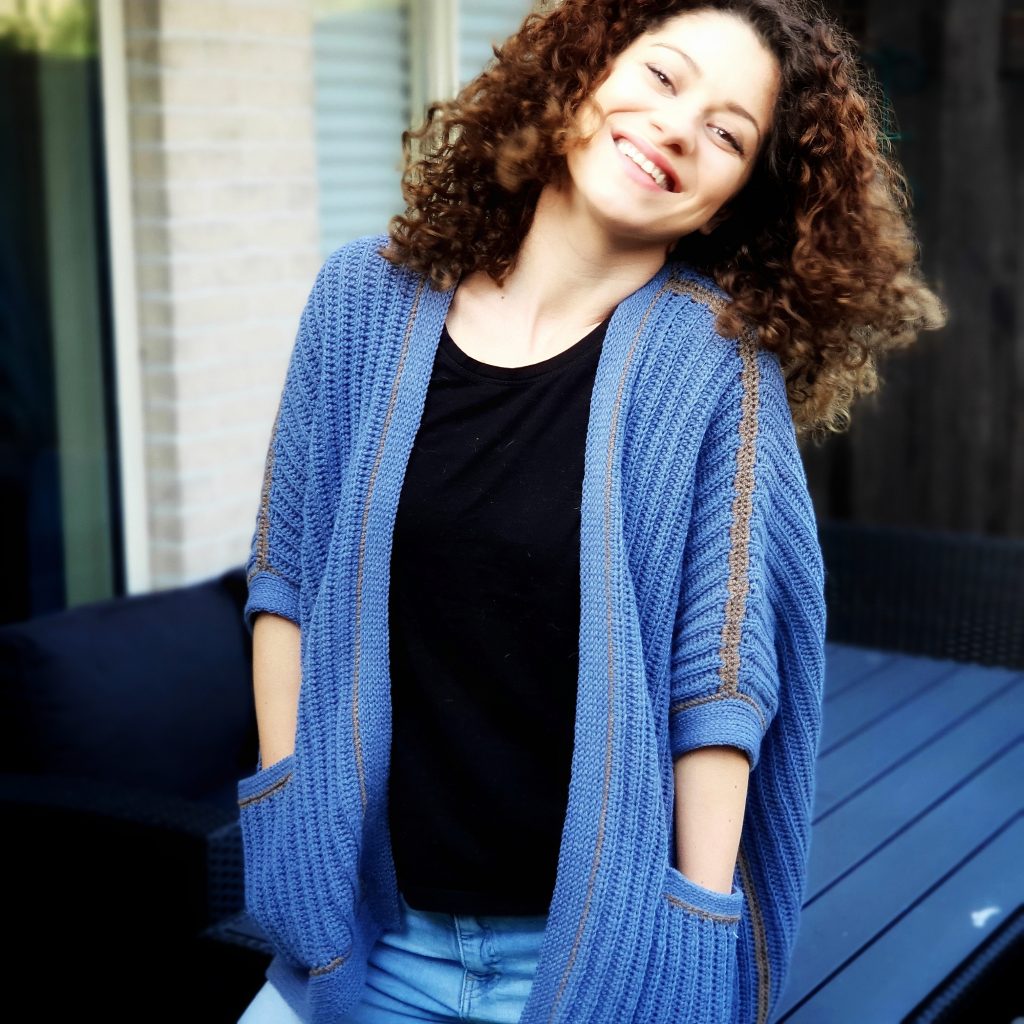
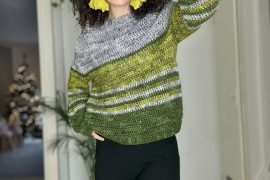
I am so in love with this Dungaree Cardigan and so happy to share with you how to make one.
This is so simple and beginner friendly, but so modern and in fashion. It’s amazing how with simple stitches and such a simple construction you can make such a wearable crochet garment. You will love this cardigan, I am sure.
You can Purchase the easy printable PDF version of this pattern here:
I can’t talk to much about the inspiration behind this project, because at first I had totally something else in my mind and everything came along while I was working on it. Actually I wasn’t sure about how it will fit and at some point I was thinking that is a waste of time, but it turned out just gorgeous and I am glad I didn’t gave up!!!
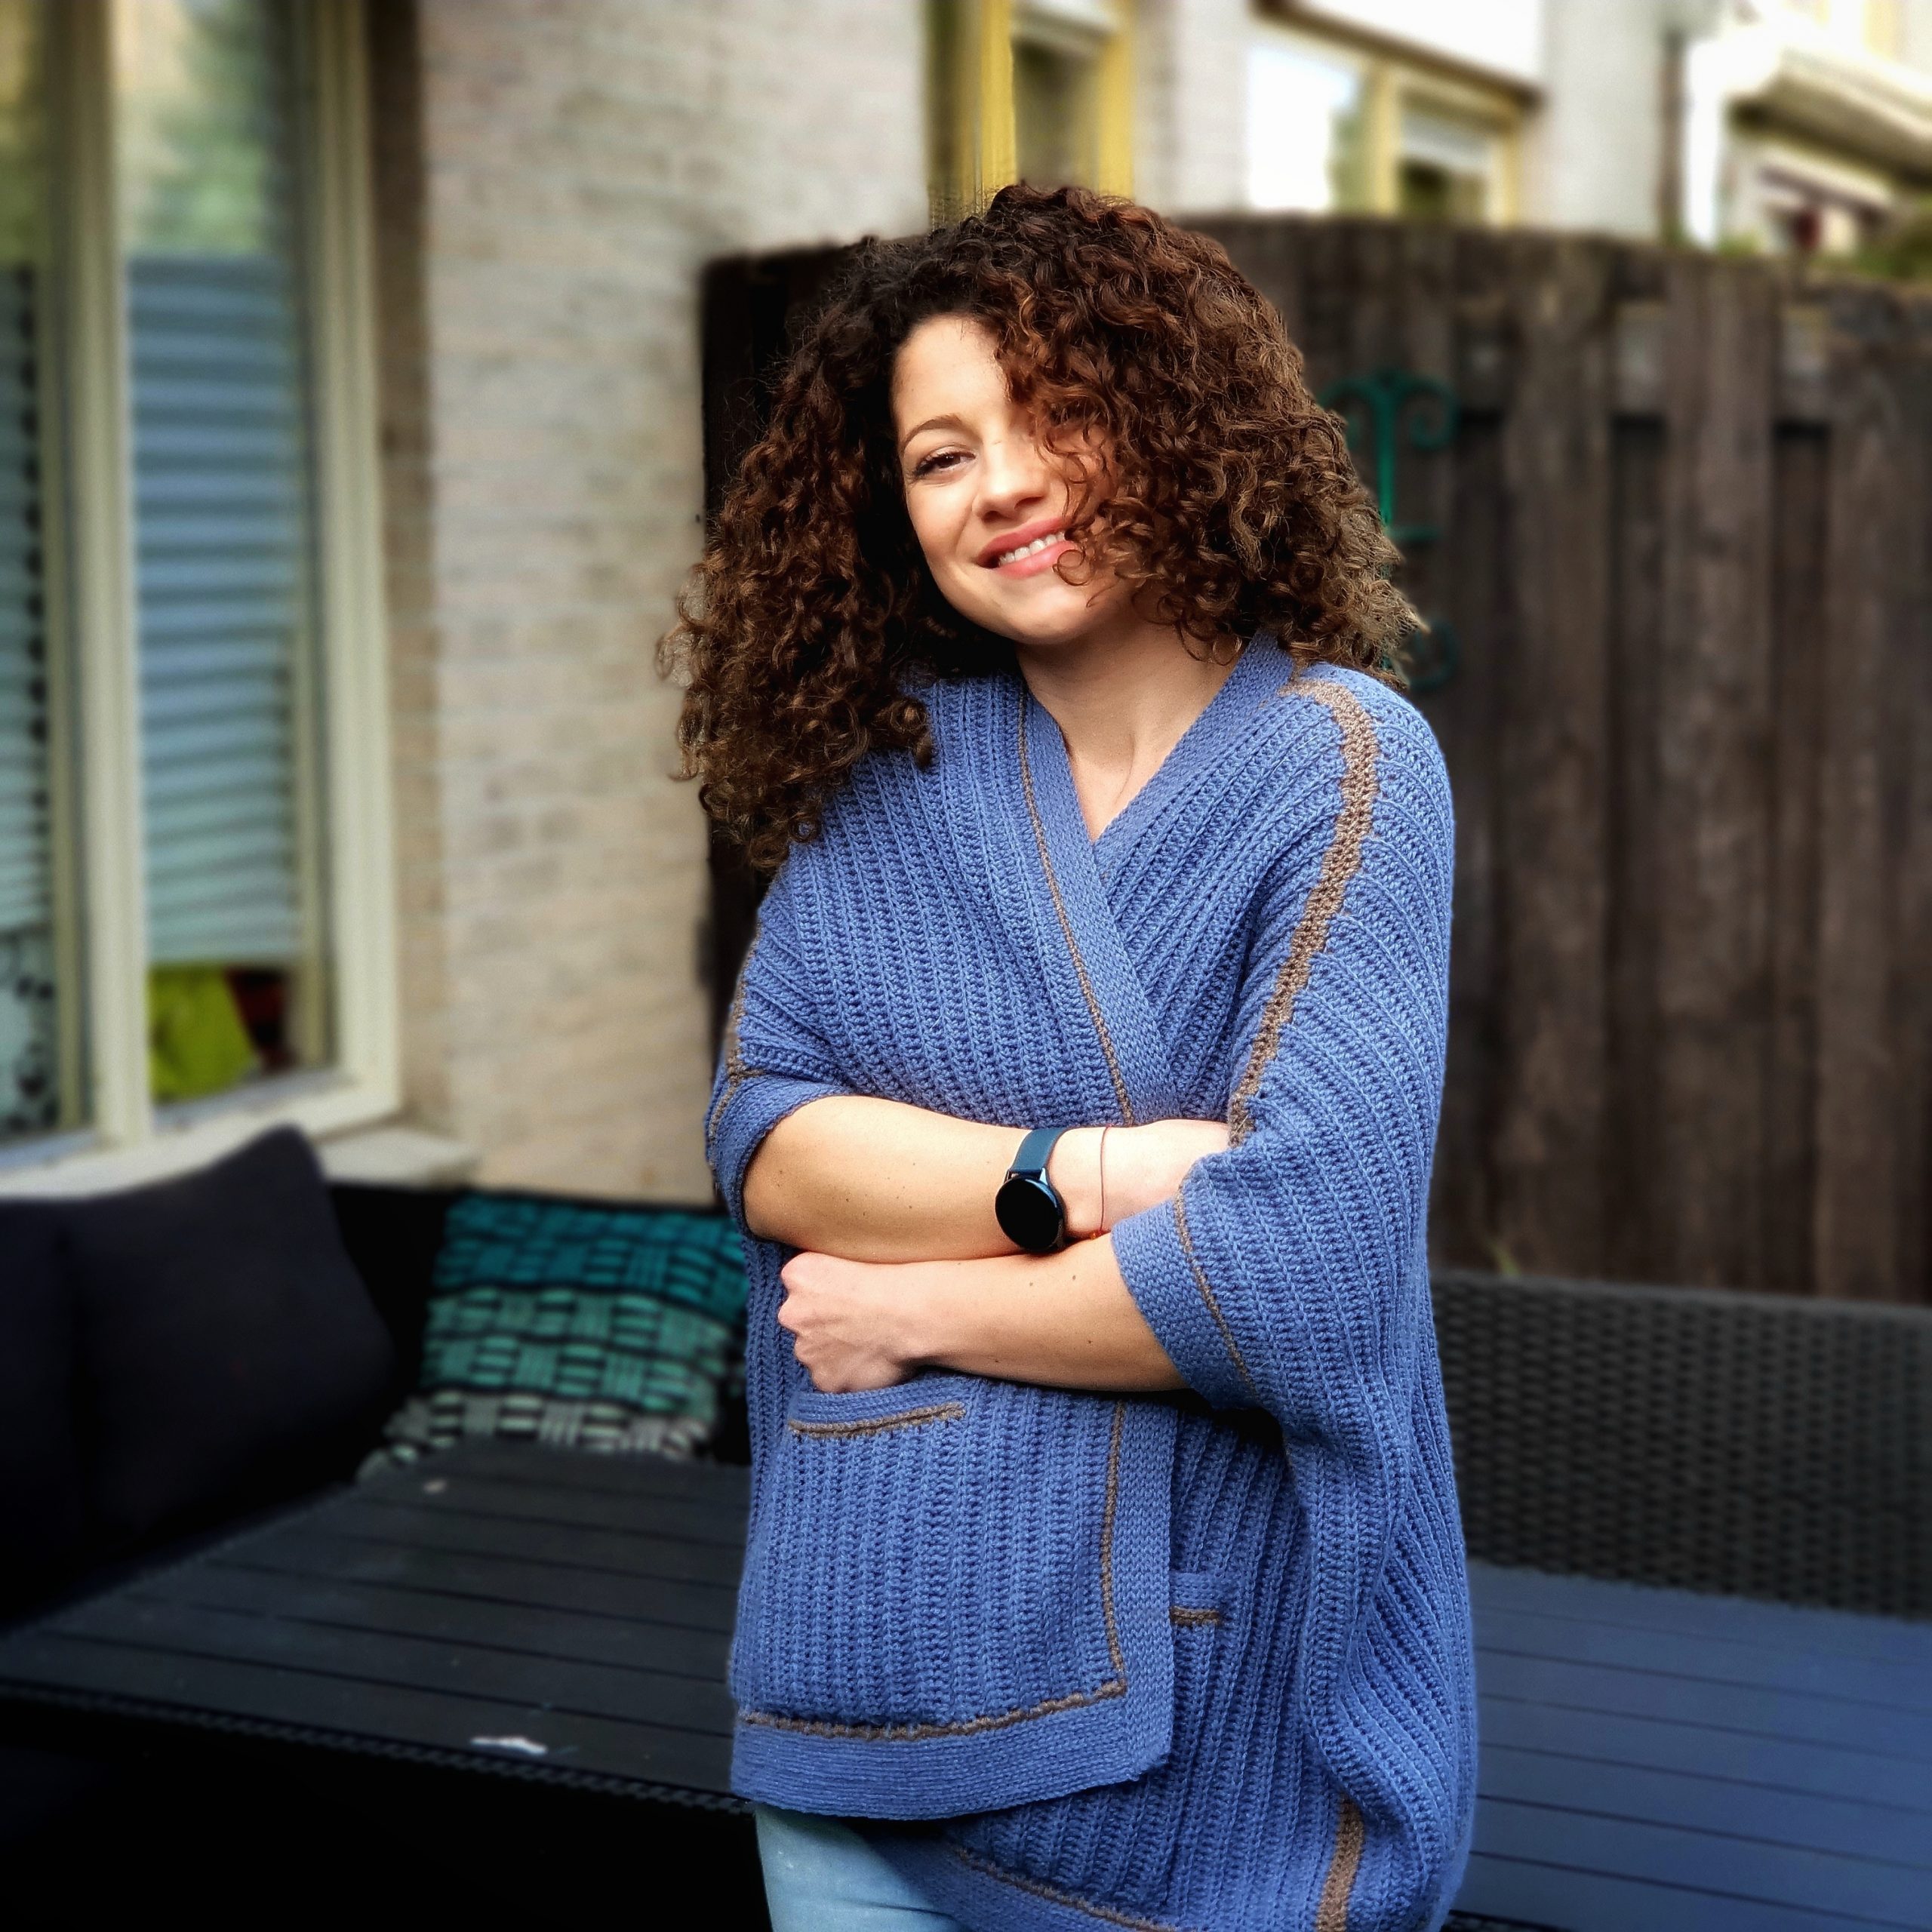
I name it Dungaree after one of the fabrics that it’s used for jeans. The color of the yarn and these brown details, “screams” jeans and “dungaree” just sounded different.
But let’s see what is all about and everything you need to make this cardigan.
Materials you will need
- Yarn
- Category 1, Fingering weigh Yarn (can be use for this pattern up to category 3 weight yarn)
- Needle
4.5 mm crochet hook (US 7 or G+ size)
- You will need a yarn needle for assembling and to hide the ends
- Scissors
Pattern notes
This Dungaree Cardigan has an over – sized fit. The back and front panels width includes the sleeves also.
The construction is simple, only 3 panels to make: back panel and 2 front panels.
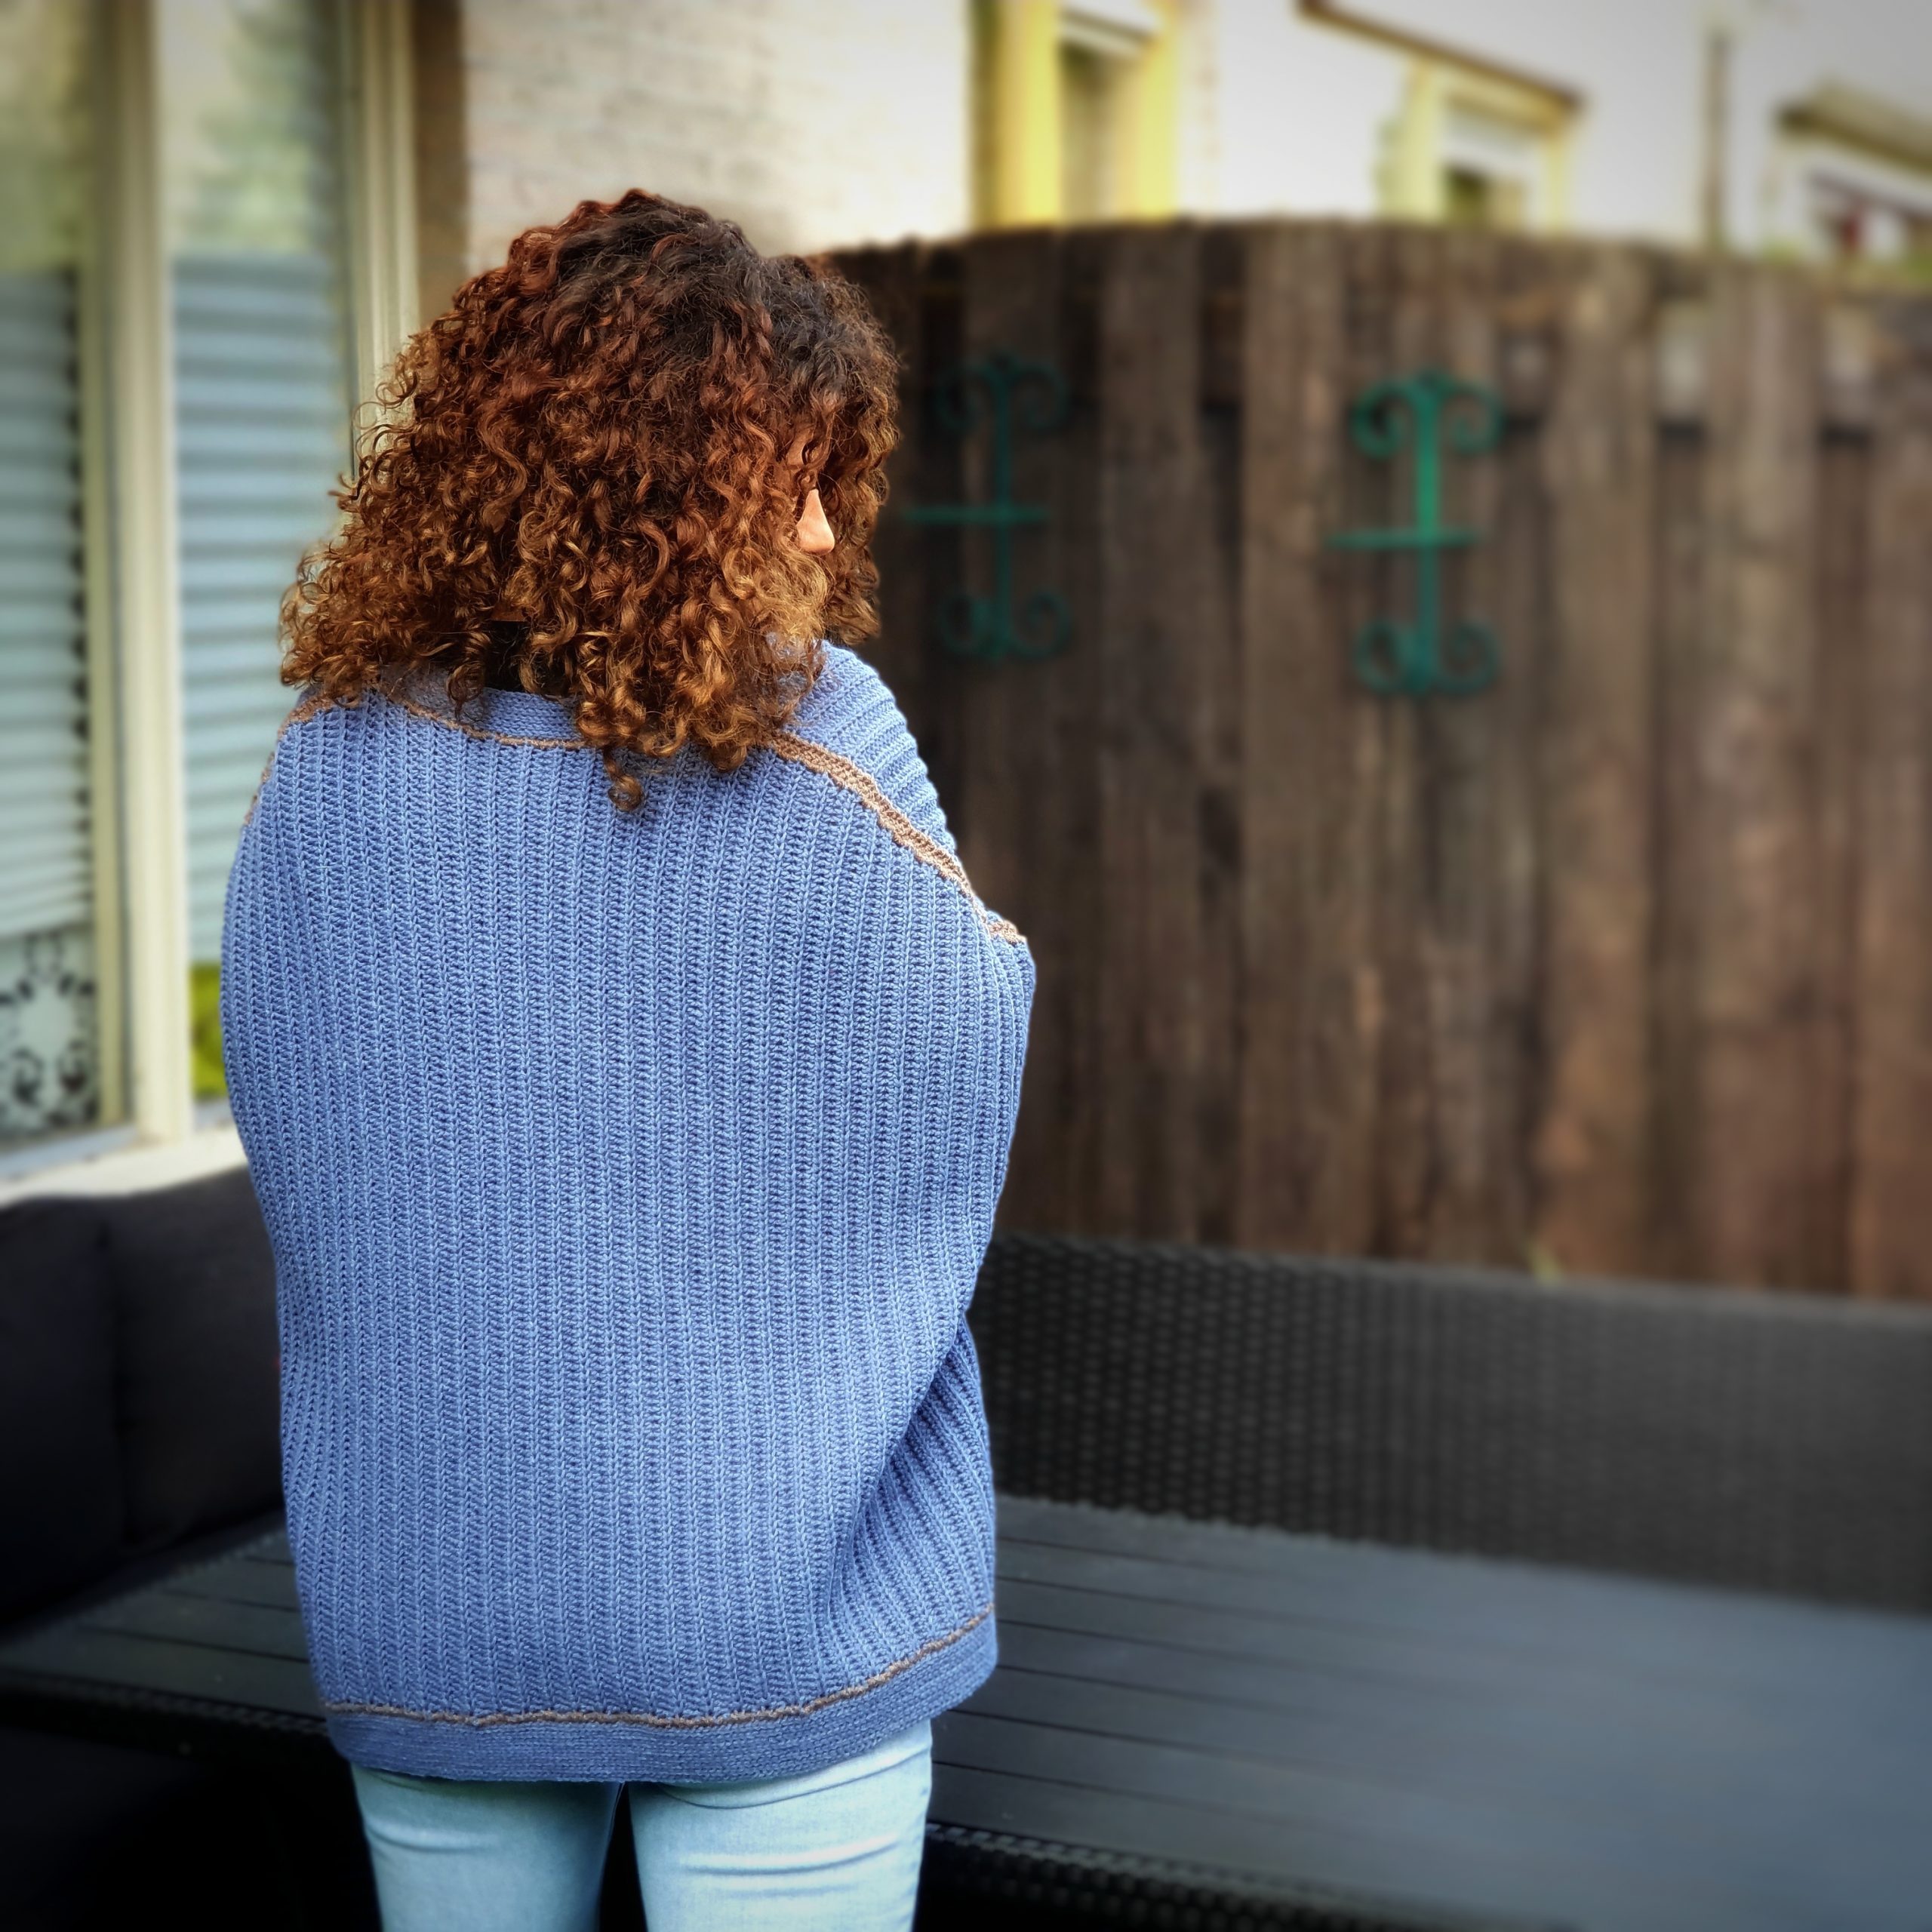
To join the panels, we will use single crochet stitch and a contrasting color.
The cardigan is worked from right to left. The length is given by the number of stitches and the width by the number of rows.
Ch 2 at the beginning of each row doesn’t count as a first stitch
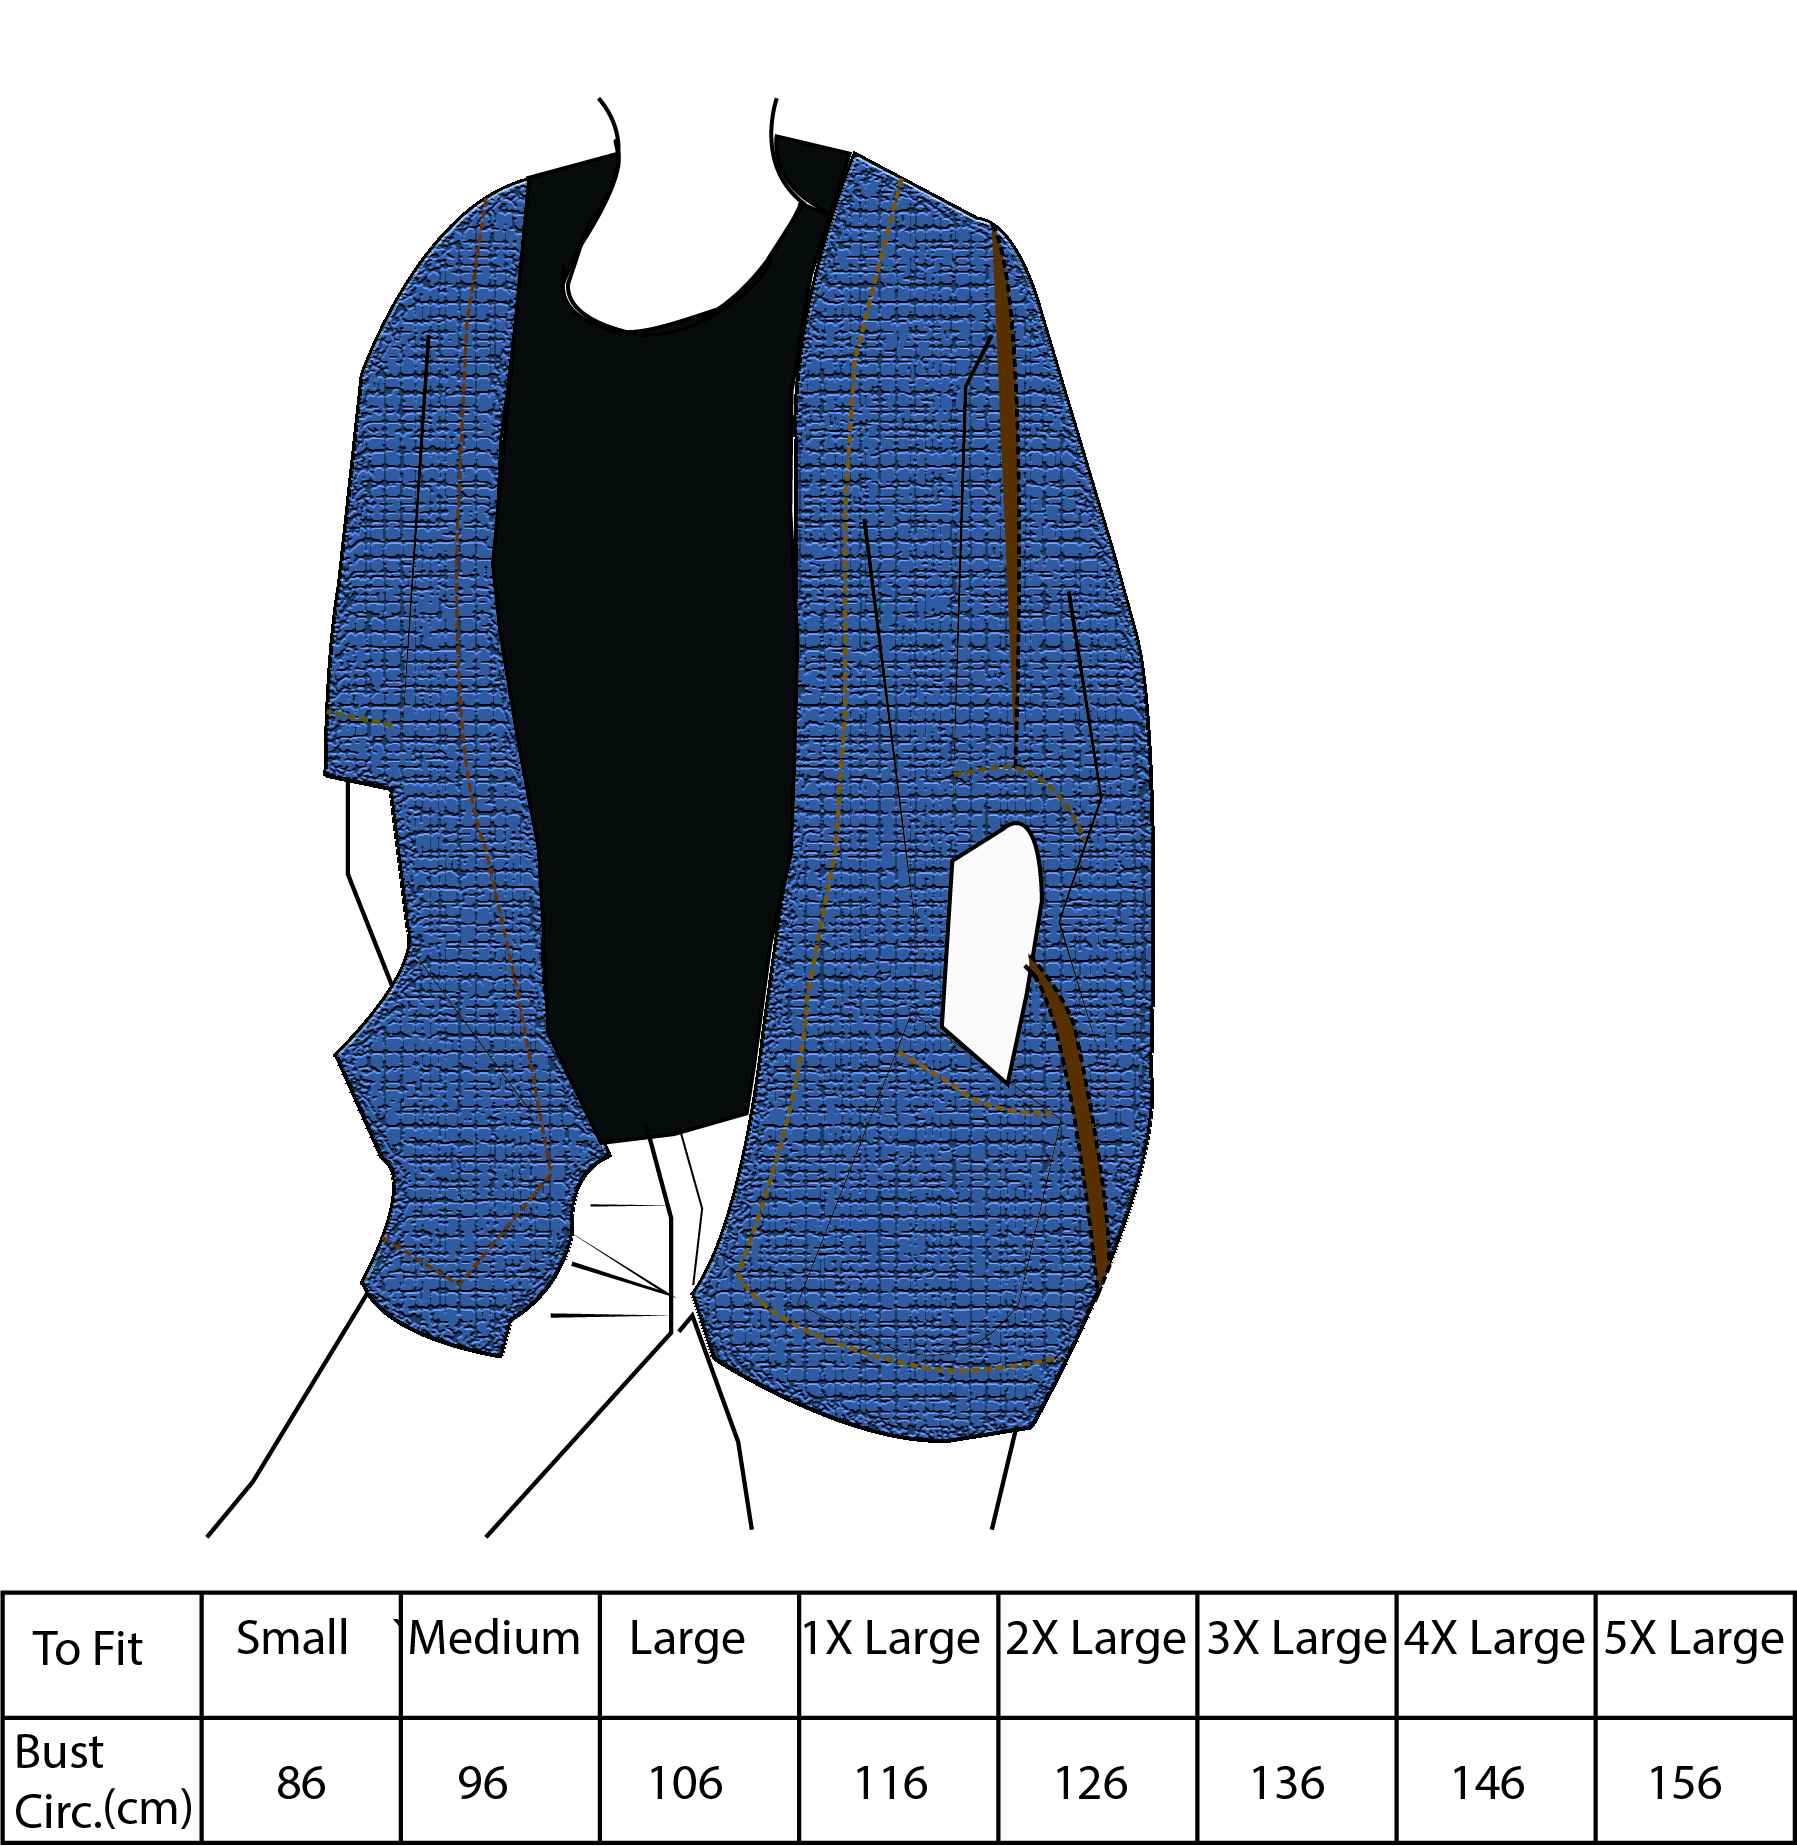
The pattern is available in 8 sizes, from Small to 5 X Large and is written in US terms
If you would like a closer fit you can size down, guided by the final measurements listed below.
Final measurements
Final measurements of the back panel are listed below. Front panels are a bit narrower than half of the back panel.
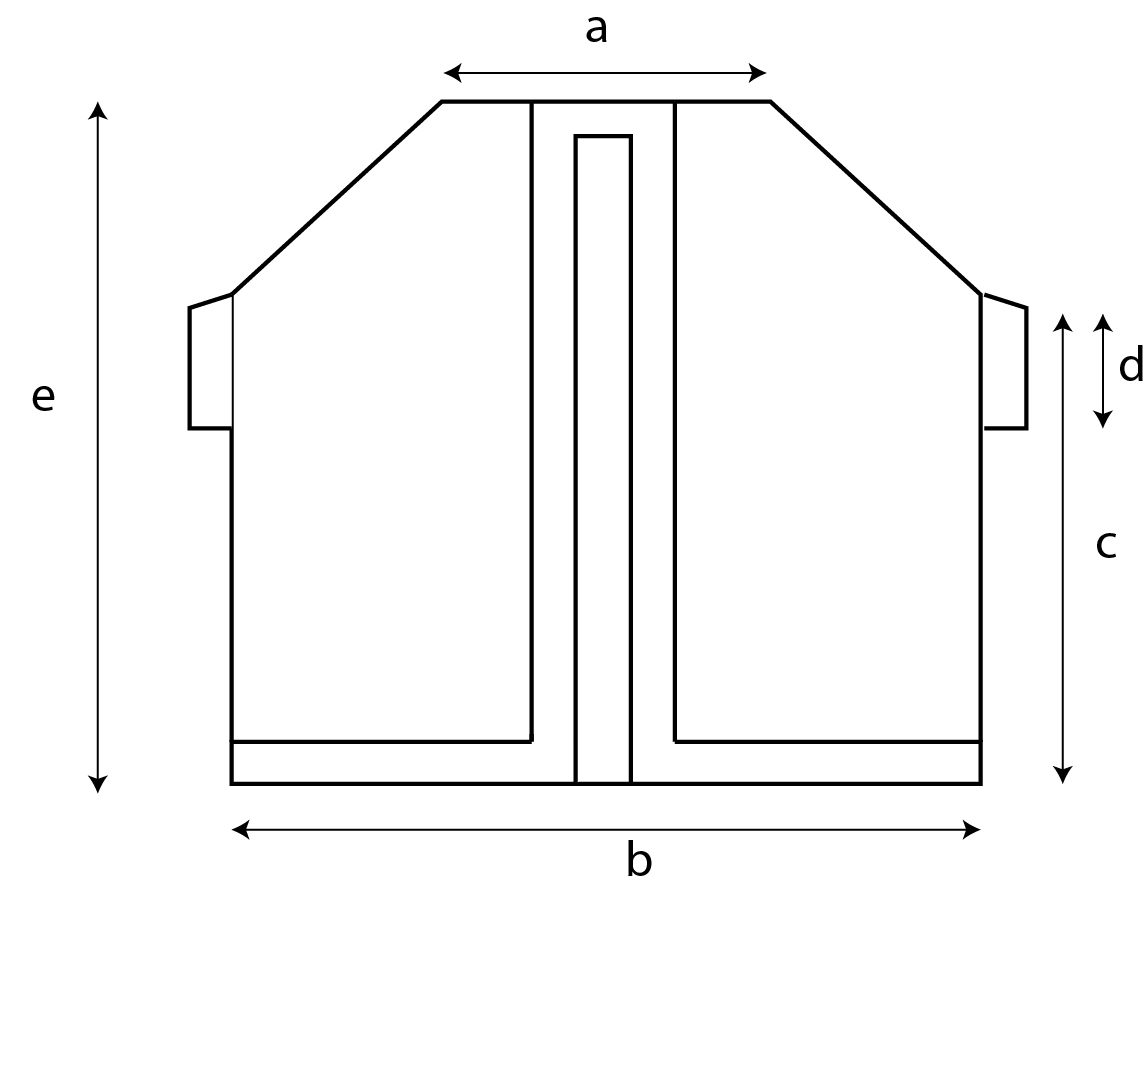
Cross Back a: 28 cm (32, 35, 35, 36, 36, 37, 37)
Back Panel width: 73 cm (78, 83, 88, 93, 98. 103, 108)
Length from armhole to hem c: 45 cm (45, 45, 45, 45, 45, 45, 45)
Upper arm d: 28 cm (30, 33, 37, 42, 45, 49, 52)
Length e: 59 cm (59, 60, 61, 63, 64, 65, 67)
How much yarn do you need?
For this pattern I used Katia Concept Kashwool in color Jeans. One ball has 100 grams and approximate 410 meters.
This yarn is a fingering weight yarn, but because I wanted the final result to have a nice drape and not to be too stiff I choose a bigger hook than the one recommended. This means that you can use any other yarn weight up to DK or category 3.
For assembling and details I used some same weight yarn in a contrasting color. You will need less than 1 skein, so if you have some left-over yarn is perfect. If not, you can use the same main color.
For each size you will approximate need:

About the stitch pattern.
We will use simple stitches for this Dungaree Cardigan: Half Double Crochet worked in the back loop only, single crochet to join the panels and slip stitches in the back loop only for border.
Abbreviations used in this pattern
- Ch – chain
- Hdc – half double crochet
- Hdc Blo– half double crochet back loop
- Sc – single crochet
- Sl st – slip stitch
- Sl st blo – slip stitch in back loop only
- St(s) – stitch(es)
- Inc – Increase (2 hdc in the same st)
- Dec – Decrease (yarn over insert the hook into the next st, pull out a loop, insert the hook into the next st, pull out a second loop, yarn over and pull the yarn through all loops on your hook)
The increase is made always in the second stitch if it’s at the beginning of the row and into the stitch before last one if it’s at the end of the row.
First and last stitch of one row are made as regular hdc through both loops.
The Decrease is made always in the next 2 sts after the first one at the beginning of the row, and into the 2 sts before last one if is at the end of the row.
Gauge
- 19 hdc blo – 10 cm (4”)
- 14 rows hdc blo – 10 cm (4”)
You can Purchase the easy printable PDF version of this pattern here:
Pattern
Back Panel
As I said at the beginning, the crochet direction is from right to left. Number of stitches are giving us the length.
We will start with the same number of sts for all sizes. If you would like to make the Cardigan longer you can start with more stitches.
Foundation ch.
- S – 86 sts
- M – 86 sts
- L – 86 sts
- XL – 86 sts
- 2XL – 86 sts
- 3XL – 86 sts
- 4XL – 86 sts
- 5XL – 86 sts
For all sizes
Row 1
Ch 2 sts more and starting with the 3rd stitch from the hook, make 1 hdc in next 84 sts (2 sts left to the end), 1 Inc in next (2 hdc in the same st), 1 Hdc in the last st. Ch 2 and turn.
Row 2
1 hdc in first st, 2 hdc blo in next st, 1 hdc blo in each st to the end of the row. Ch 2 and turn.
Row 3
1 hdc in first st, 1 hdc Blo in next sts, until you have 2 sts left, 1 Inc in next st (2 hdc blo in the same st), 1 hdc in the last st. Ch 2 and turn.
Repeat rows 2 and 3 until you have in total:
- S – 30 rows
- M – 30 rows
- L – 32 rows
- XL – 34 rows
- 2XL – 38 rows
- 3XL – 40 rows
- 4XL – 42 rows
- 5XL – 46 rows
Next, we will continue with cross back width and we will stop increasing. So, work without increasing:
- S – 36 more rows
- M – 42 more rows
- L – 46 more rows
- XL – 47 more rows
- 2XL – 47 more rows
- 3XL – 47 more rows
- 4XL – 48 more rows
- 5XL – 48 more rows
Next, we will start decreasing on the same side as we increased in the first section of the back panel, to have a symmetrical shape.
We will decrease on the same side, for the same number of rows as we did for the first section of the back panel.
After finishing the back panel, you will have in total:
- S – 96 rows
- M – 102 rows
- L – 110 rows
- XL – 115 rows
- 2XL – 123 rows
- 3XL – 127 rows
- 4XL – 132 rows
- 5XL – 140 rows
You can Purchase the easy printable PDF version of this pattern here:
Front panel (make 2)
Because the stitch pattern that we use is the same on right side and wrong side, you can follow the same pattern for both panels.
Choose what you want to do, increases or decreases. If you want to increase then you will have to start with the same number of sts as for the back panel. If you prefer decreasing (as I did) you have to start with the number of sts that you have on the back panel after finishing increasing.
Increase or decrease for the same numbers of rows as for the back panel.
Before starting decreasing, or after finishing increasing you will have to make the next number of rows without increasing or decreasing:
- S – 8 rows
- M – 8 rows
- L – 10 rows
- XL – 10 rows
- 2XL – 10 rows
- 3XL – 10 rows
- 4XL – 12 rows
- 5XL – 12 rows
After finishing one panel, repeat the same pattern for the second one.
Now, that we have all 3 panels done we have to assemble them. But first, with a contrasting color make a border in single crochet, all around the panels’ edges.
Assembling
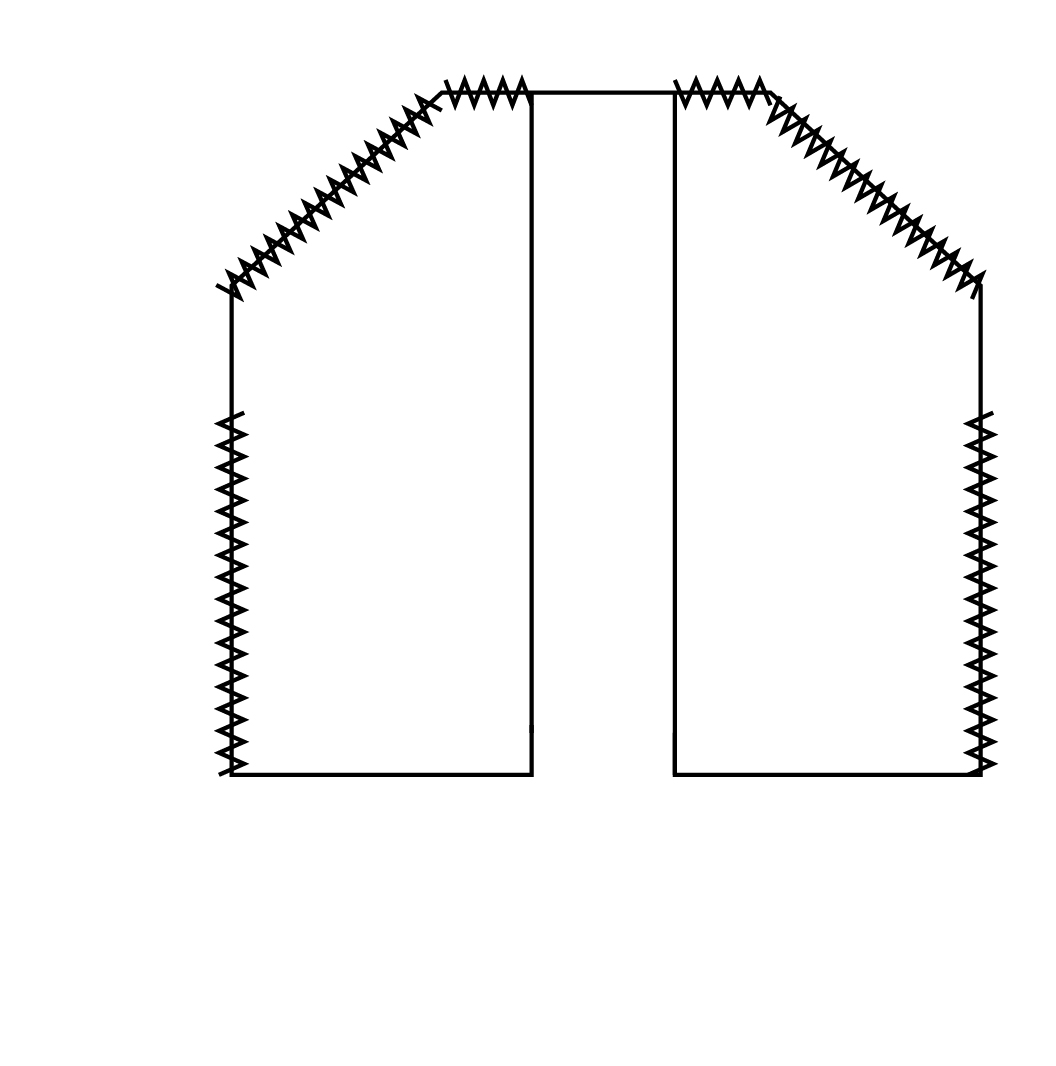
Using single crochet stitches, we will start to join front panels with back panel on shoulders and side edges.
We have to let on side’s edges a space for the armhole:
- S – 30 sts
- M – 32 sts
- L – 34 sts
- XL – 38 sts
- 2XL – 44 sts
- 3XL – 48 sts
- 4XL – 52 sts
- 5XL – 54 sts
Edging
We will follow same pattern for making the edge on the hem, neckline with front panels and sleeves.
Start with the hem edge.
The right side of the cardigan is the wrong side of the single crochet joining seam.
Row 1
Start on the wrong side and make 1 sl st in each stitch to the end. Ch 1 and turn.
Row 2
1 sl st blo in each stitch to the end of the row. Ch 1 and turn.
Repeat row 2 until you have in total 16 rows or until you have the desired width.
For the neck line and front panels edges we will follow the same pattern as for the hem.
On the first row, when you work in the sl sts side rows at the bottom, make 1 sl st only in the rows which are in relief.
We will repeat the same pattern around the armholes. This time work in rounds, joining after each round and also turn after each round to have the same look of the stitch as other edges.
Pockets (make 2)
Row 1
Ch 32 and starting with the 3rd stitch, make 1 hdc in each st to the end of the row. Ch 2 and turn.
Row 2
1 hdc in first st, 1 hdc blo in next sts, until you have 1 st left, 1 hdc in last st. ch 2 and turn.
Repeat round 2 until you have 18 rows or until the pocket is wide enough as you desire.
Fasten off.
With the same contrasting color, you used for details and join, make 1 row in single crochet on the side rows edge.
Then, make the sl st blo edge on the same side. For the pockets I just made 8 rows.
To finish
Sew the pockets, wave in all ends and block to measurements.
If you will like to see how I did my Dungaree Cardigan, you can watch the video tutorial here


Comments are closed.