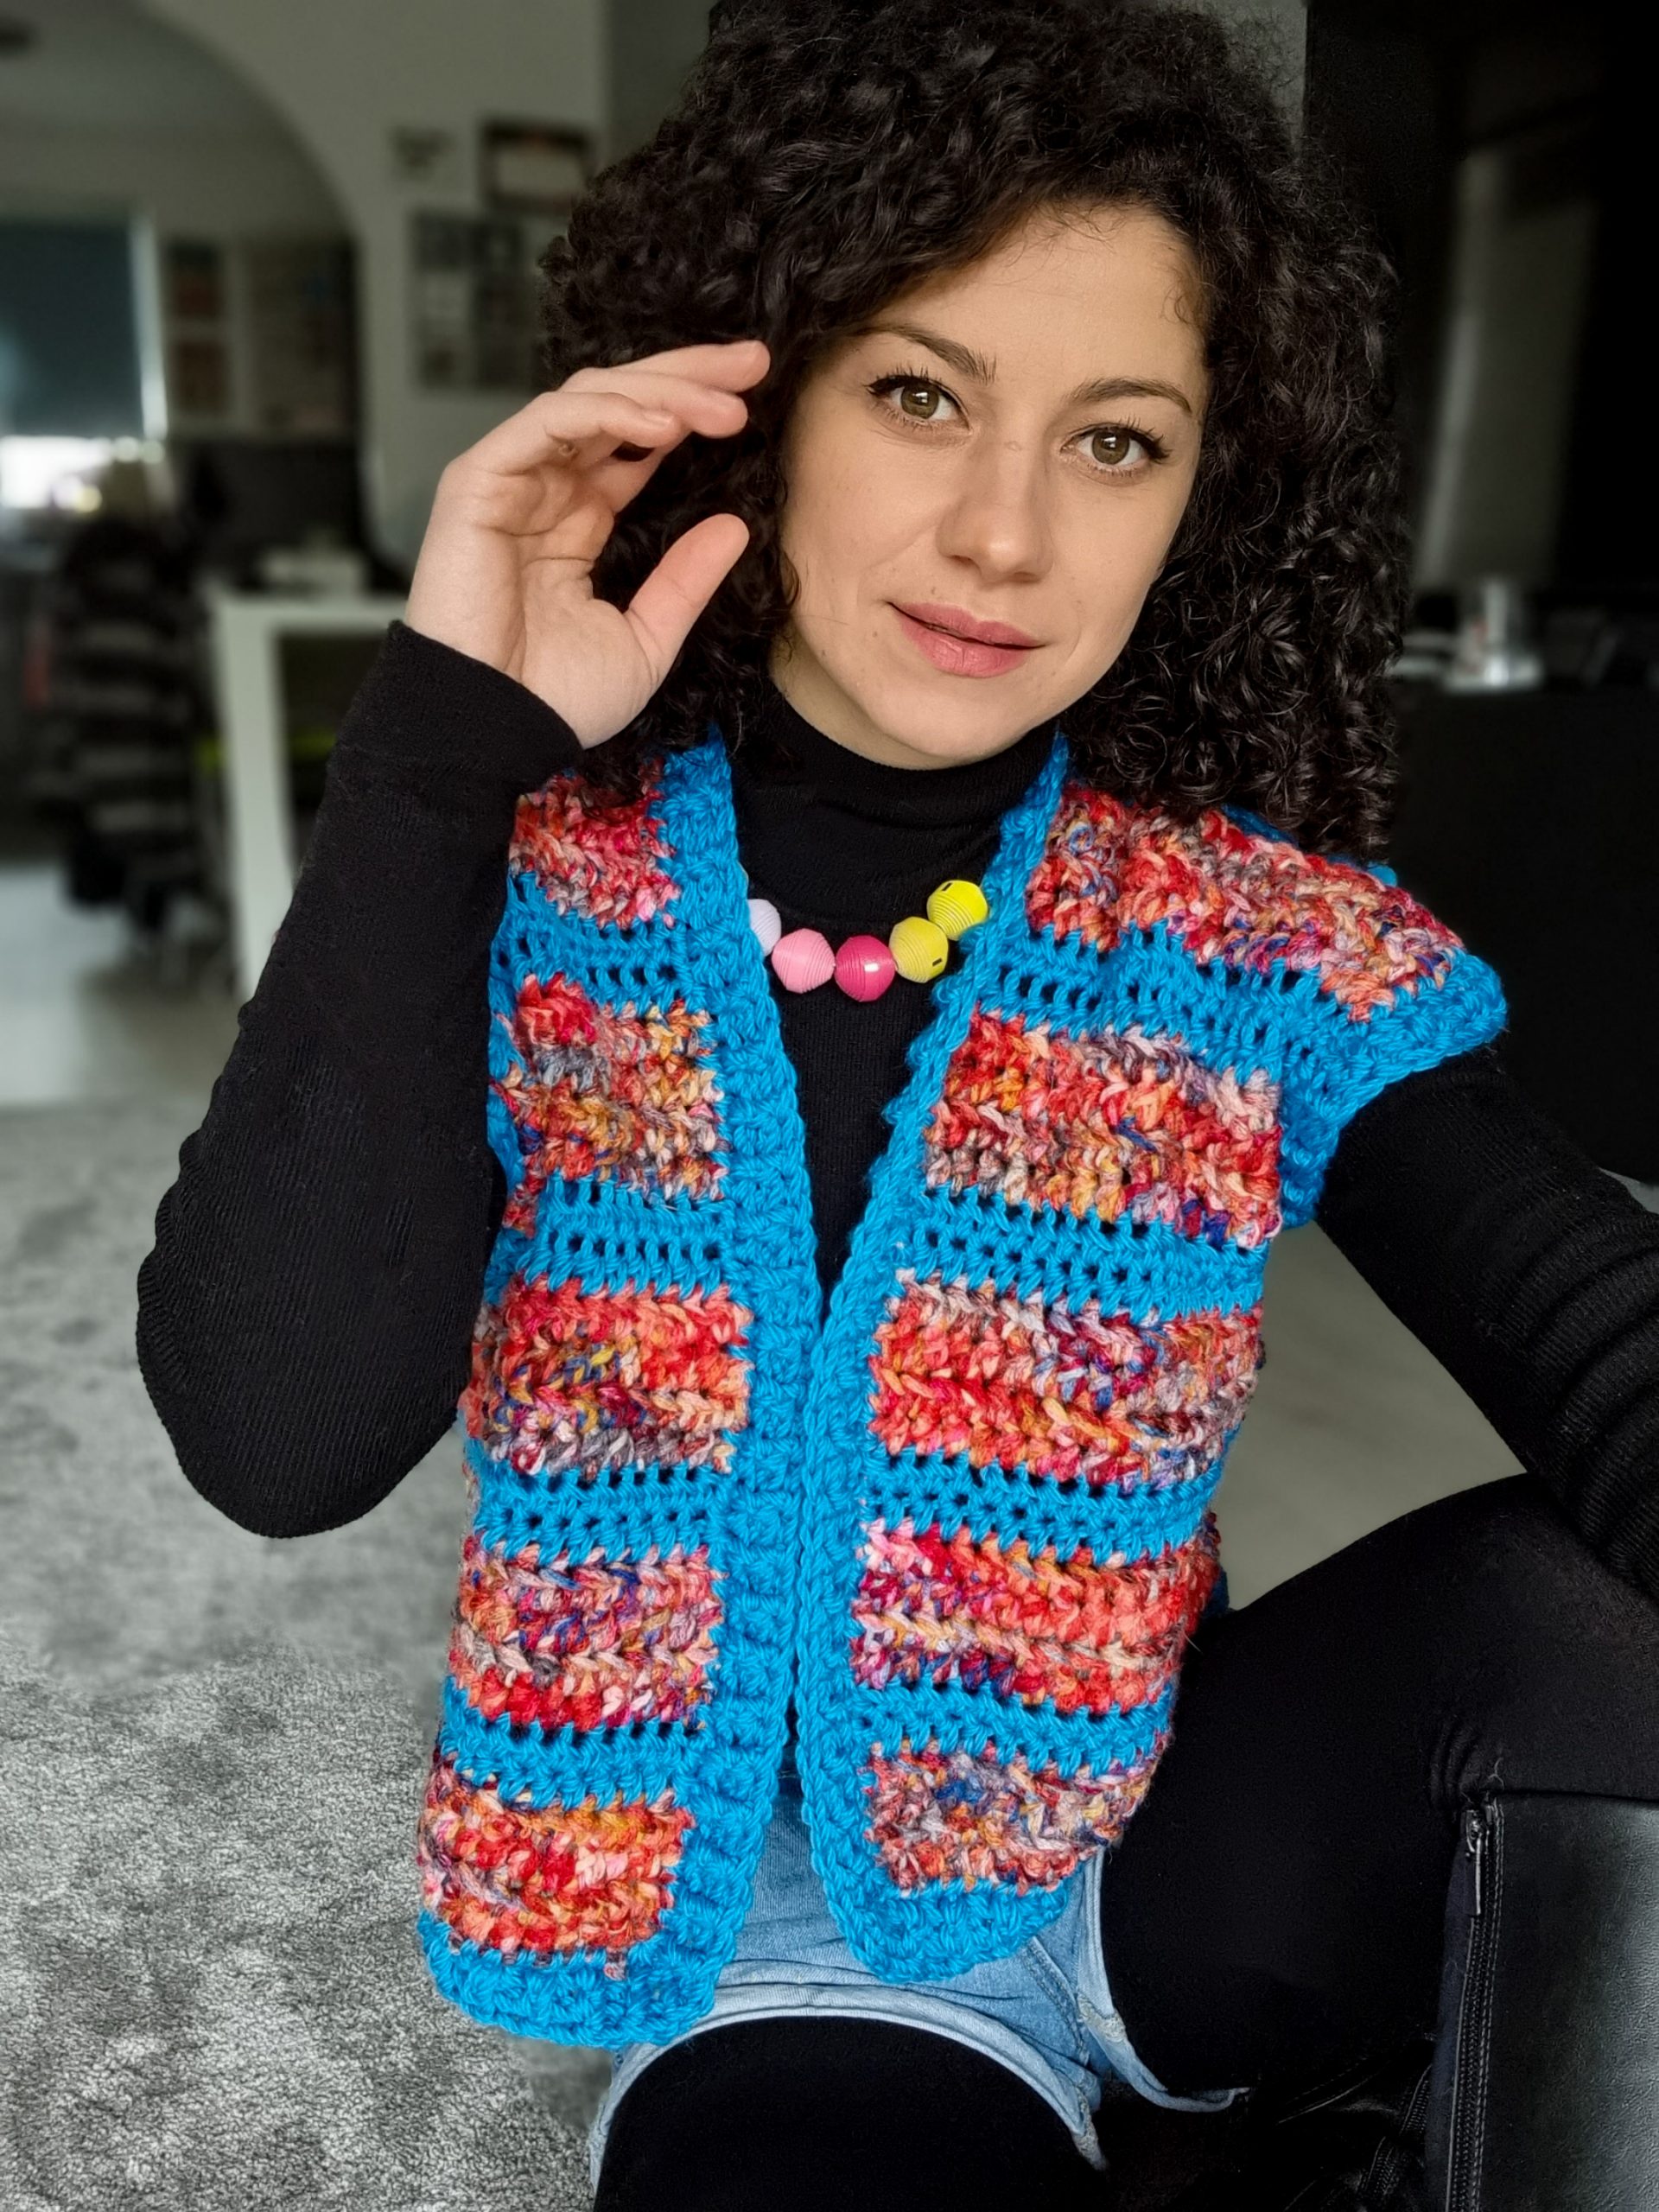
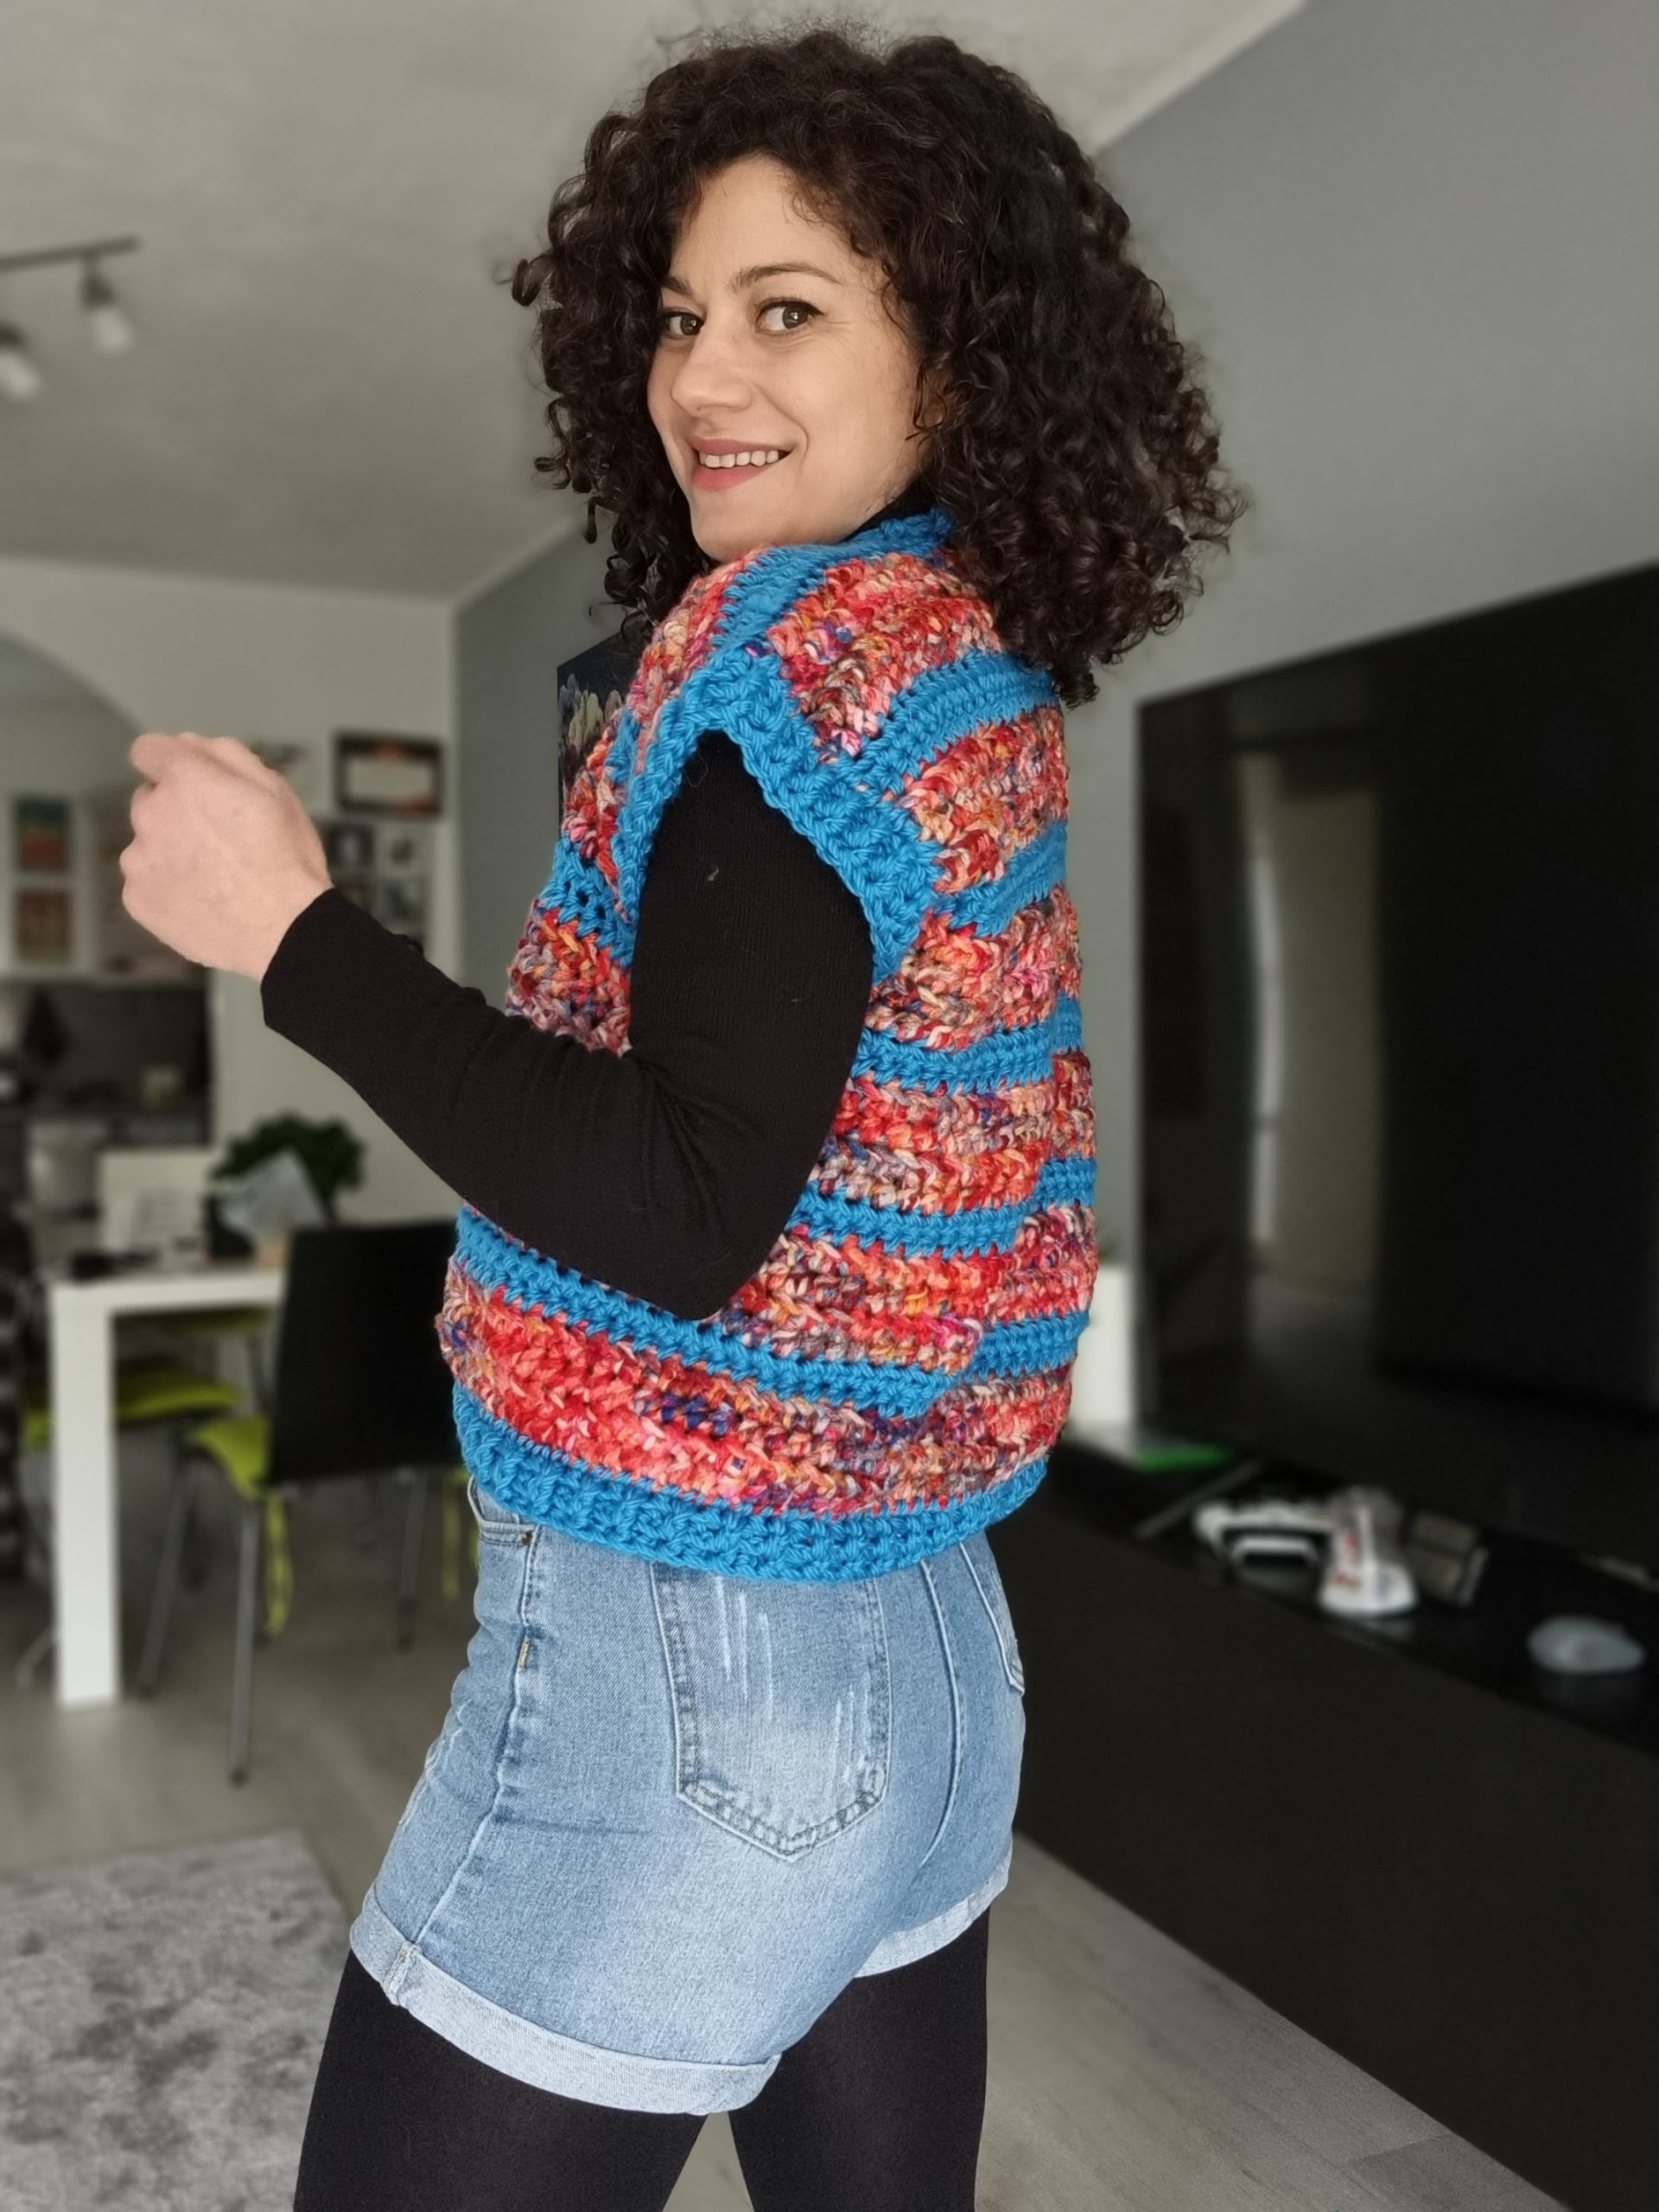
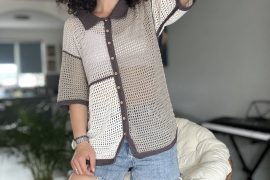
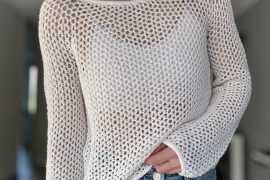
I started to work on Dorea Vest because there were so many requests to recreate the Cozy Fluffy cardigan in a crochet version. It didn’t turn out as I expected. It might look easy, but it isn’t easy to make a knitting design in crochet and make it look the same. Even so, I was ready to finish the cardigan as it was, but after finishing one sleeve and using a different color for the stripes, I realized it was better to wear it as a vest.
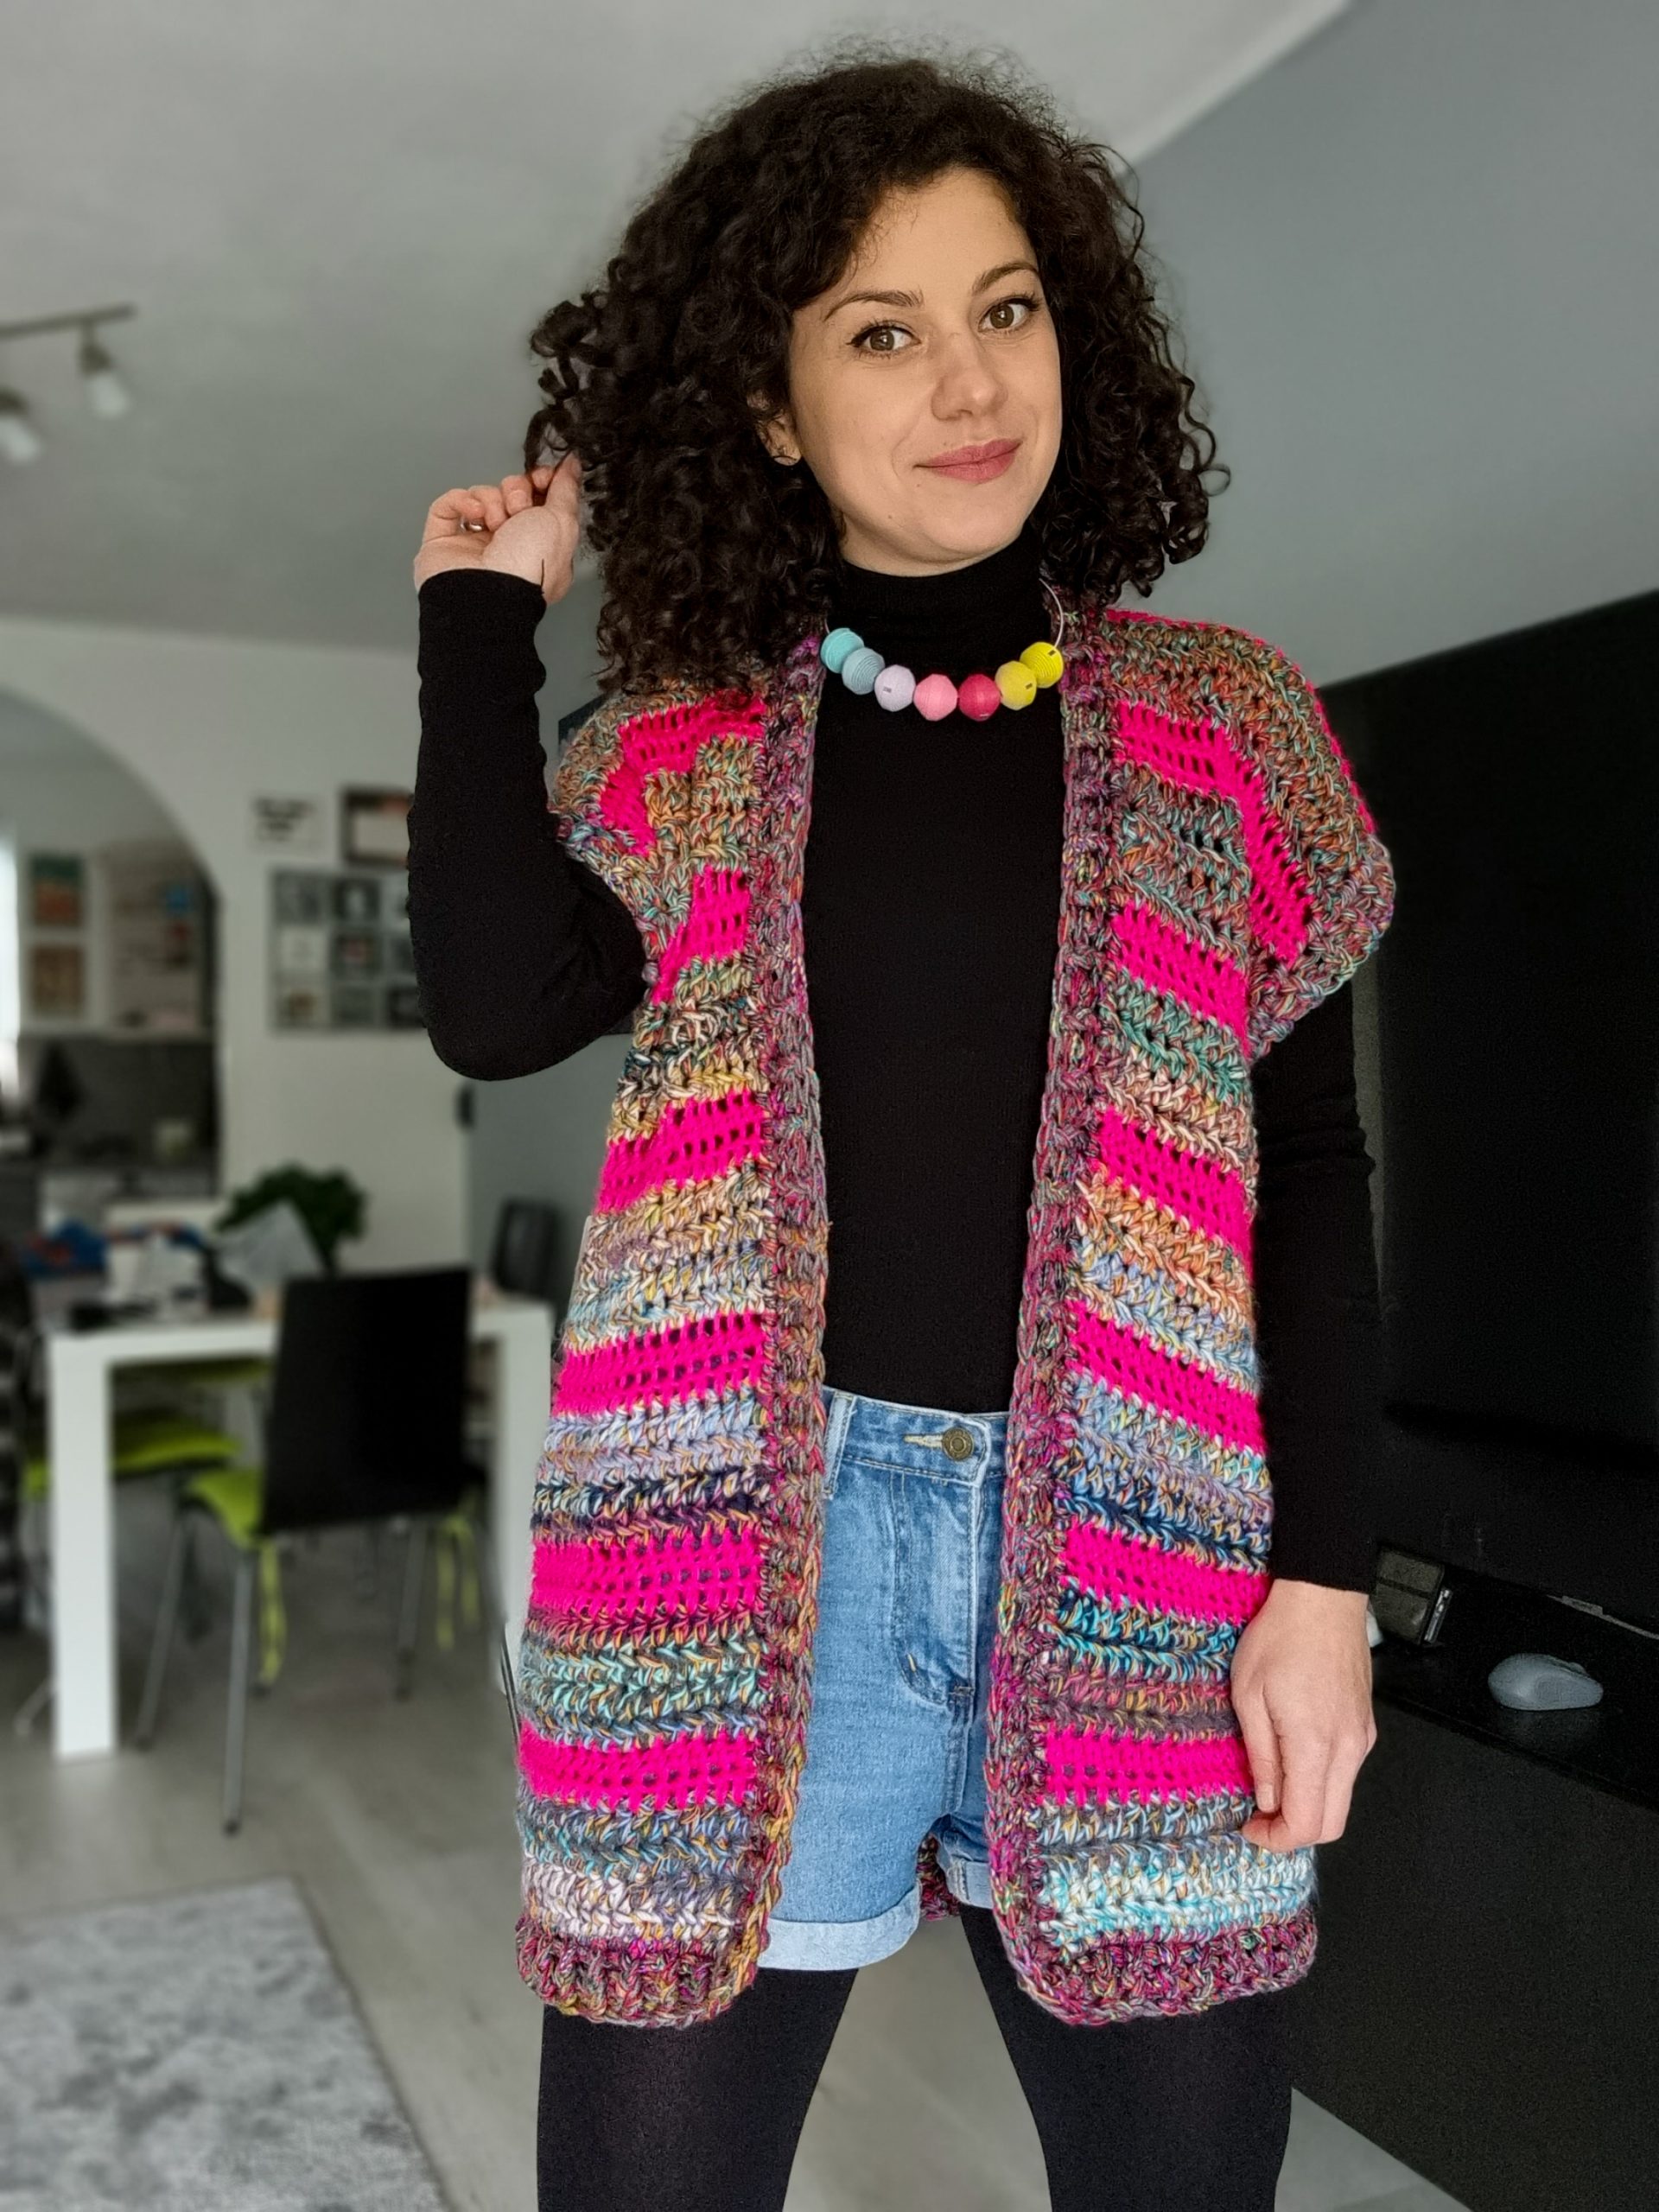
You can purchase the easily printable PDF pattern here at the links below.
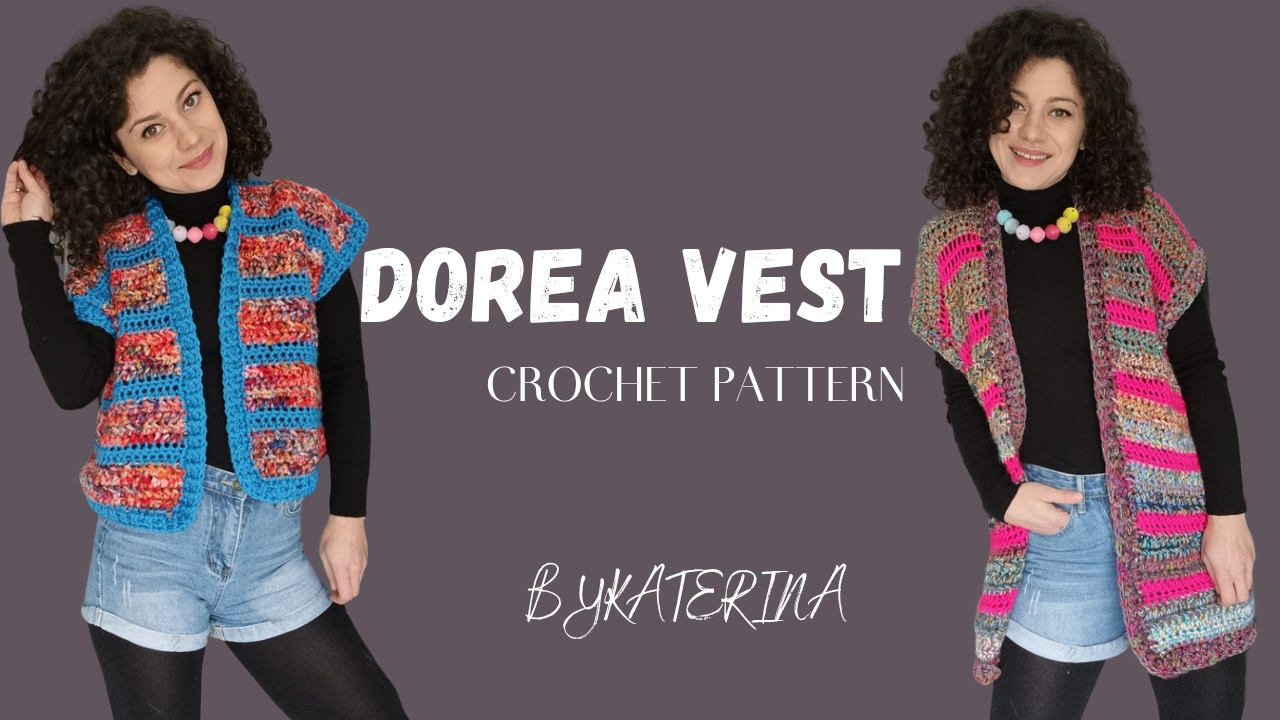
I was so happy with the result, even if it’s such a simple and easy design. After posting about it on social media, so many of you asked for a video tutorial. I wasn’t sure about it, as I had to make another one to film the entire process, but being a fast project, I said, why not?
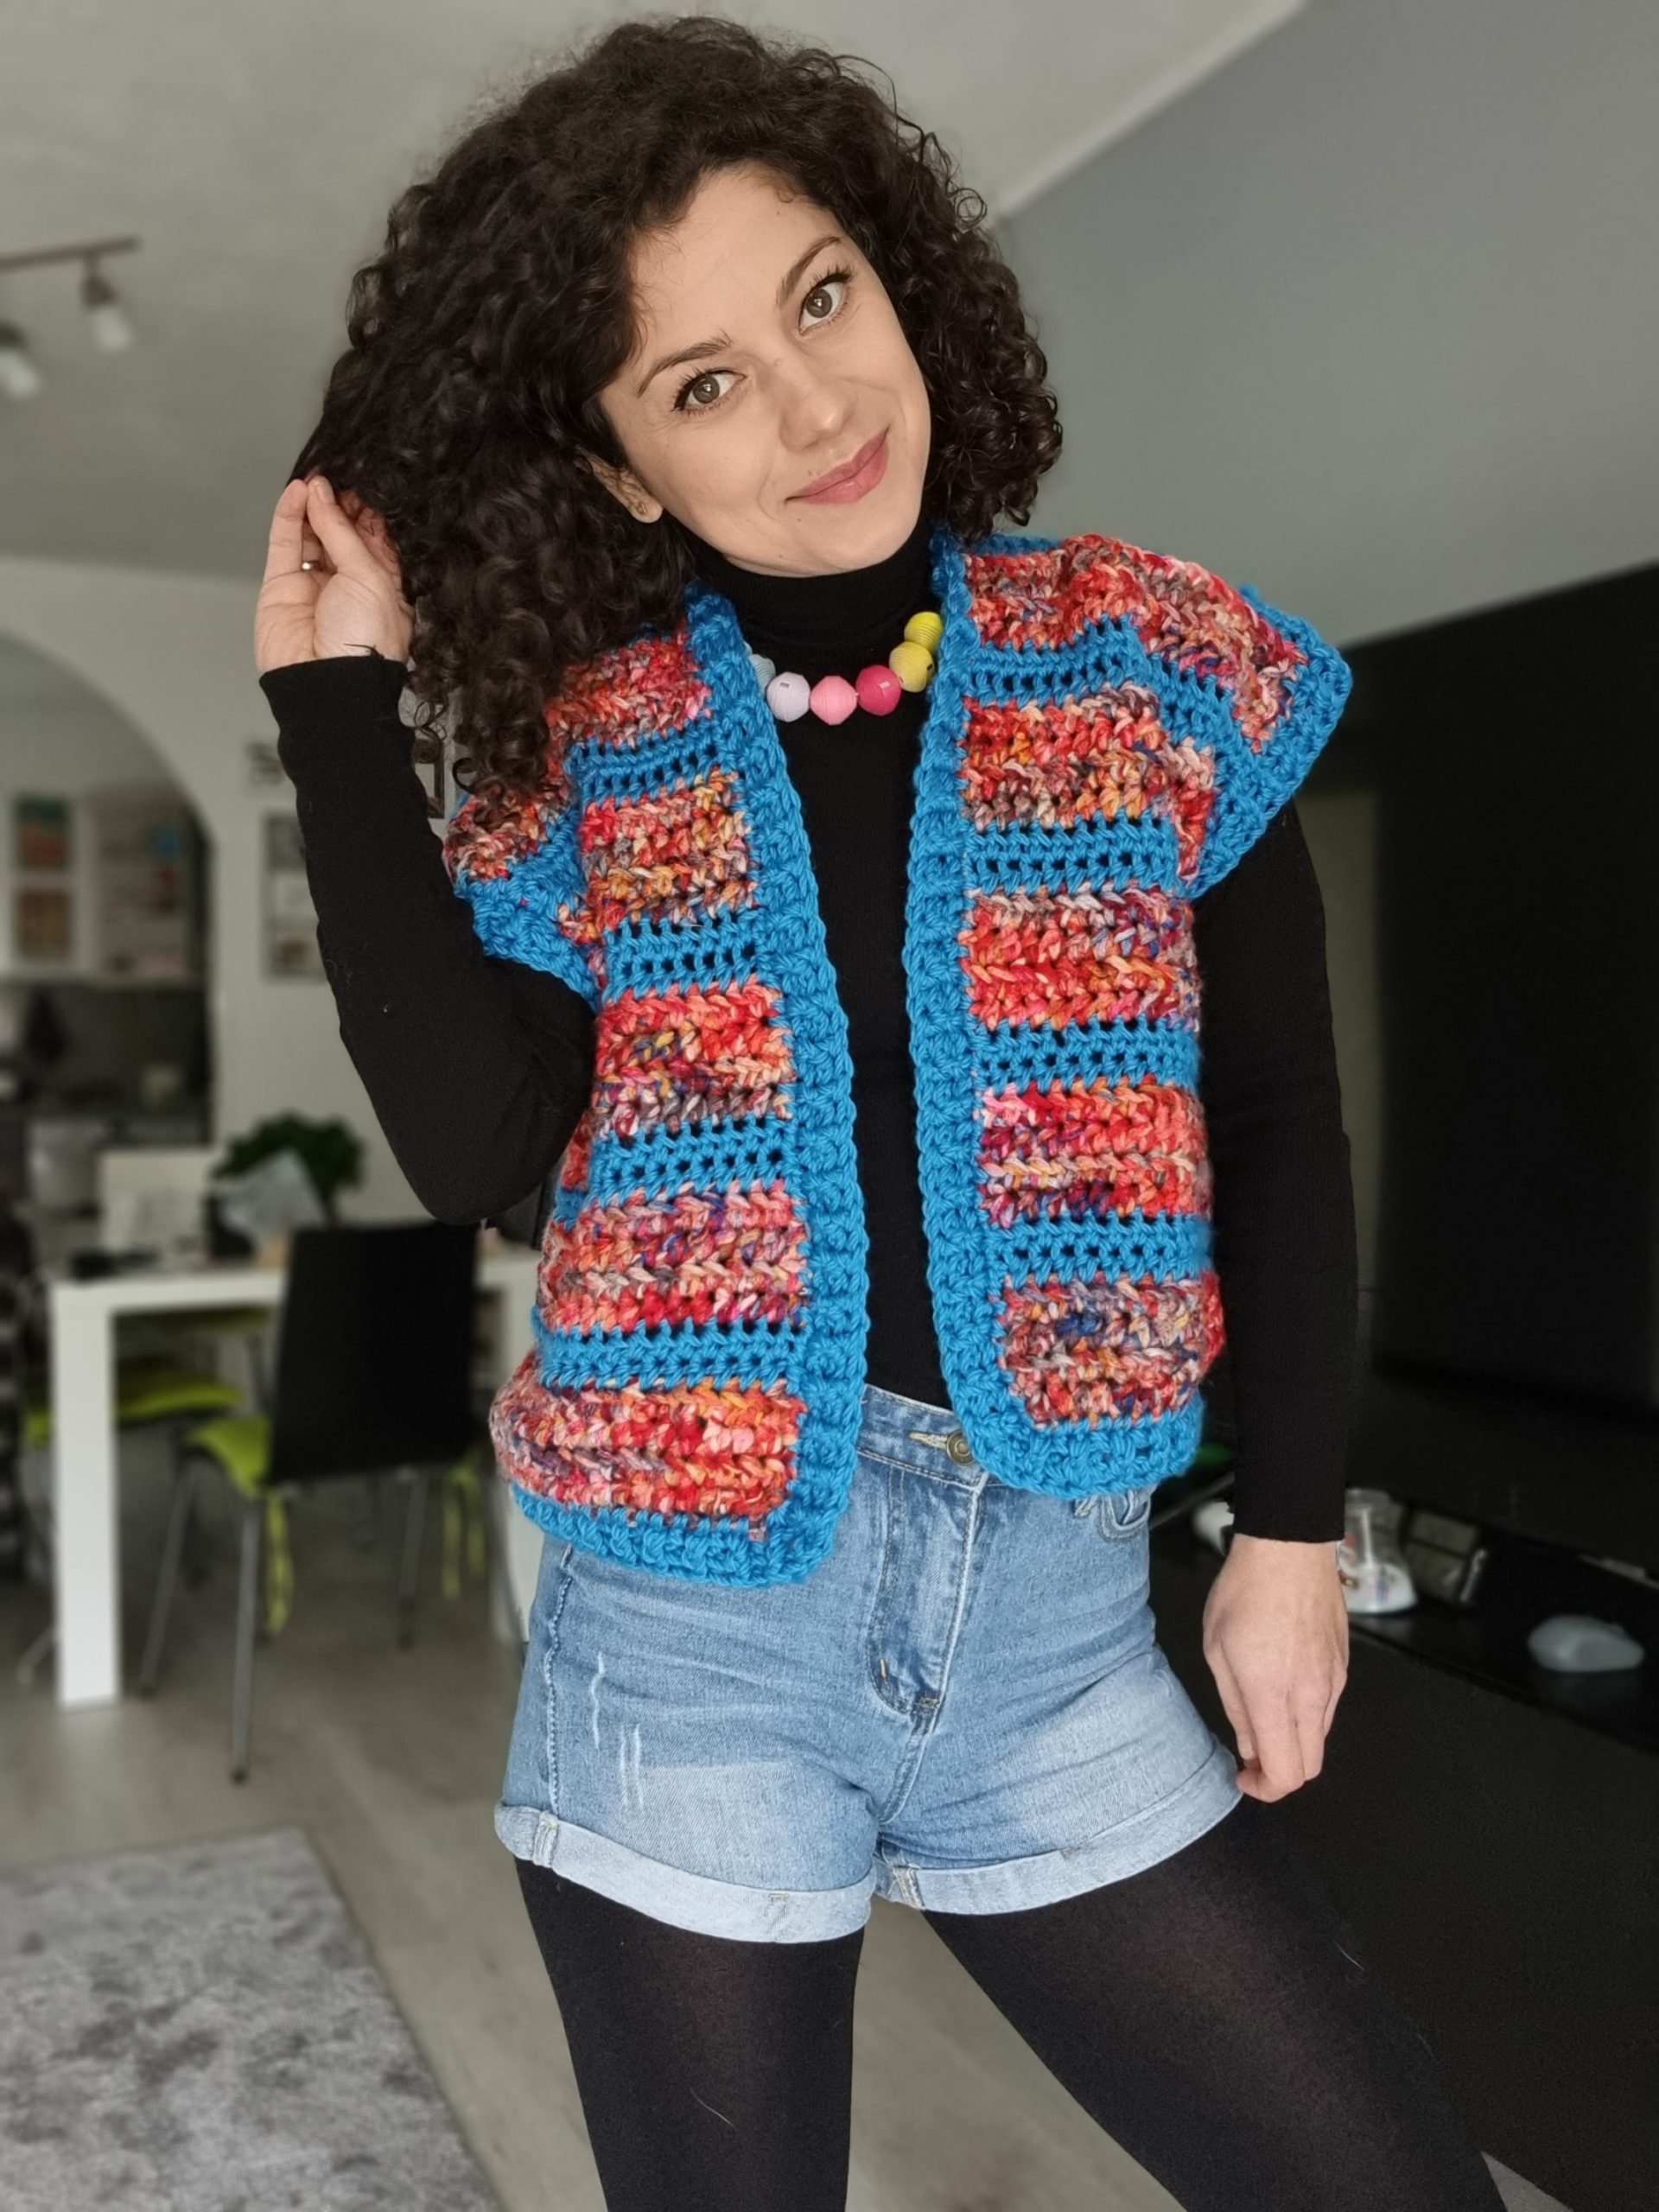
And after publishing the video tutorial, I said it would be a good idea to write a pattern, too 😅. So, here I am, sharing with you how to make the Dorea Vest.
MATERIALS
• *Yarn: Bulky Weight Yarn
• Crochet Hook
o 8 mm
o 6.5 mm for ribbing
• Stitch markers
• Scissors
*see more details about the yarn in “How much Yarn do you need?”
NOTES ABOUT DESIGN
The Dorea Vest is a simple design and beginner friendly. The pattern has a simple construction and uses simple stitches.
The Dorea Vest is worked bottom-up. The first section is the length to the armpit when the front panels and back panels are worked in a single piece.
Next, the initial rectangle is split into the front and back panels, and each part is worked individually.
Then, use slip stitches to assemble the vest and stitch the shoulders.
To finish the vest, we add a ribbing.
CONSTRUCTION

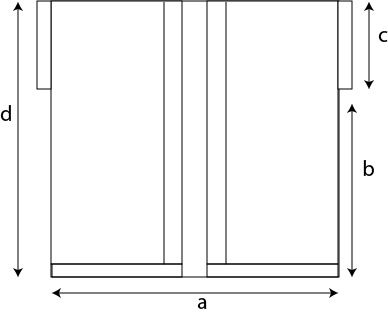
MEASUREMENTS AND SIZES
The Dorea Vest is available in 9 sizes, from XS up to 5X Large. The model is 168 cm tall, with an 88 cm Bust circumference, and wears a size Small.
The numbers are written below as follows: XS (S, M, L) (XL, 2XL, 3XL, 4XL, 5XL); US sizes 0/2 (4/6, 8/10, 12/14) (14/16W, 18/20W, 22/24W, 26/28W, 30/32W)
All the measurements use as reference Standard Body Measurements by ASTM International.
Bust width a: 52 cm (55, 57.5, 61) (64.5, 69.5, 74.5, 79.5, 84.5)
length to the armpit (short version) b: 27 cm (27, 27, 33) (33, 33, 36, 36, 36)
length to the armpit (long version) b: 45 cm (45, 45, 51) (51, 51, 54, 54, 54)
Armhole c: 21 cm (21, 21, 24) (24, 24, 27, 27, 27)
Length ( short version) d: 52 cm (52, 52, 61) (61, 61, 67, 67, 67)
Length ( long version) d: 70 cm (70, 70, 79) (79, 79, 85, 85, 85)
How much yarn do you need?
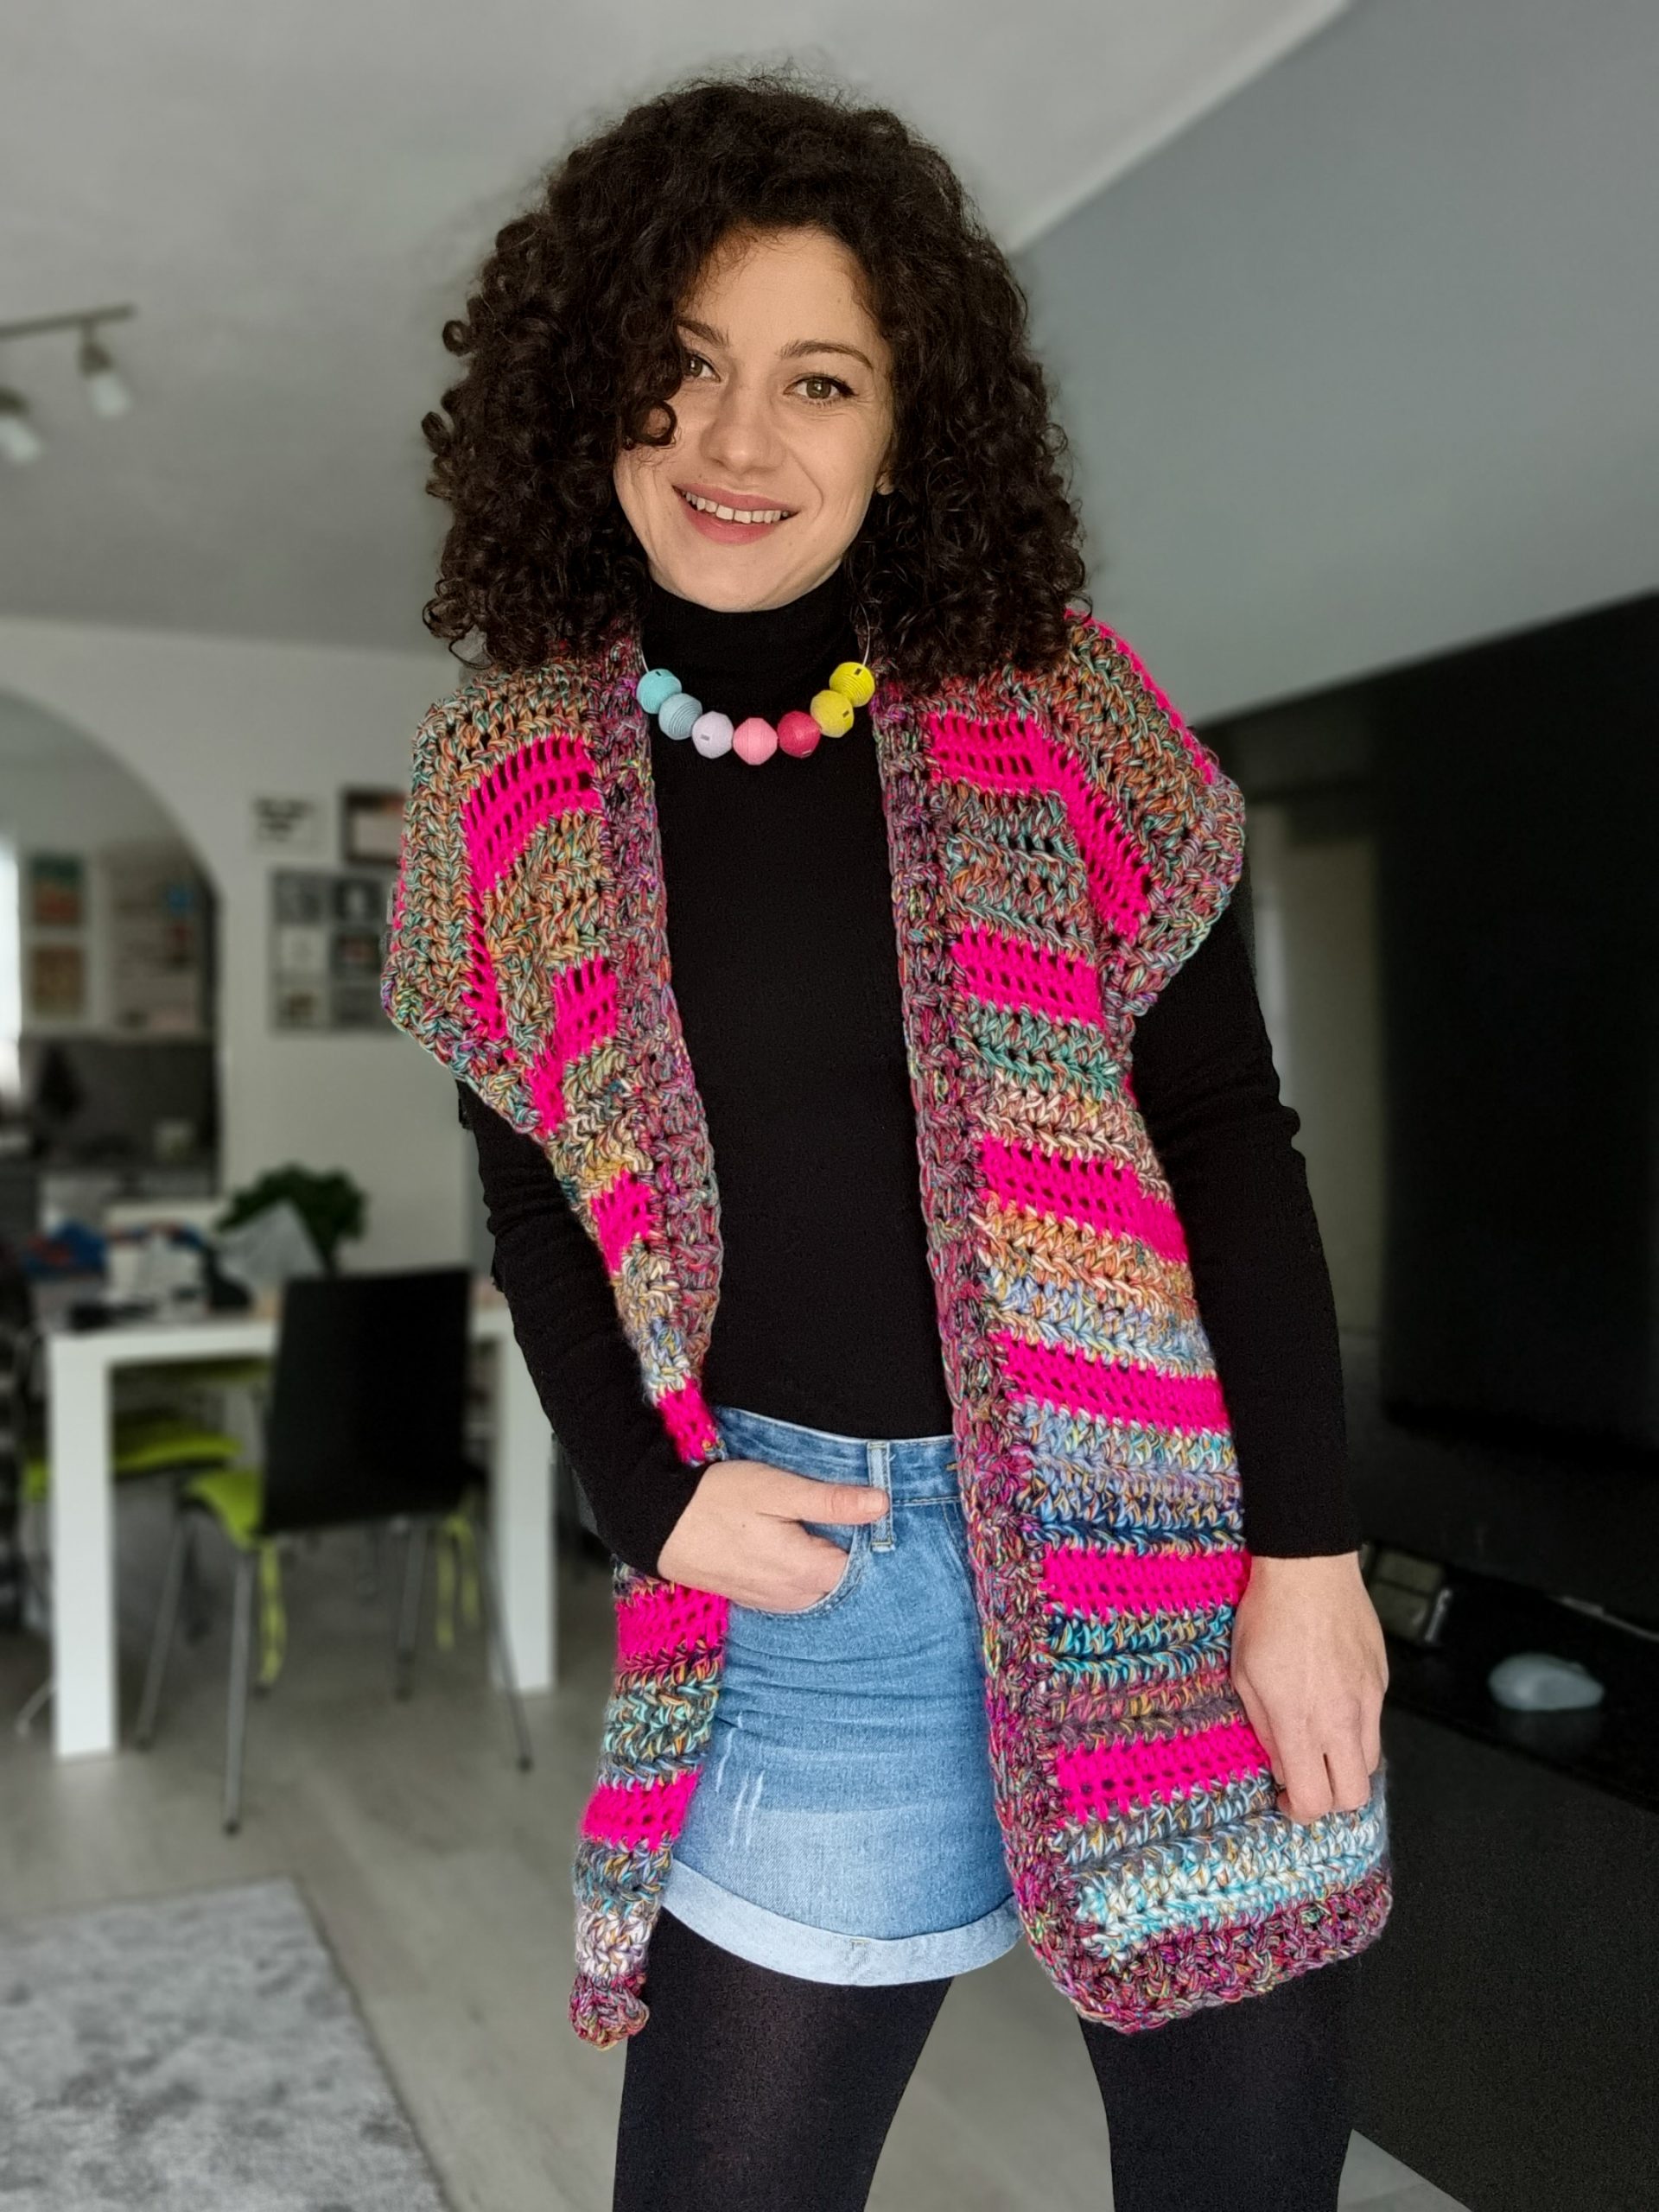
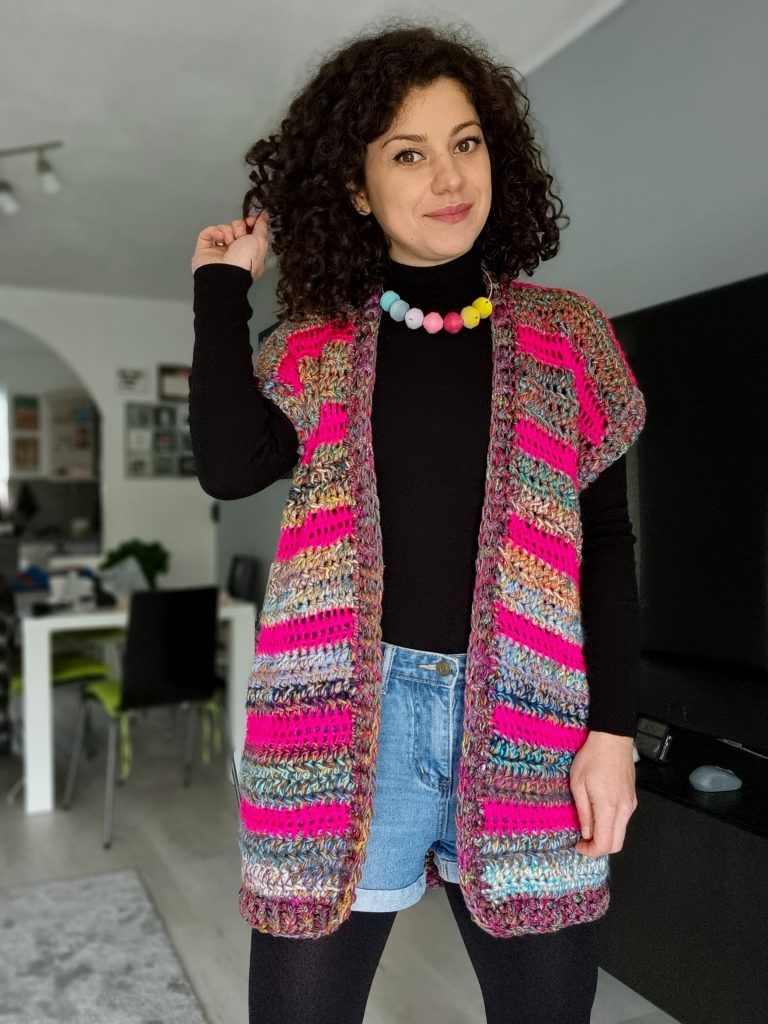
I made the Dorea Vest in two samples. One, using leftover yarn, 3 strands of yarn at once for the bigger stripes, and worsted weight yarn for the pink stripes. The 3 strands were 2 DK-weight yarn and one worsted weight.
For the second sample, I used 2 strands of Lang Yarns Soho (worsted weight yarn) for the bigger stripes and Wool Addicts Glory (bulky weight yarn) for the smaller stripes.
In total (short sample): 480 meters (500, 530, 660) (690, 750, 880, 940, 990)
In total (long sample): 640 meters (680, 710, 850) (900, 960, 1110, 1190, 1260)
ABBREVIATIONS
ch – chain
sc – single crochet
hdc – half double crochet
fpdc – front post double crochet
bpdc – back post double crochet
ss – slip stitch
R – rows
** – repeated section.
You can purchase the easily printable PDF pattern here at the links below.
You can purchase the easily printable PDF pattern here at the links below.
TENSION
Using an 8 mm crochet hook:
in hdc pattern
8 sts = 10 cm
6 rows = 9 cm
STITCH PATTERN AND TECHNIQUES
The main stitch pattern of the Dorea Vest is a half double crochet.
We also use slip stitches to join the shoulders and front post and back post double crochet for the ribbing.
Front Post Double Crochet (fpdc):
Step 1: Yarn over, insert the hook from front to back to front again, around the post of next designated stitch.
Step 2: Yarn Over, draw yarn through 2 loops on hook, twice (fpdc made)
Back Post Double Crochet (bpdc):
Step 1: Yarn over, insert hook from back to front to back again, around the post of next designated st.
Step 2: Yarn Over, draw yarn through 2 loops on hook, twice (bpdc made)
PATTERN NOTES
– work the piece flat; turn after each row;
– work 2ch at the end of each row, and turn; 2ch does not count as first hdc; work the first hdc into the first st;
– work the ribbing in the round; join with an ss into the third ch; the third ch at the beginning of the ribbing round counts as a bpdc;
– before ribbing work one round in sc; when working into the side rows, work 3sc at every 2rows; or follow your own tension;
– the instructions below are written without color pattern; work 4rows in one color and 2 rows in the second color;
– carry on the yarn without cutting it.
– to change the color, finish the last st with the next color to be used;
INSTRUCTIONS
Length to the armpit
Start: ch 84 (88, 92, 98) (104, 112, 120, 128, 136) sts;
ch2 and start in the row into the third st;
R1: 1hdc in each st to the end of the row; ch2 and turn.
Rep. R1 until you have 18 (18, 18, 22) (22, 22, 24, 24, 24) or how many rows you need for the short version and 30 (30, 30, 34) (34, 34, 36, 36, 36) for the long version.
Splitting into front and back panels
You can use stitch markers to mark the number of sts for each panel:
Front panels: 19 (20, 21, 23) (23, 25, 26, 28, 30)
Armpit sts: 3 (3, 3, 3) (5, 5, 7, 7, 7)
Back panel: 39 (42, 44, 46) (48, 52, 54, 58, 62)
You can purchase the easily printable PDF pattern here at the links below.
Continue to work for each panel individually 14 (14, 14, 16) (16, 16, 18, 18, 18) rows.
Joining Shoulders
Use slip stitches to join the shoulders.
Insert the hook through the sts of both panels front and back, yarn over, and draw it through both sts and then through the loop on your hook.
Rep. until you join all the front panel sts with the corresponding number of sts from the back panel.
Proceed the same with the other shoulder.
Ribbing
Work the ribbing around the bottom hem and front panels edge in one single round.
Rejoin yarn into the middle st at the back panel’s bottom.
R1: 1sc in each st until the corner, 3sc in the corner, 1sc in each st of the front panel, then go around the neckline and then across the other front panel until the corner, 3sc in the corner and then 1sc in each st to the end of the round; ss into the first sc.
Note: work across the front panel edge 3sc at every 2 side rows.
R2: ch3, *1fpdc in next st, 1bpdc in next; * rep. until the end of the round; ss into the third ch.
Change to a 6.5 mm crochet hook.
R3: rep. R2.
Fasten off.
Rep. the same pattern for the sleeves.
TO FINISH
Weave in all looser ends and block to measurements.
And done! An easy and fast project that I have been wearing a lot since I finished it!
You can purchase the easily printable PDF pattern here at the links below.
Click on the image below for the video tutorial.



Comments are closed.