When I first posted the Cotton version of this cardigan on my Social Media, many asked for a pattern.
I was surprised, and I need to confess because I have the feeling that many of you expect from my side, mostly crochet patterns.
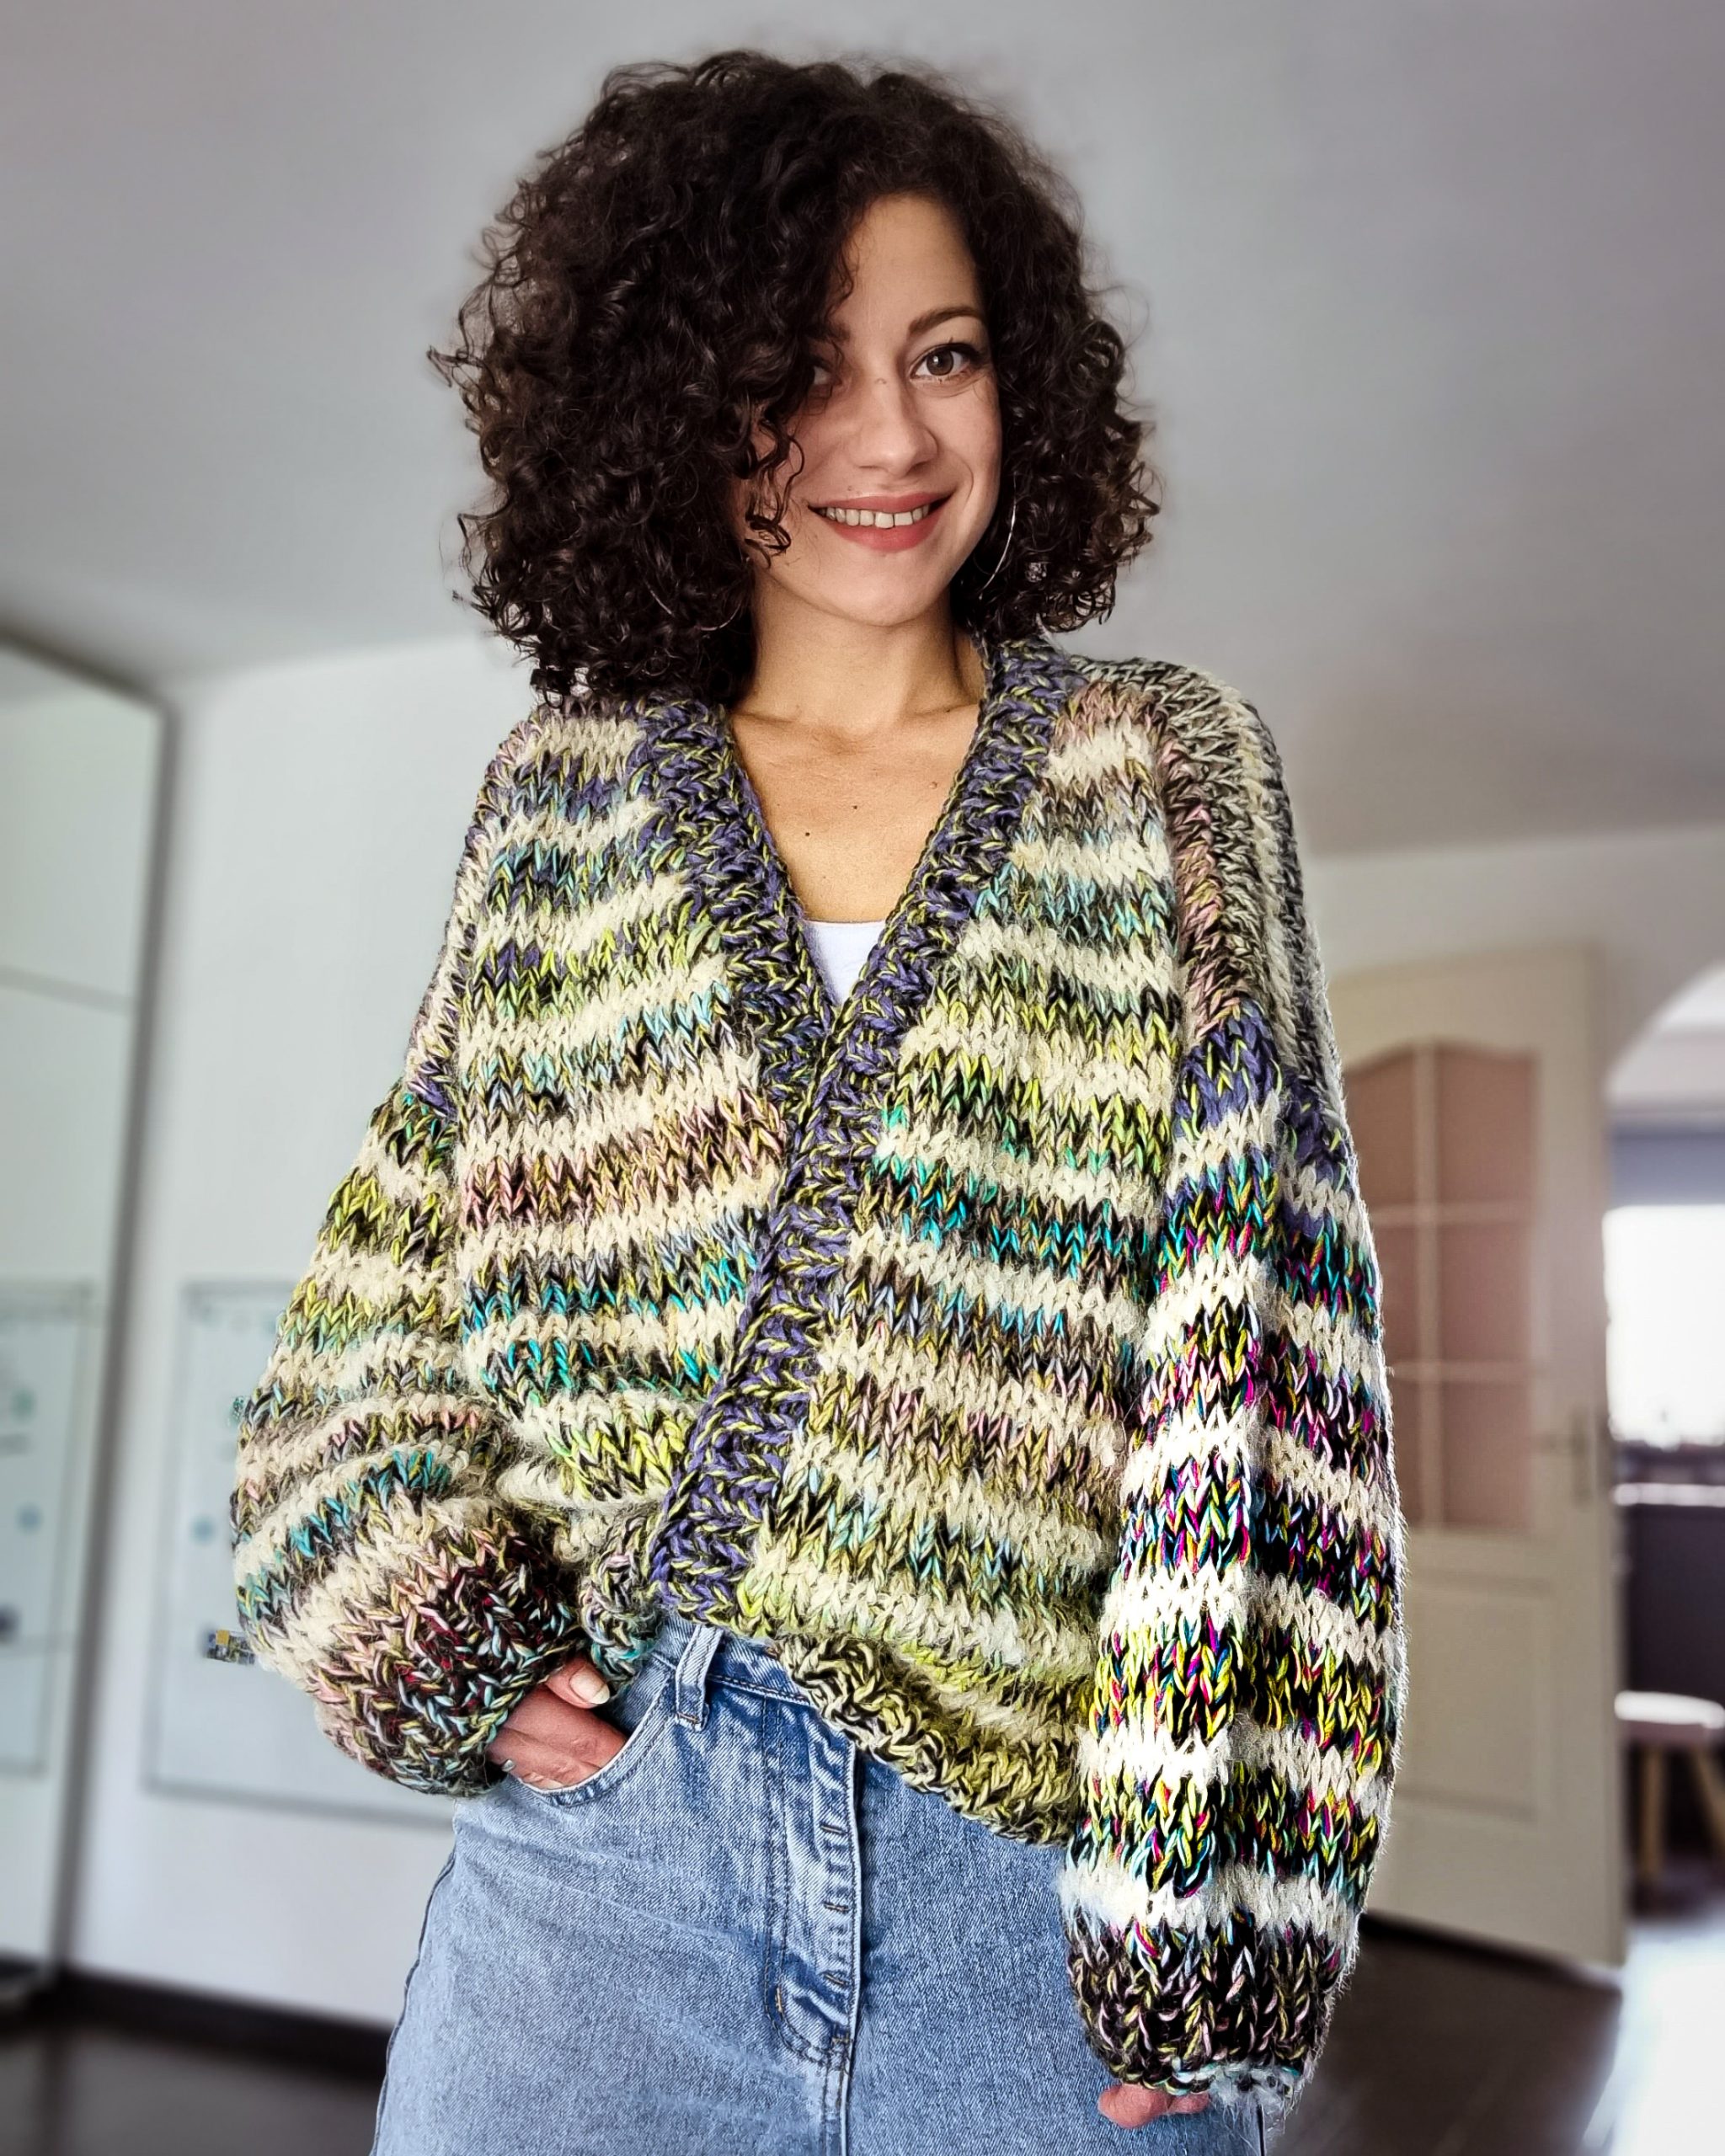
So I had to make another sample and take notes for writing the pattern, and finally, I can share the Cozy Fluffy Cardigan with you. Since I finished, this cardigan has been the first thing I put on in the morning after getting out of bed. And it’s lying all day next to me, and whenever I need a bit of coziness, it is my best friend.
So let’s see what we will need and how I made this Cozy Fluffy Cardigan.
You can Purchase the easily printable PDF version of this pattern here:
This post contains affiliate links. By purchasing from this page I may receive some commissions. This won’t cost you anything, no additional costs for you as the commission is paid by the merchant.
In this way you support me and I will be extremely grateful.
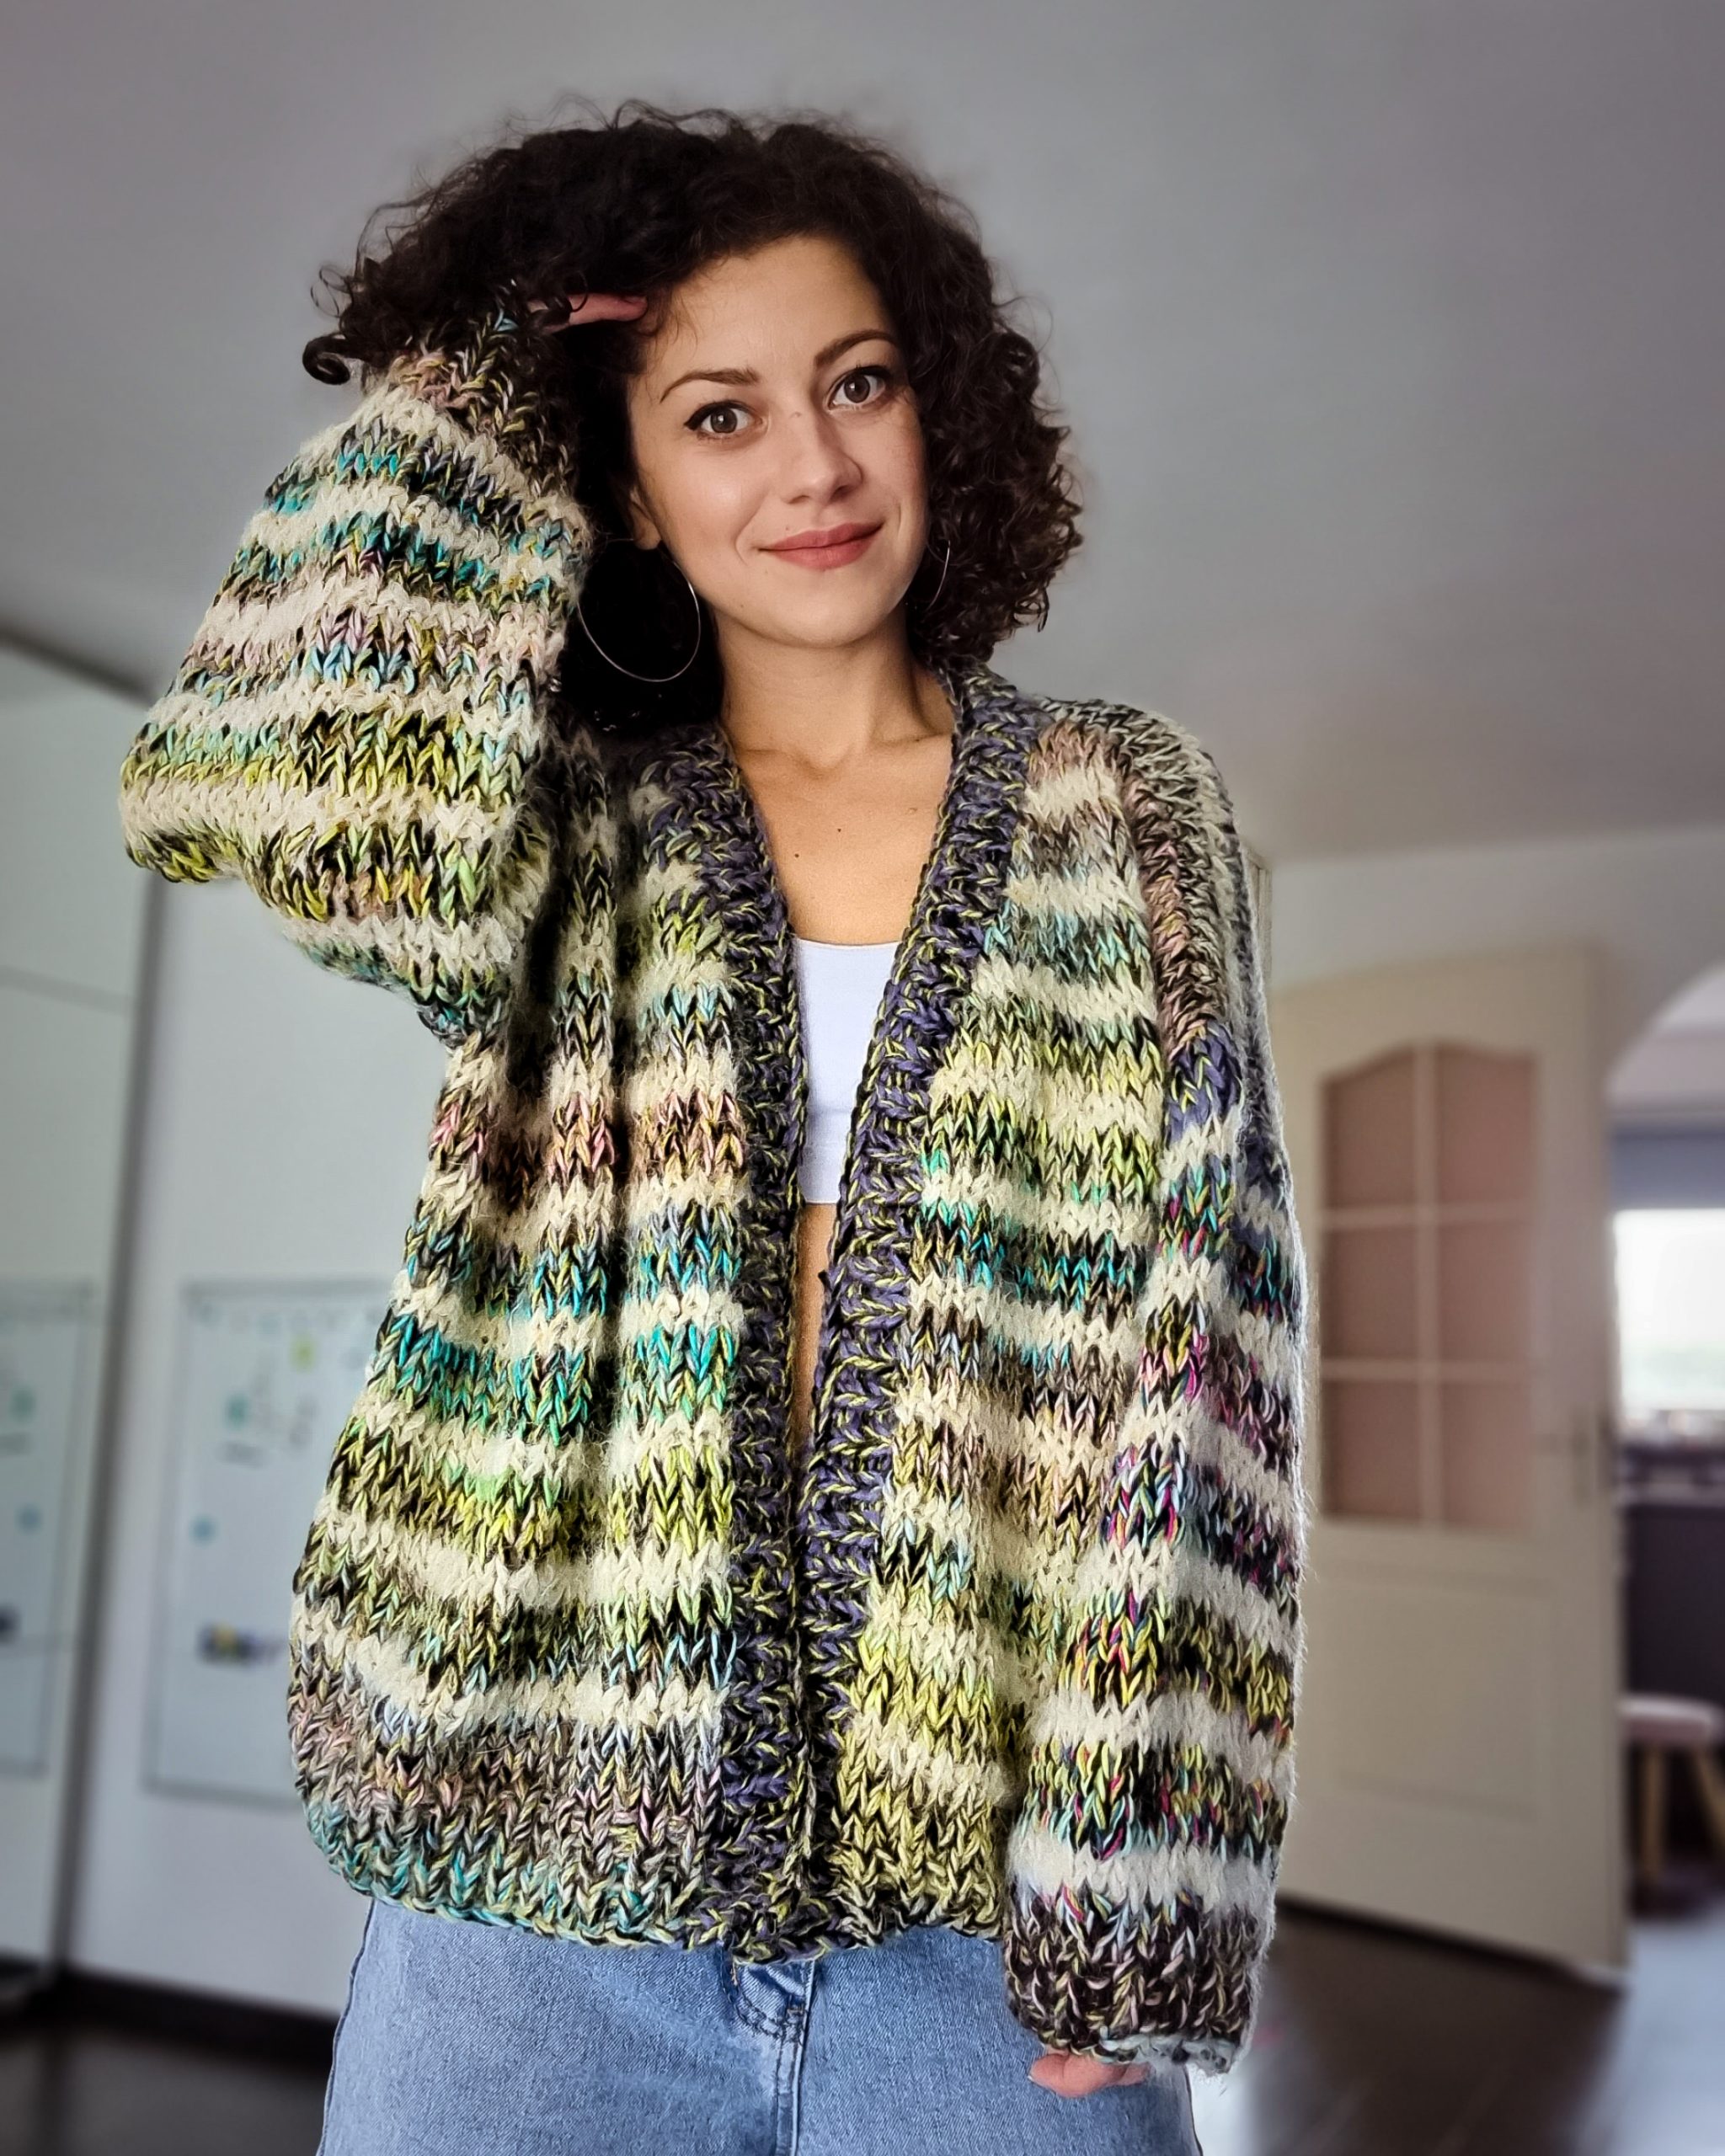
MATERIALS
• Yarn: Super Bulky yarn weight (size 6)- 1 strand DK, three strands worsted weight *find
more details in the Yarn section
Aran Weight (Heavy Worsted Size 4)
• Knitting Needles
o 8 mm needles (for ribbing)
o 10 mm needles (for the rest of the cardigan)
you can use circular or straight needles, but for the collar ribbing, you will need 100 – 120 cm circular needles
• yarn needle for weave in ends
• Stitch markers
• Scissors
NOTES ABOUT DESIGN
The Cozy Fluffy Cardigan has a classic drop-shoulder design. The neckline has a bit of shaping to give a slightly V neck.
The cardigan has an oversized fit, with a positive ease of about 22 cm around the bust circumference.
The cardigan has a panels construction (back, panel, front panels, and sleeves).
After assembling front and back panels shoulders, pick up stitches from the armhole to make the sleeves.
After finishing the sleeves, stitch the edges of the cardigan.
In the end, work the collar ribbing.
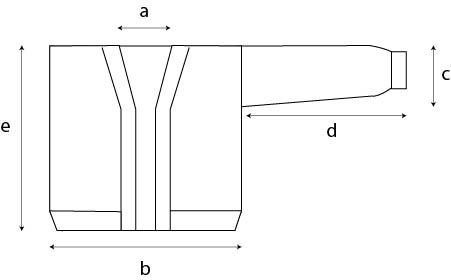
MEASUREMENTS AND SIZES
The Cozy Fluffy Cardigan Pattern is available in 8 sizes, from small to 5XL. The model is 168 cm tall and wears size Small
Neckline a: 24 cm (24, 24, 24, 24, 24, 24, 24)
Bust width b: 64 cm (69, 74, 79, 84, 89, 94, 99)
Sleeve width (armhole depth) c: 25 cm (28, 28, 31, 31, 34, 34, 34)
Sleeve Length d: 40 cm (40, 42, 42, 43, 43, 44, 44)
Length e: 62 cm (62, 64, 64, 64, 64, 68, 68)
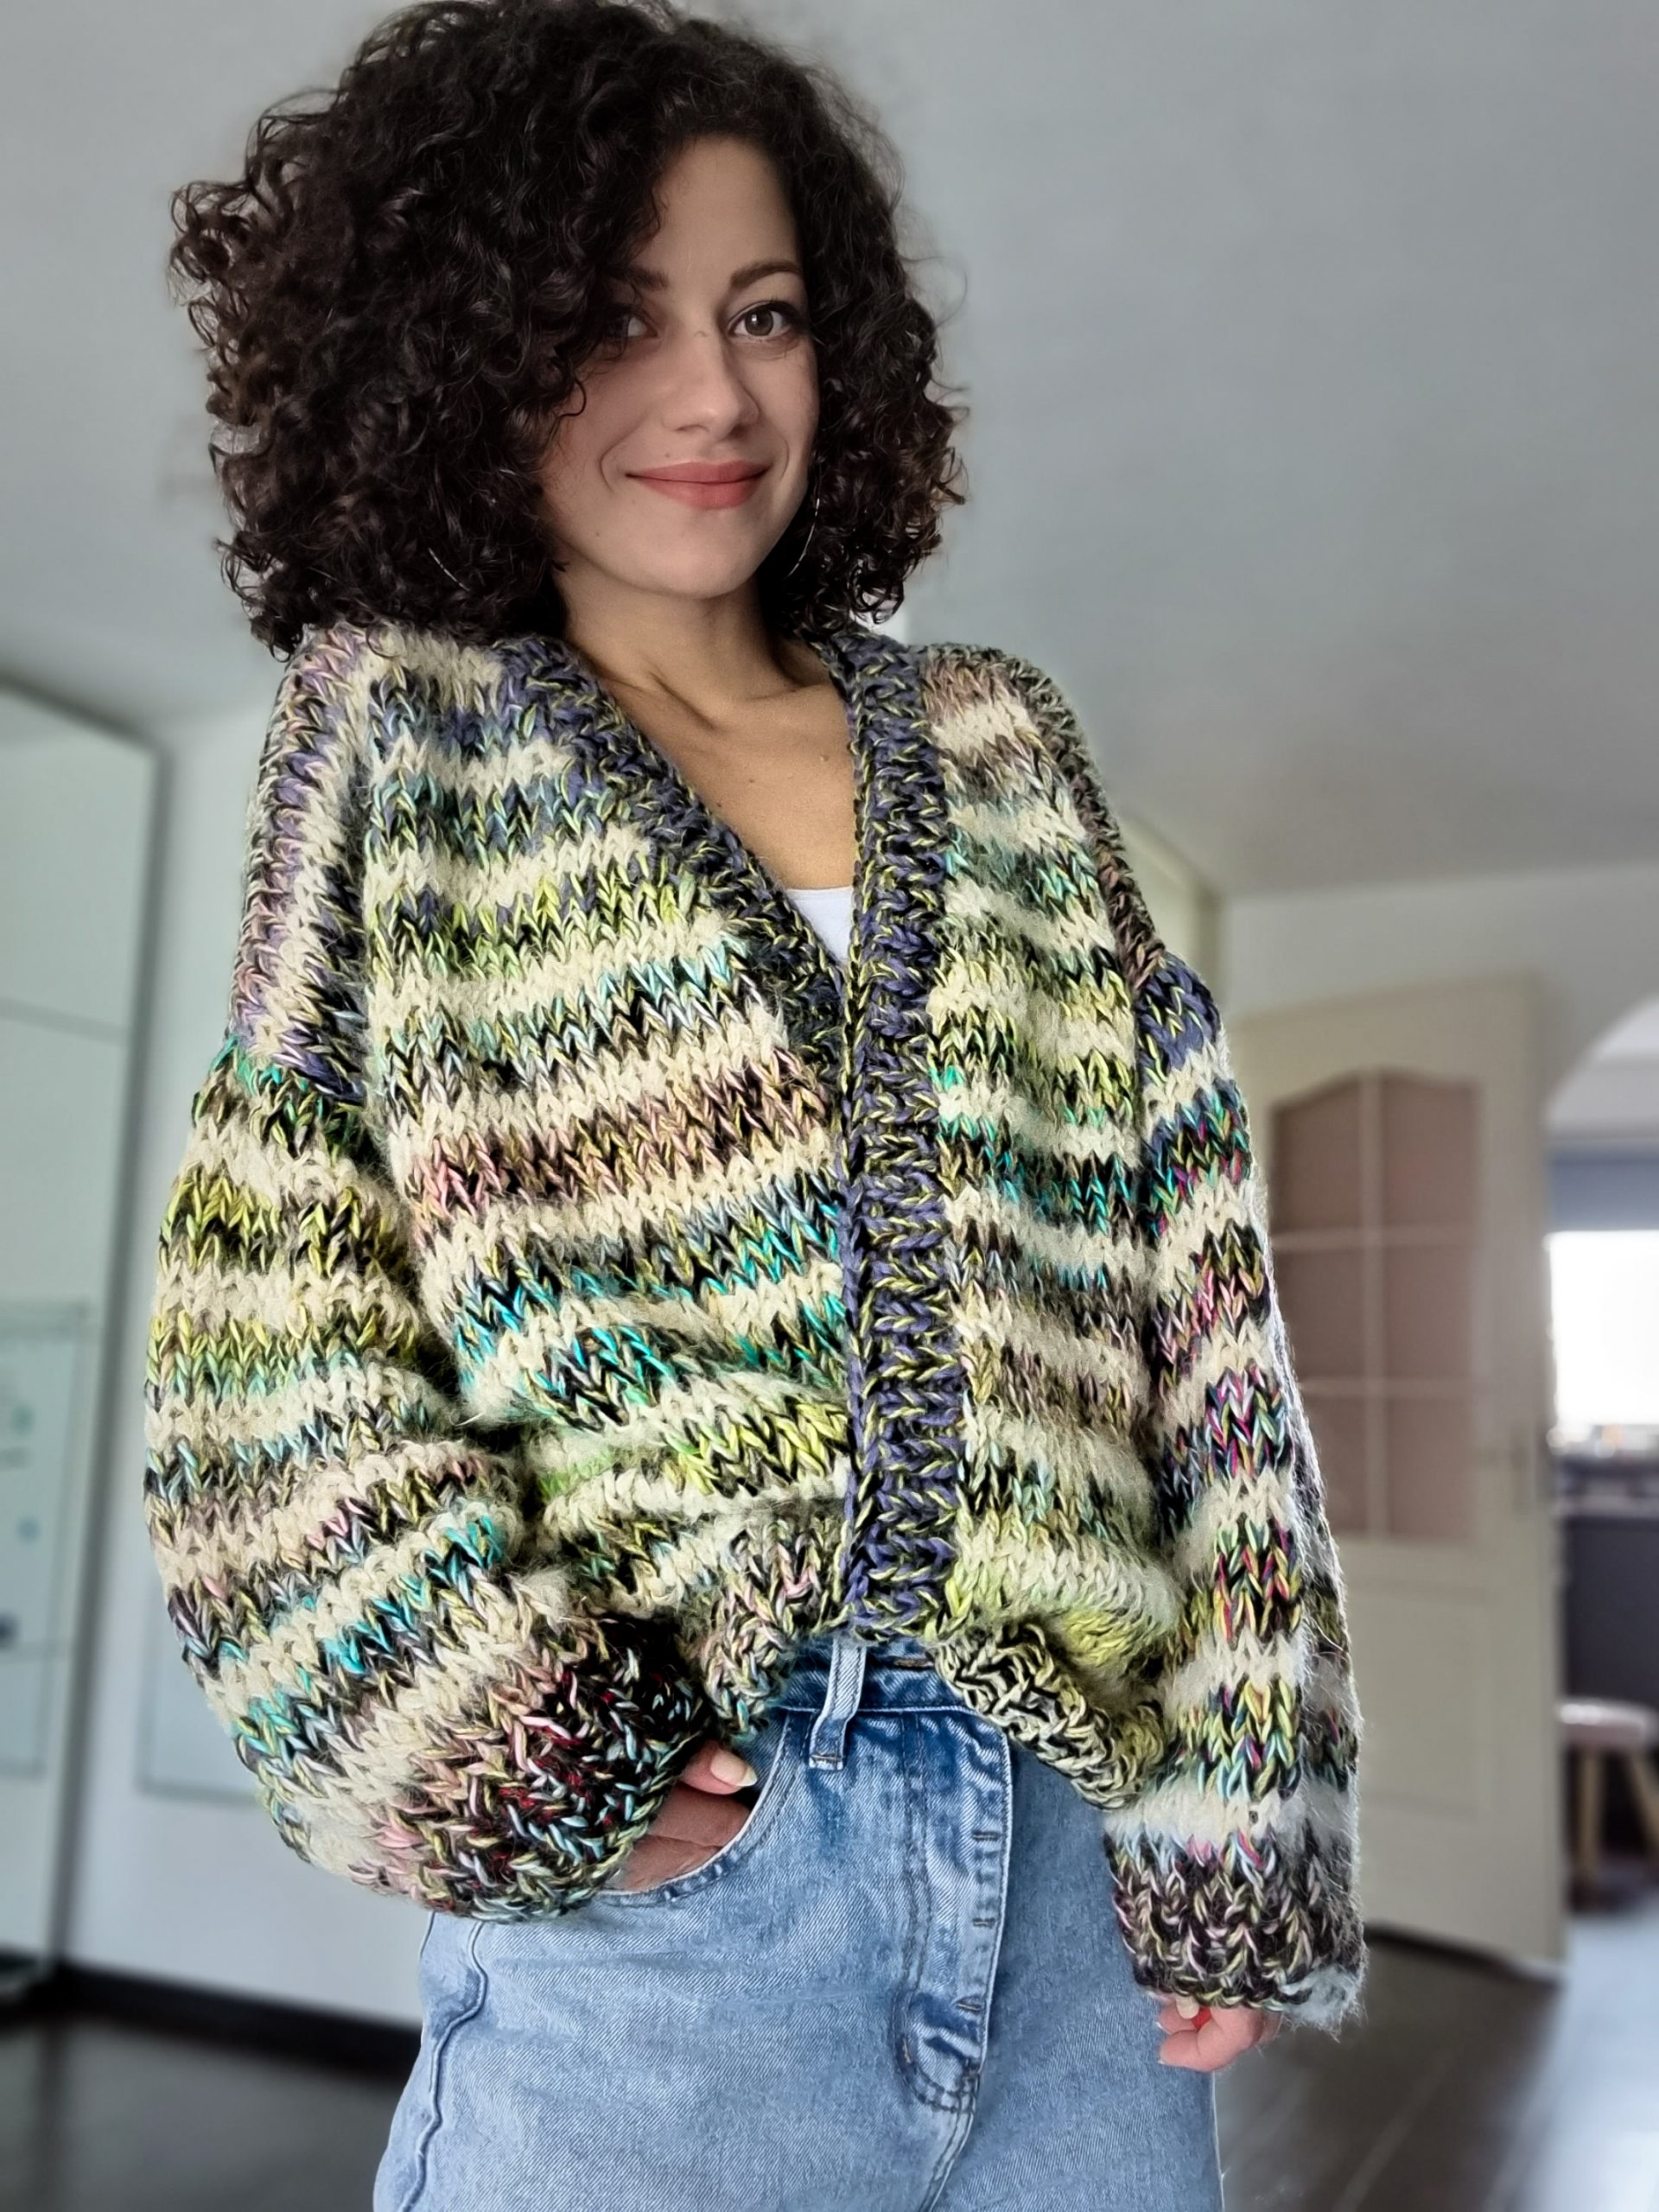
- You can Purchase the easily printable PDF version of this pattern here:
How much yarn do you need?
I made the sample using left-over yarn and Concept Tribu by Katia for the off-white stripes. For the left-over yarn, I used three strands of Aran weight and 1 strand of DK weight yarn. I calculated the total weight, and the result was 65 meters/100 grams which is equivalent to a Super Bulky Weight.
TIP: if you want your left-over yarn to have a nice color transition, one of the 4th strands needs to be a self-striping yarn.
For each size you will need:
Leftover Yarn 650 m (700, 780, 840, 930, 1010, 1030, 1060)
Katia Tribu: 270 m (290, 320, 340, 360, 380, 420, 430)
In total: 920 m (990, 1100, 1180, 1290, 1390, 1450, 1490)
ABBREVIATIONS
k – knit
p – purl
k2tog – knit two together (decrease)
R – rows
** – repeated section.
TENSION
Using 10 mm needles in stockinette
10 sts = 10 cm
11 rows = 10cm
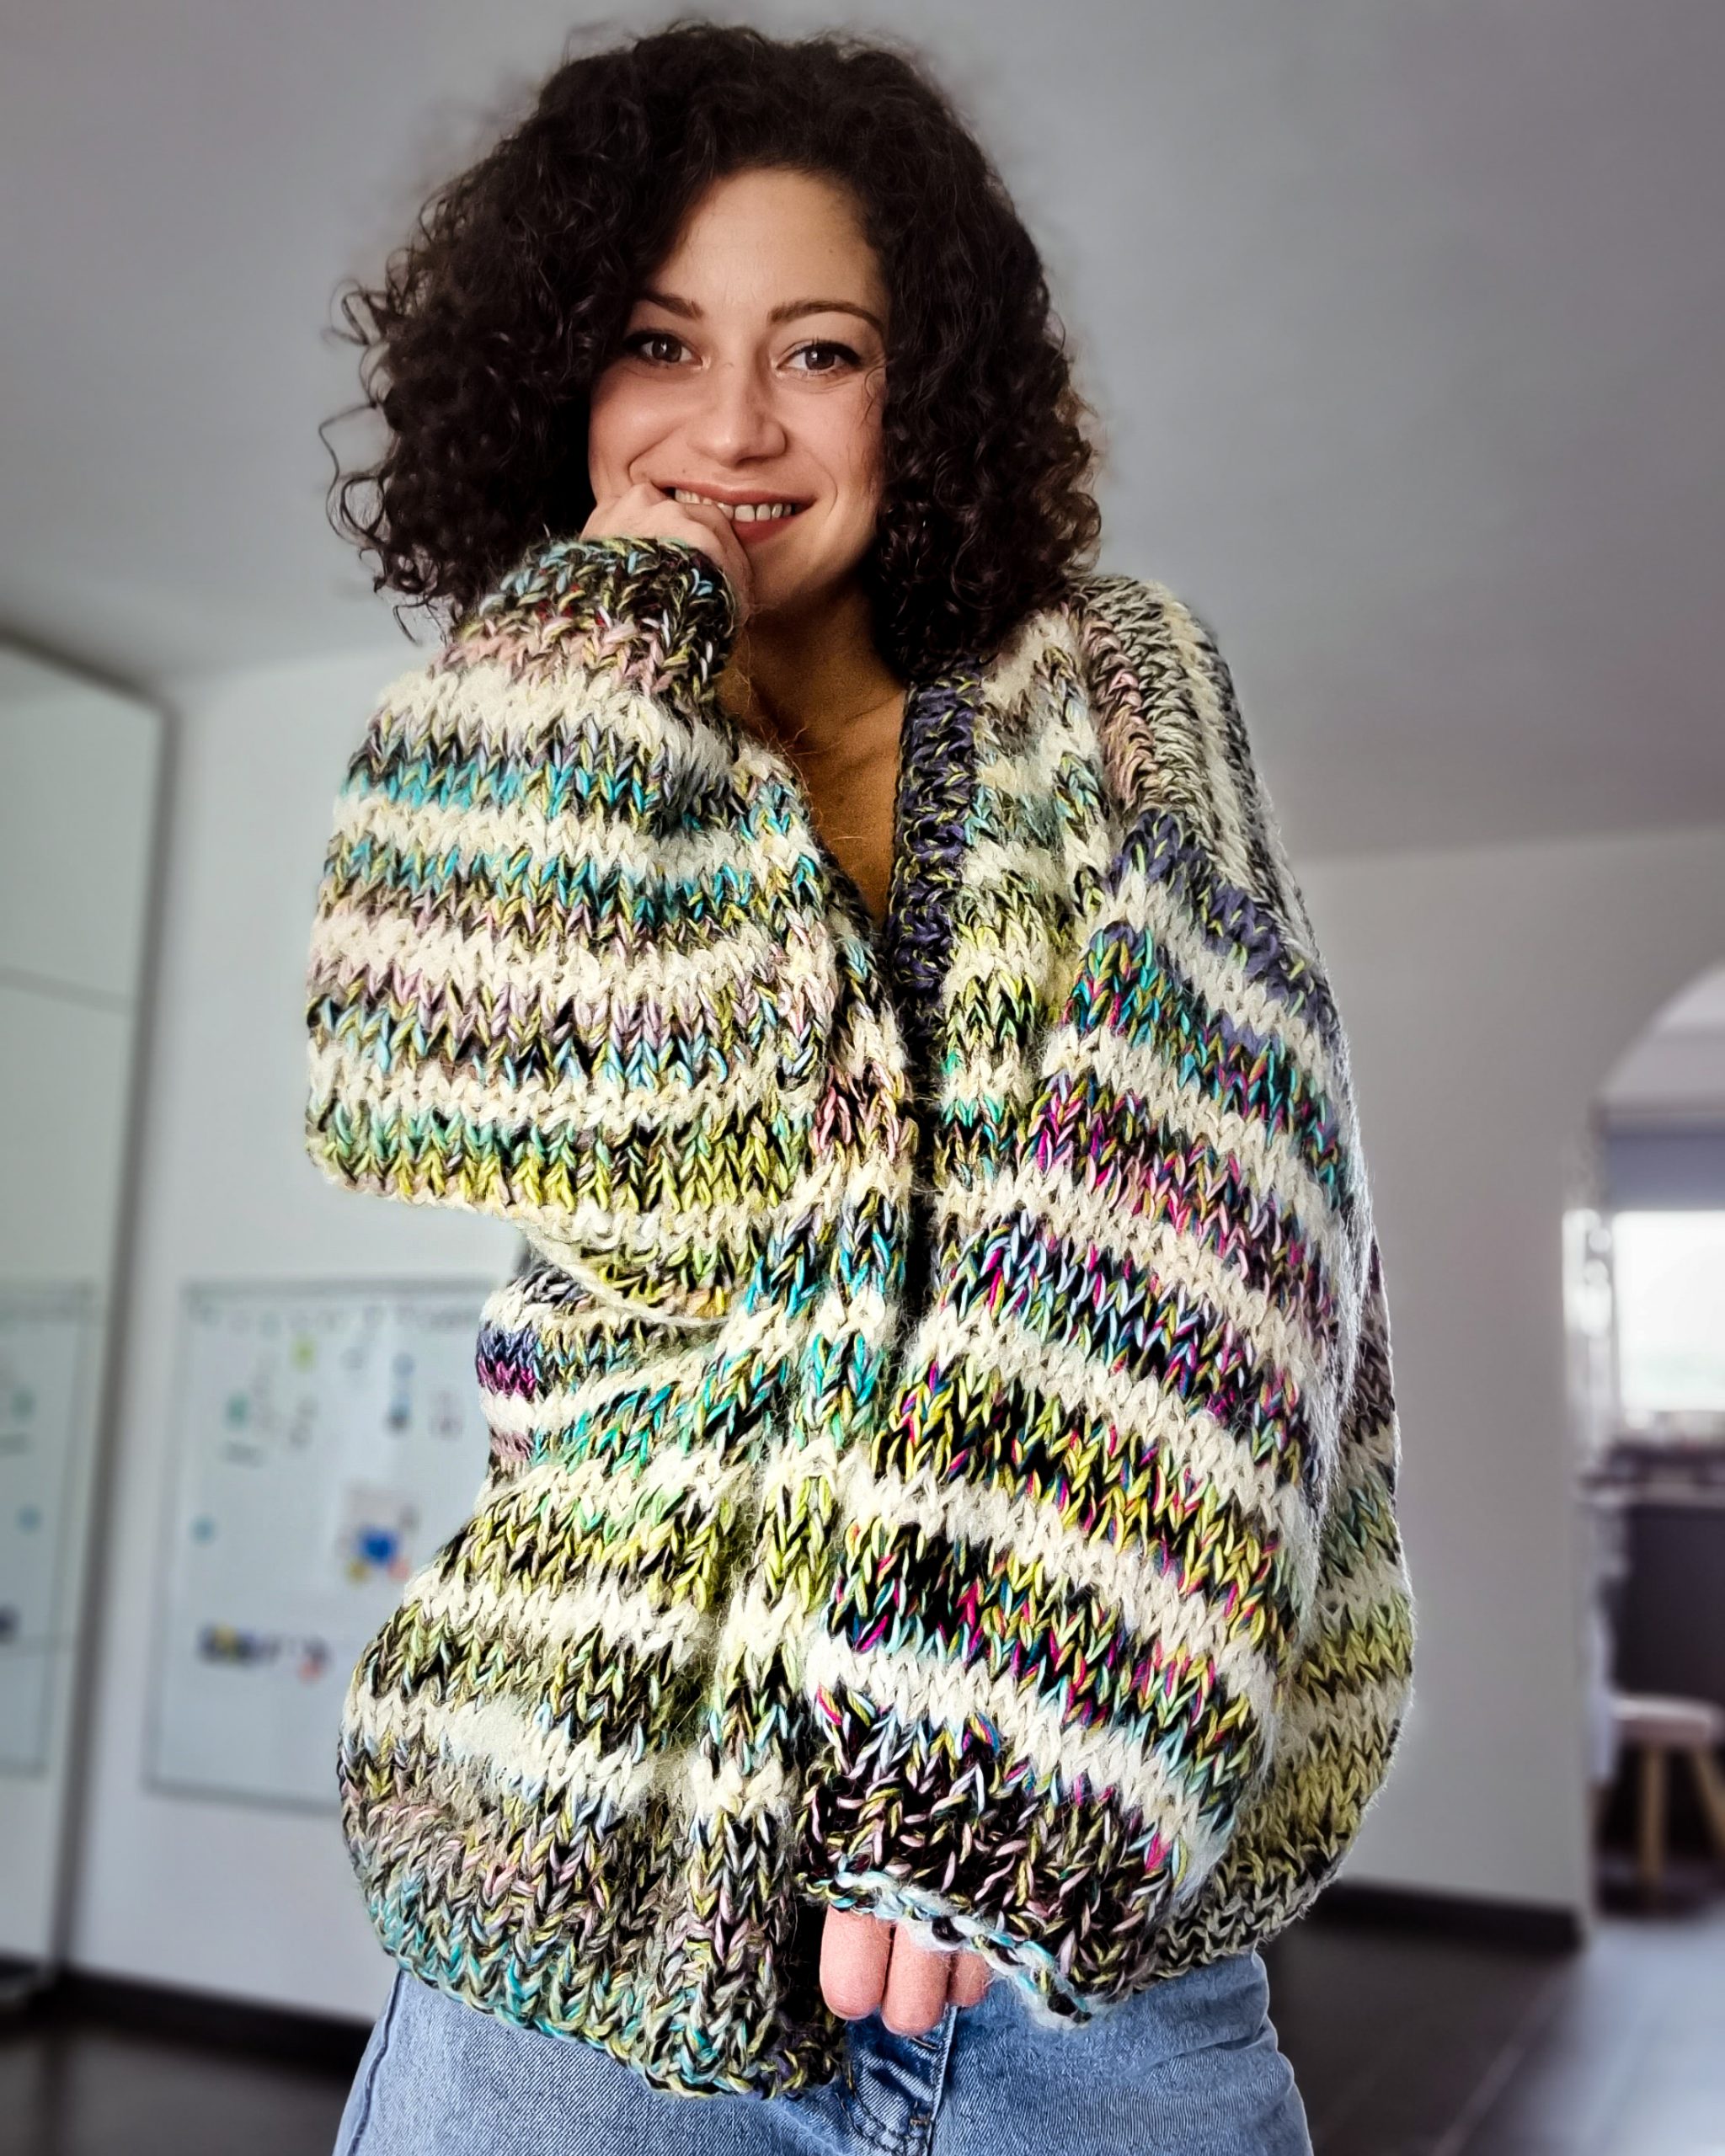
- You can Purchase the easily printable PDF version of this pattern here:
STITCH PATTERN AND TECHNIQUES
The entire cardigan is worked in stockinette stitch with a knit 1, purl 1 ribbing.
The ribbing is worked with smaller size needles.
You can use straight needles for the back panel, front panels, and sleeves as the pieces are worked flat. You will need cord needles for the ribbing collar as the length and shape require flexible needles.
This sample is worked using a stripe pattern.
The pattern for the stripes is 4 rows in color A (left-over yarn), and 2 rows in color B (Katia Tribu yarn)
PATTERN NOTES
Change the color at the beginning of the row by working the first stitch with the next color.
Leave the unused yarn behind, and don’t cut it as you will need to pick it up at the following color change.
Use any method you like for casting on and binding off.
INSTRUCTIONS
Numbers for sizes M, L XL, 2XL, 3XL, 4XL, and 5XL are written between brackets; if not, the pattern applies for all sizes.
Left-over yarn: color A
Katia Tribu (off-white color) color B
BACK PANEL
Use 8mm needles
Cast on 64 (68, 74, 80, 84, 90, 94, 100) sts
R1: k1, p1 until the end of the row.
R2-R8: rep. R1
Change to 10 mm needles
R9: k all sts.
R10: p all sts.
R11-R12: rep. R9-R10
change to color B
R13-R14: Rep R9-R10
Change to color A
Rep. R9-R14 until you have 64 (64, 66, 66, 66, 66, 70, 70) rows
Bind off.
FRONT PANEL RIGHT
Use 8mm needles
Cast on 32 (34, 37, 40, 42, 45, 47, 50) sts
R1: k1, p1 until the end of the row.
R2-R8: rep. R1
Change to 10 mm needles
R9: k all sts.
R10: p all sts.
R11-R12: rep. R9-R10
change to color B
R13-R14: Rep R9-R10
Rep. R9-R14 until you have 40 (40, 42, 42, 44, 44, 46, 46) rows
Next, keep the color-changing pattern
Next row: k1, k2tog, k all remaining sts
Next row: p all sts
Rep. last 2 rows until you have in total 64 (64, 66, 66, 66, 66, 70, 70) rows
Bind off
FRONT PANEL LEFT
Rep. the pattern for FRONT PANEL RIGHT, but the reverse. (decrease at the end of the row)
- You can Purchase the easily printable PDF version of this pattern here:
ASSEMBLING FRONT AND BACK PANEL
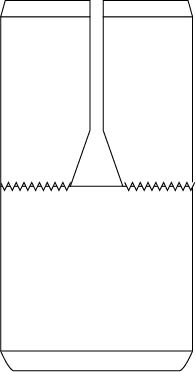
Stitch back panel with both front panels on shoulders.
SLEEVES
Use stitch markers to mark the back and front panels rows required for sleeves: 28 (30, 30, 34, 34, 36, 36, 36)
Total rows for the sleeves: 56 (60, 60, 64, 64, 72, 72, 72)
Next step: we will pick up the stitches for the sleeves, between the 2 stitch markers using the color A and 10 mm
needles.
Pick 3 sts and skip the next row. And repeat until you complete the sleeve width.
You will have in total 42 (45, 45, 51, 51, 54, 54, 54) sts.
Picking up the stitches will count as a first row, k all sts row
R2: p all st until the end of the row.
R3: k all sts.
R4: p all sts.
Change with color B
R5: k all sts
R6: p all sts
Change to color A
Rep. rows 1 to 6 until you have in total
36 (36, 38, 38, 40, 40, 40, 40) rows.
Next row: *k 3 sts, k2tog. *rep. until the end of the row.
Next row: p all sts
Next row: *k 3 sts, k2tog. *rep. until the end of the row.
Change to 8mm needles and work the next 8 rows in ribbing pattern
*Next 8 rows: k1, p1
Bind off
*If you don’t have an even number of sts, p2tog at the end of the row.
FINAL ASSEMBLING
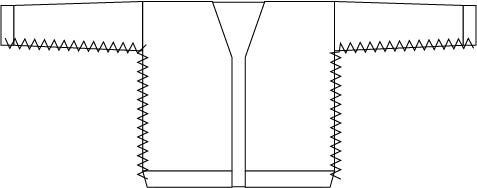
Fold the piece in half and stitch the sides.
COLLAR RIBBING
Use 100 or 120 cm cord circular needles, 8mm, and pick up sts along the front panels’ edge and neckline.
The proportion will be 6 with 1, meaning you need to pick up 6sts and skip 1.
After having all the sts on the needles, work 8 rows in the ribbing pattern, *k1, p1*
Bind off.
TO FINISH
Weave in all looser ends and block to measurements.
I hope you like this cardigan, and you will make one. I can’t wait to see the colors you have.
Happy Knitting!


Comments are closed.