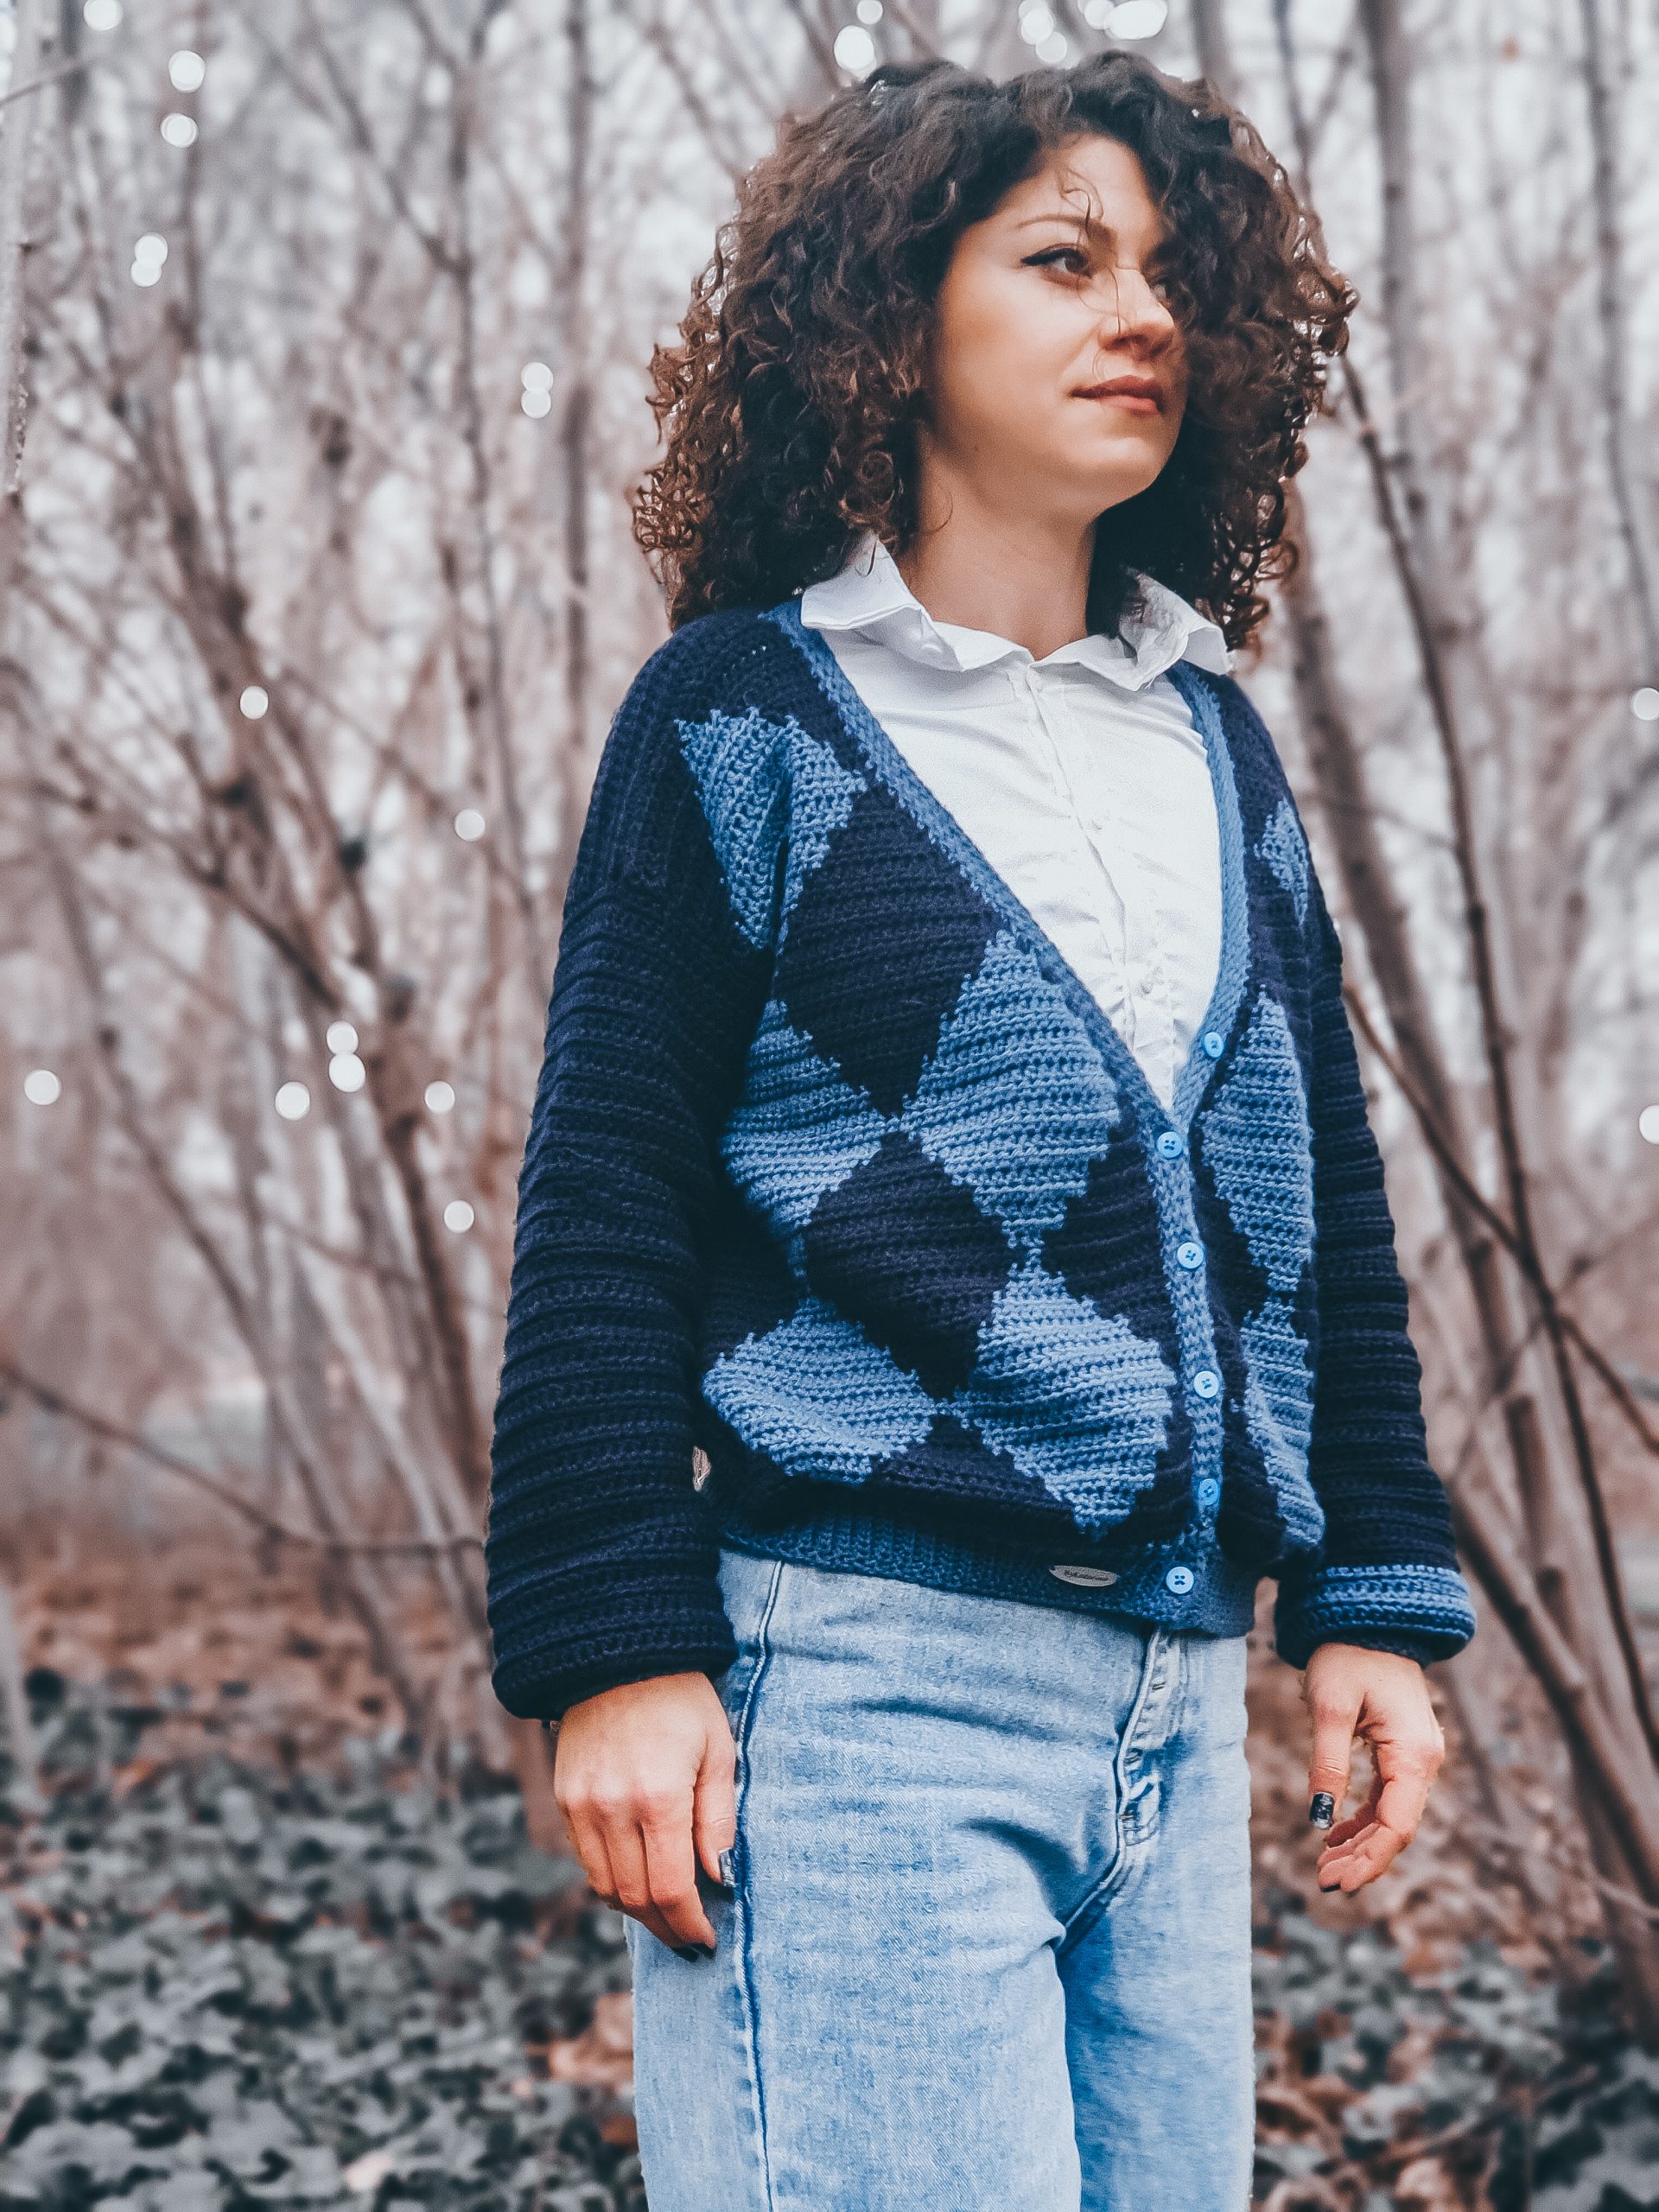
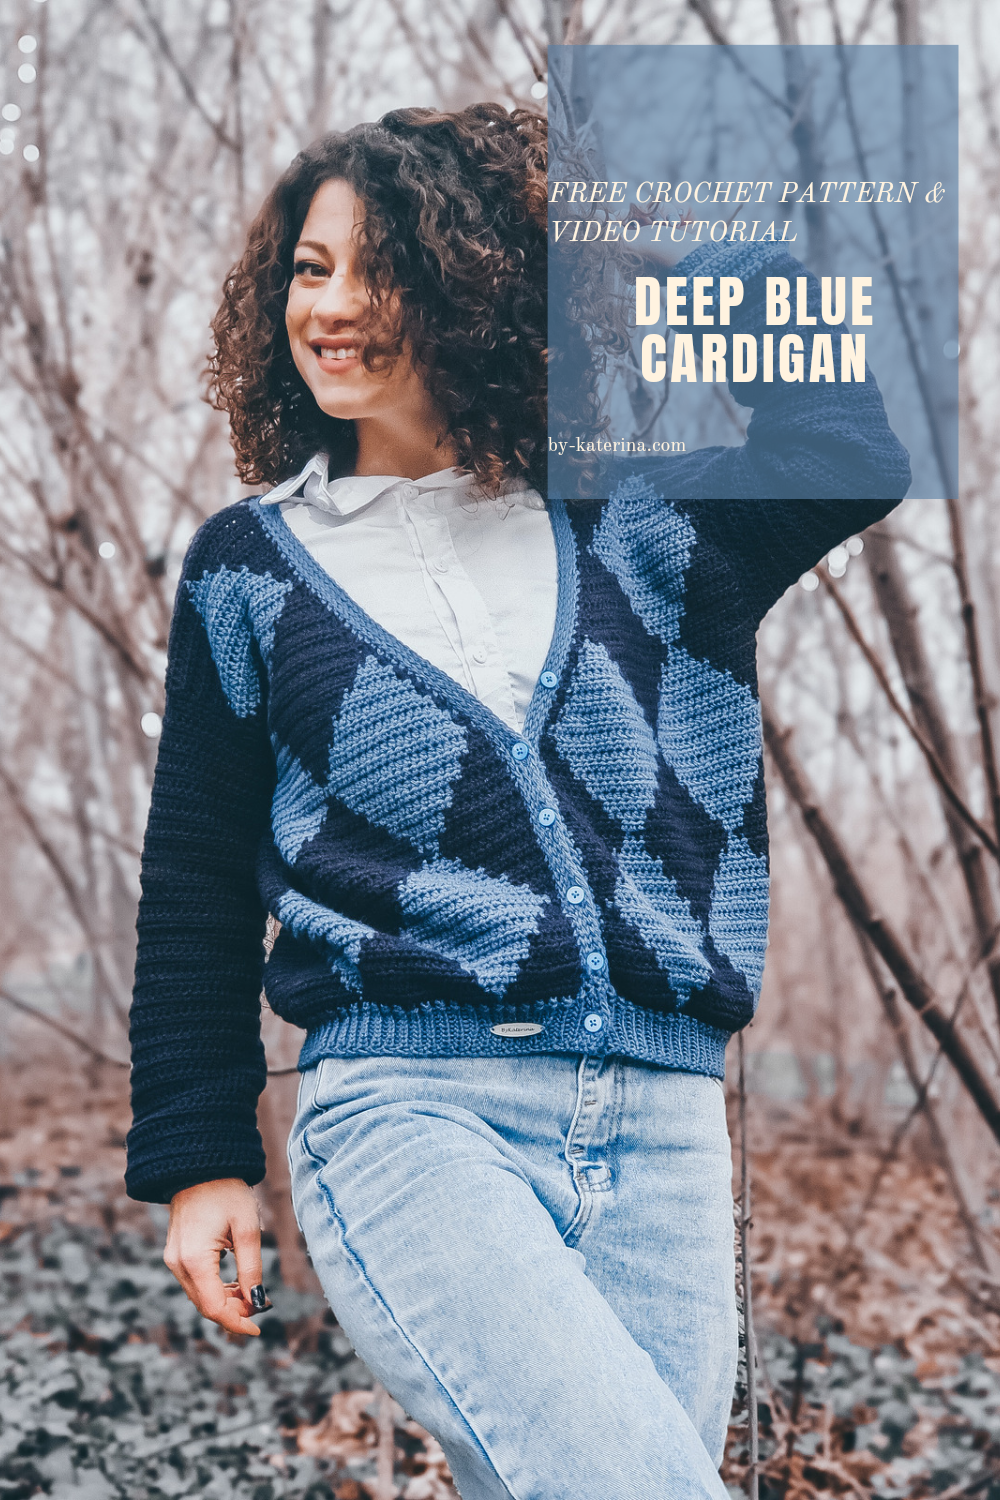
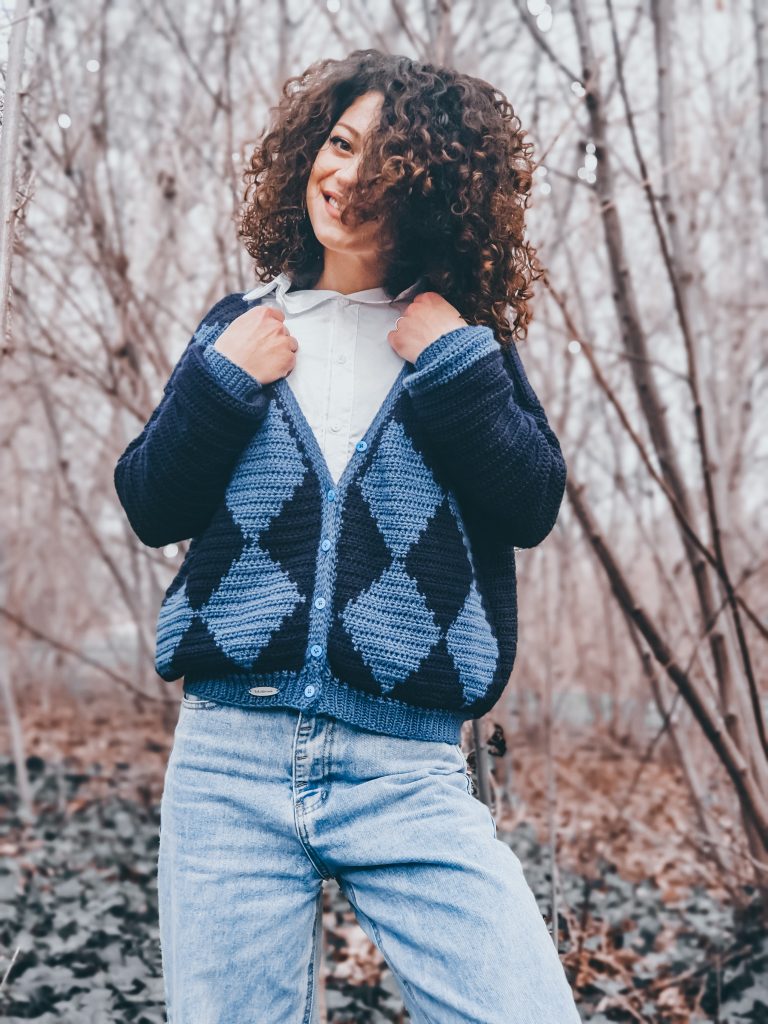
And here I am again sharing with you another design that I had in mind for a long time ago. The Deep Blue Cardigan is inspired by those super friendly Argyle Sweaters and cardigans worn back in college. It’s an old-school design, but I think it is getting back, and it’s nice that we can make one.
When I first pictured this cardigan, I also wanted to make those white stripes or contrasting color stripes shaping the diamonds even more. I tried with some surface crochet, but they were too thick, and I wouldn’t say I liked it.
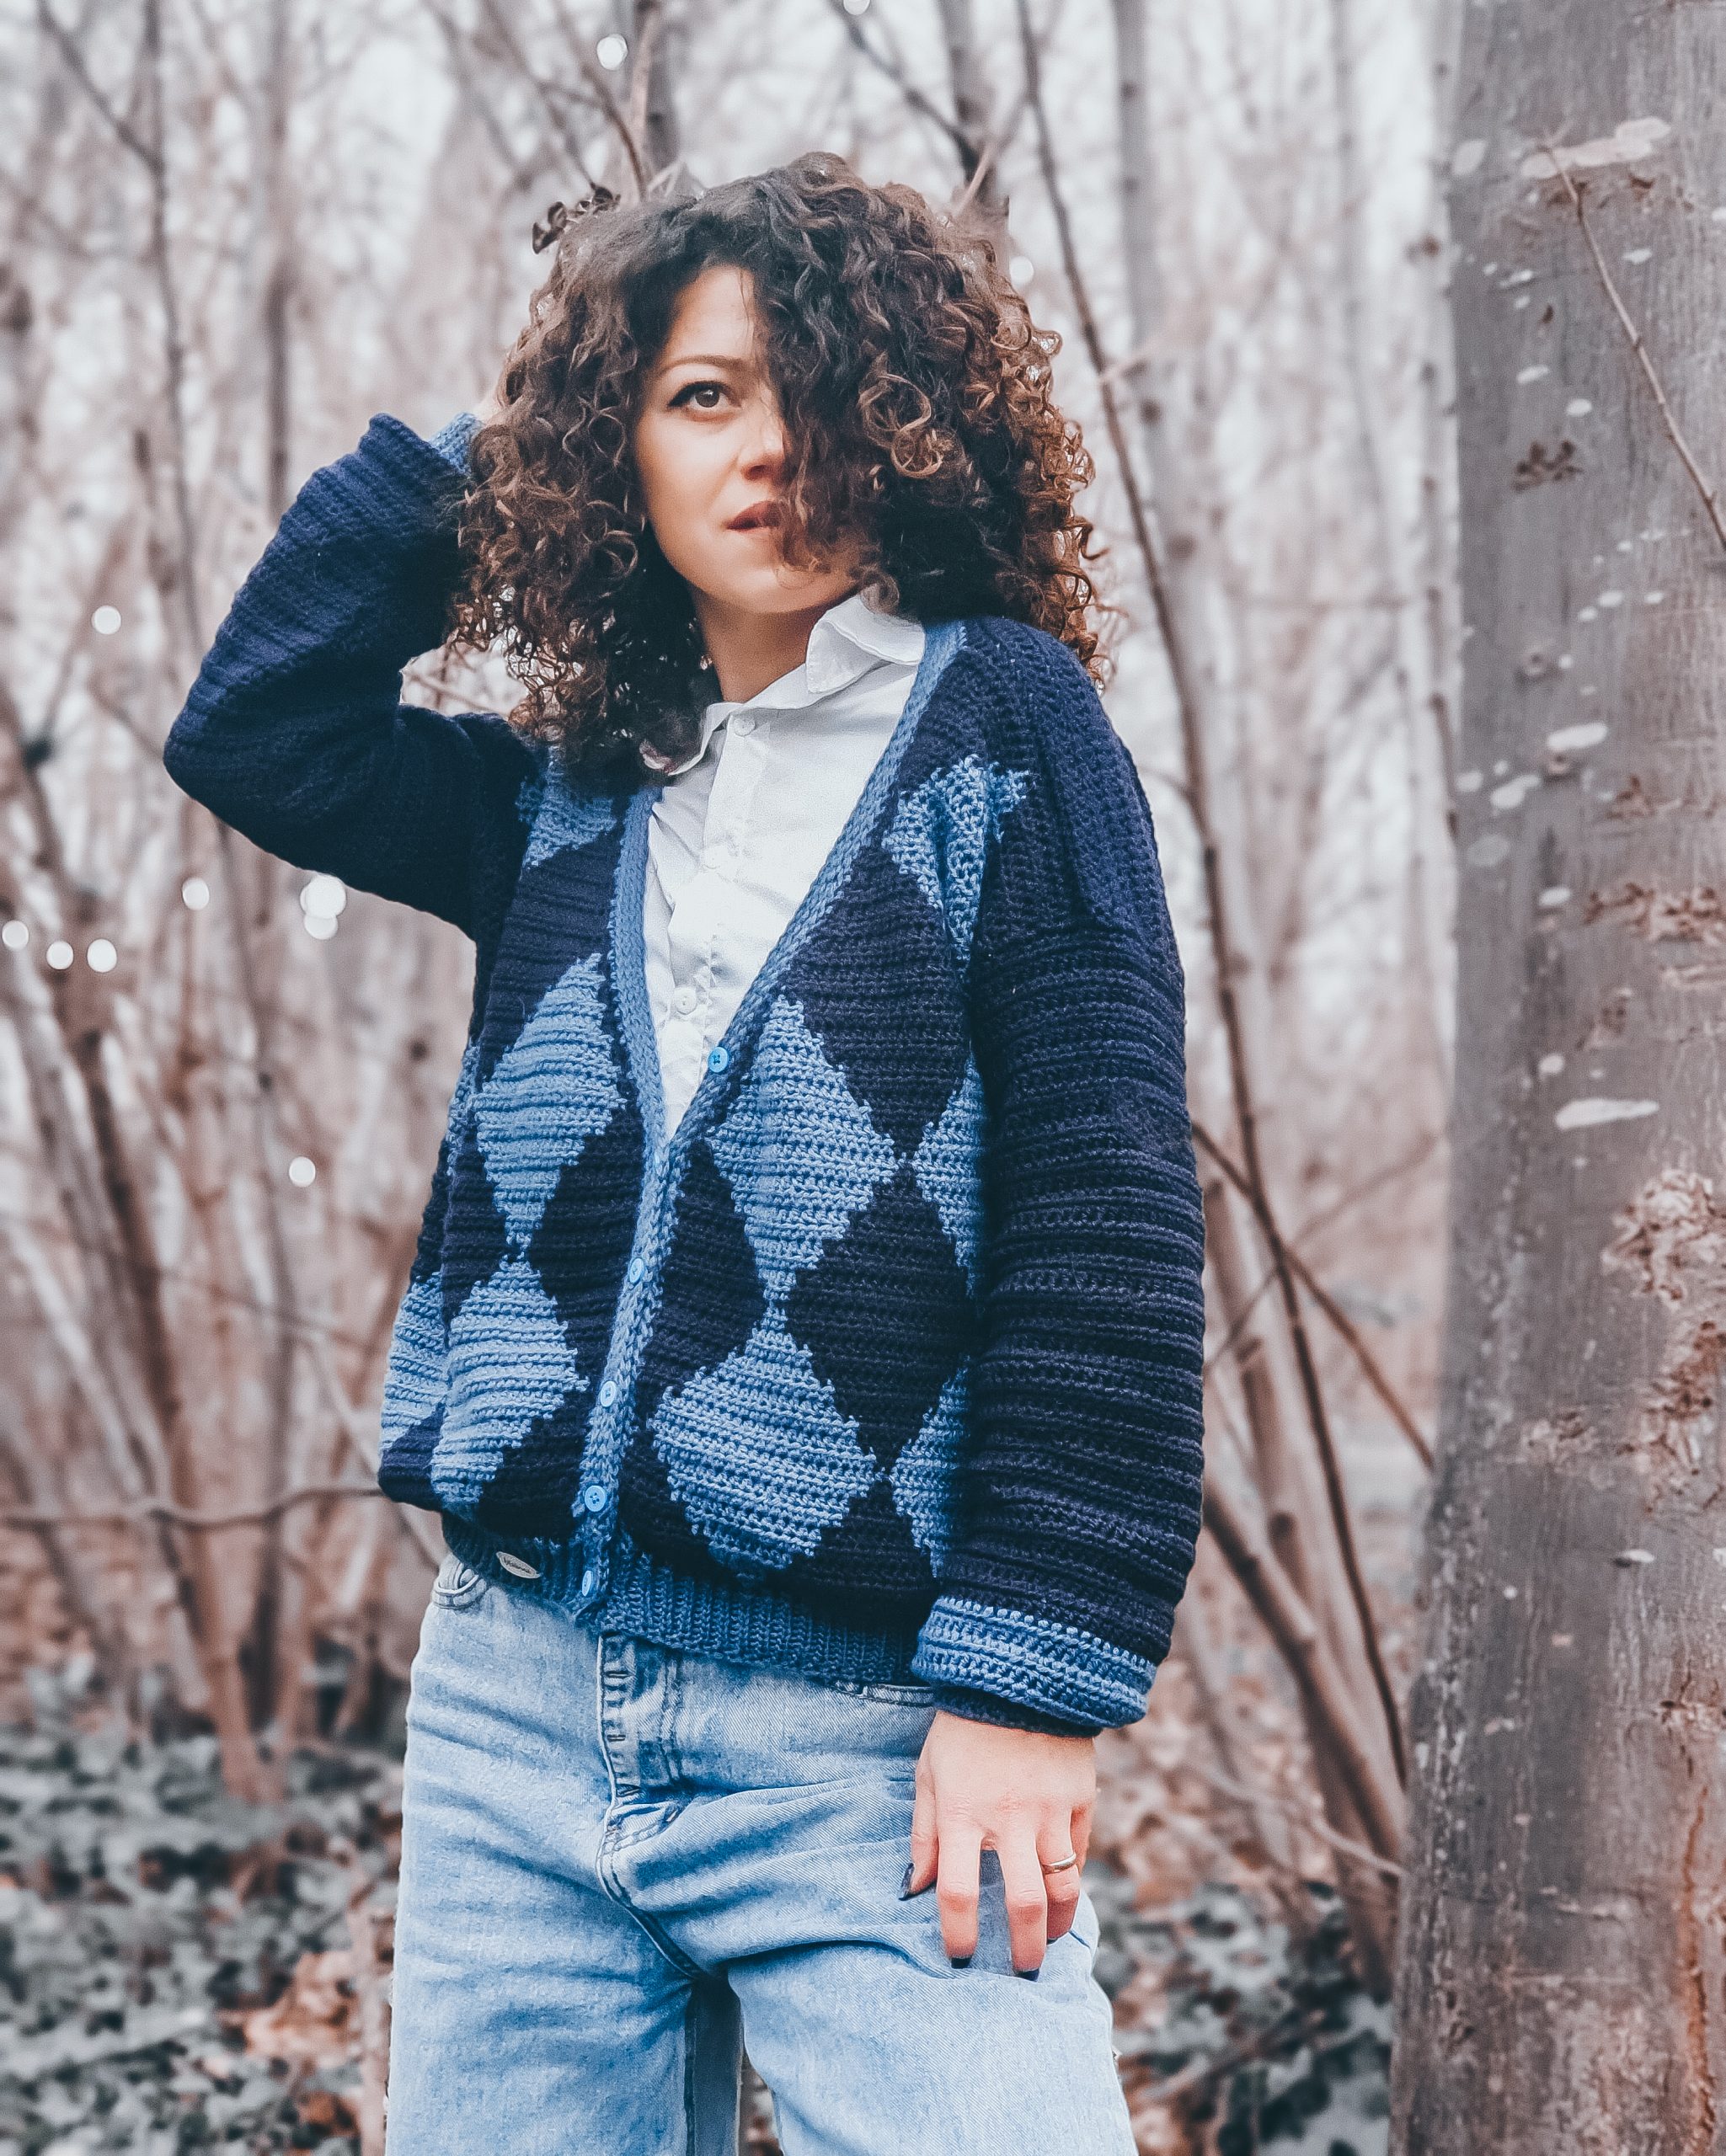
I don’t think this design is too complicated because you will get the idea of the colorwork pattern pretty fast, but writing down the instructions was again hard work. I sometimes find it so difficult to put in words all the steps to understand for everyone.
That is why I couldn’t write the pattern with all the pieces of information and steps for each size because it would have been a pretty long article. But you will find all you need to make this cardigan, and in case you need more help, there will be soon a video tutorial.
And of course, the PDF version of this pattern has everything you need: charts for each size and row by row written instruction.
You can Purchase the easily printable PDF version of this pattern here:
But, let’s see what materials we will need and how to make this cardigan.
MATERIALS
- Yarn
- Category 3 ( Light Weight Yarn)
- Crochet Hook
- 4 mm crochet hook and a 5.5 mm for neckline ribbing (I used Furl Odyssey Blue and Furls StreamLine Galaxy )
- You will need a yarn needle for weave in ends
- Scissors
- 4 small buttons (1cm diameter)
- stitch markers (optional)
NOTES ABOUT DESIGN
This pattern requires techniques like half double crochet, half double crochet decreases, Intarsia crochet, and slip stitches in the back loop only
After working the collar, turn the work, showing the work’s right side when it’s folded.
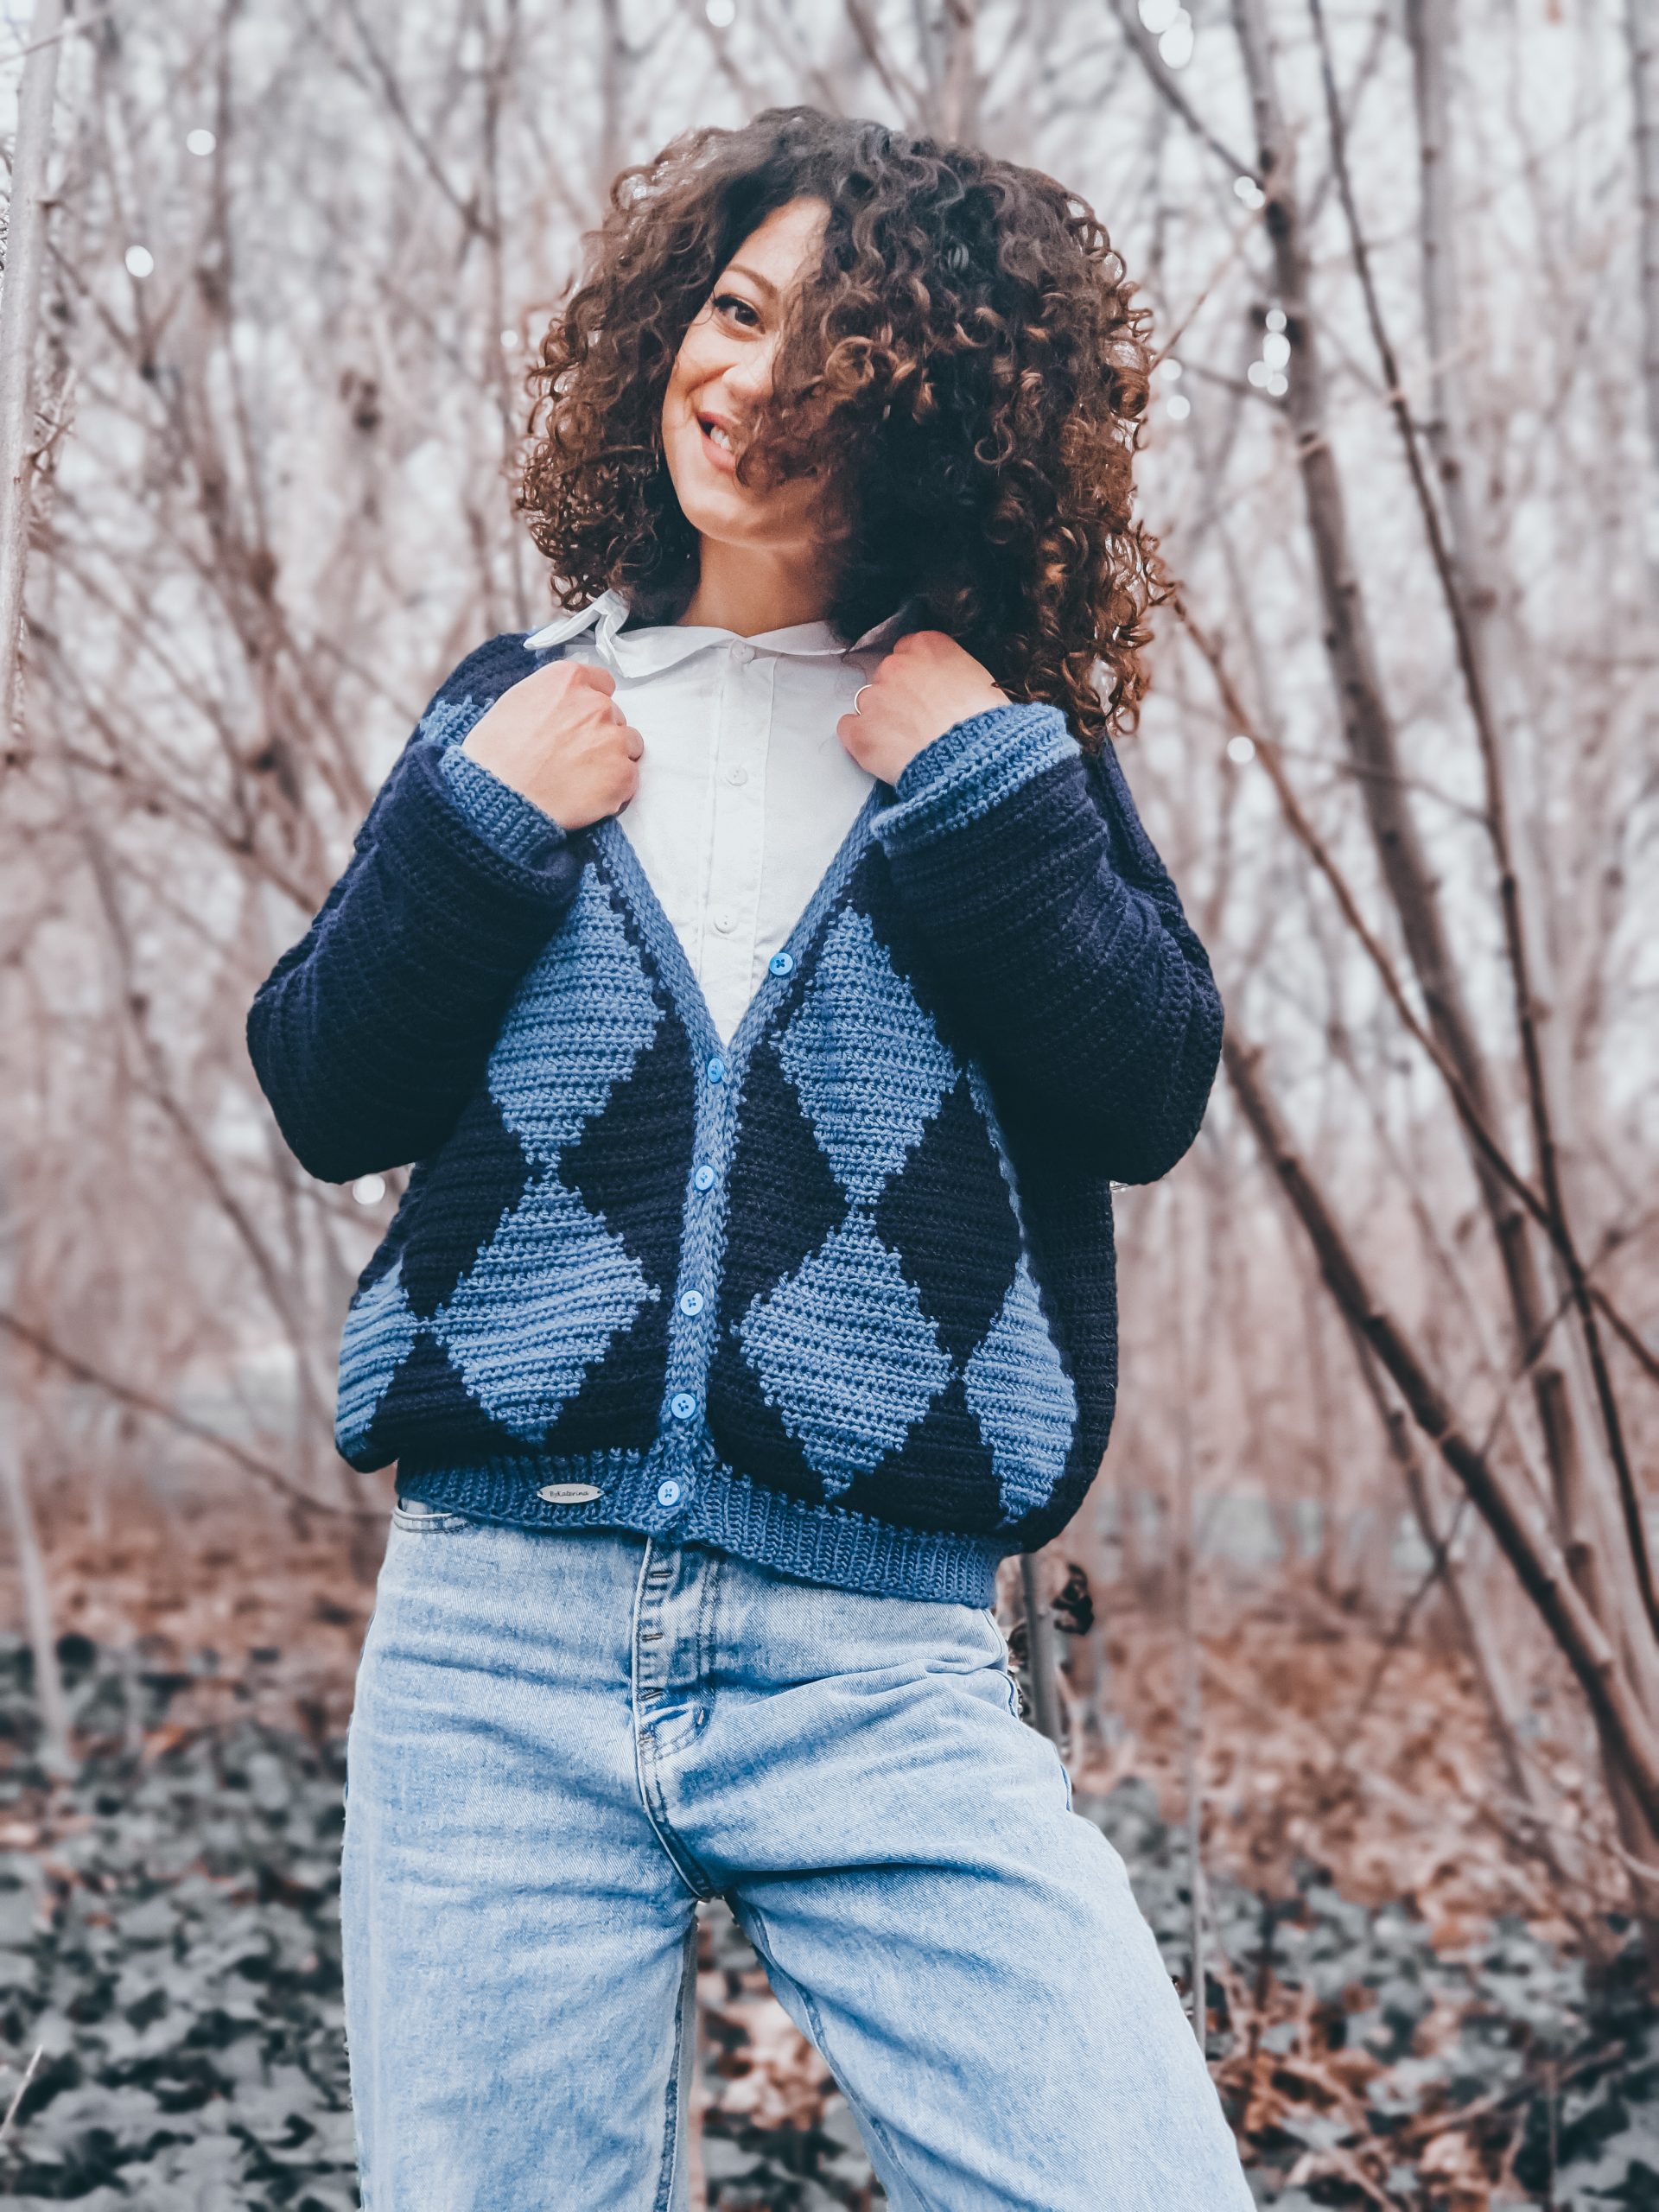
The front panels are worked in a diamond pattern, using 2 different colors and Intarsia Crochet Technique.
The construction is from 5 panels: 1 back panel, 2 front panels, and 2 sleeves.
Both front panels are identical—same with the sleeves.
Work the sleeves starting from the armhole after joining back and front panels shoulders.
The pattern is available in 5 sizes, from Small to 2X Large, and wrote in US terms.
MEASUREMENTS AND SIZES
The Deep Blue Cardigan has an oversized fit, with a positive ease of about 24 cm around the bust circumference. You will find in this pattern instructions about how to adjust the cardigan to a closer fit.
Final measurements of the Deep Blue Cardigan are listed below.
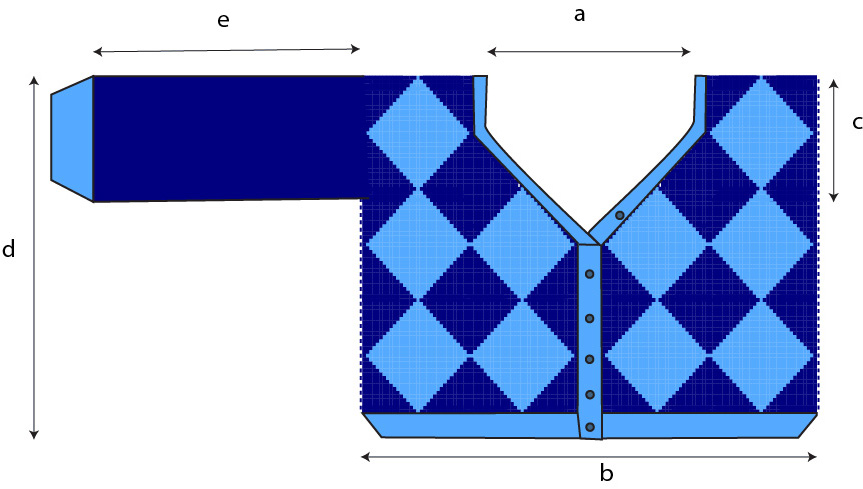
Neck Line a: 26 cm (28, 31, 34, 36)
Bust Width b: 55 cm (60, 65, 70, 75)
Armhole Depth c: 20 cm (23, 23, 26, 26)
Length d: 56 cm (61, 66, 71, 76)
Sleeve Length e: 49 cm (49, 51, 51, 52)

These measurements will fit:
| To Fit cm |
S |
M |
L |
XL |
2XL |
| Bust | 86 | 96 | 106 | 116 | 126 |
How much yarn do you need?
I used Basic Merino by Katia Yarns in Dark Blue and Grey Blue colors for the Deep Blue Cardigan.
Each ball has 50 grams and approximately 120 meters.
Below you can find how much yarn you will need for each size.
For each size, you will approximate need:
| Katia Basic Merino (50 gr/120m) | S | M | L | XL | XXL |
| Dark Blue | 5 | 6 | 7 | 8 | 9 |
| Grey Blue | 3.5 | 4 | 5 | 6 | 7 |
STITCH PATTERN AND TECHNIQUES
The entire cardigan is worked in half double crochet stitches, except the bottom hem, cuffs, and neckline ribbing, which is worked in slip stitches in the back loop only.
For the front panels, we are using the Intarsia Crochet technique to create the diamonds. Intarsia Crochet is a colorwork technique similar to tapestry crochet. The difference is that you don’t have to carry on the unused color in the back of your work, but you have to use different balls for each section of color.
You will find more info about it in the Pattern Notes Section.
ABBREVIATIONS
- Ch – chain
- Hdc – half double crochet
- Ss – slip stitch
- Ssblo – slip stitch in the back loop only
- Dec – decrease: yarn over, insert the hook into the next st, insert the hook into the next st again, yarn over, and pull it through all loop on your hook
- St(s) – stitch(es)
- R – rows
- ** – repeated section.
TENSION (GAUGE)
Using a 4 mm crochet hook in half double crochet
- 16 sts and 12 rows = 10 cm
NOTES
Always ch2 at the end of each row. Ch2 does not count as the first hdc.
All pieces are worked flat. Turn after each row.
For the front panels, use a different ball for each section of color (3 balls of dark blue, 2 balls of grey-blue)
When changing the color, finish the last st in the current color with the next color you want to use.
Leave the unused color on the wrong side of your work (in the back if you work on the right side and bring it in the front if you work on the wrong side)
For the left and front panel, use the same pattern. They have to be worked in the mirror. To use the same pattern, for one panel, start with a wrong side row. This means that you will work the first row the same, only that when changing the color, bring the other color yarn in the front of your work.
When working the neckline ribbing, use a 5.5 mm crochet hook. The ribbing is worked in slip stitches in the back loop only, which tend to be smaller than a side row half double crochet. When working the ribbing across, each side row, half double crochet represents one st.
If you want to use the same hook size (4 mm), work on the first row of ribbing 2sc in each side row half double crochet or adjust the number of sc stitches evenly so that the fabric won’t curl.
HOW TO ADJUST THE PATTERN FOR A CLOSER FIT
Following this pattern, you will end up with an oversized cardigan with the measurements listed in the Measurements and Sizes Section.
In case you want a closer fit, you can follow the pattern for a smaller size or adjust the pattern to your own measurements.
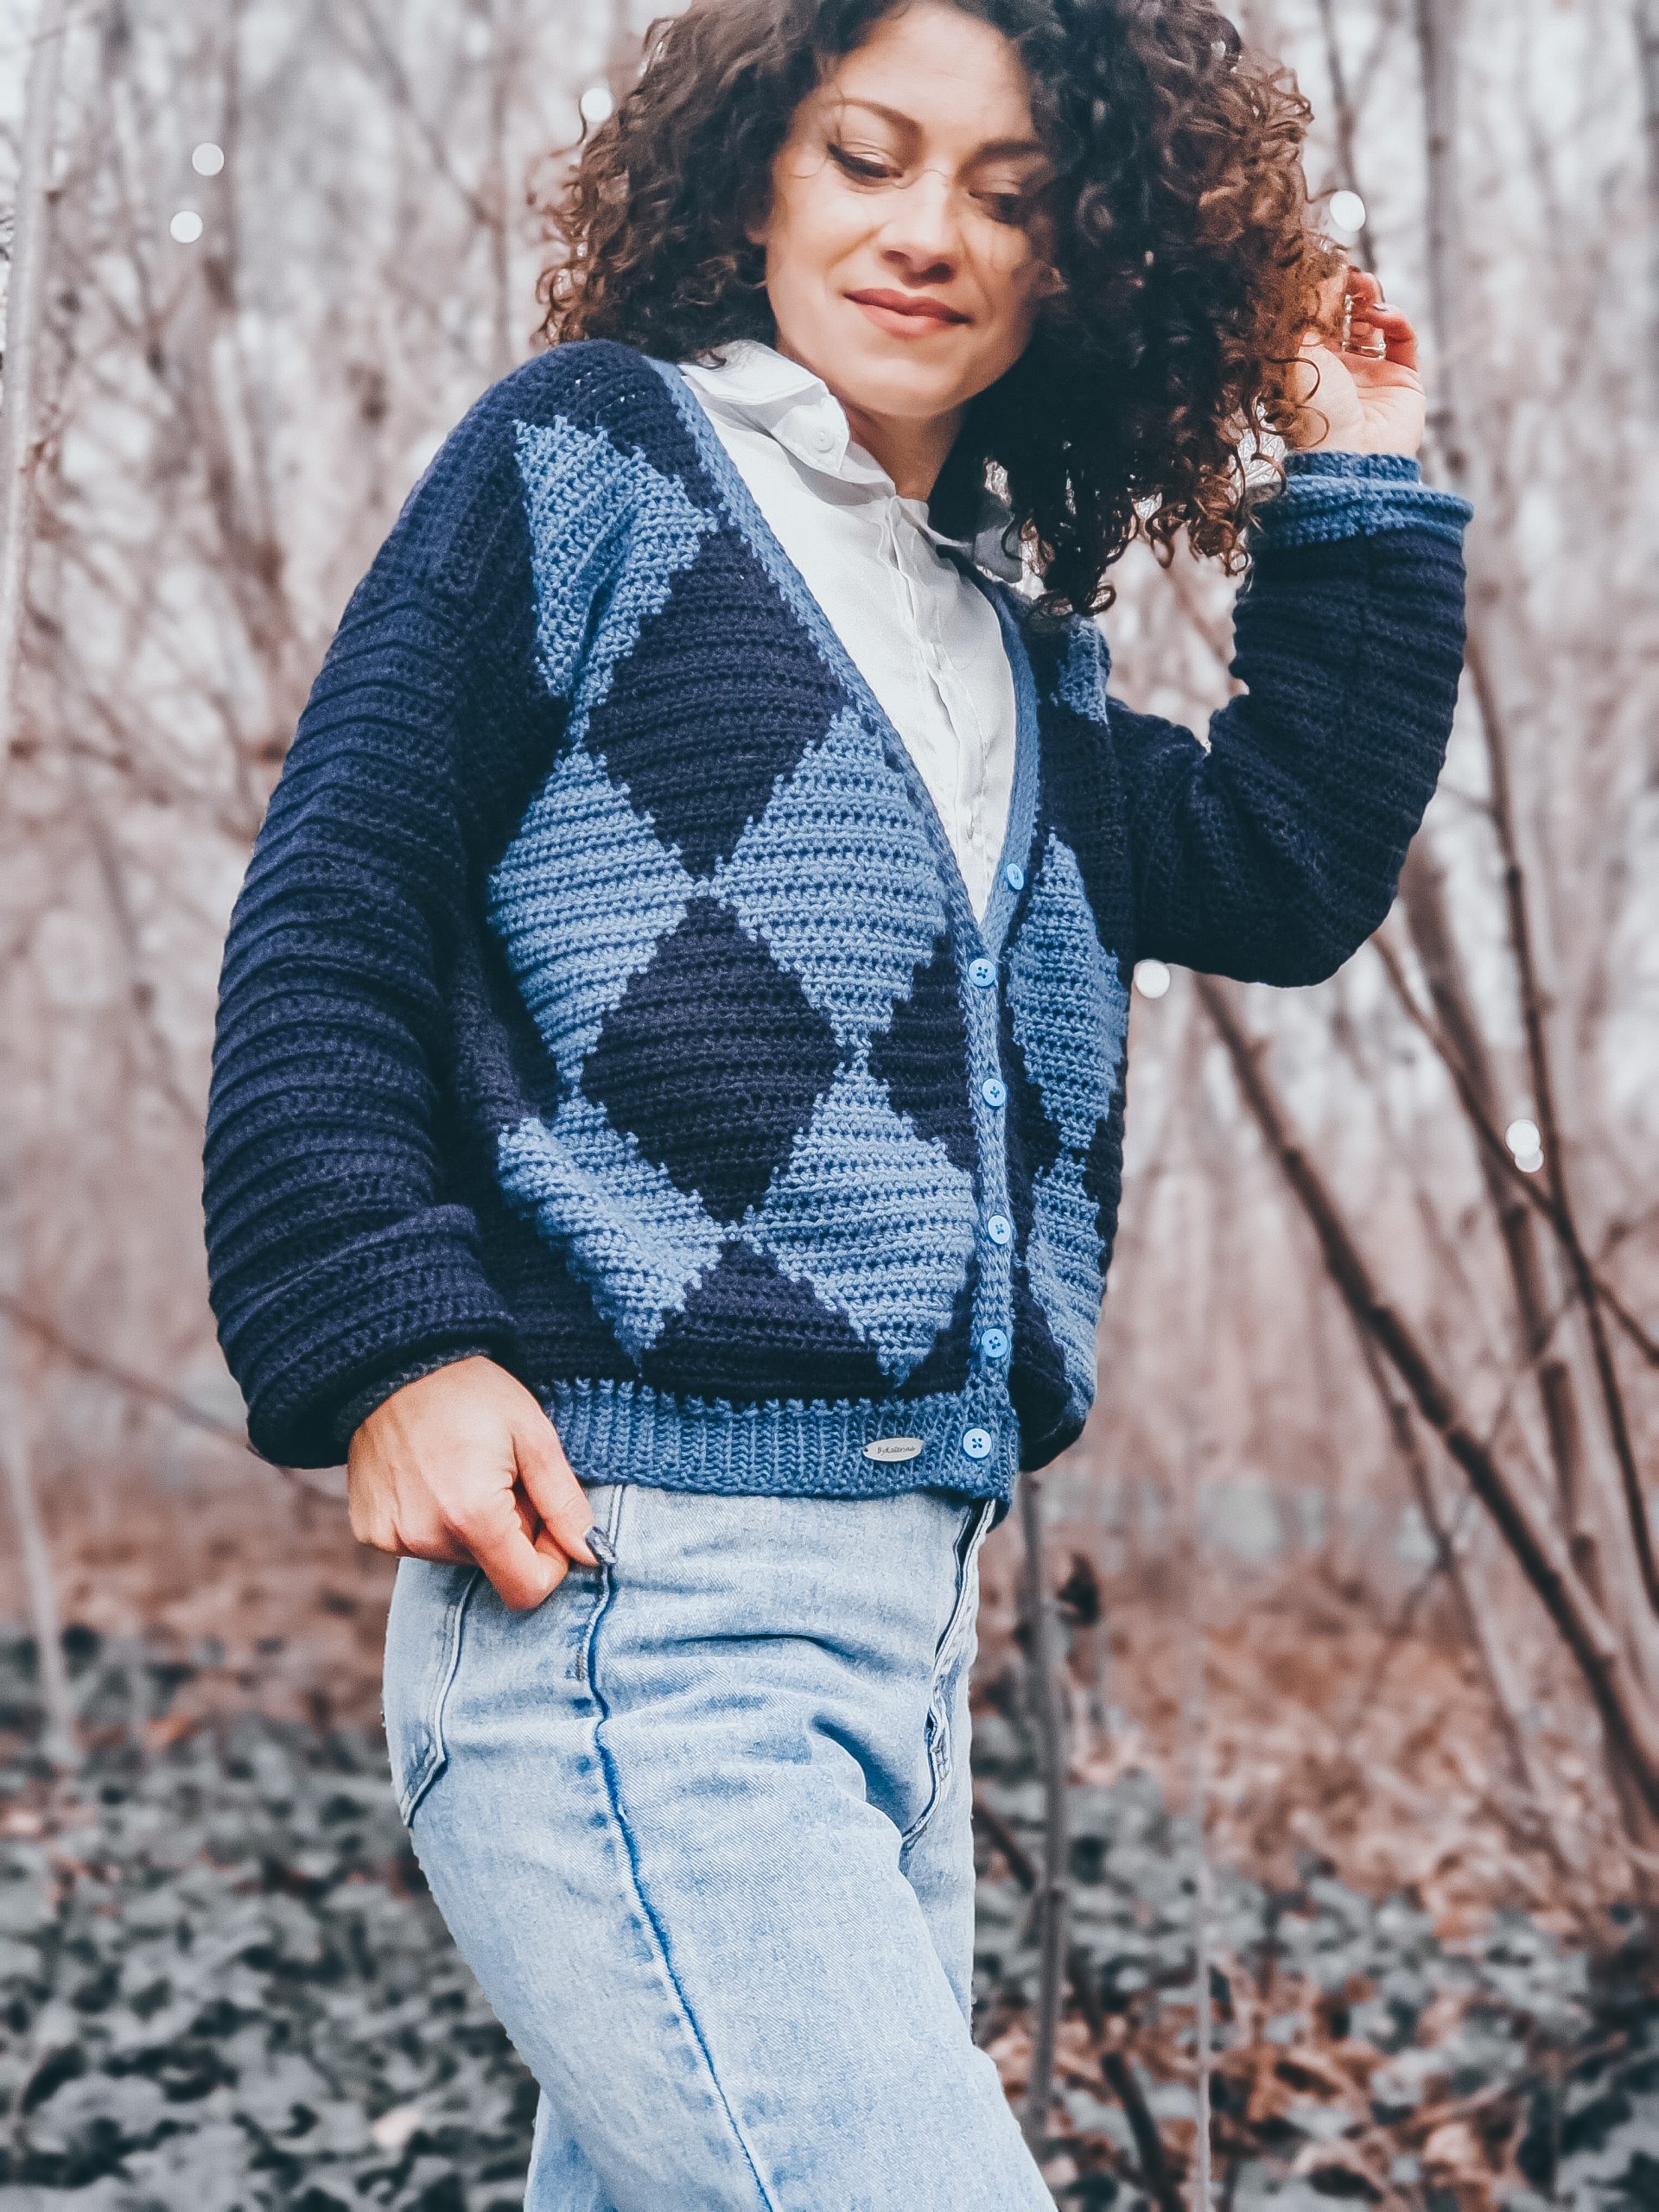
The front panel is giving the width of the cardigan. Because of the diamond motifs, you have a few options to adjust that.
Make a swatch and count how many sts you will need to get to the desired width.
One front panel has two sts of 2 diamonds (counting the middle row) + 2 more sts.
For example, for size small, one diamond has 21 sts. This means that I have to start with 21×2+2 = 44 sts. 2 panels with this number of sts will give the final width of 55 cm.
With each bigger size add, 2 more sts on each diamond.
To get a closer fit, you will have to adjust the number of sts for a diamond.
For example, let’s say that you will want a cardigan width of 50 cm. This means that I need each front panel to be smaller by 2.5 cm, which according to my gauge, means 4 sts.
To get to a 50 cm width, I will need to make each diamond with 2 sts less. (21-2) x2+2=40 sts to start with for each panel.
If you decide to make the diamonds smaller, you will have a smaller length, following the same rows.
If you want to adjust the length, you can work more rows before decreasing for the neckline. The pattern has the number of rows for 1 diamond and a half before starting to increase. To adjust the length, you can add the number of rows for one diamond (work 2 diamonds and a half.)
INSTRUCTION
In the PDF version of this pattern, you will find a chart for each size, and the instructions are written row by row for the front panel.
- You can Purchase the easily printable PDF version of this pattern here:
The number for sizes M, L, XL, 2XL are written between brackets.
FRONT PANEL (make 2. See the Notes section)
The front panels have 2 grey-blue diamond motifs.
Each diamond has 21 (23, 25, 27, 29) sts in diagonal.
In color Dark Blue
Start: ch 44 (48, 52, 56, 60)
R1: ch2, starting with 3th st, 1hdc in next st, *1hdc in next 10 (11,12,13,14) sts, change to Grey Blue, 1hdc in next st, change to dark blue, 1 hdc in next 10 (11,12,13,14) sts. *Rep 1 more time, 1hdc in last st.
R2: 1hdc in next st, *1hdc in next 9 (10,11,12,13) sts, change to Grey Blue, 1hdc in next 3sts, change to dark blue, 1 hdc in next 9 (10,11,12,13)sts. *Rep 1 more time, 1hdc in last st.
R3: 1hdc in next st, *1hdc in next 8 (9, 10, 11, 12)sts, change to Grey Blue, 1hdc in next 5sts, change to dark blue, 1 hdc in next 8 (9, 10, 11, 12)sts. *Rep 1 more time, 1hdc in last st
R4: 1hdc in next st, *1hdc in next 7 (8, 9,10,11) sts, change to Grey Blue, 1hdc in next 7sts, change to dark blue, 1 hdc in next 7 (8, 9,10,11)sts. *Rep 1 more time, 1hdc in last st
R5: 1hdc in next st, *1hdc in next 6 (7,8,9,10) sts, change to Grey Blue, 1hdc in next 9sts, change to dark blue, 1 hdc in next6 (7,8,9,10)sts. *Rep 1 more time, 1hdc in last st
R6: 1hdc in next st, *1hdc in next 5(6,7,8,9) sts, change to Grey Blue, 1hdc in next 11sts, change to dark blue, 1 hdc in next 5(6,7,8,9) sts. *Rep 1 more time, 1hdc in last st
R7: 1hdc in next st, *1hdc in next 4(5,6,7,8) sts, change to Grey Blue, 1hdc in next 13sts, change to dark blue, 1 hdc in next 4(5,6,7,8)sts. *Rep 1 more time, 1hdc in last st
R8: 1hdc in next st, *1hdc in next 3(4,5,6,7) sts, change to Grey Blue, 1hdc in next 15sts, change to dark blue, 1 hdc in next 3(4,5,6,7)sts. *Rep 1 more time, 1hdc in last st
R9: 1hdc in next st, *1hdc in next 2(3,4,5,6) sts, change to Grey Blue, 1hdc in next 17sts, change to dark blue, 1 hdc in next 2(3,4,5,6)sts. *Rep 1 more time, 1hdc in last st
R10: 1hdc in next st, *1hdc in next 1(2,3,4,5) st(s), change to Grey Blue, 1hdc in next 19sts, change to dark blue, 1 hdc in next 1(2,3,4,5) st(s). *Rep 1 more time, 1hdc in last st
Next, we have only one more row for size S to complete half of the diamond and get to the sts’ diagonal number. The next row for size S will be:
R11: 1hdc in next st, change to Grey Blue, 1hdc in next 42 sts, change to dark blue, 1hdc in last st
For bigger sizes. You will have to continue and increase the sts in the color Grey Blue until you get to the number of sts mentioned above. You will have only 1 st in dark blue at the beginning and the end of the row.
Next, you will have to repeat in the mirror the rows made before, until you will have for one diamond only 1 st.
After you complete a diamond motif, repeat the first half. So you will have in total 1 diamond and a half.
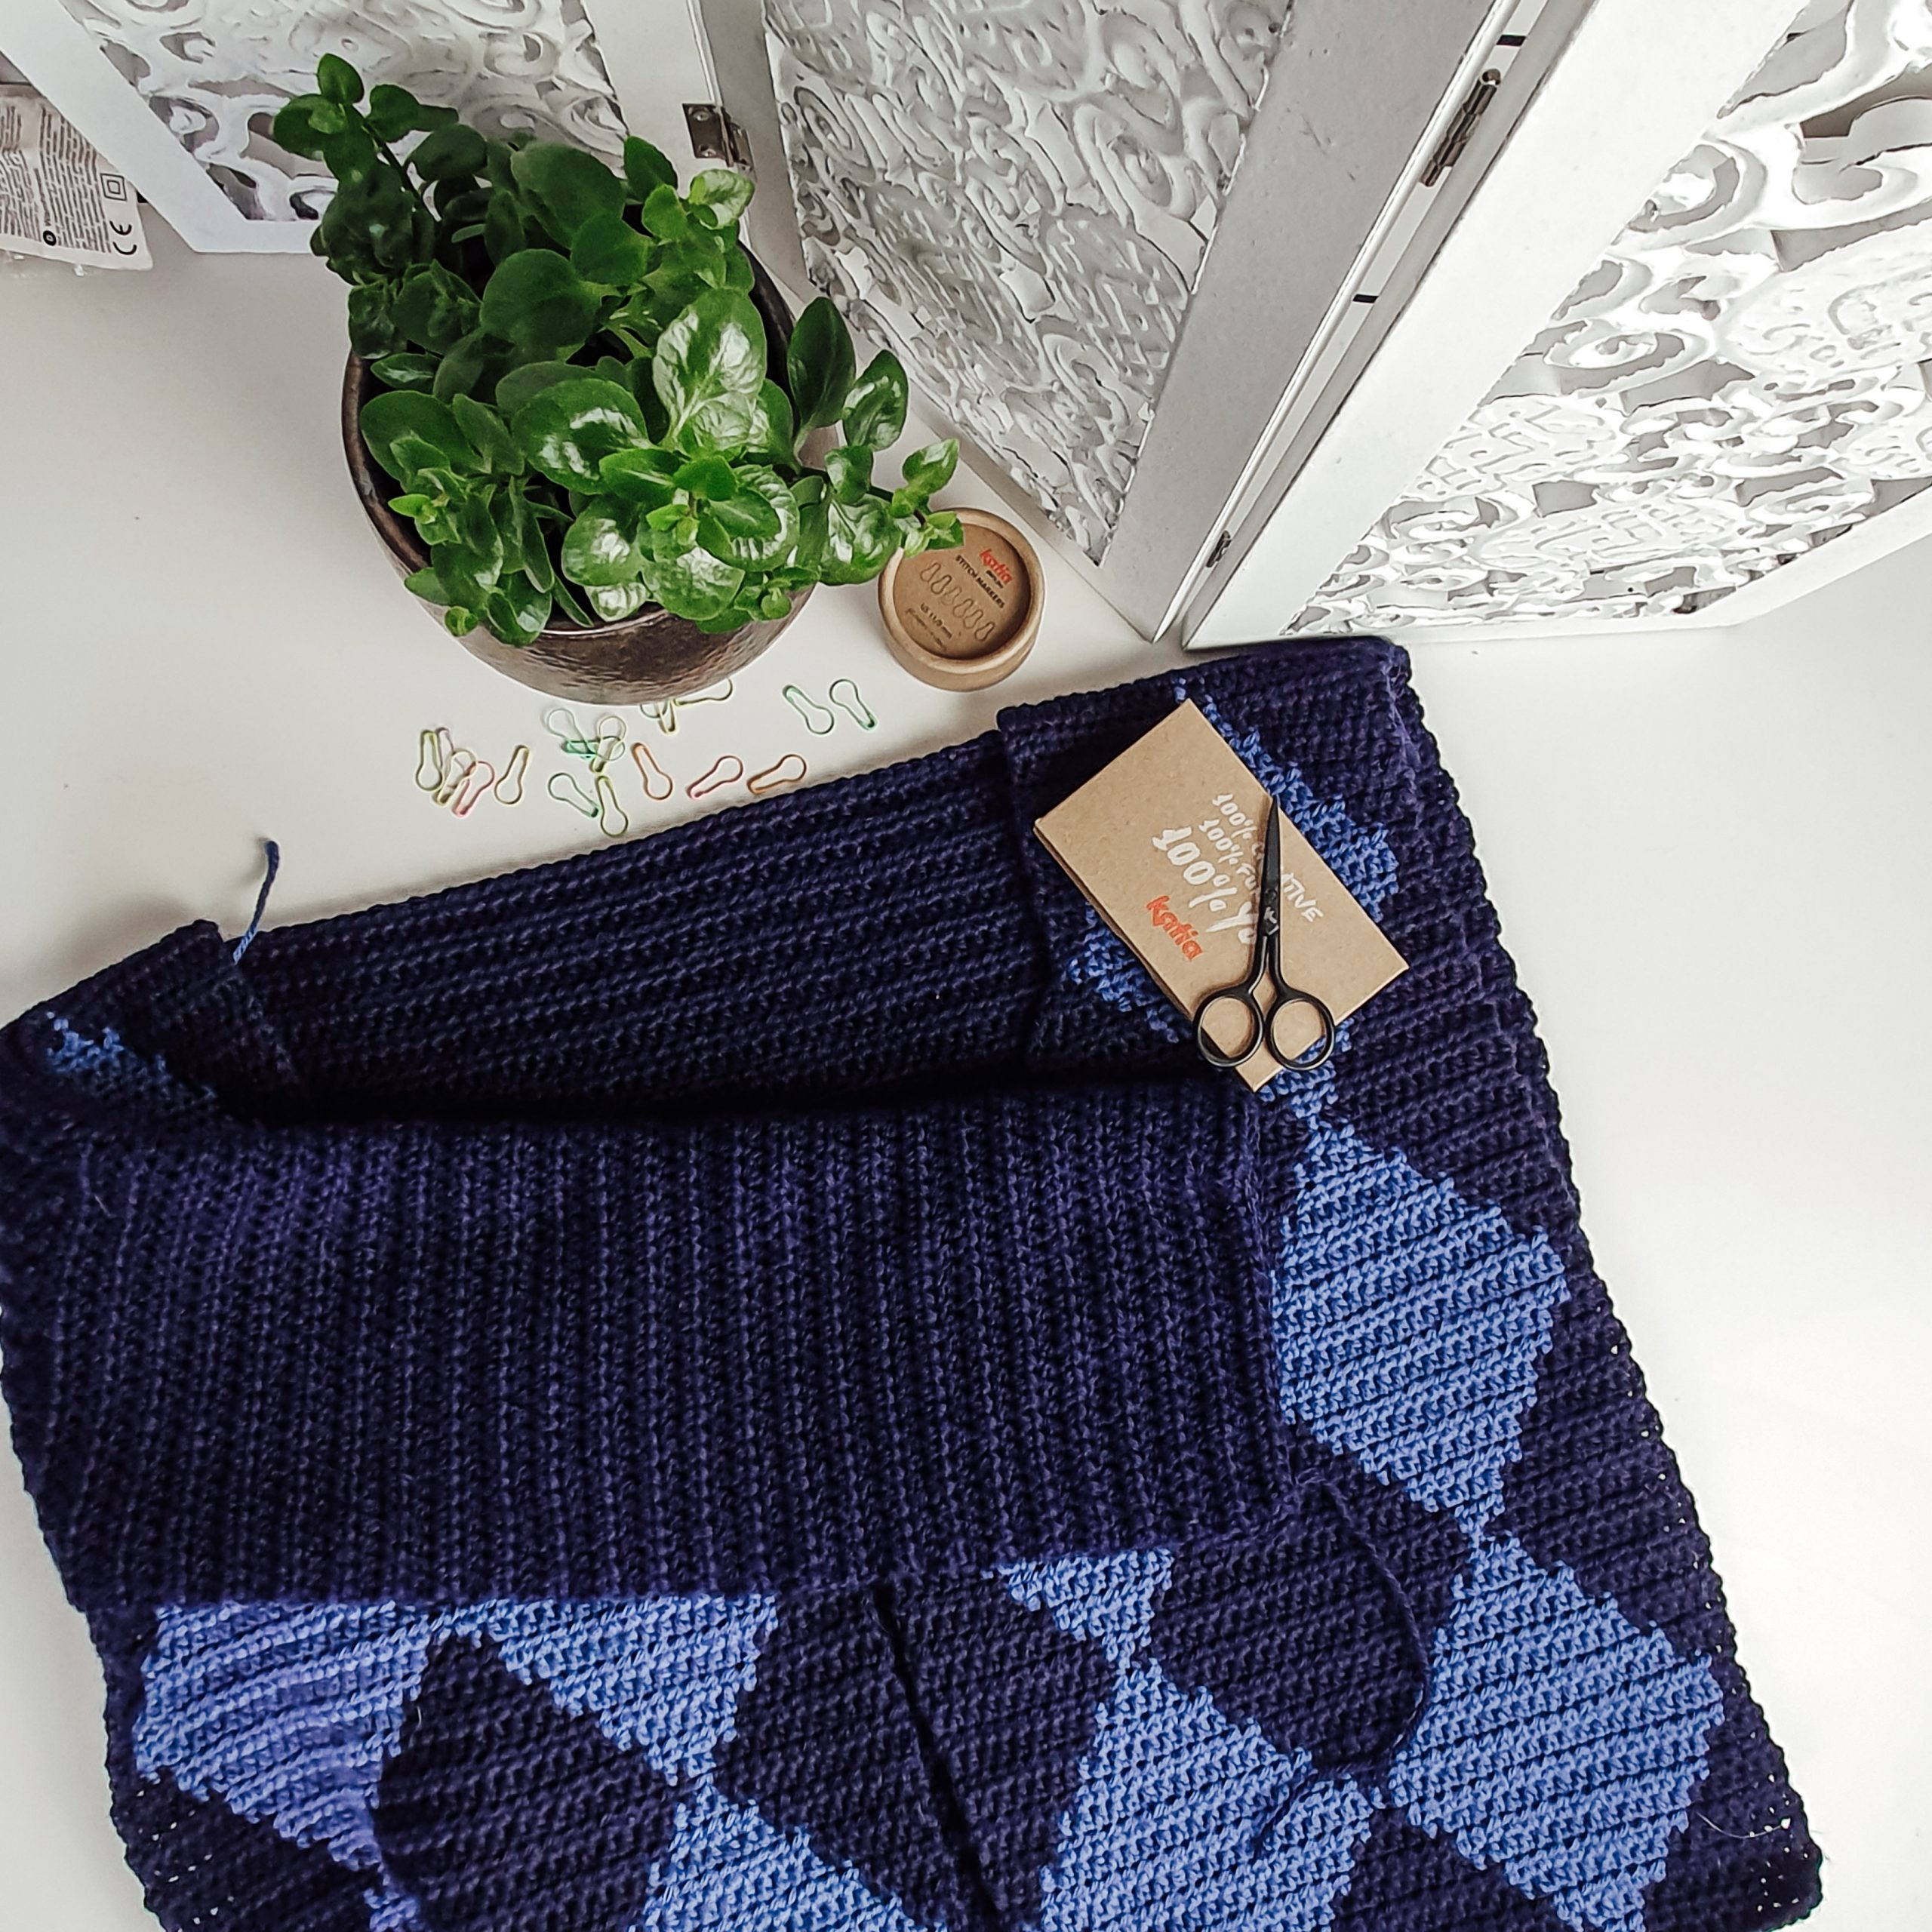
Now, we will start to decrease the neckline. The decrease will be made at the beginning of the row for some sizes, for other sizes at the end, Depending on how many rows you worked on until now and if is a wrong side or right side row.
Decrease on the same side on each row, making sure you keep the diamond pattern. You will decrease for 2 half diamond equals 21 (23, 25, 27, 29) rows.
When you complete the first half of the diamond, you will need to make 2 Dec (decrease 2 sts) on the next row, and then you will continue to decrease by one st.
After finishing decreasing continue straight for 10 (11, 12, 13, 14) rows.
At this point, one front panel is complete. To repeat the same pattern, but having the other panel in the mirror, you will have to start with the wrong side row. (See the Notes Section)Dec
The pattern is written row by row for the entire front panel and each size separately in the PDF version. It also includes charts for each size.
- You can Purchase the easily printable PDF version of this pattern here:
BACK PANEL
In color Dark Blue
Start: ch 88 (96, 104, 112, 120) sts
R1: ch2, starting with 3rd st, 1hdc in each st until the end of the row.
R2: 1hdc, in each st until the end of the row.
R3 – R62 (68, 74, 80, 86): rep R2
Fasten off.
SLEEVES
Join back panels with front panels at the shoulders.
Count from the shoulder seam on the back and the front panel 24 (28, 28, 31, 31) rows.
Use st markers to mark the armhole depth.
Each side row represents 1 st.
R1: Rejoin yarn into the marked st at the right, ch1, 1sc in all armhole sts. Ch2 and turn.
R2: 1hdc in each st until the end of the row.
R3 – R52 (53, 54, 54, 55): rep R2
ASSEMBLING
Fold the piece in half, and stitch the edges
RIBBING
Use any of the 2 colors
Neck Line Ribbing
Use a 5.5 mm crochet hook
1side row hdc represent one st.
Rejoin yarn in the right bottom corner of the cardigan
R1: 1sc in each st across.
R2: 1ssblo in each st across
R3, R4: rep R2
R5: Buttonholes. Divide the total number of sts you have before the decrease (you should have the same number of sts as rows before start decreasing) to the number of buttons you will want to use. Make the buttonhole with ch1 and skip 1 st.
R6 – R8: Rep R2
Bottom hem and cuffs ribbing
Rejoin yarn.
Start: ch16 (or as many ch sts you want, depending on how wide to be the ribbing), turn
R1: 1ss in each of 15 sts, 1ss in the next 2 sts of the edge (to connect the ribbing) turn,
R2: 1ssblo in each of the next sts, ch1 and turn
R3: 1ssblo in each of the next sts, 1ss with the next 2 sts of the edge.
Rep R2 and R3 until you complete the entire ribbing.
For the cuffs, join the ends with ss.
For the bottom ribbing, on the buttons holes side, make one more buttonhole on this ribbing.
TO FINISH
Weave in all looser ends and block to measurements.
And done! The Deep Blue Cardigan is ready to wear.
You can find the video tutorial below:


Comments are closed.