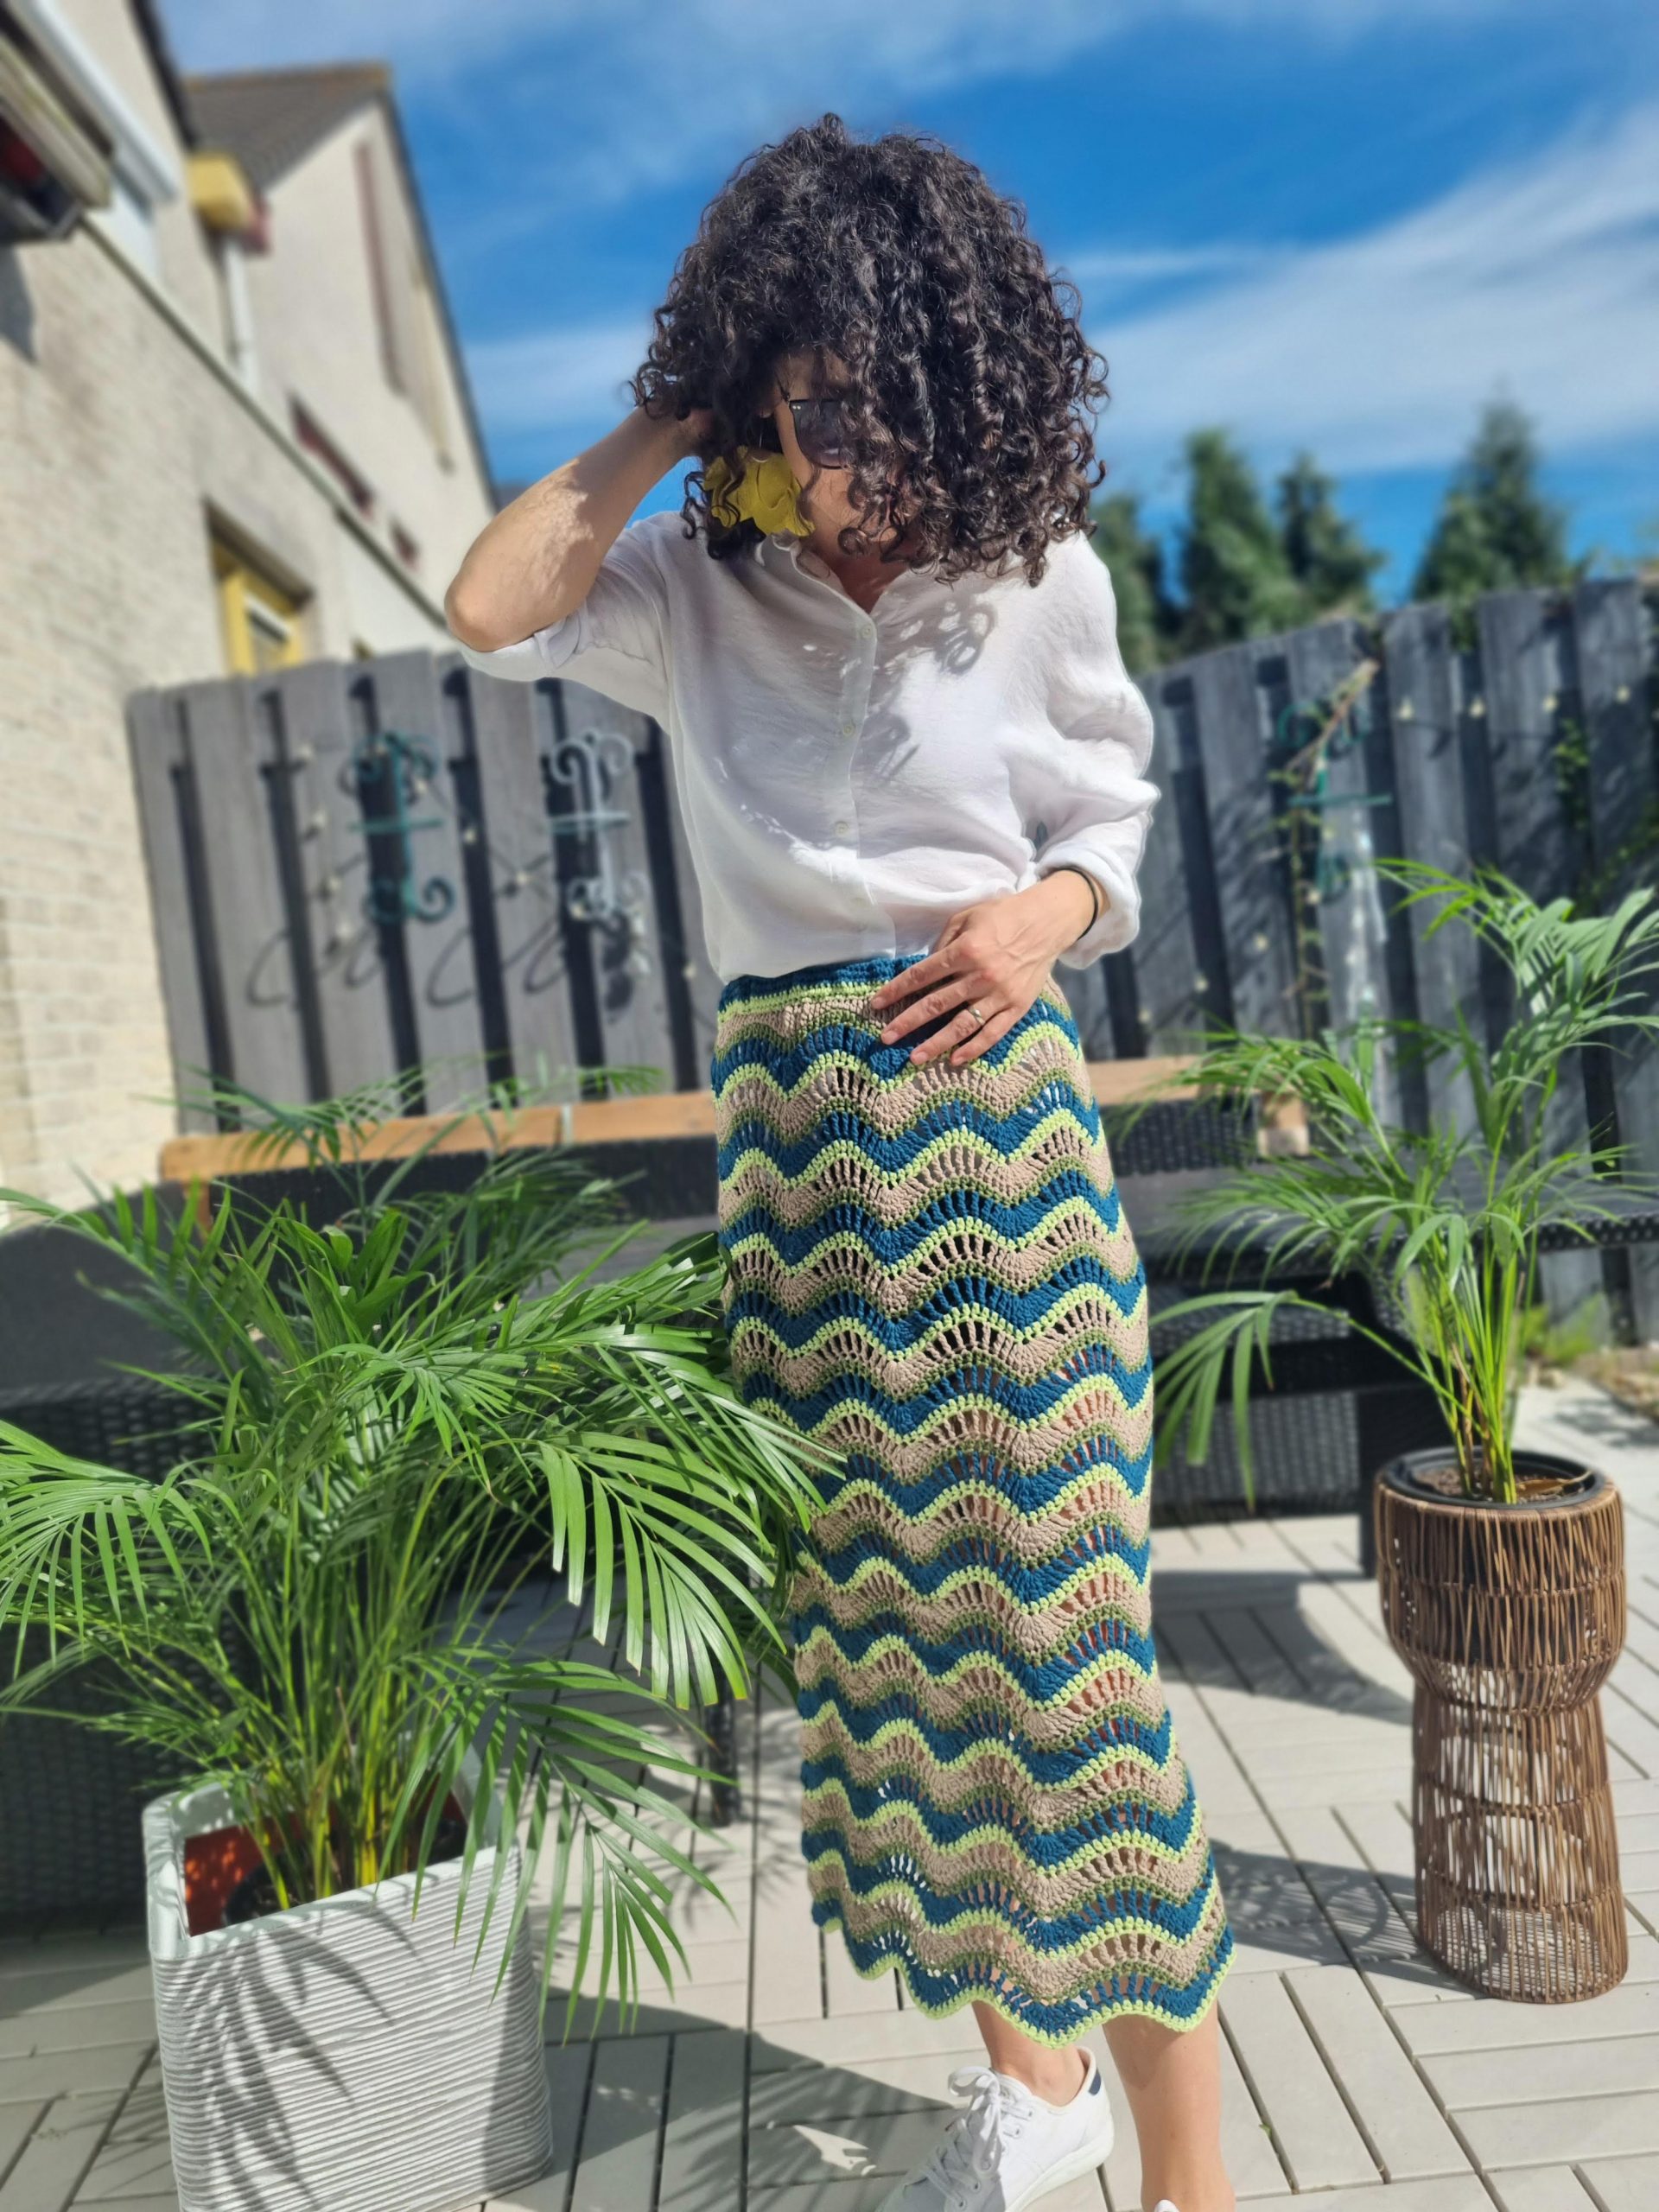
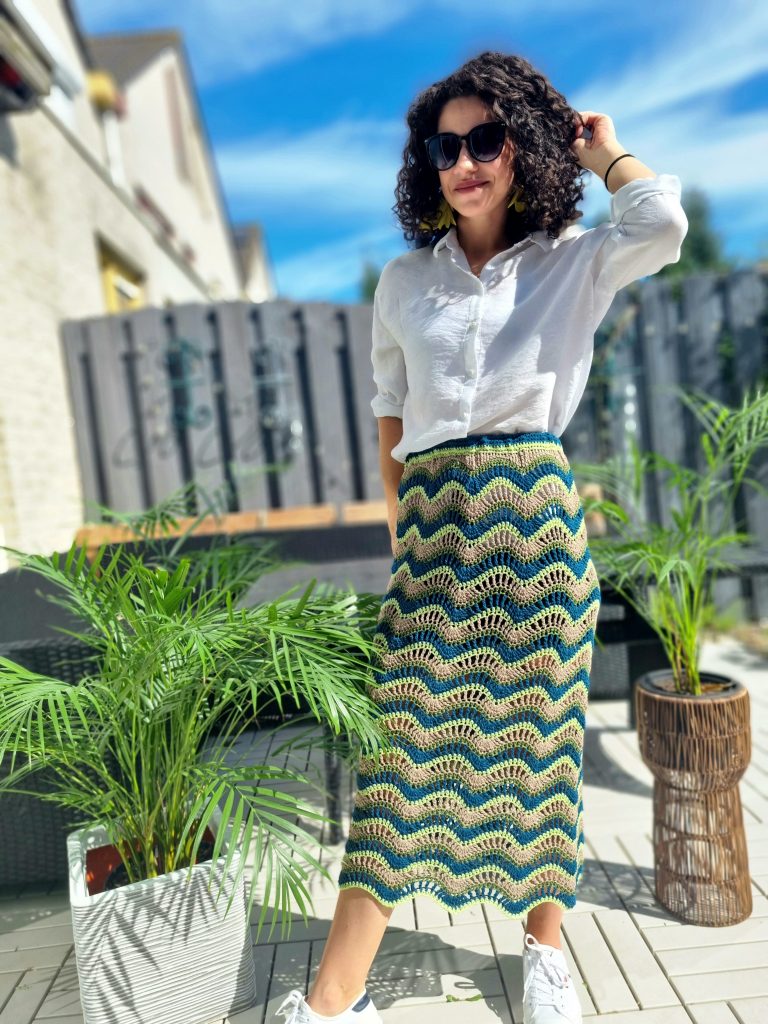
I’ve been really excited to create a crocheted skirt using a ripple stitch pattern, and I’m so glad that I finally did it. This season, I’ve been more focused on wearing skirts and dresses, and I believe that my current mood influenced the creation of the Wavy Skirt.
When I began working on this crocheted skirt, I had my heart set on making a long maxi skirt. Unfortunately, I didn’t have enough yarn to make it as long as I wanted. Despite this setback, I’m genuinely happy with how it turned out in the end. I now feel that the length of the skirt is just perfect.
For a comprehensive guide , refer to the PDF version of this pattern, which includes a detailed stitch chart for every step. The PDF is available for purchase at the provided links below:
If you are excited as I was to make this crocheted skirt, let’s just see what we will need and how to make it.
MATERIALS
• Yarn: Size 3, DK weight yarn
• Crochet Hook:
o 5 mm crochet hook
• yarn needle for weaving in ends
• Scissors
• 2cm wide elastic band (it should be around 5-7cm shorter than the waist circ)
NOTES ABOUT DESIGN
The Wavy Skirt is simple to make. You create it in a straight, circular manner, with no need for extra stitches or decreases. You can adjust how wide it is by adding more or fewer stitches when you begin. When you’re almost done, you shape the waistband by making the upper edge even and adding a few more rounds using single crochet stitches. To change the waist size, you fold the waistband and slip in an elastic band.
MEASUREMENTS AND SIZES
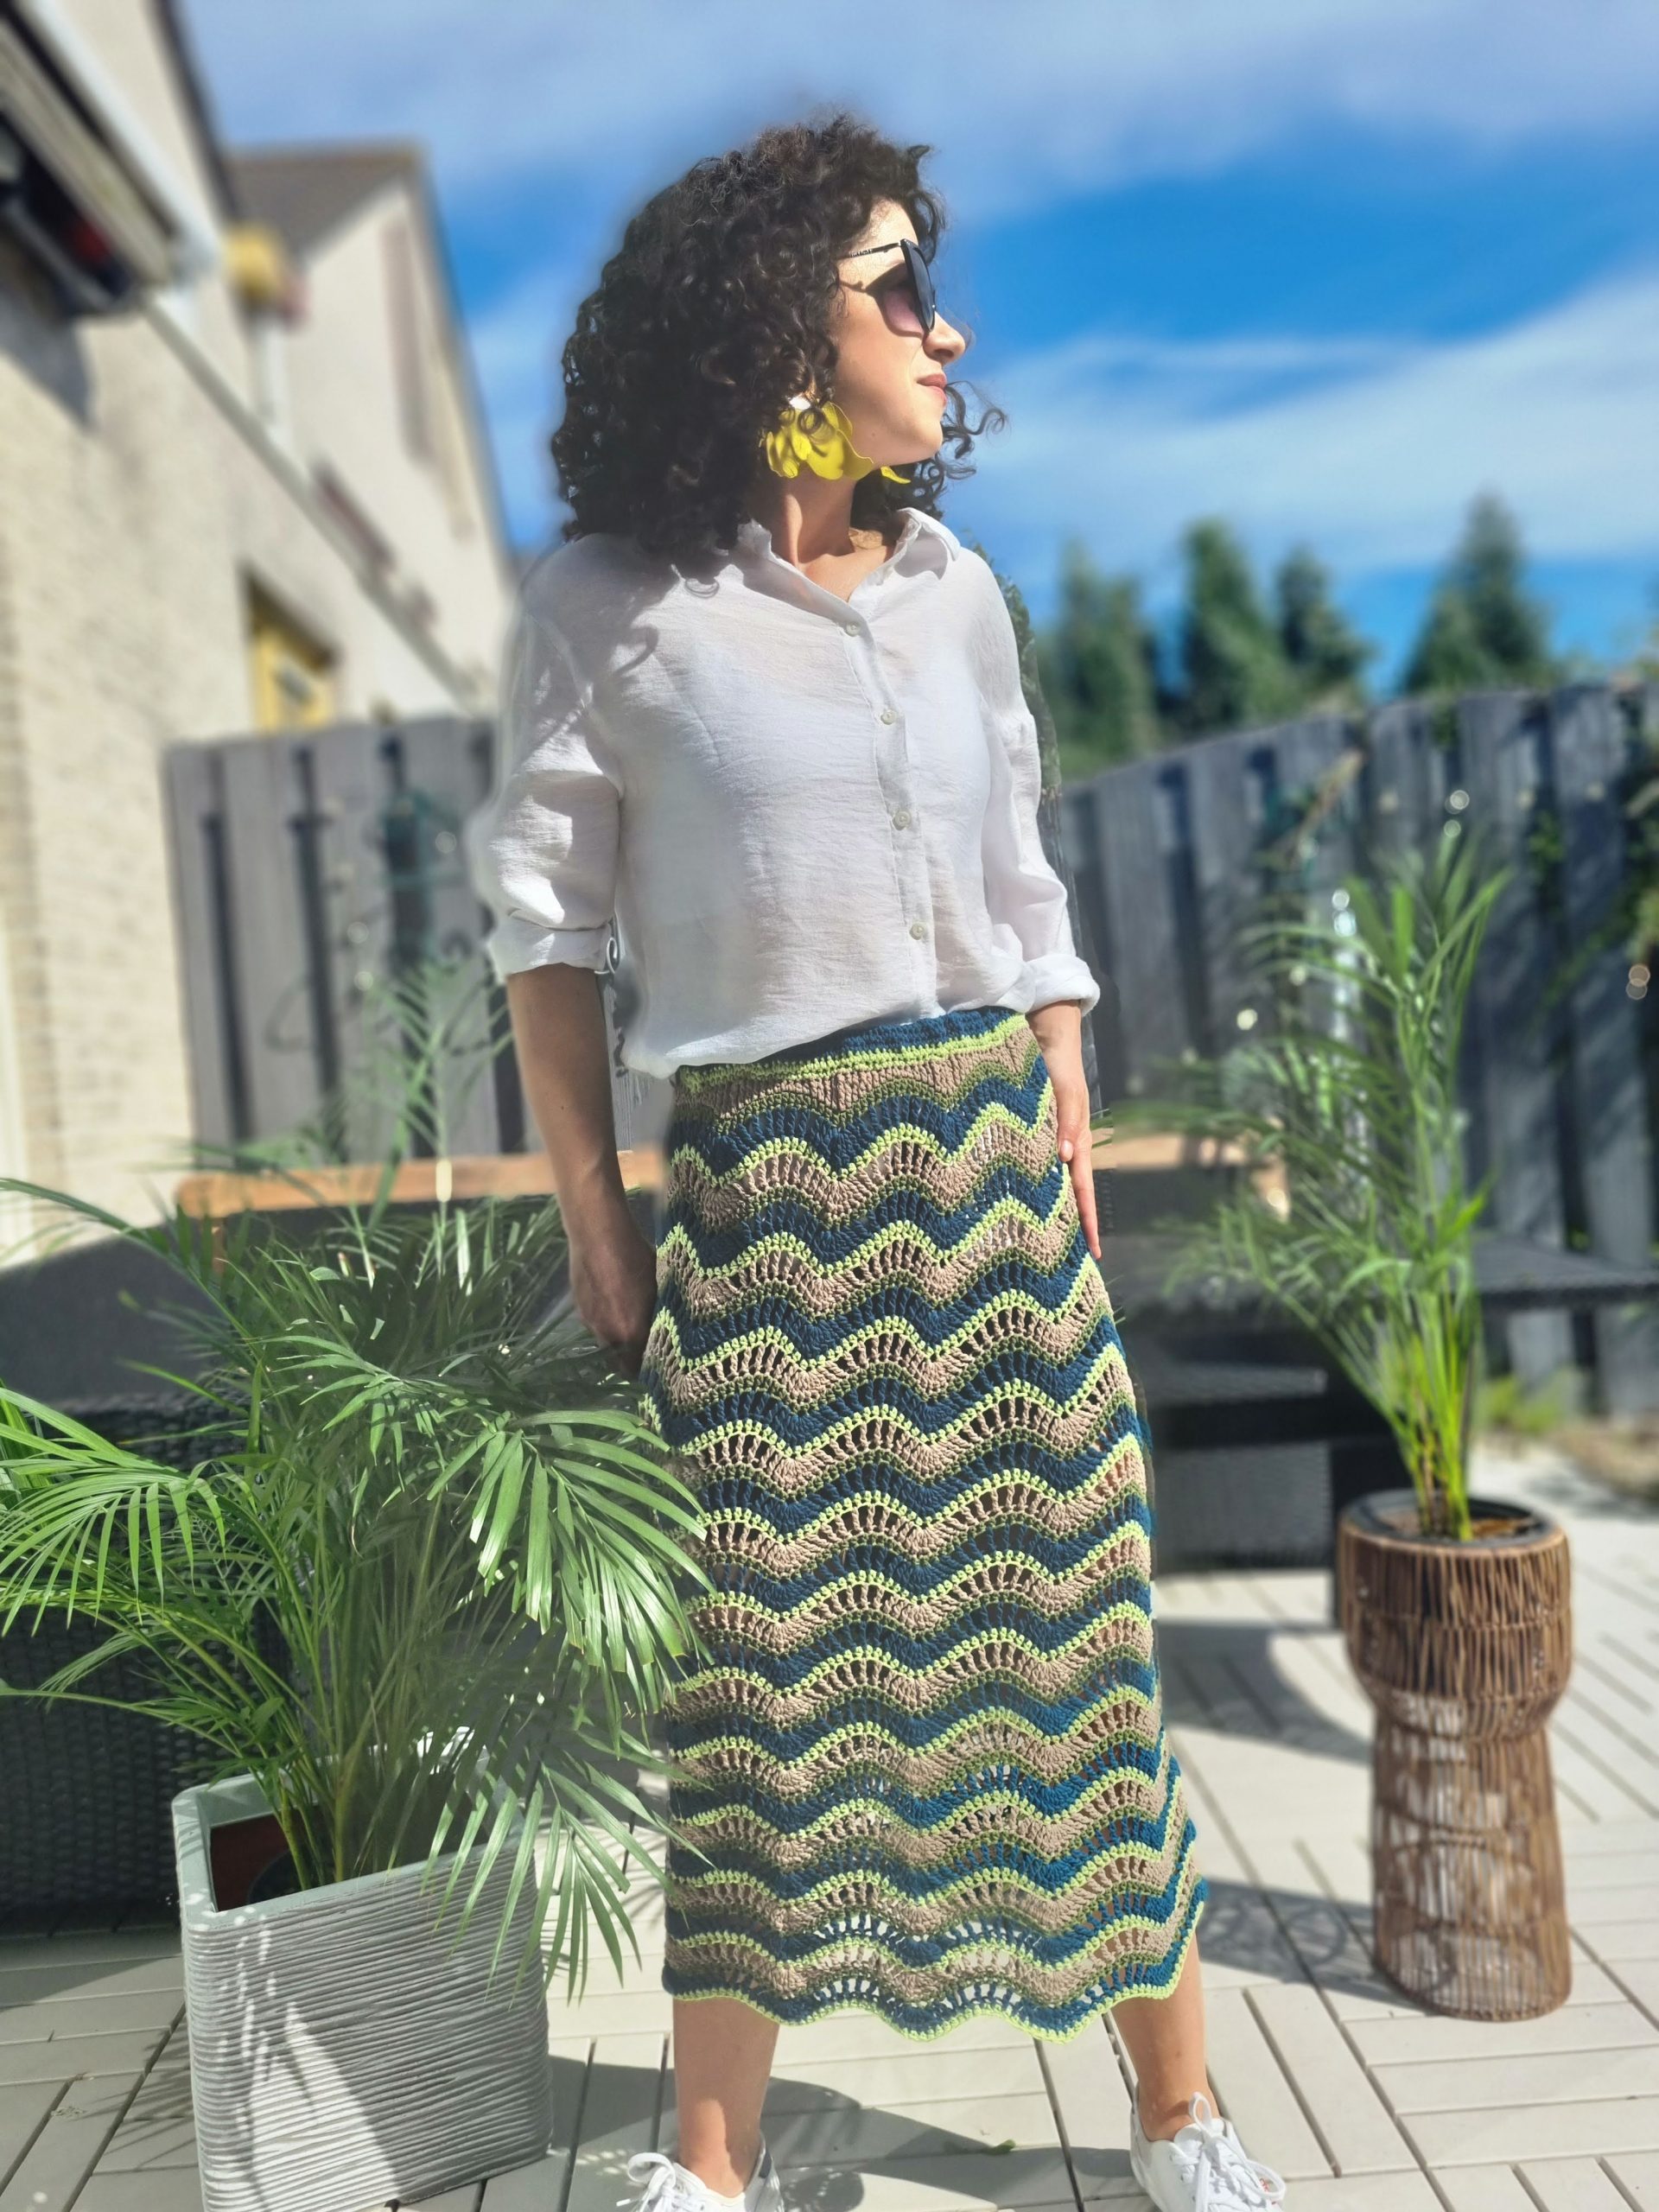
The Wavy Skirt Pattern is available in 8 sizes, from S up to 5X Large. The model is 168 cm tall, with a 90 cm hip circumference, and wears a size Small.
The numbers are written below as follows: S (M, L, XL) ( 2XL, 3XL, 4XL, 5XL);
All the measurements use as reference Standard Body Measurements by ASTM International.
The Wavy Skirt Pattern is easily adjustable, and you will find indications on how to customize the pattern so that the skirt fits your Body.
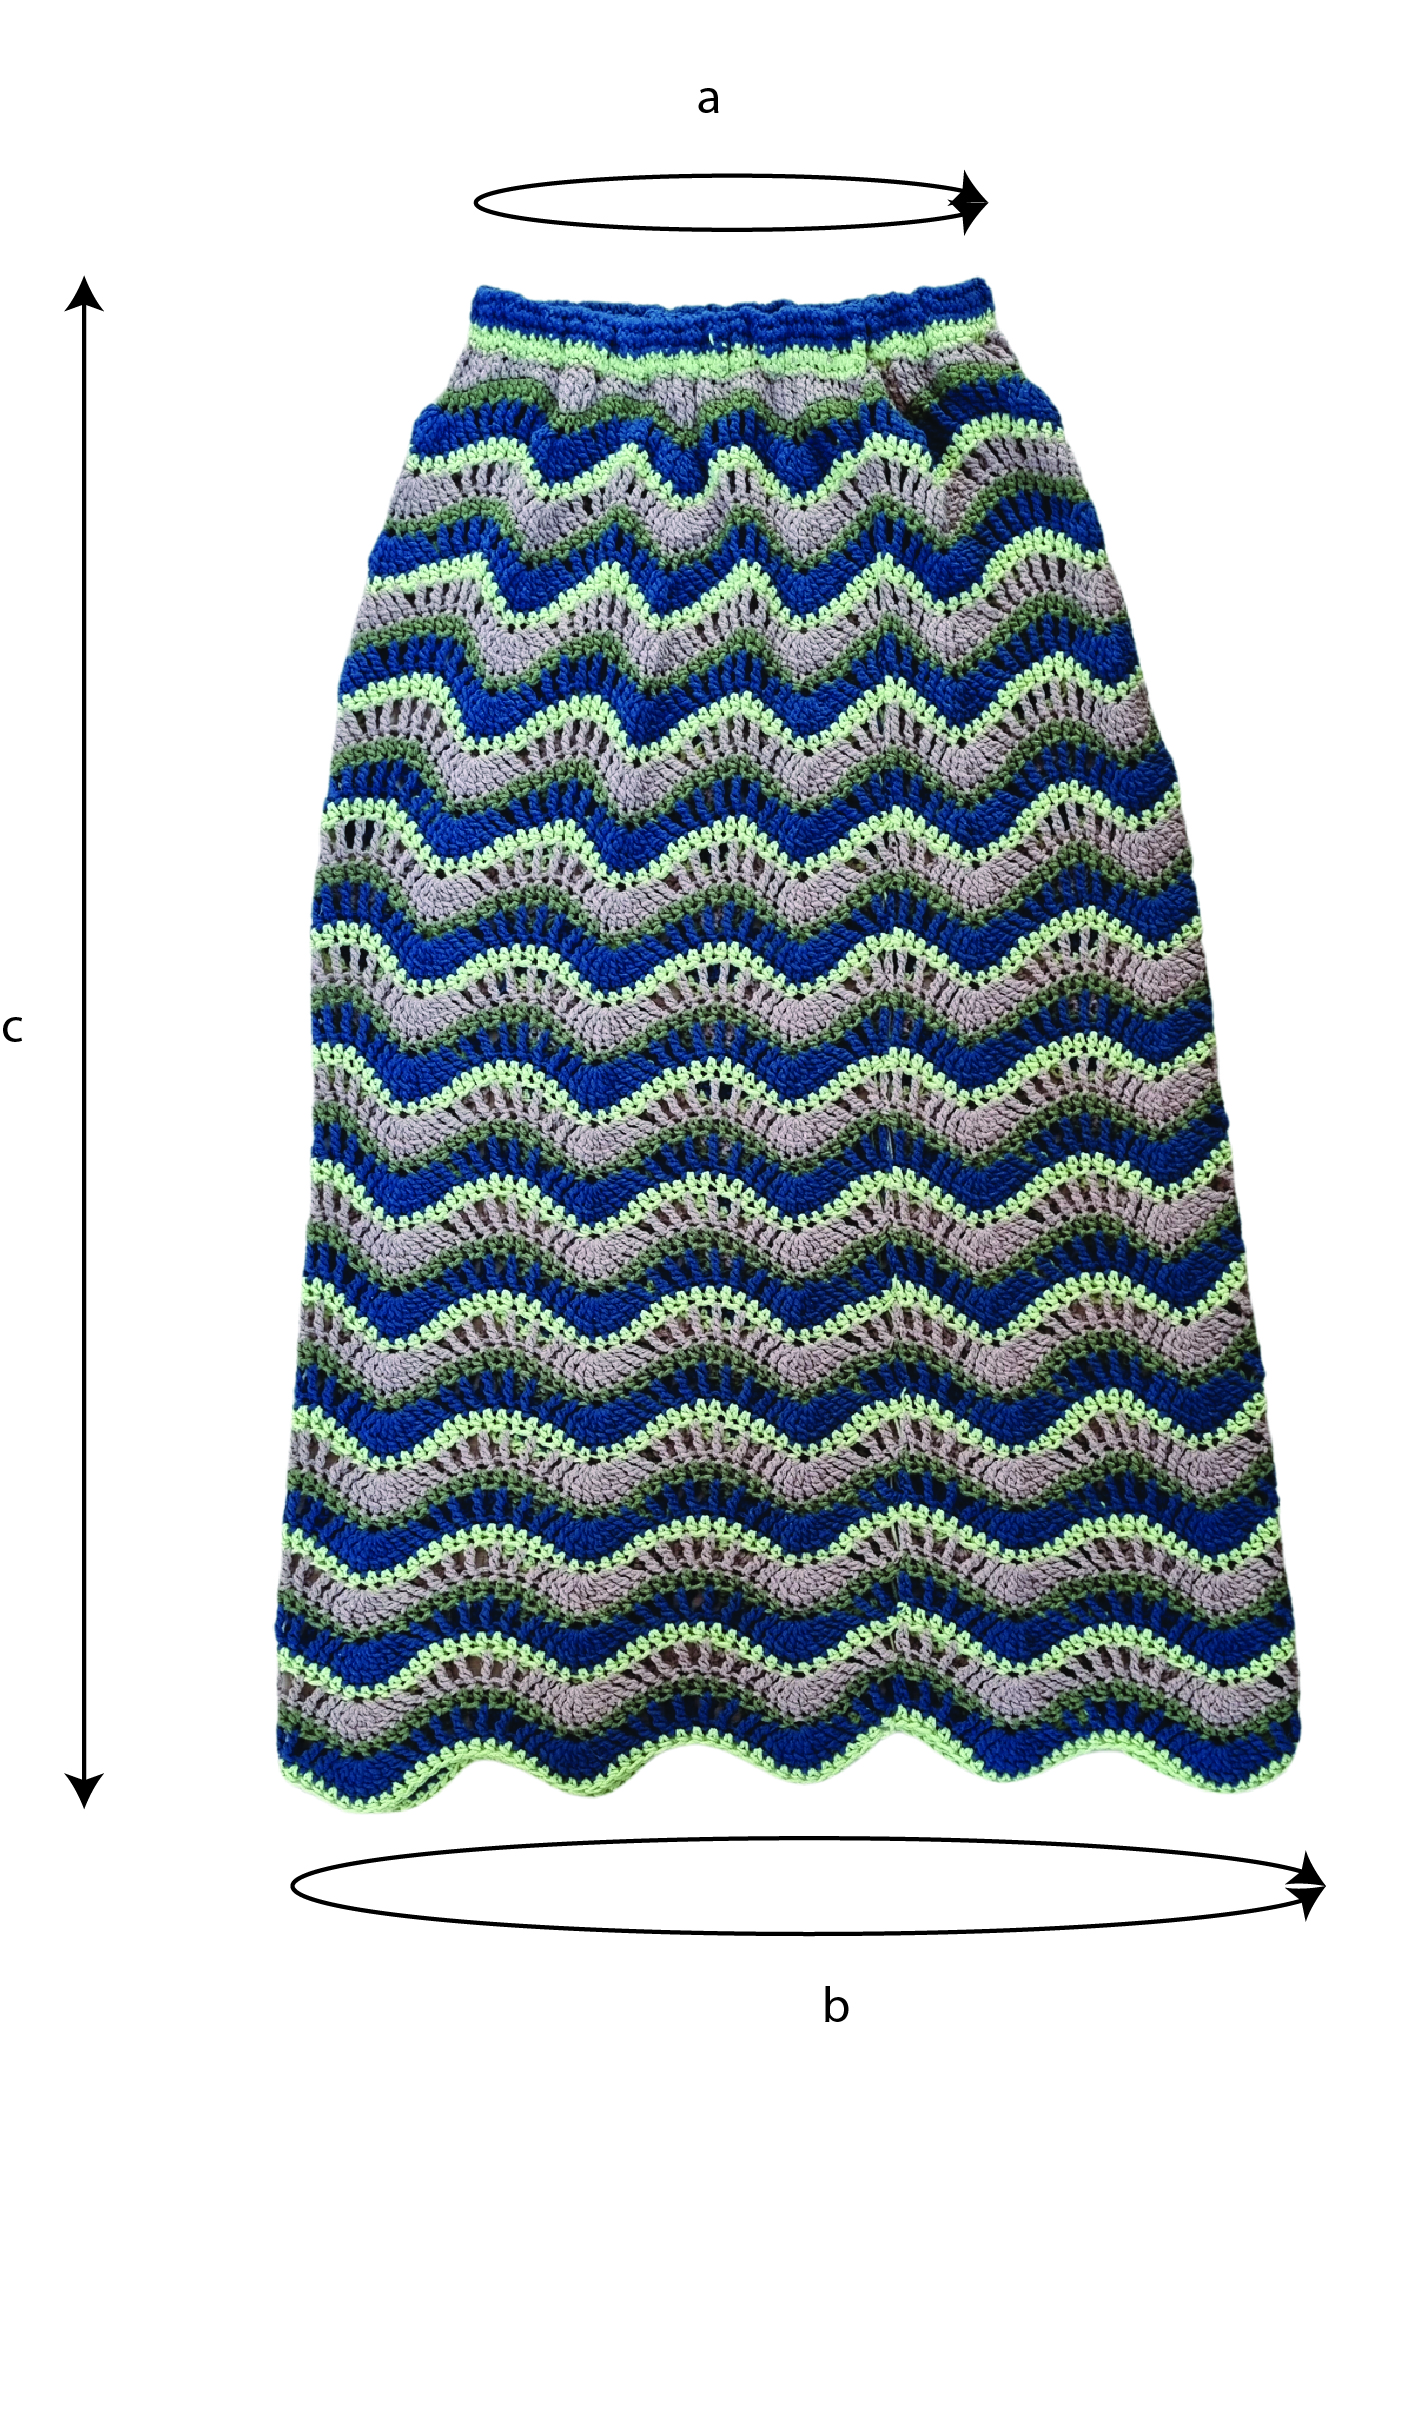
Final Measurements of the Wavy Skirt
Waist circ a: 63 cm (71, 78, 86) (94, 102, 109, 117)
Hips circ. b: 100 cm (110, 120, 130) (140, 150, 160, 170)
Length d: 75 cm (75, 75, 75) (75, 75, 75, 75)
*The measurements for the waist are taken without stretching; as a reference, the model’s actual waist circ. is 73 cm, and the skirt ribbing is smaller by about 10 cm;
YARN
For the Wavy Skirt, I used: DMC Eco Vita. Recycled Cotton Yarn; Yarn composition: 80% cotton, 20% other fibers; Each ball has 100 grams and is approximately 250 meters (246 yards)
Color 111 – Beige, Color 008 Petrol Blue, Color 018 – khaki, Color 138 – Pistachio
For each size, you will approximately need:
Color A (Beige): 300 (330, 360, 390) (420, 450, 480, 510) meters
Color B (Petrol Blue): 350 (390, 420, 460) (490, 530, 560, 600) meters
Color C (Khaki): 200 (220, 240, 260) (280, 300, 320, 340) meters
Color D (Pistachio): 190 (210, 220, 240) (260, 280, 300, 310) meters
ABBREVIATIONS
Ch – chain
Sc – single crochet
hdc – half double crochet
dc – double crochet
tr – triple crochet
dtr – double triple crochet
ss – slip stitch
St(s) – stitch(es)
R – round
** – repeated section.
TENSION
Using 5mm crochet hook in the Ripple stitch pattern
16sts (1 Patt Rep) = 10 cm
6 rows = 9cm
For a comprehensive guide , refer to the PDF version of this pattern, which includes a detailed stitch chart for every step. The PDF is available for purchase at the provided links below:
STITCH PATTERN AND TECHNIQUES
RIPPLE STITCH PATTERN
The main stitch pattern of the Wavy Skirt features Ripple Stitch This particular pattern has 2 rounds repeat and necessitates a stitch count that’s a multiple of 16.
During the first repeated round, you’ll use triple crochet stitches. With decreases (skipping stitches) and increases (working multiple stitches in a single stitch), you’ll create peaks and valleys that give the delightful ripple effect.
The second round showcases half double crochet stitches,in each stitch around
Given the pattern’s requirement for a stitch count divisible by 16, any modifications you consider will need to adhere to this multiple.
CHANGING COLORS
In this specific design, we’ll be using four different colors, switching to a new color after completing each round. To make this color change, simply use a slip stitch to close the round with the next color – no need to cut the yarn. The remaining colors will be carried vertically as you work.
WORKING IN THE ROUND
To work the pattern in the round, remember to close each round with a slip stitch. Work only on the right side of your project. Due to how the stitches are positioned, your work might naturally shift to the right. If you prefer to prevent this, simply turn your work after completing each round.
For a comprehensive guide , refer to the PDF version of this pattern, which includes a detailed stitch chart for every step. The PDF is available for purchase at the provided links below:
HOW TO ADJUST THE WAVY SKIRT PATTERN SO IT CAN FIT YOUR BODY
Step 1: Measure the most noticeable part of your body, whether it’s your waist or hips. Then, take these measurements as your base. Add a few extra centimeters based on how you want the garment to fit.
Step 2: Create a small sample piece using the ripple crochet stitch, similar to the one you’ll use in your project. This will give you a clearer idea of how your final fabric will look. You can make this sample flat.
Step 3: Using your gauge swatch as a guide, figure out the number of stitches you’ll need to achieve your desired measurements.
Step 4: Round off the stitch count to the nearest multiple of 16.
If your initial chain turns out larger than your waist measurement, don’t worry – you can adjust this with the elastic band later on.
PATTERN NOTES
– read carefully the STITCH PATTERN AND TECHNIQUES section, where you will find the information about how to close and start the rounds and how to change colors;
– use stitch markers if you need to make it easier to know where you need the make the increases (peack of the ripple)
– each triple crochet round will start with 4ch; 4ch will count as a first triple crochet
– each half double crochet round will start with 2ch; 2ch wil count as first half double crochet;
– If you like to use the invisible slip stitch to finish a round, you can follow these steps: take the hook out of the loop, insert the hook from the back to the front into the fourth or second chain stitch (depending on whether it’s a triple crochet or a half double crochet round), then put the hook through the working loop, and finally pull the loop through the chain stitch.
INSTRUCTIONS
The numbers are written in the pattern below, S (M, L, XL) ( 2XL, 3XL, 4XL, 5XL), unless the numbers apply for all the sizes.
Using color Khaki
Start: ch 160 (176, 192, 208) (224, 240, 256, 272); ss to make a circle;
R1: 2ch, 1hdc in each around; ss to close the round; change to Petrol Blue
R2: 4ch, (skip 1st, 1tr in next) x 3 times, 1tr in next st, *7tr in next st, 1tr in next st, (1tr in next st, skip 1st) x 6 times, 1tr in next 2sts* ; Rep from * to * until you have 8sts left; continue with 7tr in next st, 1tr in next st, (1tr in next, skip 1st) X 3 times; ss into the 4th ch. change to Pistachio
R3: 2ch, 1hdc in each st around; change to Beige;
R4: Rep. R2
Rep. R2 and R3 until you have the desired length, or until you have in total 47 rounds.
WAISTBAND
The first step when start making the Waistband is to make an even edge. We will alternate single crochet, half double crochet, double crochet, triple crochet, and double triple crochet;
We will work on the other side of the foundation ch;
Look for the first st;
Use the color Beige;
R1: Rejoin yarn into the first st; (as it is upside down, your first st needs to be a peak.
1ch, *1sc in next 3sts, 1hdc in next 2sts, 1dc in next 2sts, 1tr in next 2sts, 1dtr in next st, 1tr in next 2sts, 1dc in next 2sts, 1hdc in next 2sts*; rep. form * to * to the end of the round;
Change to color Pistachio
R2, R3 – 1sc in each st around; Change to Petrol Blue
R4 – R10: 1sc in each st around
Prepare the elastic band;
I recommend opting for a wider elastic band as it will provide better support for the weight of the skirt.
Ensure that the elastic band’s length is slightly shorter than your waist measurement, considering its stretchiness.
To offer a point of reference, the model’s waist measures 73cm, and the elastic band length used is 56 cm. Your comfort is key.
Securely sew the ends of the elastic band together.
Fold the waistband (counting only sc rounds) in half and gently slip the elastic band into this fold.
use slip stitches to connect the waistband’s edge, aligning them with the horizontal bars of the single crochet stitches from the first round. Refer to the Video Tutorial for visual guidance
TO FINISH
Weave in all looser ends and block to measurements.
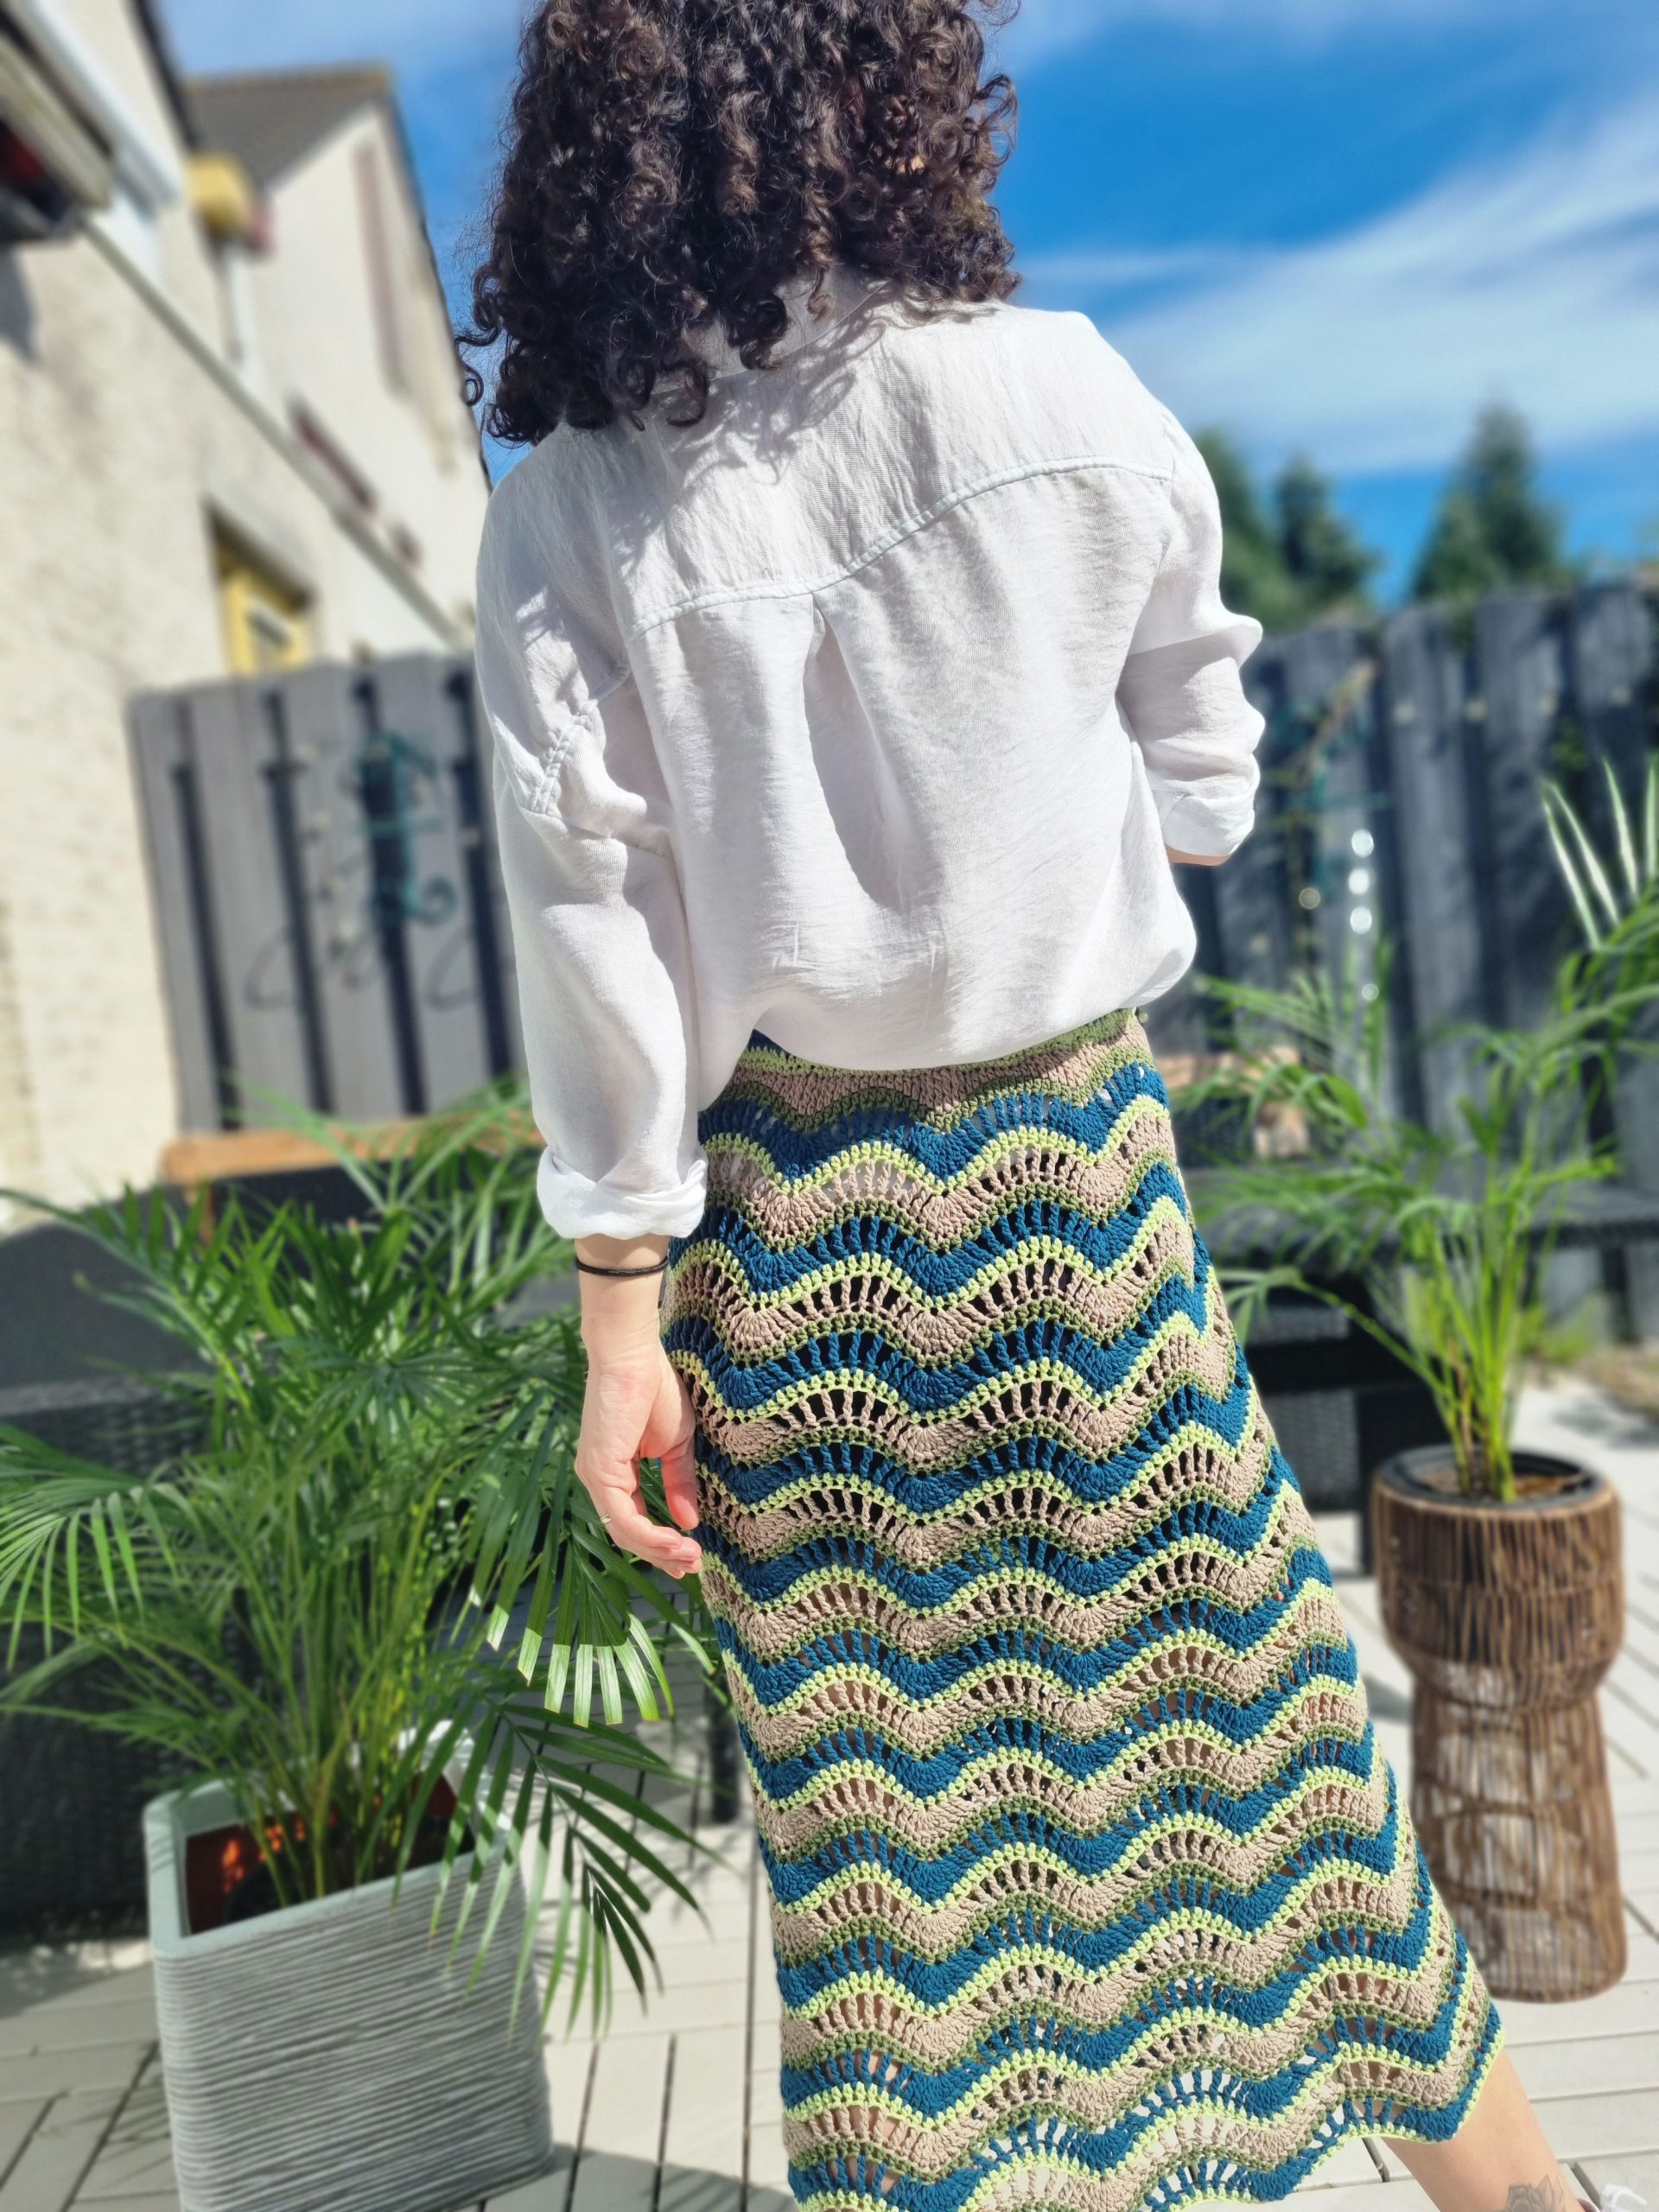
And done! This chic crocheted skirt is ready to be worn.
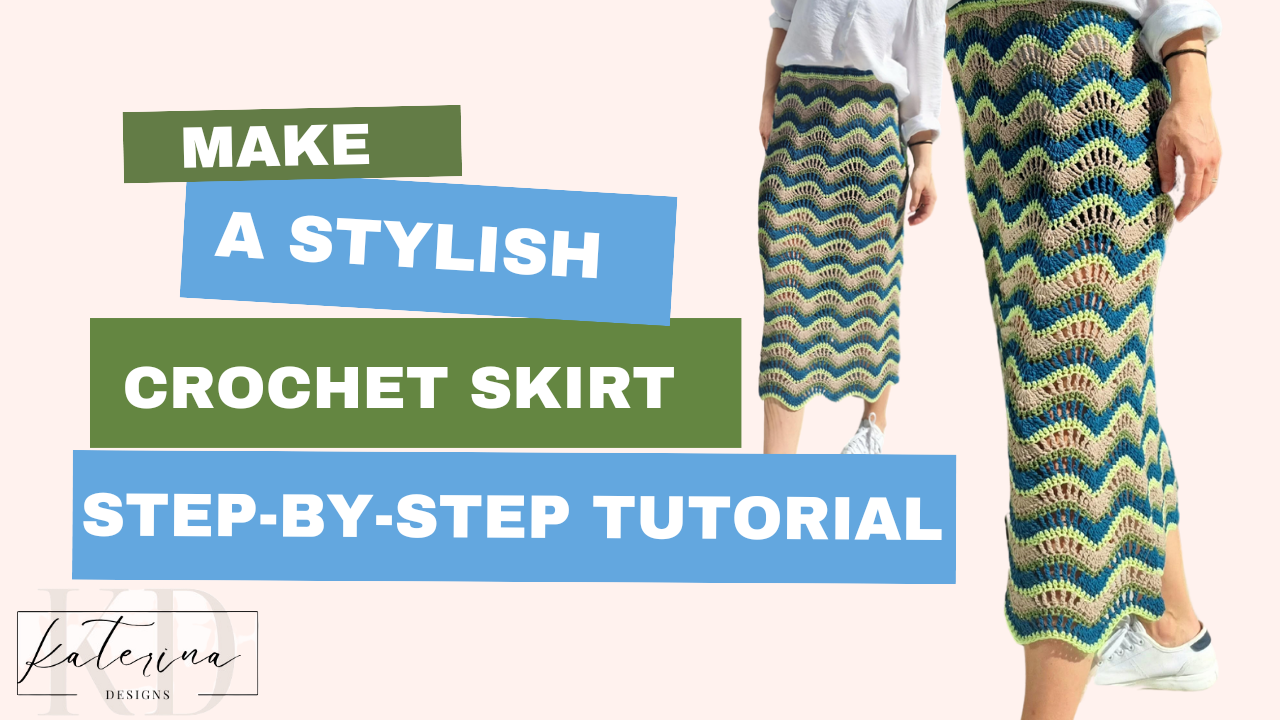
You can watch a step-by-step video tutorial here



Comments are closed.