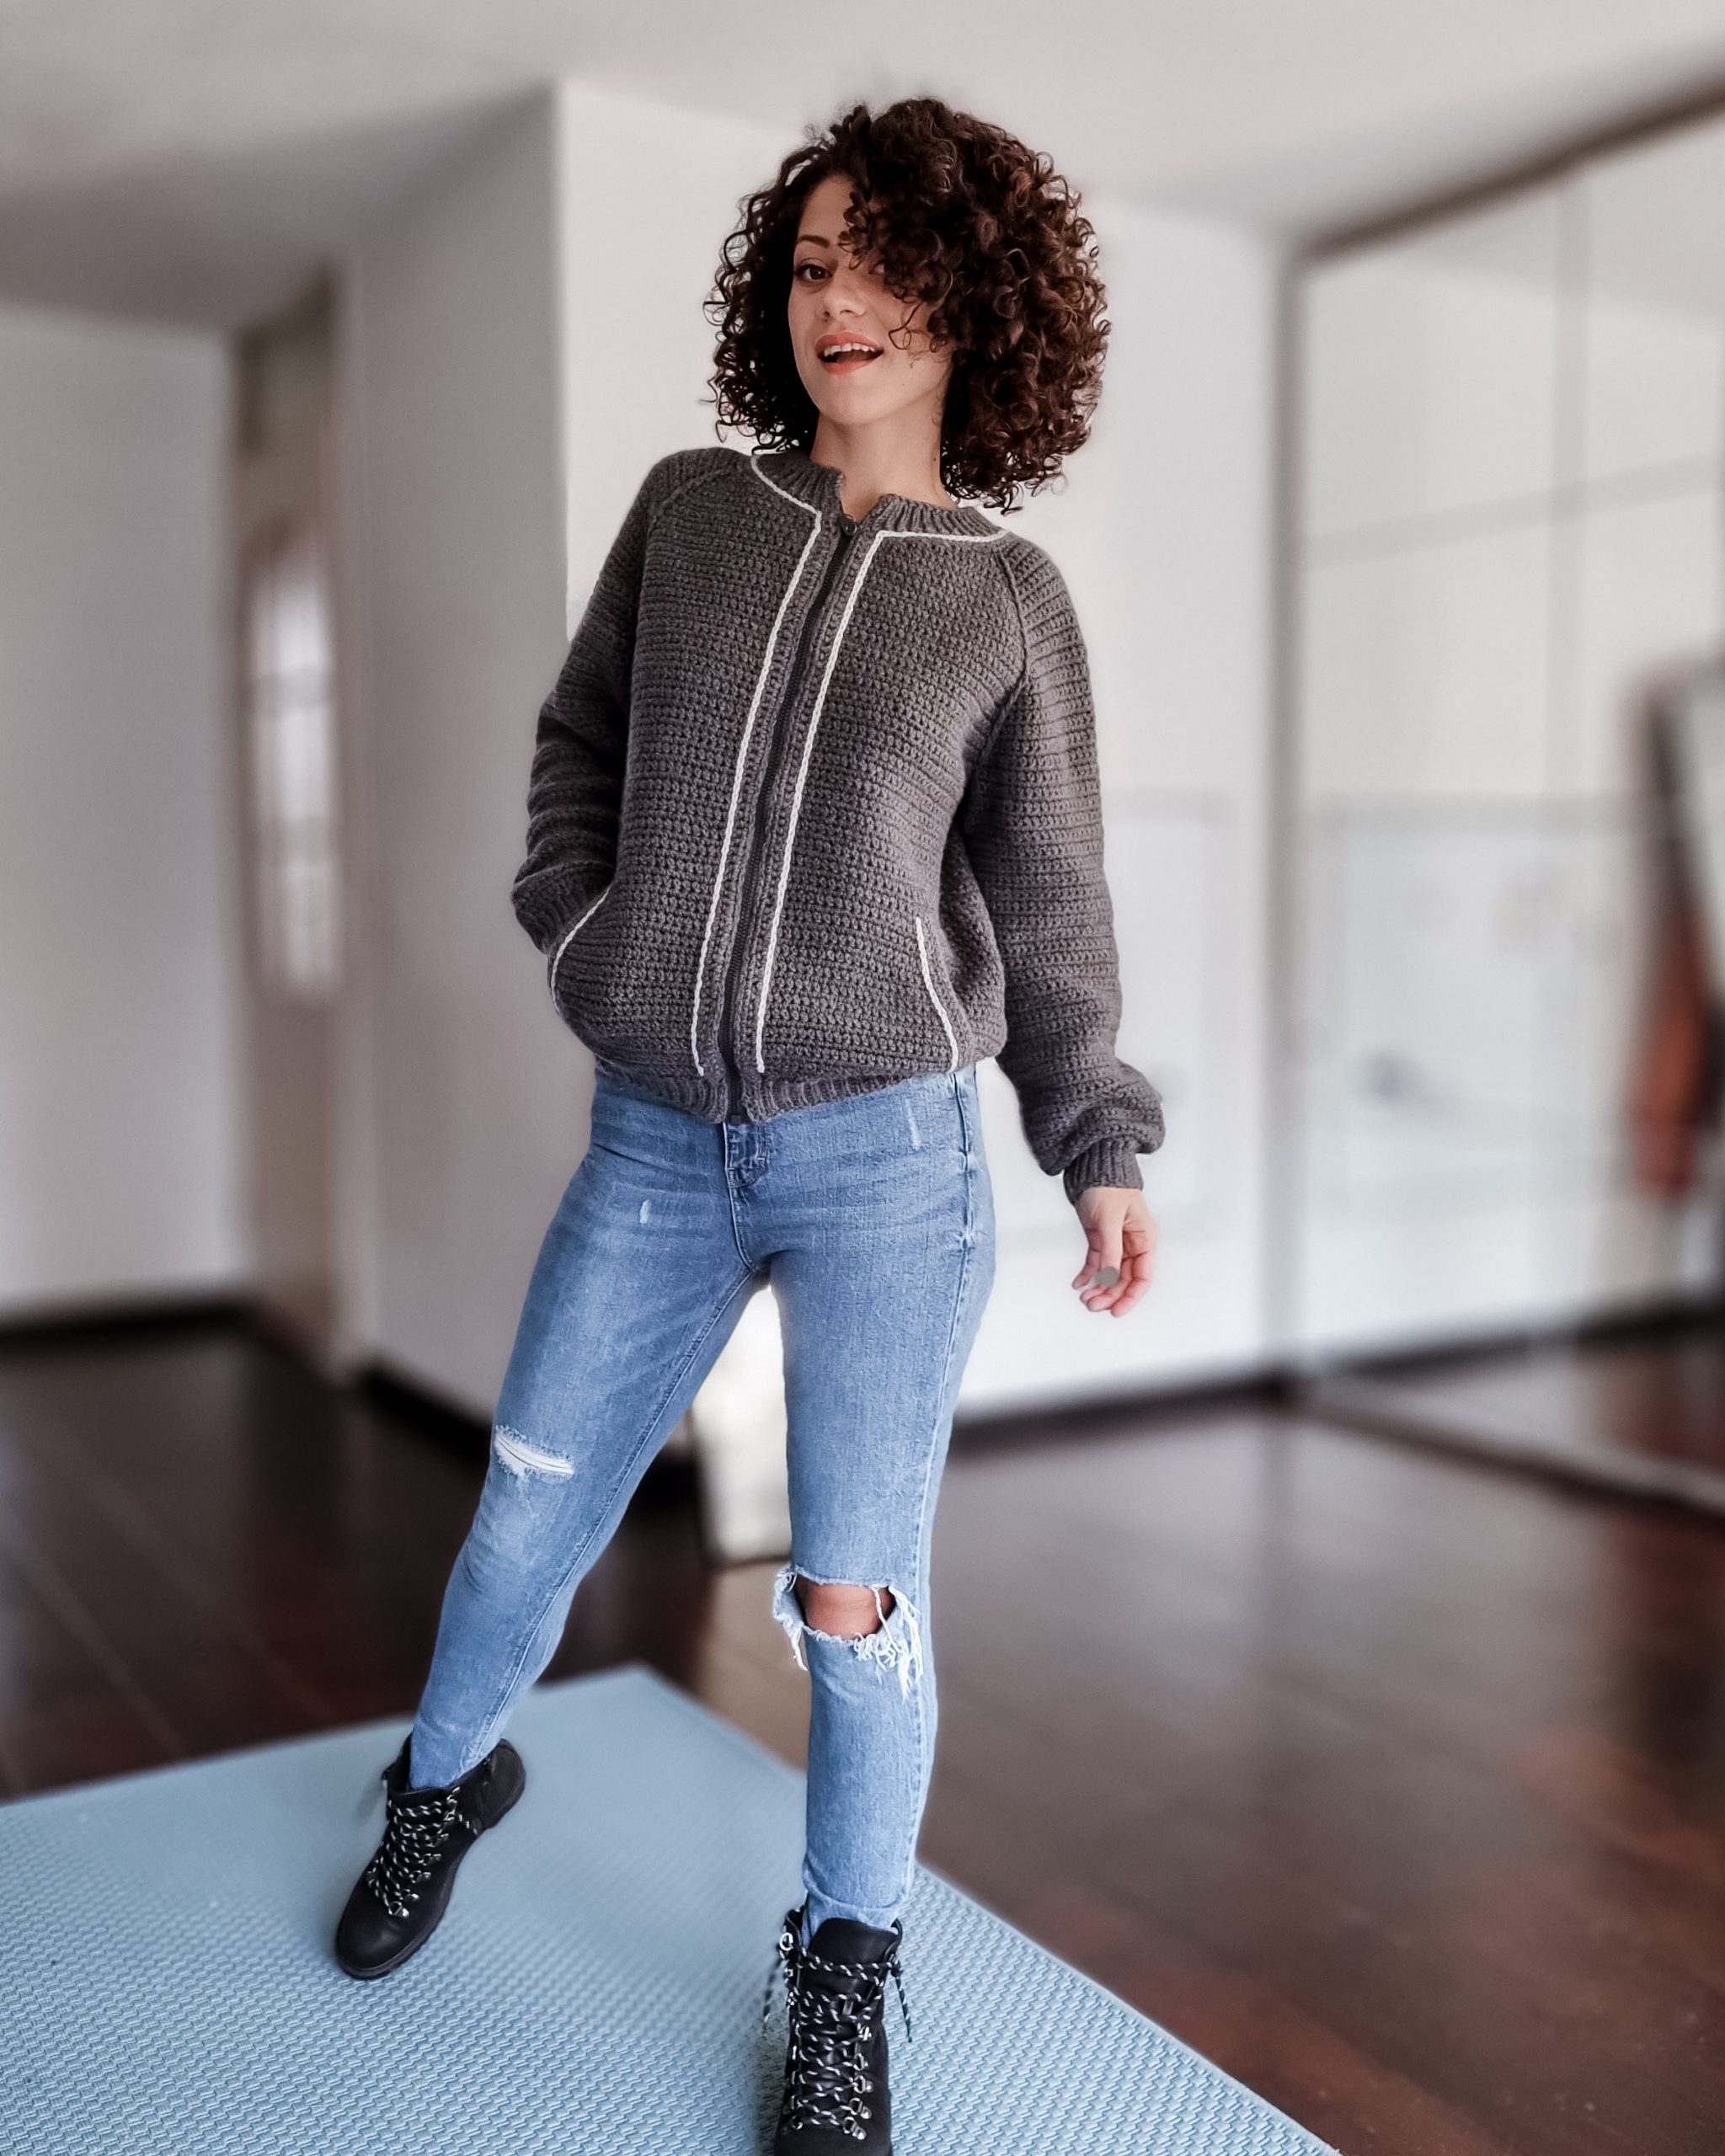
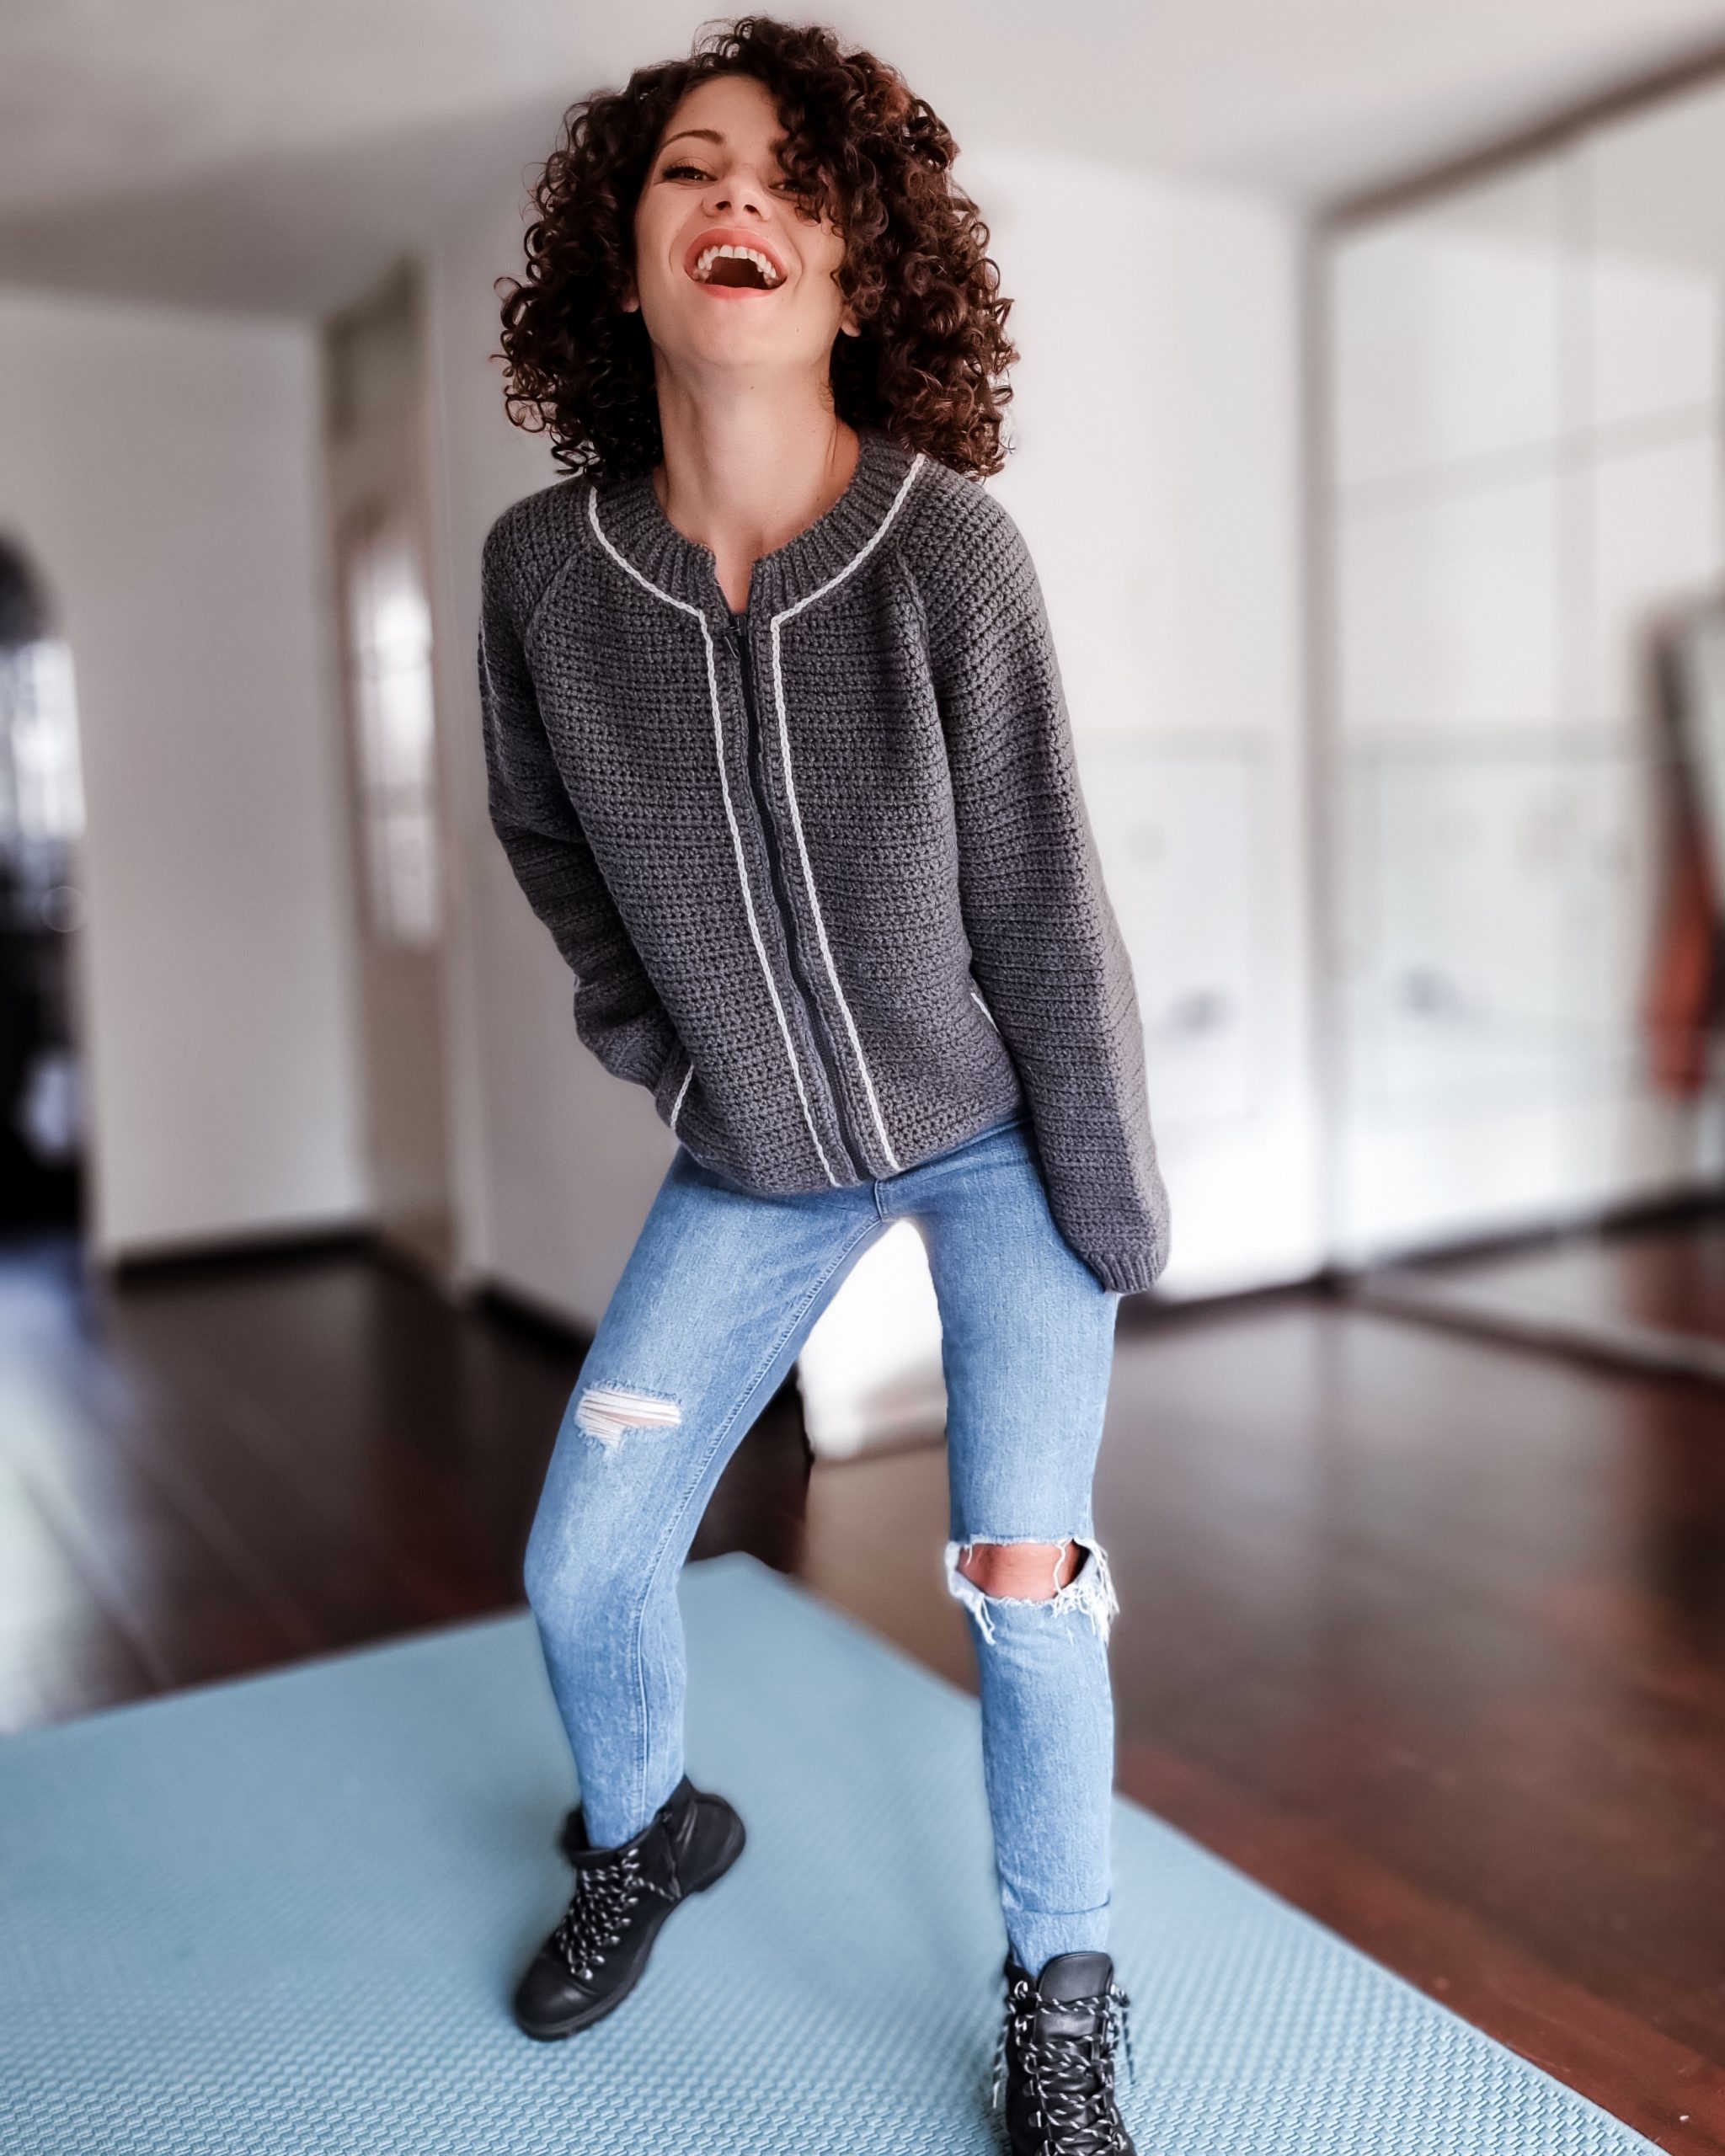
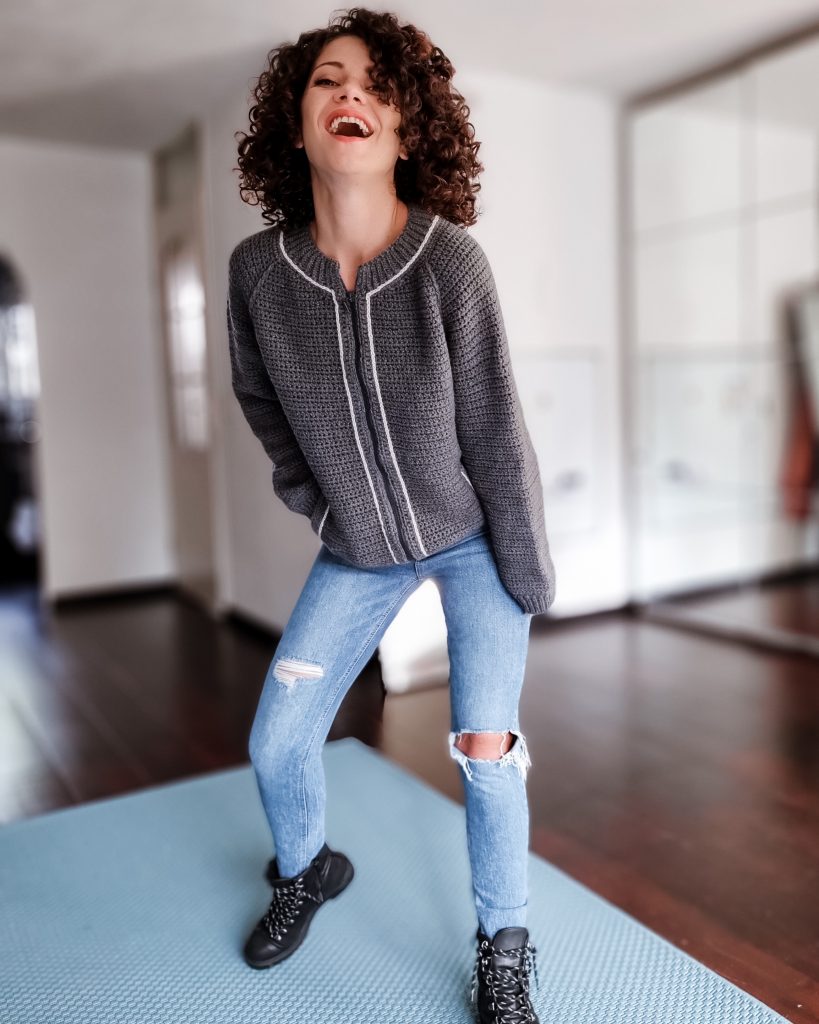
I had this Varsity Jacket design on my “to make list” for 2 years! This year so far was the year for bringing old ideas to life and I am glad that it happened this way because now my new ideas will have time to became old and then the story will repeat 😁😅
But, feels nice not to give up on some designs ideas that I had a long time ago!
I don’t have too many words with me today, and already took me too long to write these 3 sentences, so I think I will step right into the pattern and share with you how you can make this Varsity Jacket.
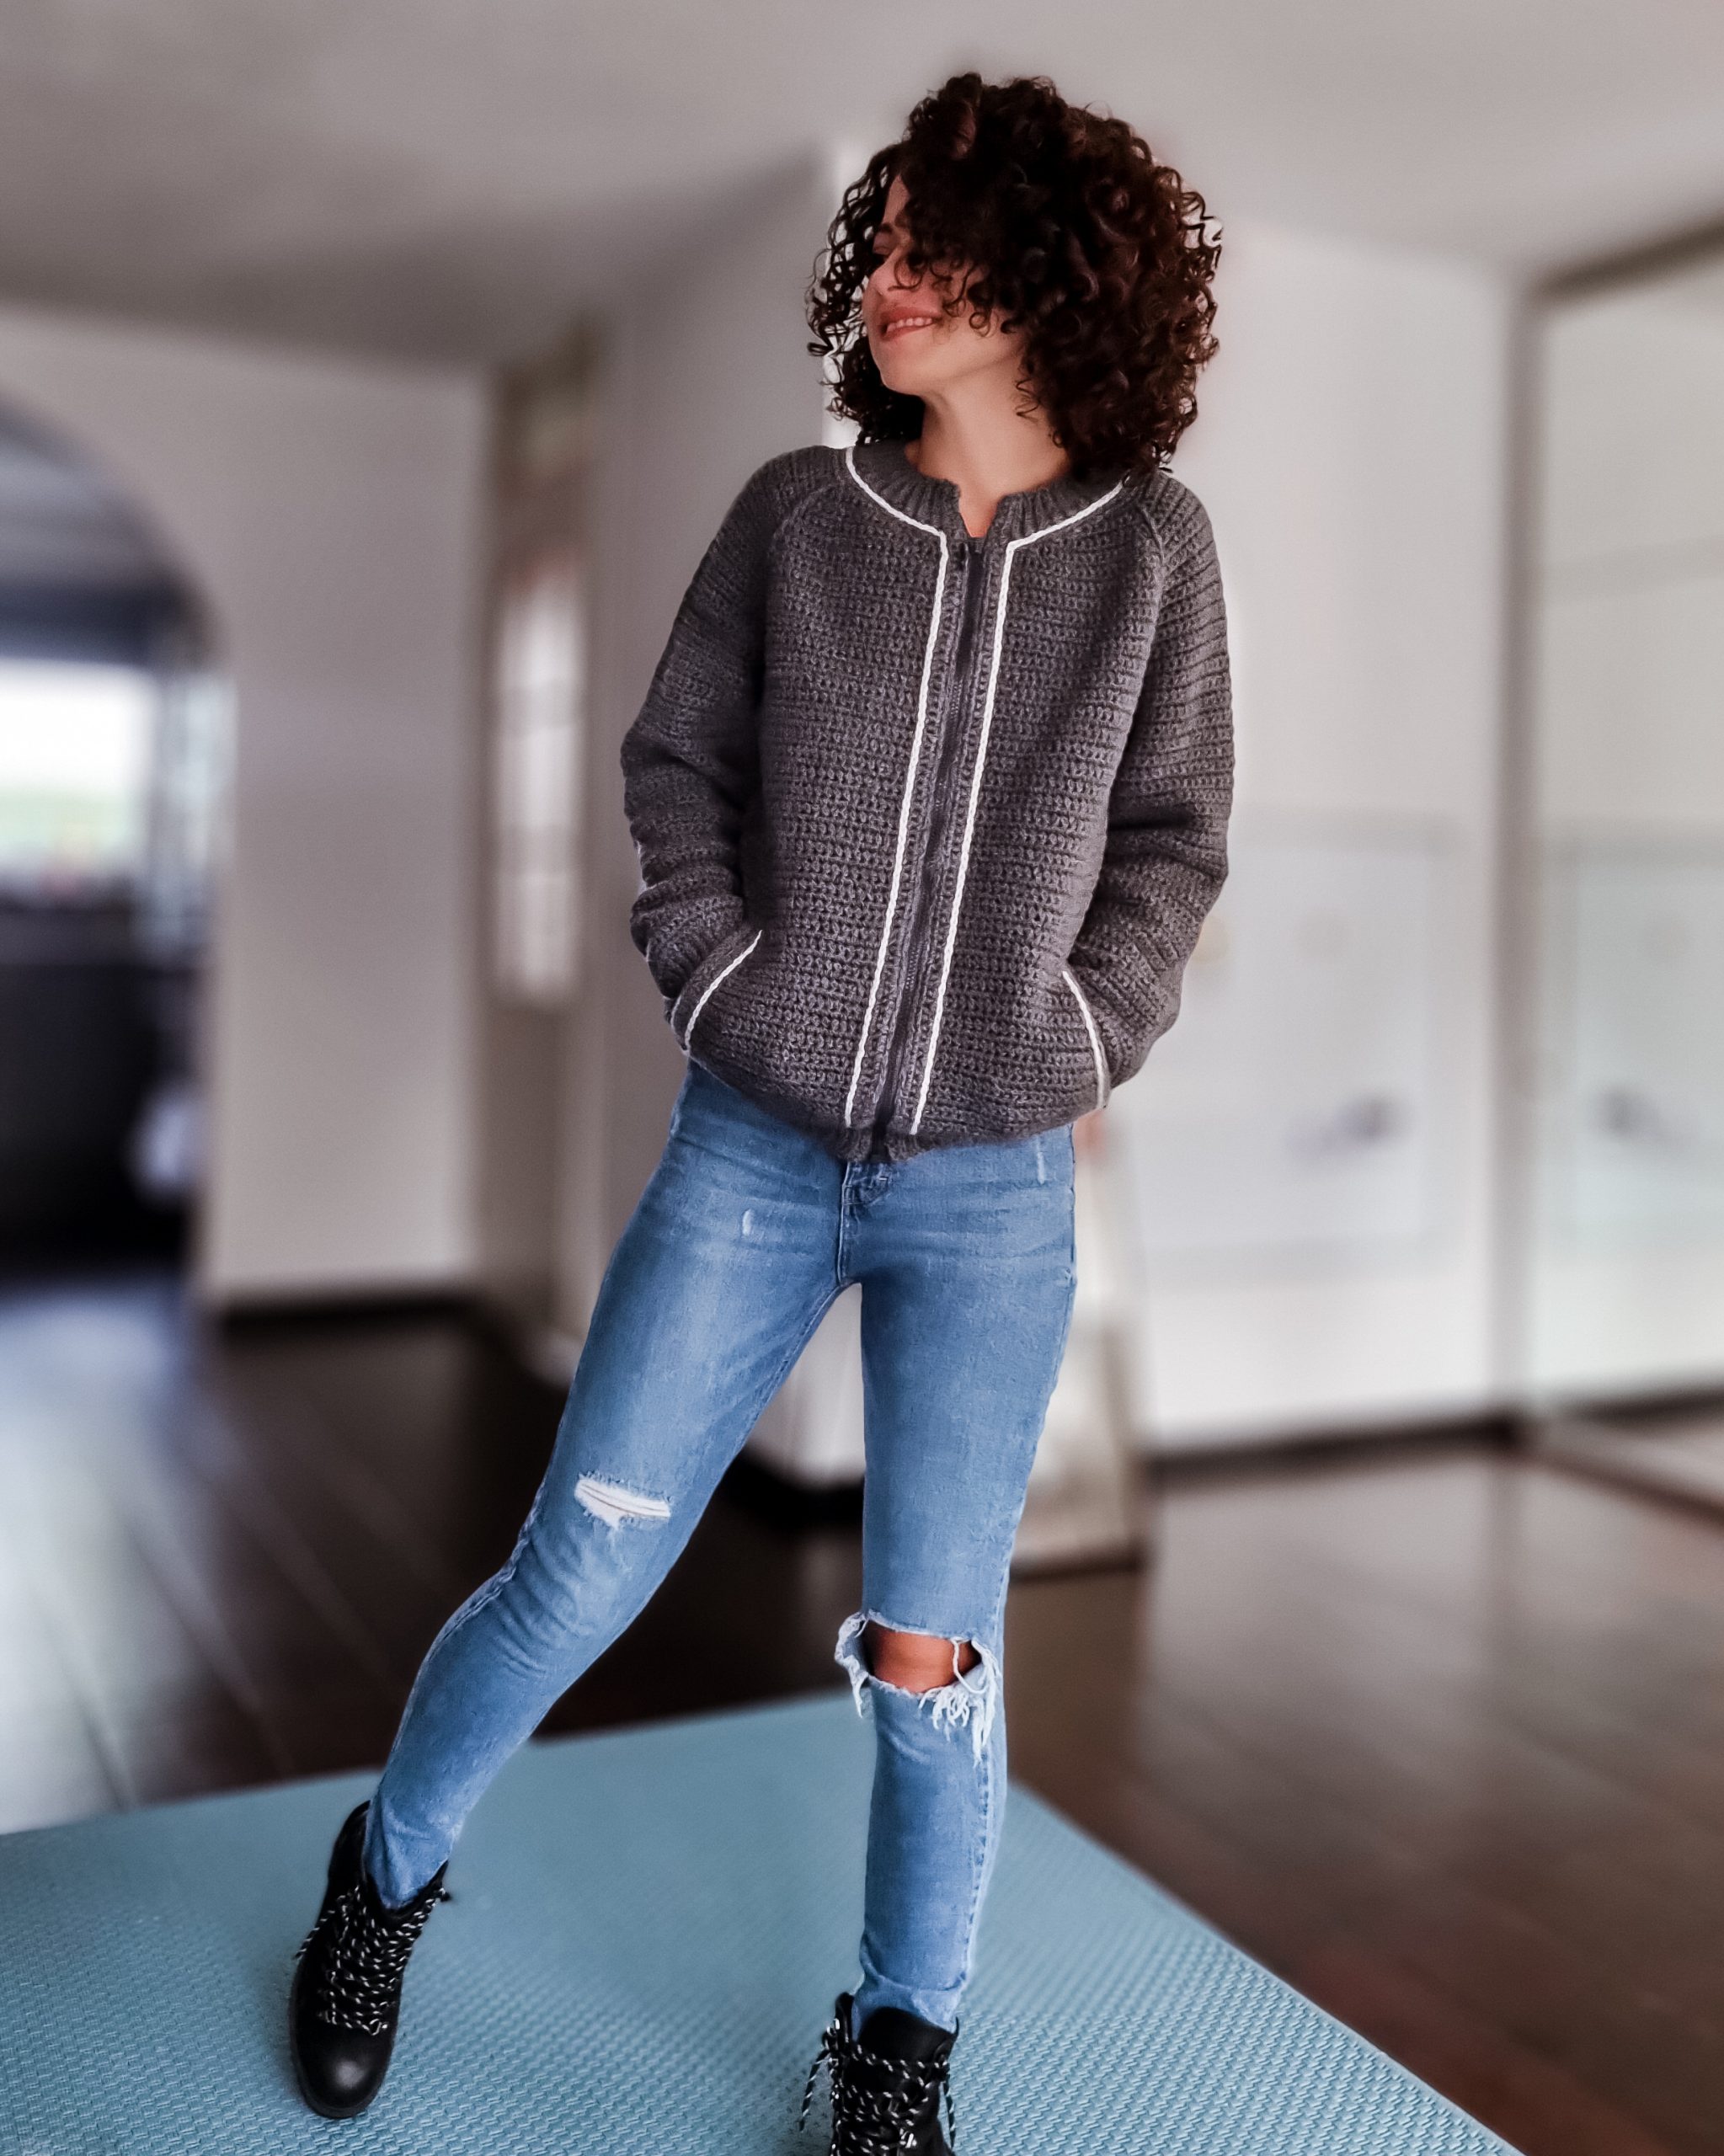
You can Purchase the easily printable PDF version of this pattern here:
MATERIALS
• Yarn: worsted yarn weight (Size 4)
• Crochet Hook:
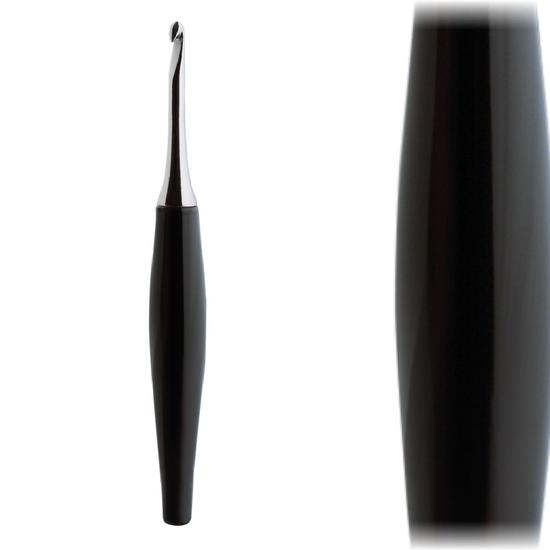
o 4.5 mm crochet hook (I used Odyssey Nickel Crochet Hook Black)
• yarn needle for weave in ends
• Stitch markers
• split zipper (according to the length)
• Scissors
NOTES ABOUT DESIGN
The Varsity Jacket has a top-down construction with a positive ease of about 18 cm around the bust circumference.
The raglan increases are made individually for sleeves and body which will give you the opportunity to adjust the increases according to desired sleeves’ or body’s circumference.
The jacket is worked in single crochet stitches with slip stitches in the back loop only ribbing.
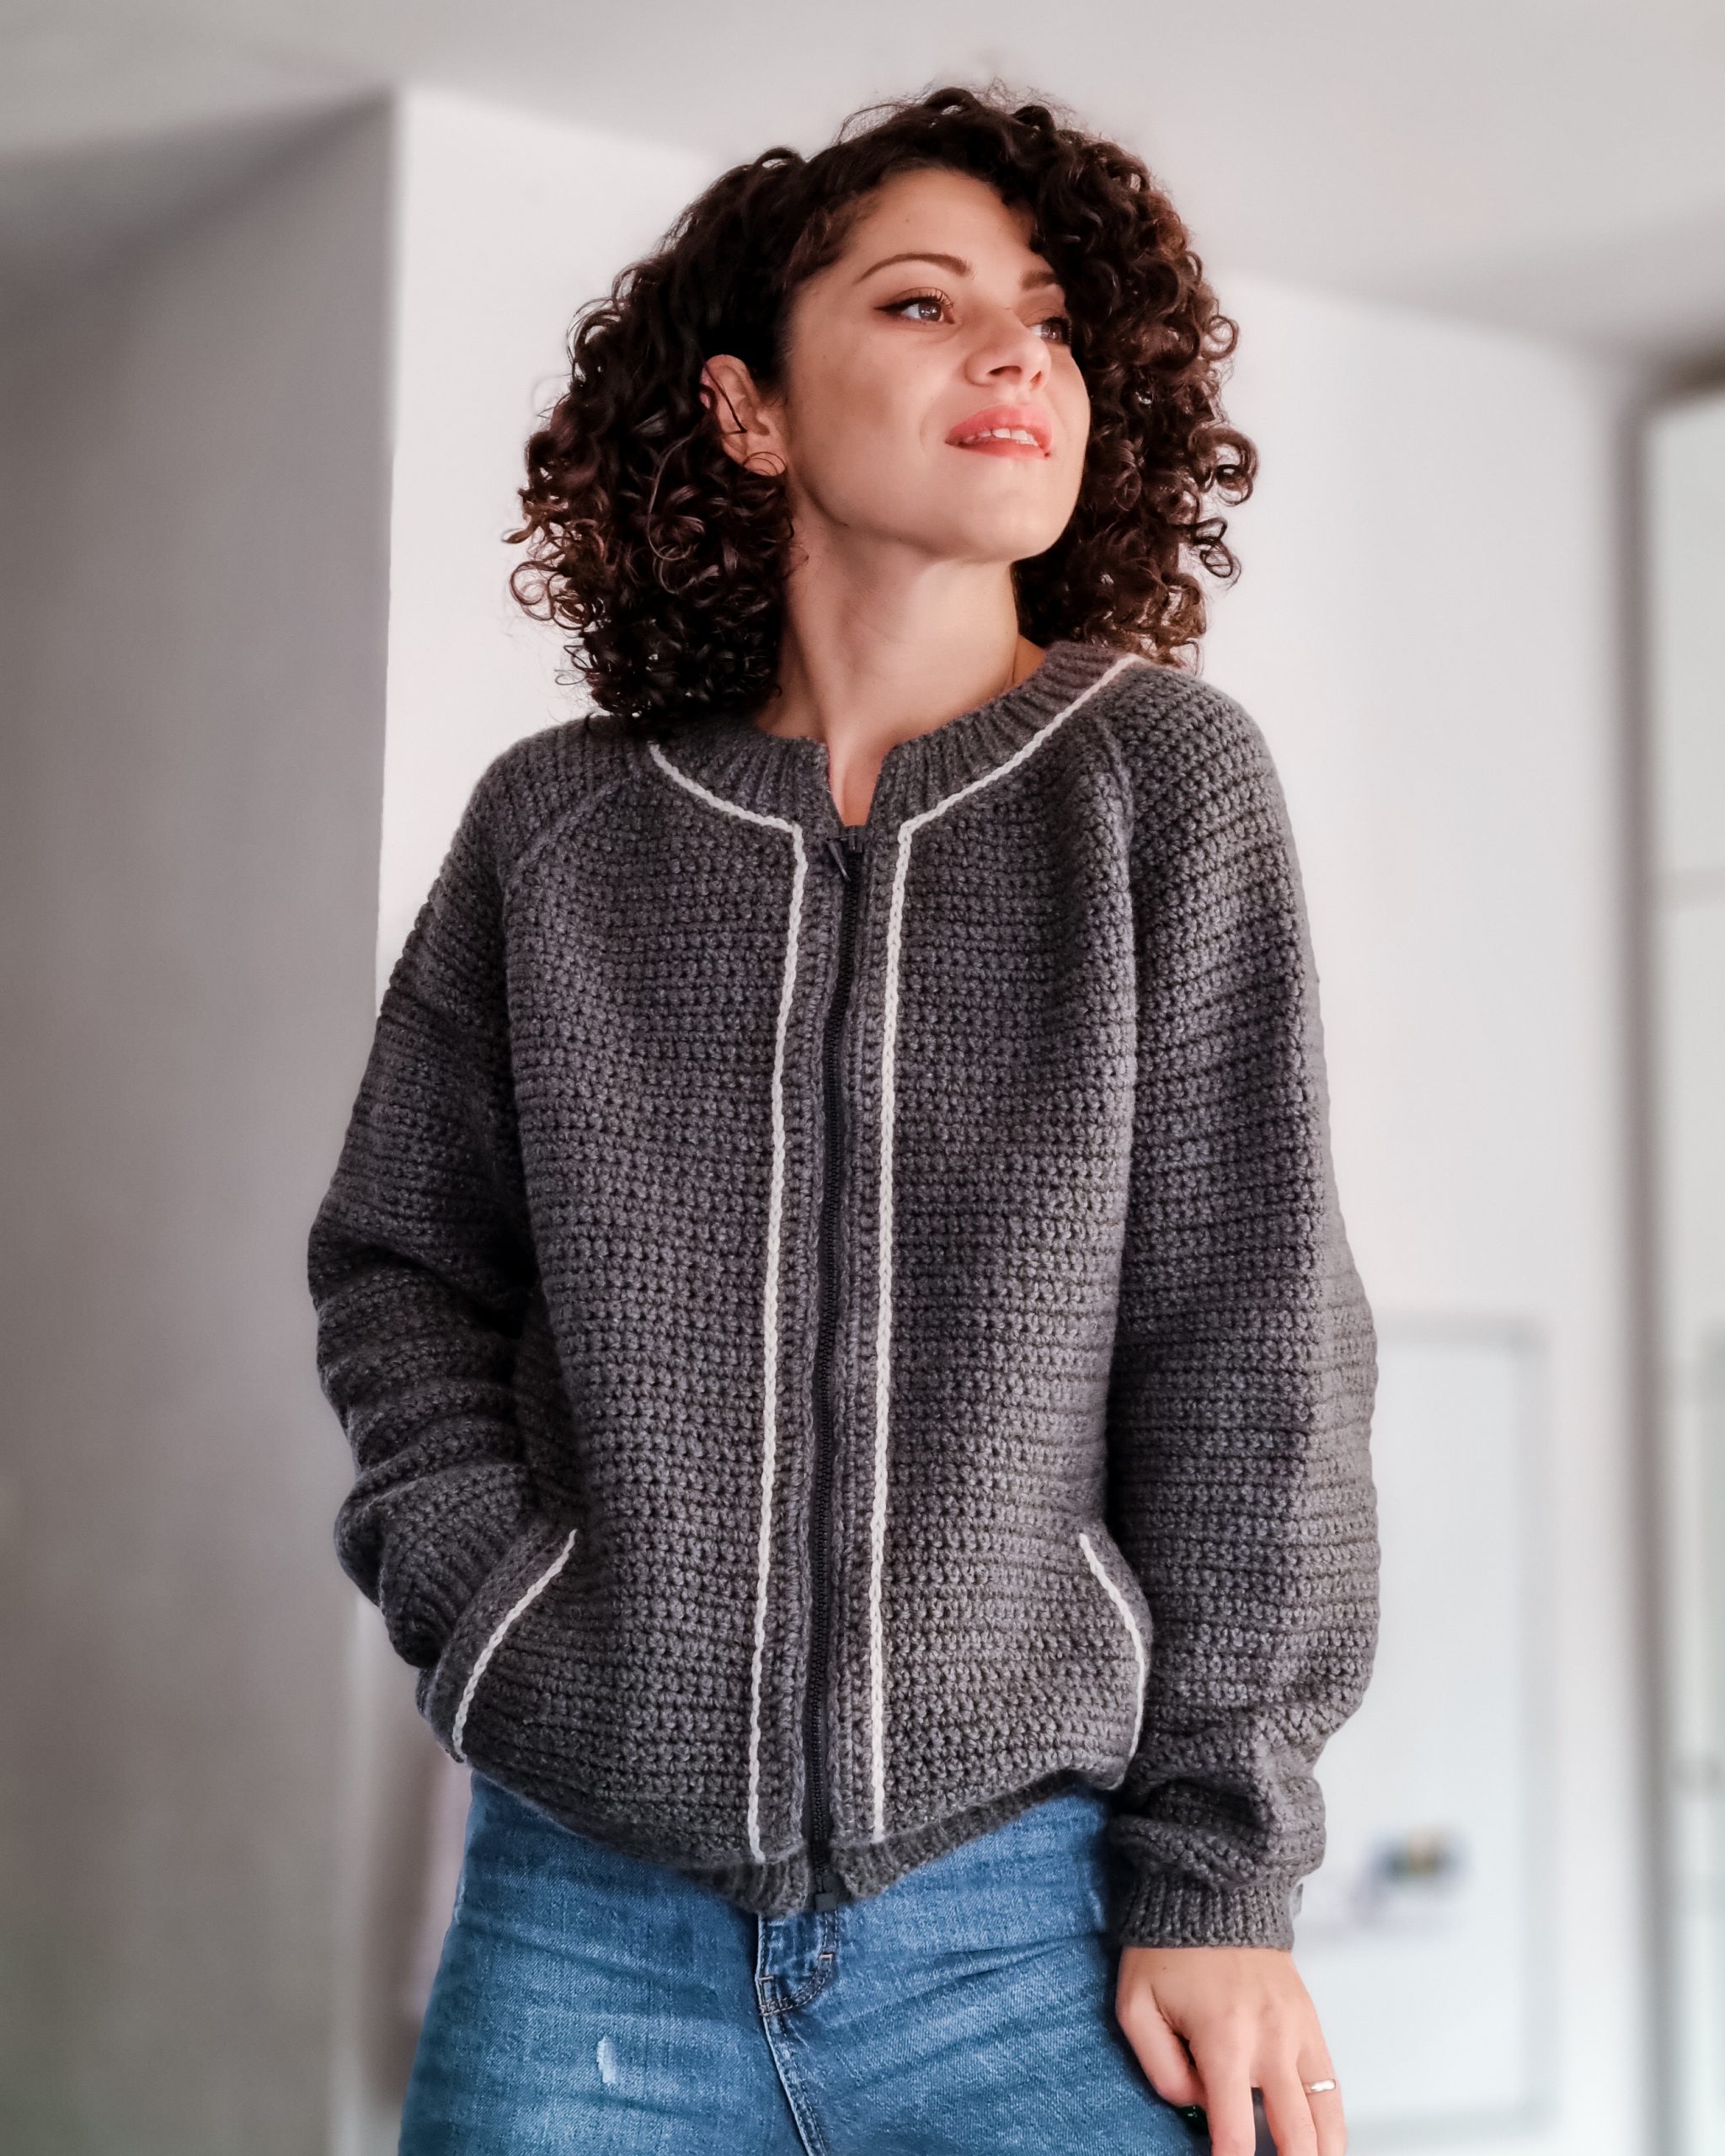
This particular design has hidden pockets, but the jacket can be worked without them if you prefer.
The finishes are making the difference. From the hided pockets to the way of sewing the zipper and surface slip stitches details, everything will make you love to wear this jacket.
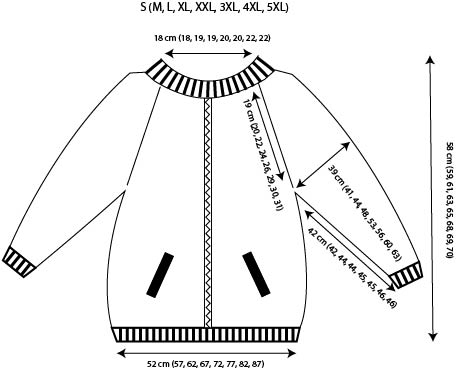
MEASUREMENTS AND SIZES
The Varsity Jacket Pattern is available in 8 sizes, from Small up to 5X Large.
The model is 168 cm tall and wears size Small.
Neckline a: 18 cm (18, 19, 19, 20, 20, 22, 22)
Bust width b: 52 cm (57, 62, 67, 72, 77, 82, 87)
Yoke Depth c: 19 cm (20, 22, 24, 26, 29, 30, 31)
Sleeve circ. d: 39 cm (41, 44, 48, 53, 56, 60, 63)
Sleeve length e: 42 cm (42, 44, 44, 45, 45, 46, 46)
**Length f: 58 cm (59, 61, 63, 65, 68, 69, 70)
You can Purchase the easily printable PDF version of this pattern here:
How much yarn do you need?
I used:
Concept Sweet Fleece by Katia in color 71, Dark Grey. Is a mix of 80% virgin wool and 20% polyamide. Each ball has 50 grams and approximate 120 meters
For each size you will need:
11 ( 12, 14, 15, 17, 18, 20, 21) balls or
1290 (1400, 1580, 1760, 1970, 2160, 2350, 2510) meters
ABBREVIATIONS
Ch – chain
sc – single crochet
ss blo – slip stitch in back loop only
Fpdc – front post double crochet
fsc – foundation single crochet
dec – decrease: sc2tog
PM/RPM – place st marker/remove and place st marker
St(s) – stitch(es)
R – rows
** – repeated section.
TENSION
Using 4.5 mm crochet hook in single crochet stitch pattern
14 sts = 10 cm
16 rows = 10cm
You can Purchase the easily printable PDF version of this pattern here:
STITCH PATTERN
The main stitch pattern used for the Varsity Jacket is single crochet. We will use front post double crochet stitches for the raglan lines and a slip stitch in the back loop only ribbing for the neckline, cuffs, and bottom hem.
Also, you will need to know how to make foundation single crochet for the short rows
Foundation single crochet (fsc)
Step 1. insert the hook into the side of the last st, yarn over and pull out a loop, yarn over and pass it through the first loop on your hook only, yarn over and pass it through both loops on your hook.
Step 2: Insert the hook into the bottom “v” of the last fsc, yarn over and pull out a loop yarn over and pass it through the first loop on your hook only, yarn over and pass it through both loops on your hook.
Repeat Step 2 as many times as indicated.
sc2tog: *Insert the hook into the next st, yarn over, and pull out a loop (2 loops on your hook) *. Rep from * to * one more time, yarn over and pass it through all 3 loops on your hook.
PATTERN NOTES
Work the piece flat; turn after each row.
Work 1ch before starting a row; 1ch does not count as first st.
Work the increases only on the right side the increase will be made before and after the raglan line.
for bigger sizes, we will have 2 types of increases: single increase (2sc in the same st) or double increase (3sc in the same st)
The double increases will be made for the last few rows of the yoke only on the front and back panels
at the beginning of the yoke we will work 5 short rows to lower the front.
The pattern is written with the same armpit length for all sizes.
remove and place a stitch marker into the raglan line st (the st that is after the first increase and before the second increase.
INSTRUCTIONS
Numbers for sizes M, L, XL, XXL, 3XL, 4XL, and 5XL are written between brackets
YOKE
Start: ch4 (4, 4, 4, 4, 4, 4, 4) sts place st. marker, ch16 (16, 17, 17, 18, 18, 19, 19) sts and place st. marker, ch31 (32, 33, 33, 35, 35, 37, 37) sts and place a st. marker, ch16 (16, 17, 17, 18, 18, 19, 19) sts and place a st. marker, ch4 (4, 4, 4, 4, 4, 4, 4).
Total sts: 71 (71, 75, 75, 79, 79, 83, 83) ch sts
R1: start in the second st
1sc in next 2 (2, 2, 2, 2, 2, 2, 2) sts, (2sc in next st, 1sc in next st (RPM), 2sc in next st) – raglan increases; 1sc in next 14 (14, 15, 15, 16, 16, 17, 17) sts (2sc in next st, 1sc in next (RPM), 2sc in next st), 1sc in next 29 (30, 31, 31, 33, 33, 35, 35), (2sc in next st, 1sc in next st (RPM), 2sc in next st), 1sc in next 14 (14, 15, 15, 16, 16, 17, 17) sts (2sc in next st, 1sc in next (RPM), 2sc in next st), 1sc in next 2 (2, 2, 2, 2, 2, 2, 2) sts, ch4 and turn (you added 8sts +3 ch sts at the end of the row.
R2: 1sc in next 3 (3, 3, 3, 3, 3, 3, 3) ch sts, 1sc in each of the following sts until the end of the row, 3fsc, 1ch and turn. (you added 3fsc)
R3: 1sc in next 3 (3, 3, 3, 3, 3, 3, 3) fsc, *1sc in each st until 1 st before marker, (2sc in next st, 1Fpdc around the next st 1row below (RPM), 2sc in next st)*. Rep, from *to* until the last raglan line, 1sc in the remaining sts, ch 4 and turn. (you added 8sts +3 ch sts at the end of the row.)
R4: Rep. R2
R5:Rep. R3
R6: Rep. R2
R7: 1sc in next 3 (3, 3, 3, 3, 3, 3, 3) fsc, *1sc in each st until 1 st before marker, (2sc in next st, 1Fpdc around the next st 1row below (RPM), 2sc in next st)*. Rep, from *to* until the last raglan line, 1sc in the remaining sts. ch 4 (4, 5, 5, 6, 6, 7, 7) sts and turn. (you added 8sts +3 (3, 4, 4, 5, 5, 6, 6) ch sts at the end of the row.)
R8: 1sc in next 3 (3, 4, 4, 5, 5, 6, 6) ch sts, 1sc in each of the following sts until the end of the row, 3 (3, 4, 4, 5, 5, 6, 6)fsc, 1ch and turn. (you added 3 (3, 4, 4, 5, 5, 6, 6)fsc)
We finished with short rows and we will continue to work on the yoke without increasing at the beginning and at the end of the row; only on the raglan lines.
R9: 1sc in each st until 1 st before marker, (2sc in next st, 1Fpdc around the next st 1row below (RPM), 2sc in next st)*. Rep, from *to* until the last raglan line. Work 1sc in the remaining sts. 1ch and turn. (you added 8 sts)
R10: 1sc in each st until the end of the row.
Rep. R9-R10 until you have in total 30 (28, 30, 34, 38, 40, 42, 42) rows.
For sizes M, L, XL, XXL, 3XL, 4XL, 5XL only:
For size Small, the yoke is done and you can move to the next section of the pattern.
For the other sizes, we will start making a double increase only on the body sections (front and back panels and not on the sleeves)
You can Purchase the easily printable PDF version of this pattern here:
Next row size M (L, XL, XXL, 3XL, 4XL, 5XL):
*1sc in each st until 1 st before marker, (3sc in next st, 1Fpdc around the next st 1row below (RPM), 2sc in next st), 1sc in each st until 1 st before marker, (2sc in next st, 1Fpdc around the next st 1row below, 3sc in next st).
*rep. one more time until the last raglan line. Work 1sc in each of the remaining sts, 1ch, and turn. (you added 12 sts)
Next row: 1sc in each st until the end of the row.
Rep. the last 2 rows until you have in total
for sizes M (L, XL, XXL, 3XL, 4XL, 5XL),
32 (34, 38, 42, 46, 48, 50) rows.
After finishing the yoke you will have in total:
back panel: 60 (66, 70, 74, 80, 86, 80, 94) sts
front panel:30 (33, 35, 37, 40, 43, 45, 47) sts
Sleeves: 45 (47, 50, 54, 59, 63, 66, 68)
BODY
Section until pockets.
R1:Separating row (right side)
1sc in next 30 (33, 35, 37, 40, 43, 45, 47) sts, 1sc in next sc, ch 8 (9, 12, 15, 16, 17, 20, 23) sts, skip next 45 (47, 50, 54, 59, 63, 66, 68), 1sc in next st, 1sc in next 60 (66, 70, 74, 80, 86, 80, 94) sts, 1sc in next st, ch 8 (9, 12, 15, 16, 17, 20, 23) sts, skip next 45 (47, 50, 54, 59, 63, 66, 68), 1sc in next st, 1sc in next 30 (33, 35, 37, 40, 43, 45, 47), 1ch and turn
R2 (WRONG SIDE):1sc in each st, including the armpit sts, until the end of the row. 1ch and turn.
*R3-R18: Rep. R2
*if you don’t want pockets, then you can repeat R2 until you will get to the desired length.
POCKETS
We will work the pockets section in 3 individual parts: left side pocket, back (or the stitches until the next pocket), and right side pocket.
We will begin with the left side pocket.
We will reset the rows count and we will count the rows for each part.
for easy work, use 2 sts marker and mark the left and right side pocket’s sts.
(18 sts for all sizes)
Always make the increase into the second or second to last st.
Left side Pocket
Continue from where your yarn is
R1:1sc in next 16sts, 2sc in next st, 1sc in last st. 1ch and turn
R2: 1sc in each st until the end of the row. 1ch and turn
R3: rep. R2
R4:1sc in first st, 2sc in next st, 1sc in each st until the end of the row.
R5, R6: Rep. R2
R7-R18: Rep. R1 to R6
R19 – R21: Rep R1 to R3
Fasten off.
Remaining sts until the next pocket
In this section, we need to add at the beginning and at the end of the row, the pocket sts. This extra sts will create the inside layer of the pocket.
Before rejoining yarn into the marked st, ch18
R1: starting with the marked st (or the next st after the pocket sts) work 1sc in each st until the end of the row. Ch19.
R2:start in the second ch-st
1sc in each st, until the end of the row. (including the ch-sts). 1ch and turn.
R3-R21: rep. R2.
Right side Pocket
Work the right side pocket following the same pattern as the left side pocket, but reverse.
Start in the stitch after the marker (18 sts until the edge)
R1:1sc in the first st, 2sc in next st, 1sc in each st until the end of the row.
R2: 1sc in each st until the end of the row. 1ch and turn
R3: rep. R2
R4:1sc in each of the following sts, except the last 2, 2sc in next st, 1sc in last st.
R5, R6: Rep. R2
R7-R18: Rep. R1 to R6
R19 – R21: Rep R1 to R3
Now, we finished the pockets section and we can continue with the body of the jacket.
The pocket section had 21 rows, which means we worked in total for the body until now 39 rows.
The next row will be on the wrong side.
Continuing the body
Continue from where your yarn is.
First 18 sts and last 18 sts, work the single crochet through both sides (pocket and the inside pocket layer).
R40: 1sc in each st until the end of the row. 1ch and turn.
R41-43: Rep. R40.
Fasten off.
SLEEVES
Rejoin yarn on one of the middle sts at the armpit.
Work the sleeves in the round.
Close each round with a slip stitch into the first sc.
Turn after each round to keep the same look of the stitch as the rest of the Jacket.
Dec. Row = sc2tog, 1sc in each st until you have 2 sts left, sc2tog.
Work the rows for the sleeves as follows:
Work 7 (7, 7, 7, 5, 5, 5, 4) rows without decreasing, followed by 1Dec Row.
Rep. these 8 (8, 8, 8, 6, 6, 6, 5) rows until you have 56 (56, 64*, 64, 60, 60, 66, 60) rows.
Continue with rows without decreasing until you will have in total 60 (60, 64*, 65, 65, 65, 67, 67) rows.
* For size L no extra rows are needed unless you want to add extra length to the sleeve.
Don’t fasten off, move to the Ribbing section
ZIPPER LINE EDGING
Before working on the neckline ribbing and the bottom hem ribbing. work the zipper line edging.
Rejoin yarn into the first bottom stitch (for the left side) or into the first top stitch (for the right side).
Start working on the wrong side.
Each single crochet side row = 1 stitch.
R1: 1ch, 1sc in the same st, 1sc until the end of the row. 1ch and turn.
R2: Rep. R1.
Depending on which side did you make last, continue from where your yarn is with the bottom or neckline edging following the pattern below.
RIBBING
ch11
R1: starting with the second st, 1ss in each of the next 10sts, 1ss in the next 2 sts of the edge, turn.
R2: 1ss blo in each st until you have 1st left, 1ss in the last st. 1ch and turn.
R3: 1ss in first st, 1ss blo in next 9sts, 1ss into the next 2sts of the edge, turn.
Rep. R2 and R3 until you finish all the edge stitches.
For the cuffs, work the ribbing right after finishing the sleeve. Join the ribbing edges with slip stitches.

SEWING THE ZIPPER
Make sure you have a split zipper that has at least the same length as the jacket.
If it’s bigger you can cut it at the proper length.
Before sewing the zipper, work a “case” on the wrong side of the jacket.
Rejoin yarn into the first st of the third row of the ribbing, grabbing only the front loop.
2ch and 1hdc into the same loop, continue with 1hdc into each st of the ribbing, only through the first loop.
Continue with working the hdc stitches between the 2 rows made for the zipper line edge.
Insert the hook around the stitches, from front to back, then from back to front, and make the hdc.
Work 1hdc around each stitch of the zipper line edge until you get to the second ribbing.
On the ribbing section, proceed as at the beginning.
Repeat the same with the other zipper line edge.
After having, the case use pins to set in place the zipper.
Then using a sewing needle and thread, stitch the zipper into the “case”.
POCKETS EDGING
Rejoin the yarn at one end of the pocket.
R1: 1ch, 1sc in the same st, 1sc in each side row. 1ch and turn.
R2: 1ss in the first st, 1ss blo in each of the following sts, 1ch and turn.
Rep. R2 until the edge has the desired width. (8 rows)
SURFACE SLIP STITCHES OUTLINES
Optional you can work a surface slip stitches outline in a contrasting color.
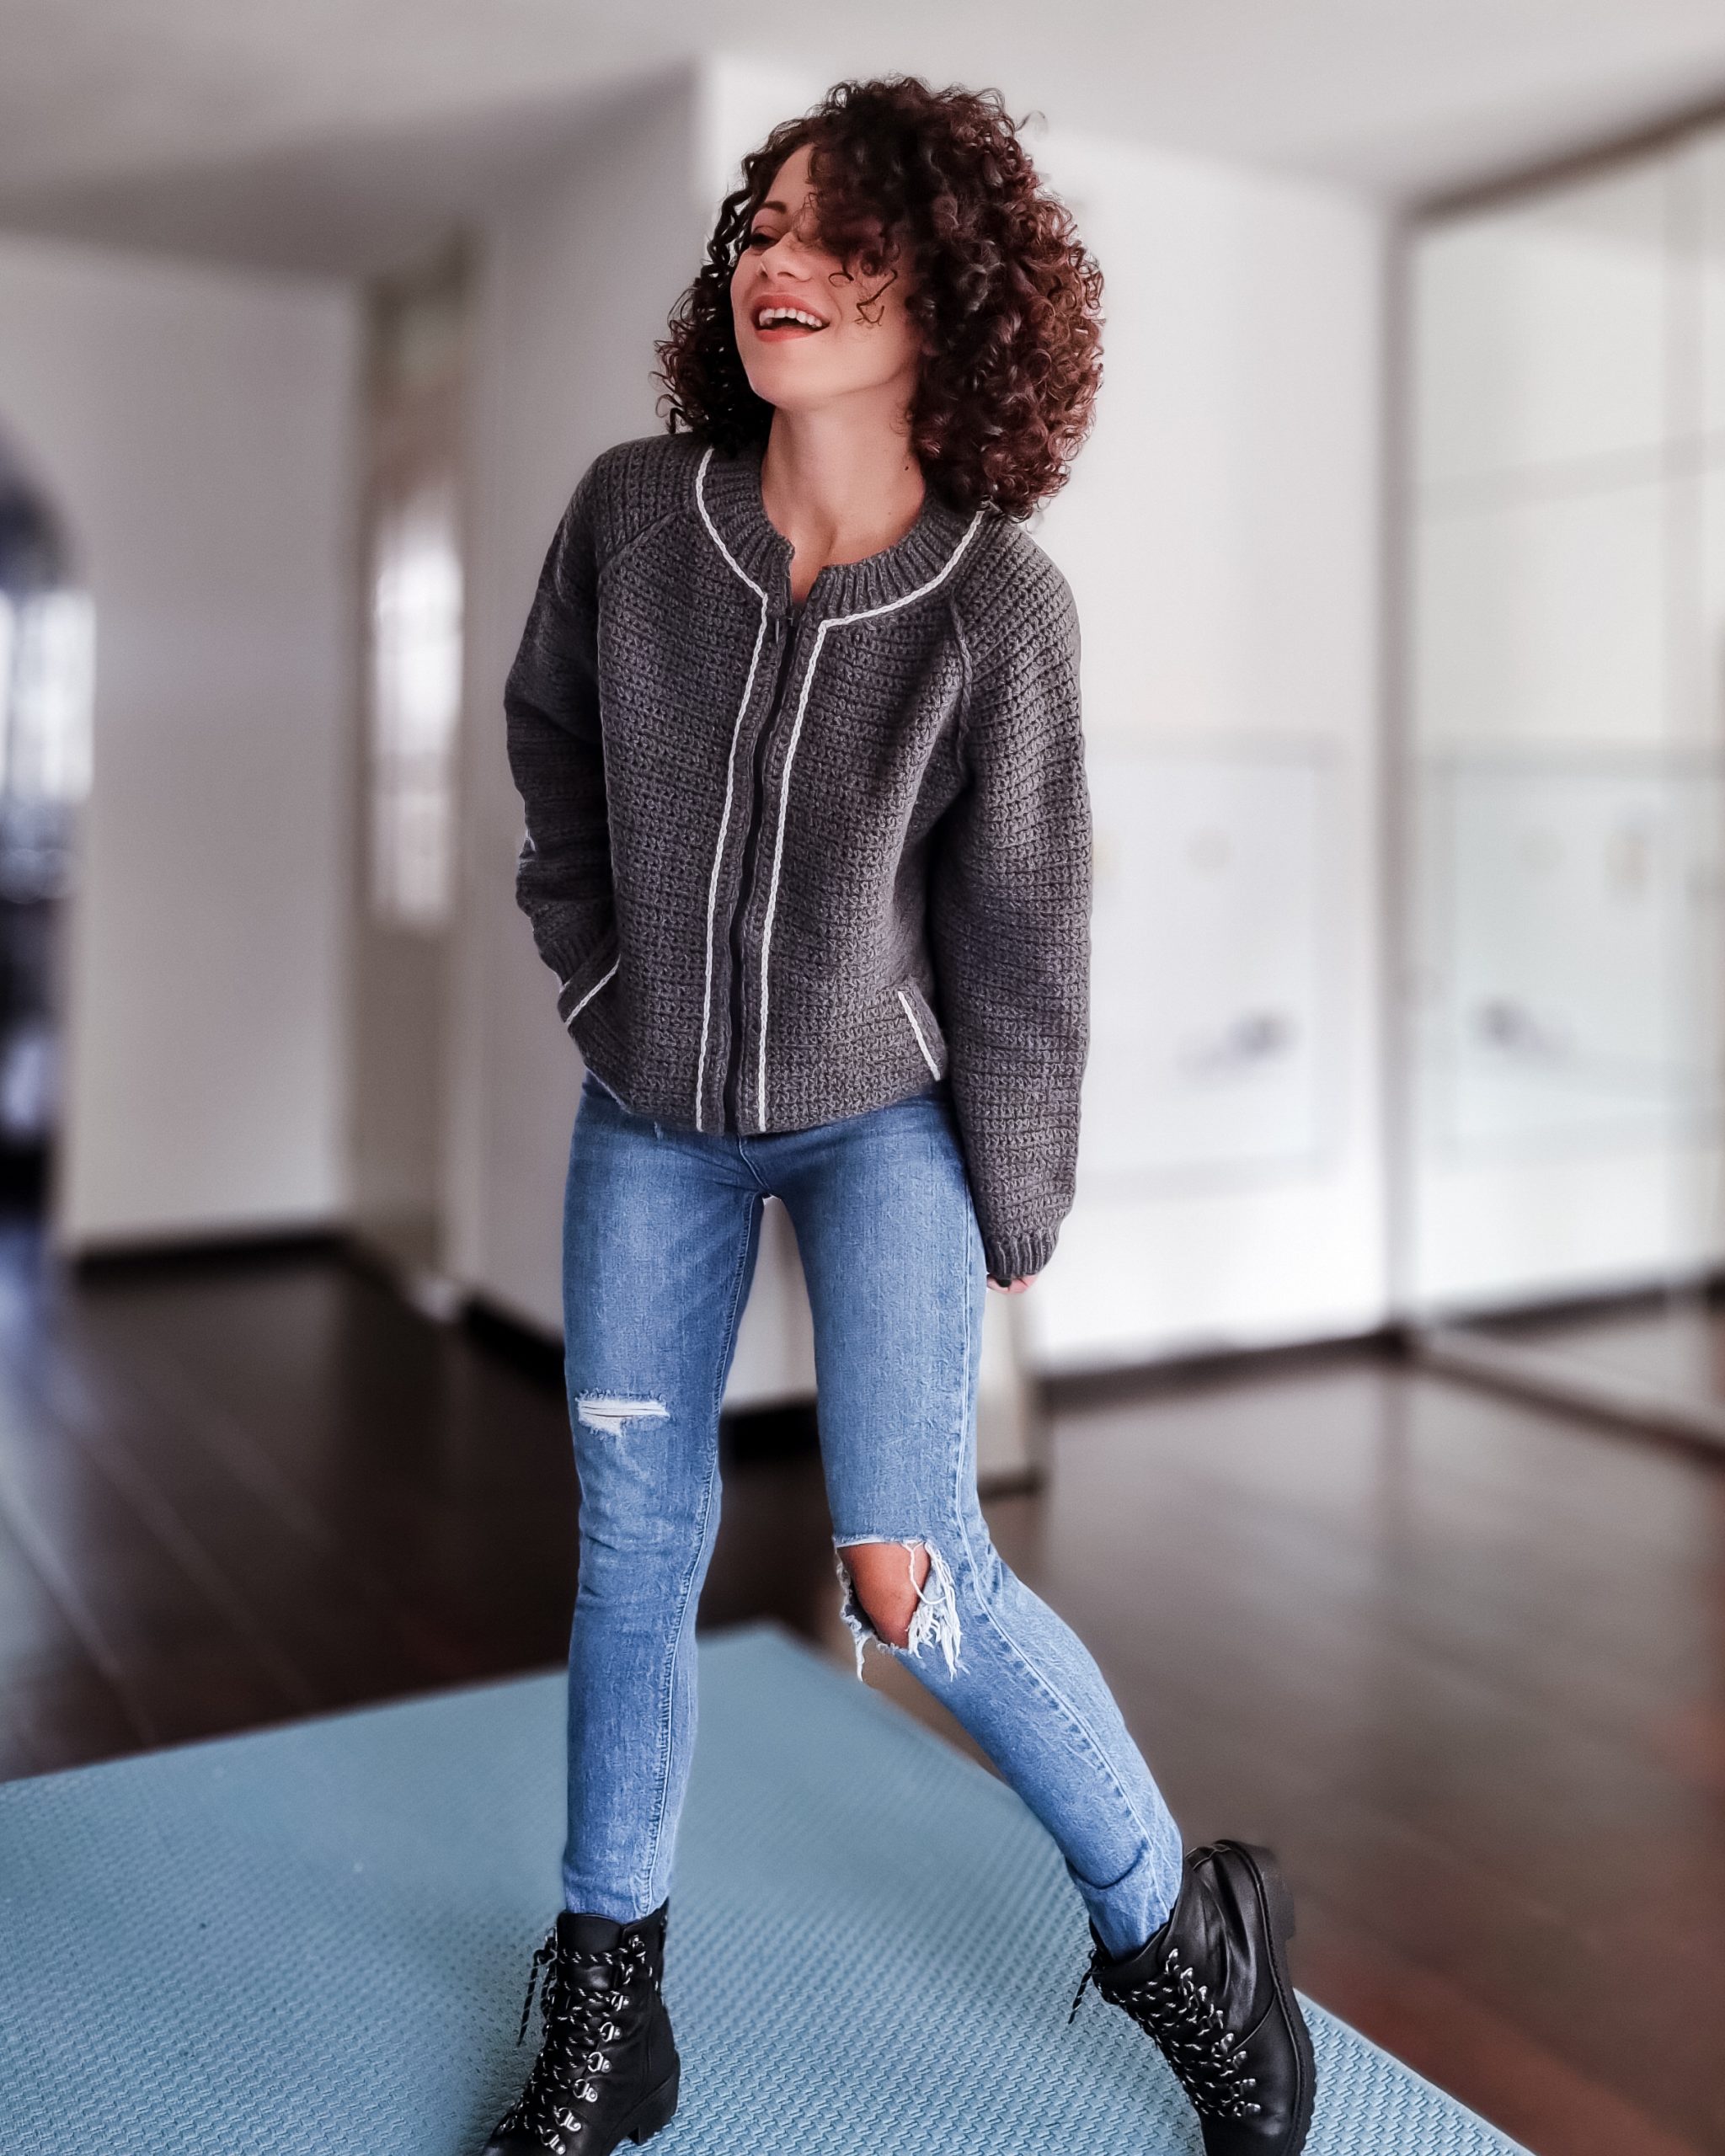
I made this next to the zipper line, around the neckline, and next to the edge of the pocket.
The one next to the zipper line and around the neckline is worked in one single piece.
Start into the first side row space after the bottom ribbing of the left side
Step1: with the working yarn in the back, insert the hook into the indicated stitch and pull out a loop.
Step 2: Insert the hook into the next space, pull out a loop and pass through the loop on your hook.
Repeat step 2 until you finish the outline.
Proceed the same with the pockets outlines.
TO FINISH
Weave in all looser ends and block to measurements.
You can Purchase the easily printable PDF version of this pattern here:
And you finished! I hope you will like this pattern and in the end this Varsity Jacket because I do and nothing is more rewarding than to see that you love what I make 😊
Until next time, Happy Crochet!




5 Comments
This is so adorable…and really stylish too!! I’m going to try to make this one for real! I’ve tried adult-sized garments before but I’ve never gotten this gauge down well enough to finish them. (I’ve done plenty of child and baby clothes – gauge doesn’t seem to get in the way as much with smaller construction items, does it?)
Right after Xmas, I’ll really work on getting this one made. If I’m successful, maybe I’ll send you a photo.)
Thank you so much!
I am working on the video tutorial also and maybe it will help a bit more!
Este superba jachetă. Am cautat tutorial ca asa eram obișnuită cu d-voastră și n-am găsit.
Probabil ca nu ați făcut. E ok va pup și va doresc numai bine. 💋💐
Buna! E in lucru si tutorialul! Inca nu am avut timp sa editez filmuletul, dar o sa vina! 🙂
Multumesc!
You are so talented! This jacket is amazing!
xoxo
Lovely
http://www.mynameislovely.com