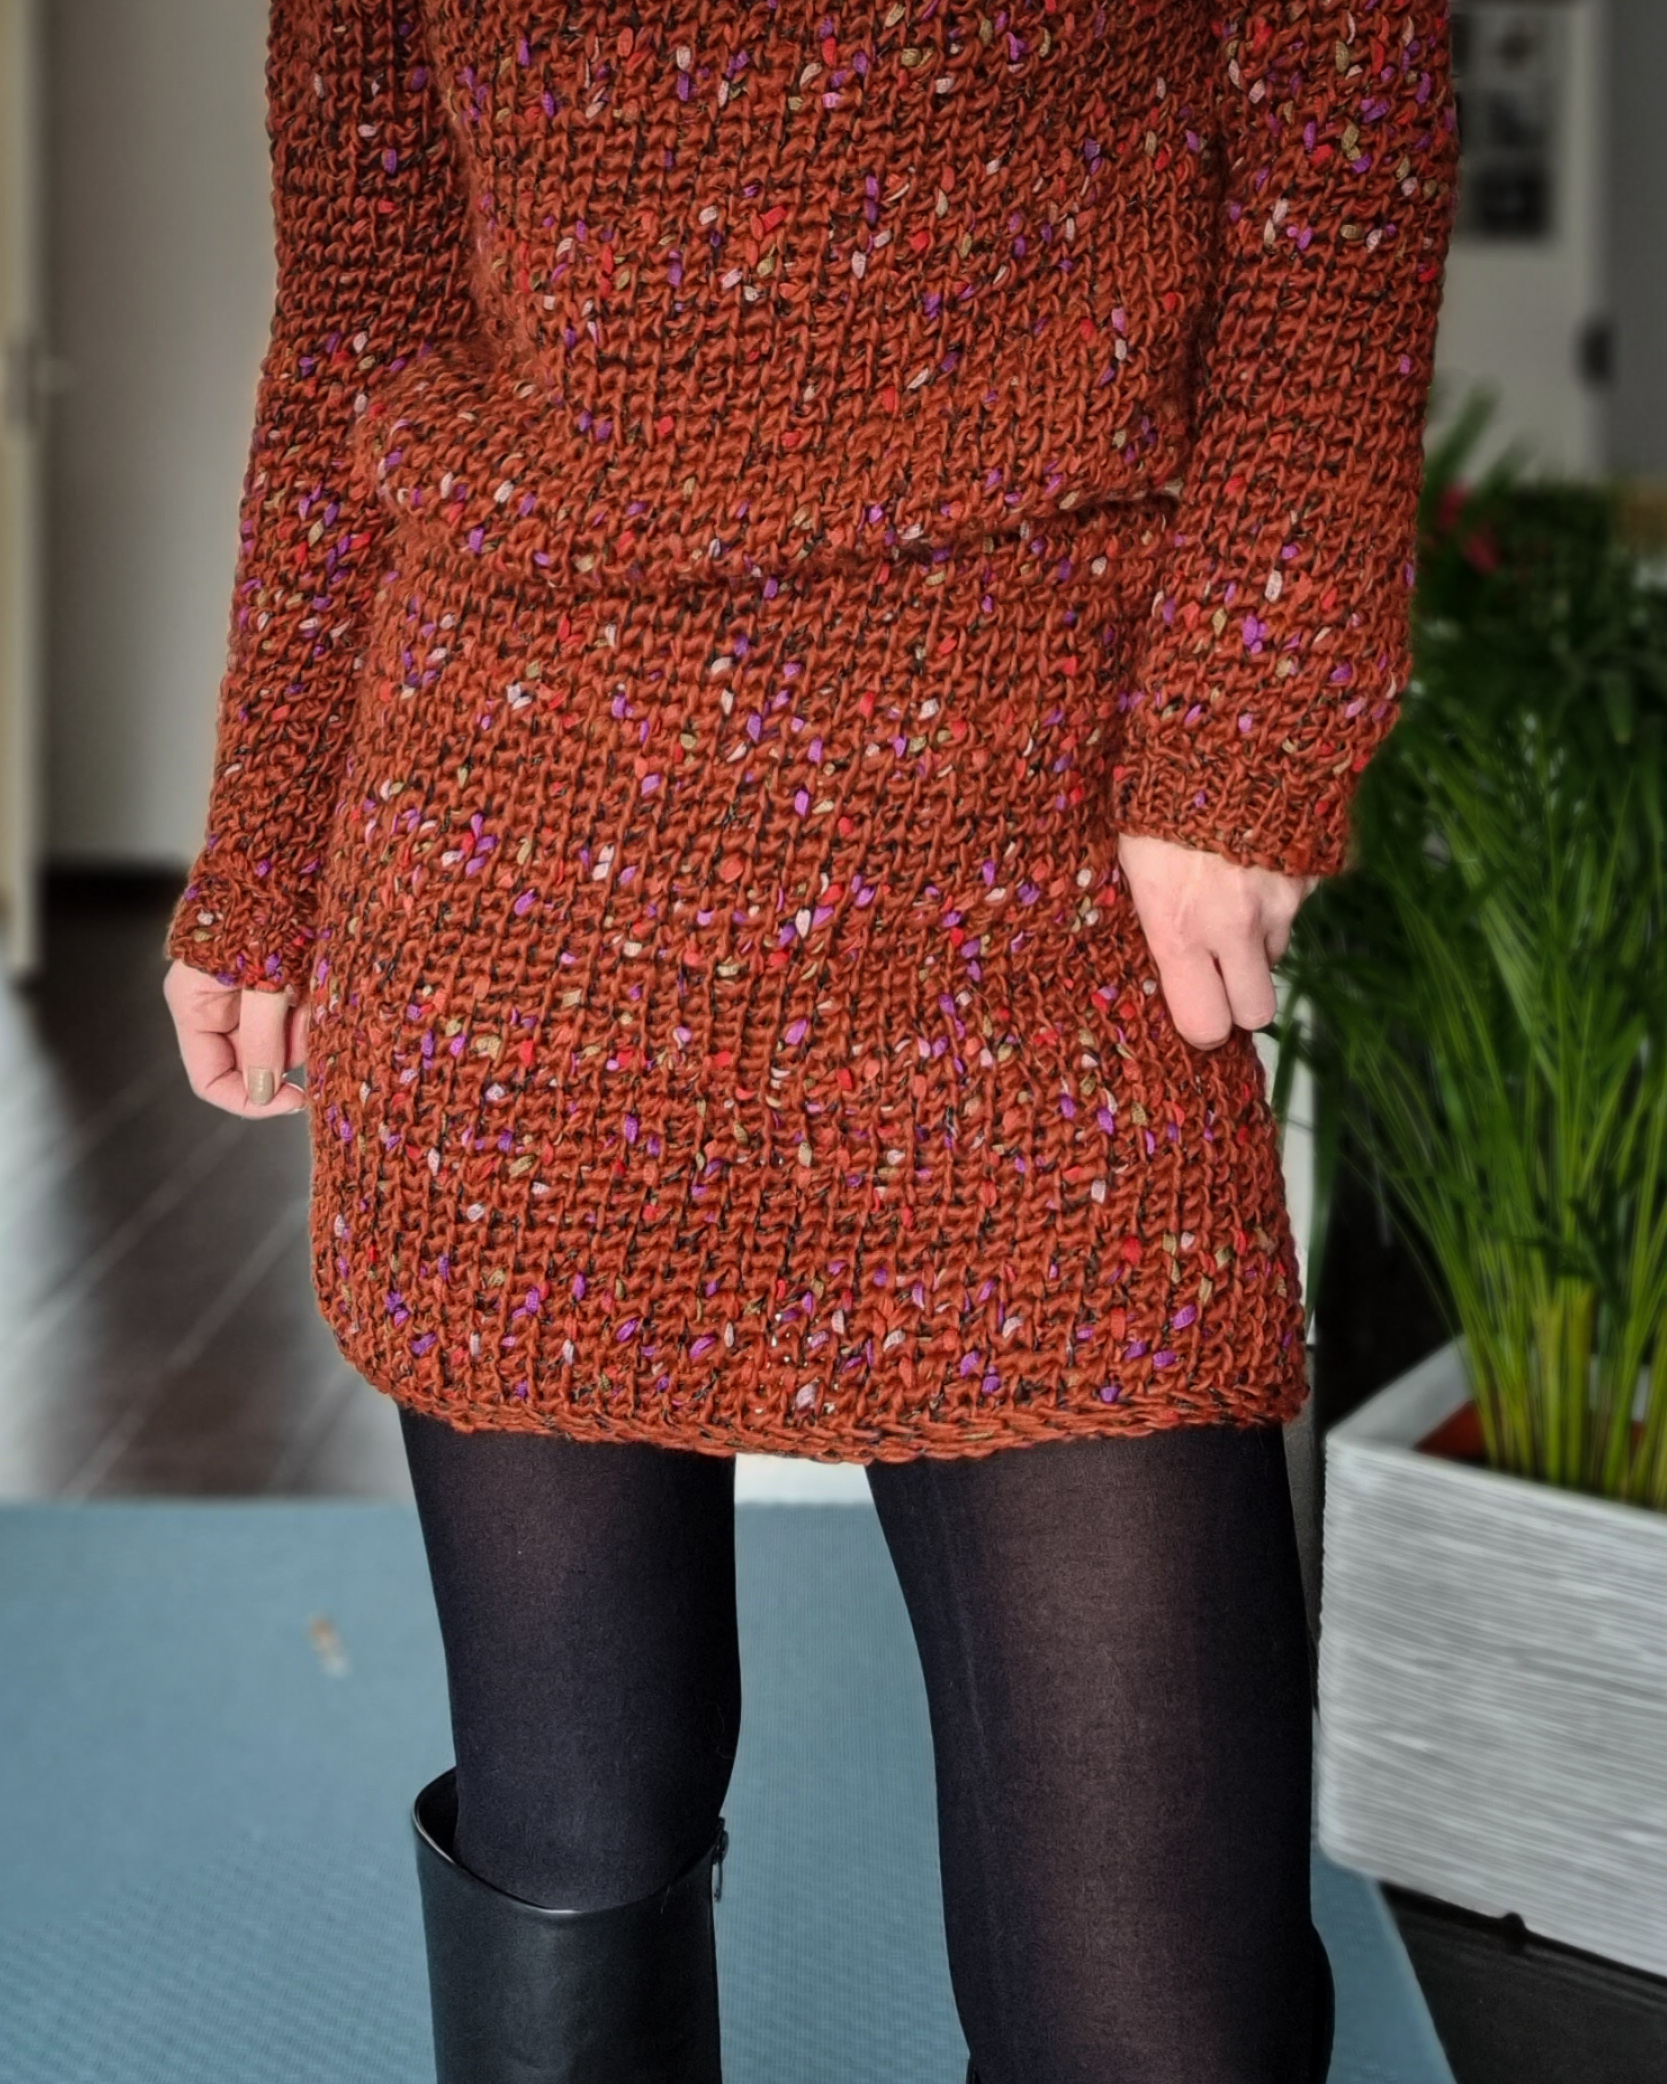
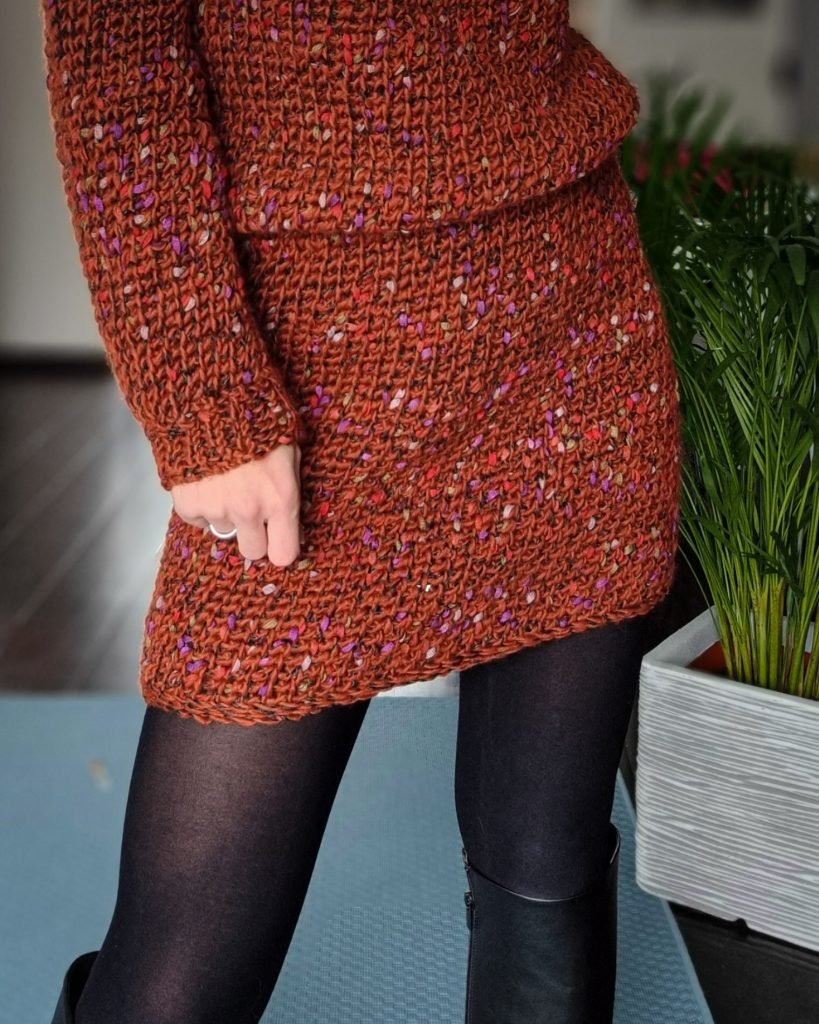
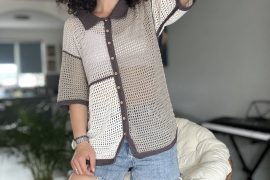
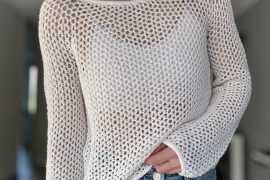
I called the Sprinkles Skirt the “Sister” of the Sprinkles Sweater. At first, I was thinking to make the sweater longer, like a Sweater Dress, but I loved so much the fit of the sweater that I wanted to wear it more. Since I don’t wear skirts or dresses that often I said that it will be a good idea to have a Sweater Dress look but from two pieces. It was a great idea for me, as long as it gives me the opportunity to wear the pieces separately as well.
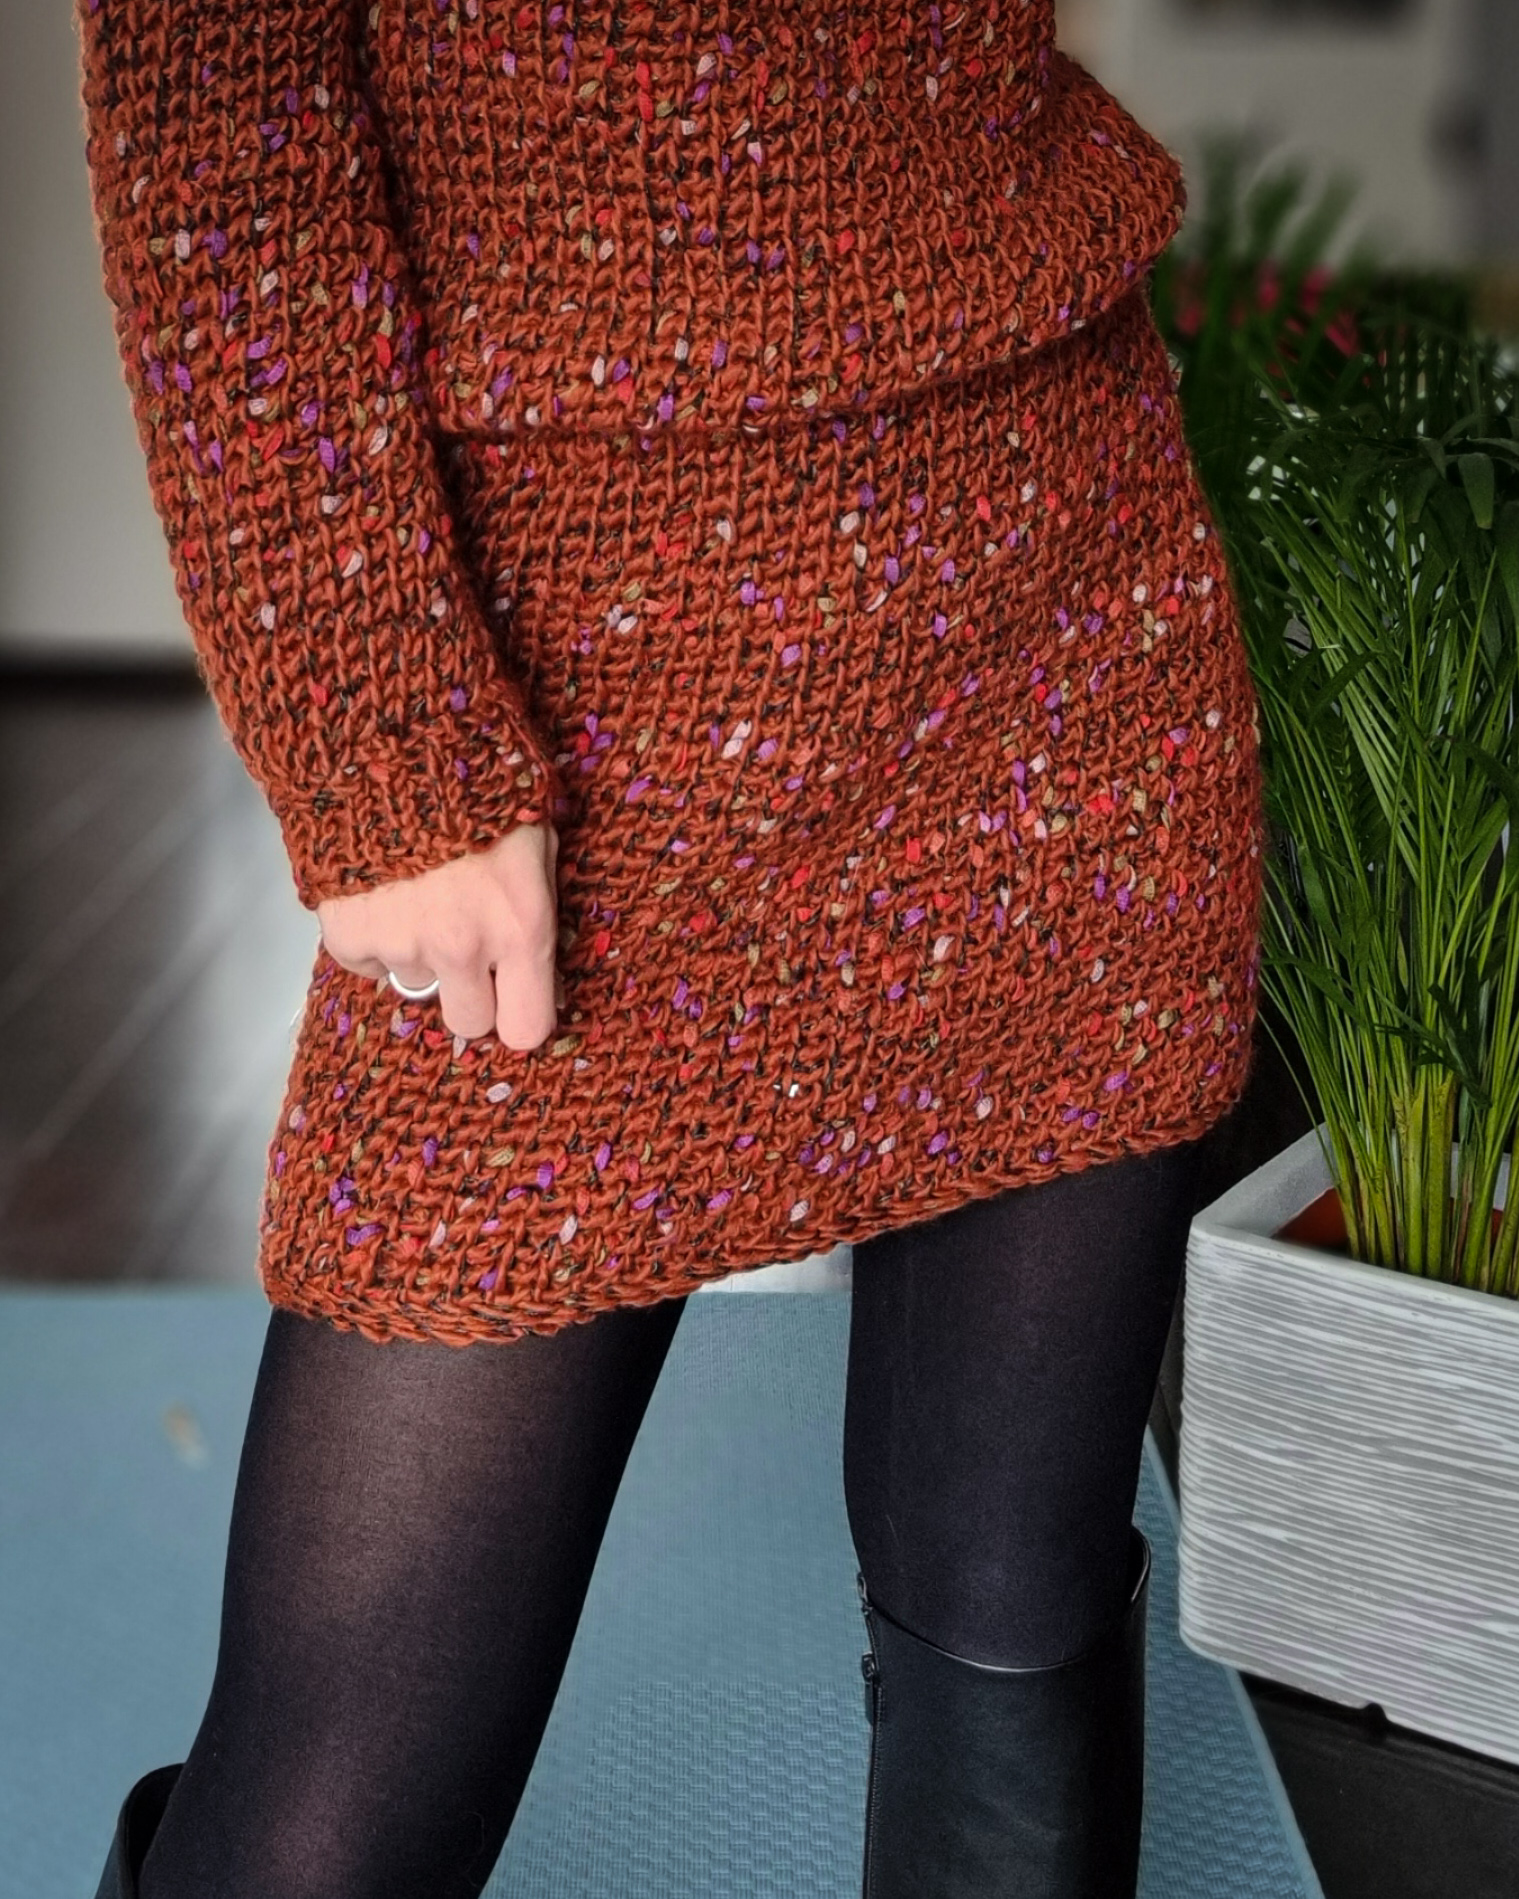
The Pattern of this dress is super easy and it won’t give you any problems. And if you plan to make the Sprinkles Sweater too, I will recommend starting with the skirt, to get used to the stitch pattern and the tension that allows you to work the stitches easier.
This post contains affiliate links. By purchasing from this page I may receive some commissions. This won’t cost you anything, no additional costs for you as the commission is paid by the merchant.
In this way you support me and I will be extremely grateful.

You can Purchase the easily printable PDF pattern here:
MATERIALS
• Yarn: Yarn: Aran (heavy worsted) yarn weight (Size 4)
• Crochet Hook:
o 10 mm crochet hook
• 1cm wide elastic band (length: with 3-4 cm less than the waist length
• yarn needle for weave in ends
• Stitch markers
• Scissors
NOTES ABOUT DESIGN
The Sprinkles Skirt is worked top-down starting at the waistband. The skirt is straight and has no shaping. We are using an elastic band to make it smaller around the waist line.
After working a few rounds, we fold the waistband and insert the elastic band inside the fold.
After this step, the skirt is worked in continuous rounds until you reach the desired length.
To finish the skirt, work 2 more rounds in slip stitches.
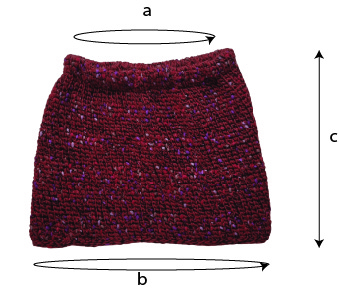
MEASUREMENTS AND SIZES
MEASUREMENTS AND SIZES
The Sprinkles Skirt Pattern is available in 8 sizes, from Small up to 5X Large. The model is 168 cm tall and wears a size Small.
*Waist a: 66 cm (75, 85, 95, 105, 112, 117, 125
Hips b: 98 cm (108, 118, 128, 140, 145, 150, 163)
**Length c: 40 cm (40, 40, 40, 40, 40, 40, 40)
*Waist numbers are the standard measurements; The waist circumference is given by the elastic band length and not by the number of sts. The number of stitches is calculated according to the hips circumference
** the length is the same for all sizes. The pattern is written for 40, 50, and 60 cm lengths, but work as many rows as you wish to get to the desired length.
How much yarn do you need?
For the Sprinkled Skirt, I used Azulejo from Katia Yarns in color 406 – Red brown-Pearl black berry-Red. Each ball has 100 grams and 130 meters. Yarn composition is 65% Acrylic – 17% Polyamide – 11% Wool – 7% Alpaca
*For each size you will need:
4 (4, 4, 5, 5, 5, 5, 6) balls or
420 m (470,510, 550, 600, 630, 640, 710) meters
*the yardage is calculated accordingly with 40 cm length.
ABBREVIATIONS
Ch – chain
sc – single crochet
csc – centered single crochet
ss – slip stitch
ssblo – slip stitch in the back loop only
St(s) – stitch(es)
R – rows
** – repeated section.
TENSION
Using 10 mm crochet hook in central single crochet
8 sts = 10 cm
11 rows = 10cm
You can Purchase the easily printable PDF pattern here:
STITCH PATTERN AND TECHNIQUES
Working in continuous rounds
Working in continuous rounds is like working in a spiral. you don’t need to join with a slip stitch at the end of each round; you simply work directly into the first stitch. This technique requires using a stitch marker to mark the first stitch to know where the round starts and for easier counting.
cdc: centered double crochet
Stitches are worked as a regular dc, but instead of inserting your hook through the top loops, you will insert the hook into the “v” formed at the base of the stitch. Stitches need to be loose to make entering the stitch easier.
PATTERN NOTES
Work the piece in the round only on the right side
Work in continuous rounds like explained above
INSTRUCTIONS
Start: ch 78 (86, 94, 102, 112, 116, 120, 130); join the ends to make a circle
R1: 1sc in each st around.
R2: 1csc in each st around
R3-R4: rep. R2
Finishing the waistband and inserting the elastic band
Fold the piece in half. Make sure that the stitches are aligned one on top of the other.
Take the elastic band (it should have a length of 3 cm less than waist circumference), with the ends sewn together, and place the elastic band inside the fold.
R9: Keep the elastic band inside.
1csc in each st around; work the sts by inserting the hook into both sides.
R10-R50: Rep. R2
For 50cm length work 61 rounds; for 60cm length work 72 rounds
Last 2 rounds: 1slip stitch in each st around
Fasten off.
You can Purchase the easily printable PDF pattern here:




Comments are closed.