The idea of the Ribbing Sweater came into my head while researching different sweater constructions in knitting.
I tried until now different types of sweater construction, and the one I used for the Sella Jumper was new to me, and it might be my new favorite. Everything went smoothly from the first try, and even before finishing my first sample, I started the second one. I wanted to try using different yarn weights to see the drape, and I was so happy with the results.
I don’t have too many things to say about it except that I love it and hope you will also love it.
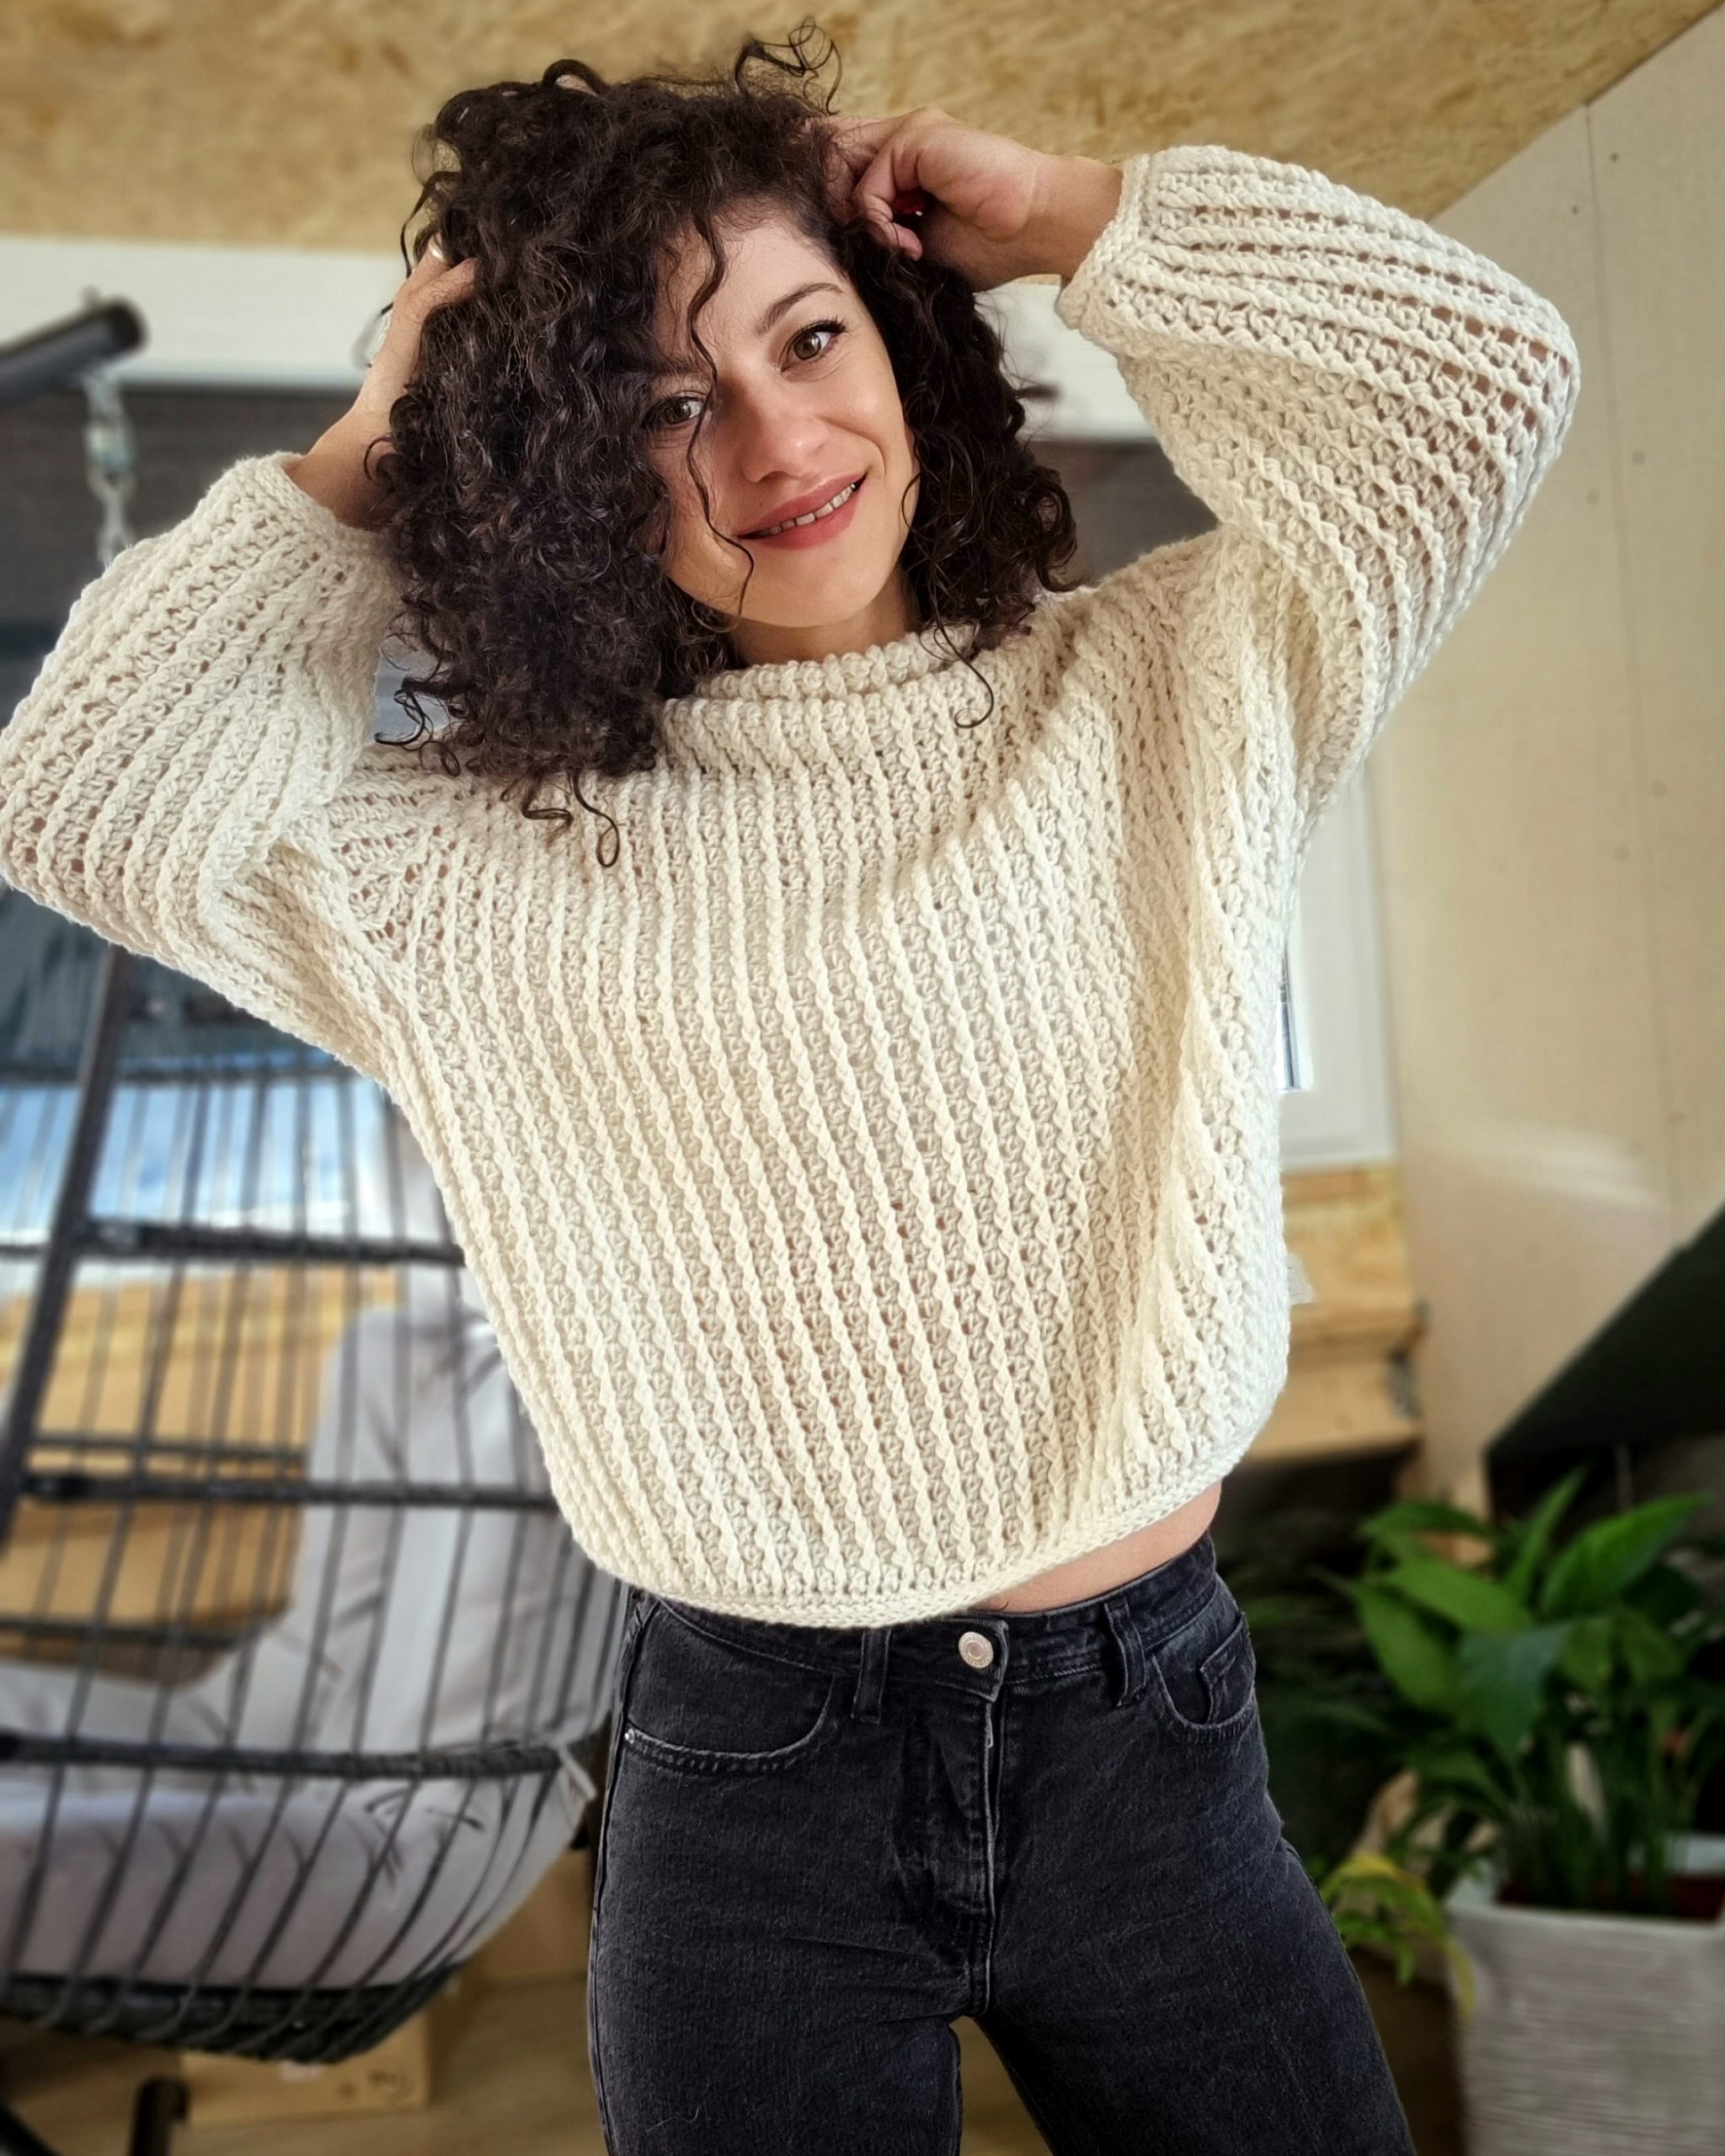
You can purchase the easily printable PDF pattern here at the links below. The PDF contains stitch charts also for the yoke section for all sizes.
MATERIALS
• Yarn: Size 3 or size 4, DK weight yarn or Worsted weight yarn
• Crochet Hook:
o 6.5 mm crochet hook for the Ribbing
• yarn needle for weaving in ends
• 8 stitch markers
• Scissors
NOTES ABOUT DESIGN
The Ribbing Sweater is a top-down sweater with a unique yoke construction.
The yoke is worked in 2 sections: the first one, increasing only the front and back panel, and the second one, increasing the sleeves and the body.
After finishing the yoke, the piece is split into sleeves and a body. The three parts are worked individually until the desired length.
The sweater has positive ease of about 18cm around the Bust Circumference.

MEASUREMENTS AND SIZES
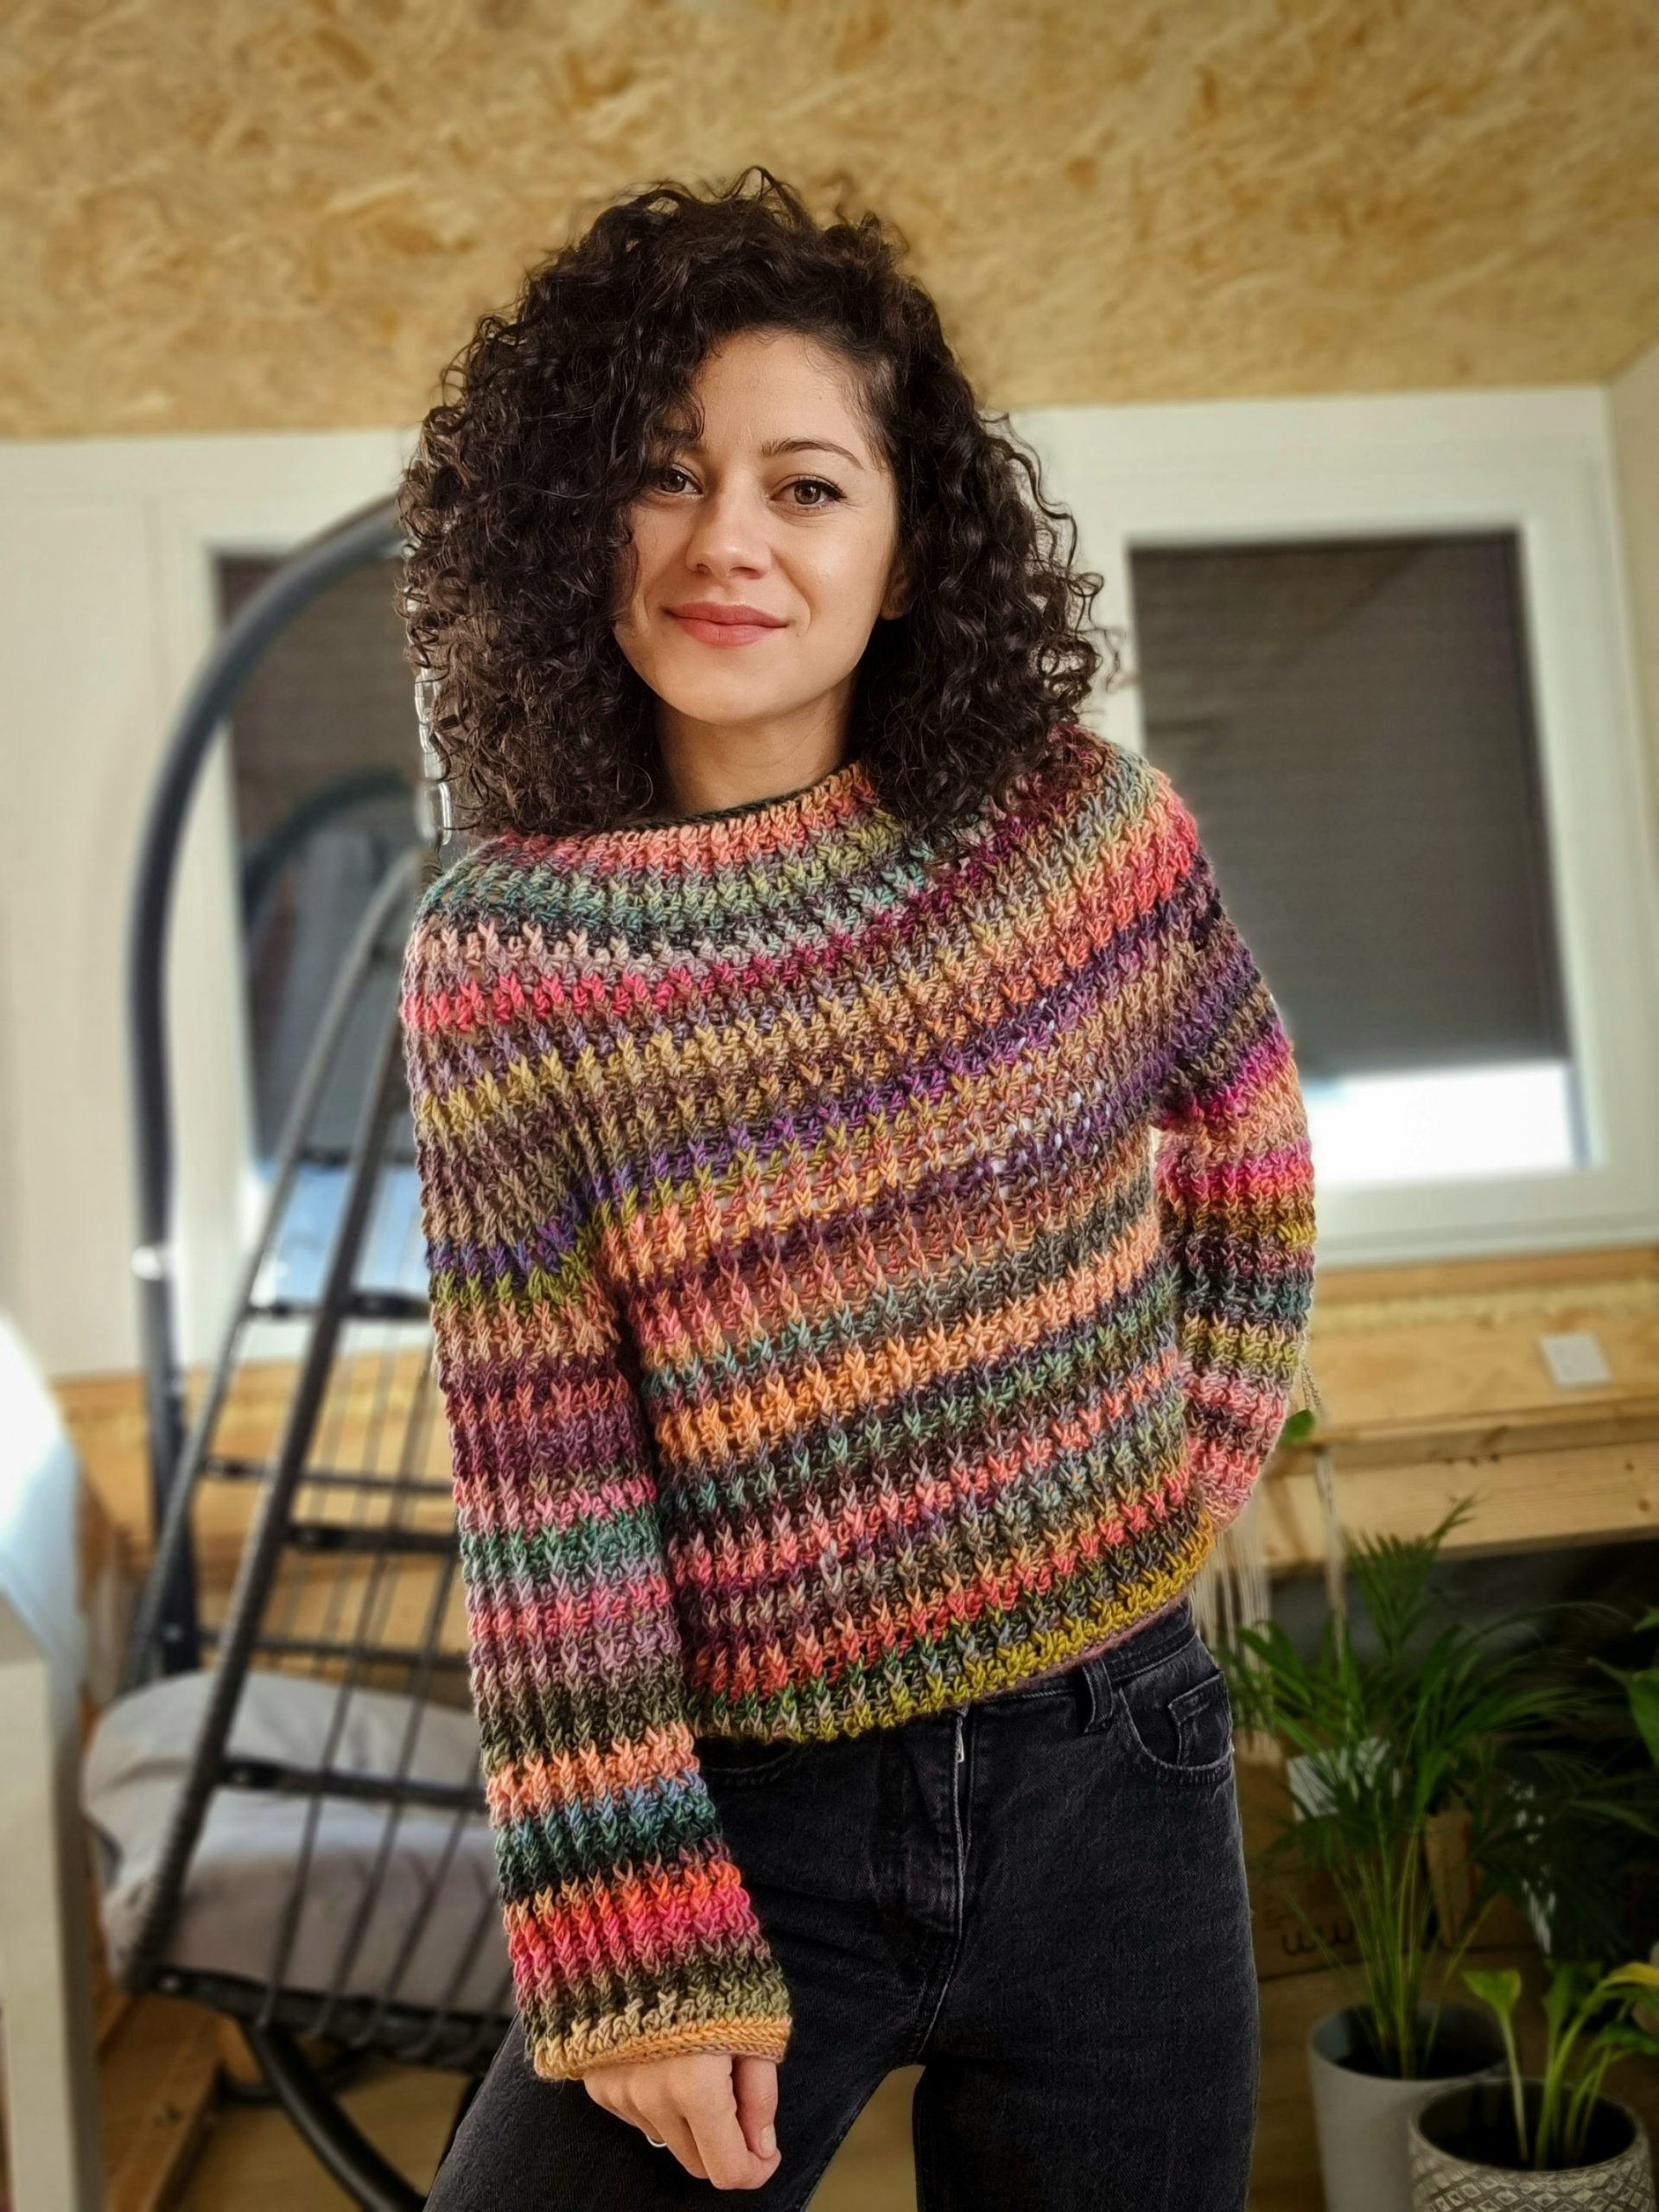
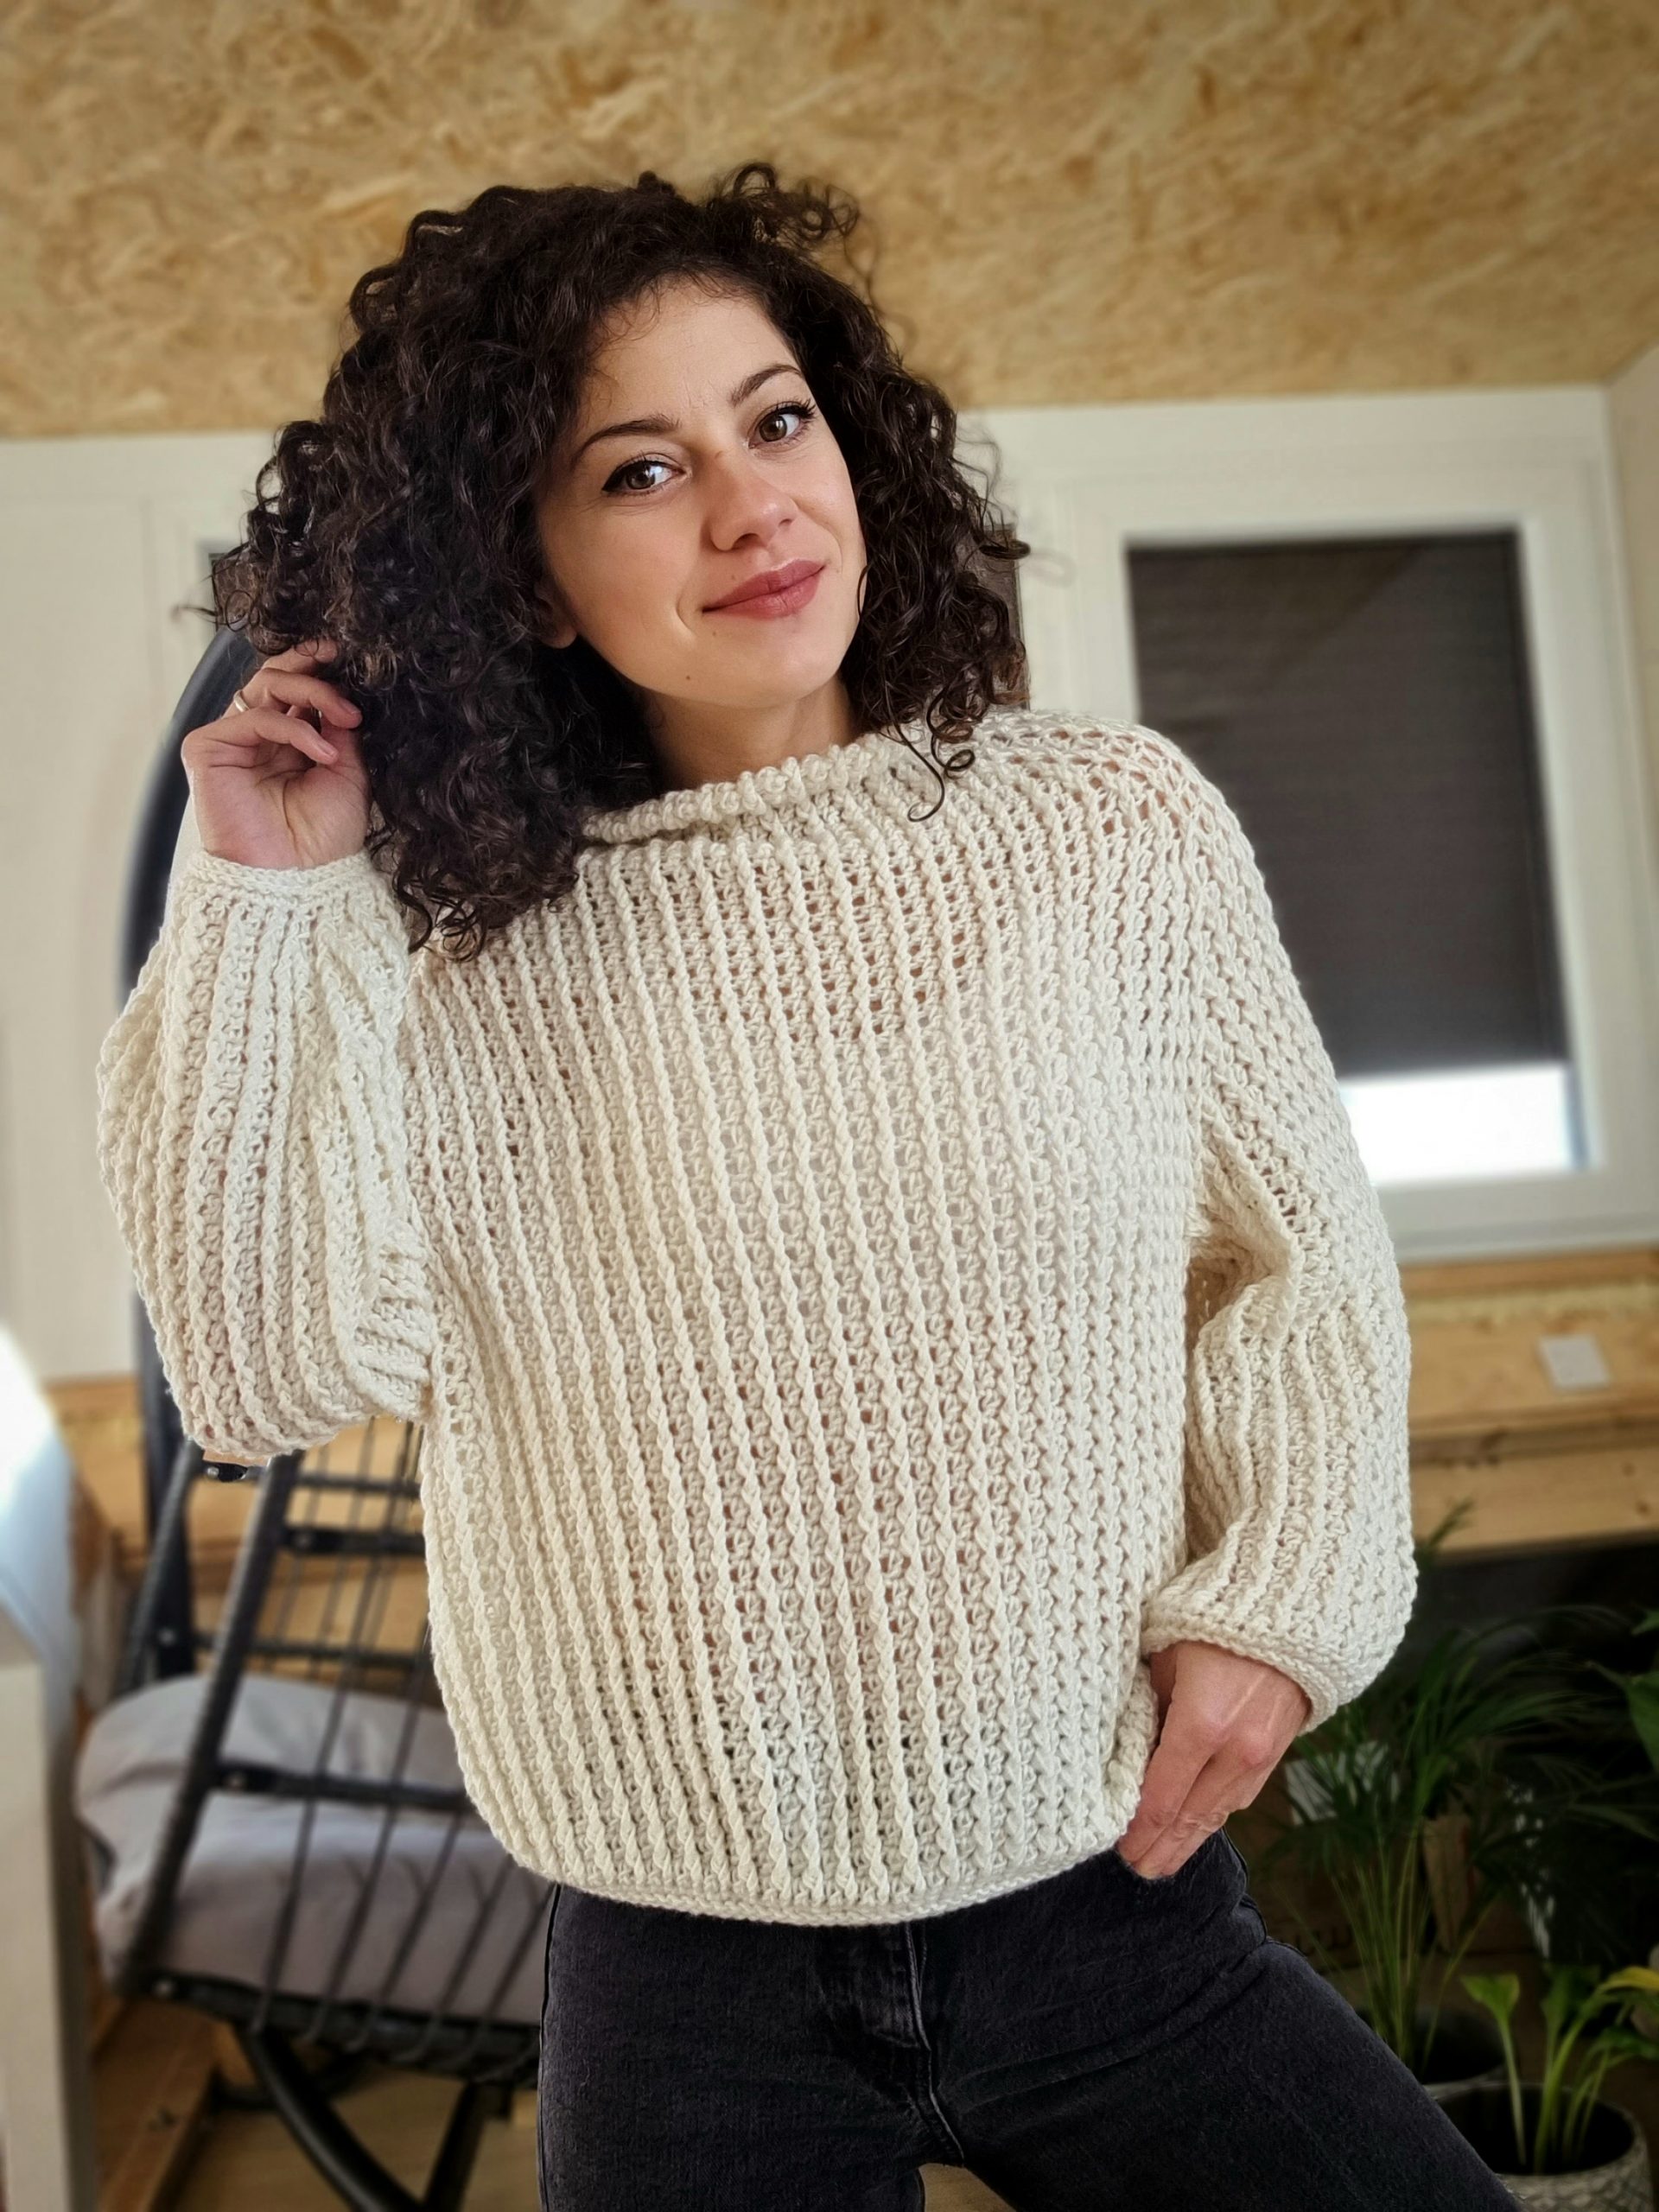
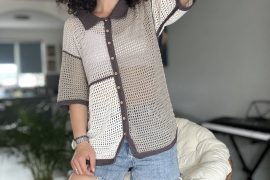
The Sella Jumper Pattern is available in 9 sizes, from XS up to 5X Large. The model is 168 cm tall, with an 86 cm Bust circumference, and wears a size Small.
The numbers are written below as follows: XS (S, M, L) (XL, 2XL, 3XL, 4XL, 5XL); US sizes 0/2 (4/6, 8/10, 12/14) (14/16W, 18/20W, 22/24W, 26/28W, 30/32W)
All the measurements use as reference Standard Body Measurements by ASTM International.
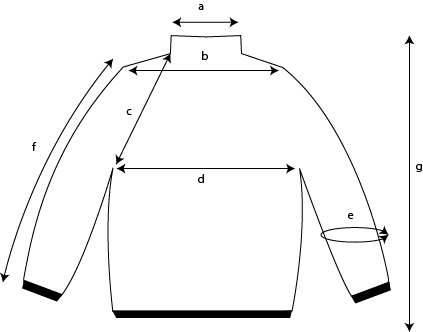
Final Measurements of the Sella Jumper
Neckline width a: 23 cm (23.5, 24, 25) (25.5, 26, 27, 28, 29)
Cross Back b: 36cm (37, 38, 39), (39, 39, 41, 42, 44)
Yoke depth c: 24 cm (25, 26, 27), (28, 29, 31, 32, 34)
Bust Width d: 50 cm (53, 56, 59) (62.5, 67.5, 72.5, 75, 82.5)
Sleeve circ. e: 32 cm (33, 35, 37), (43, 45, 47, 48, 52)
Sleeve Length. f: 42 cm (41, 41, 41), (40, 40, 41, 41, 42)
Length g:58 cm (58, 58, 58) (59, 59, 60, 60, 60)
How much yarn do you need?
I worked on the Sella Jumper in 2 samples. One using Medium weight yarn in size XS and one using DK weight yarn in size S:
Size XS (colorful one): Lang Yarns Frida, color 1078.0005, 100% Merino Extra Fine. 1 cake has 100 grams and is approximately 220 meters.
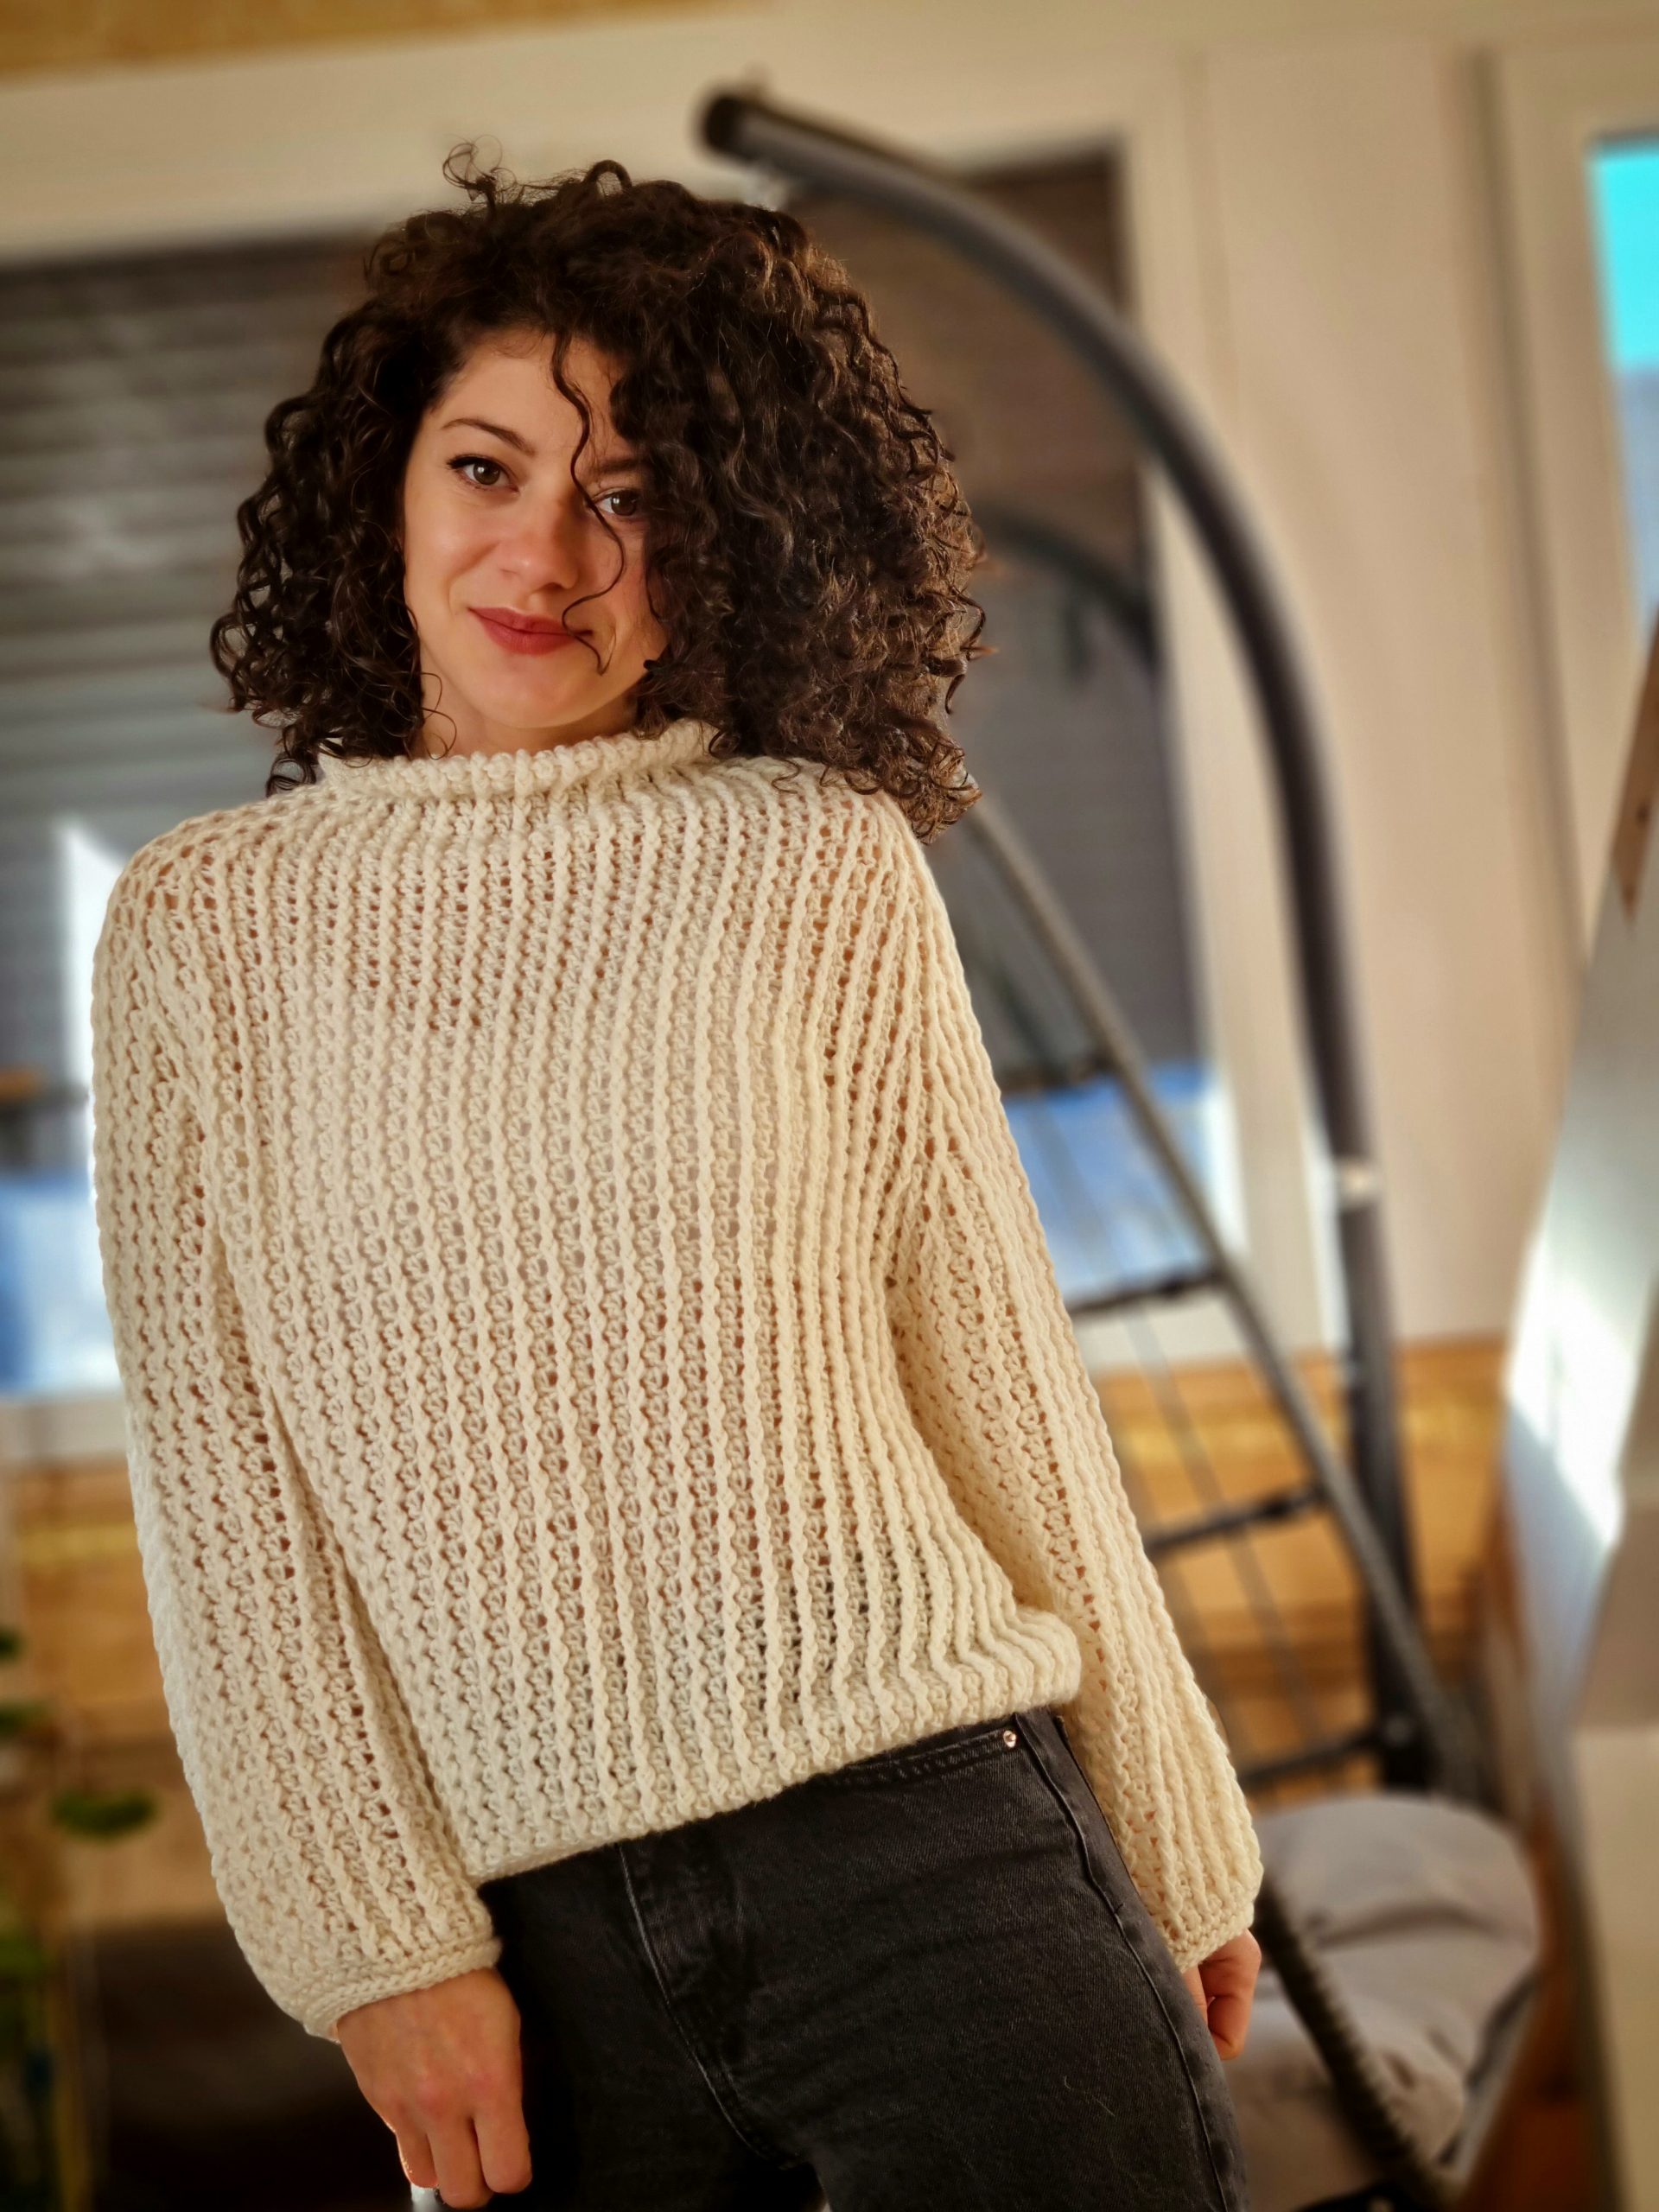
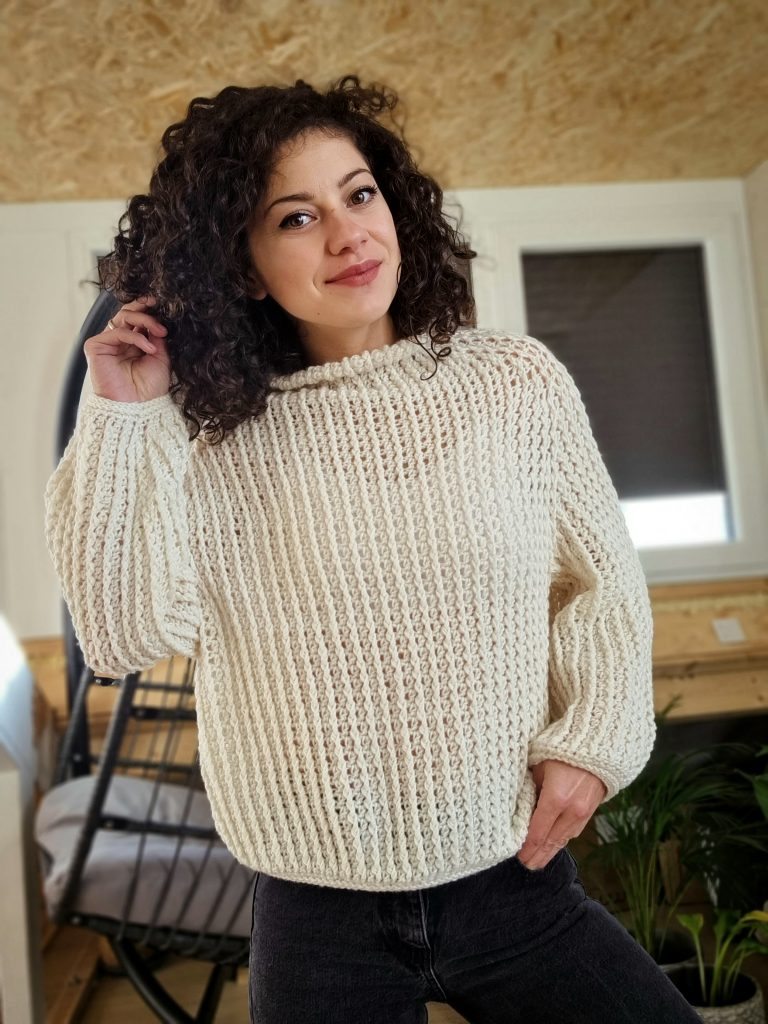
Size S (off-white one): Katia Concept Cotton Merino Fine, Color Off-white, 70% Cotton, 30% Merino. 1 ball has 25 grams and is approximately 75 meters.
For each size, you will need:
1110 (1160, 1230, 1290), (1410, 1510, 1640, 1730, 1860) Meters
ABBREVIATIONS
Ch – chain
Sc – single crochet
dc – double crochet
Fpdc – front post double crochet
slst – slip stitch
slstblo – slip stitch in the back loop only
St(s) – stitch(es)
R – round
** – repeated section.
TENSION
Using a 6.5.mm crochet hook in the Ribbing Stitch Pattern
12sts = 10 cm
8.5 rounds = 10 cm
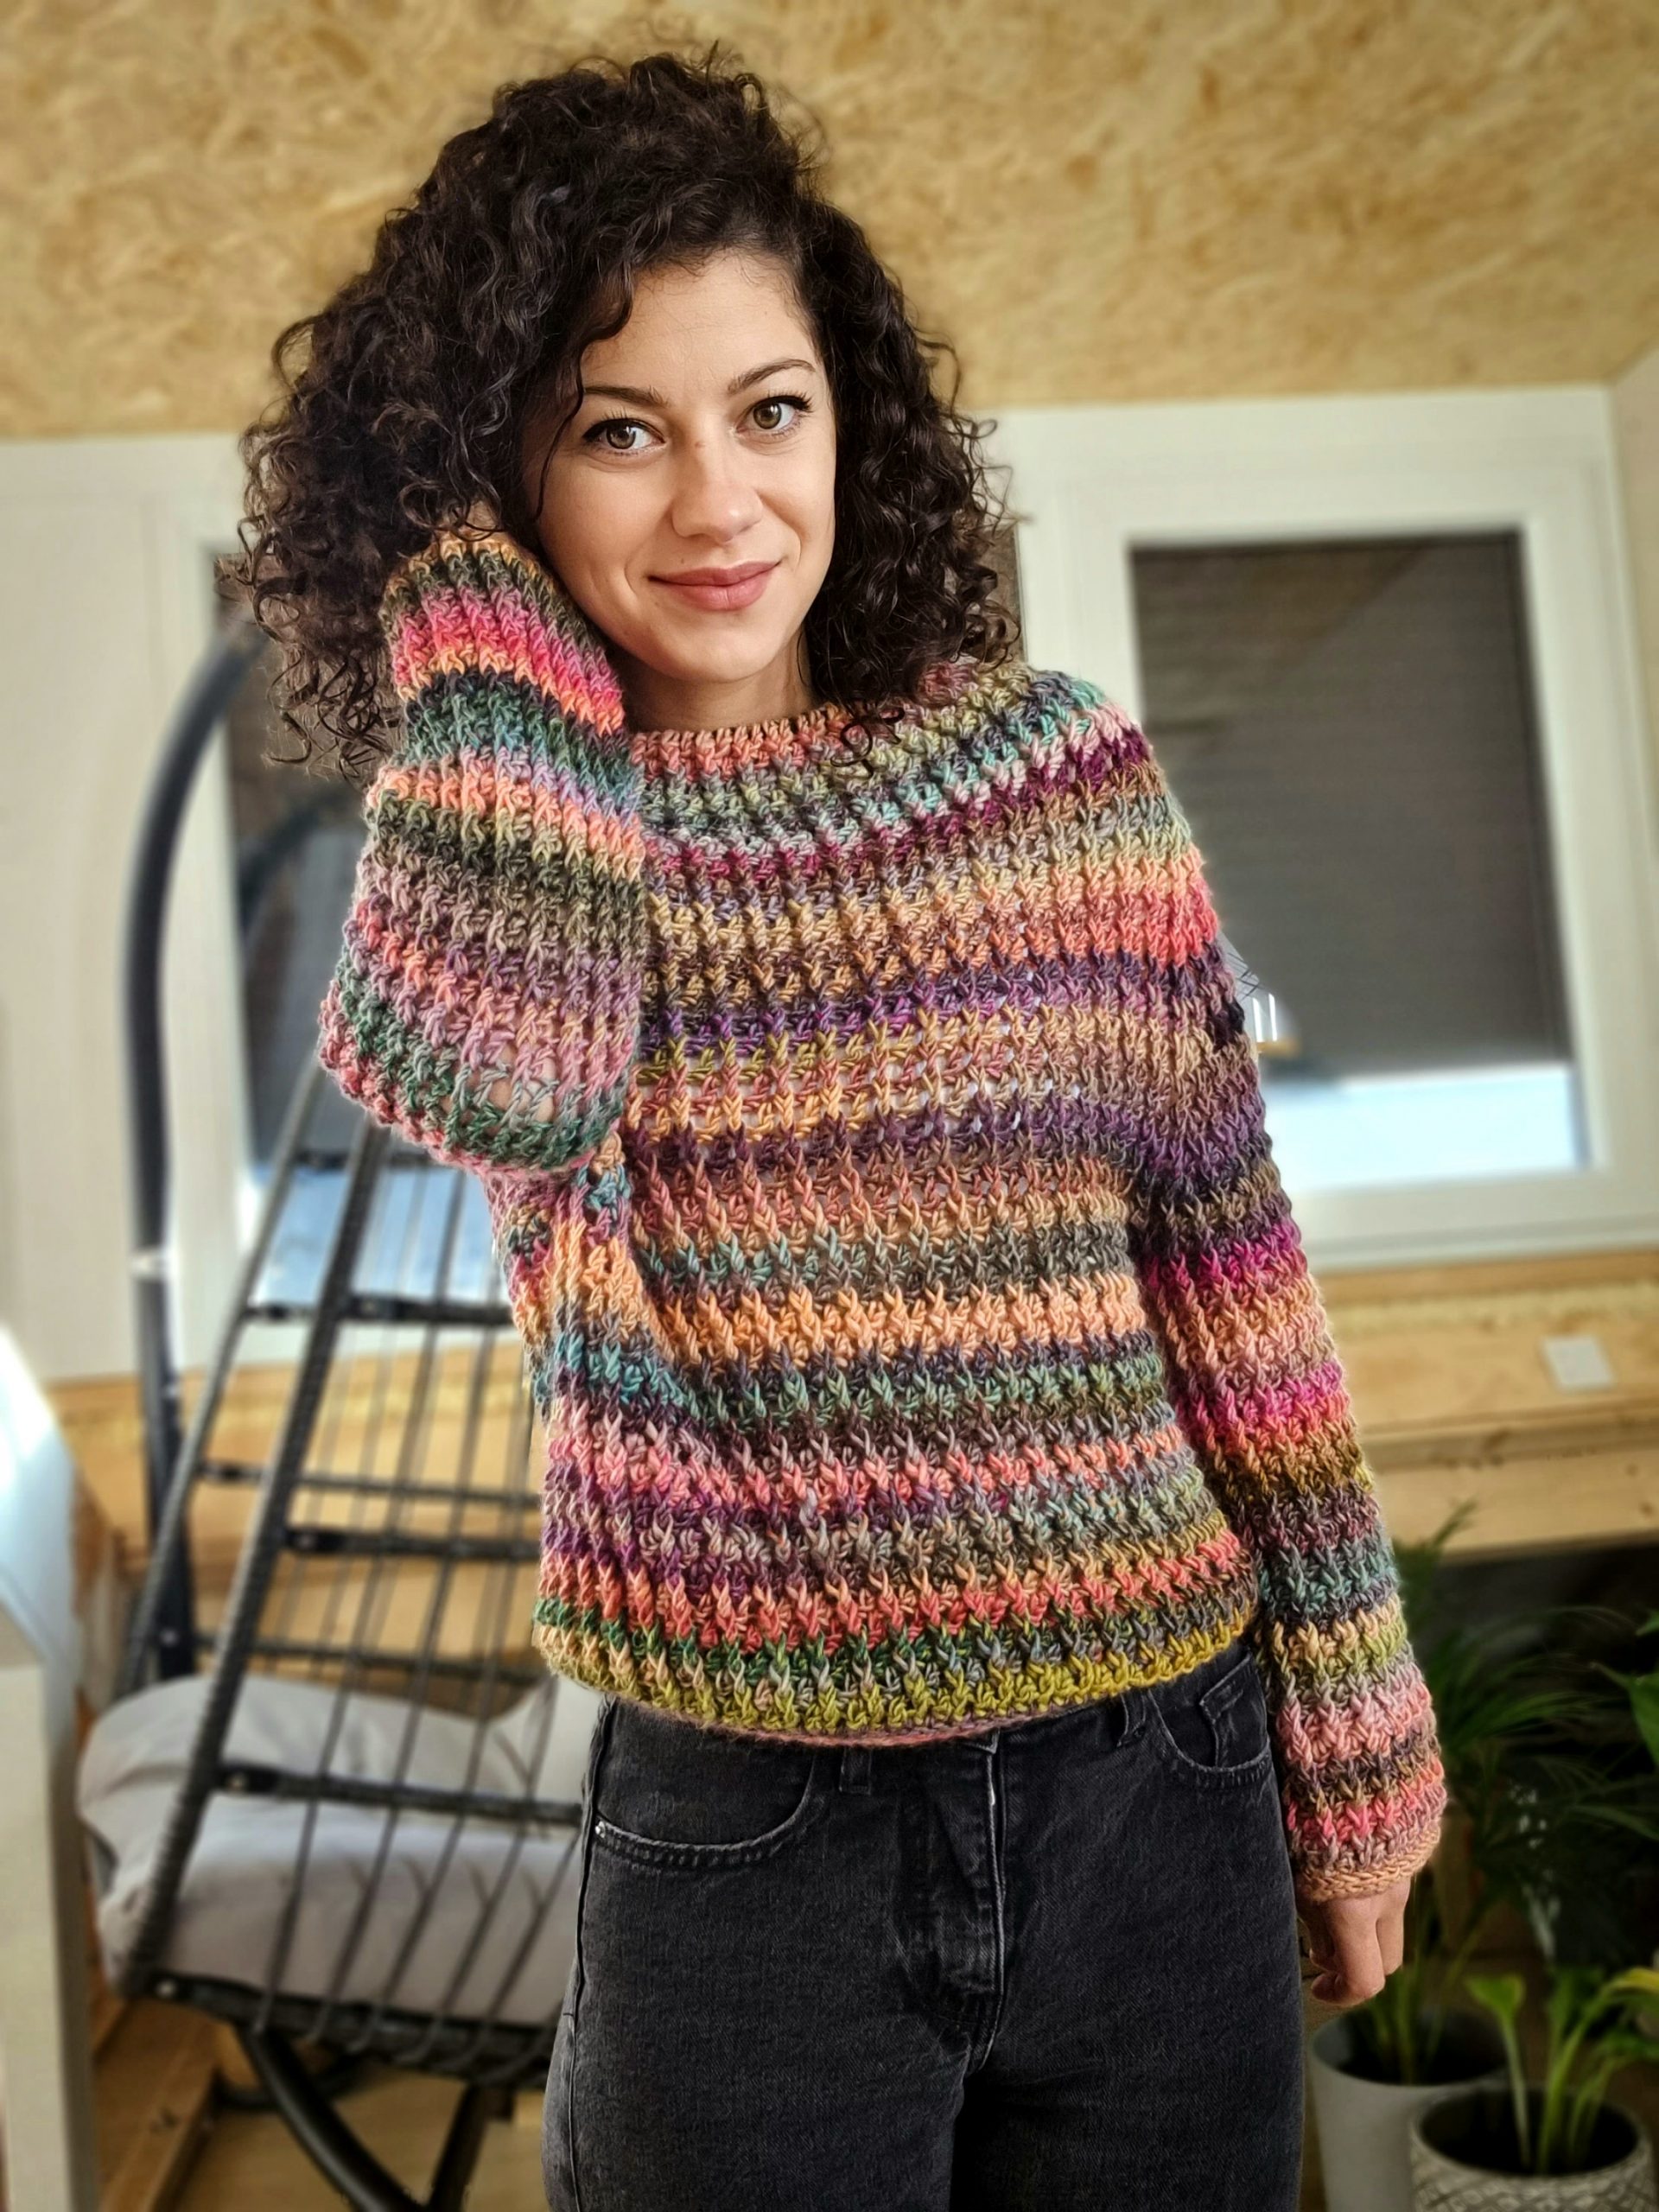
You can purchase the easily printable PDF pattern here at the links below. The PDF contains stitch charts also for the yoke section for all sizes.
STITCH PATTERNS AND TECHNIQUES
The Sella Jumper is worked in a ribbing pattern by alternating 1Fpdc and 1dc.
When making the gauge swatch is better to make it in the round.
To do that flat, place a stitch marker into the working loop at the end of the row; then grab the working yarn and start the next row from the right without flipping the work; on the wrong side, you will have the working yarn hanging, but you will have the sts exactly as working in the round.
We will increase the front and back panels along the YOKE section and on the sleeves.
The increase for the front and back panels will be in a dc.
IncB (increase Body): (1dc, 1Fpdc, 1dc) into the same dc; when making the increase at the beginning of the round, the first dc will be ch2
The increase for the sleeves will be in an Fpdc.
IncS (Increase Sleeve): (1Fpdc, 1dc, 1Fpdc) into the same Fpdc.
PATTERN NOTES
- Work 2ch at the beginning of each round; 2ch will count as the first dc.
- Work the sweater in the round; close each round with an sl st into the second ch.
- Use stitch markers to mark the stitch you need to increase; after each increase, place the stitch marker into the corresponding st.
- When increasing in the first st, work 2ch, 1Fpdc around the 2ch one row below, 1dc into the 2ch 1 row below.
- You will see, in length, fewer rounds with bigger sizes; The number of rounds was calculated according to ASTM International Standard measurements; Bigger sizes do not modify in length too much, and because we worked more rows for the YOKE, the remaining round to complete the length decreased; But work as many rounds as you need, as you might need a different length, even if you are making for example same size as I did.
- If you want to decrease along the sleeves, you can make the decrease like this: 2ch, 2Fpdc worked together into the next 2Fpdc (skip the dc in between), continue in established pattern until you have 3sts left, 2fpdc together into the next 2fpdc; Sl st into the second chain.
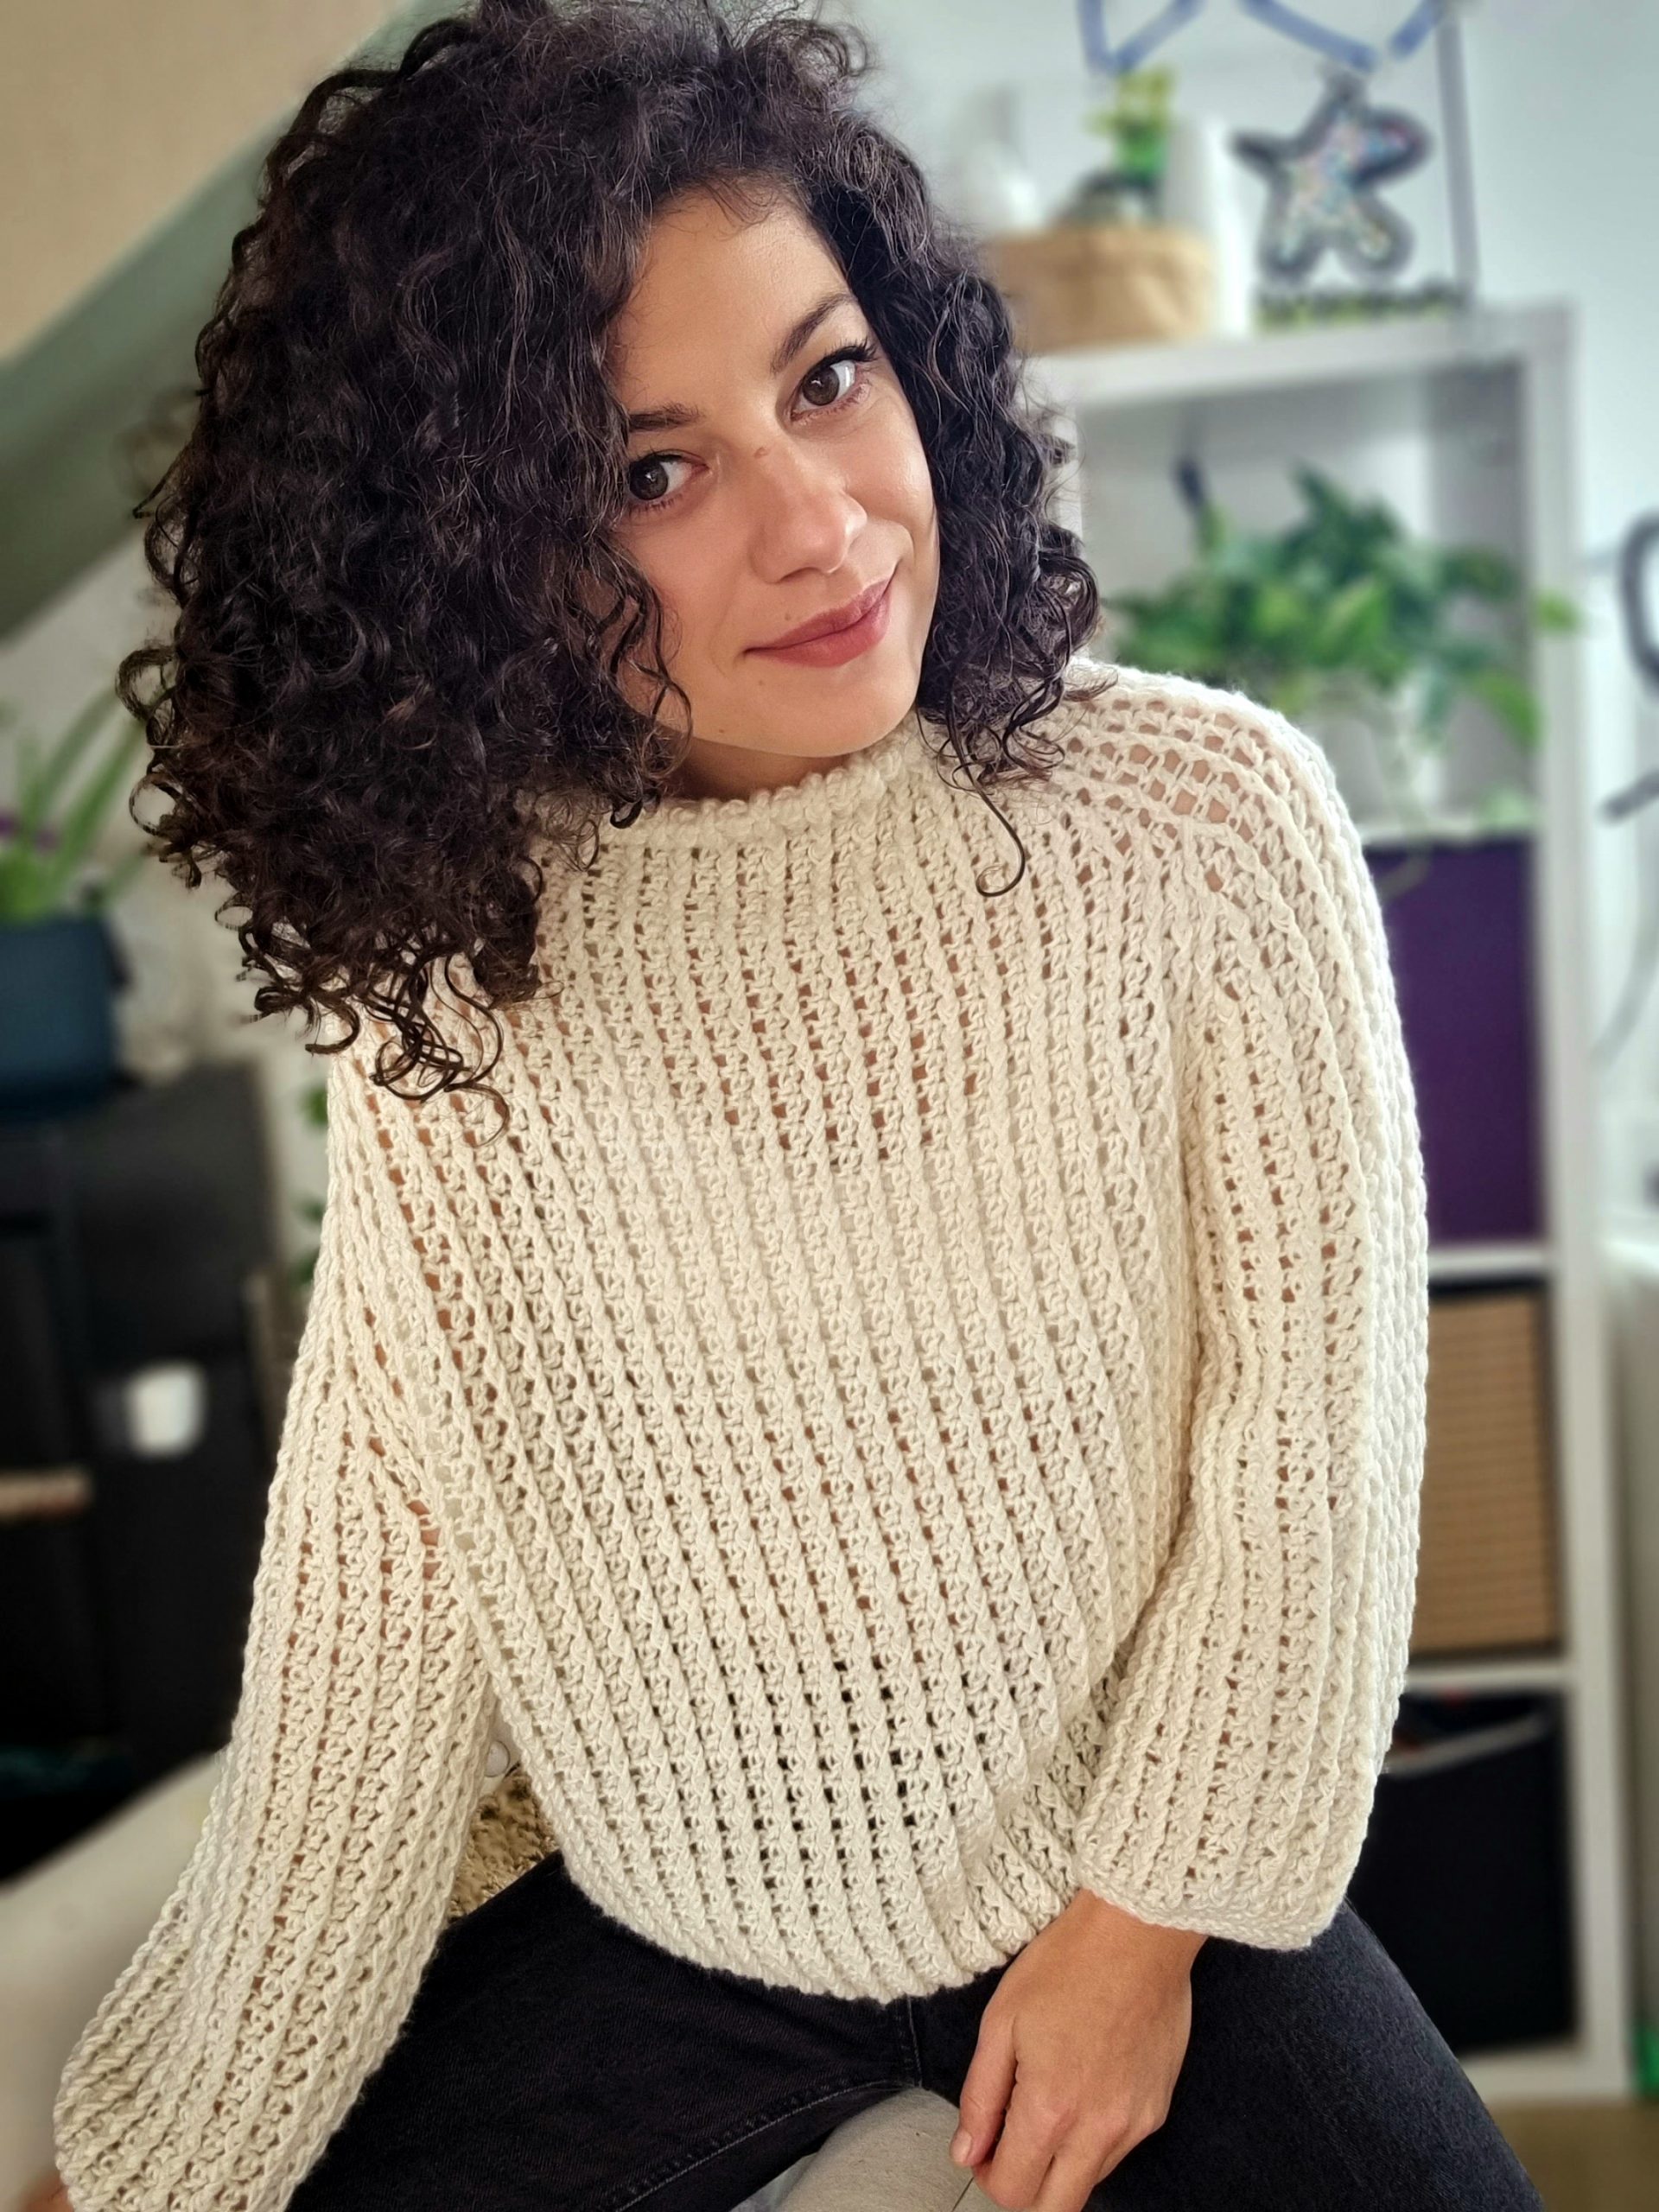
INSTRUCTIONS
COLLAR
Start with 52 (52, 52, 56), (56, 56, 60, 60, 64) ch sts. Sl st to make a circle.
R1: 2ch, 1dc in each st around.
R2: 2ch, 1Fpdc in next st, *1dc in next st, 1Fpdc in next st. * rep. until the end of the round.
R3-R6: Rep. R2
YOKE SECTION 1 – INCREASING FRONT AND BACK PANELS
Before starting this section, use 4 stitch markers to mark the front and back panels.
With each round, you will place the stitch marker as follows:
St, marker 1: place it in the first st of the increase
St. marker 2: place it into the third st of the increase
St, marker 3: place it in the first st of the increase
St. marker 4: place it into the third st of the increase
*always increase into the st next to the sleeve sts.
Place a stitch marker into the following sts: first st (2ch); st number 21 (21, 21, 23) (23, 23, 25, 25, 27); st number 27 (27, 27, 29) (29, 29, 31, 31, 33); st number 47 (47, 47, 51) (51, 51, 55, 55, 59)
Place the st. markers as mentioned above.
With each round, you will increase with 4sts only the front and back panels, 8sts per entire round.
Increase at every other round.
For all sizes
R1: [IncB, 1Fpdc, *1dc, 1Fpdc; *rep. until the next st marker, IncB into the marked st, 1Fdc, (1dc, 1Fpdc) 2 times]; rep. [] one more time.
Front and back panels: 25 (25, 25, 27) (27, 27, 29, 29, 31);
Sleeves: 5 sts
R2: 2ch, 1Fpdc in next st, *1dc in next st, 1Fpdc in next st. * rep. until the end of the round.
Rep. R1 and R2 until you have 9 rounds (without counting the Collar).
R9 was an increase round; at the end of this round, you will have in total:
Front and back panels: 41 (41, 41, 43) (43, 43, 45, 45, 49);
Sleeves sts: 5
YOKE SECTION 2 – Part 1: Increasing sleeves
In this section, we will start increasing the sleeves, and we will also increase the front and back panels. The increases for the Body (front and back panel) are in a specific pattern according to the size and the number of sts we need to add.
For the sleeves, you will increase at every other round.
If you want to keep track of the stitch count, round by round, with every increase round, you will increase with 4 sts per section (sleeves or front and back panel). We will alternate the increases for the sleeves with the increases for the body.
Use stitch markers to mark also the first and last st of the sleeve. Keep the st markers for front and back panels and move them into the correspondent stitch with every round.
You can purchase the easily printable PDF pattern here at the links below. The PDF contains stitch charts also for the yoke section for all sizes.
We will have in this section 3 types of rounds:
1. Increase Sleeve: we will increase only into the first and last st, of the sleeves.
2. Increase Body: we will increase only into the first and last st, of the front and back panels
3: No increase: we will work the sts as they are without increasing.
YOKE SECTION 2 SIZE XS
You can find the stitch chart at the end of this document
R1 ( Increase Sleeve): 2ch, [*1Fpdc,1dc; *rep. until the first st marker of the sleeve; IncS, 1dc, 1Fpdc, 1dc, IncS], 1dc; Rep. [ ] one more time.
R2 (Increase Body): [IncB, 1Fpdc, *1dc, 1Fpdc; *rep. until the next st marker, IncB into the marked st, 1Fdc, (1dc, 1Fpdc) 2 times]; rep. [ ] one more time.
R3 (No Increase): 2ch, 1Fpdc in next st, *1dc in next st, 1Fpdc in next st. * rep. until the end of the round.
R4 (Increase Sleeve): Rep. R1
R5 (No Increase): Rep. R3
Rep. R1 to R5, one more time, up to R10
R11: Rep. R1
For Size XS, the YOKE is done, and you can move to the BODY section.
YOKE SECTION 2 SIZE S
You can find the stitch chart at the end of this document
R1 ( Increase Sleeve): 2ch, [*1Fpdc,1dc; *rep. until the first st marker of the sleeve; IncS, 1dc, 1Fpdc, 1dc, IncS], 1dc; Rep. [ ] one more time.
R2 (Increase Body): [IncB, 1Fpdc, *1dc, 1Fpdc; *rep. until the next st marker, IncB into the marked st, 1Fdc, (1dc, 1Fpdc) 2 times]; rep. [ ] one more time.
R3: Rep. R1
R4 (No Increase): 2ch, 1Fpdc in next st, *1dc in next st, 1Fpdc in next st. * rep. until the end of the round.
Rep. R1 to R4 two more times, up to R12
For Size XS, the YOKE is done, and you can move to the BODY section.
YOKE SECTION 2 SIZE M, L, XL, and XXL
You can find the stitch chart at the end of this document.
R1 ( Increase Sleeve): 2ch, [*1Fpdc,1dc; *rep. until the first st marker of the sleeve; IncS, 1dc, 1Fpdc, 1dc, IncS], 1dc; Rep. [ ] one more time.
R2 (Increase Body): [IncB, 1Fpdc, *1dc, 1Fpdc; *rep. until the next st marker, IncB into the marked st, 1Fdc, (1dc, 1Fpdc) 2 times]; rep. [] one more time.
R3: Rep. R1
R4: Rep. R2
R5: Rep. R1
R6(No Increase): 2ch, 1Fpdc in next st, *1dc in next st, 1Fpdc in next st. * rep. until the end of the round.
Rep. R1 to R6 one more time, up to R12
Size M only
R13: Rep. R1
For Size M, the YOKE is done, and you can move to the BODY section.
Size L only
R13: Rep. R1
R14: Rep. R6
For Size L, the YOKE is done, and you can move to the BODY section.
Size XL only
R13: Rep. R1
R14: Rep. R6
R15: Rep. R1
For Size XL the YOKE is done, and you can move to the BODY section
Size XXL only
R13: Rep. R1
R14: Rep. R2
R15: Rep. R1
R16: Rep. R6
For Size XXL, the YOKE is done, and you can move to the BODY section.
YOKE SECTION 2 SIZE 3XL, 4XL, and 5XL
You can find the stitch chart at the end of this document
R1 ( Increase Sleeve): 2ch, [*1Fpdc,1dc; *rep. until the first st marker of the sleeve; IncS, 1dc, 1Fpdc, 1dc, IncS], 1dc; Rep. [ ] one more time.
R2 (Increase Body): [IncB, 1Fpdc, *1dc, 1Fpdc; *rep. until the next st marker, IncB into the marked st, 1Fdc, (1dc, 1Fpdc) 2 times]; rep. [ ] one more time.
Rep. R1 and R2 until R14
Sizes 3XL and 4XL only
R15: Rep. R1
R16 (No Increase): 2ch, 1Fpdc in next st, *1dc in next st, 1Fpdc in next st. * rep. until the end of the round.
R17: Rep. R1
For Size 3XL the YOKE is done, and you can move to the BODY section
Size 4XL only
R18: (No Increase): 2ch, 1Fpdc in next st, *1dc in next st, 1Fpdc in next st. * rep. until the end of the round.
For Size 4XL the YOKE is done, and you can move to the BODY section
Size 5XL only
R15: Rep. R1
R16: Rep. R2
R17: Rep. R1
R18 (No Increase): 2ch, 1Fpdc in next st, *1dc in next st, 1Fpdc in next st. * rep. until the end of the round.
R19: Rep. R1
R20: Rep. R18
For Size 5XL, the YOKE is done, and you can move to the BODY section.
To summarize the YOKE:
Section 1: 9 rounds for all sizes; at the end of these rounds, we have
Front and back panels: 41 (41, 41, 43) (43, 43, 45, 45, 49);
Sleeves sts: 5
Section 2: 11 (12, 13, 14) (15, 16, 17, 18, 20) rounds;
Front and Back Panel sts:
49 (53, 57, 59) (59, 63, 73, 73, 81)
Sleeve sts: 25 (29, 33, 33) (37, 37, 41, 41, 45)
BODY
R1 – Splitting Row:
2ch, *1Fpdc, 1dc; *rep until the last st of the back panel, ch 9 (11 ,9, 11) (15, 17, 15, 17, 17) sts, skip the sleeve sts, 1dc, **1Fpdc, 1dc; **rep until the last st of the front panel, ch 9 (11 ,9, 11) (15, 17, 15, 17, 17) sts, skip the sleeve sts and sl st into the second ch.
R2: work in the established st pattern, except the armpit chain; into the armpit ch, work 1dc in each st.
R3:2ch, 1Fpdc in next st, *1dc in next st, 1Fpdc in next st. * rep. until the end of the round.
Rep. R3 until you have 26 (25, 29, 29) (35, 35, 35, 35, 35) rounds or until you get to the desired length.
Move to the EDGING section
SLEEVES (work both the same)
To avoid having holes at the armpit, work 1 more FPdc after and before the armpit sts into the body sts; then, to continue the pattern, work 1dc into the body sts, the st before and after the sleeves sts. Working like this, you will avoid the gaps but add 4 more sts at the sleeve circumference.
Rejoin yarn at the armpit:
R1: 2ch, 1Fpdc in next st, *1dc in next st, 1Fpdc in next st. * rep. until the end of the round.
*Rep. R1 until you have 25 rounds or until you get to the desired length
EDGING
Work the edging around the bottom hem and sleeves right after finishing them.
Turn after each round.
R1: 1sc in each st around. turn
R2: 1slstblo in each st around. Turn
R3 – R5: Rep. R2
TO FINISH
Weave in all looser ends and block to measurements.
You can purchase the easily printable PDF pattern here at the links below. The PDF contains stitch charts also for the yoke section for all sizes.




Comments are closed.