I was always a fan of shorts or pants. When I was a child, my mom asked me to wear more skirts or dresses because I am a girl 😁. But I always find it more comfortable to wear shorts or pants.
So, of course, that I had to add in my designs list a pair of shorts. And here I am sharing with you how to crochet shorts.
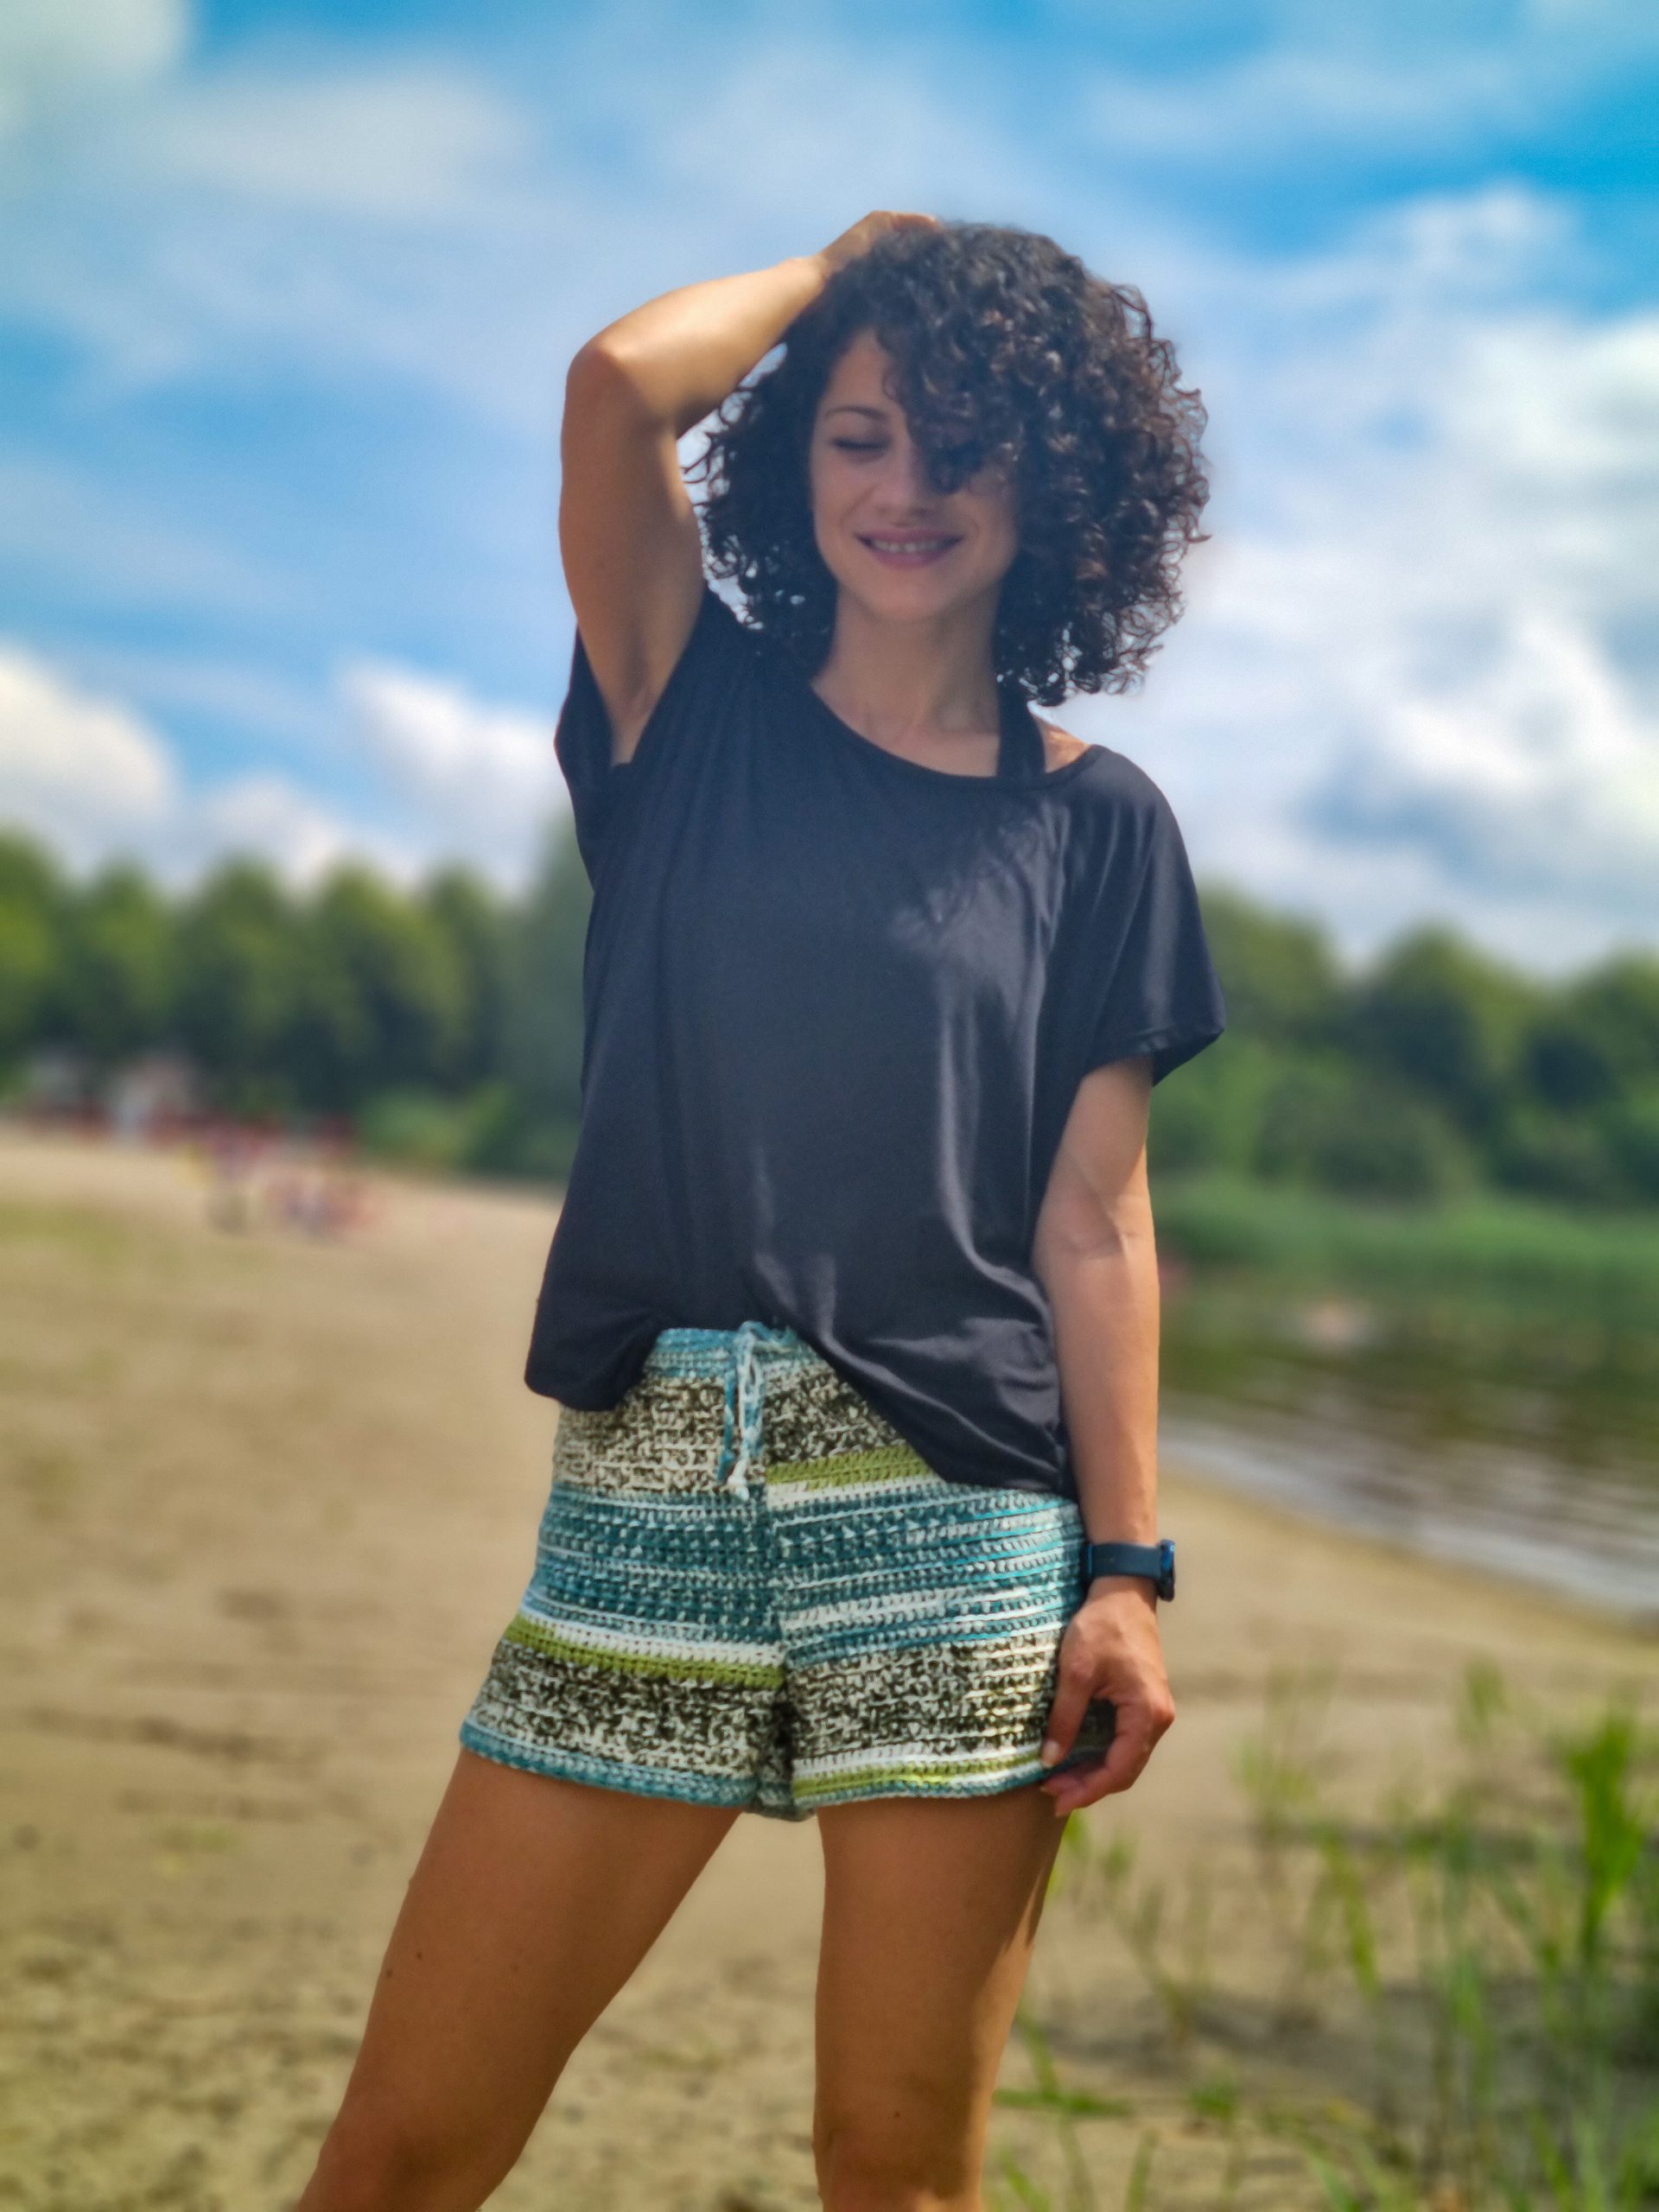
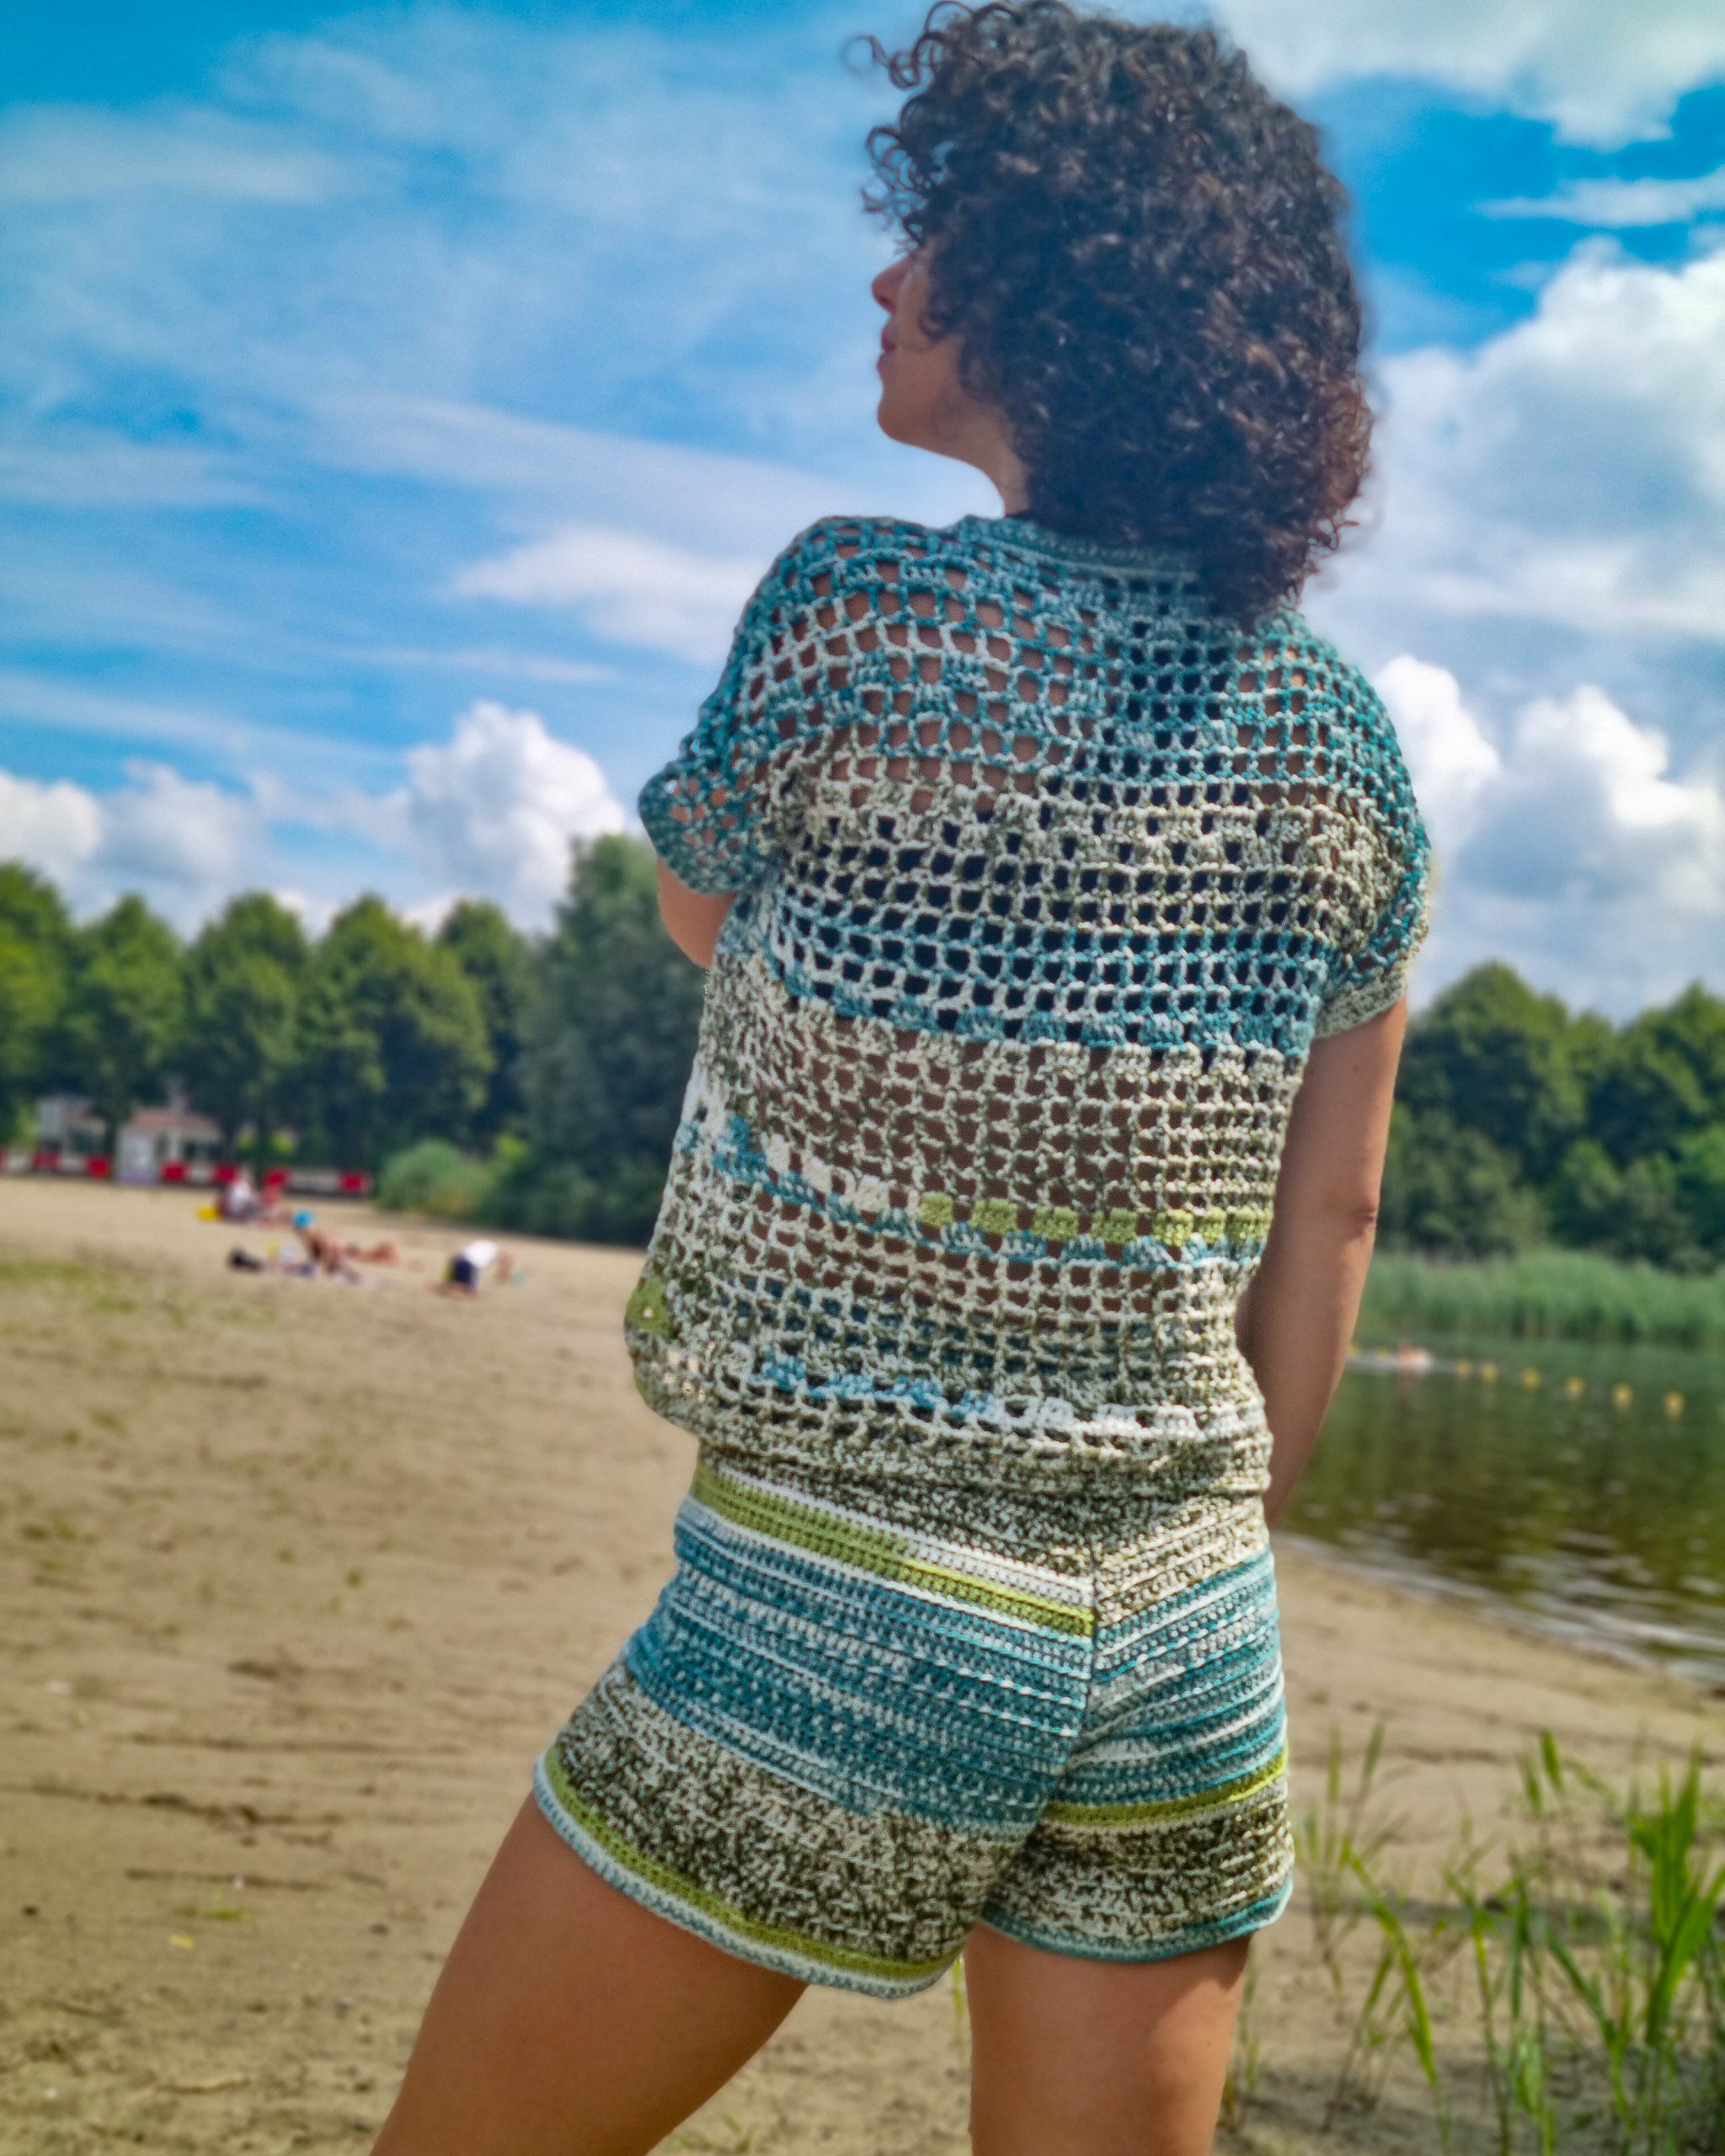
I know there are different ways to crochet them and that the most used method is the seamless one, but I prefer the ones that are seamed because I feel that they fit better and keep their shape after wearing them without getting too loose, especially in the back.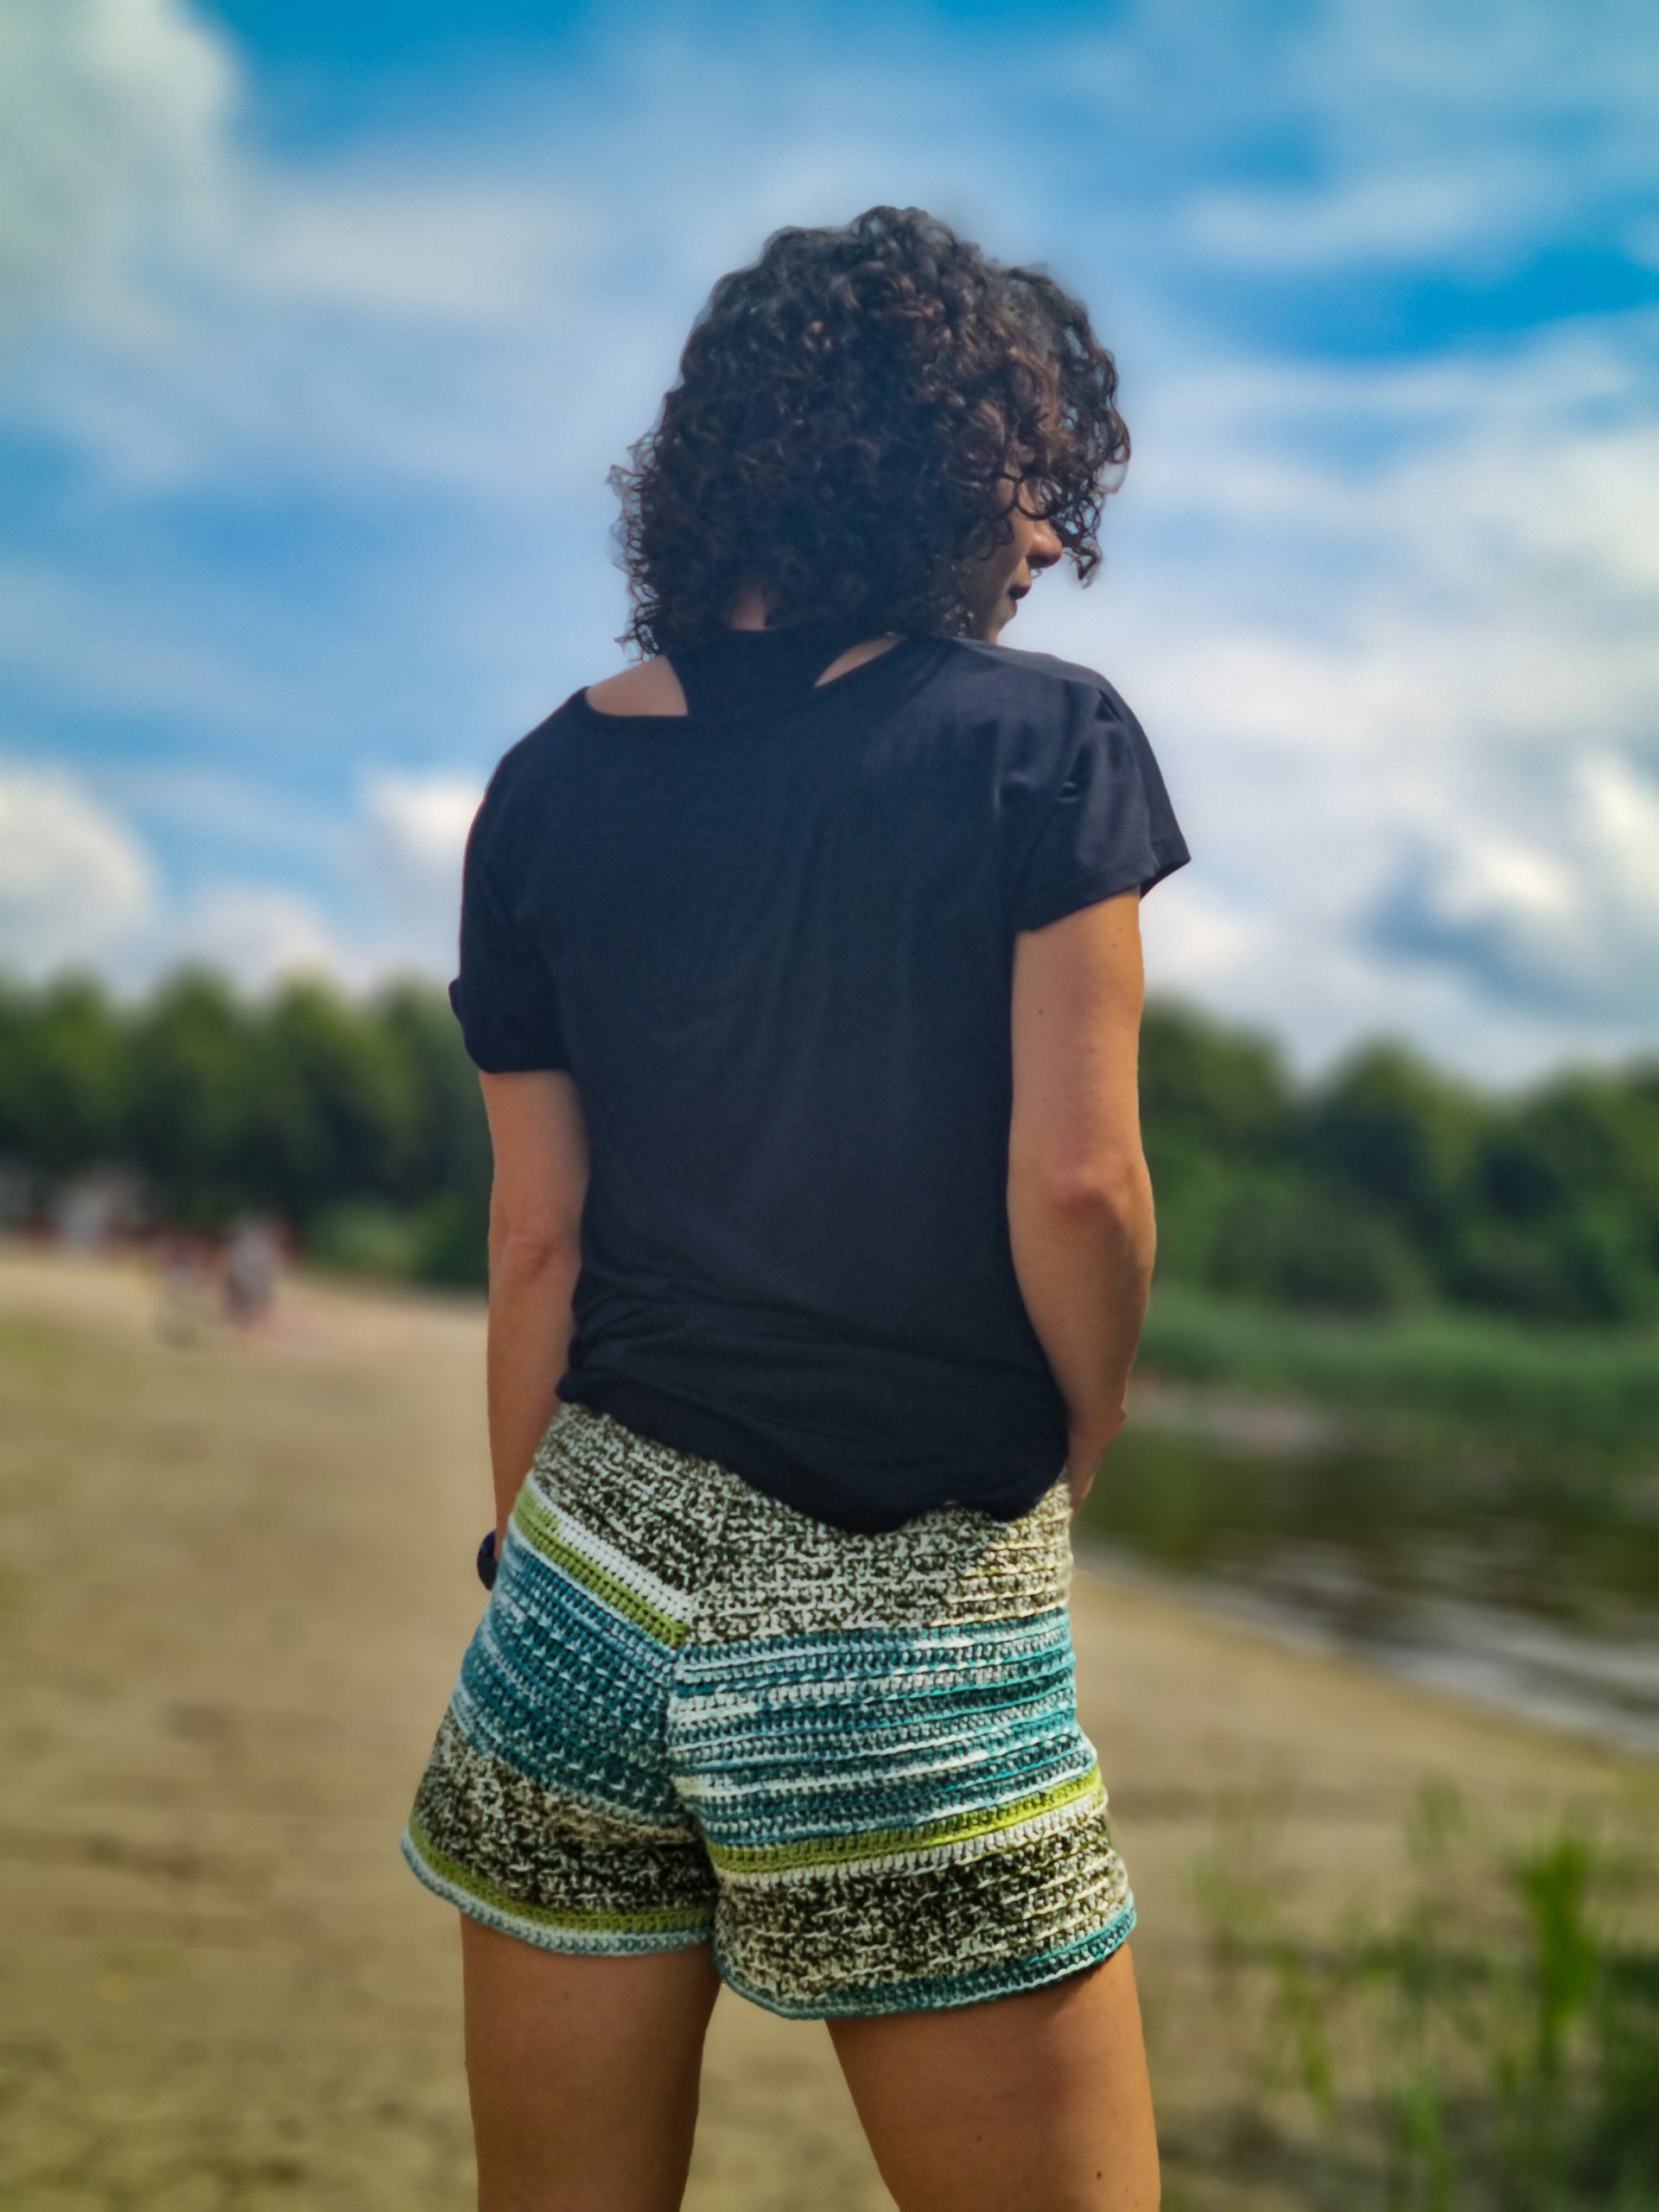
You can Purchase the easily printable PDF version of this pattern here:
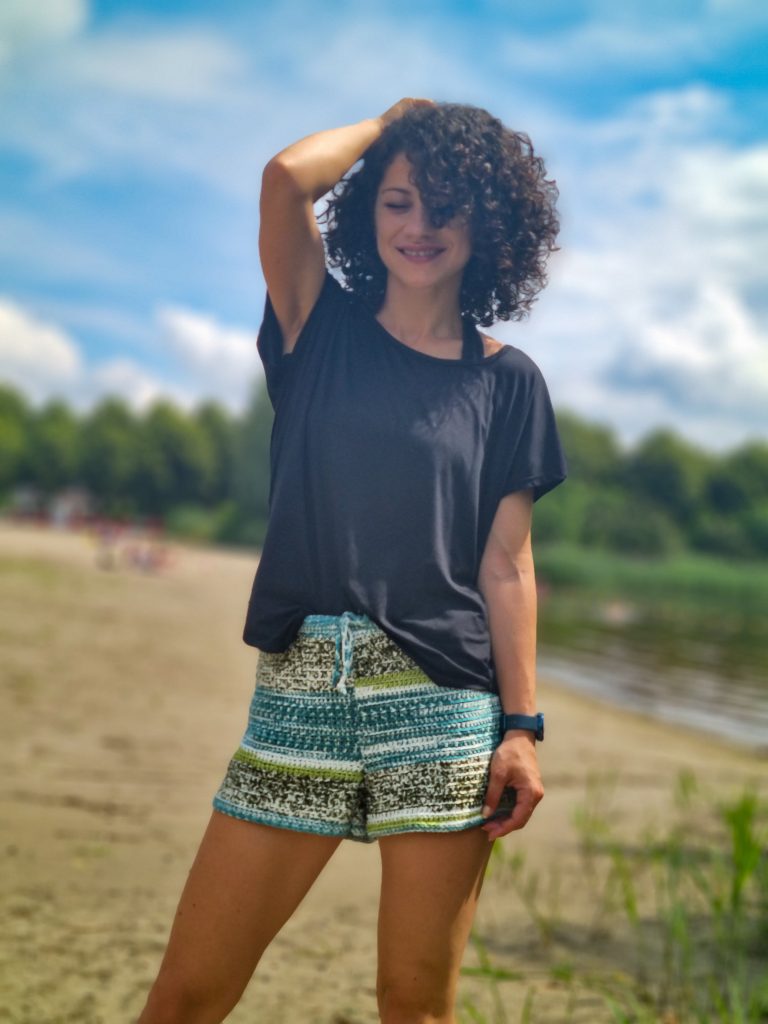
These Marble Shorts are high-waisted and also made short rows at the back to rise it up for comfortable wear.
If I made you curious enough, let’s see what we will need and how I made these Marble Shorts.
MATERIALS
• Yarn: Sport weight yarn
o Cotton
o Cotton mix
• Crochet Hook:
o 4 mm crochet hook (I used Odyssey Crochet Hook Blue by Furls Crochet)
• yarn needle for weave in ends
• Stitch markers
• Scissors
• 1cm elastic band with about 3-4 cm smaller length than the waist circumference
NOTES ABOUT DESIGN
This Marble Shorts pattern features techniques as short rows for a higher back, single crochet in front loop only, increases.
The shorts are worked in two identical pieces, stitch together at the end.
The waistband is worked after assembling in the round, around the shorts’ edge. The waistband is doubled to be able to insert the elastic band and the cord.
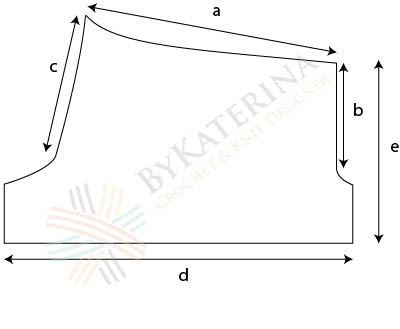
MEASUREMENTS AND SIZES
The shorts are available in 8 sizes from S up to 5XL. In the diagram above is represented one piece which represents half—work 2 pieces to complete the shorts.
Half Waist a: 43.5 cm (45, 46.5, 49, 51.5, 53.5, 56.5, 59)
Front Rise b: 25 cm (25, 25, 25.5, 25.5, 27, 27, 27)
Back Rise c: 29 cm (29, 29, 29.5, 29.5, 31, 31, 31)
Max.tight: 62 cm (64, 66, 70, 76, 81, 84, 90)
Length: 30 cm (31, 32, 33, 33, 35, 25, 26)
*measurements are taken after blocking and not include the waist band
How much yarn do you need?
I used Mediterranea from Katia Yarns. This yarn is 100% Egyptian Cotton; each ball has 100 grams and 230 meters.
For each size, you will approximate need:
Color 303 – Green Blue Green, 2 (3, 3, 3, 3, 4, 4, 4) balls
ABBREVIATIONS
Ch – chain
Sc – single crochet
scflo – single crochet front loop only
fsc – foundation single crochet
Slst – slip stitch
St(s) – stitch(es)
R – rounds
** – repeated section.
TENSION
Using 4 mm crochet hook in single crochet front loop only
16 sts = 10 cm
16 rows = 10 cm
STITCH PATTERN
The main stitch pattern is single crochet in the front loop only.
The waistband is worked in regular single crochet stitches
Foundation single crochet
For this particular design, use fsc for increase with more sts.
Insert the hook into the side of the last st. Yarn over and pull out a loop, yarn over and pass it through the first loop, yarn over and pass it through both loops. Next, insert the hook into the bottom of the
previous st and repeat the steps above.
PATTERN NOTES
Both pieces are worked flat. Turn after each row.
Work 1ch at the end of each row to raise the work
1ch does not count as the first single crochet
Work the increase into the second stitch and the second to last stitch.
Work first and last st as a regular sc.
When working the short rows, work the bridge (passing from the first short section to the next one) as sc2tog: 1sc into the side of the last st and 1sc into the next st.
You can Purchase the easily printable PDF version of this pattern here:
INSTRUCTIONS
Numbers for sizes M, L, XL, XXL, 3XL, 4XL, and 5XL are written between brackets. If not, the pattern applies to all sizes.
Both pieces are worked identical, from top to bottom.
Start: ch70 (72, 75, 78, 82, 86, 80, 95)
Short rows:
R1: 1sc in next 17 (18, 18, 19, 20, 21, 22, 23) sts, 1ch and turn.
R2: 1scflo in each st until the end of the row.
R3: 1scflo, in next 17 (18, 18, 19, 20, 21, 22, 23), 1sc in next 17 (18, 18, 19, 20, 21, 22, 23), 1ch and turn
R4: 1scflo in each st until the end of the row.
R5: 1scflo in next 34 (36, 36, 38, 40, 42, 44, 46) sts, 1sc in next 17 (18, 18, 19, 20, 21, 22, 23), 1ch and turn
R6: 1scflo in each st until the end of the row.
R7: 1scflo in next 51 (54, 54, 57, 60, 63, 66, 69) sts, 1sc in last 19 (18, 21, 21, 22, 23, 24, 26) sts, 1ch and turn
R8: 1scflo in each st until the end of the row.
R9: 1sc in first st, 2scflo in next st, 1scflo in each st until the end of the row.
R10:1scflo in each st until the end of the row.
Rep R9 and R10 until you have in total:
32 (32, 32, 34, 34, 36, 36, 36) rows
After completing this row, you should have
83 (85, 88, 92, 96, 101, 105, 110) sts.
Next row: 1sc in first st, 2scflo in next st, 1scflo in each of the next sts except the last 2, 2scflo in next st, 1sc in last st.
Rep. previous row until you have in total:
38 (38, 38, 40, 40, 42, 42, 42) rows.
After completing this row, you should have
95 (97, 100, 104, 108, 113, 117, 122) sts.
At the end of the last row, ch 1 (1, 1, 3, 5, 6,6,8) sts and turn.
Next row: Size S, M, L
1scflo in each st until the end of the row, 10 (11, 11) fsc, 1ch, and turn.
Next row: sizes XL, XXL, 3XL, 4XL, and 5XL
Starting with the second ch st, 1sc in next 2 (4, 5,5,7) sts, 1scflo in each of the next sts until the end of the row, 11 (13, 14, 14, 15) fsc, 1ch and turn.
Next row all sizes:
1scflo in each st until the end of the row.
Rep. previous row until you have 48 (50, 51, 54, 54, 57, 57, 58) rows.
If you want the shorts to be longer, work more rows in length.
Fasten off.
ASSEMBLING
Fold both pieces in half and lay them one next to each other in the mirror.
You now have the right and left sides of the shorts.
Step 1: Stitch together the max tight section on each side.
Step2: Stitch together the Front left side with the front right side.
Step3: Stitch back left side with the back right side.
WAISTBAND
Work for the waistband around the top edge.
Join the yarn in one stitch from the bac.
R1: 1ch, 1sc in each st around. Close the round with slst in first sc.
R2 – R10: Rep. R1
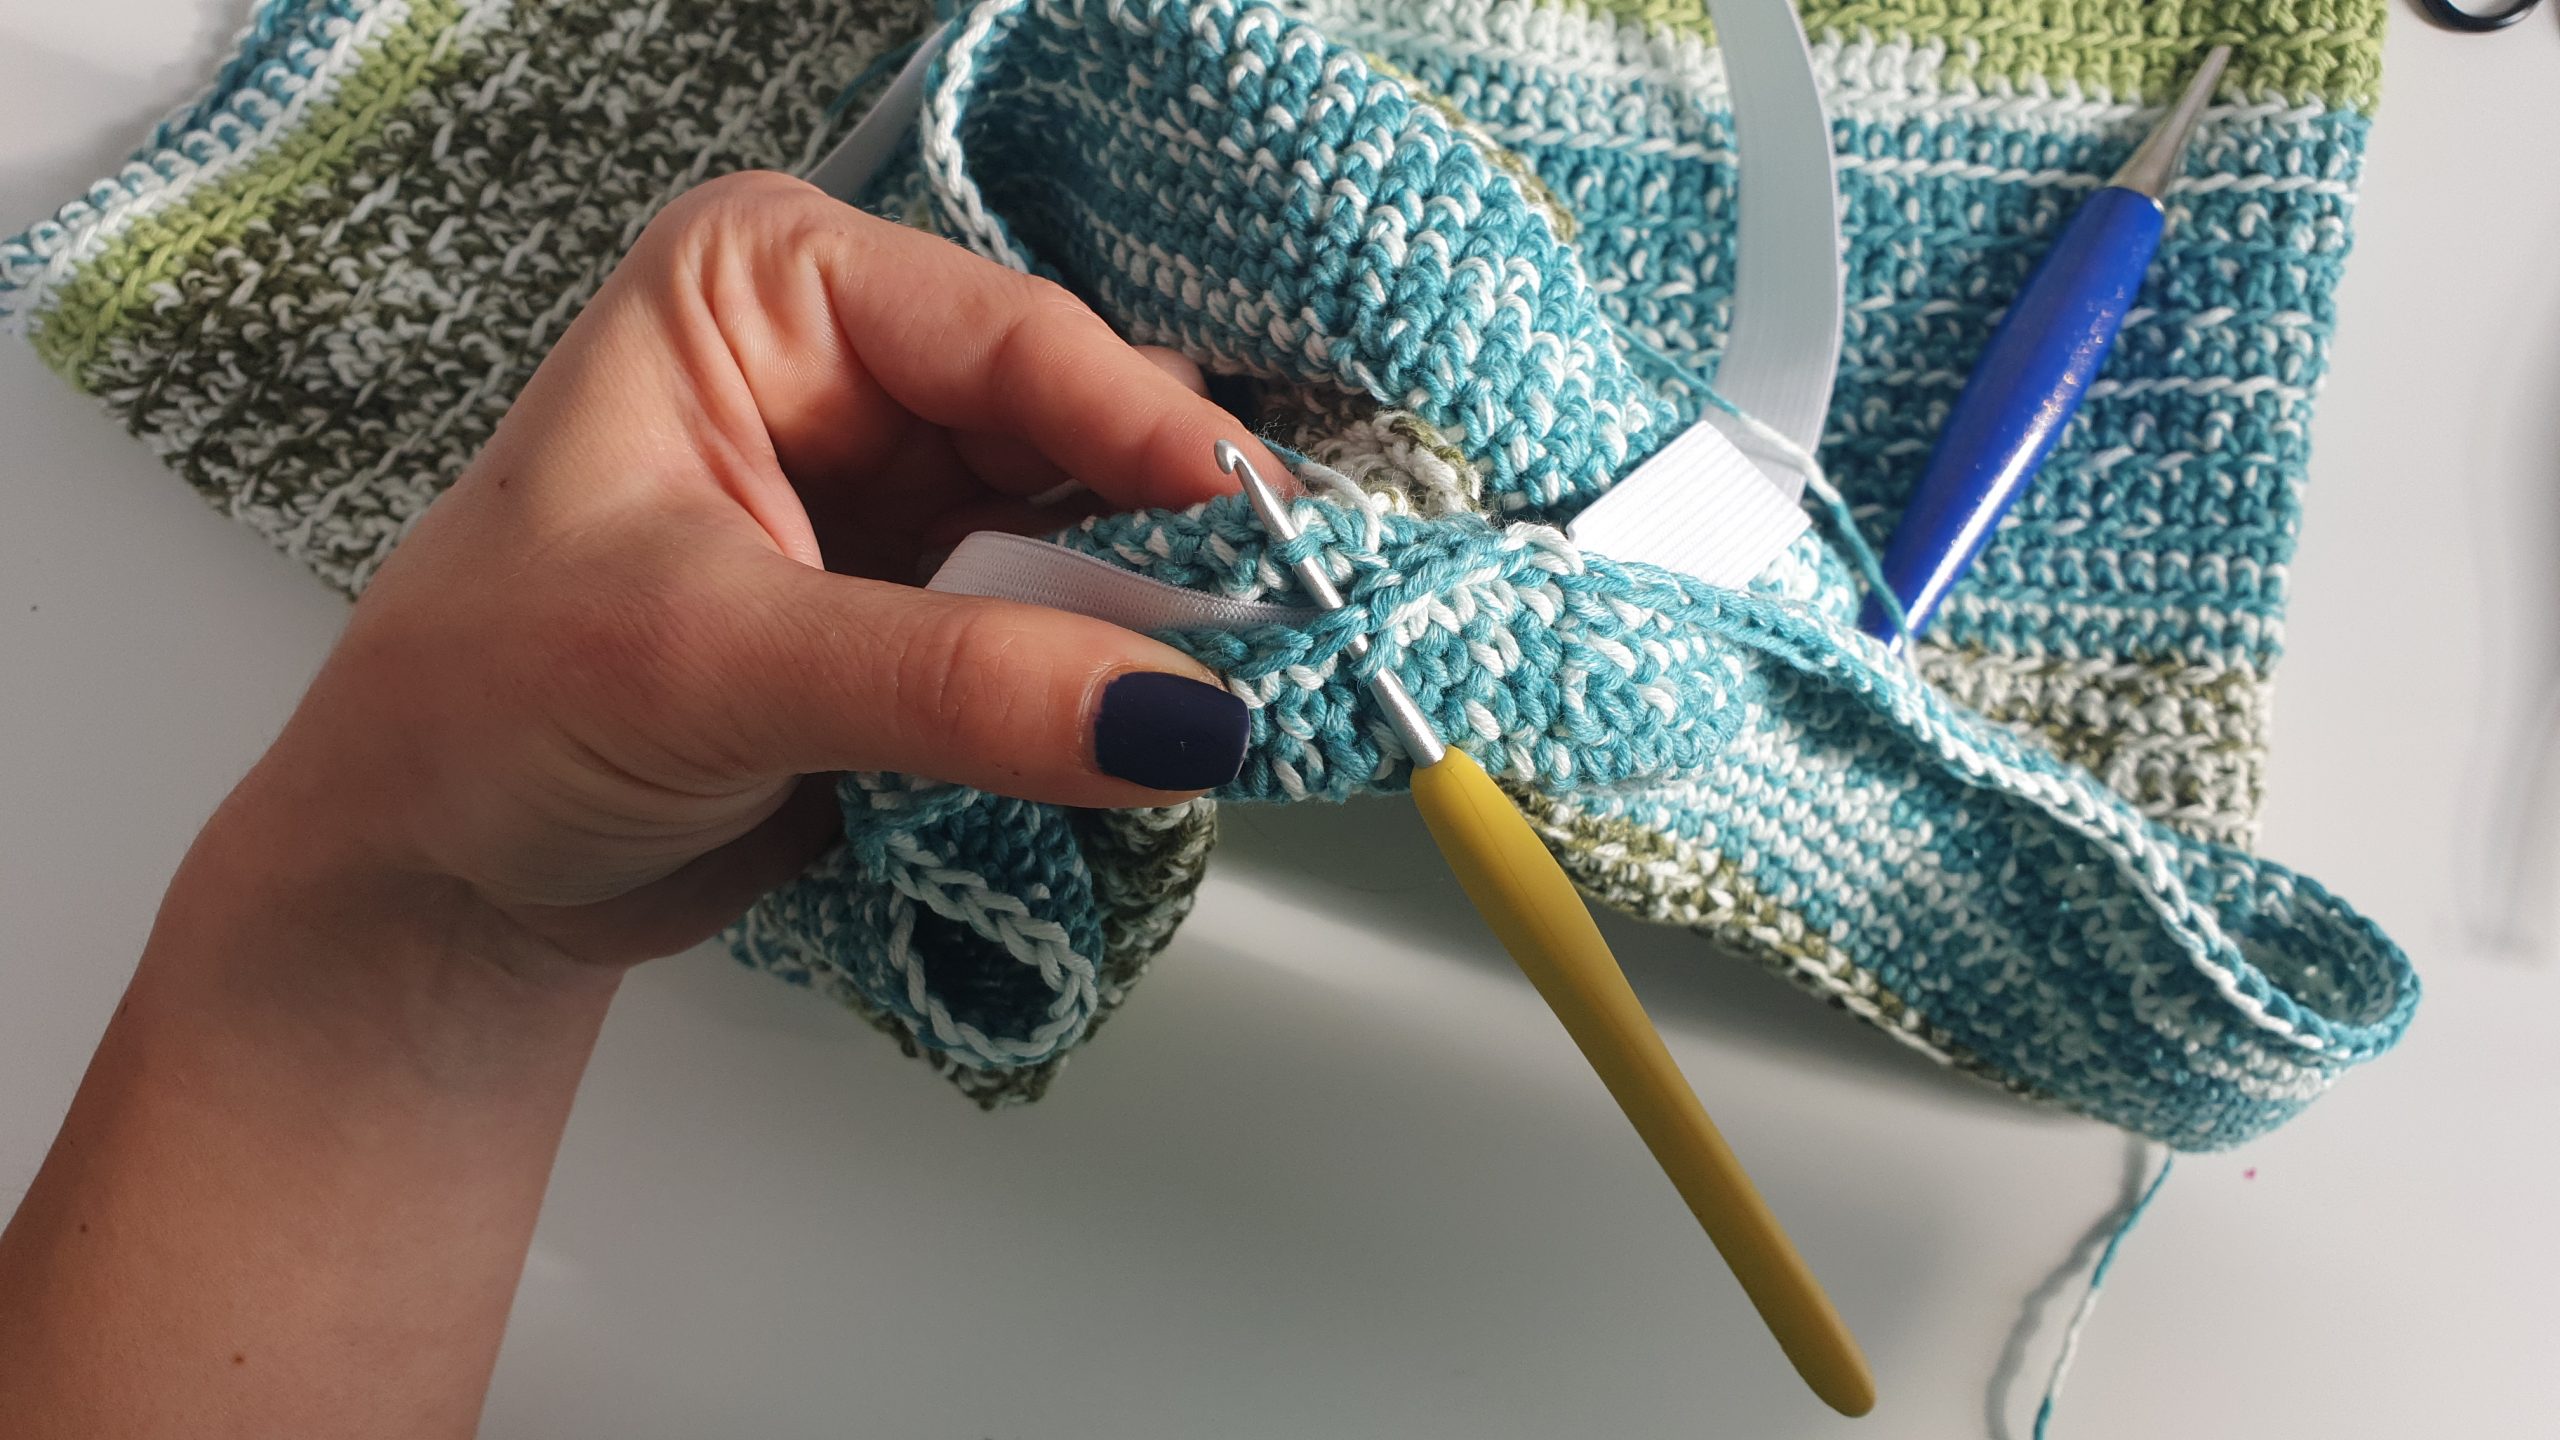
Place the elastic band into the folded waistband.
Join the waistband edges with sl sts into the stitches of the last row and the 3rd loop of the stitches at the first row, using a smaller hook size (2.5 mm recommended)
You can Purchase the easily printable PDF version of this pattern here:
You can Purchase the easily printable PDF version of this pattern here:
Place the elastic band into the folded waistband.
Join the waistband edges with sl sts into the stitches of the last row and the 3rd loop of the stitches at the first row, using a smaller hook size (2.5 mm recommended)
CORD
Ch300, or 2.5 times your waist circumference.
sl st into each of the ch sts.
TO FINISH
Use a safety pin and insert the cord into the waistband.
Weave in all loose ends and block to measurements.
I hope you like this pattern and design and I can’t wait to see more crocheted shorts. 😉
Until next time, Happy Crochet!!


2 Comments
Is there a pattern for the top?
This looks fab, especially the shorts! Great job!
xoxo
Lovely
http://www.mynameislovely.com