*This is a sponsored blog post and might contain affiliate links.
The Add Free, Easy printable, instant download pdf version of this pattern is available in my shop
or
I am so glad to share with you my new Marble Blouse crochet pattern. I hope it will be another pattern that you love and one more piece in my Diy Fashion Journey.
Pentru Postarea in limba romana click aici
Voor het patroon in het nederlands,klik hier
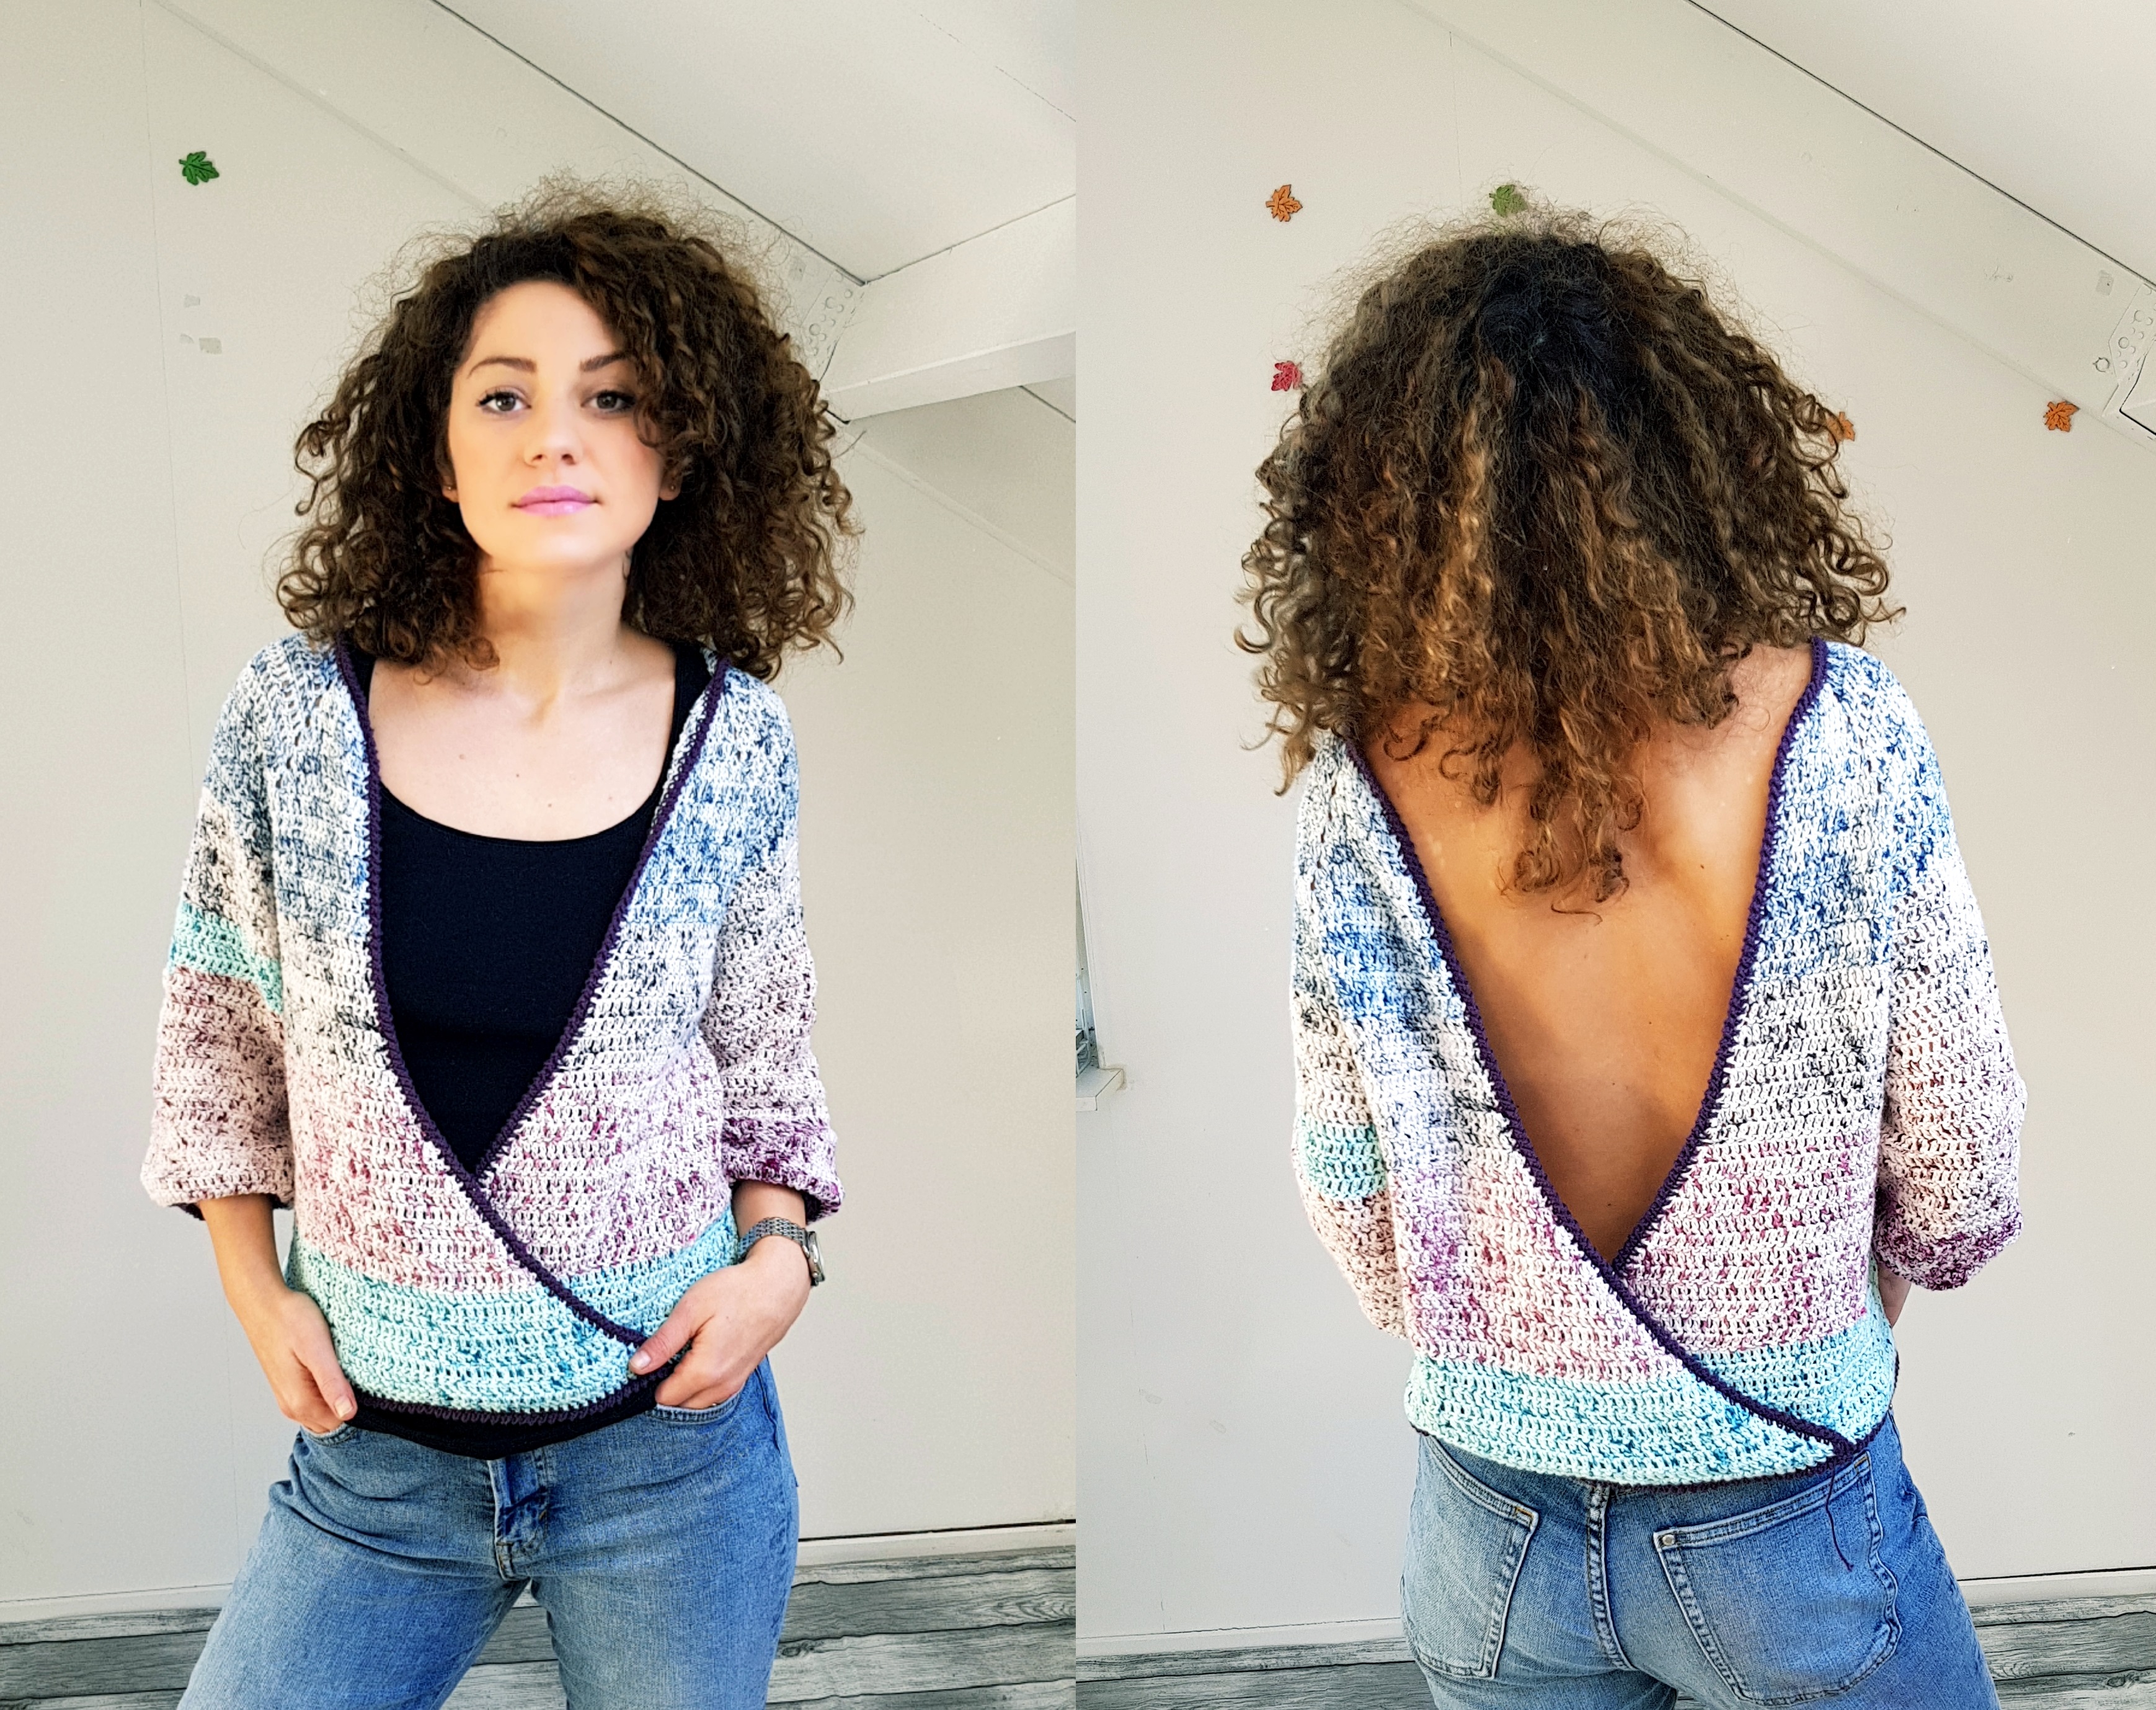
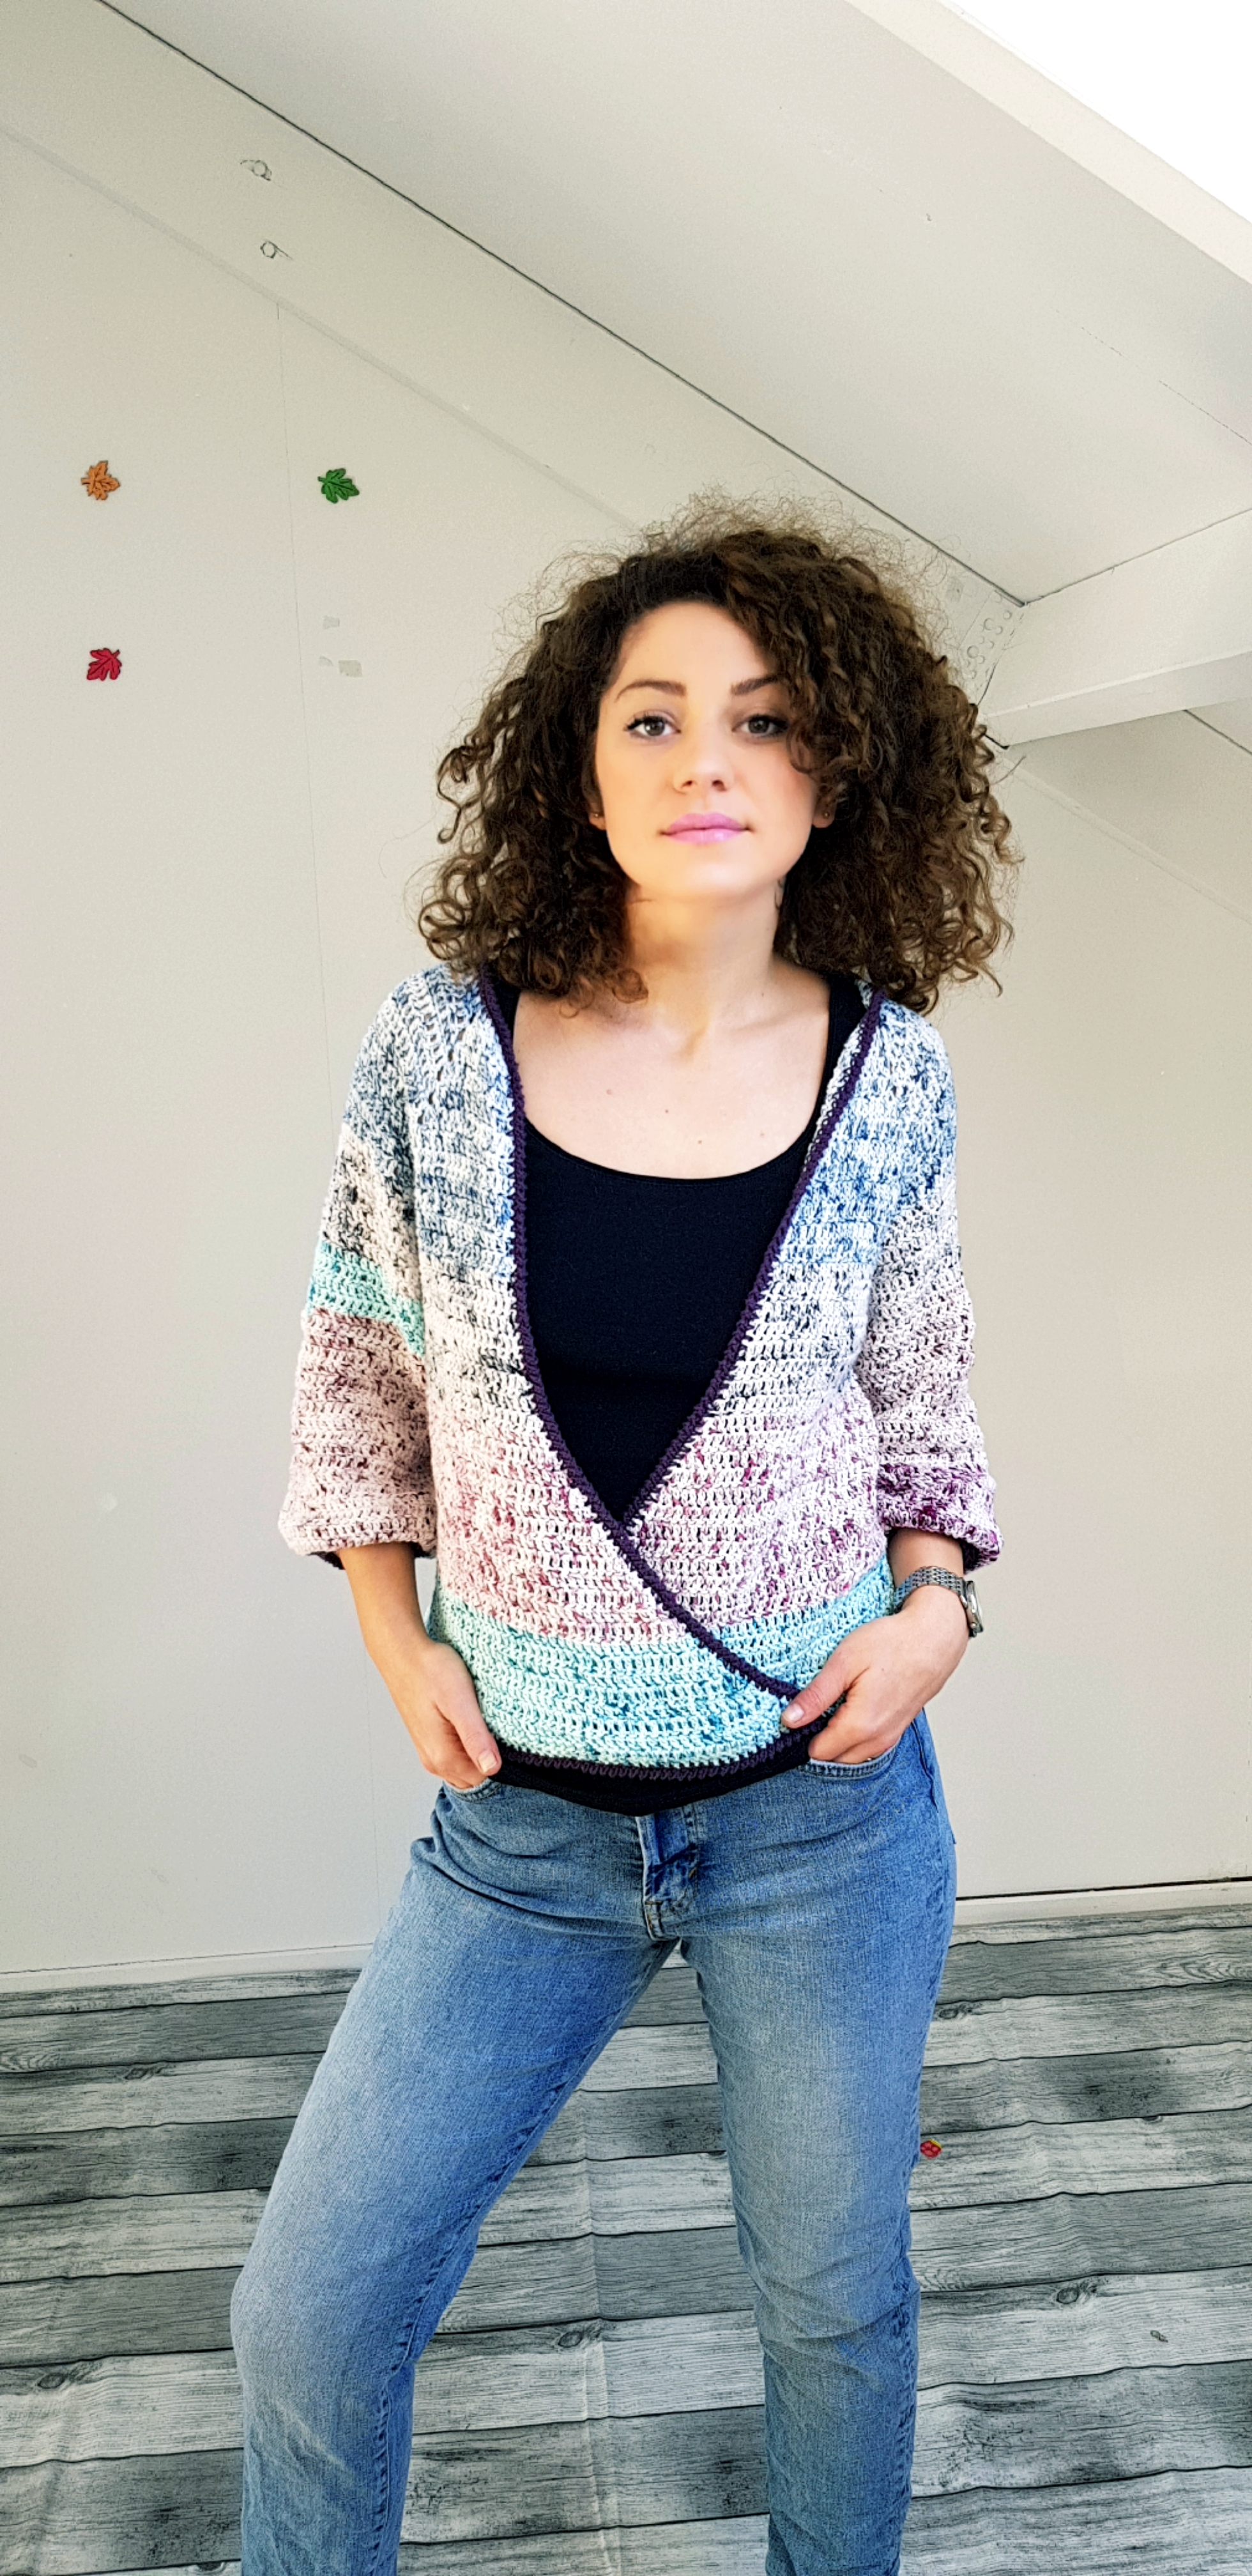
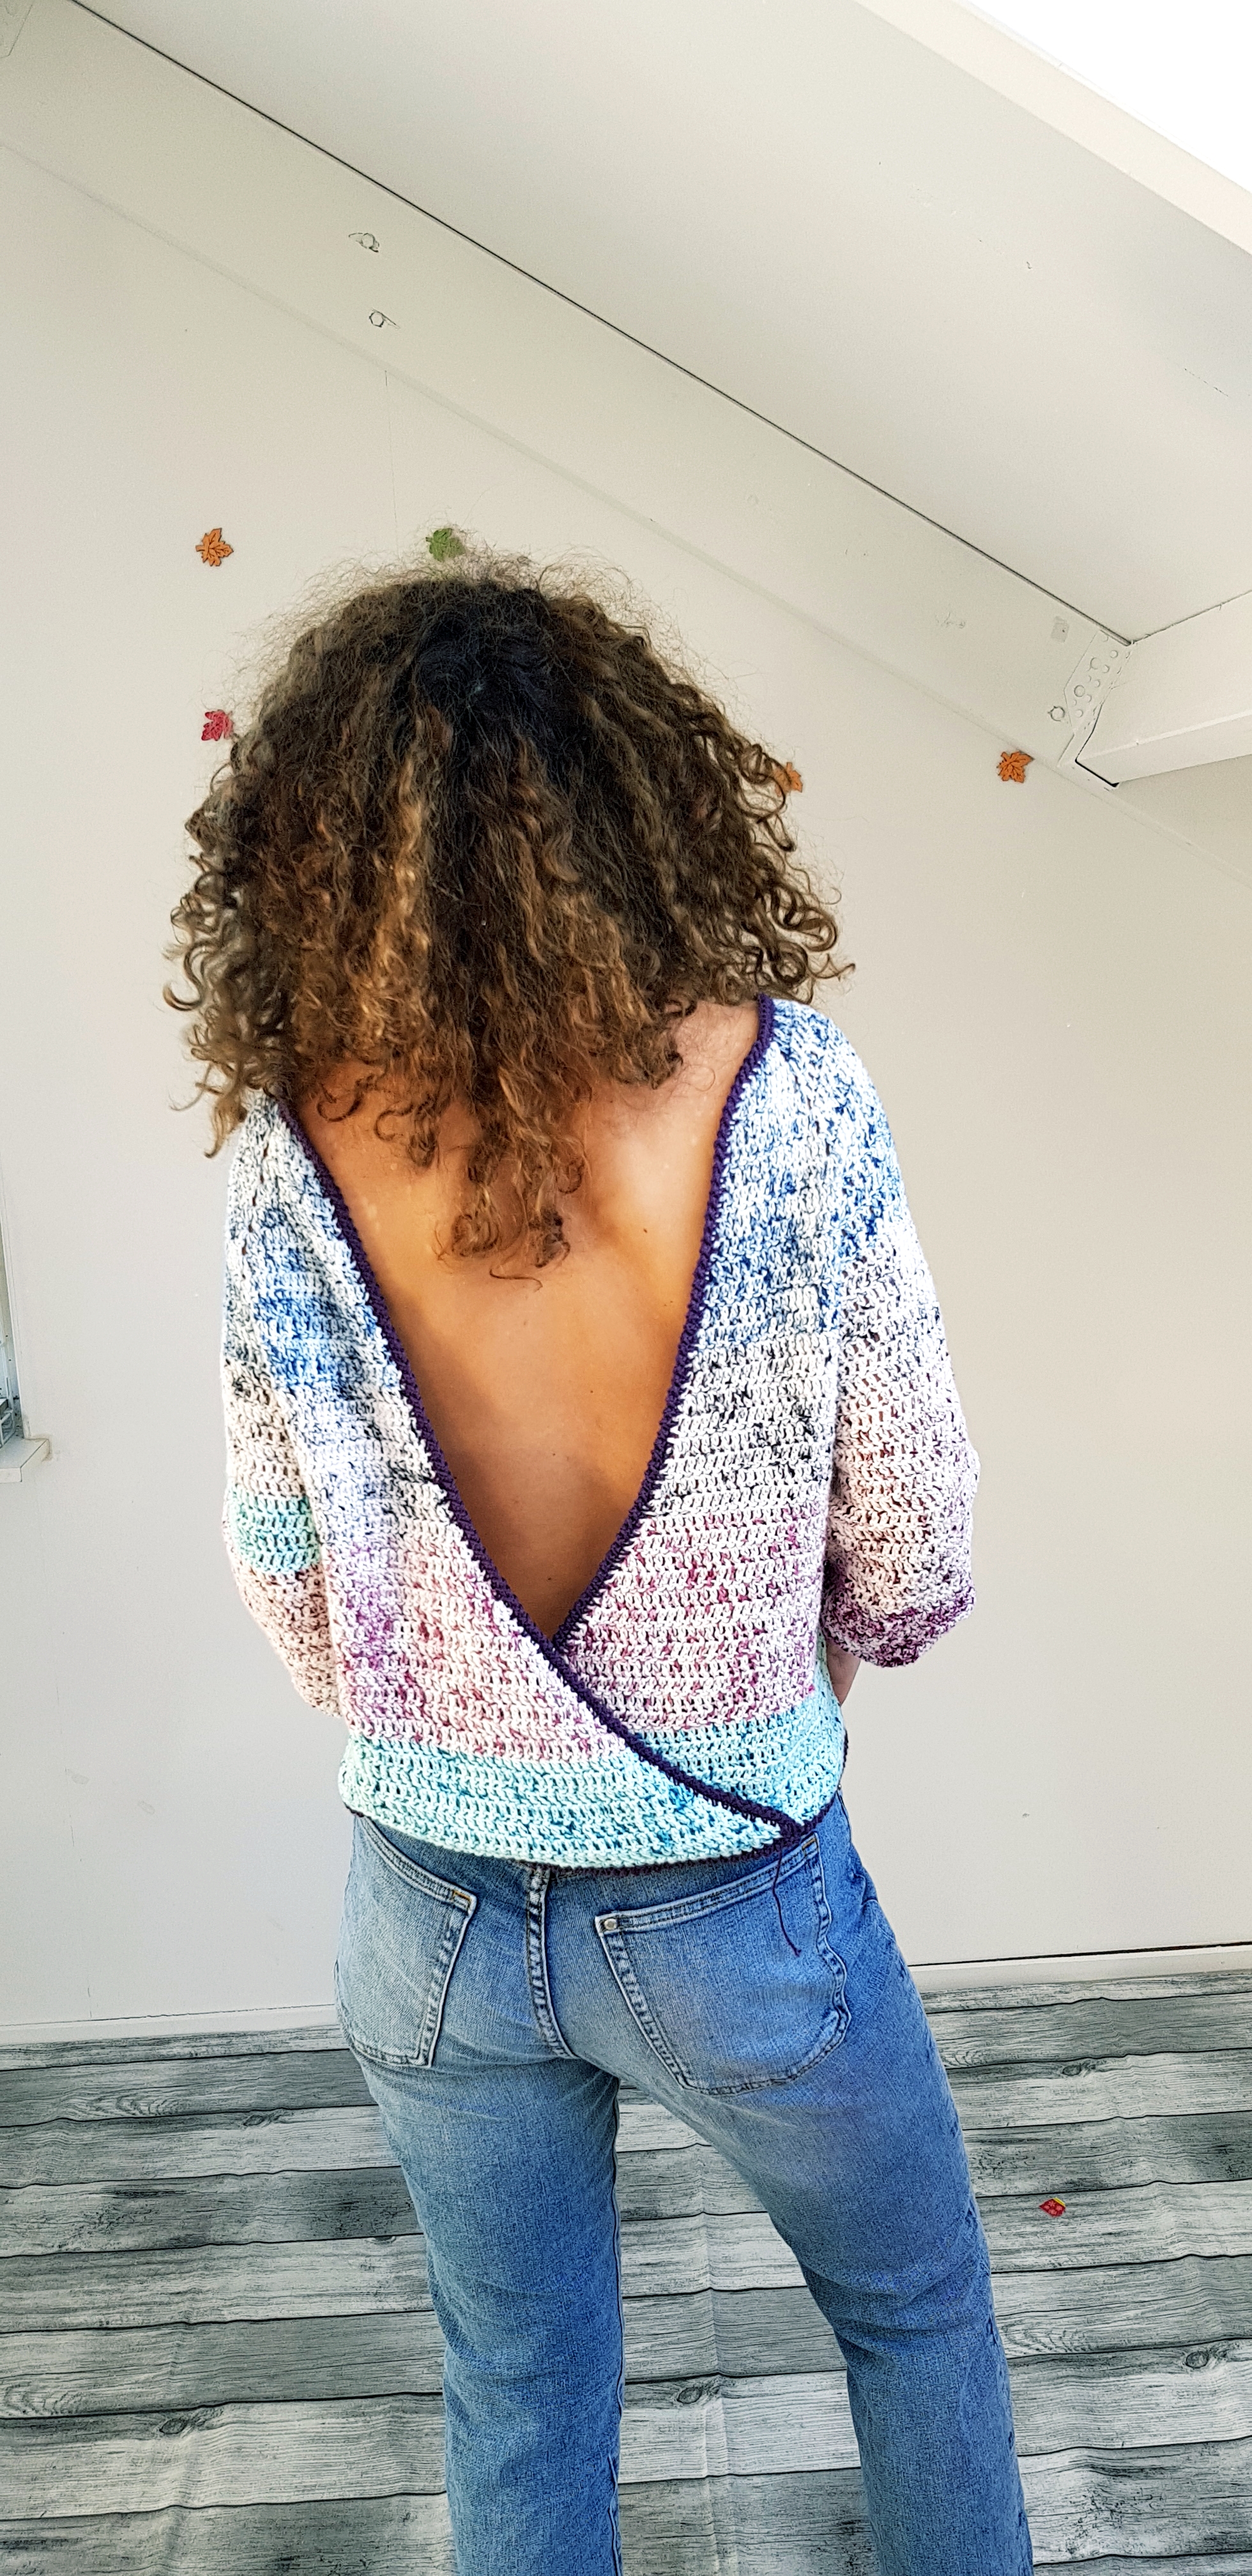
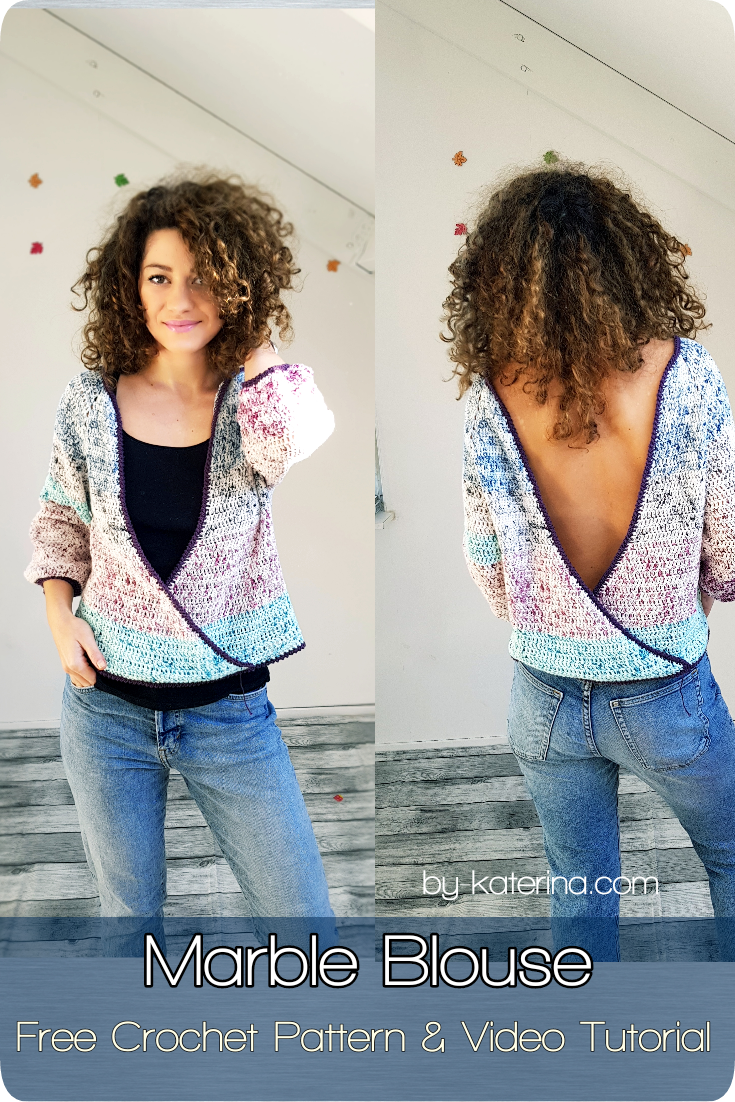
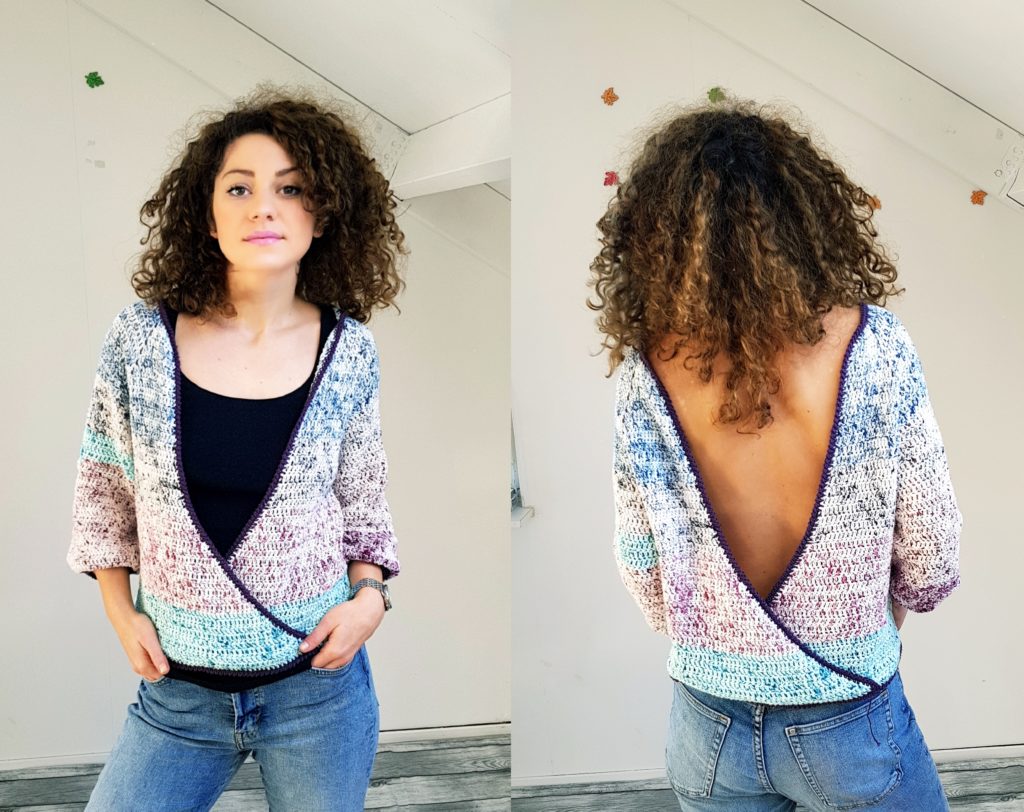
Pretty cool how this Marble Blouse of mine can be worn in 2 different ways. Isn’t it?
About the Design
Well, we are playing again with this top-down, raglan technique. I really love it, because you can work one sweater, blouse, top almost in one single piece, so ones you got it I’m sure that you won’t make top garments in other way.
Ok, we will start the Marble Blouse from the top, working the yoke part, then separate the sleeves from the body and work the 3 parts individually. To obtain this V Neck shape we will increase while making the front panels, and keep increasing until we will get to the desired length. We will keep increasing so the 2 front panels to cross each other.
The sleeves are worked in rounds. No, decreases needed.
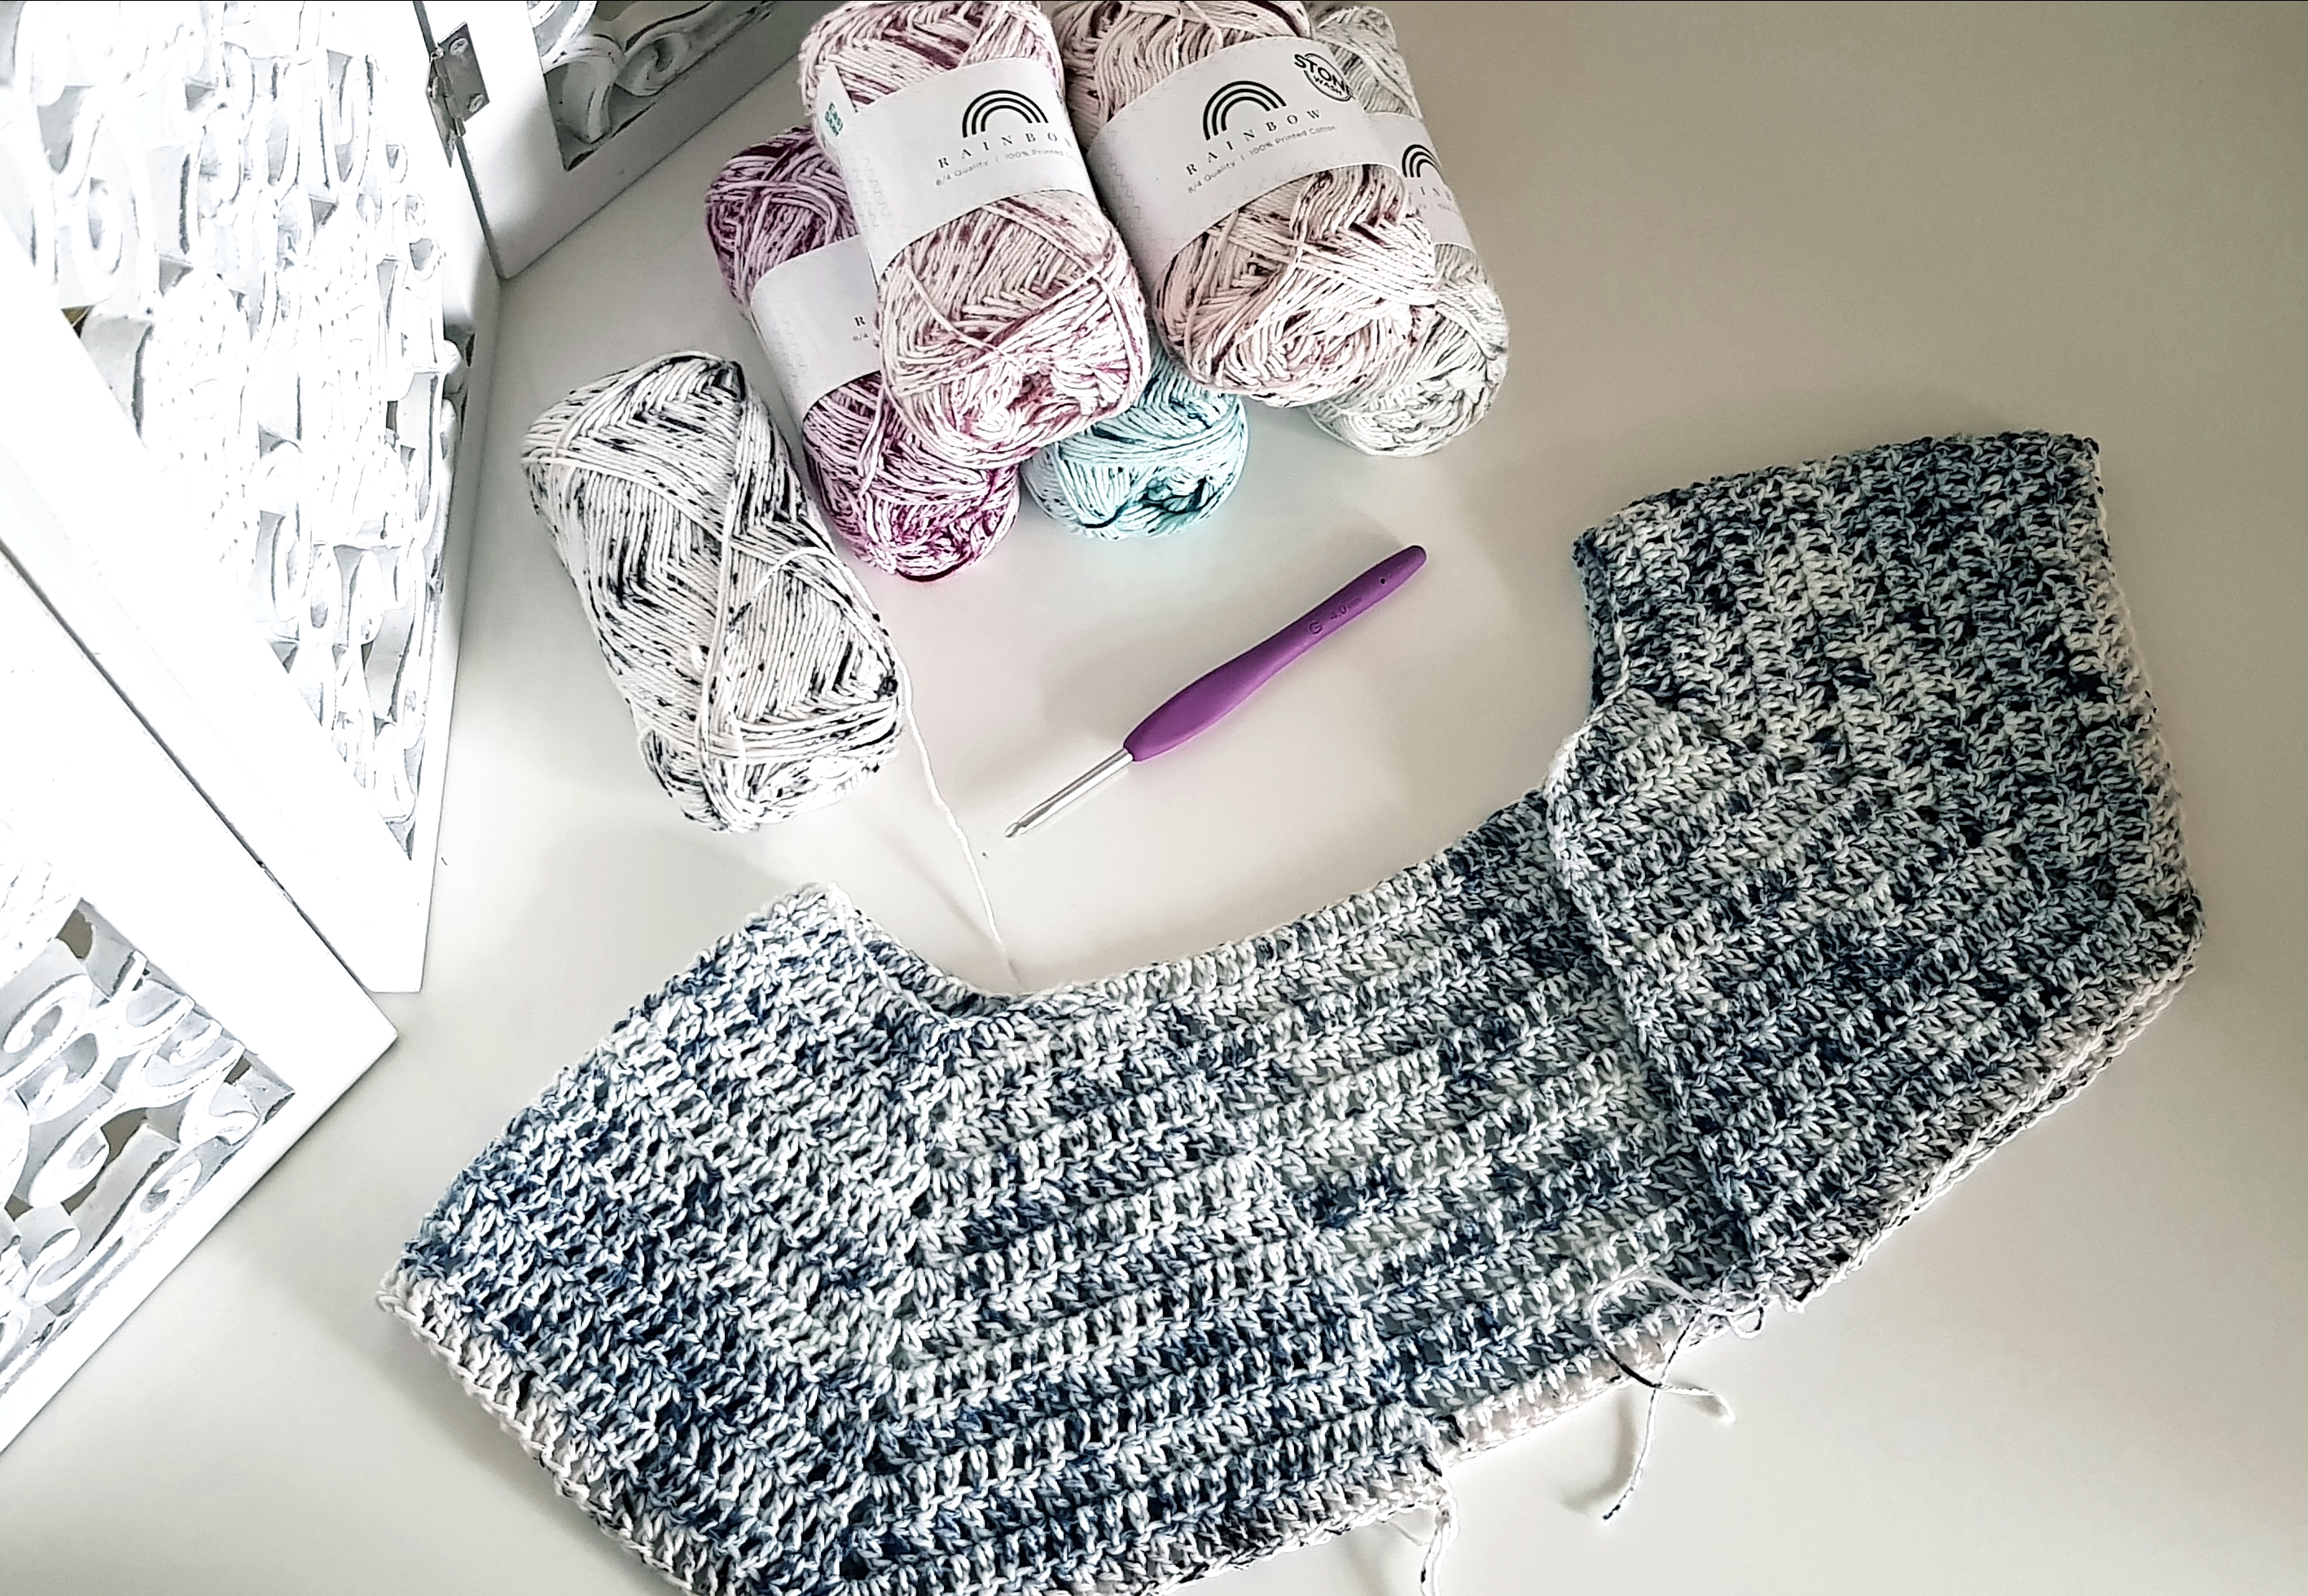
About materials we will need
- Yarn
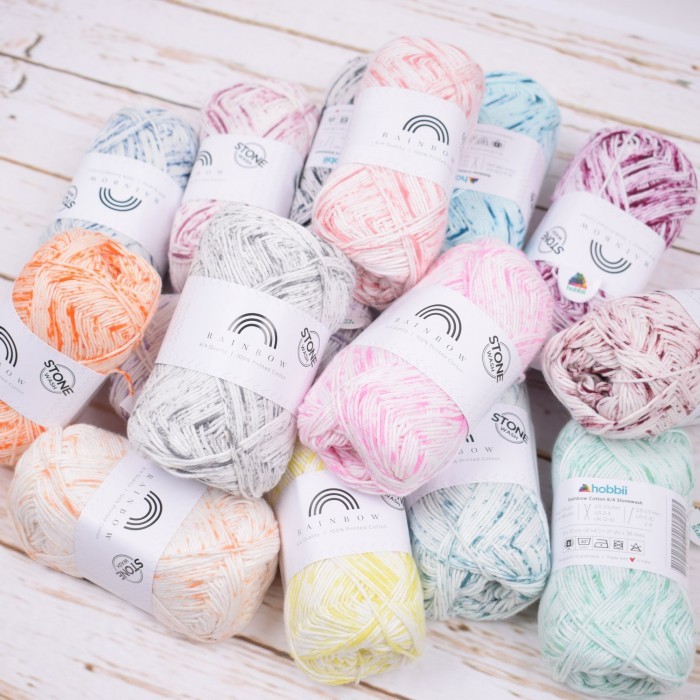
I used Rainbow Cotton Stone Washed from Hobbii. It’s a fingering, 4 ply, super fine yarn made from 100% soft and natural fiber. Each skein has
- Needles
4 mm (G US size)
Tapestry needle for hiding ends
- Scissors
- optional 4 stitch markers to mark the 4 corners of the yoke
photo from hobbii.com
This Pattern is available for sizes from S to XXL and is written in US terms.
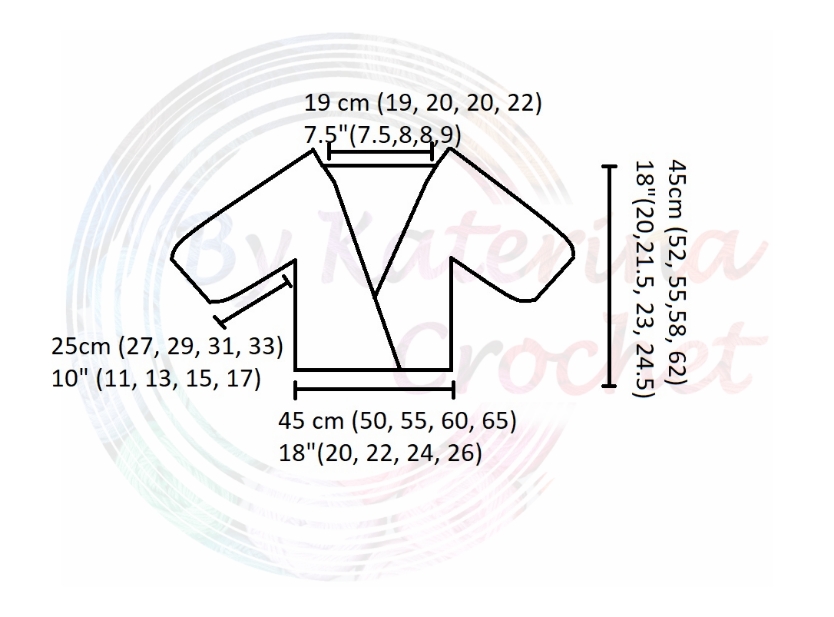
The final measurement of the Marble Blouse for each size are listed in the diagram bellow. On the first line are the values in cm and on the second one the values in inches.
How much yarn do you need:
S – 275 grams / 935 m/ 1020 yds ( 6 skeins)
M – 300 grams /1010 m / 1100 yds (6 skeins)
L – 320 grams /1081 m /1180 yds (7 skeins)
XL – 340 grams /1150 m / 1250 yds (7 skeins)
XXL – 360 grams / 1220 m / 1330 yds (8 skeins)
*i used the colors randomly so no pattern for the colors. I just took one skein and worked it to the end then pick another. i used a solid color for the border for contouring and a final touch.
The Add Free, Easy printable, instant download pdf version of this pattern is available in my shop
About the Stitch
All the Marble Blouse is worked in double crochet. The border is made in single crochet and twisted single crochet.
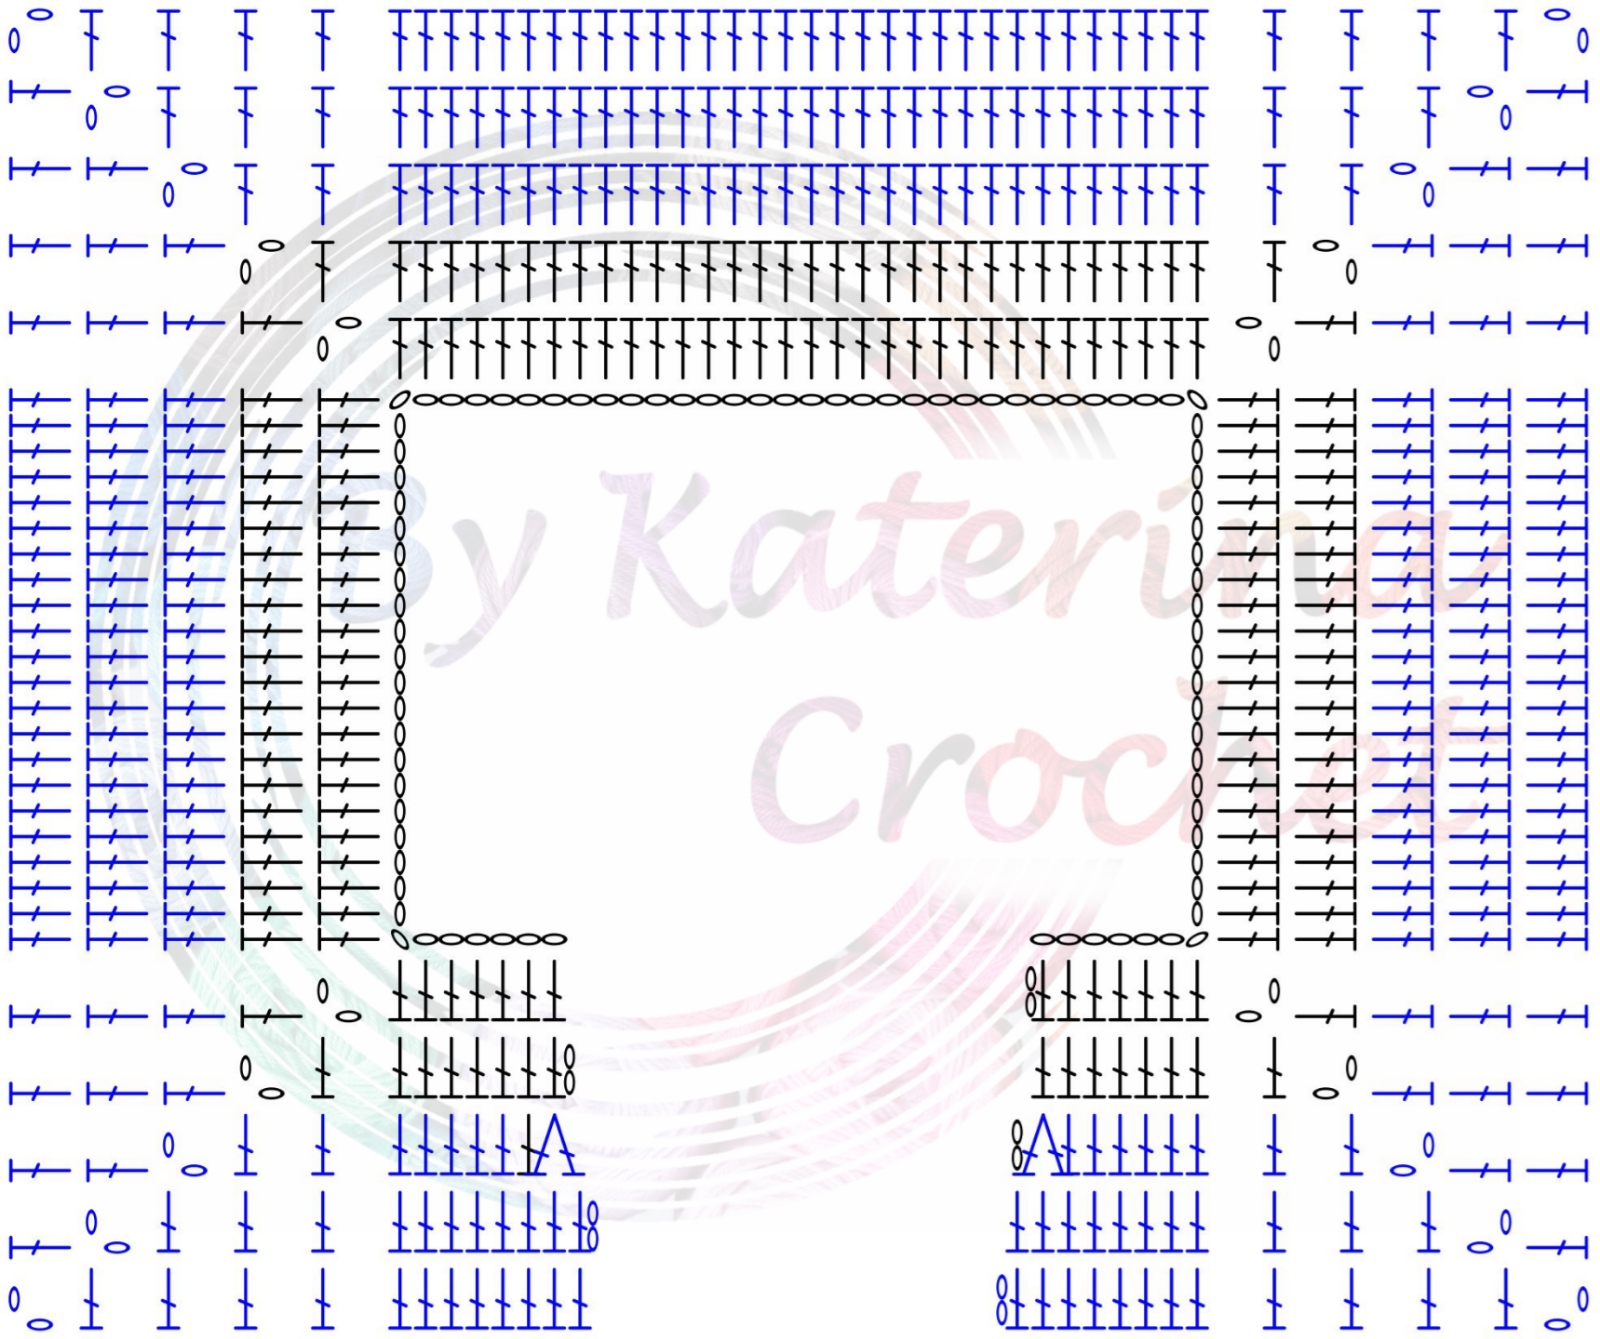
Bellow you will find the stitch chart with the beginning of the yoke. The chart is representing the stitch number for sizes S and M. For other sizes just follow the chart, but take into consideration that you will have more stitches.
Abbreviations used in this pattern
Ch – chain
Dc – double crochet
Sc – single crochet
St(s) – stitch(es)
Sl st – slip stitch
Inc C – increase in corners (1 dc, ch 2, 1 dc in the same st)
Inc E – increase on the front panels edges (2 dc in the same st)
Gauge
16 dc = 10 cm (4″)
9 rows = 10 cm (4″)
*it’s important to get to the sts gauge because here is all the math of the pattern. If you are not getting to the rows gauge don’t change the crochet hook size. Keep working because the rows will stretch after working more.
The Add Free, Easy printable, instant download pdf version of this pattern is available in my shop
Ok, with these all details, we can now start to make this beautiful Marble Blouse.
Yoke
Foundation Chain:
S – 86 sts ( 6 for front panels, 20 for sleeves, 30 for back panel plus 4 for corners)
M – 86 sts ( 6 for front panels, 20 for sleeves, 30 for back panel plus 4 for corners)
L – 94 sts ( 7 for front panels, 22 for sleeves, 32 for back panel plus 4 for corners)
XL – 94 sts ( 7 for front panels, 22 for sleeves, 32 for back panel plus 4 for corners)
XXL – 102 sts ( 8 for front panels, 24 for sleeves, 34 for back panel plus 4 for corners)
Row 1
*the numbers for sizes M, L, XL and XXL are between brackets
Ch 2, 1 dc in the 3rd st, 1 dc in next 5 (5, 6, 6, 7) sts, 1 Inc C in next st (1 dc, ch 2, 1 dc), 1 dc in next 20 (20, 22, 22, 24) sts, 1 inc C in next, 1 dc in next 30 (30, 32, 32, 34) sts, 1 Inc C in next st, 1 dc in next 20 (20, 22, 22, 24) sts, 1 Inc C in next st, 1 dc in next 6 (6, 7,7,8) sts. Ch 2 and turn.
Row 2
1 dc in the 1st st, [1 dc in the next sts to the corner (the ch 2 space), 1 inc C in the corner]. Repeat to the end of the row. Ch 2 and turn
Row 3
1 Inc E ( 2 dc in the same st) in the 1st dc,[ 1 dc in the next sts to the corner, 1 Inc C in the corner]. Repeat to the end of the row, ending the row with 1 Inc E in the last st.
Rows 4, 5
Repeat row 2.
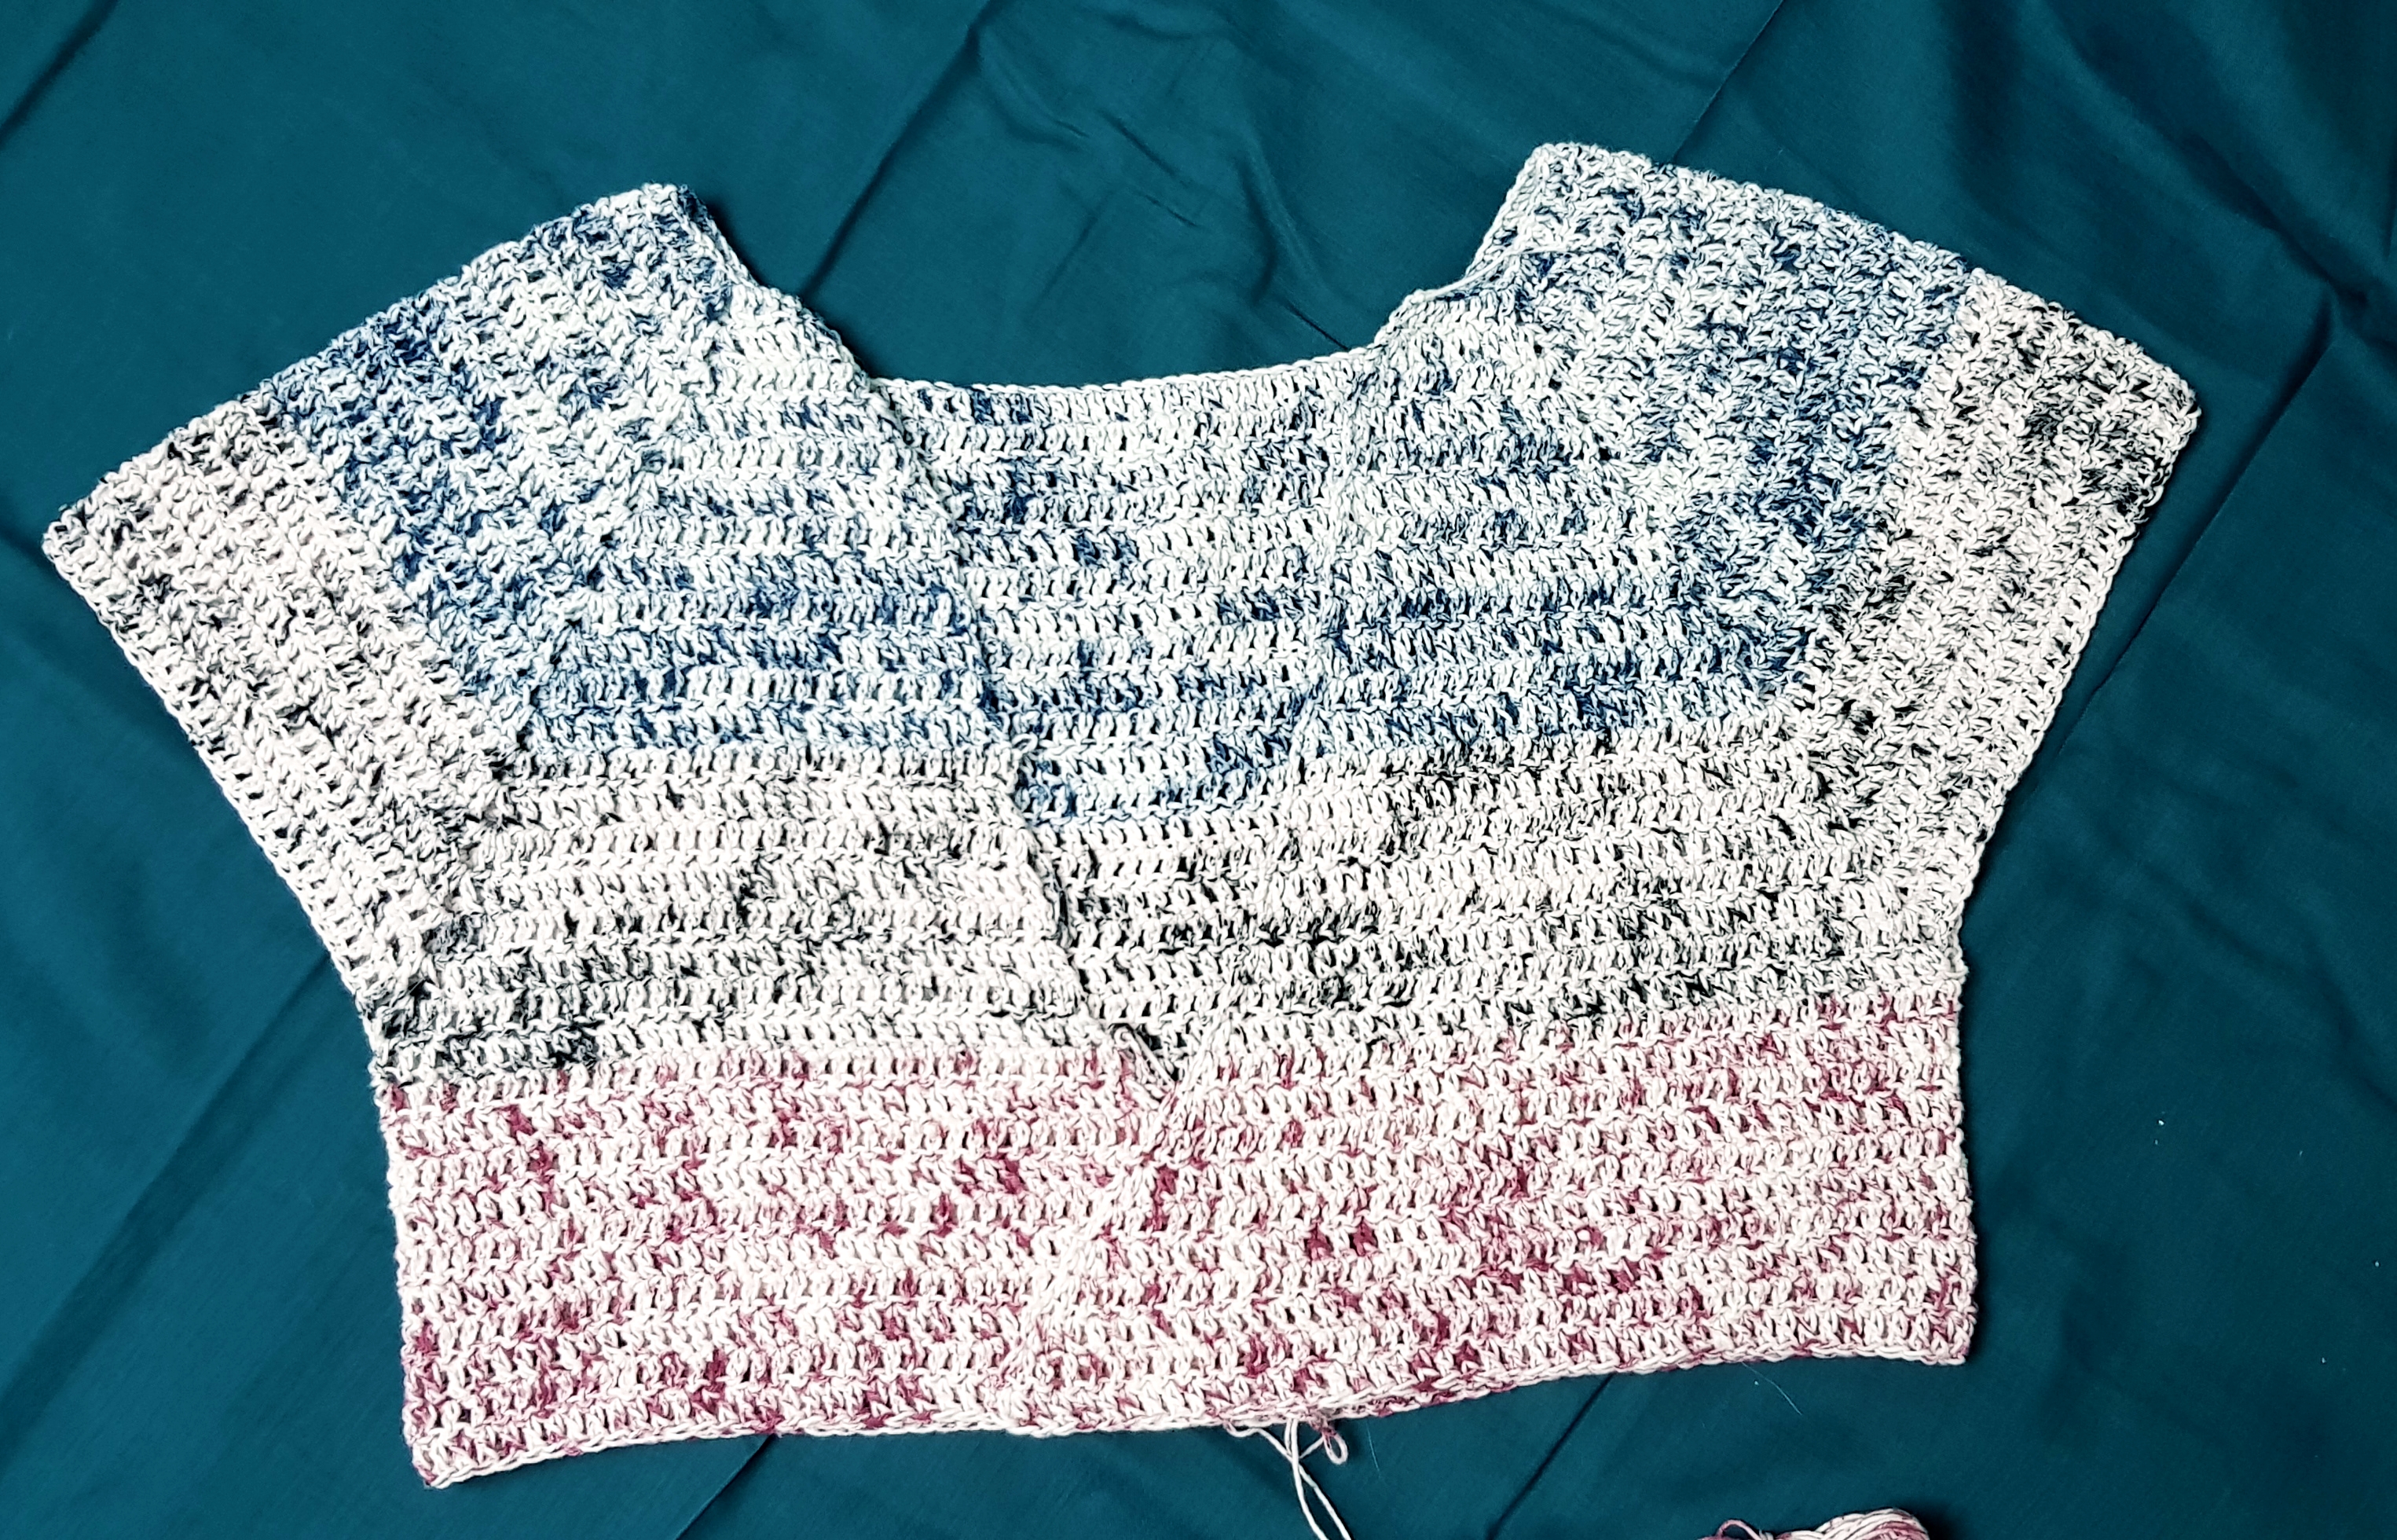
Repeat rows 3, 4, 5 until you will get to the end of the yoke. Remember that you have to make 2 rows with no increases, except the ones in corners and one row increasing at the beginning and at the end of the rows.
Keep working until you will have in total:
S – 19 rows
M – 23 rows
L – 27 rows
XL – 31 rows
XXL – 34 rows
Body
Starting with the first row of the body and the separating row, we will increase at every beginning and end of the row. Doesn’t matter which row you have the previous, the first row of the body will be with increases and the one that are about to come also.
Row 1
1 Inc E in first st, 1 dc in each st until you get to the first corner, 1 partial dc in corner, skip the sts for the sleeve to the next corner, 1 partial dc in the next corner, yarn over and pull the yarn through all 3 loops on your hook. Continue with 1 dc in each st to the next corner. Here we will proceed the same as in the opposite side. Continue with 1 dc in each st, until you get to the last one, in the last st 1 Inc E. Ch 2 and turn
Row 2
1 Inc E in the first st, 1 dc in each st until you get to the last st, 1 inc E in the last st.
Repeat row 2 until you get to the desired length. pay attention that the front panels will cross one over the other, and their corners has to reach maximum the side edge of the blouse. Make as many rows as you want or:
S – 22 rows
M – 24 rows
L, XL, XXL – 22 rows
The last row of the body part will be worked in round and we will have to join the 2 front panels on the overlapping portion. We will do the joining by making the dc into the sts of the both sides.
Sleeves
Insert the hook and yarn at the armpit and start the round from there.
Row 1
Ch 2, 1 dc in the same st, 1 dc in each st around. Join with a sl st with first dc. Ch 2 and turn
Repeat row 1 until you get to the desired length of the sleeve or until you have in total:
S – 22 rows
M – 24 rows
L – 26 rows
XL – 28 rows
XXL – 30 rows
You can let the sleeve as it is or you can add the next 3 rounds with a contrasting color
- ch 1, 1 sc in the same st, 1 sc in each st around. join with a sl st with first sc.
- ch 1, 1 sc in the same st, skip 1 st, 1 sc in next. Repeat the section to the end of the round. Join with sl st with first sc.
- ch 1, 1 sc in the same st, 1 twisted sc in each st around (insert the hook into the st, pull out a loop, twist your hook 180 degrees, yarn over annd pull the yarn through the twisted loops on your hook.
Add with the same contrasting color that you used for the 3 rounds at the end of the sleeves to make an border in the rest of the parts of the marble blouse. I made the border with 1 row in sc, 1 row in twisted sc. I started with one front panel edge, continuing with the neck line then with the opposite front panel edge. Then turn and make one more row in twisted sc.
On the bottom edge make the same 2 rows.
And this was it with the Marble Blouse.
Can’t wait to see yours. Don’t forget to follow me in Instagram or Facebook to find out about new other patterns that are about to come.
If you are making this Marble Blouse or any other of my designs, tag @bykaterincrochet to be featured. I love to see your work.
Bellow you will also find the video tutorial that will give you a visual version of this pattern. Enjoy!
https://nl.pinterest.com/katerina6795/free-crochet-patterns/



2 Comments
Hi I’ve never used 4ply before.
What would happen if I used DK instead with this pattern, do you think I could use a different wool or stick with 4 ply. I do like the stone wash hobbi wool though. I love your patterns x
I think you can use a dk yarn with the same crochet size. You don’t have to stick with the yarn.