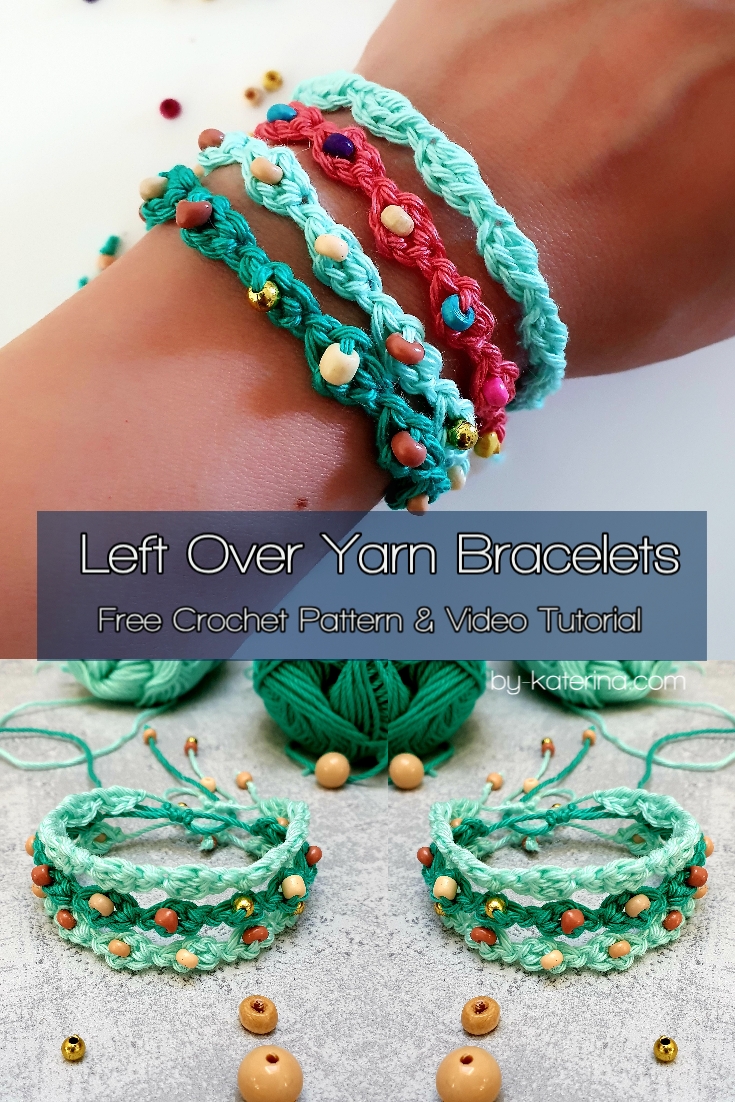
Every time I can use the left over yarn to make something beautiful and nice, I am so happy! I always try to find things to make with the left over yarn, because I don’t like to throw it away.
This project is perfect if you have some left over yarn. Is for those few meters of yarn you had left and you never imagined that you could make something with it 🙂
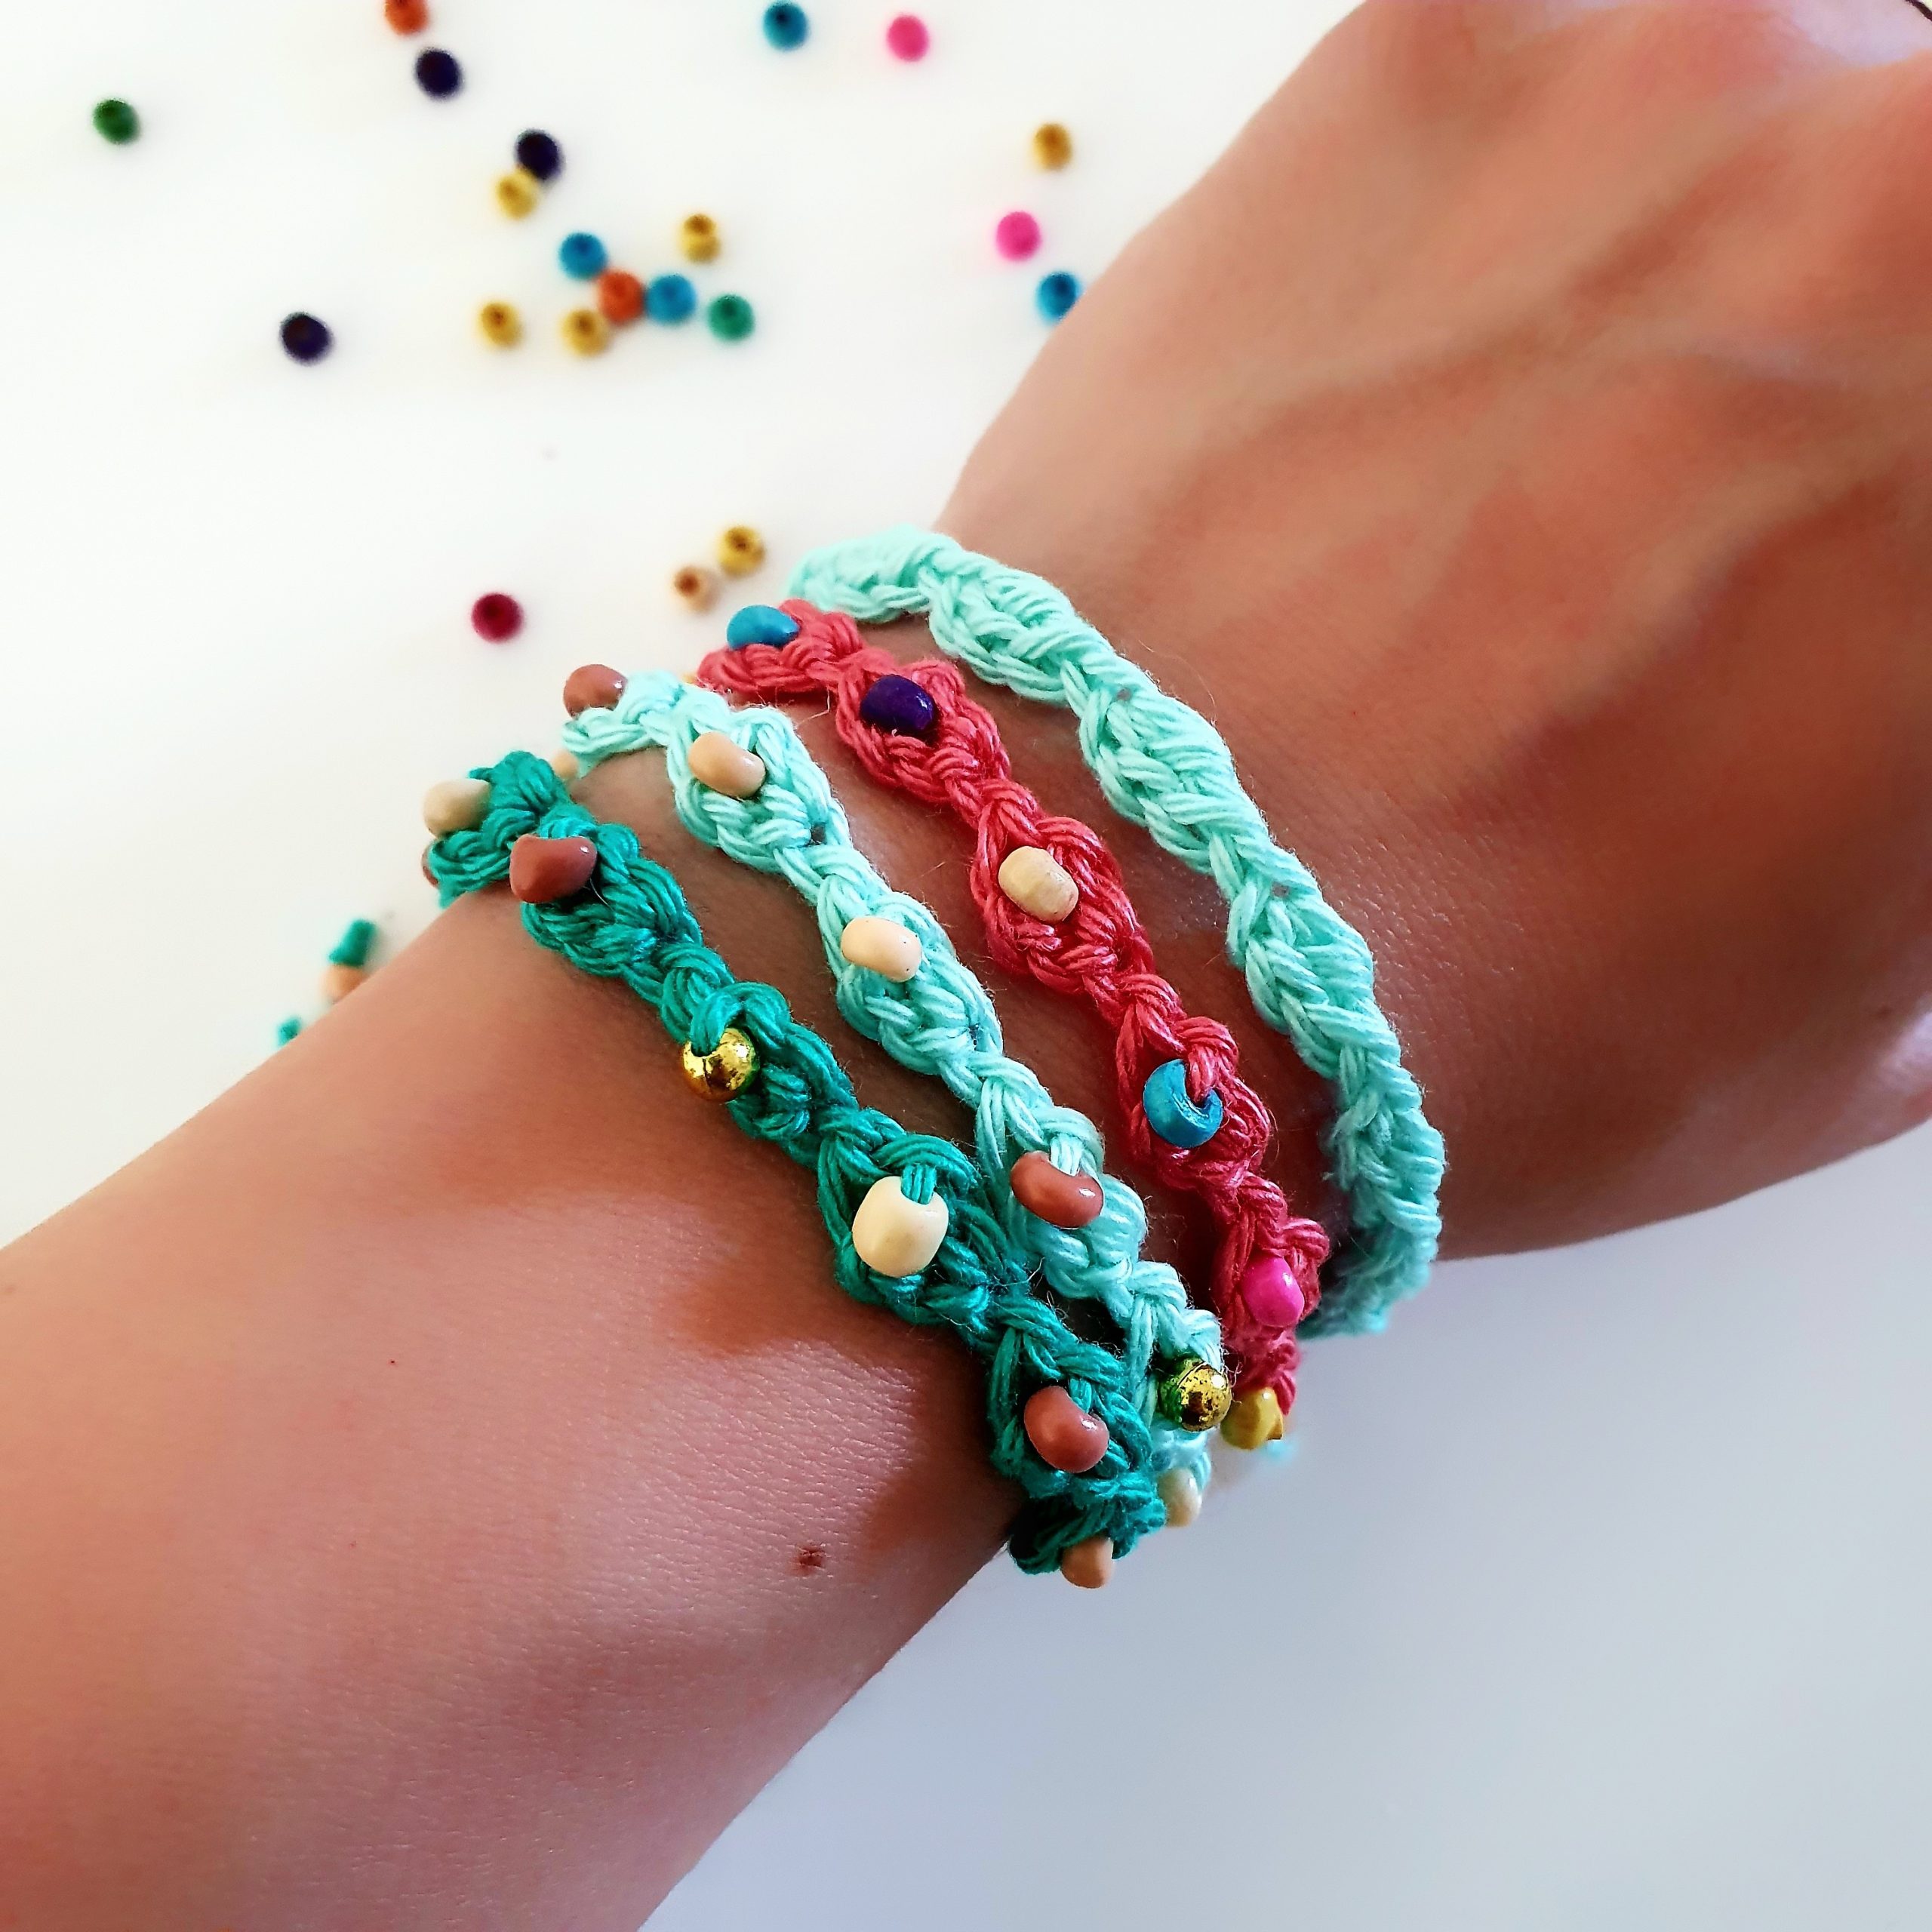
I made these bracelets also because I wanted to make something with my daughter. She was so happy to put the beads on the yarn and that she could be helpful. In case you have bigger kids than mine (mine is 4 years old), they can make these bracelets by their own and I am sure they will be super happy and proud.
I included this pattern and step by step instructions in “Crochet & Knit for beginners” and the PDF version can be downloaded for FREE here
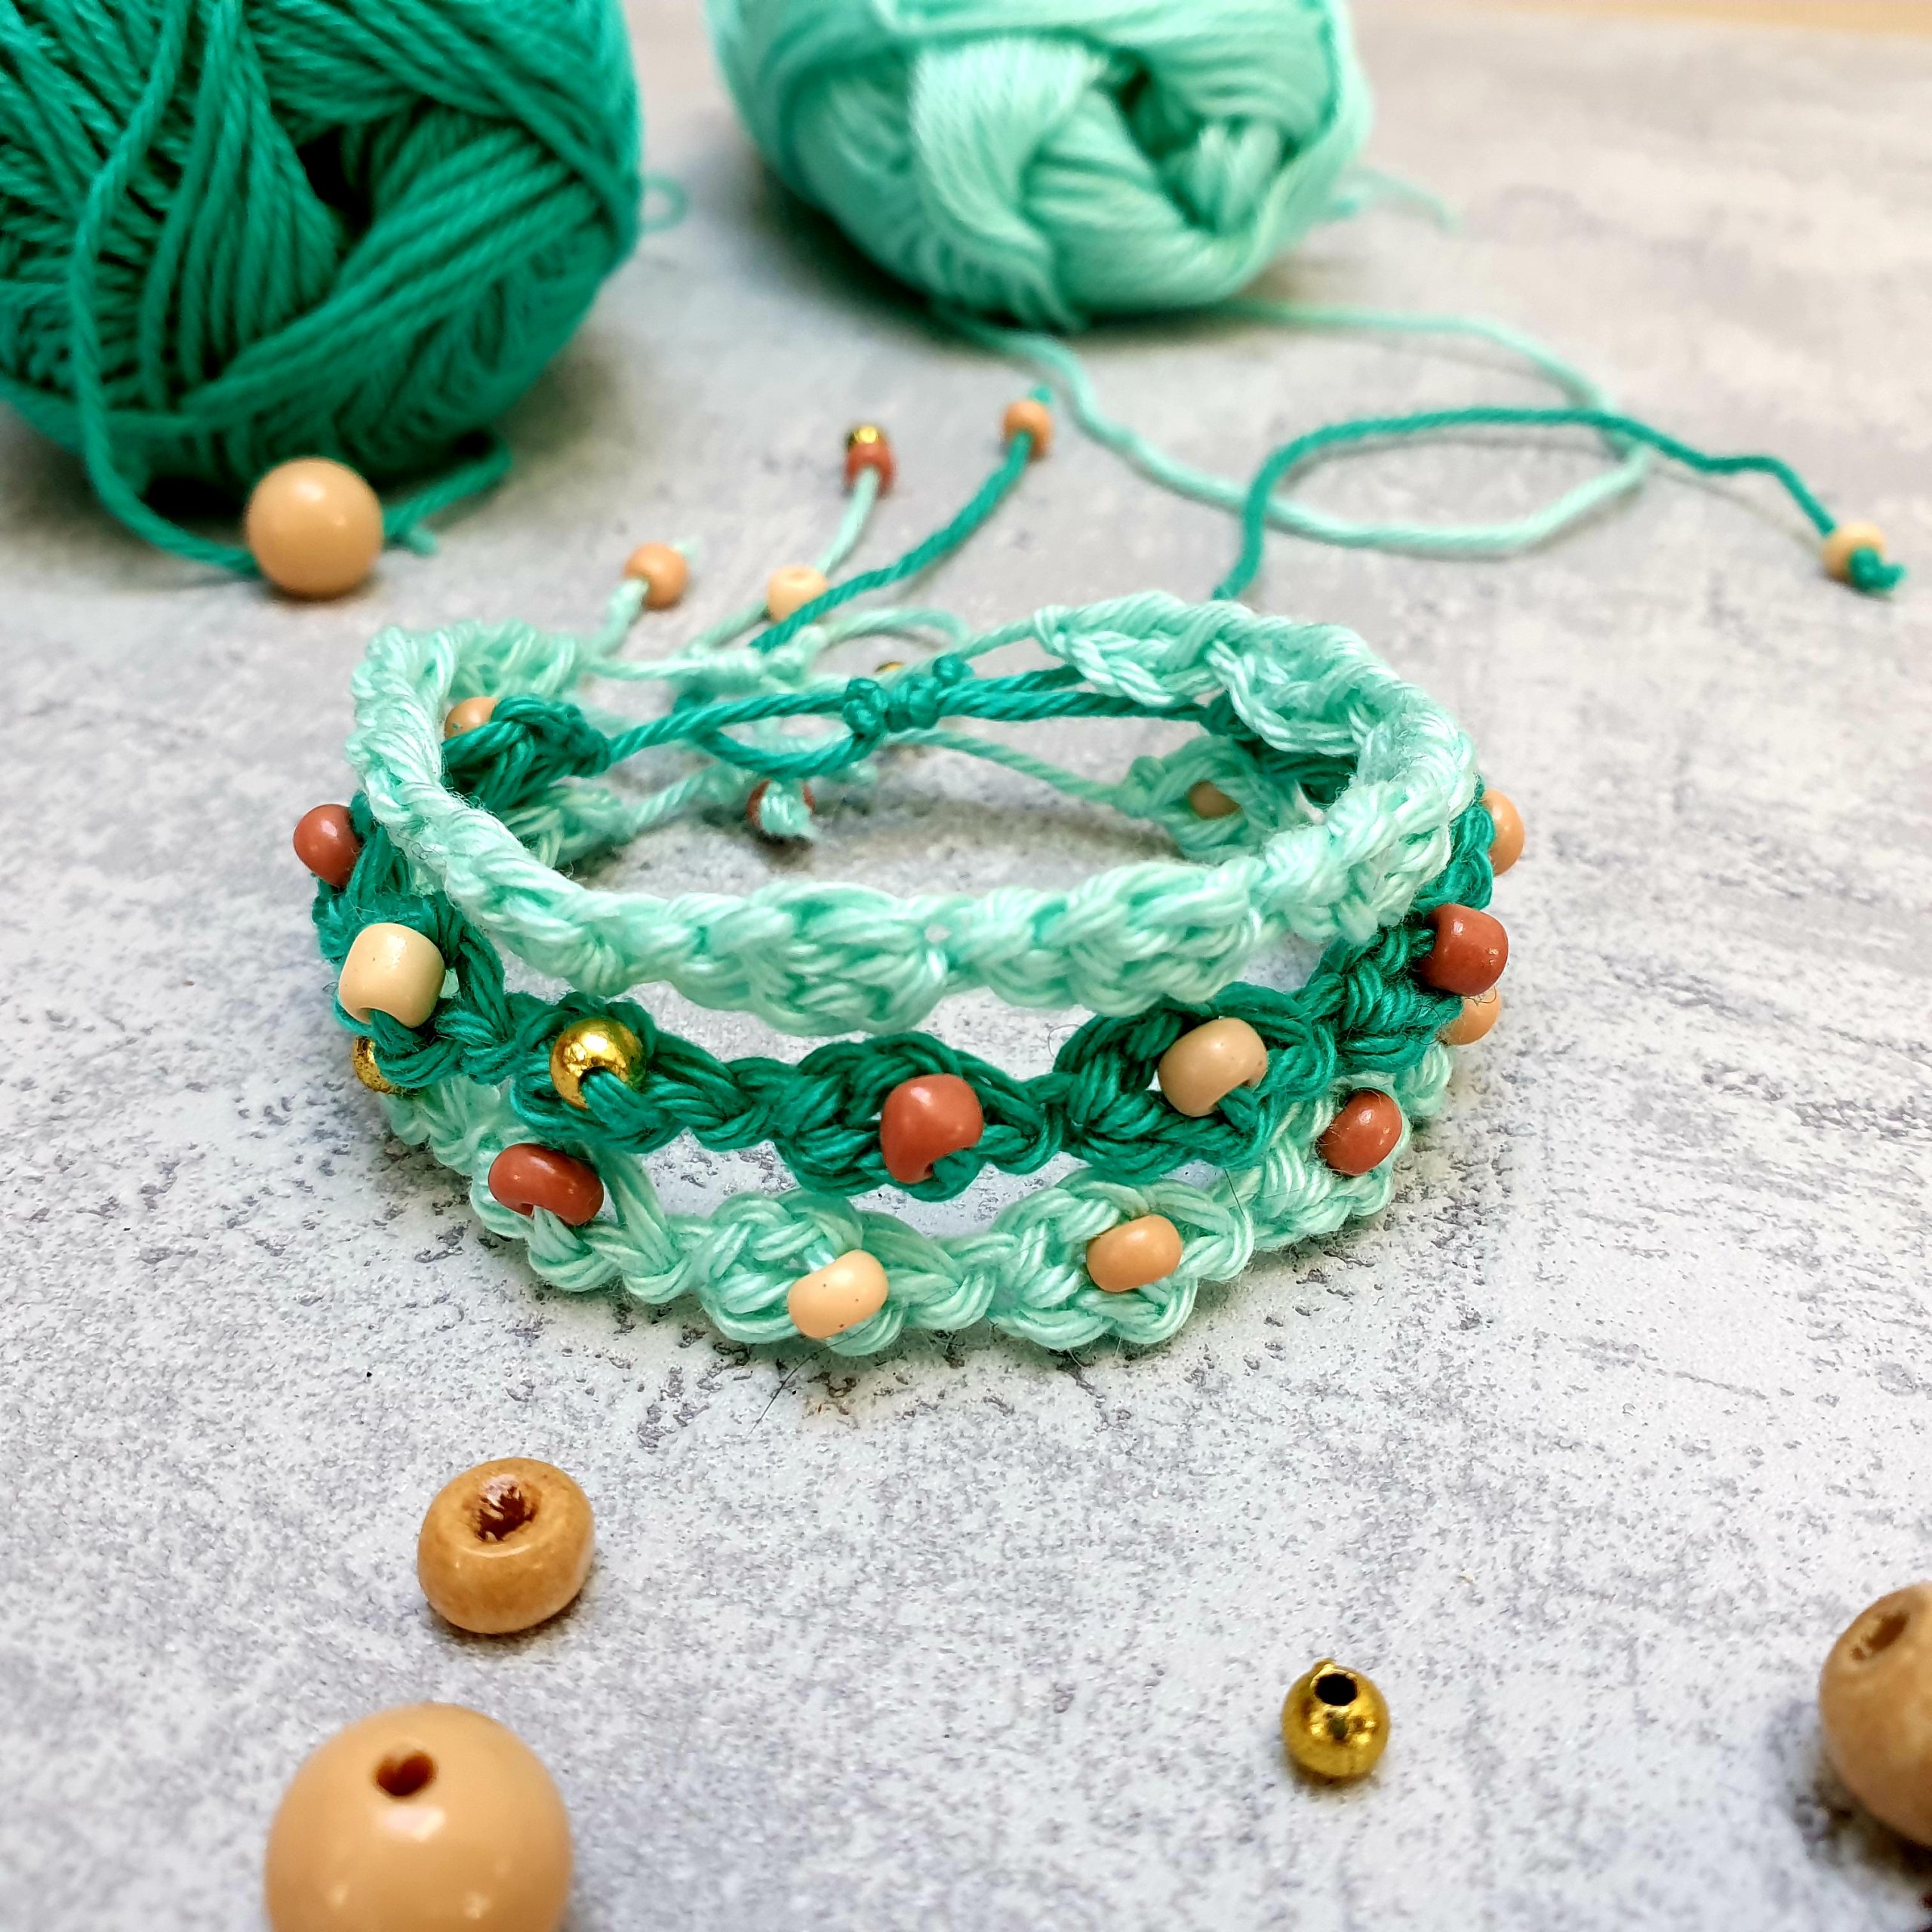
Let’s see what we will need for these cute Left Over Yarn Bracelets and how to make them:
Materials you will need
- Yarn
- Category 1 ( Fingering, 4 ply, super fine yarn)
- Crochet Hook
- 5 mm crochet hook
- Scissors
- 10 3 mm beads (you might need more or less depending on the length of the bracelet)
- Transparent nail polish (optional)
Pattern notes
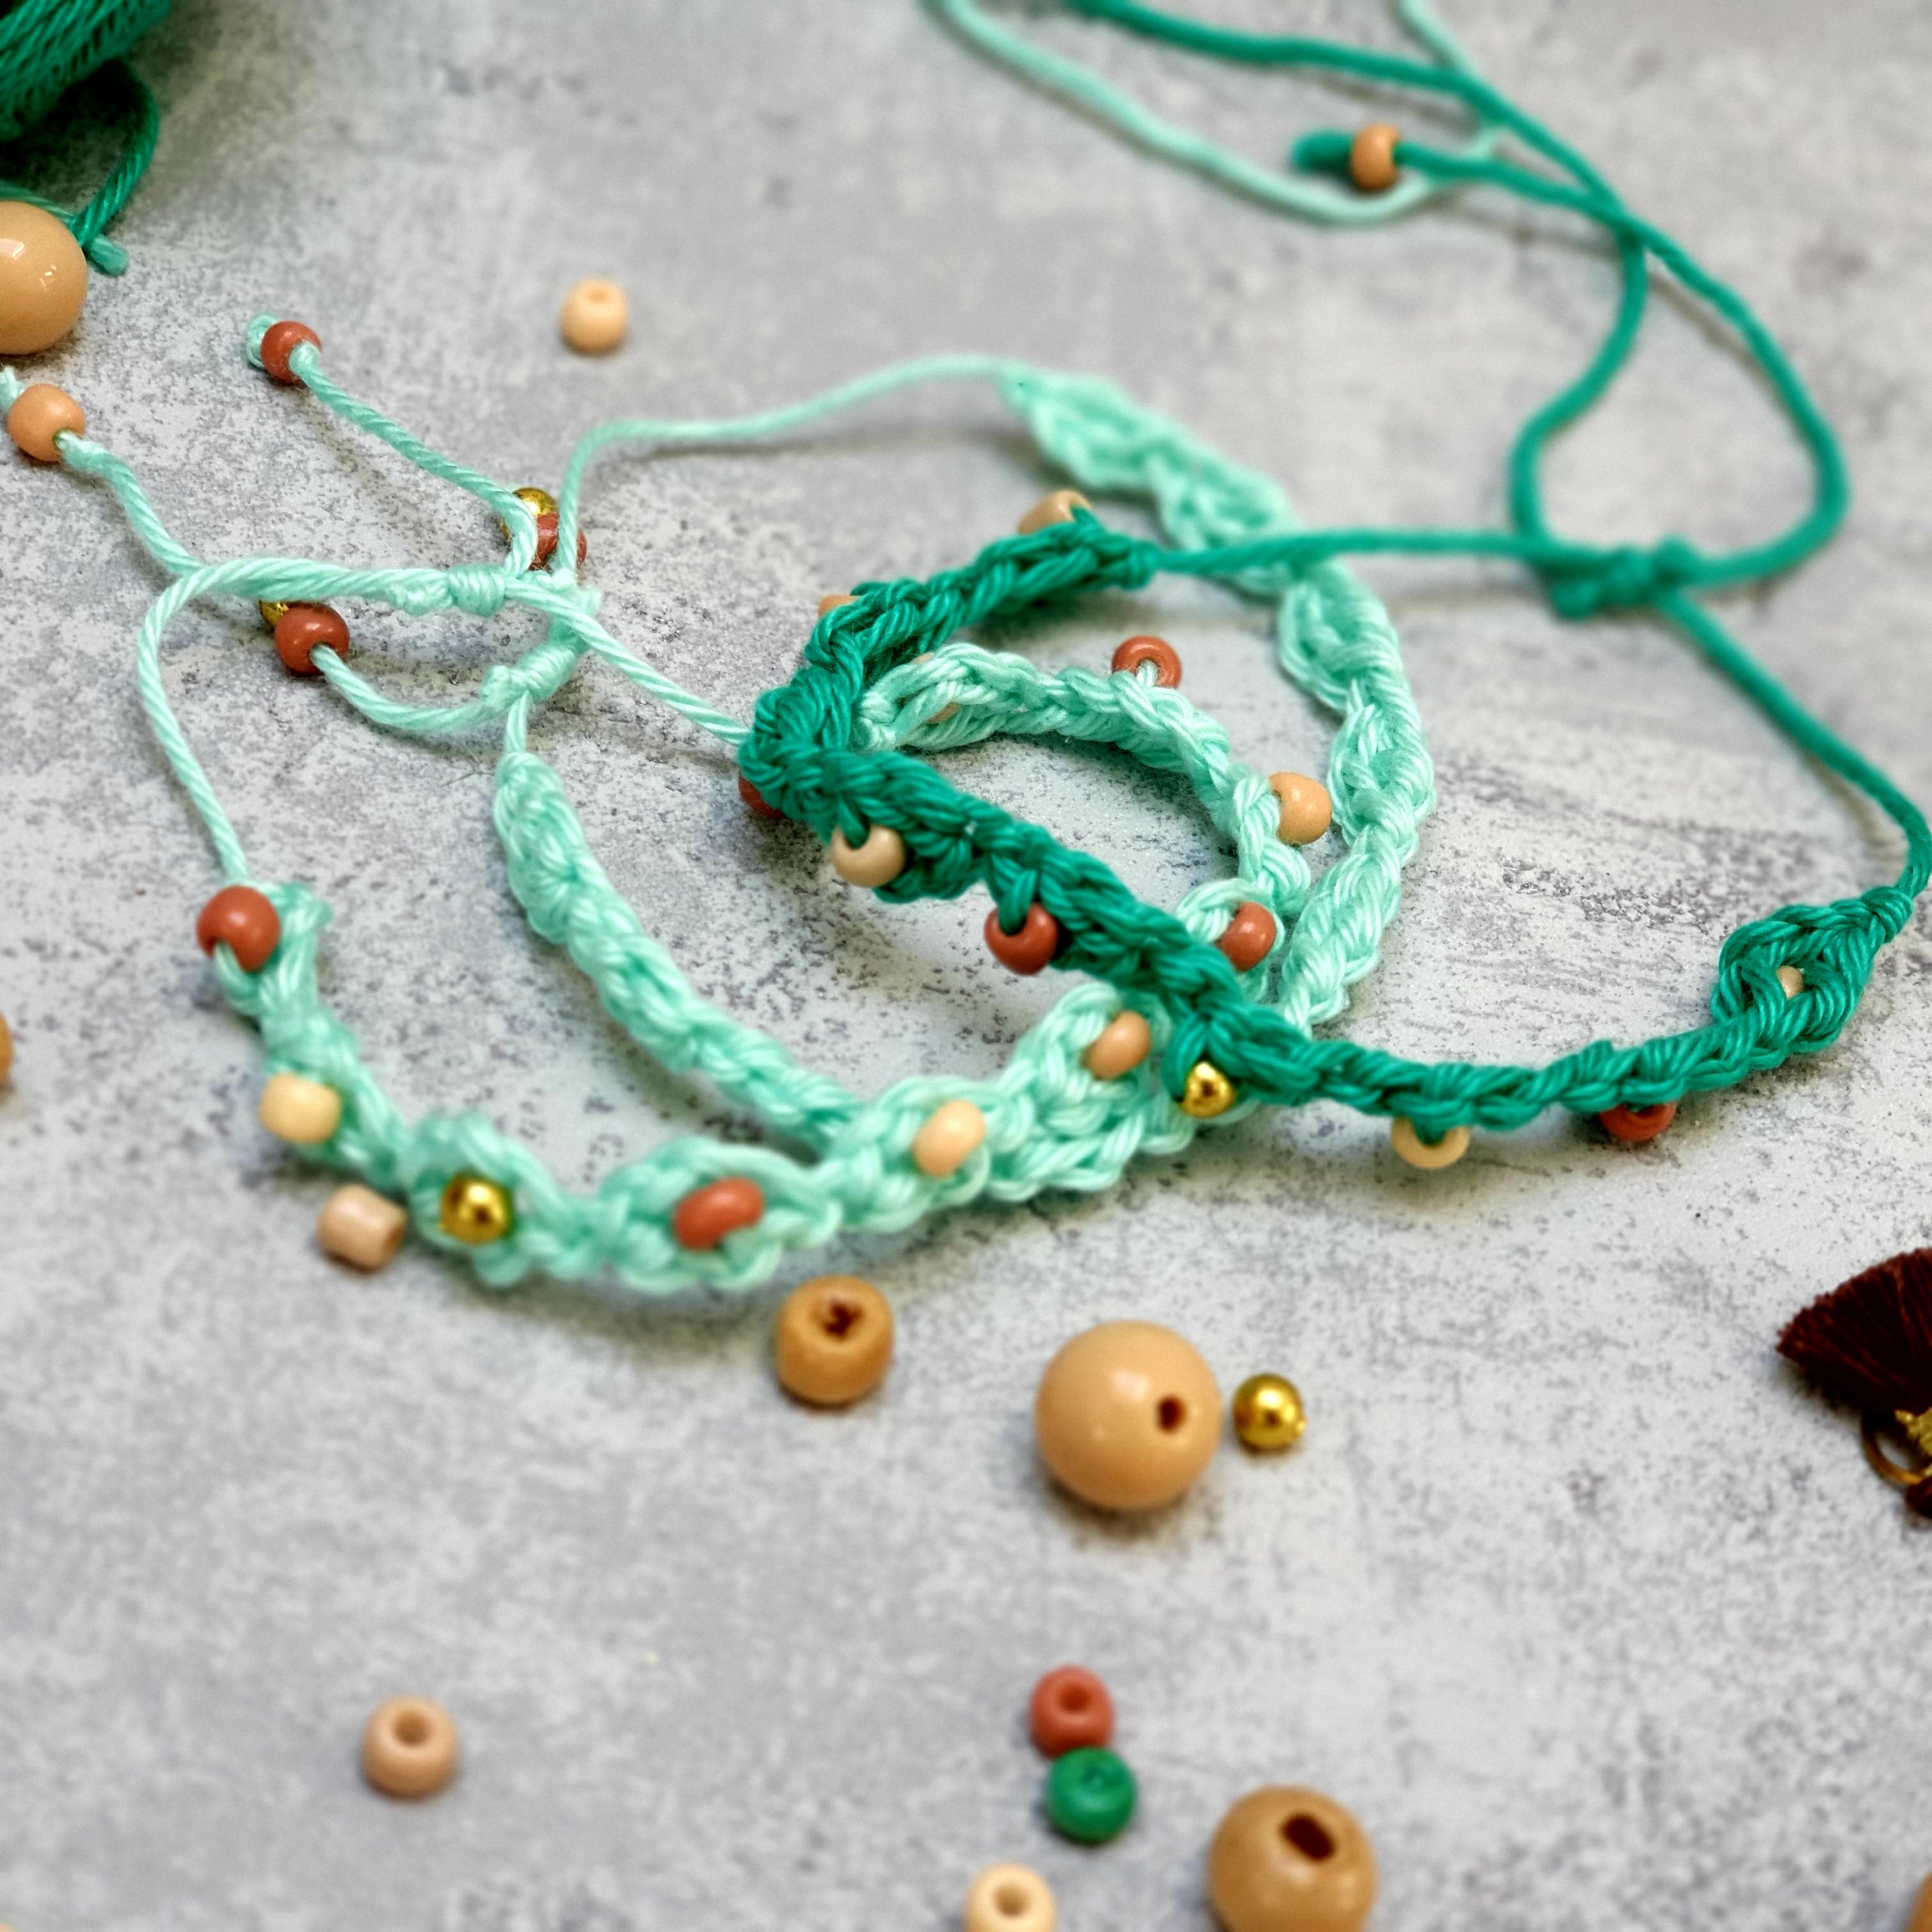
This Bracelets pattern uses techniques like chain stitch, double crochet and crochet with beads.
The bracelets can be made without beads as well.
Skill Level required is easy.
Final measurements
After 10 stitch pattern repeats the bracelet measures 14 cm.
How much yarn do you need?
This bracelets are perfect for left over yarn because you will need about 1-2 meters only, depending on the length you need.
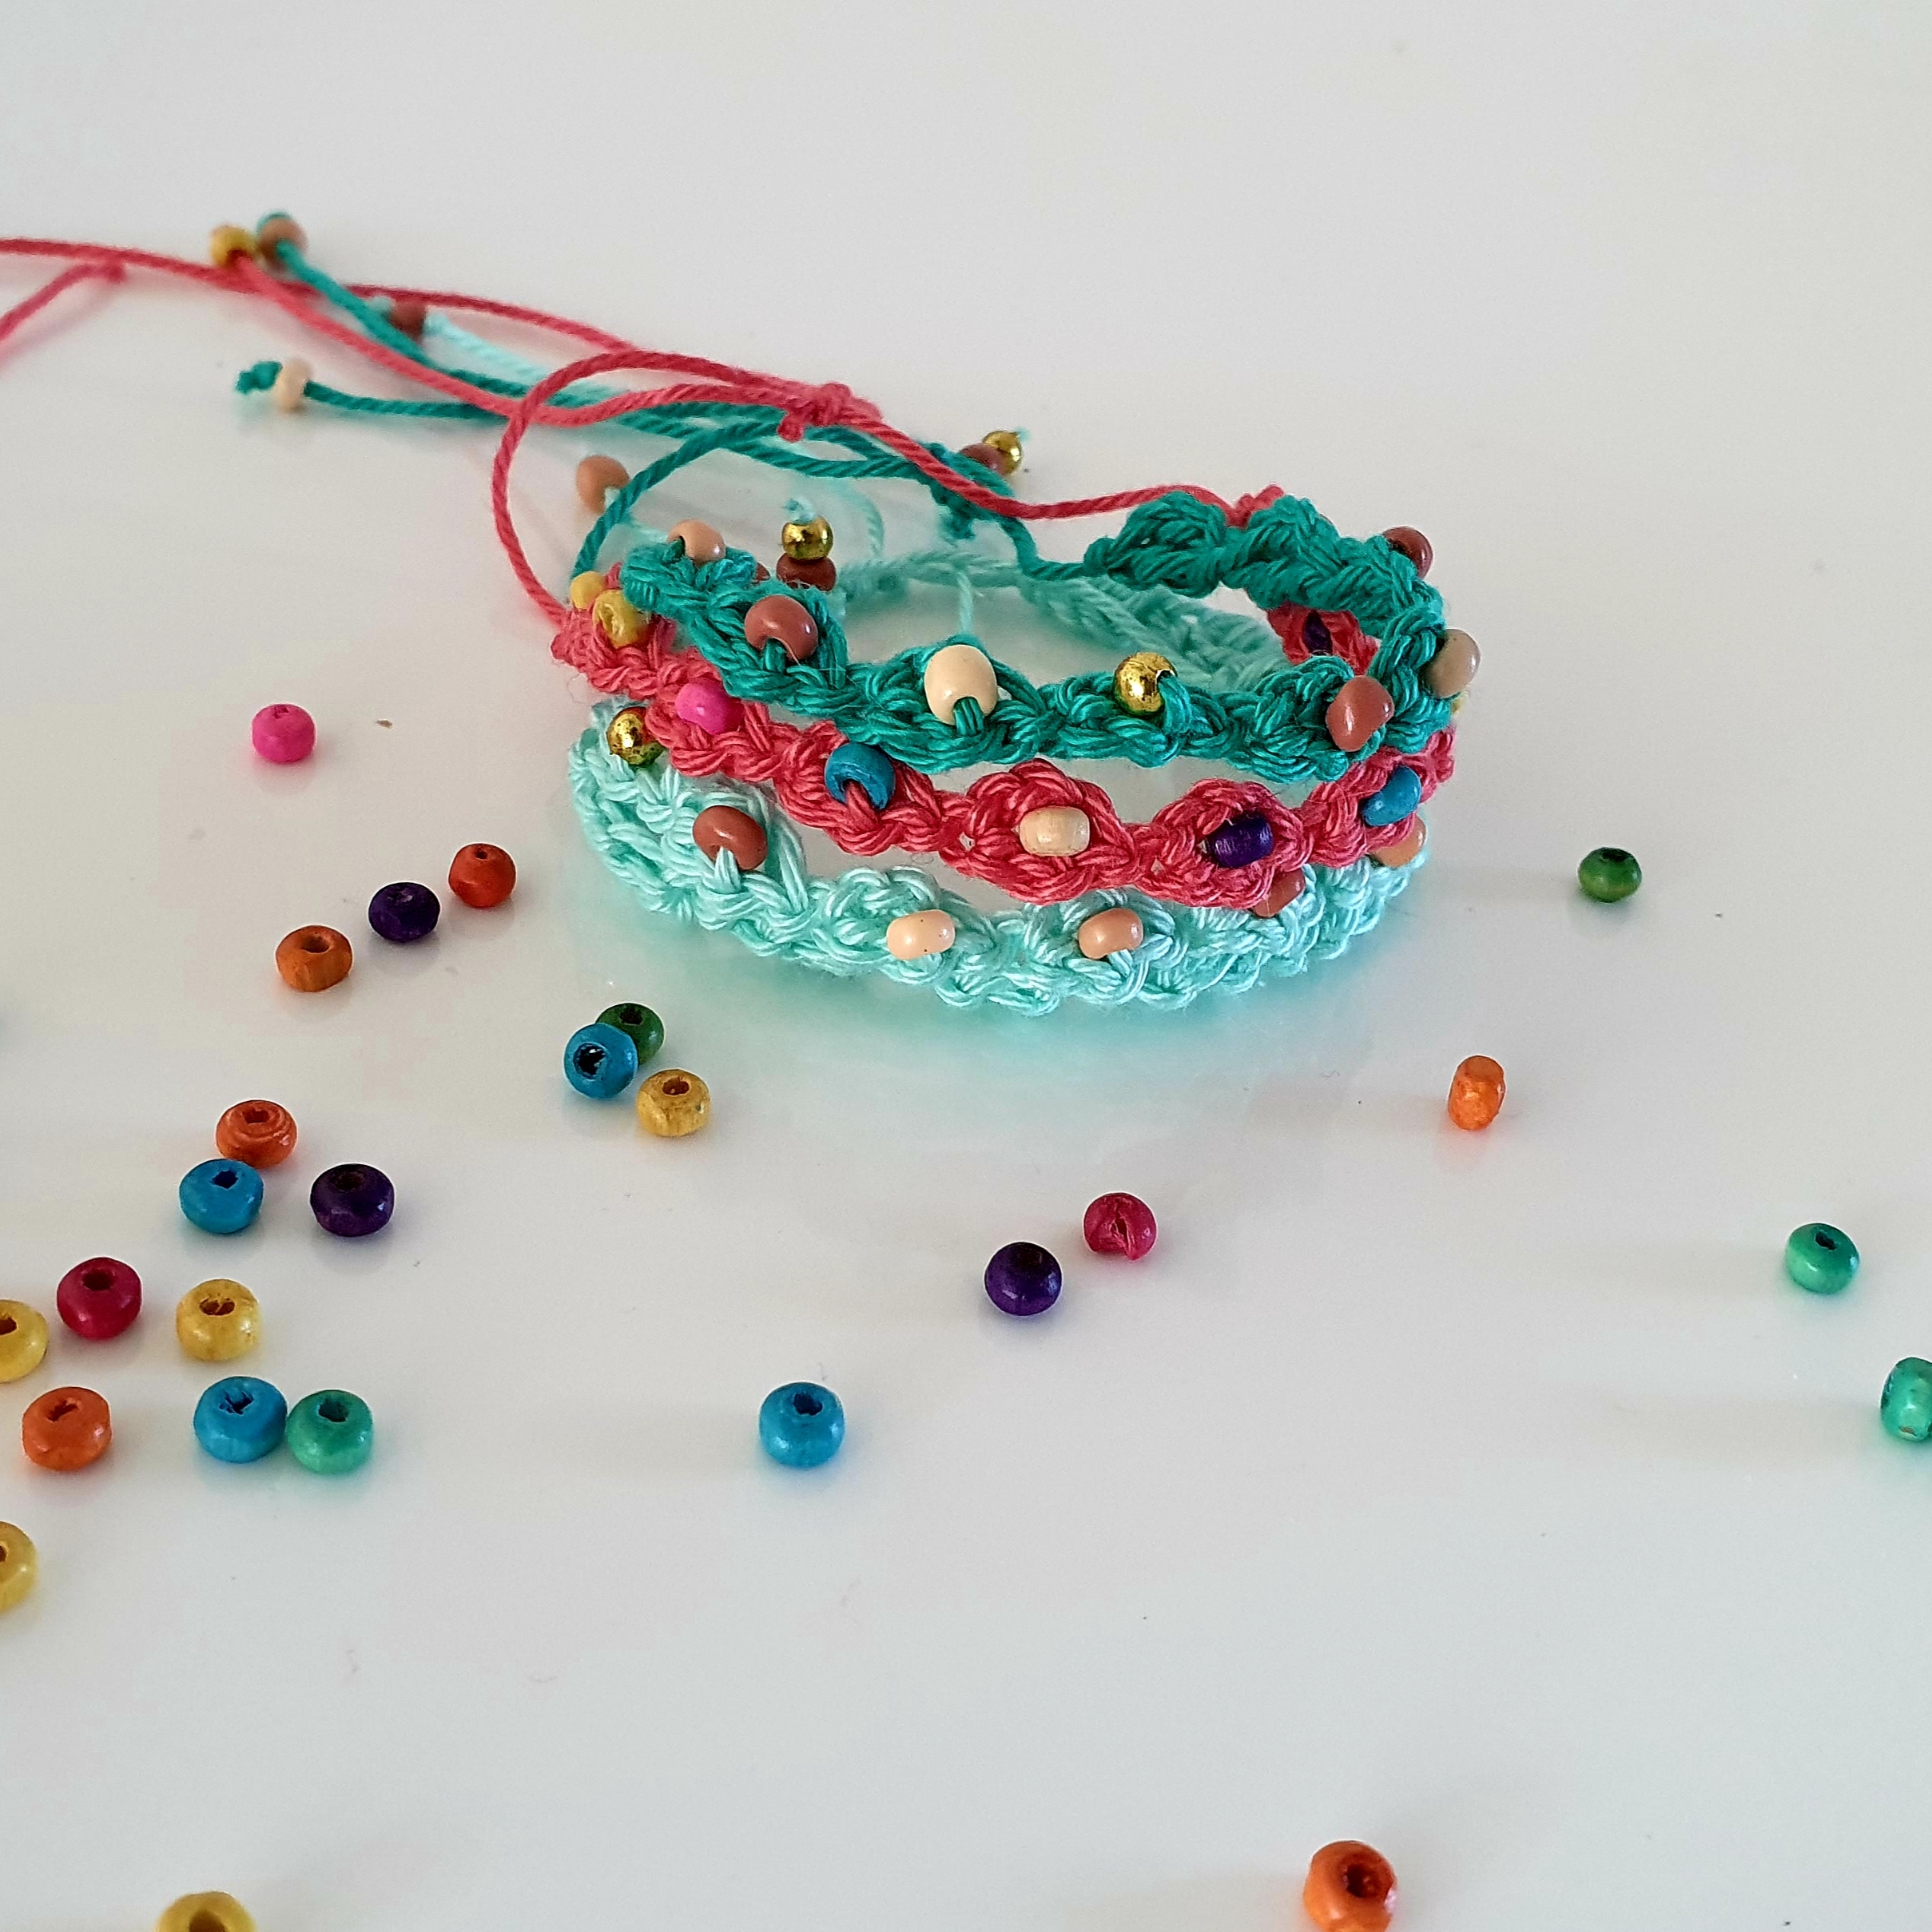
Step 1: Before starting to make the bracelet, we have to insert the beads. Use the transparent nail polish and wipe the end of the yarn. Let it dry. This will make the yarn harder and easier to insert it through the beads hole. If you don’t know how many pattern repeats you will need for the bracelet length, you can insert more beads, and remove the ones left at the end.
When you have all beads on the yarn is time for crochet.
Step 2: Leave a long tail and make a slip knot.
*Ch 3, slide 1 bead close to the hook, yarn over and make a dc in the first ch st of 3. * Repeat 10 times or until you have the desired length.
Fasten off, leaving a long tail.
I included this pattern and step by step instructions in “Crochet & Knit for beginners” and the PDF version can be downloaded for FREE here
Step 3 Sliding Knot closure
I put 2 beads on the bracelet ends, just to know which the bracelet ends are and which are the sliding knot ends.
Place the bracelet ends one on top of the other, without overlapping them.
Take a strand of yarn, about 20 cm, and fold it in 2, keeping one end longer and one shorter.
Place it over the bracelet ends with the loop on the left.
Take the longer end and wrap it over a few times, at least 3, from left to right. Keep the loops looser and don’t overlap them.
Insert the crochet hook through the loops from left to right, grab the longer end (the one you wrapped it) and pull it through the loops.
Grab both knot ends pull and tie the knot.
Make 1 knot on both sliding knot ends, closer to the sliding knot and cut the rest of them.
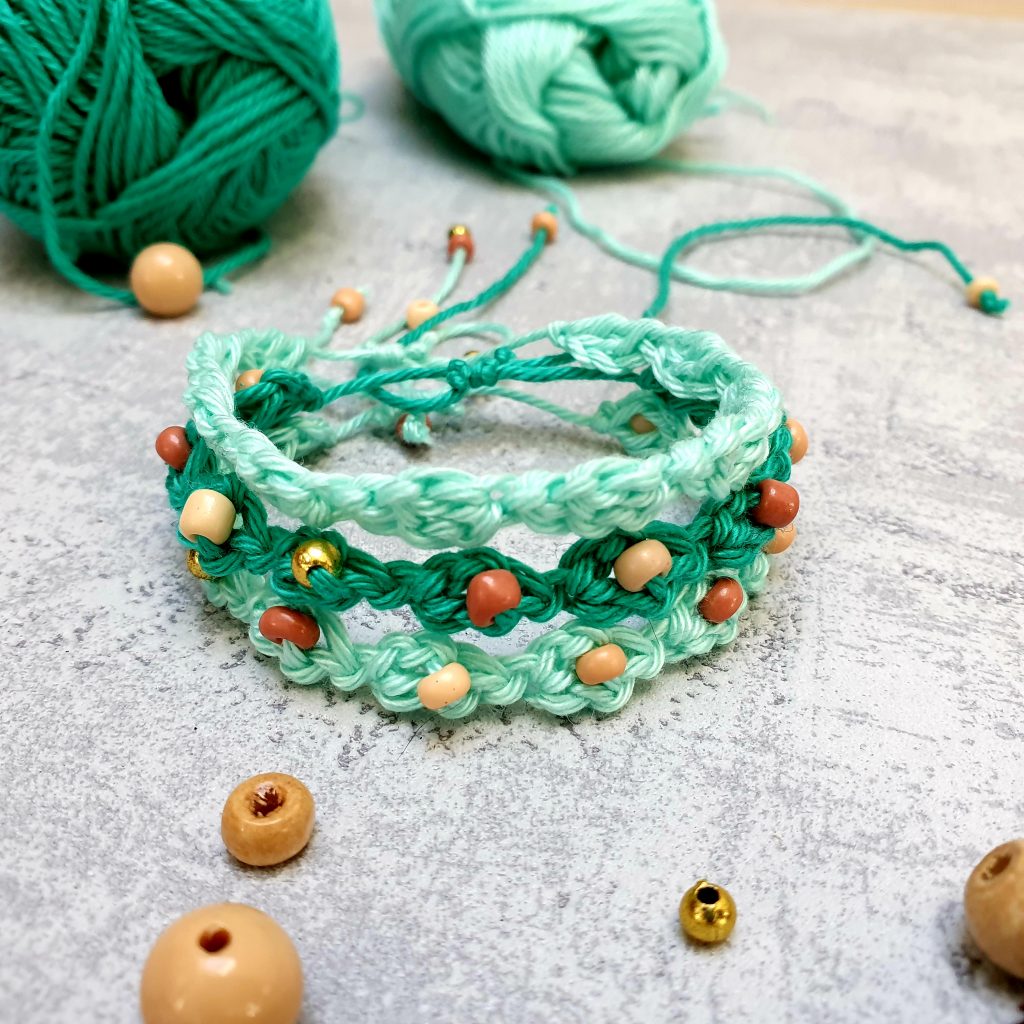
And done! You have a sliding knot closure for your bracelet.
Make as many bracelets as you want in any colors you want.
You can also find a step by step video tutorial here
I included this pattern and step by step instructions in “Crochet & Knit for beginners” and the PDF version can be downloaded for FREE here




Comments are closed.