But, like always: some designs that I have in mind, just have to wait for the perfect time.
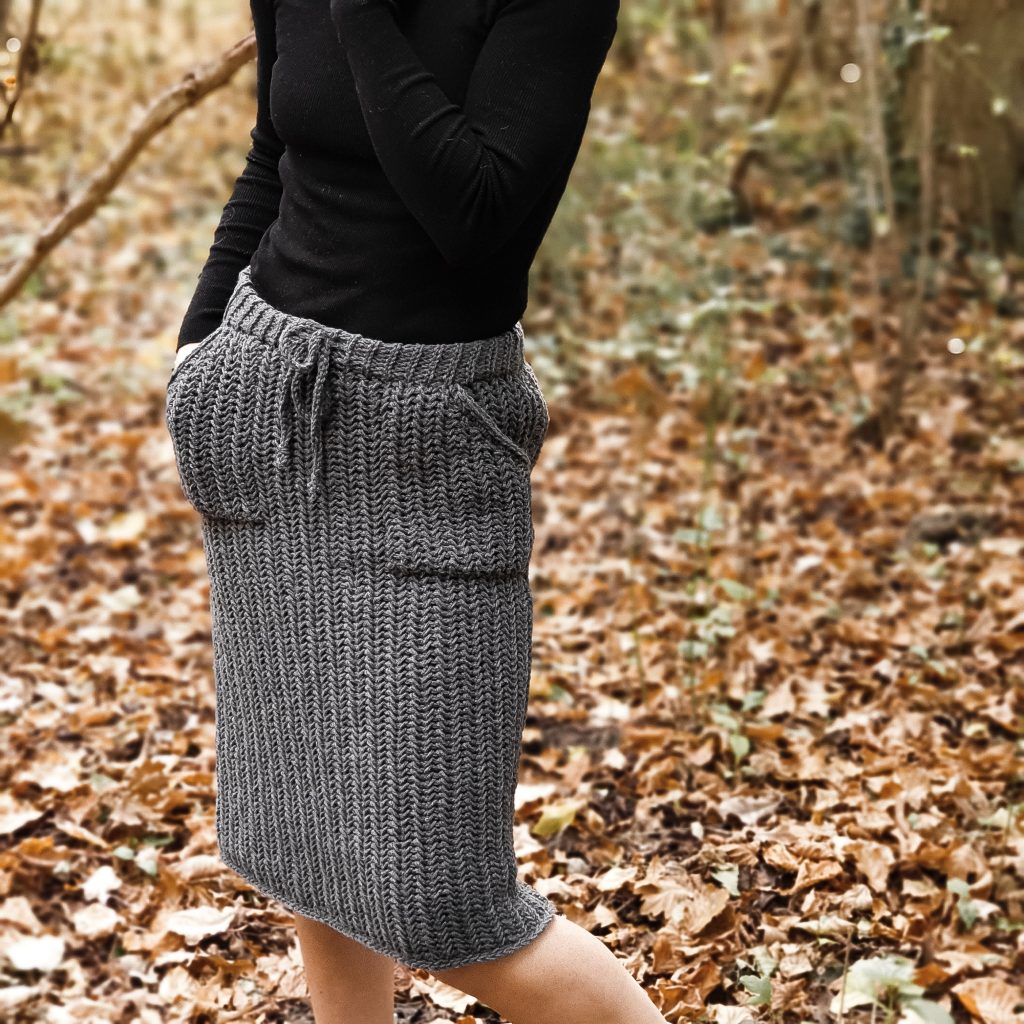
The Hobble Skirt was actually a type of skirt worn back in 1910 and it was so tight at the knees, that it was actually “hobbling” the wearer. This hobble skirt was the inspiration for the “pencil skirt” which is worn even today.
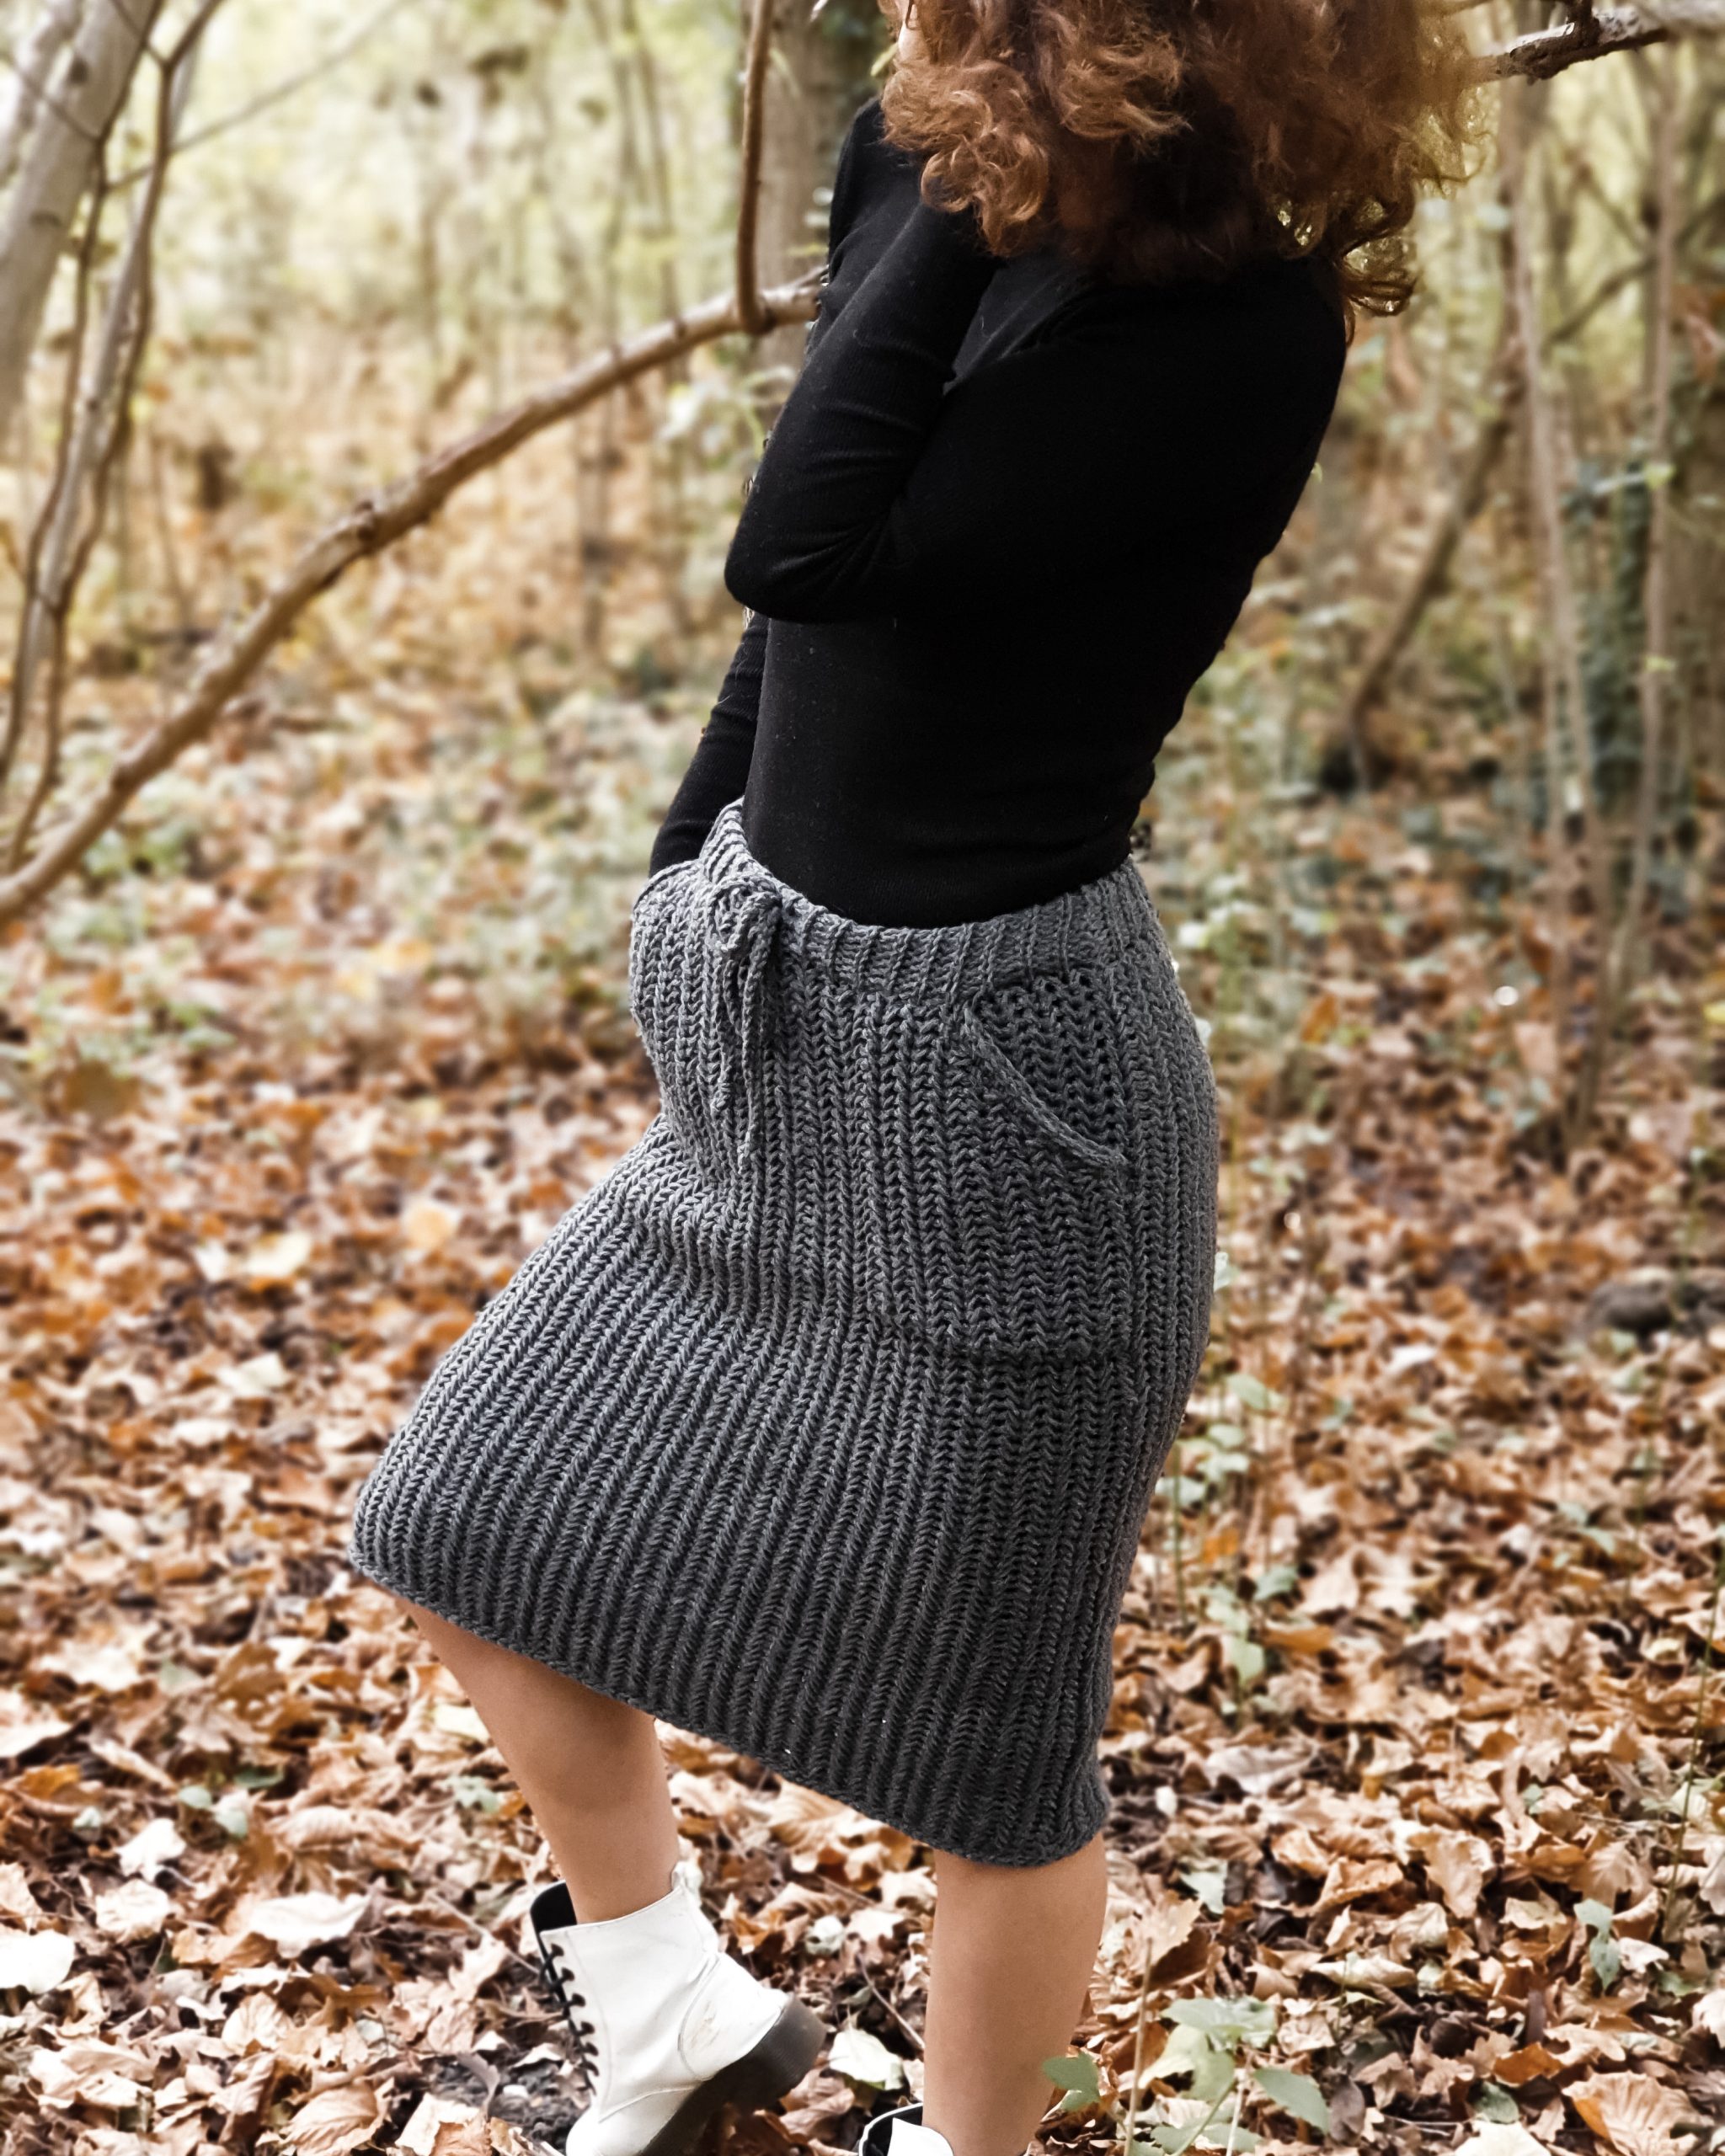
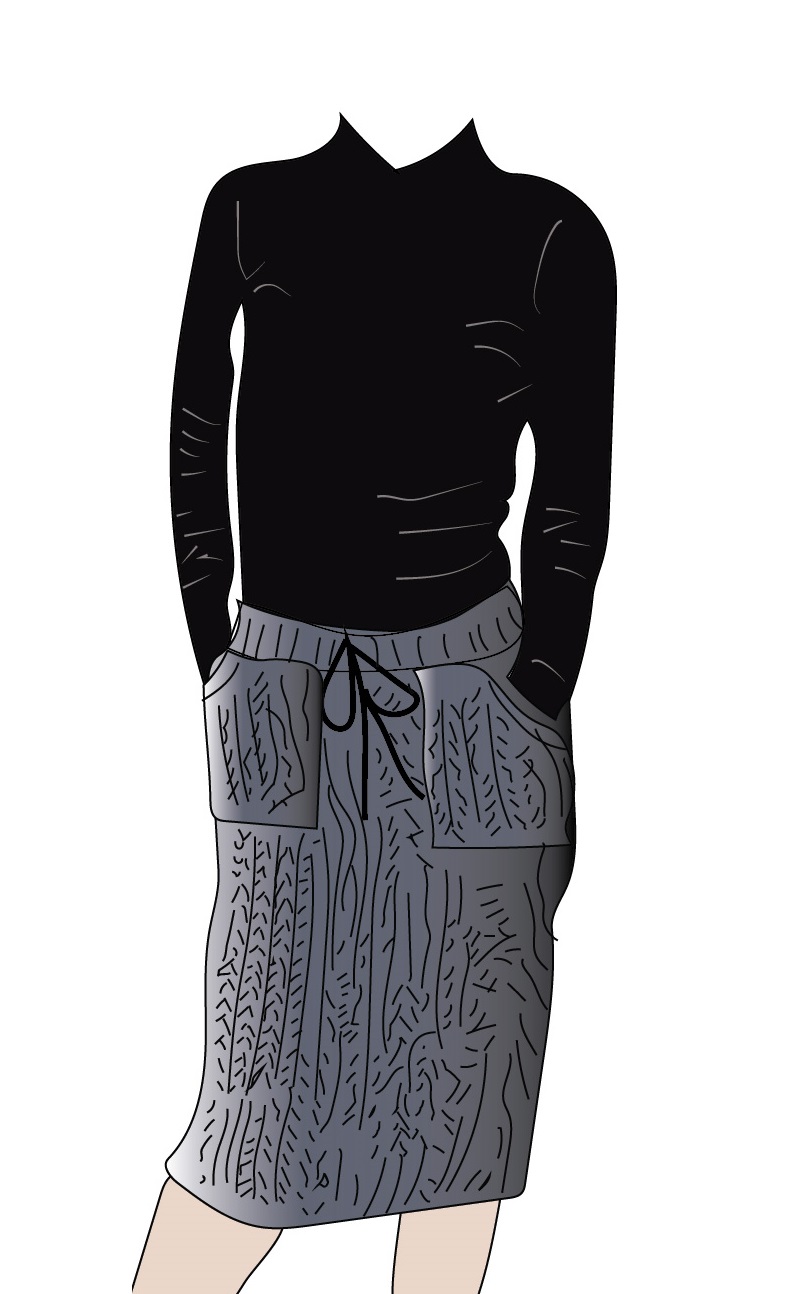
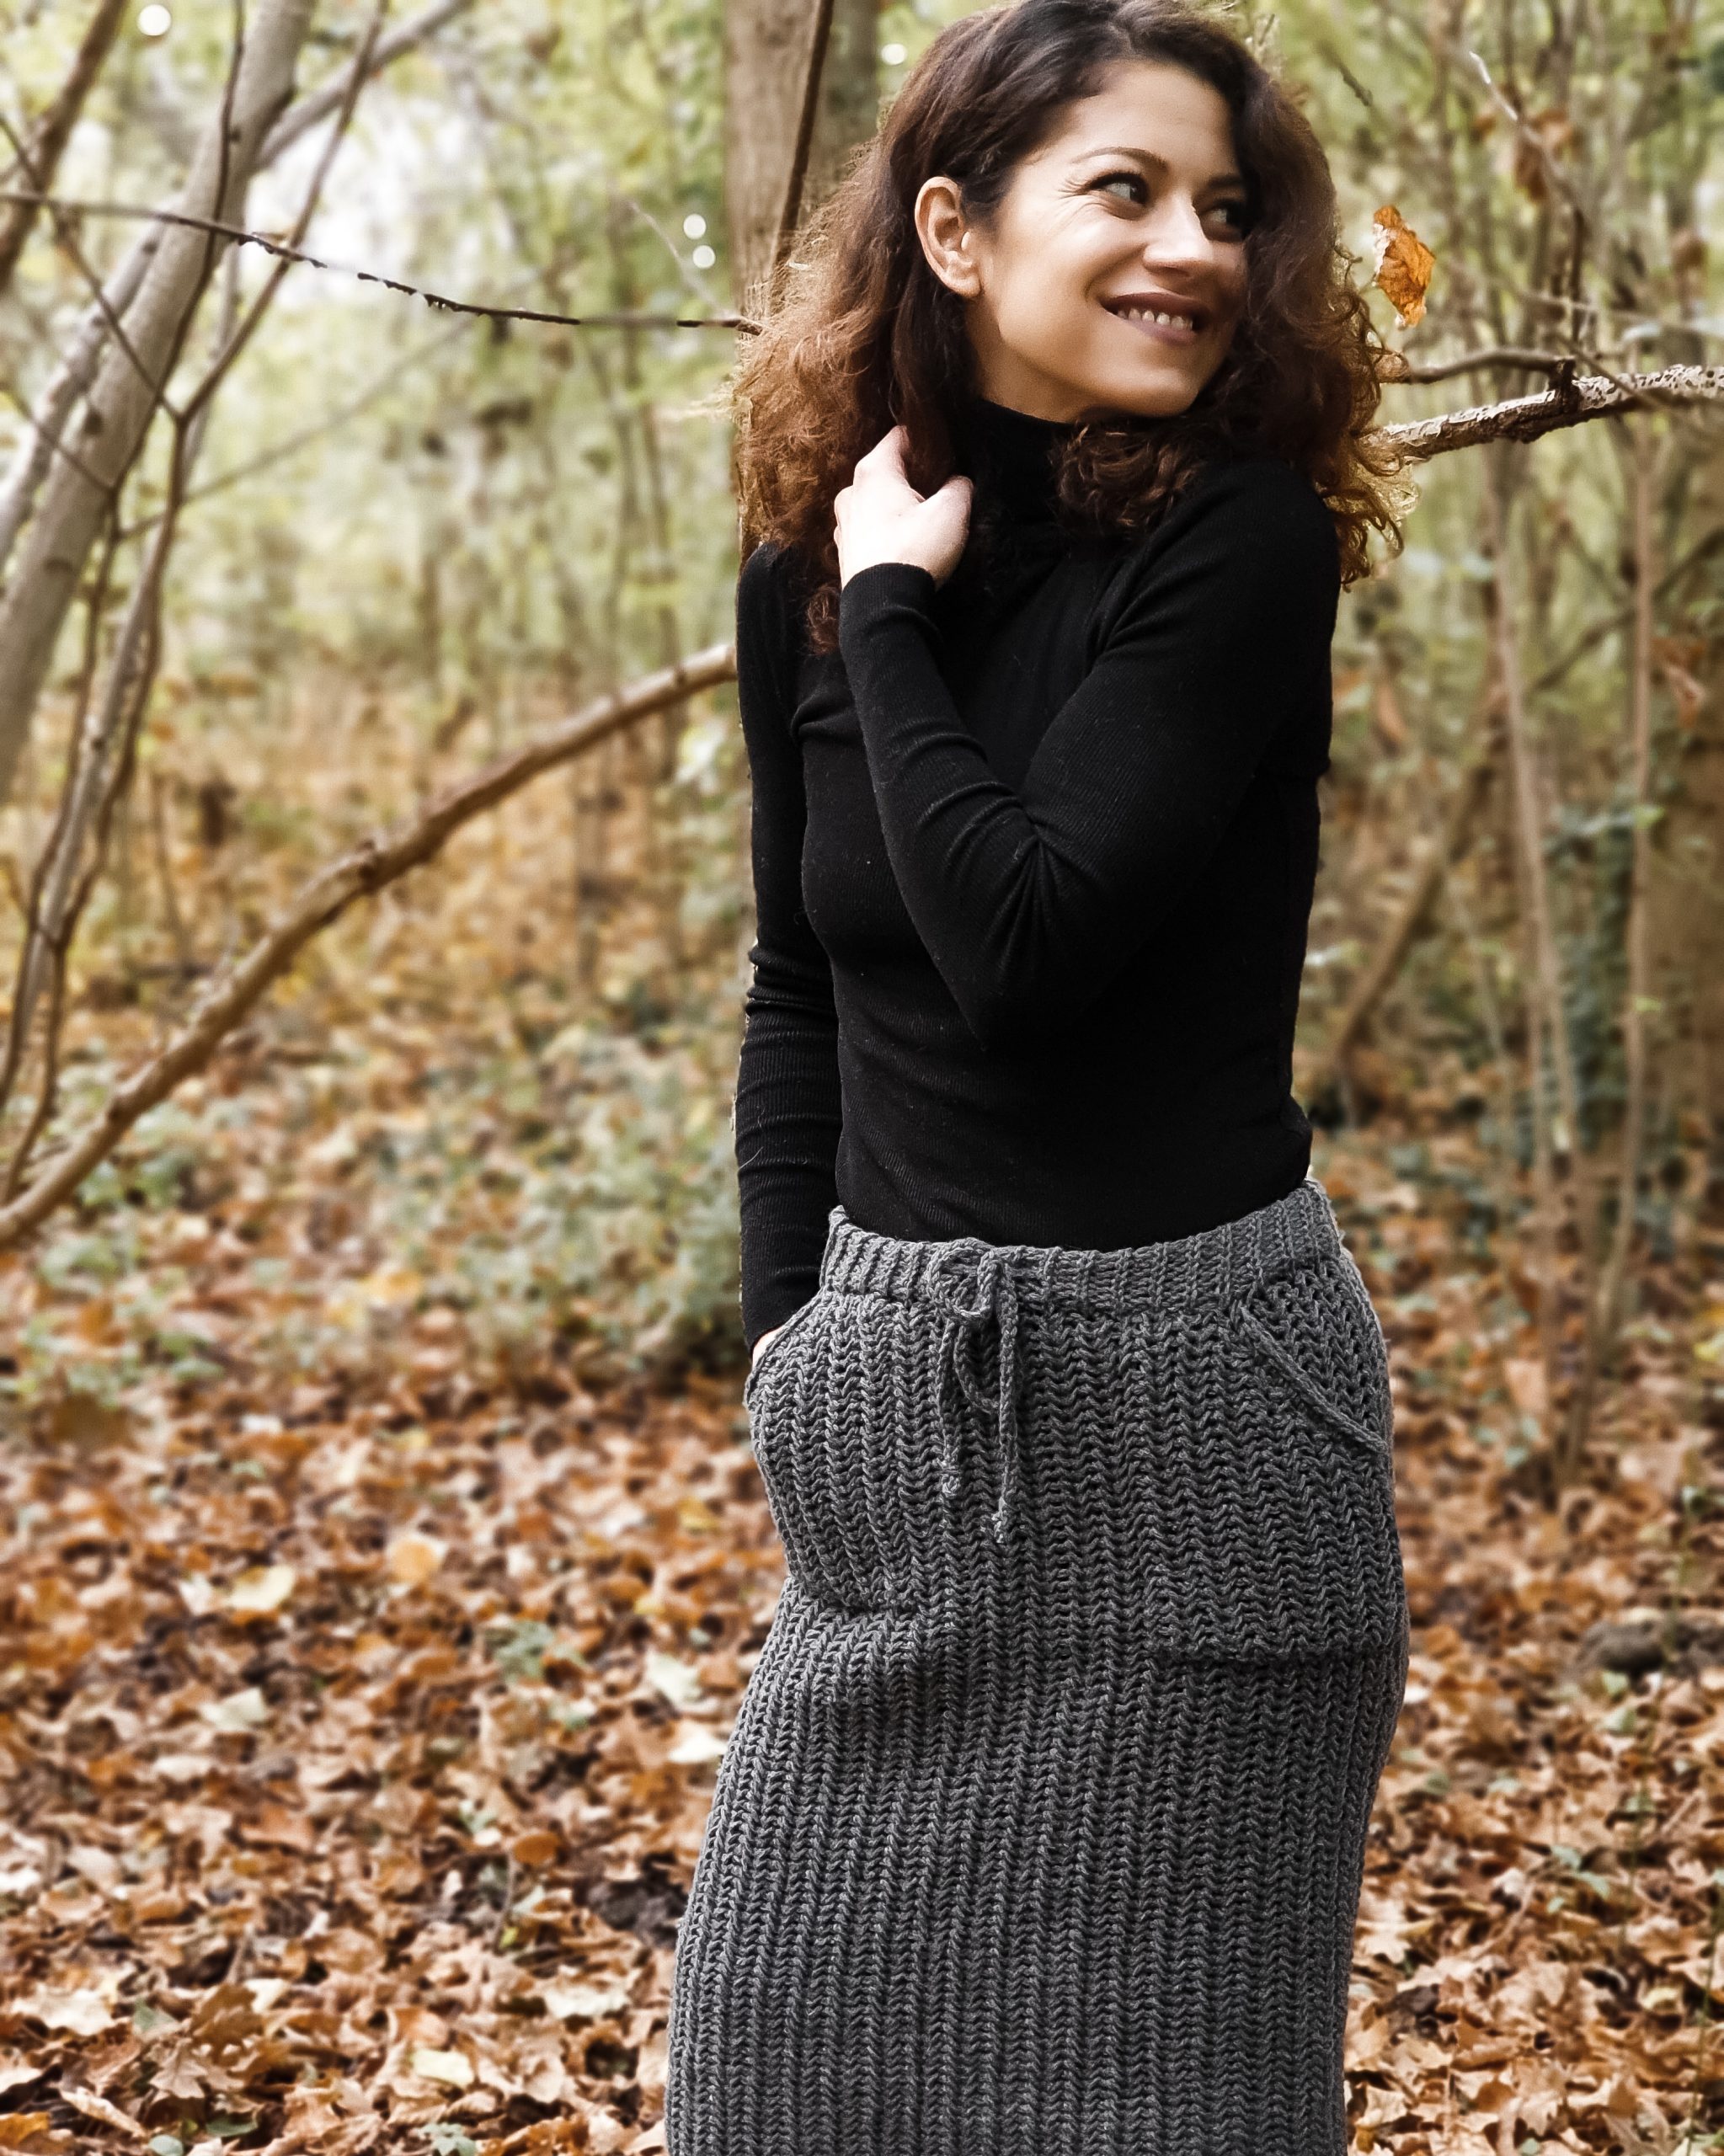
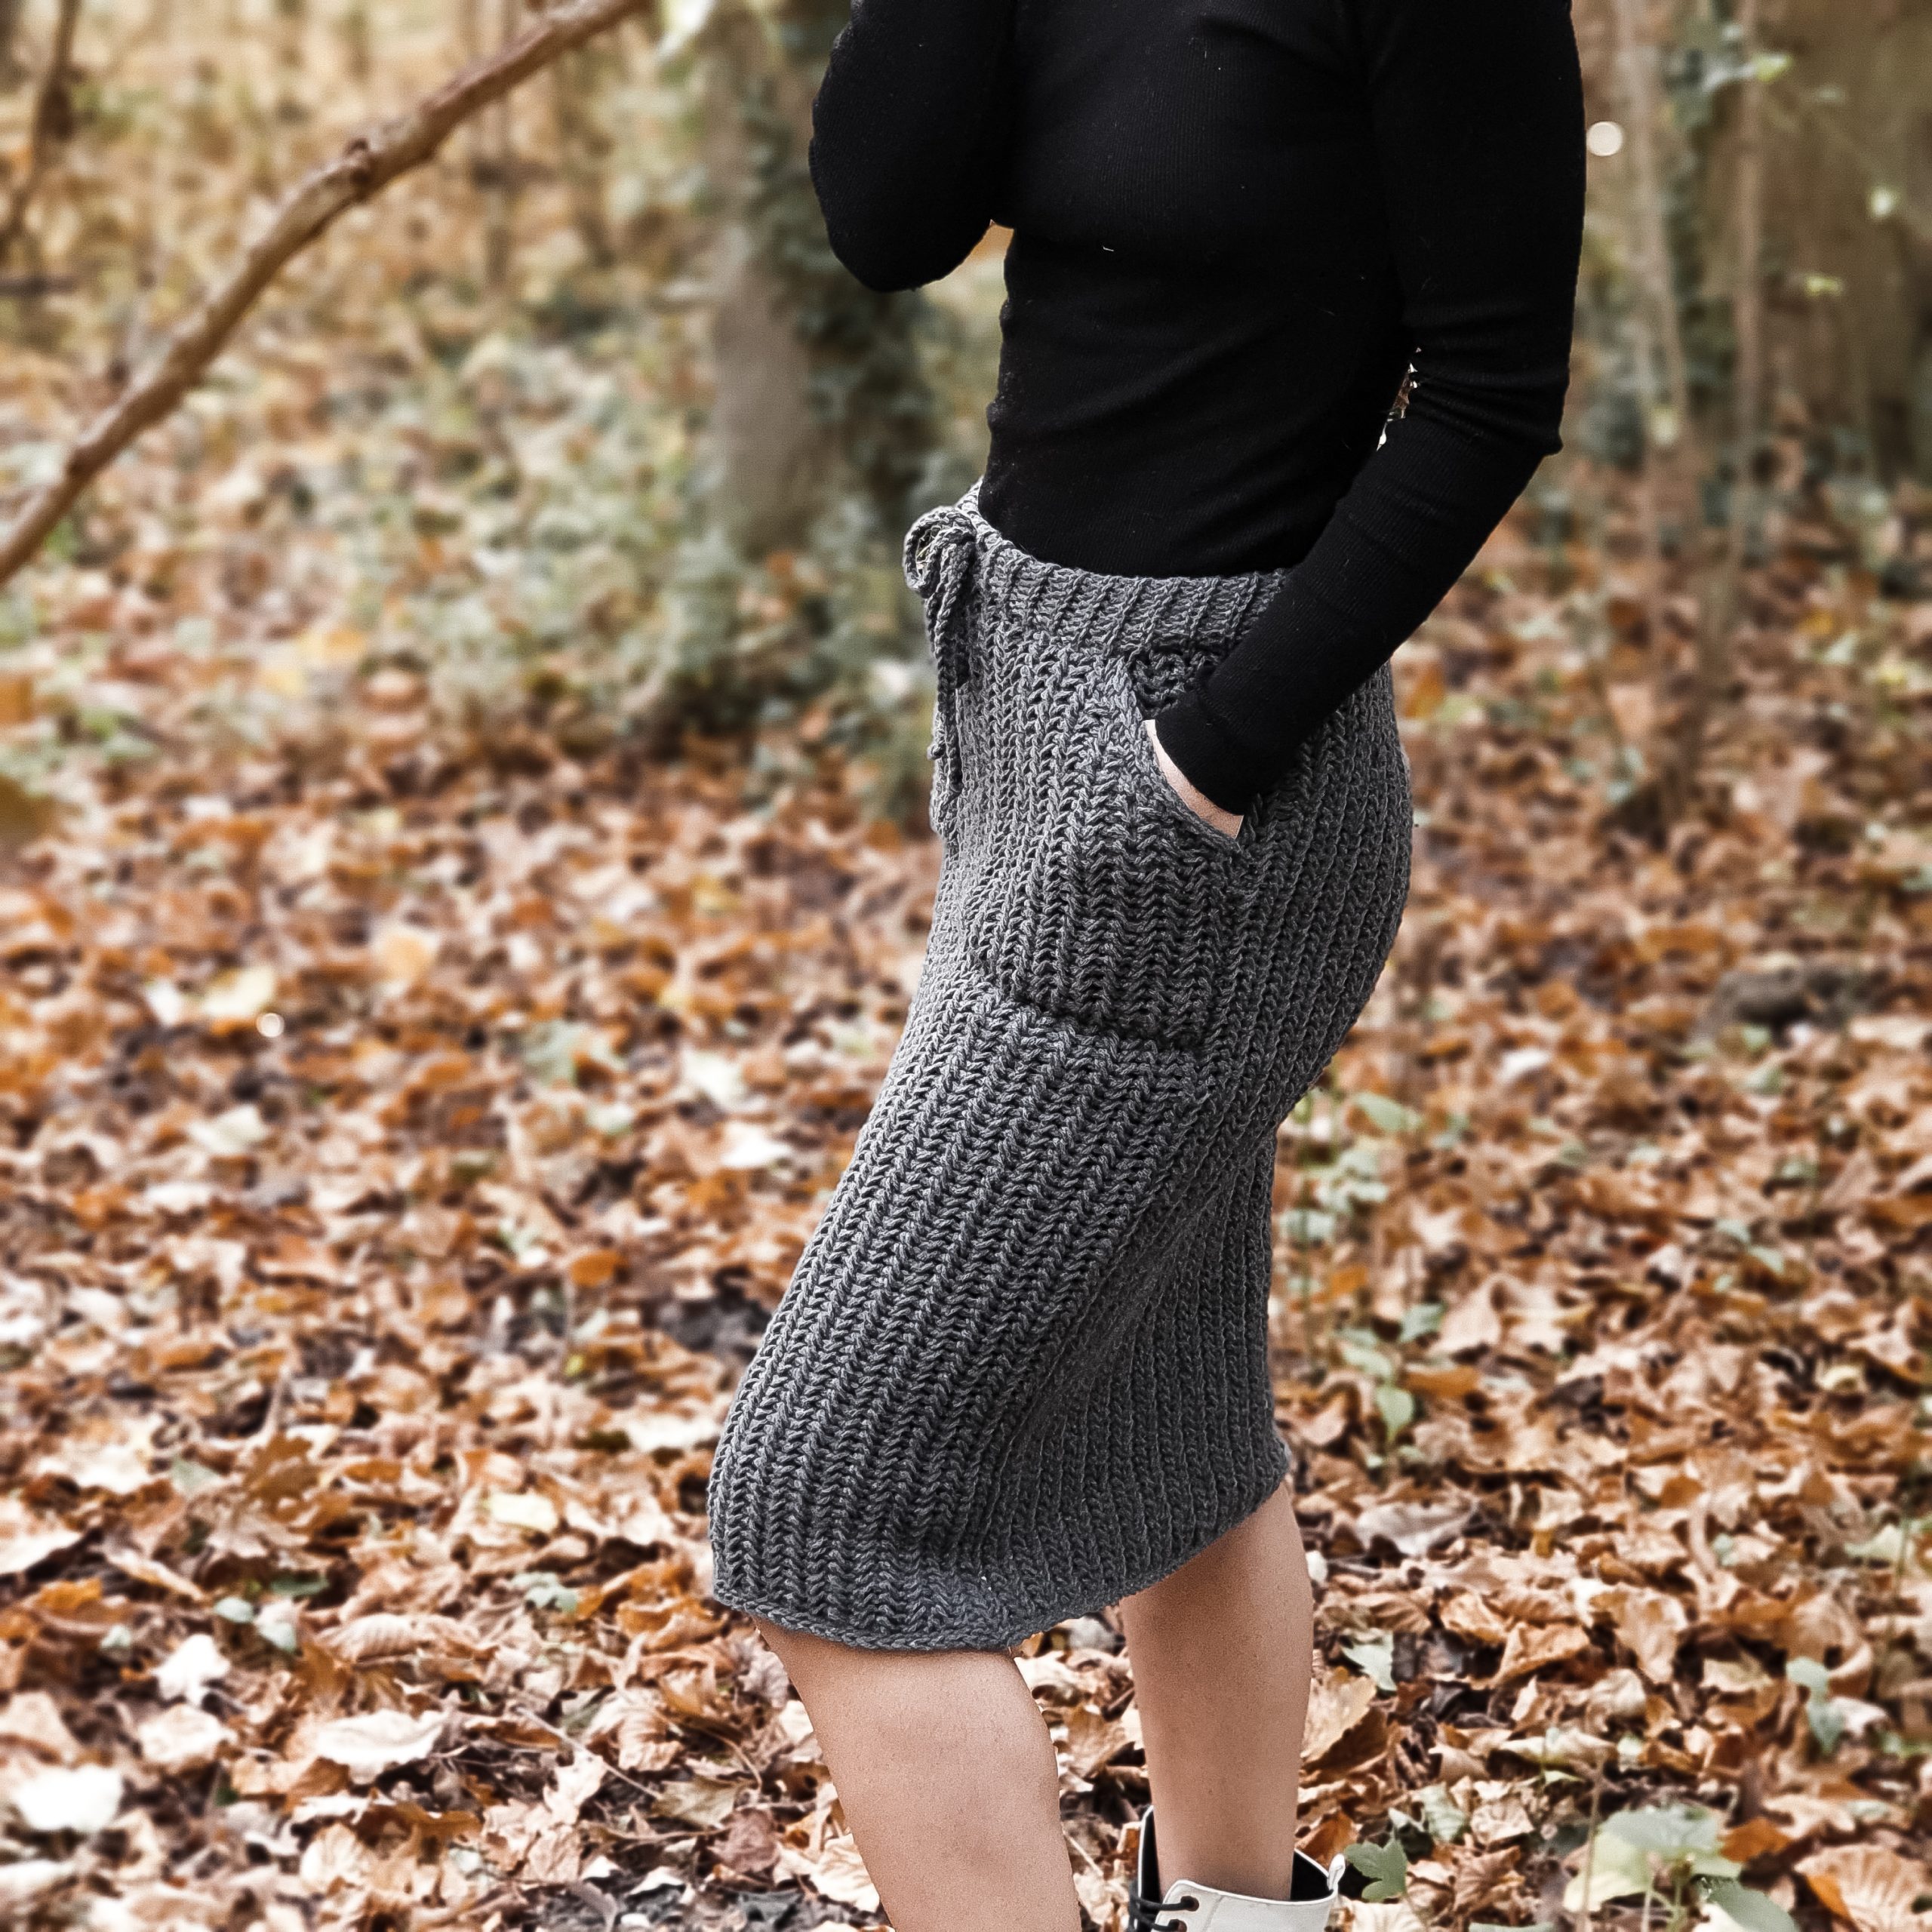
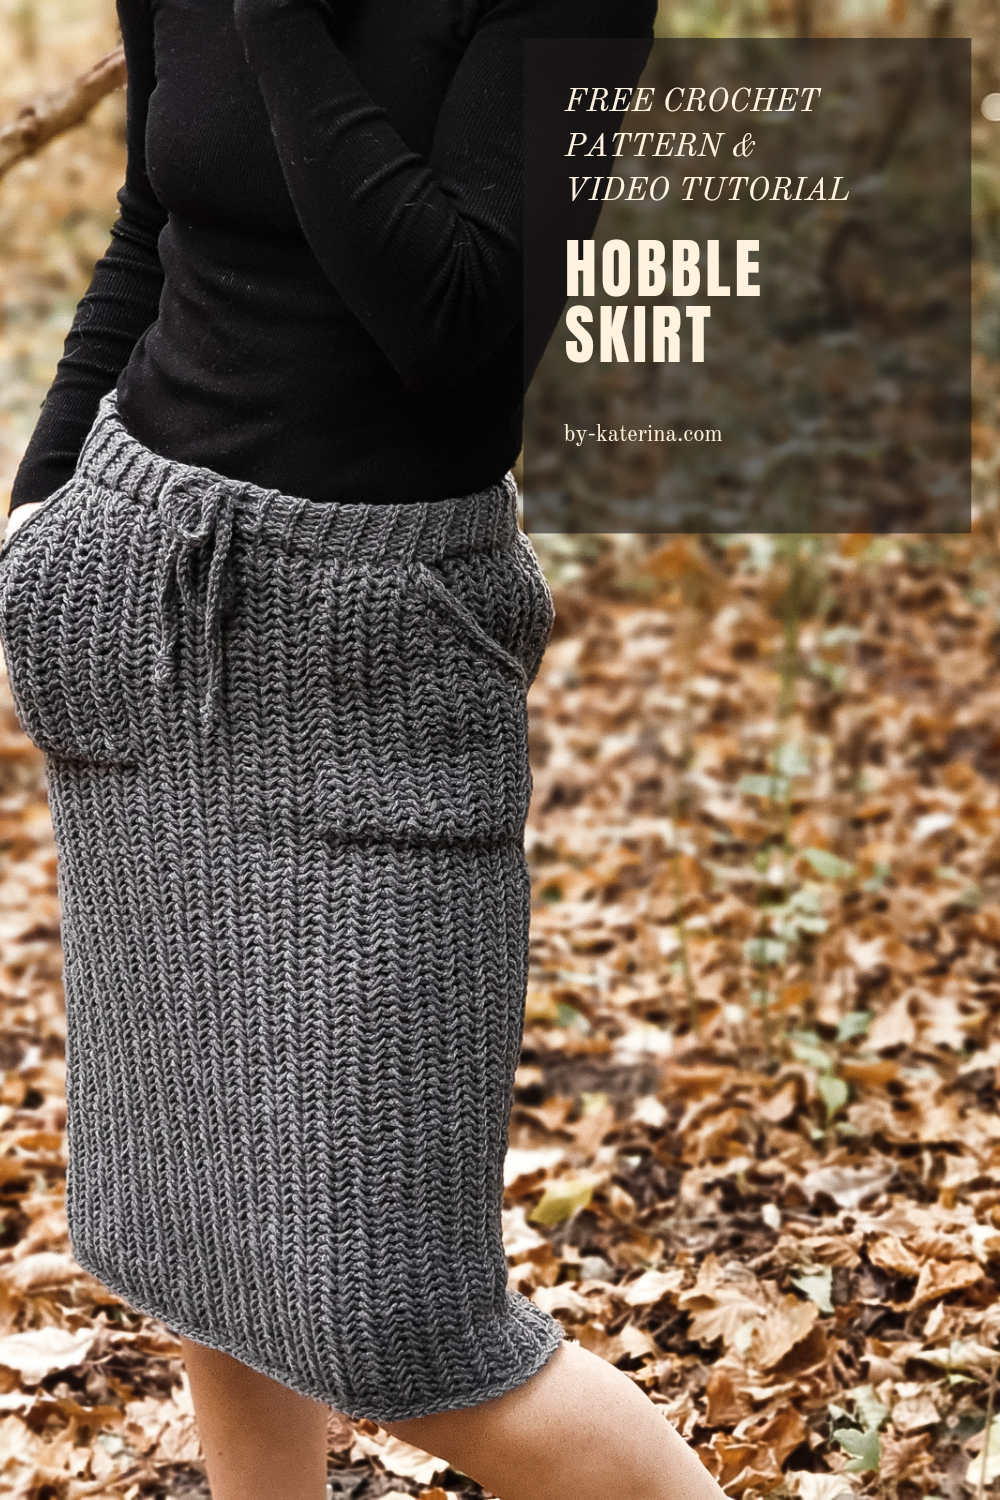
My Hobble Skirt it’s looking something like a “pencil skirt” and while I was searching for my design inspiration I found about the “hobble skirt”. I loved the name so much and I named my design with it, even if it will not “hobbling” you at all since it’s crochet and it’s stretchy.
You can Purchase the easy printable PDF version of this pattern here:
I really hope you will like it, because it’s one of my favorite designs so far ( I am keep telling this with every new design, I think 😁) and finally I made something else, but sweaters.
So, in case this Hobble Skirt catch your eye just scroll down for the full pattern.
MATERIALS
- Yarn
- Category 4 ( worsted, aran)
- Crochet hook
- 8 mm
- You will need a yarn needle for wave in ends and assembling
- Scissors
- stitch markers
ABOUT DESIGN
This Hobble Skirt pattern uses techniques as herringbone single crochet, slip stitch in the back loop only
The skirt construction is perpendicular, the number of stitches is giving the length and the number of rows is giving the width.
Waist band ribbing is worked in the same rows. The
This skirt has a closer fit with a negative ease of about 4 cm around hips circumference
The length can be easily adjust by starting with more or less stitches and the width by working more or less rows.
MEASUREMENTS
The written instructions are for women sizes from Small up to 5X Large
Final measurements of the skirt are listed below.
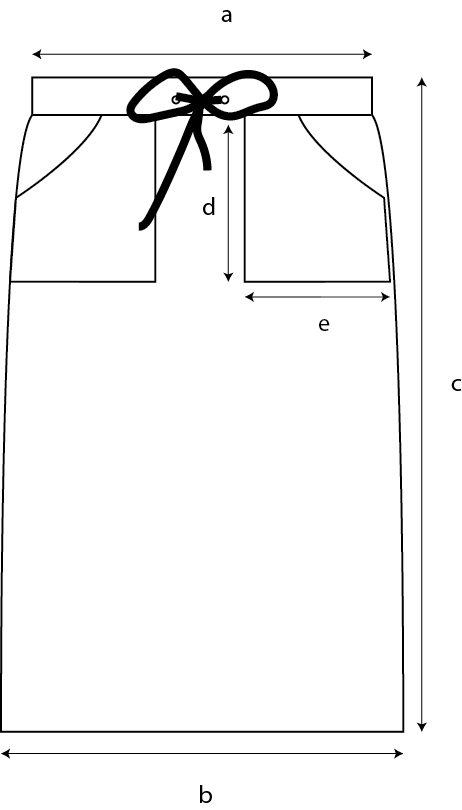
Waist Width a: 34 cm (39, 42, 47, 50, 55, 58, 62)
Hips width b: 43 cm (49, 53, 59, 63, 69, 73, 79)
Length c: 60 cm (60, 60, 60, 60, 60, 60, 60)
Pocket length d: 17 cm (17, 17, 17, 17, 17, 17, 17)
Pocket Width e: 14 cm (14, 14, 14, 14, 14, 14, 14)
You can Purchase the easy printable PDF version of this pattern here:
This measurements will fit:
| To Fit cm | S | M | L | XL | 2XL | 3XL | 4XL | 5XL |
| Hips
width |
45 | 50 | 55 | 60 | 65 | 70 | 75 | 80 |
How much yarn do you need?
For the Hobble Skirt I used Concept Sweet Fleece by Katia Yarns in color Dark Grey. This yarn is 80% wool and 20% Polyamide and one ball has 50 grams and approximate 120 meters
For each size you will approximate need:
| Concept Sweet Fleece | S | M | L | XL | 2XL | 3XL | 4XL | 5XL |
| 50 gr/120 m | 7 | 7 | 8 | 9 | 10 | 10 | 11 | 12 |
STITCH PATTERN
The Hobble Skirt is worked using Herringbone Single Crochet and Slip Stitch in the back loop only for waist band ribbing
Herringbone Single Crochet
First row is worked into the 3rd loop of the chain.
Row 1 (right side row) 1 sc in the first st, *insert the hook into the last loop of the previous sc you just made, then insert the hook into the next stitch, yarn over and pull out a loop, Yarn over and pull the yarn through all loops on your hook. *Repeat to the end of the row.
Row 2 (wrong side row)
*all the stitches on the wrong side row, are worked from back to front.
Insert the hook into the first stitch, from back to front, yarn over and pull out a loop, yarn over and pull the yarn through all loops on your hook (first single crochet made from back to front)
*Insert the hook into the last loop of the previous single crochet (it’s on the back of your work), then insert the hook into the next stitch, from back to front, yarn over and pull out a loop, yarn over and pull it through all loops on your hook.
Repeat to the end of the row.
For this particular pullover pattern, each right side row ends up with a few stitches worked in the slip stitch in back loop only stitch pattern. Of course, the wrong side row will start with the stitches worked in slip stitches in back loop only.
Slip Stitch in back loop only
Insert the hook into the back loop of the next available stitch, yarn over pull out a loop, then pull the loop through the loop on your hook.
Repeat to the end of the row or as many times as pattern requires.
ABBREVIATIONS
- Ch – chain
- Ss – slip stitch
- Ss blo – slip stitch in the back loop only
- St(s) – stitch(es)
- YO – yarn over
- Hsc – Herringbone Single Crochet
- RS – right side
- WR – wrong side
- Dec 1 – Decrease 1 st: insert the hook into the last loop of the last made st, then into the next st, YO pull out a loop, insert the hook into the next st, YO and pull out a loop. YO and pass it through all 4 loop on your hook.
- Dec 2 – decrease 2 sts: Make 2 Dec 1
- R| – row
- ** – Repeated section
You can Purchase the easy printable PDF version of this pattern here:
TENSION
- 16 sts = 10 cm
- 10 rows = 10 cm
*in the stitch pattern used
PATTERN NOTES
Ch 1 to turn your work
Ch 1 at the beginning of each row, doesn’t count as a first st.
The front panel is worked continuing the back panel.
INSTRUCTIONS
Numbers for sizes M, L, XL, 2XL, 3XL, 4XL and 5 XL are written between brackets. If not the pattern applies for all sizes.
BACK PANEL
*you can adjust the length by starting with more or fewer sts. From the total number of sts, 16 sts represent the waist band ribbing.
Start| ch 107 sts
R1| RS working in the back loop of the chain
Starting with the second chain, 1 sc in 1st st, 1 hsc in each of the next, 90 sts, 1 ss into last 16 sts.
R2| WS (see the STITCH PATTERN notes)
1 ssblo in first 16 sts, 1 hsc in each st to the end of the row.
R3| RS: 1 sc in 1st st, 1 hsc in each of the next, 90 sts, 1 ssblo into last 16 sts.
Repeat R2 and R3 until you have in total 43 (49, 53, 59, 63, 69, 73, 79) rows.
*At this point the waist band ribbing when it’s fully stretches has to be half of the hips circumference. If you need, you can add a few more rows.
FRONT PANEL
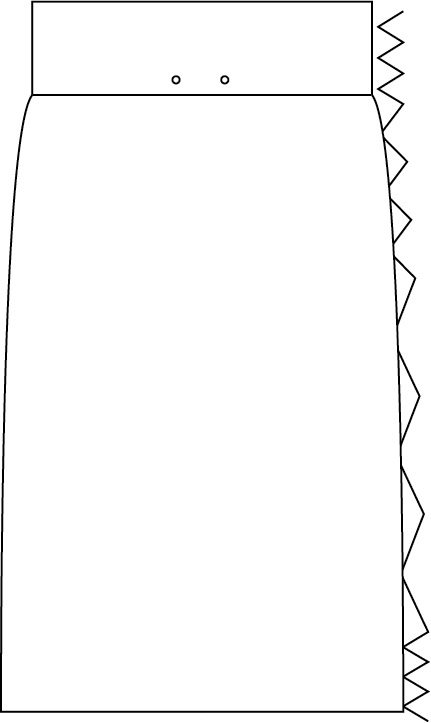
The front panel is worked continuing the back panel having the same number of rows as the back panel. In the middle are worked 2 rows with skipping one st in the waist band to make 2 cord holes.
The front panel construction will be:
Number of rows before first row with cord hole, 1 row with cord hole, 5 rows, 1 row with cord hole, same number of rows as before first row with cord hole.
If you worked less or more rows for the back panel than written in the pattern, from the total number of rows, subtract 7 rows (which are the cord hole rows and the rows in between) and then divide the number by 2, to see how many rows you need to make before cord hole row and after.
R1 to R18 (20, 22, 26, 28, 30, 32, 36) continue with the st pattern.
Next row (R19, 21, 23, 27, 29, 31,33, 37) wrong side row.
1ssblo in the first 12 sts, ch 1, skip 1 (cord hole), 1 ss blo in the next 3 sts, 1 hsc in next sts to the end of the row.
Next 5 rows up to R24 (26, 28, 32, 34, 37, 39, 43) repeat R3 and R2 from the back panel or work the same stitch pattern.
R25 (27, 29, 33, 35, 38, 40, 44) repeat R19 (21, 23, 27, 29, 31, 33, 37) – row with cord hole
Next 18 (20, 22, 26, 28, 30, 32, 36) rows, up to 43 (49, 53, 59, 63, 69, 73, 79) rows, continue working in the same stitch pattern.
Fasten off and leave a long tail to use it for stitching the side of the skirt.
ASSEMBLING
Use the tail and sew the opened skirt side.
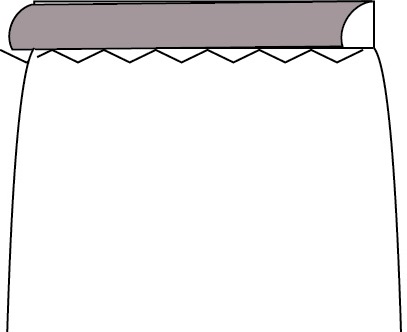
Next, fold the waist band ribbing and stitch it to create a doubled waist band ribbing. Keep the stitches looser so the ribbing to keep being elastic and stretchy.
BOTTOM EDGE
Start| Join yarn in the side seam stitch. Ch 1
R1| 1 ss in each stitch around, join with a ss with first ss.
R2| 1 ssblo in each stitch around, join with a ss with 1st ss.
Fasten off.
POCKETS
RIGHT POCKET
Start| ch 28
Start working the back loop of the chain
R1| RS: 1sc in the first st (second st from the ch), 1 hsc in each of the next sts.
R2 | RS: Repeat R1 (but work the sts from back to front, same as the rest of the pattern)
R3 – R6| Repeat R1 and R2
R7| 1 sc in 1st st, Dec 2 (see ABBREVIATIONS), 1 hsc to the end of the row.
R8| 1 sc in the first st (from back to front), 1 hsc in eac of the next sts, until you have 5 sts left, Dec 2, 1 hsc in the last st.
R9 – R10| Repeat R7 and R8
R11| 1 sc in 1st st, Dec 1 (see ABBREVIATIONS), 1 hsc to the end of the row.
R12| 1 sc in the first st (from back to front), 1 hsc in eac of the next sts, until you have 3 sts left, Dec 1, 1 hsc in the last st.
R13 – R14| Repeat R11 and R12
Fasten Off.
LEFT POCKET
The left pocket it’s worked as the right pocket but in mirror.
On the RS rows decrease at the end of the row and on the WS rows decrease at the beginning.
CORD
Chain 200 sts (or as many as you need), turn and ss into each of the sts.
Fasten off.
TO FINISH
Sew the pockets and using a safety pin insert the cord trough the waist band holes.
Wave in all ends and block to measurements.
Step by Step Video Tutorial here
You can Purchase the easy printable PDF version of this pattern here:




Comments are closed.