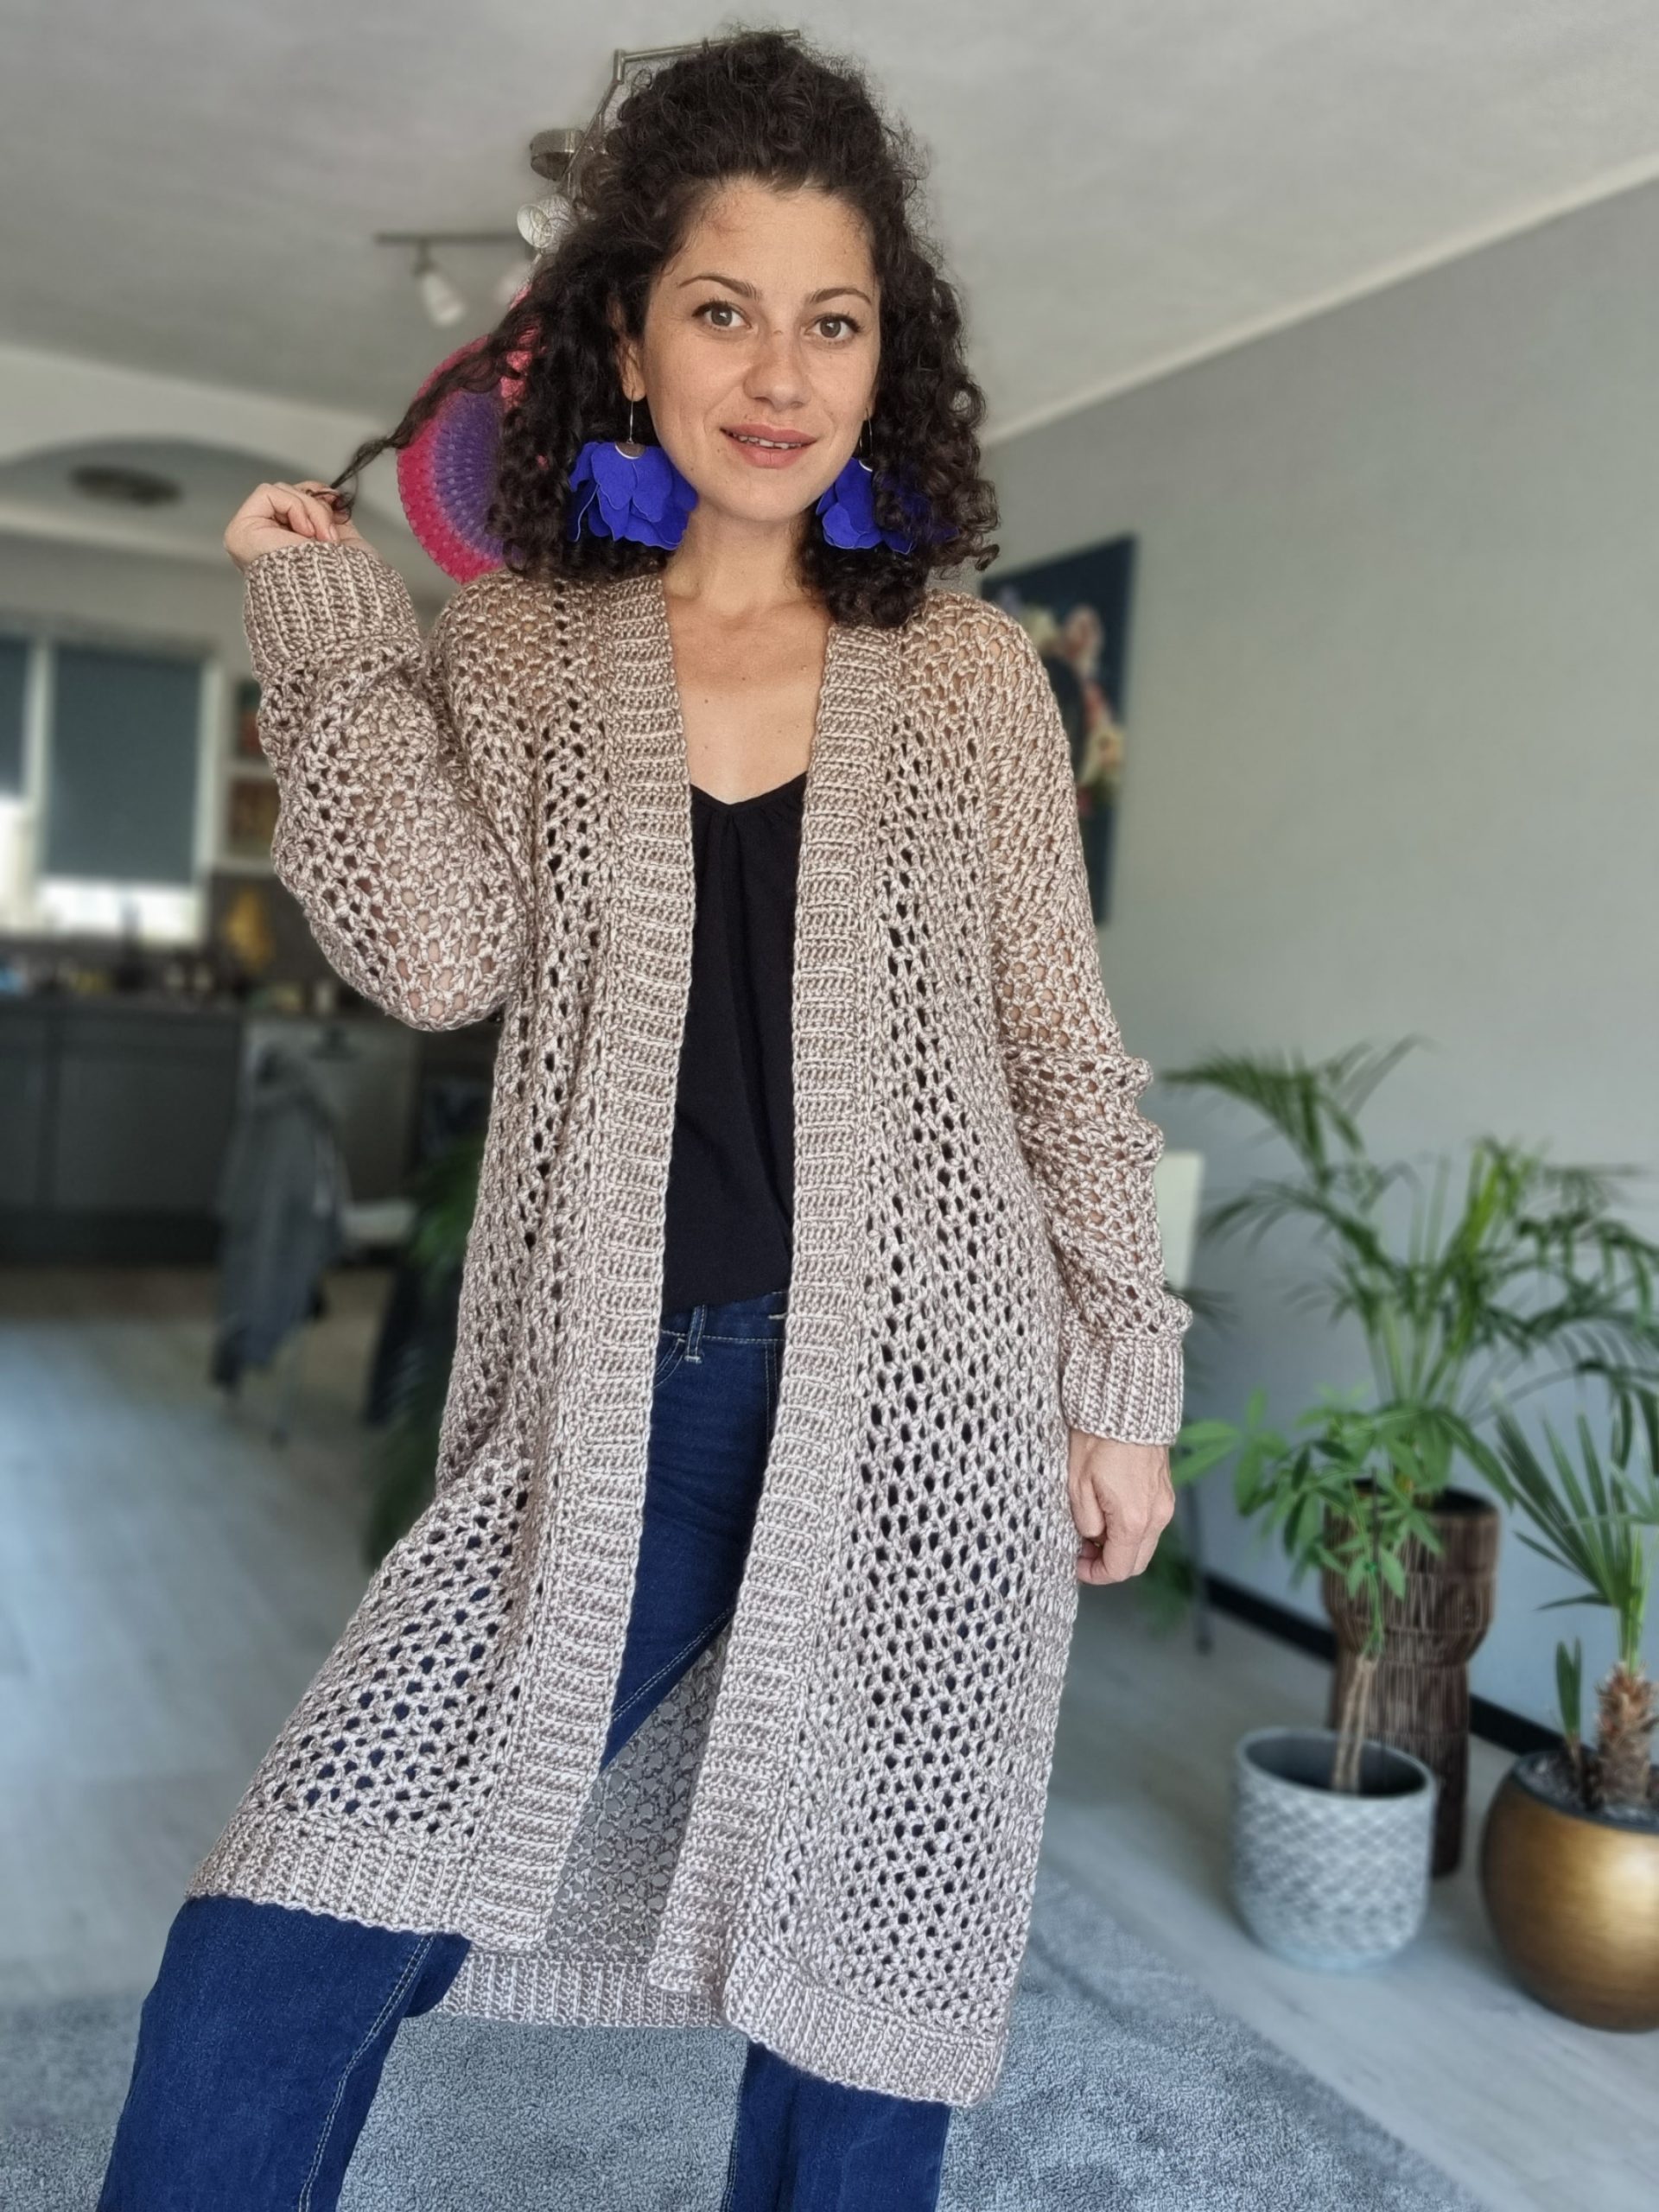
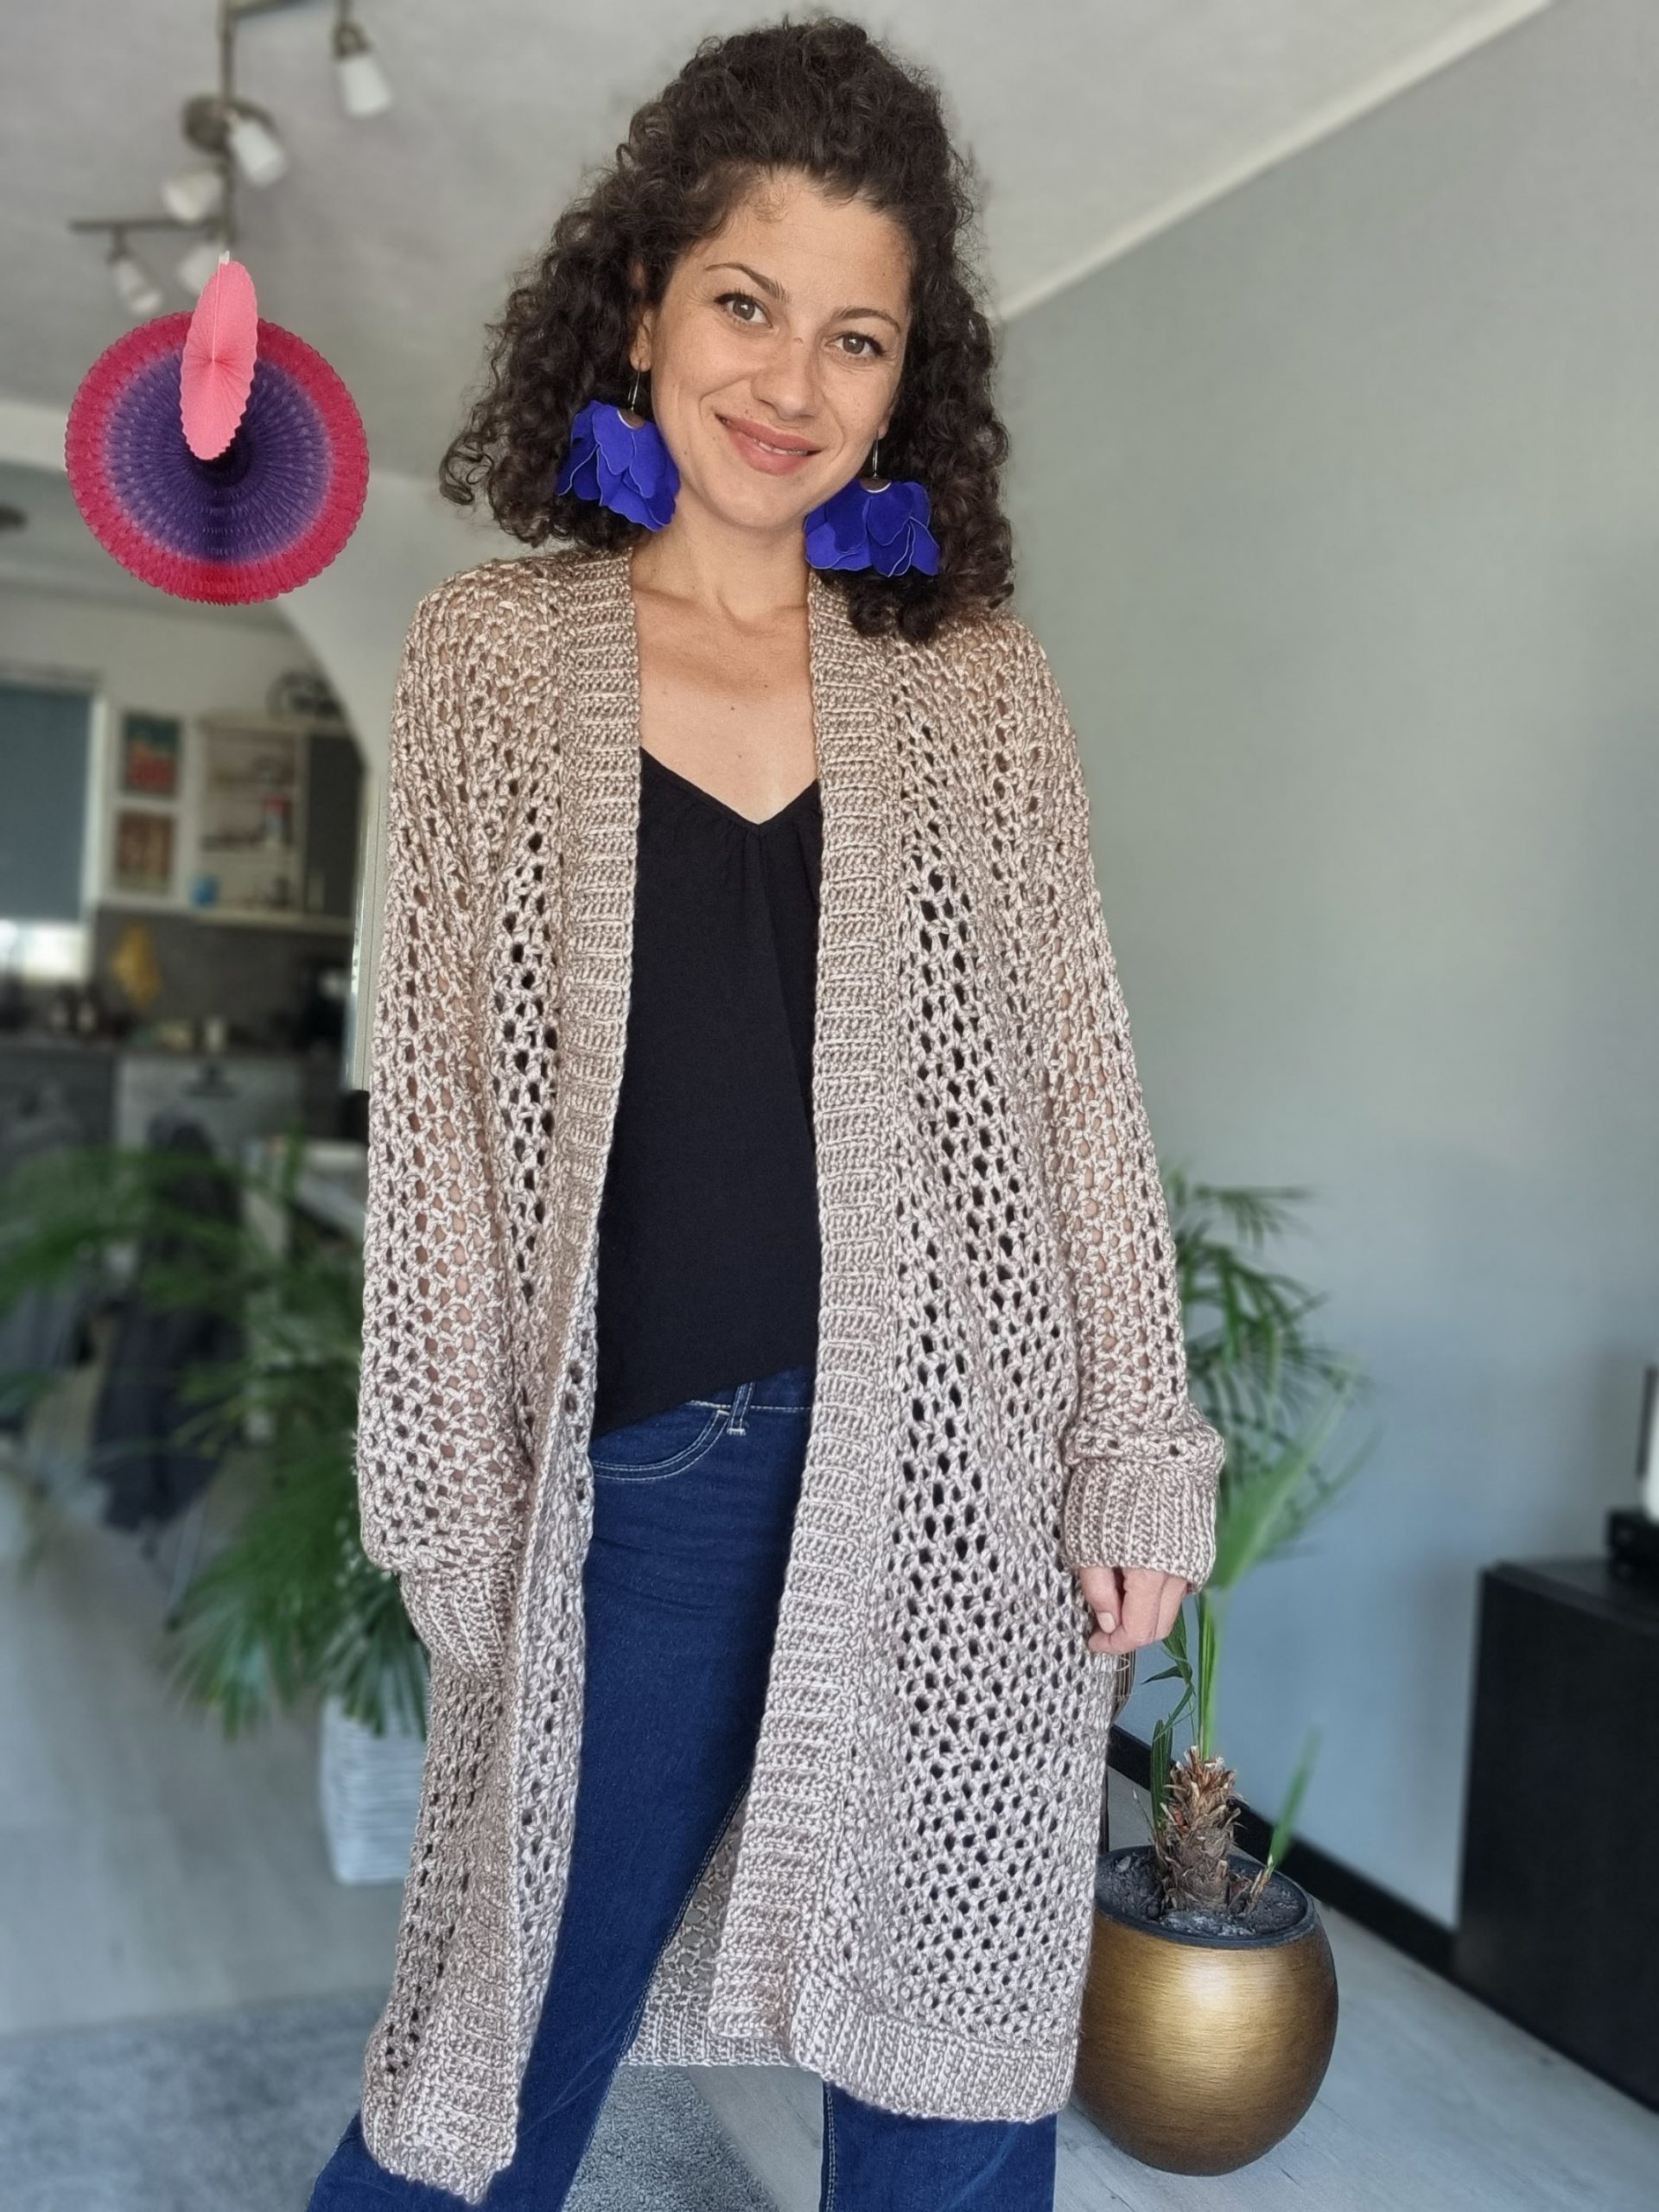
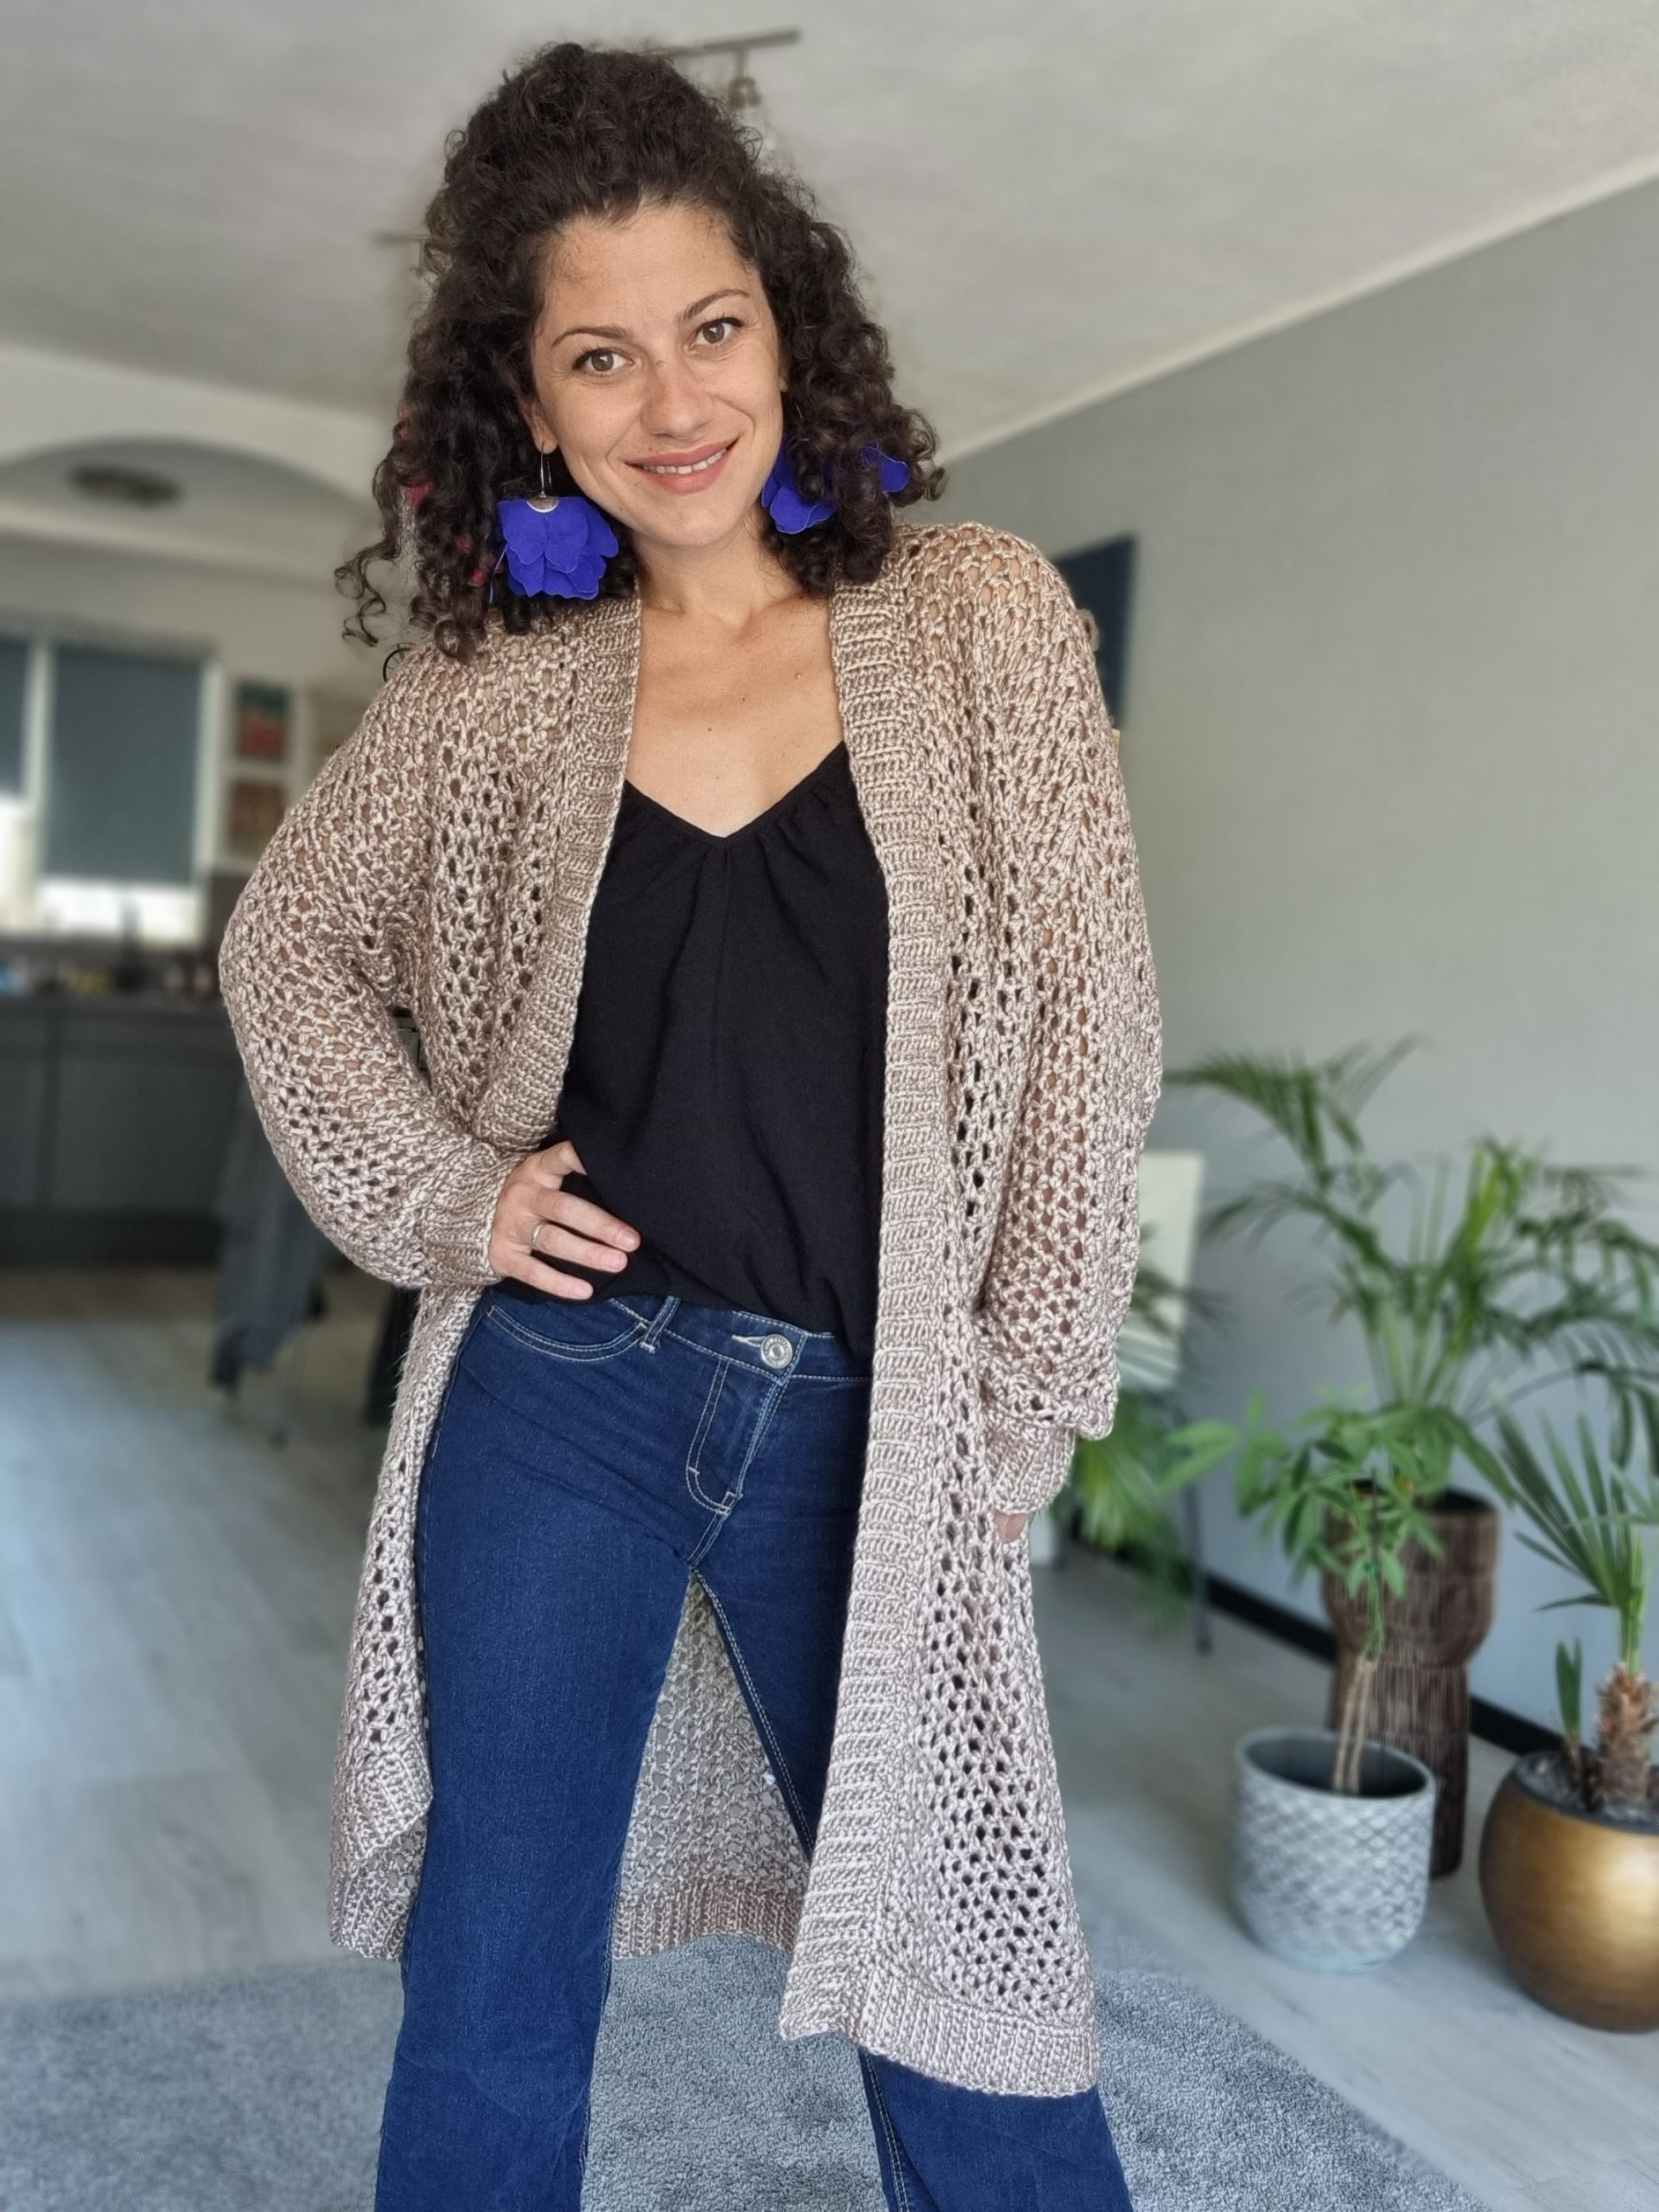
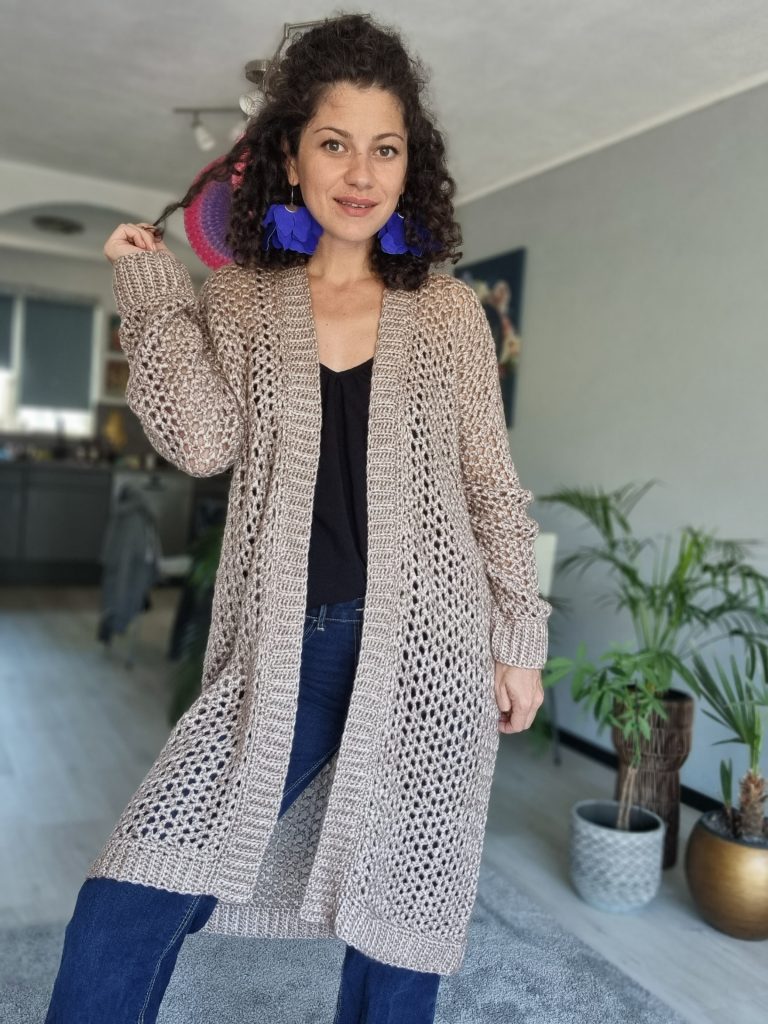
I began making this Good Vibes Crocheted Cardigan at the end of March (yes, I know it took me a while). Initially, I wanted to copy a knitted cardigan I made last summer, but it’s not easy to do that.
Then, I got this nice Pearly Haze yarn from Hobbii when they started selling it. I thought it would be great for the crocheted cardigan I had in mind. I wanted it to be something I could wear when the weather gets cooler, so I decided to use a special stitch that makes it airy.
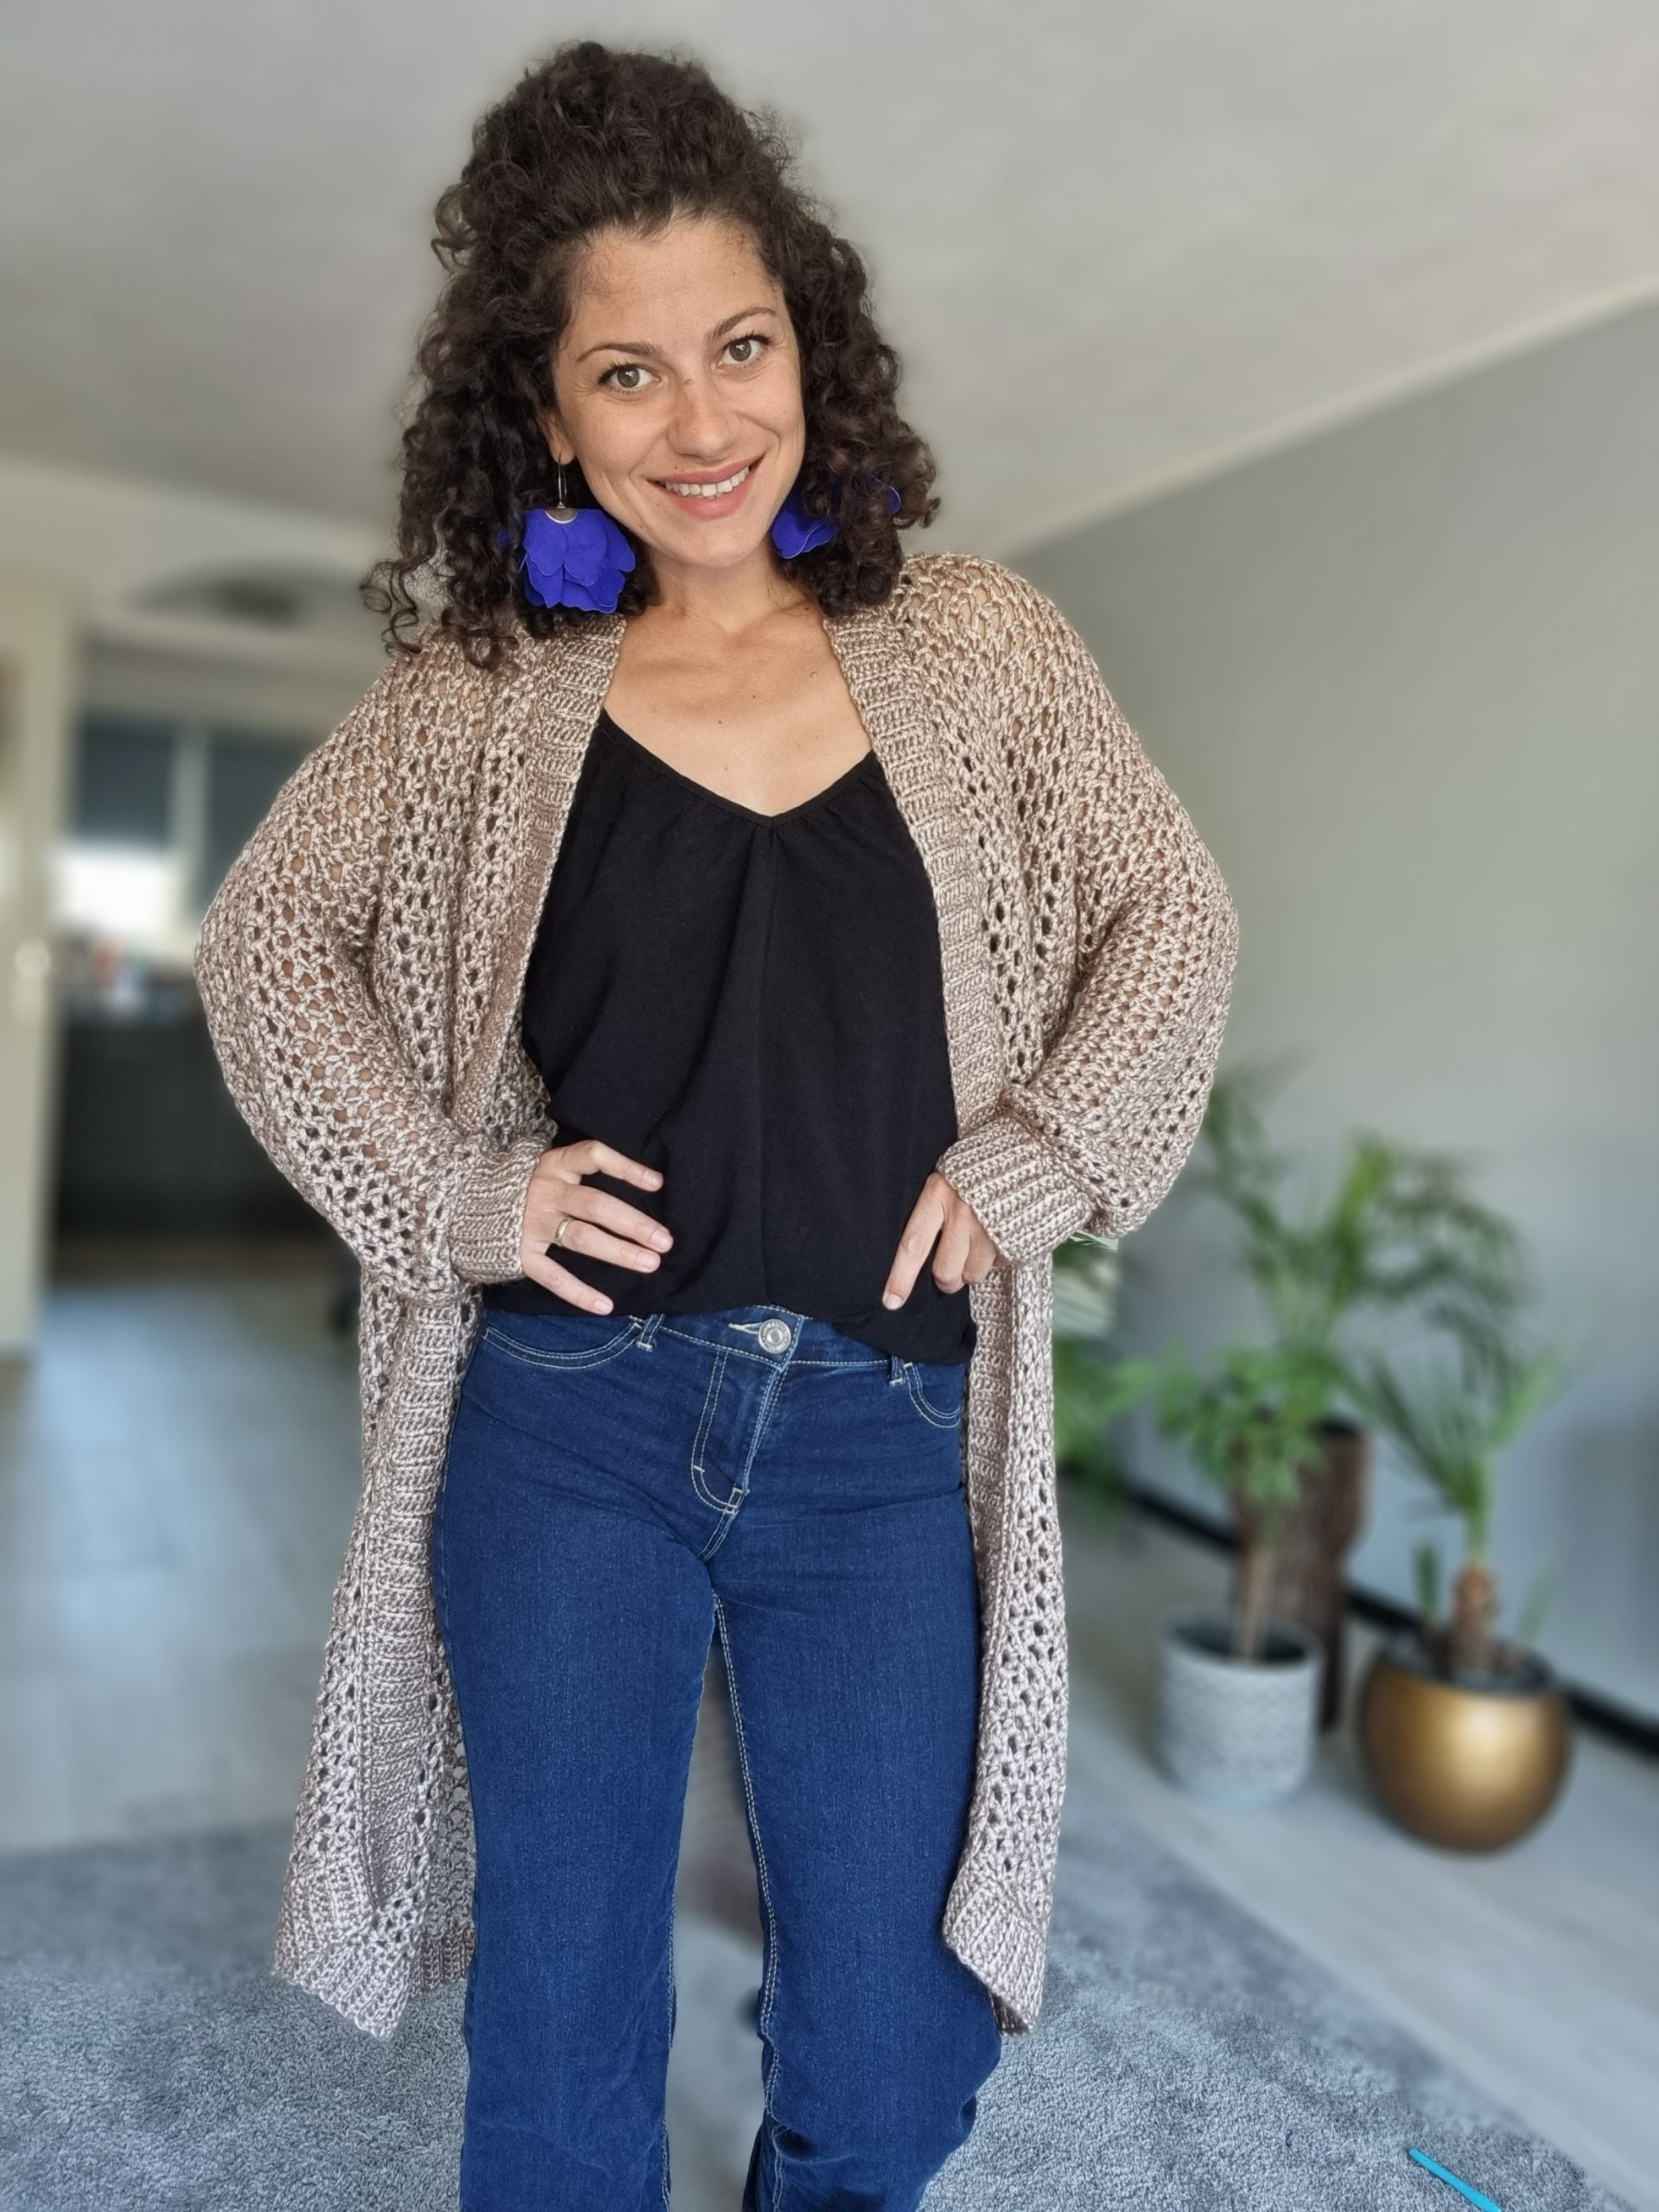
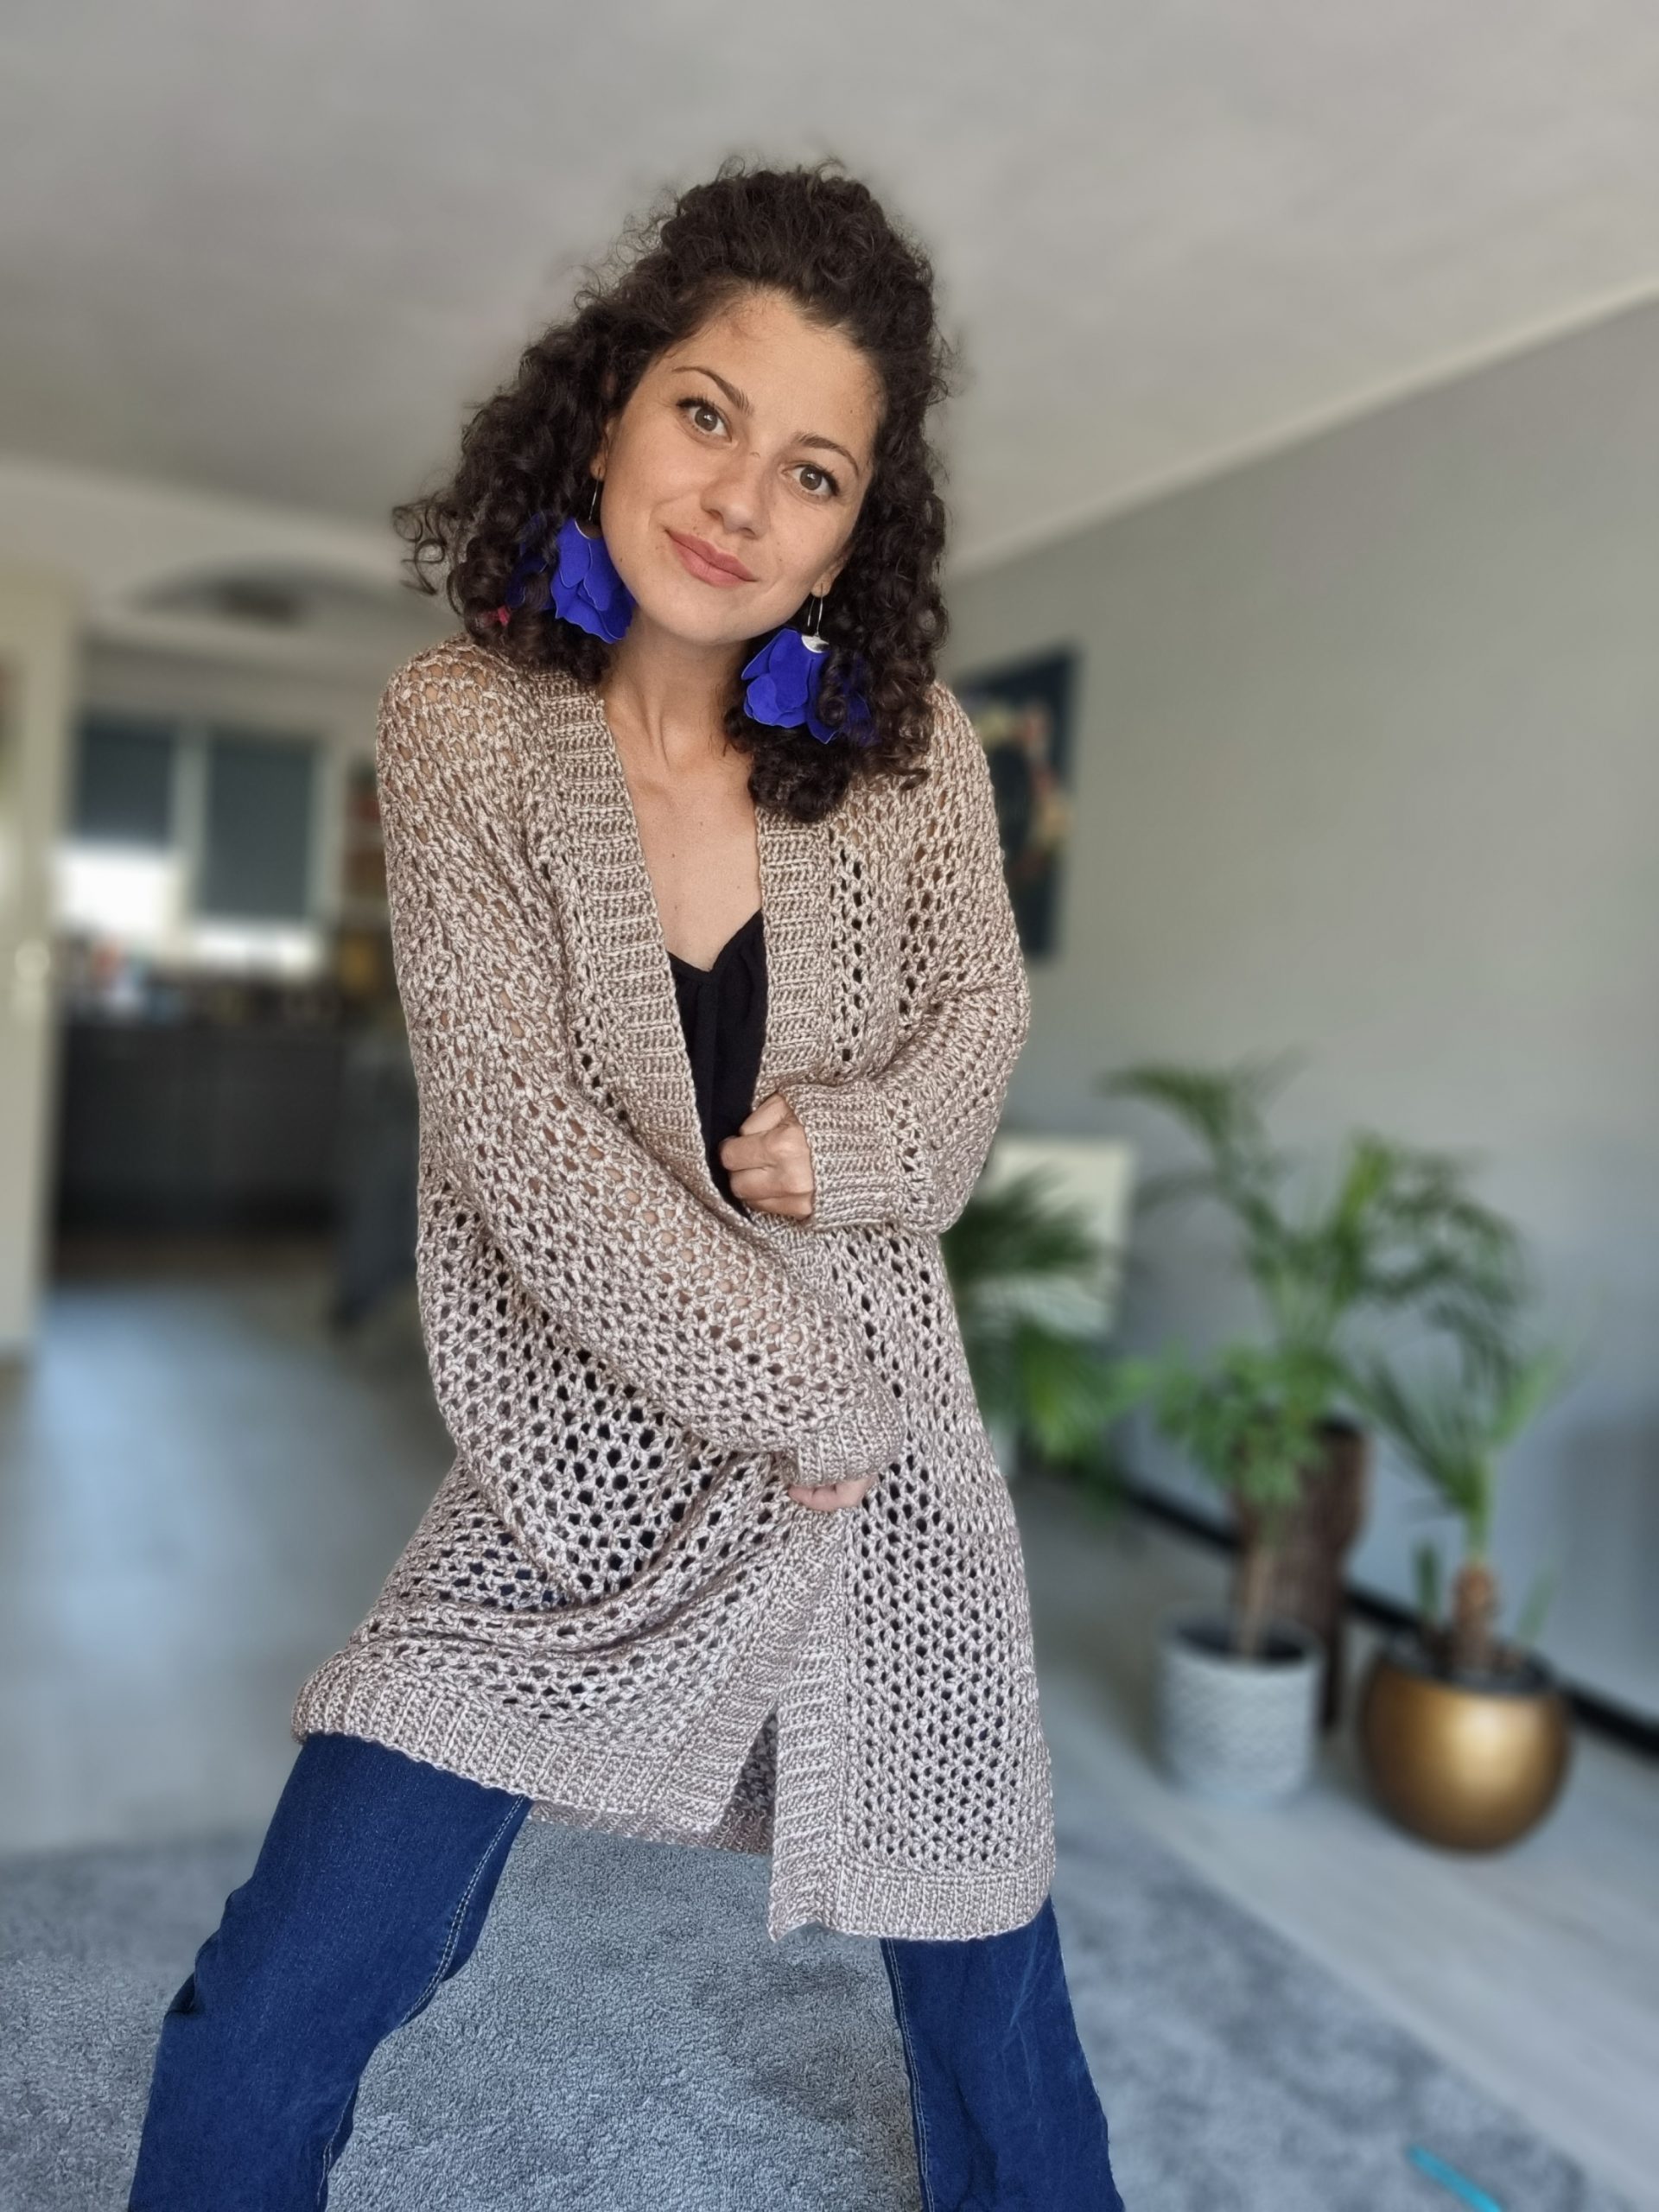
While I was working on it, I decided to make it longer because I didn’t have any long cardigans. All the cardigans I made before were shorter. But when I finished it, I didn’t like it much, and I think it’s because it’s longer than what I’m used to. Still, I think it looks nice overall.
Anyway, here I am sharing with you how you can make this Good Vibes Cardigan and I hope you will like it.
Pentru Postarea in limba Romana, click aici
You can purchase the easily printable PDF pattern here at the links below.
MATERIALS
• Yarn: Size 4, Worsted, Medium weight yarn
• Crochet Hook:
o 6 mm crochet hook
o 5.5 mm crochet hook for the ribbing
• yarn needle for weaving in ends
• Scissors
NOTES ABOUT DESIGN
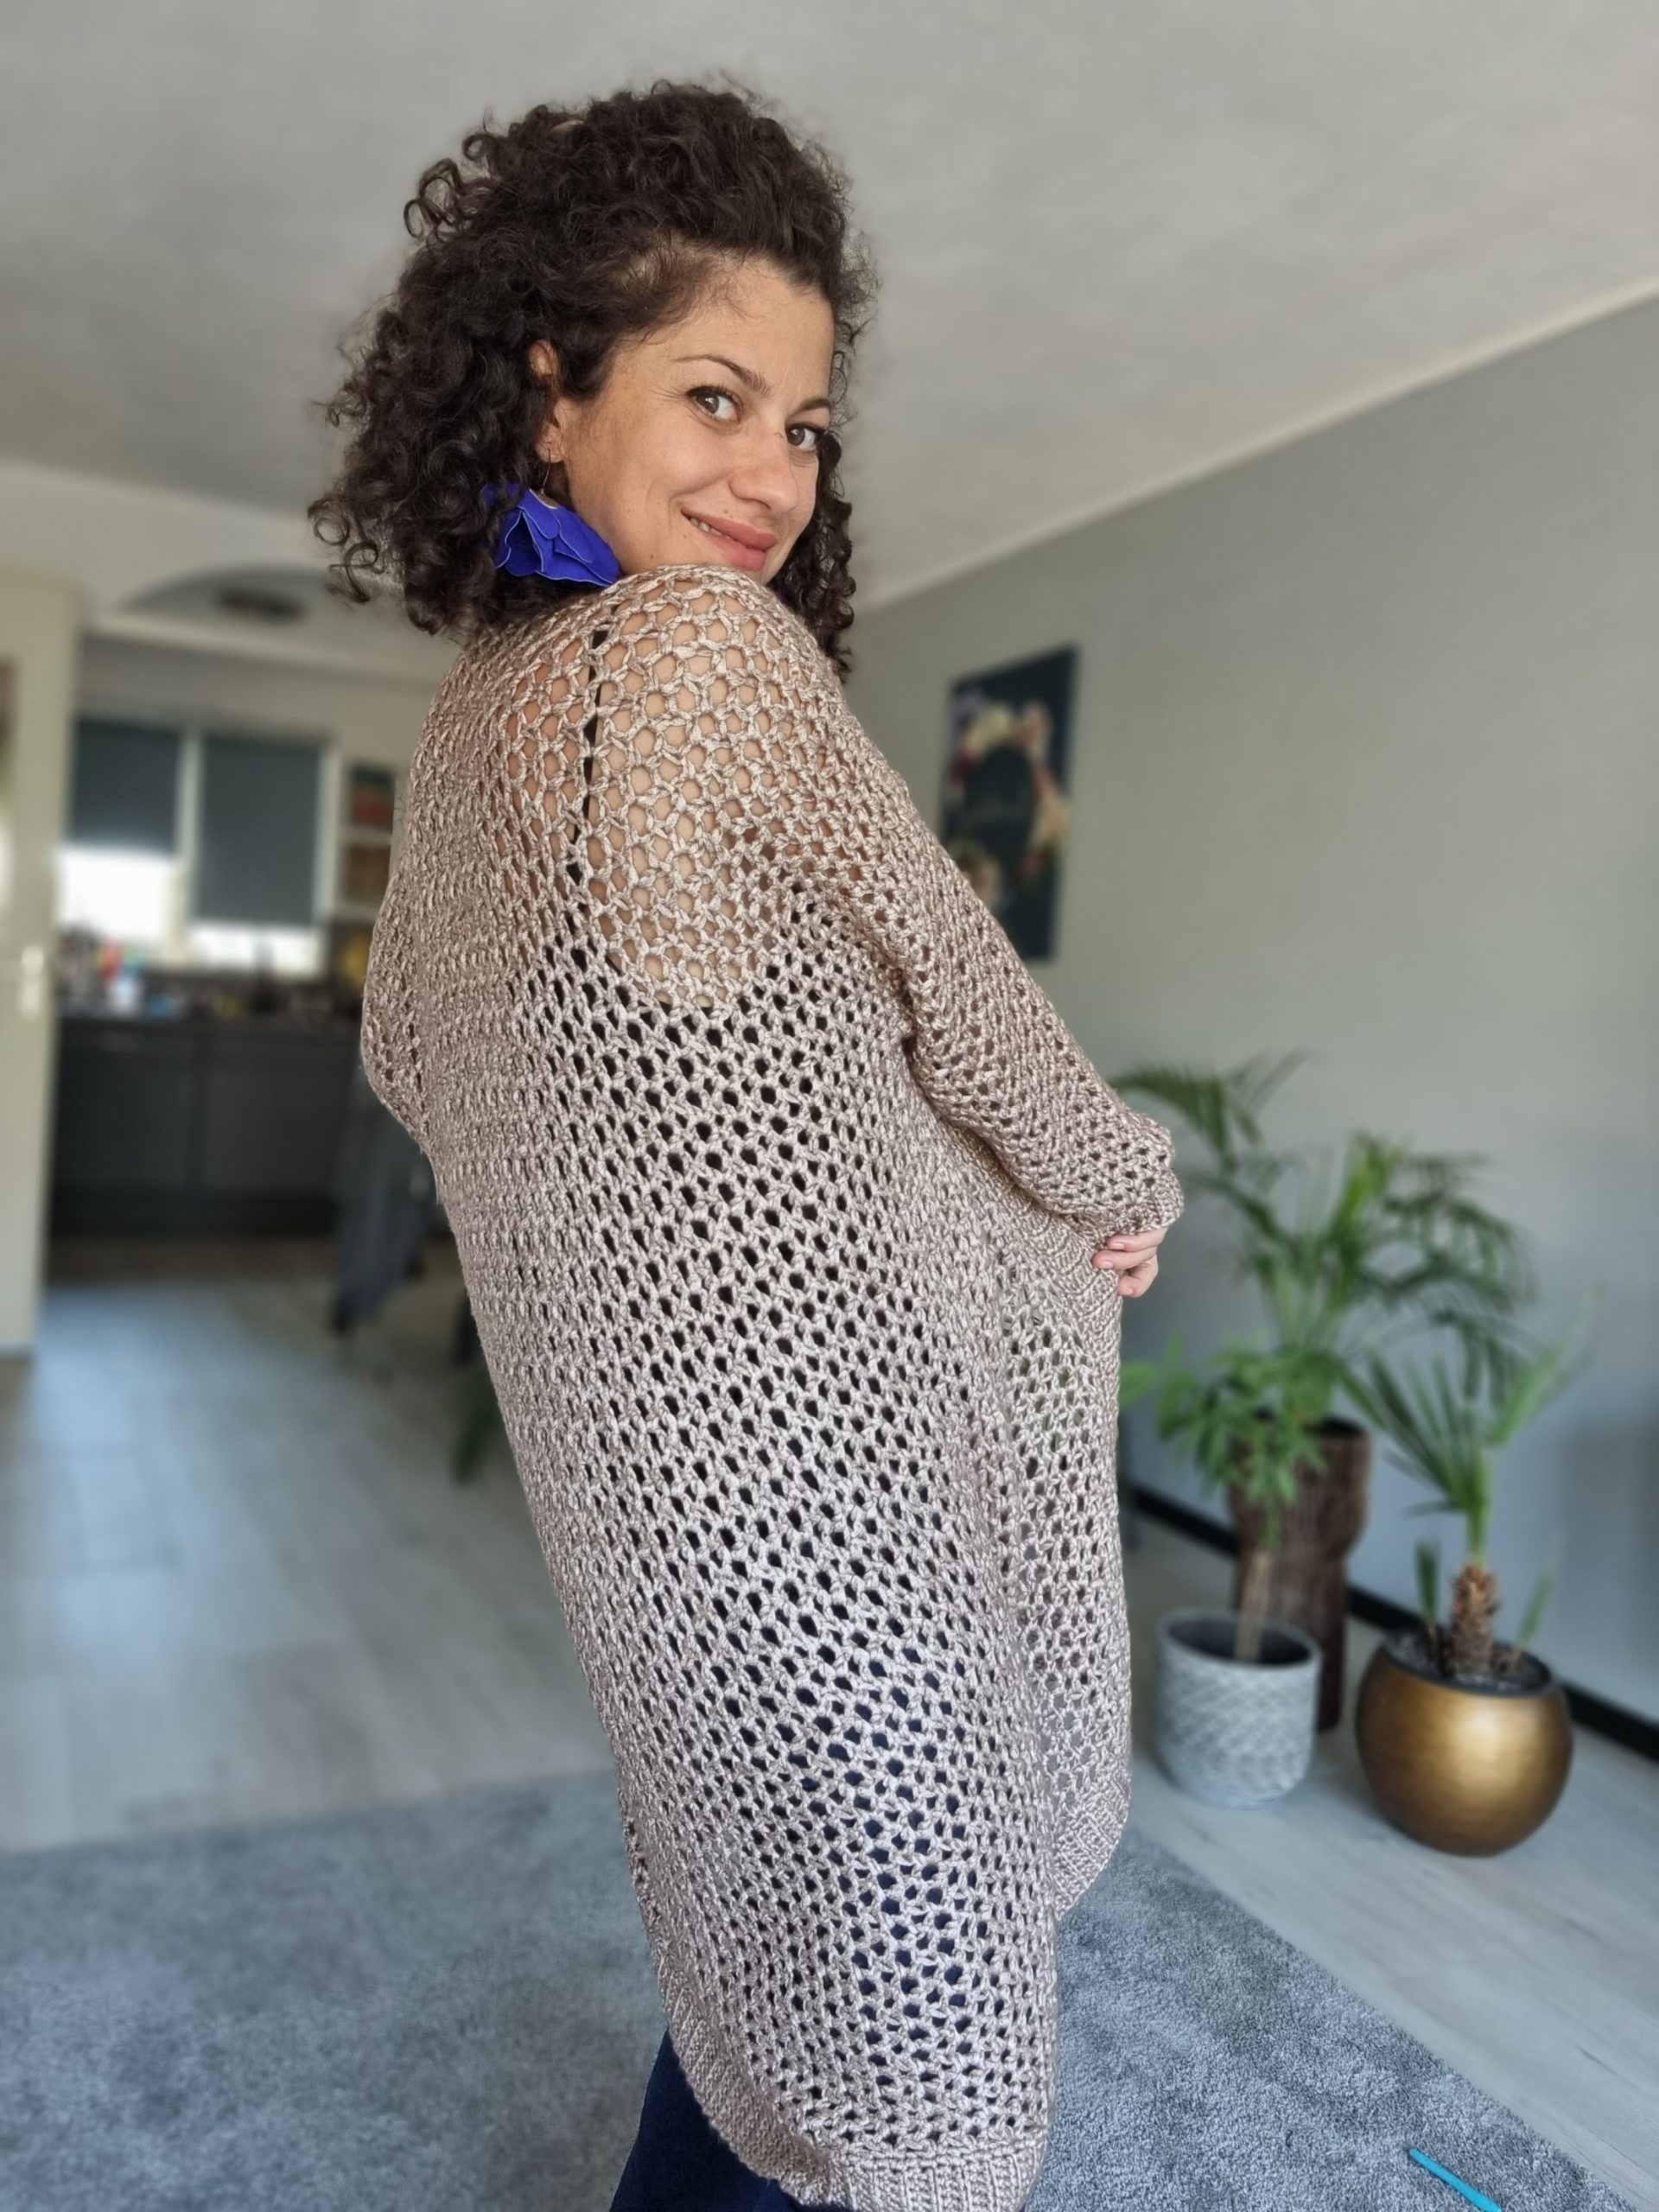
Meet the Good Vibes Cardigan, your go-to for a smooth transition into fall. It’s got a simple drop-shoulder design that’s comfy and easy to wear. We start from the bottom, crocheting the back and front panels together as one piece. When we reach the armpit, we split into separate back and front pieces, then join them at the shoulders.
The sleeves are worked right into the armholes, and we make them narrower for a great arm fit. To finish it off, we add ribbing around the neck and front edges for that classic cardigan look.
The best part? You can adjust the cardigan’s length and width to fit you perfectly. It’s all about making it your own. Enjoy a cozy fall with your very own Good Vibes Cardigan.
MEASUREMENTS AND SIZES
The Good Vibes Cardigan Pattern is available in 9 sizes, from XS up to 5X Large. The model is 168 cm tall, with an 88 cm bust circumference, and wears a size Small.
The numbers are written below as follows: XS (S, M, L, XL) ( 2XL, 3XL, 4XL, 5XL);
All the measurements use as reference Standard Body Measurements by ASTM International.

Final Measurements of the Good Vibes Cardigan
Width a: 53.5 cm (58, 60, 64.5, 69) (73.5, 78, 82.5, 87)
Armhole depth. b: 17.5 cm (19, 20, 21.5, 23) (23, 24, 24, 27)
Sleeve length c: 29 cm (29, 31, 31, 32) (32, 33, 33, 33)
Length d: 70.5 (72, 73, 74.5, 76) (76, 77, 77, 80)
YARN
For the Good Vibes Cardigan, I used: Pearly Haze By Hobbii Yarn, in color Cappuccino (10). Yarn composition: 73% Viscose, 27% Wool; Each ball has 50 grams and is approximately 110 meters (120 yards).
For each size, you will approximately need:
1170 (1290, 1380, 1500, 1640) (1730, 1860, 1940, 2140) meters
11 (12,13,14, 15) (16, 17, 18, 20) balls of Pearly Haze
ABBREVIATIONS
Ch – chain
Sc – single crochet
scblo – single crochet in back loop only
hdc – half double crochet
Vst – V stitch (1hdc, 3ch, 1hdc – in the same st/space)
ss – slip stitch
St(s) – stitch(es)
R – round
** – repeated section.
TENSION
Using 6mm crochet hook in the Vstitch pattern
4.5Vsts = 10 cm
7.5 rows = 10 cm
You can purchase the easily printable PDF pattern here at the links below.
STITCH PATTERN AND TECHNIQUES
V STITCH PATTERN
The main stitch pattern of the Good Vibes Cardigan is a variation of the V stitch pattern.
This stitch pattern requires a multiple of 3+1 sts.
R1 (when working in the foundation chain) – 3ch, 1hdc in the same st, skip 2sts, *(1hdc, 3ch, 1hdc – Vst) in the next st, skip the next 2sts; *rep. until you have 1st left (3sts left counting the 2sts that you need to skip from the last repeat), (1hdc, 1ch, 1hdc) into the last st.
R2: 3ch, 1hdc in the first 1ch-sp, 1Vst in each 3ch-sp; finish the row with 1hdc in the last 1ch-sp, 1ch, and 1hdc into the second ch.
CONSTRUCTION
We start from the bottom, crocheting the back and front panels together as one piece. When we reach the armpit, we split into separate back and front pieces, then join them at the shoulders.
The sleeves are worked right into the armholes, and we make them narrower for a great arm fit. To finish it off, we add ribbing around the neck and front edges for that classic cardigan look.
PATTERN NOTES
– All sections of this cardigan, except for the sleeves, are worked back and forth; remember to turn at the end of each row.
– When it comes to the sleeves, they are worked in the round. However, if you want to maintain the appearance of the stitch pattern, make sure to turn after each round.
– It’s important to note that the initial 2 chain stitches at the beginning of a row are equivalent to the first half double crochet stitch.
INSTRUCTIONS
The numbers are written in the pattern below, XS (S, M, L, XL) ( 2XL, 3XL, 4XL, 5XL), unless the numbers apply for all the sizes.
BOTTOM RIBBING
Start: ch 11
R1: starting into the second st, 1sc in each st to the end of the row; 1ch and turn;
R2: 1sc in the fist st, 1scblo in each of the next sts, except the last one, 1sc into the last st; 1ch and turn;
Rep. R2 until you have 139 (151, 154, 166, 178) (190, 196, 208, 220) rows;
LENGTH TO THE ARMPIT
R1: 1ch, 1sc into each side row of the ribbing; you should have at the end of this row 139 (151, 154, 166, 178) (190, 196, 208, 220) sc sts;
R2: 3ch, 1hdc into the same st, skip the next 2sts, *1Vst (1hdc, 3ch, 1hdc) into the next st, skip the next 2sts; *rep. to the end of the row, until you have 1st left (or 3 counting the 2sts you need to skip from the last repeat), (1hdc, 1ch, 1hdc) into the last st;
Total sts: 45 (49, 50, 54, 58) (62, 64, 68, 72) Vsts plus 2 half V sts (1 at both ends);
R3: 3ch, 1hdc into the first 1ch-sp, 1Vst in each 3ch-sp; finish the row with 1hdc into the last 1ch-sp, 1ch, 1hdc into the second ch.
Rep. R3 until you have 36 (36, 36, 36, 36) (36, 36, 36, 36) rows to the armpit, or until you have the desire length.
ARMHOLE DEPTH
Use stitch markers to mark the 3 panels stitches: right front panel, back panel and left front panel;
Count only full Vsts (not counting the half Vsts at the beginning and at the end of the row
XS – 10Vsts right front panel, 25Vsts, 10Vsts left front panel
S – 11Vsts right front panel, 27Vsts, 11Vsts left front panel
M – 11Vsts right front panel, 28Vsts, 11Vsts left front panel
L – 12Vsts right front panel, 30Vsts, 12Vsts left front panel
XL – 12Vsts right front panel, 33Vsts, 12Vsts left front panel
XXL – 13Vsts right front panel, 35Vsts, 13Vsts left front panel
3XL – 13Vsts right front panel, 38Vsts, 13Vsts left front panel
4XL – 14Vsts right front panel, 40Vsts, 14Vsts left front panel
5XL – 15Vsts right front panel, 42Vsts, 15Vsts left front panel
Continue working each section individually into the established stitch pattern until you have
13 (14, 15, 16, 17) (17, 18, 18, 20) rows;
Finishing Row
1ch, 1sc in the same st, *2ch, 1sc into the next 3ch-sp; *rep. to the end of the row
You can purchase the easily printable PDF pattern here at the links below.
TO ASSEMBLE
Stitch the shoulder front panel with the back panel (video tutorial here)
SLEEVES (work both identical)
The sleeves are worked right into the armholes, and we make them narrower for a great arm fit. To finish it off, we add ribbing around the neck and front edges for that classic cardigan look.
Start by rejoining the yarn at the armpit. We will work into the side rows of the armhole edge.
When you start a new round, turn your work around so your stitches look the same as the rest of the cardigan.
Always begin the round by putting your first stitches into the 3-chain space (we’ll call it 3ch-sp) right at the beginning of the round.
To get into that 3-chain space, just use a slip stitch.
R1: 5ch, 1hdc into the same st, skip the next side row, *1Vsts into the next side row, skip the next side row; *rep. until the end of the round; close the round with a ss into the second ch; turn; ss to the first 3ch-sp
R2: 5ch, 1hdc into the same 3ch-sp, 1Vst in each 3ch-sp; close the round with 1ss into the second ch; turn; ss to the first 3ch-sp
R3 (decrease round): 2ch, 1Vst in next 3ch-sp, 1Vst in each 3ch-sp; close the round with 1ss into the second ch; turn; ss into the first 3ch-sp;
R4: 5ch, 1hdc in the same 3ch-sp, 1Vst in each 3ch-sp; close the round with 1ss into the second ch; ss into the first 3ch-sp
R5 – R6: Rep. R2
Rep. R2 to R6 until you have 22 (22, 23, 23, 24) (24, 25, 25, 25) rows;
Important Points to Remember:
– Continue working rows until you reach your desired sleeve length.
– If you find that the sleeve width is satisfactory and no further narrowing is required, you may discontinue the decreasing process and repeat Row 2 until you finish the sleeve.
– If you prefer to reduce the number of stitches gradually, consider adding extra rounds between the decrease rounds. This way, you’ll have fewer stitches to decrease by the end.
Finishing Row
1ch, 1sc in the same st, *2ch, 1sc into the next 3ch-sp, 1ch, 1sc in next 3ch-sp; *rep. to the end of the row
Ribbing
Use a 5.5 or 5 mm crochet hook
After finishing the last round work one more round with 1sc in each st;
Then start the ribbing;
Start: ch11 and turn
R1: starting with the second st, 1sc in each st to the end, 1ss into the next 2sts of the edge; turn
R2: skip the 2ss, 1scblo into each st, except the last one, 1sc into the last st; 1ch and turn;
R3: 1sc in the first st, 1scblo in each st to the end; 1ss into the next 2sts of the edge; turn;
Rep. R2 and R3 until you complete the entire circumference; join with slip stitches.
You can purchase the easily printable PDF pattern here at the links below.
NECKLINE AND FRONT EDGES RIBBING
Use a 5.5 or 5 mm crochet hook
Work the foundation row of the ribbing in single crochet on the right side of the cardigan.
Rejoin yarn into the first st of the right front panel bottom corner
Ch1 and work 1sc in each st until the bottom corner of the left front panel;
Note:
When crocheting along the edges of the front panel, you’ll be working into the side rows. Here’s what to do:
In one side row, make 2 single crochets (2sc).
In the next side row, make just one single crochet (1 sc).
By following these steps, you’ll have a total of 3 single crochets (3sc) for every 2 side rows. Keep in mind that the result can vary depending on your tension and how tall the stitches are at the edge of the front panel. Feel free to adjust the pattern based on your own tension preferences.
After finishing the sc row;
Start: ch8 and turn
R1: starting with the second st, 1sc in each st to the end, 1ss into the next 2sts of the edge; turn
R2: skip the 2ss, 1scblo into each st, except the last one, 1sc into the last st; 1ch and turn;
R3: 1sc in the first st, 1scblo in each st to the end; 1ss into the next 2sts of the edge; turn;
Rep. R2 and R3 until you complete the entire length;
TO FINISH
Weave in all looser ends and block to measurements.
Thank you for your support! ☺
You can also find a video tutorial to follow along with the written pattern here



Comments are closed.