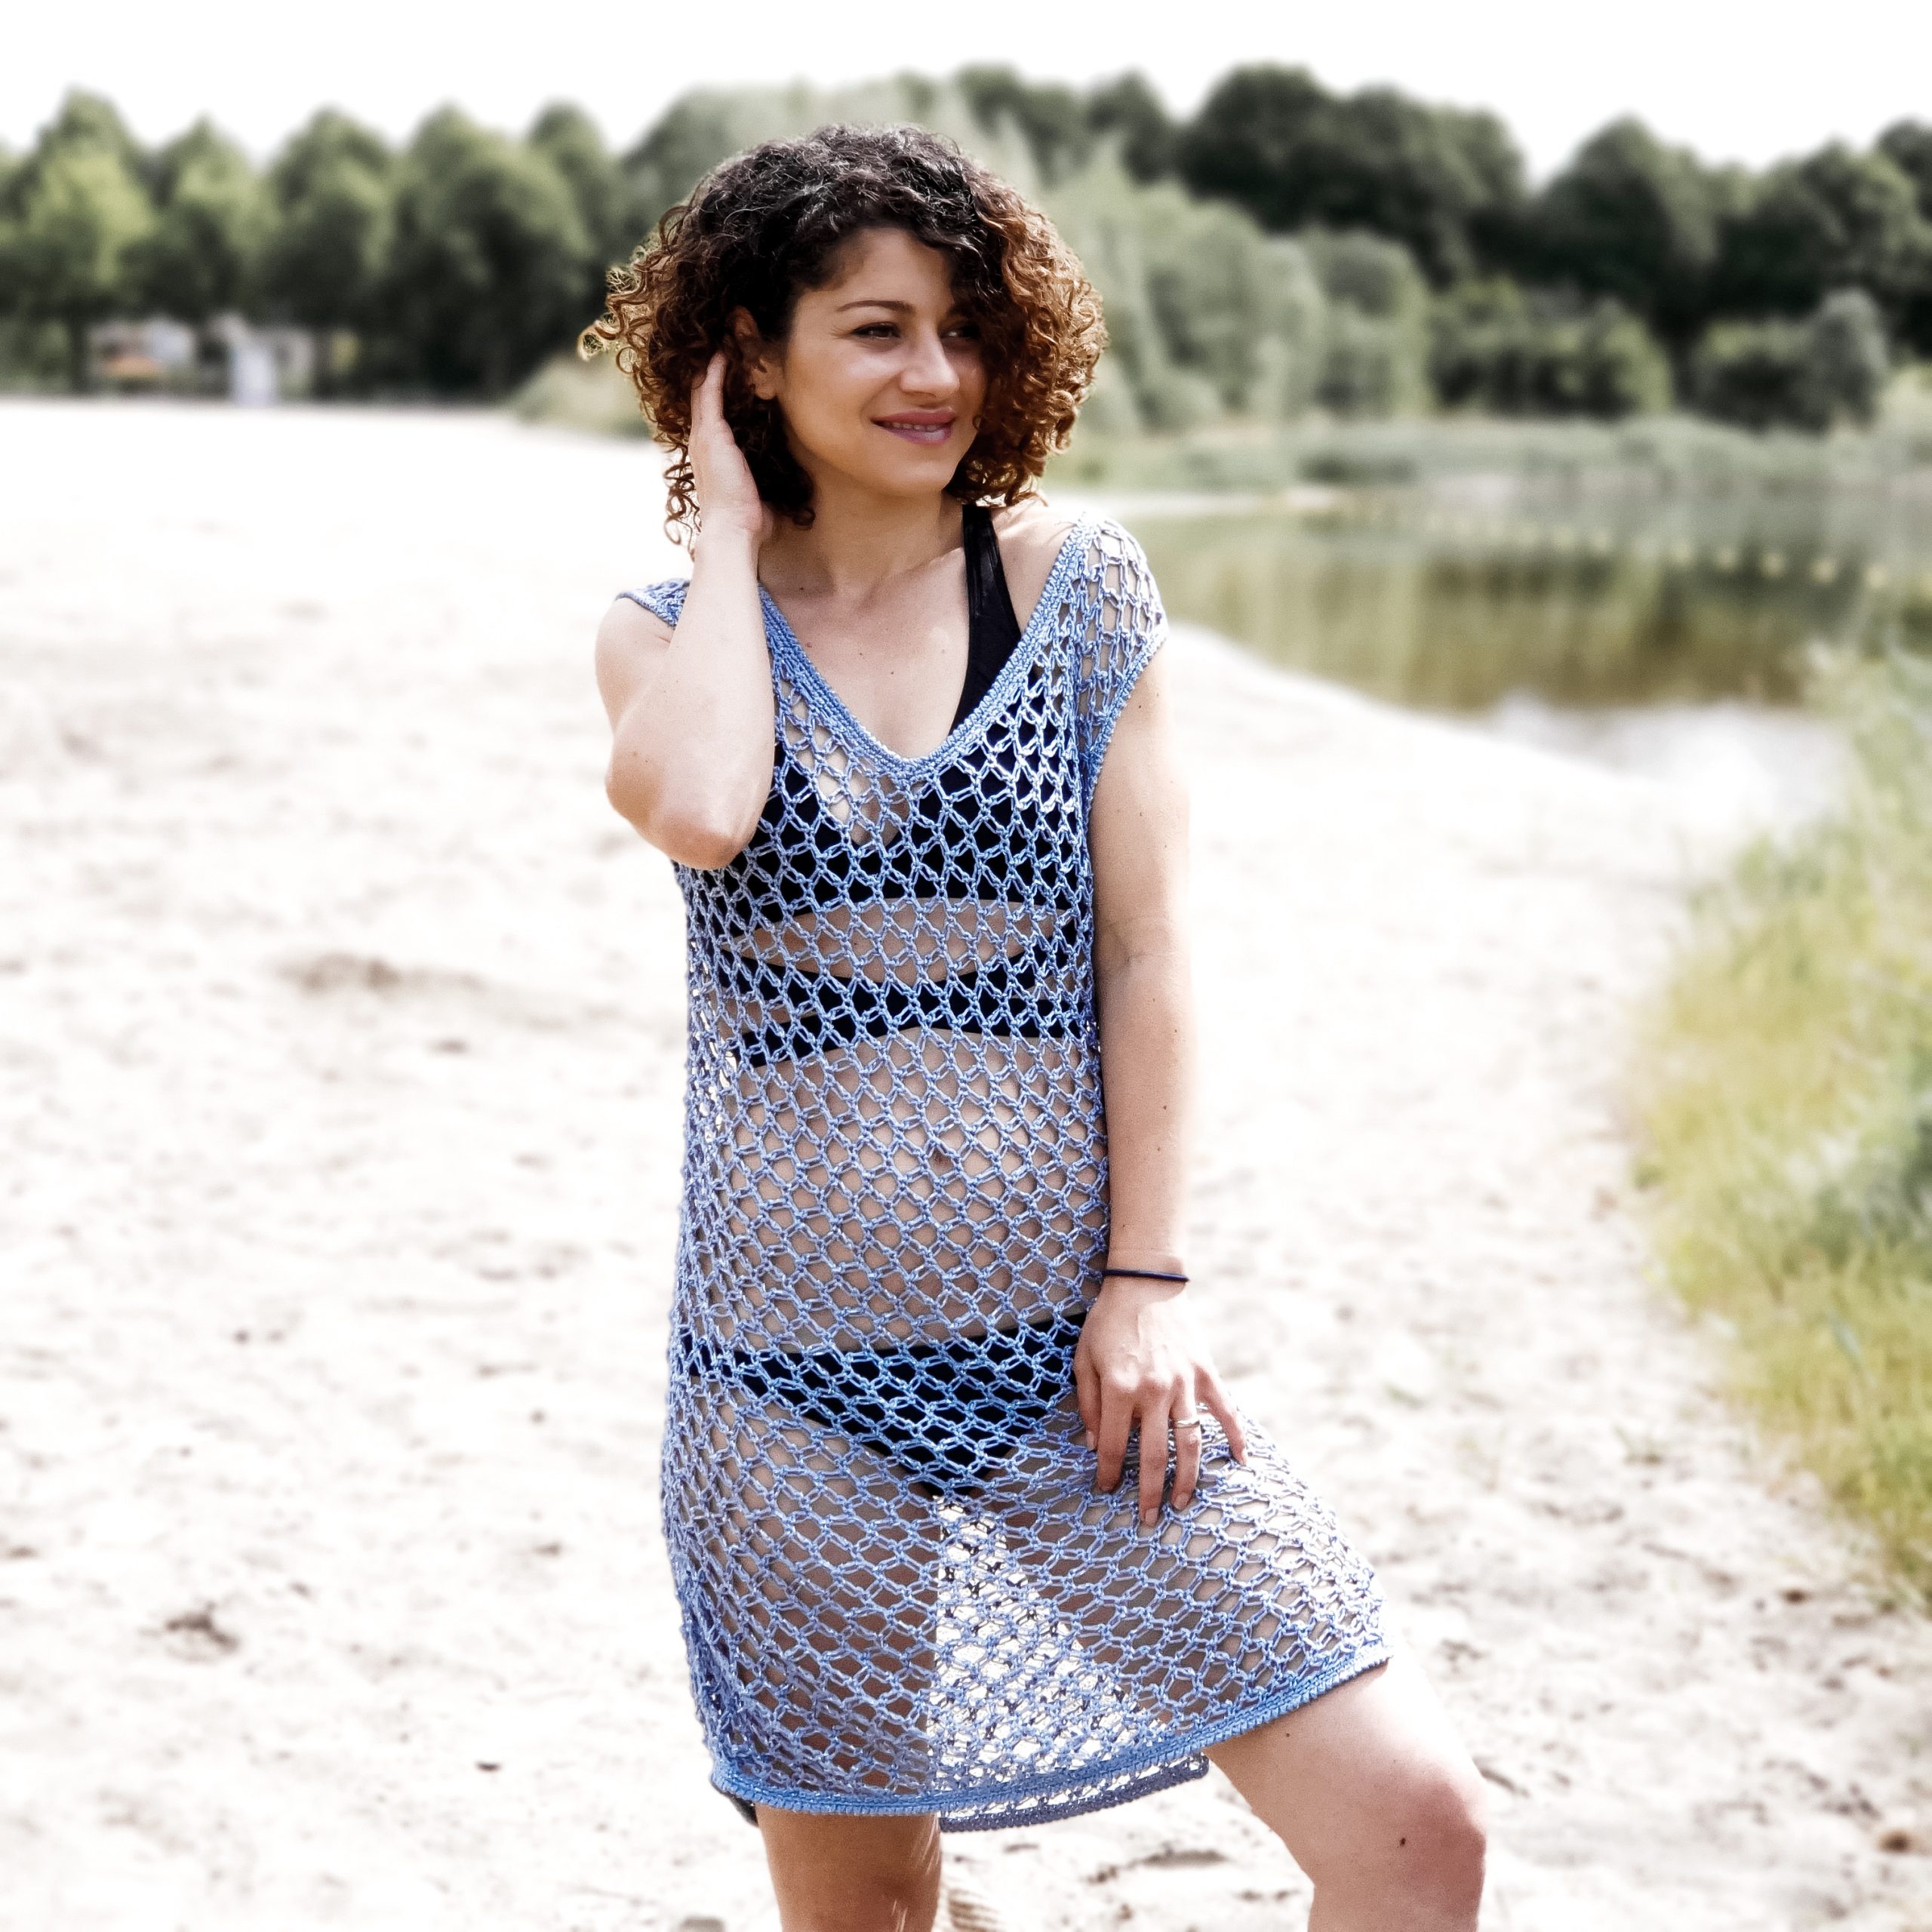
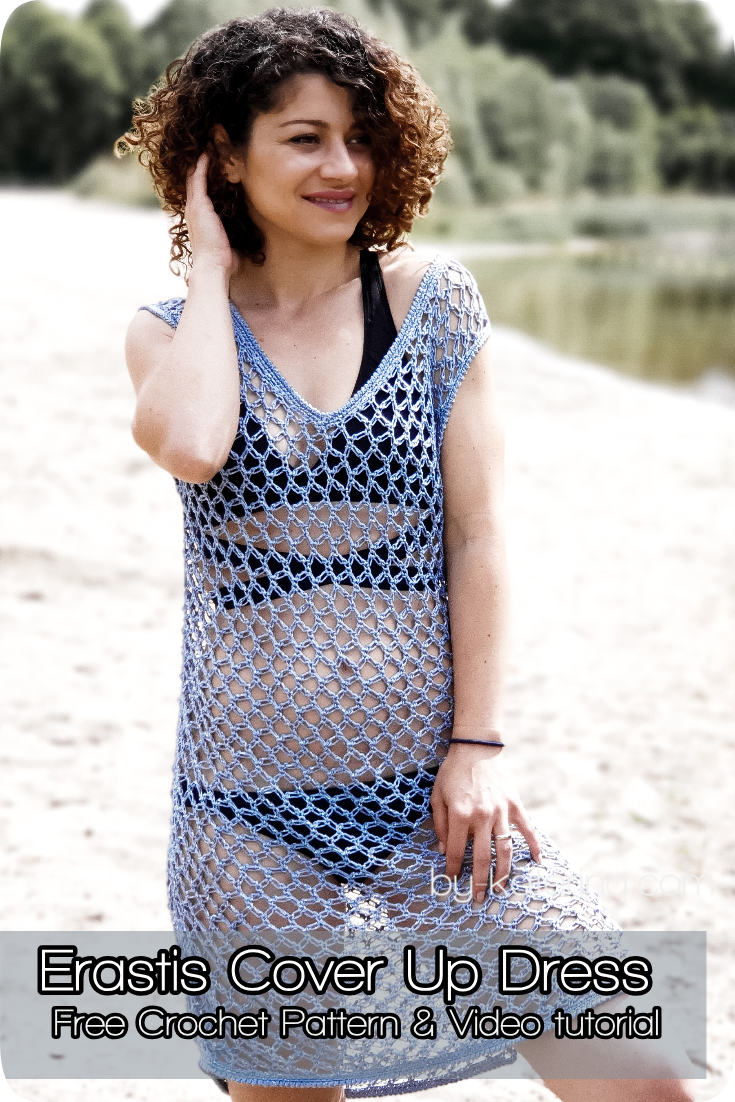
Since I started this beautiful journey into the crochet world, I designed a Cover Up dress each summer and I m happy to share with yo another one: Erastis Cover Up Dress.
You can Purchase the easy printable PDF version of this pattern here:
When I chose the name for this dress I was inspired by the stitch pattern I used and Greece, one of my favorite summer destinations.
Erastis in Greek, means “lover” and the Solomon’s Knot stitch pattern it’s also called Lover’s Knot, so this dress is a lover’s one and I can tell that I love everything about it.
I noticed this stitch pattern for long time ago, but wasn’t sure until now if I can deal with it. The truth is, that this stitch pattern is not difficult at all, and works super fast.
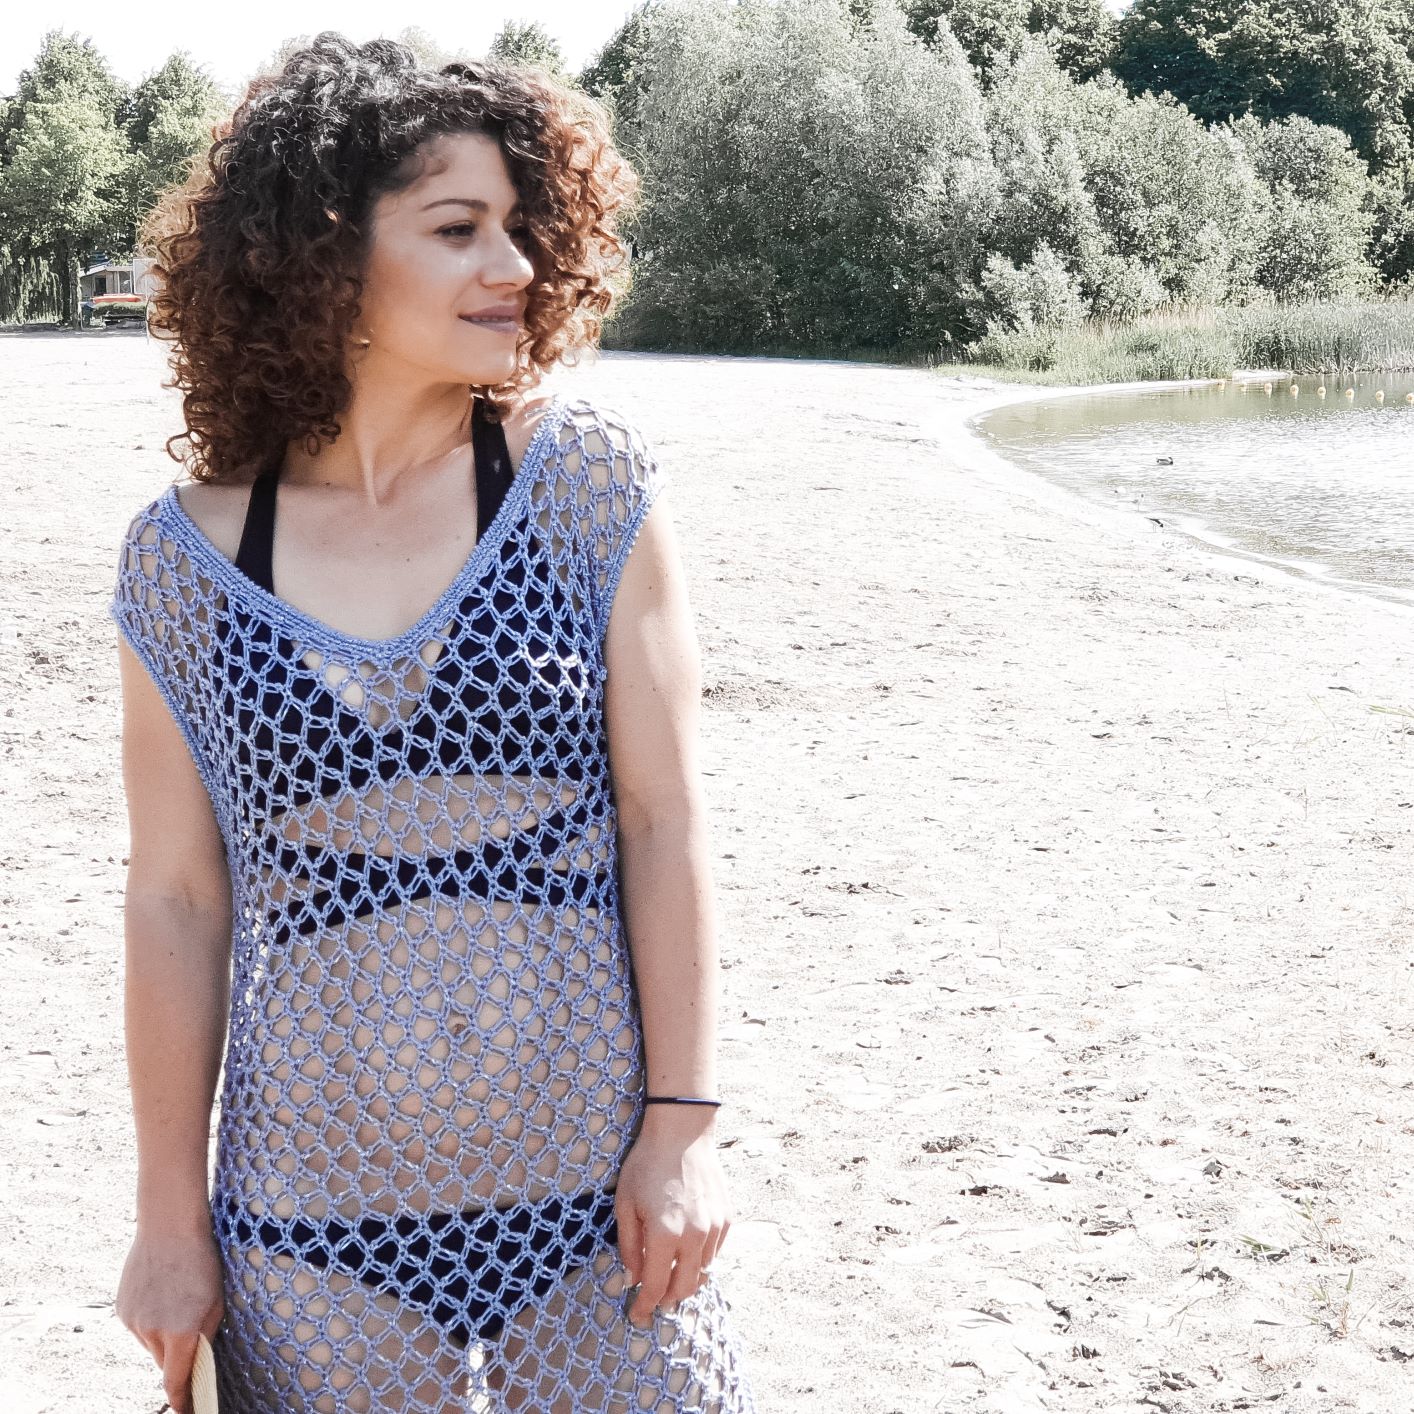
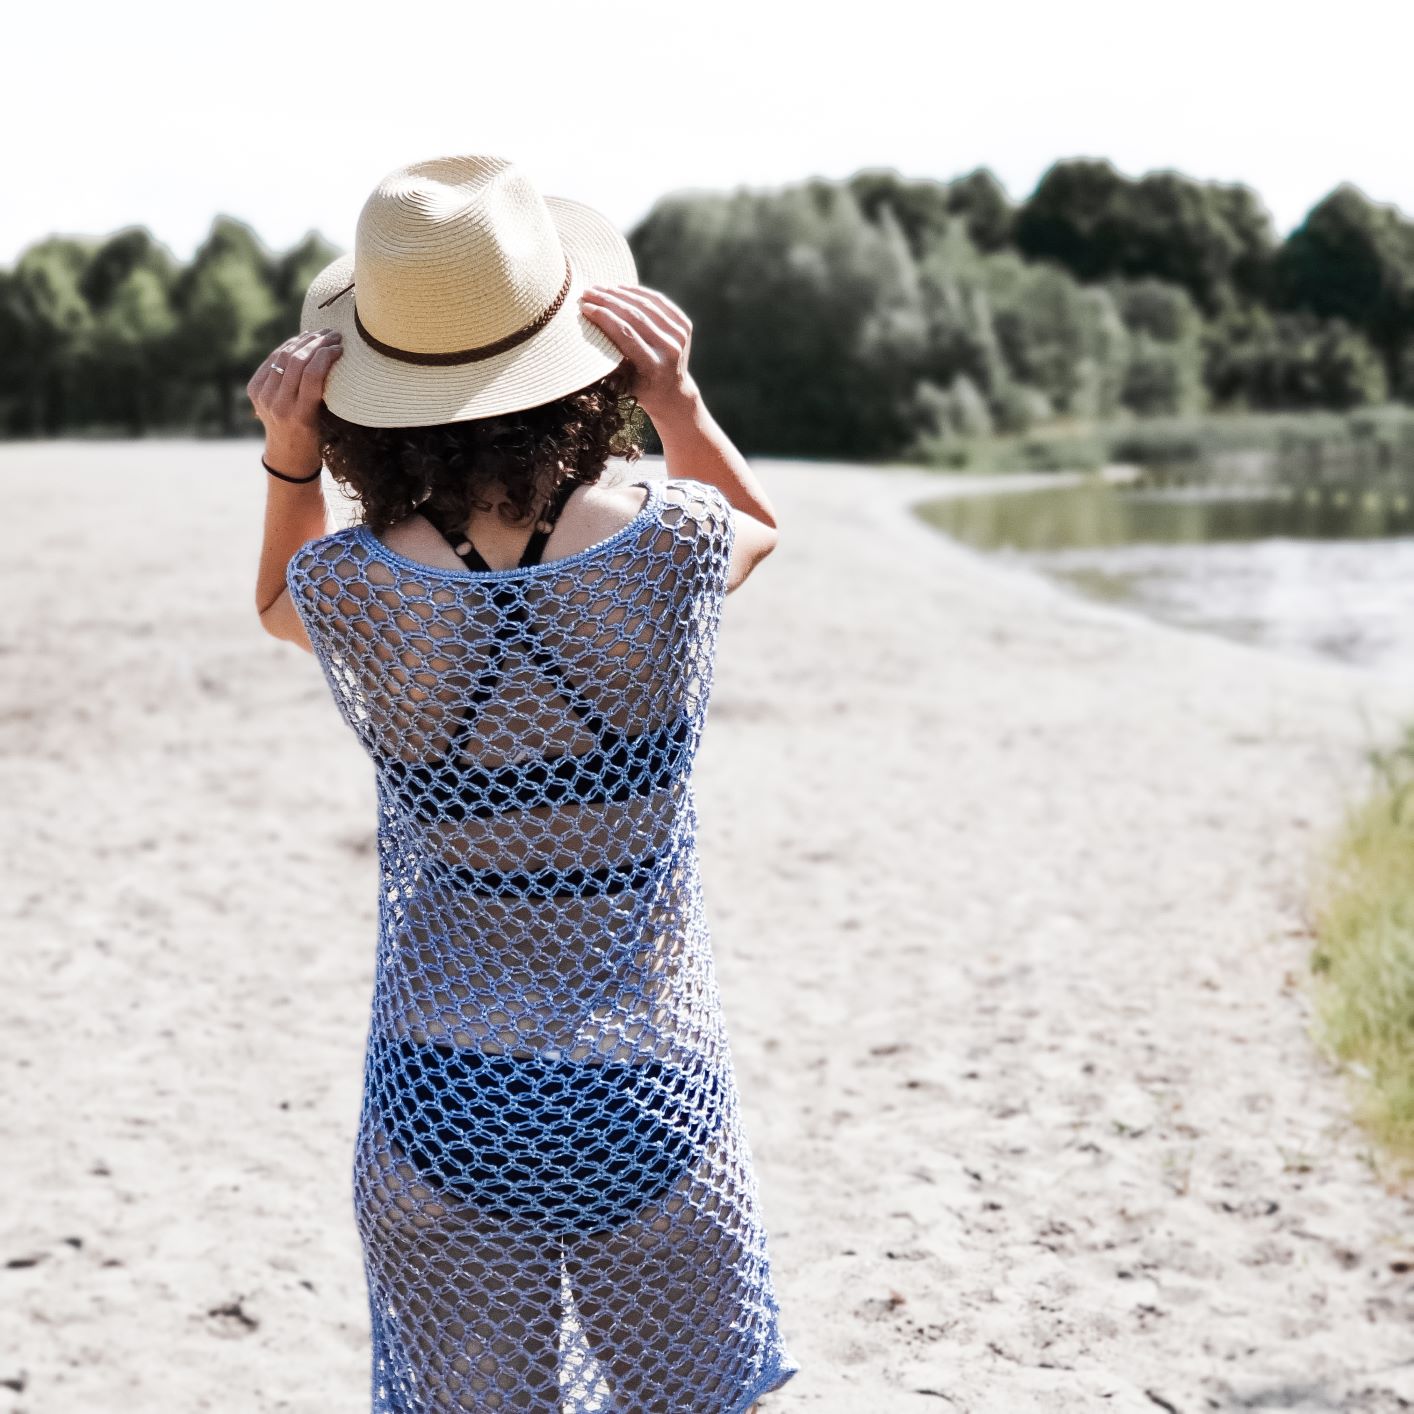
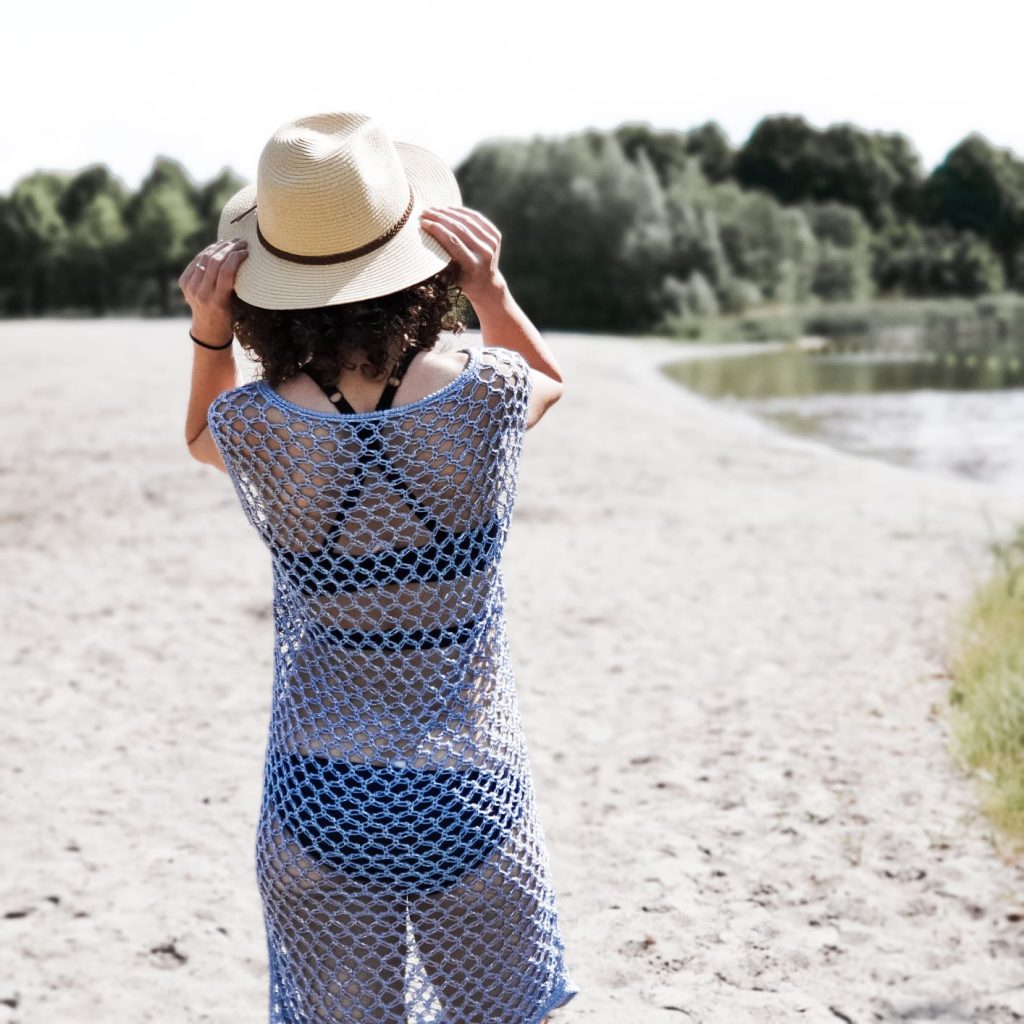
Another question mark I had was if this stitch pattern will work for garments, because most of the designs I saw were shawls or scarfs. After making this dress, the answer is yes. It’s perfect for a bikini cover up, but if you put a tank underneath and use a cord or a belt to make it shorter and also to give some volume to the top part, it can be also worn as a chick tunic with no problems.
Anyways, I hope you will like it and I can’t wait to see yours.
Materials you will need
- Category 3, light, DK weight yarn
- 3 mm crochet hook
- Yarn needle for wave in ends
- Scissors
- 2 stitch markers
Notes about design
This pattern requires techniques as single crochet, triple crochet, and Solomon’s knot stitches (or loops)
The entire dress is worked in Solomon’s Knot Stitch also known as Lover’s Knot stitch pattern.
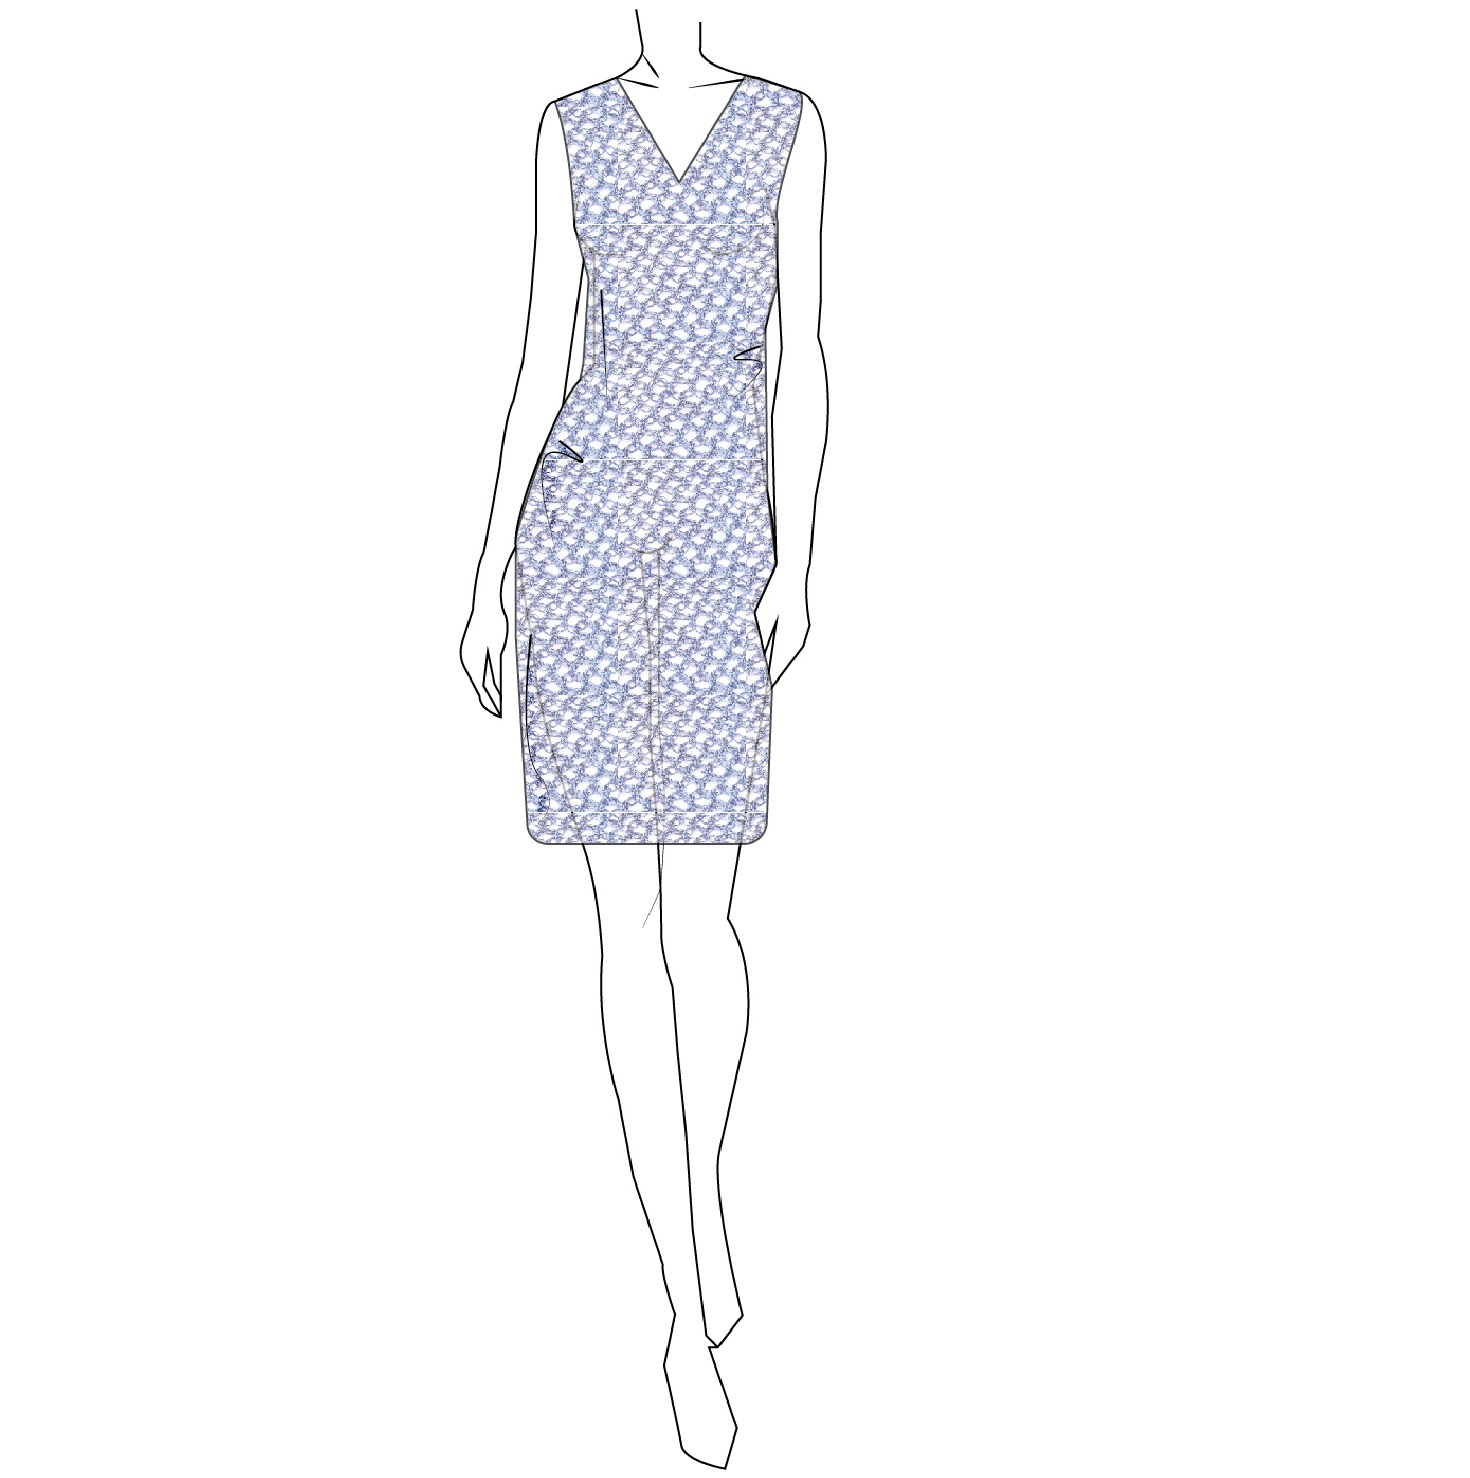
The dress construction is of 2 panels, back and front panel. On the front panel we will decrease to give a V neckline shape to the dress.
Final Measurements
Final measurements of the dress are listed below. All measurements are taken after blocking. In the pattern notes below you will find indications about the gauge and how to measure it.
The pattern is available in 8 sizes form S up to 5XL and is written in US terms.
Measurements for sizes M, L, XL, 2XL, 3XL, 4XL and 5XL are written between brackets.
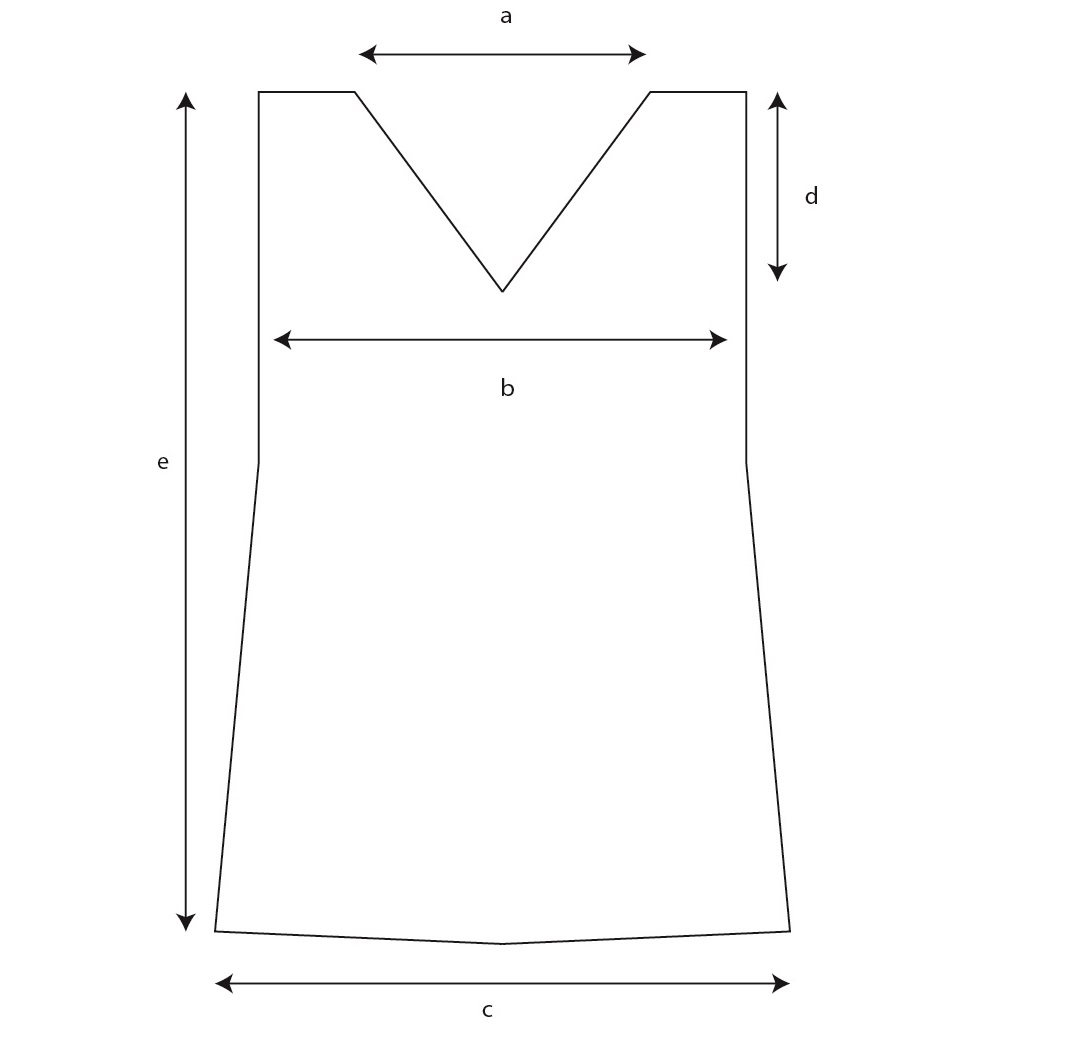
Neck width a: 27 cm (27, 27, 27, 32,32,32,32)
Bust width b: 43 cm (48, 53, 58, 63, 6, 73, 78)
Hips Width c: 48 cm (53, 58, 63, 68, 73, 78, 83)
Armhole Depth d: 24 cm (24, 27, 27, 30, 30, 33, 33)
Length e: 95 cm (95, 95, 95, 98, 98, 98, 98)
This measurements will fit:
| To Fit | S | M | L | XL | 2XL | 3XL | 4XL | 5XL |
| Hips | 90 | 100 | 110 | 120 | 130 | 140 | 150 | 160 |
| Bust | 86 | 96 | 106 | 116 | 126 | 136 | 146 | 156 |
How much yarn do you need?
For this design I used Concept Versailles by Katia. This yarn is a 97% Viscose, 2% Polyamide and 1% Nylon. The yarn has an amazing drape and was perfect for the stitch pattern used for dress.
Any yarn in the same weight category will work, but you have to check the yarn behavior when is worked in this stitch pattern (how stretchy is and how much the swatch measurements are changing after blocking; more details in the pattern notes)
Each ball of Concept Versailles by Katia has 50 grams and 100 meters.
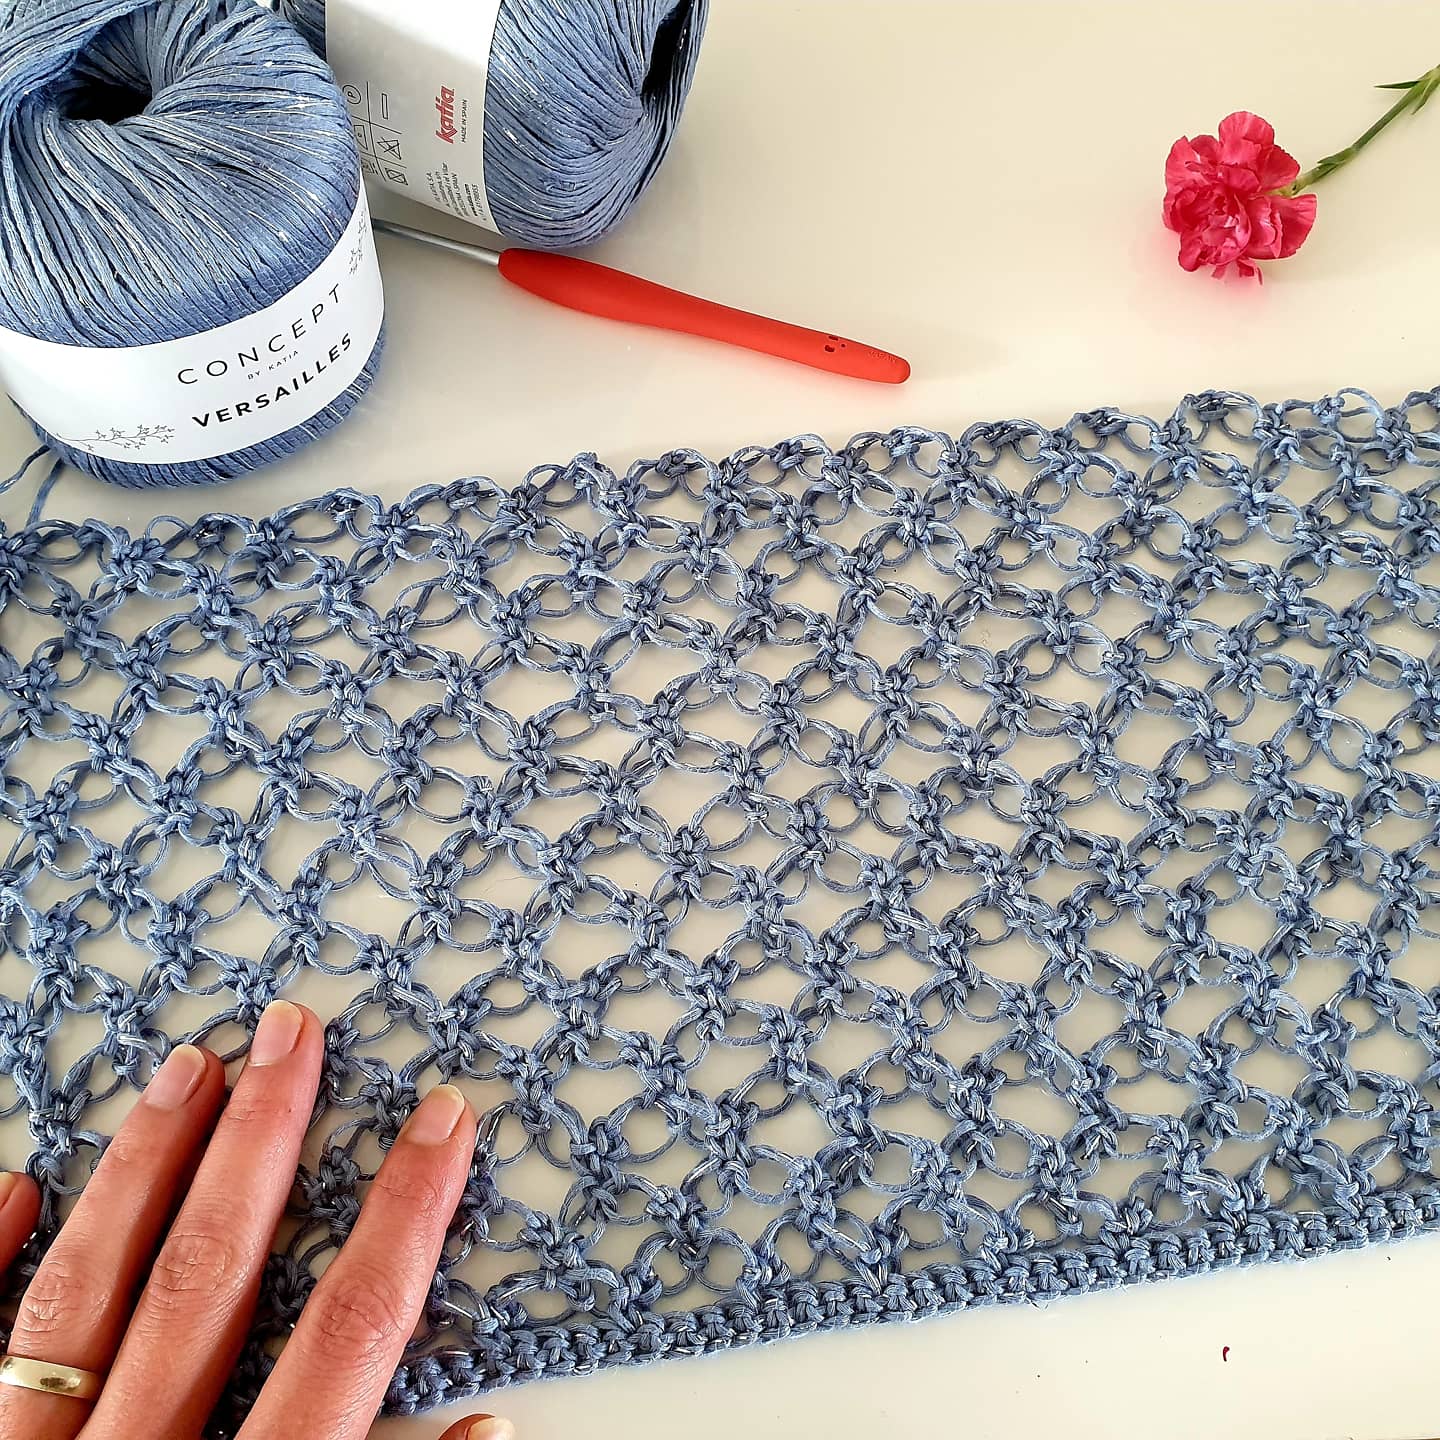
For each size you will approximate need:
| Katia Versailles | S | M | L | XL | 2XL | 3XL | 4XL | 5XL |
| 50g/100m | 8 | 9 | 10 | 11 | 12 | 13 | 14 | 15 |
Abbreviation used in the pattern
- Ch – chain
- Sc – single crochet
- St(s) – stitch (es)
- Tc – triple crochet
- SKL – Solomon’s knot loop as explained below
- Tsc – twisted single crochet: insert the hook into next available loop, yarn aver and pull out a loop, twist the hook clock wise, yarn over and pull the yarn through both loops on your hook
- St(s) – stitch(es)
- ** – repeated section
- R| – row/round
Stitch pattern
The Erastis Cover Up Dress is worked using Solomon’s Knot stitch Pattern.
Solomon’s Knot Stitch Pattern
First let’s see how a Solomon’s knot stitch or loop is made (SKL).
Step 1
Use your crochet hook to pull the loop up to a taller height, about 1 cm.
Step 2
Yarn over and pull through the loop on the hook.
Step 3
Hold your work up and take a close look at what you see there. You should see a loop that has two strands in the front, closest to you, and another solo strand in the back. Insert your hook underneath that solo strand in the back of the work. Yarn over and make a single crochet st.
This was the SKL, Solomon’s Knot stitch or loop (we will call it in this pattern loop)
Now, let’s see how we are working with this loops in rows, to create our pattern.
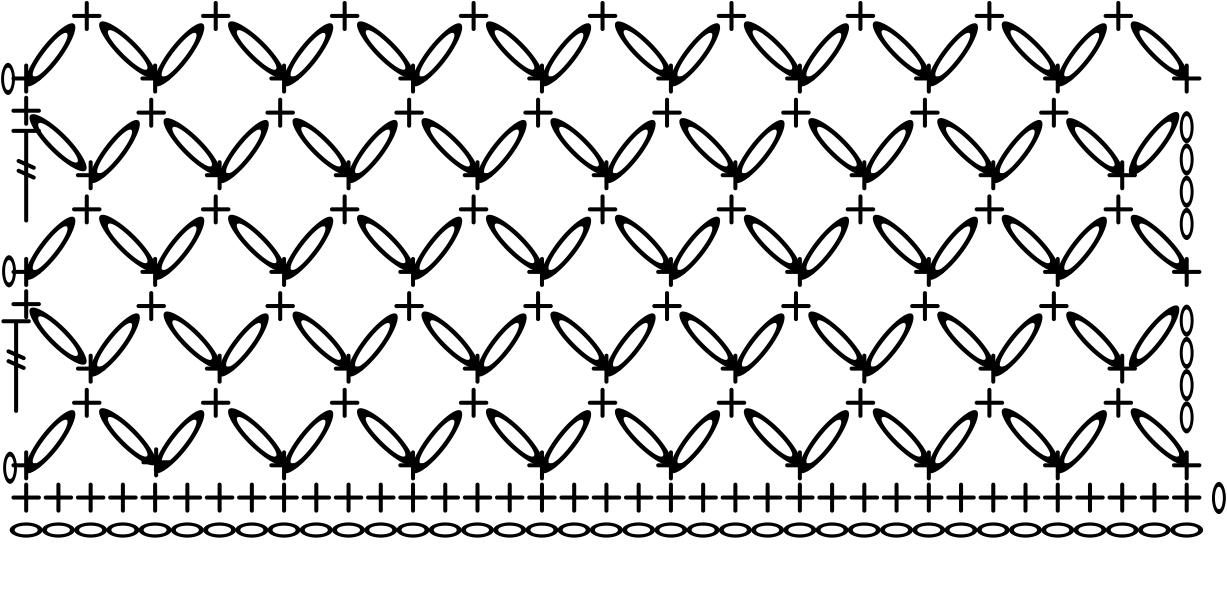
Below you can find the stitch chart:
You can Purchase the easy printable PDF version of this pattern here:
The stitch pattern is a 2 rows repeat.
We will start working the Solomon’s knot stitch in a single crochet row. This pattern requires a multiple of 4+1 stitches.
Here are the rows after the row in single crochet:
R1|: Ch 1, 1 sc in first st, *2 SKL, skip 3 sts, 1 sc in next st. * Repeat to the end of the row.
R2|: ch 4, 1 SKL, skip next SKL, 1 sc in next sc, *2 SKL, skip next 2 SKL, 1 sc in next sc. * Repeat to the end of the row. Finish the row with 1 SKL, skip last SKL, 1 tc in the last sc. Ch 1 and turn
R3|: 1 sc in 1st sc, *2 SKL, skip next 2 SKL, 1 sc in next sc. *Repeat to the end of the row.
Repeat R2 and R3.
Gauge
4 spaces or 8 SKL = 10 cm
3 spaces or 6 rows = 10 cm
*the swatch was measured after blocking
*space = the space between 2 knots
Notes about the pattern
You will need an odd number of spaces, or the multiple of 4 to be odd.
First, make a swatch in the stitch pattern. I will suggest to wet block the swatch to see exactly the yarn behavior after blocking.
For example, with the yarn I used for the dress, my swatch expanded after wet blocking. For example before blocking I had 5 spaces or 10 SKL in 10 cm and after blocking I had 4 spaces in 10 cm.
After having the swatch measured after blocking, check measurements diagram and see with how many sts you will have to start with.
For example I had 4 spaces in 10 cm and I needed for the hips 48 cm. This means that I will need 48 x 4/10 = 19,2 spaces. I end up with 19 spaces.
For each space or 2 SKL you will need 4 ch st.
So, the starting chain will be 19 x 4 = 76 sts. To this number add 1 st as the pattern requires. So, the foundation chain will be of 77 sts.
In this way, no matter, what is your gauge , you can calculate how many sts you will need to start with.
Ch 1, at the beginning of row doesn’t count as a sc
Numbers for sizes M, L, XL, 2XL, 3XL, 4XL and 5XL are written between brackets. If not the pattern applies for all sizes
Instructions
Front Panel
Start| ch 77 (85, 93, 101, 109, 117, 125, 133) sts
Foundation Row: ch 1, 1 sc in each st to the end of the row. Ch 1 and turn
R1|: Ch 1, 1 sc in first st, *2 SKL, skip 3 sts, 1 sc in next st. * Repeat to the end of the row.
After R1 you will have 19 (21, 23, 25, 27, 29, 31, 33) spaces or 38 (42, 46, 50, 54, 58, 62, 66) SKL.
R2|: ch 4, 1 SKL, skip next SKL, 1 sc in next sc, *2 SKL, skip next 2 SKL, 1 sc in next sc. * Repeat to the end of the row. Finish the row with 1 SKL, skip last SKL, 1 tc in the last sc. Ch 1 and turn
R3|: 1 sc in 1st sc, *2 SKL, skip next 2 SKL, 1 sc in next sc. *Repeat to the end of the row.
R4 – R25| Repeat R2 and R3
*if you want the dress to be longer or shorter make more or less rows for this section, but make sure you have an odd number of rows.
For the next 2 rows, we will decrease at the beginning and at the end of the row.
After these 2 rows, we will end up with 2 spaces less than we started.
R26| ch 4, skip 1 SKL, 1 sc in next sc, *2 SKL, skip next 2 SKL, 1 sc in next sc. * Repeat to the end of the row, skip last SKL, 1 tc in the last sc, ch 1 and turn.
R27| 1 sc in 1st sc, 1 SKL, skip next SKL, 1 sc in next sc,*2 SKL, skip next 2 SKL, 1 sc in next sc. *Repeat to the end of the row.
R28 – R45| Repeat R2 – R3
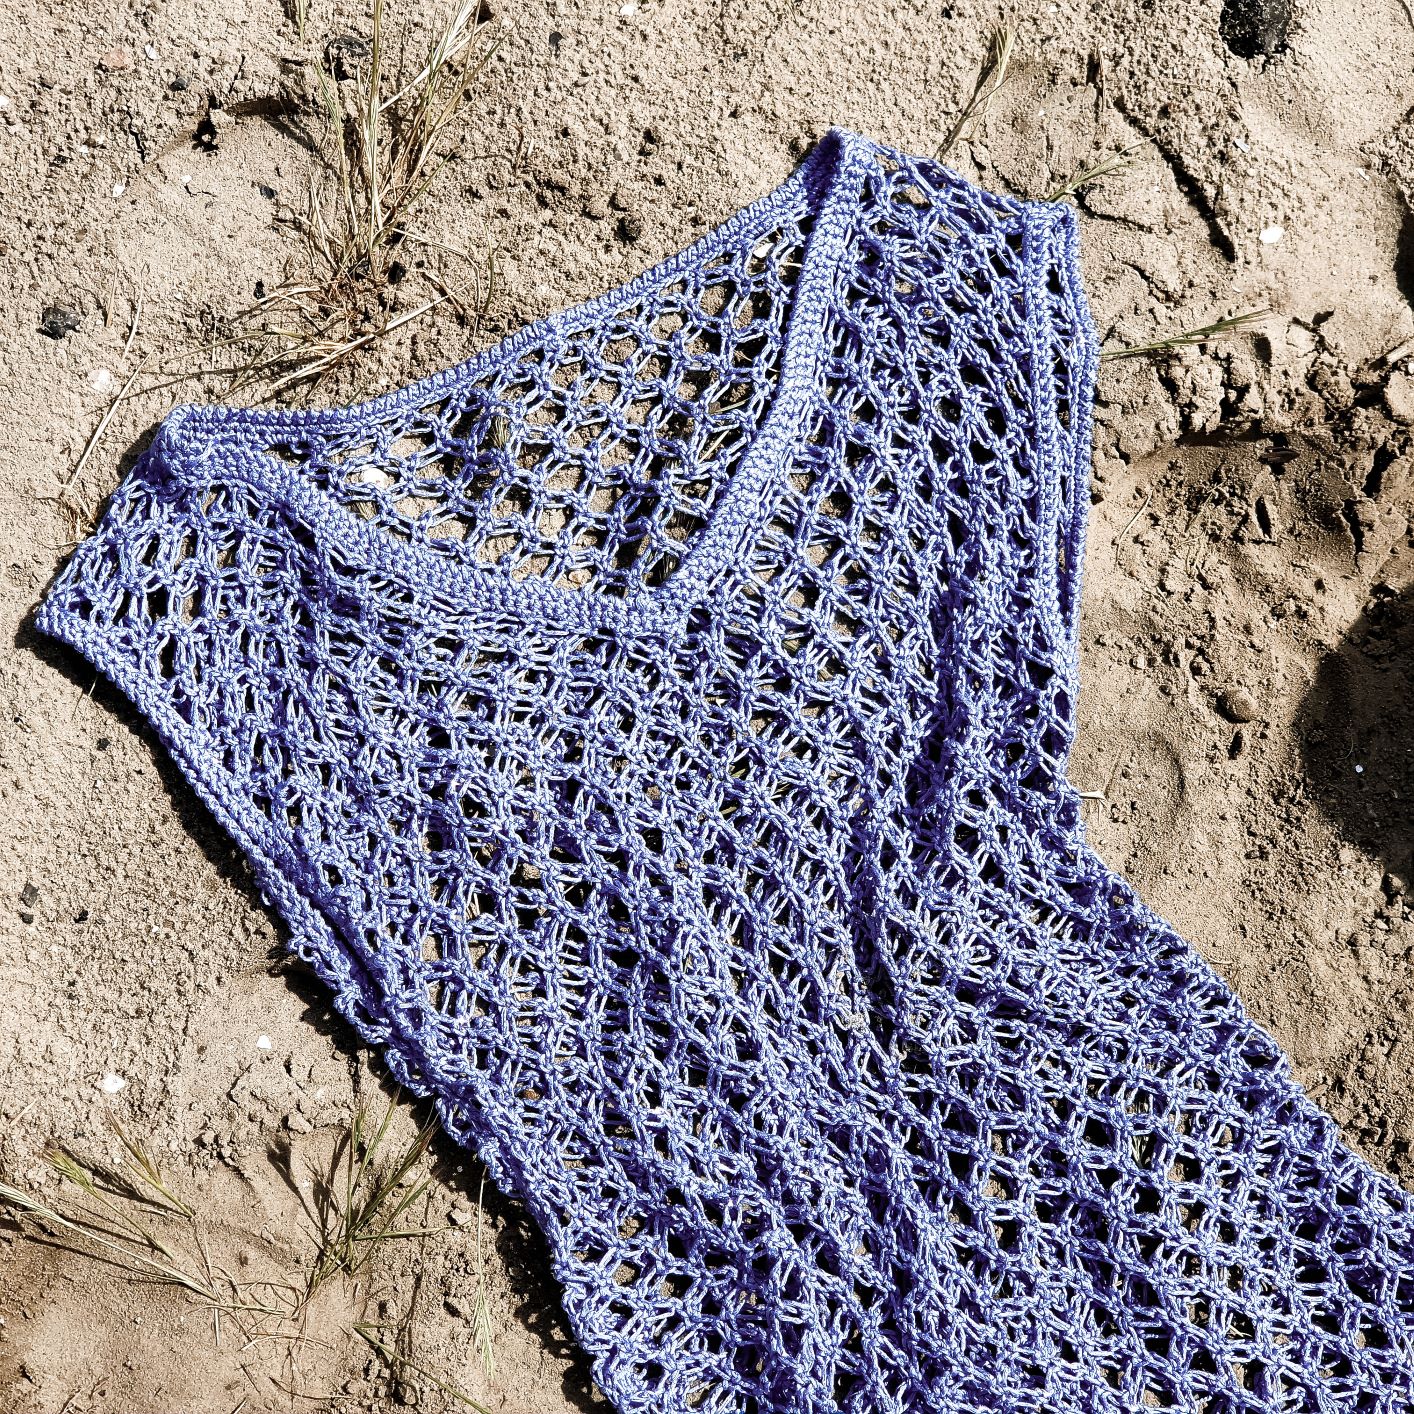
Next, we will start to decrease for the neck line.
Use a stitch marker and place it in the single crochet of the middle space.
While working, you can move the stitch marker into the last knot, to know where you should end the row.
We will work right side and left side of the neck line separately.
Right side
Follow the stitch chart or the pattern written below:
R46R (from right side)| ch 4, 2 SKL, skip 1 SKL, 1 sc in next sc, *2 SKL, skip 2 SKL, 1 sc in next sc. * Repeat to the end of the row (the knot or single crochet before the marked one), 1 tc in the last sc (the marked st). Ch 1 and turn.
R47R| 1 sc in the 1 st sc, 1 SKL, skip 1 SKL, 1 sc in next, *2 SKL, skip 2 SKL, 1 sc in next sc. * Repeat to the end of the row.
Sizes S, M, L, XL
R48R – R55R|: Repeat R46R and R47R
Sizes 2XL, 3XL, 4XL, 5XL
R48R – R57R|: Repeat R46R and R47R
After this rows you finished decreasing. You should end up with 3 (4, 5, 6,6 7, 8, 9) spaces.
For the next 2 rows repeat R2 and R3.
Fasten off.
Left side
Rejoin yarn in the same sc of the middle space.
Follow the stitch chart or the written pattern below:
R46L|: ch 4, skip 1 SKL, 1 sc in next sc, *2 SKL, skip next 2 SKL, 1 sc in next sc. * Repeat to the end of the row. Finish the row with 1 SKL, skip last SKL, 1 tc in the last sc. Ch 1 and turn
*place the stitch marker into the first sc, between the first 2 SKL.
R47L|: 1 sc in 1st sc, *2 SKL, skip next 2 SKL, 1 sc in next sc. *Repeat to the end of the row.
*the end of the row will be the marked stitch.
Sizes S, M, L, XL
R48L – R55L|: Repeat R46L and R47L
Sizes 2XL, 3XL, 4XL, 5XL
R48L – R57L|: Repeat R46L and R47L
After this rows you finished decreasing. You should end up with 3 (4, 5, 6,6 7, 8, 9) spaces.
For the next 2 rows repeat R2 and R3.
Fasten off.
Back Panel
For the back panel follow the same pattern as for the front panel, except that starting with R46 you will have to repeat R2 and R3 to the end.
In case you want a V neck line on the back also, you can follow the exact same pattern.
Don’t fasten off
Assembling
Shoulders
Start joining the shoulders first.
Flip the back panel, to have the start in your right side.
Place the front panel under.
Step1| ch 4, 1 sc in the 1st sc of the front panel
Step 2| 1 SKL, skip 2 SKL from the back panel and make 1 sc in the next sc.
Step 3| 1 SKL, skip 2 SKL from the front panel and make 1 sc in the next sc.
Repeat Steps 2 and 3, until you finish all the stitches from the front panel.
Repeat the same Steps to join the shoulders on the right side.
Side Edges
Use a stitch marker to mark the armholes.
Count from the top (only the ch 4 or tc spaces) 8 (9, 9, 10, 10, 11, 11, 11) spaces.
Sew from the stitch marker to the bottom. You can let a split at the end. I did so, only on one side.

Edging
An edge is added to the neck line, armholes and bottom.
Neck line
Rejoin yarn in one knot in the back.
R1| ch 1, 1 sc, *ch 3, skip 2 SKL, 1 sc in next sc. *Repeat until you inish with the back.
Continue with a sc row, making 2 sc in the SKL side rows and 3 sc in the ch 4 or tc side rows.
*if you worked looser and you feel that is space to make 1 more sc in any of these spaces feel free to make it.
In the valley of the V neck, make a 3 sc decrease, working 3 sc together. The middle knot will be the second sc of the decrease.
Continue with sc stitches until you get to the section left of the back panel. On the back panel make ch 2, skip 2 SKL 1 sc in next sc. Join with sl st with the 1st sc.
R2| ch 1, 1 sc in each st, except the 3 sts in the valley, 3 sc together (the second sc will be the previous round decrease), 1 sc in each st to the end of the row.
R3| ch 1, 1 sc in the same st, 1 Tsc in each st, except the 3 sts in the valley, 3 sc together, 1 tsc to the end of the round.
Fasten off.
Repeat the same pattern for the armhole edging and bottom, 2 rows in sc and 1 row in twisted sc.
To finish
Wave in all end and block to measurements.
You can find a video tutorial here or click the image below.
https://youtu.be/0MnZwn87v6s
You can Purchase the easy printable PDF version of this pattern here:




Comments are closed.