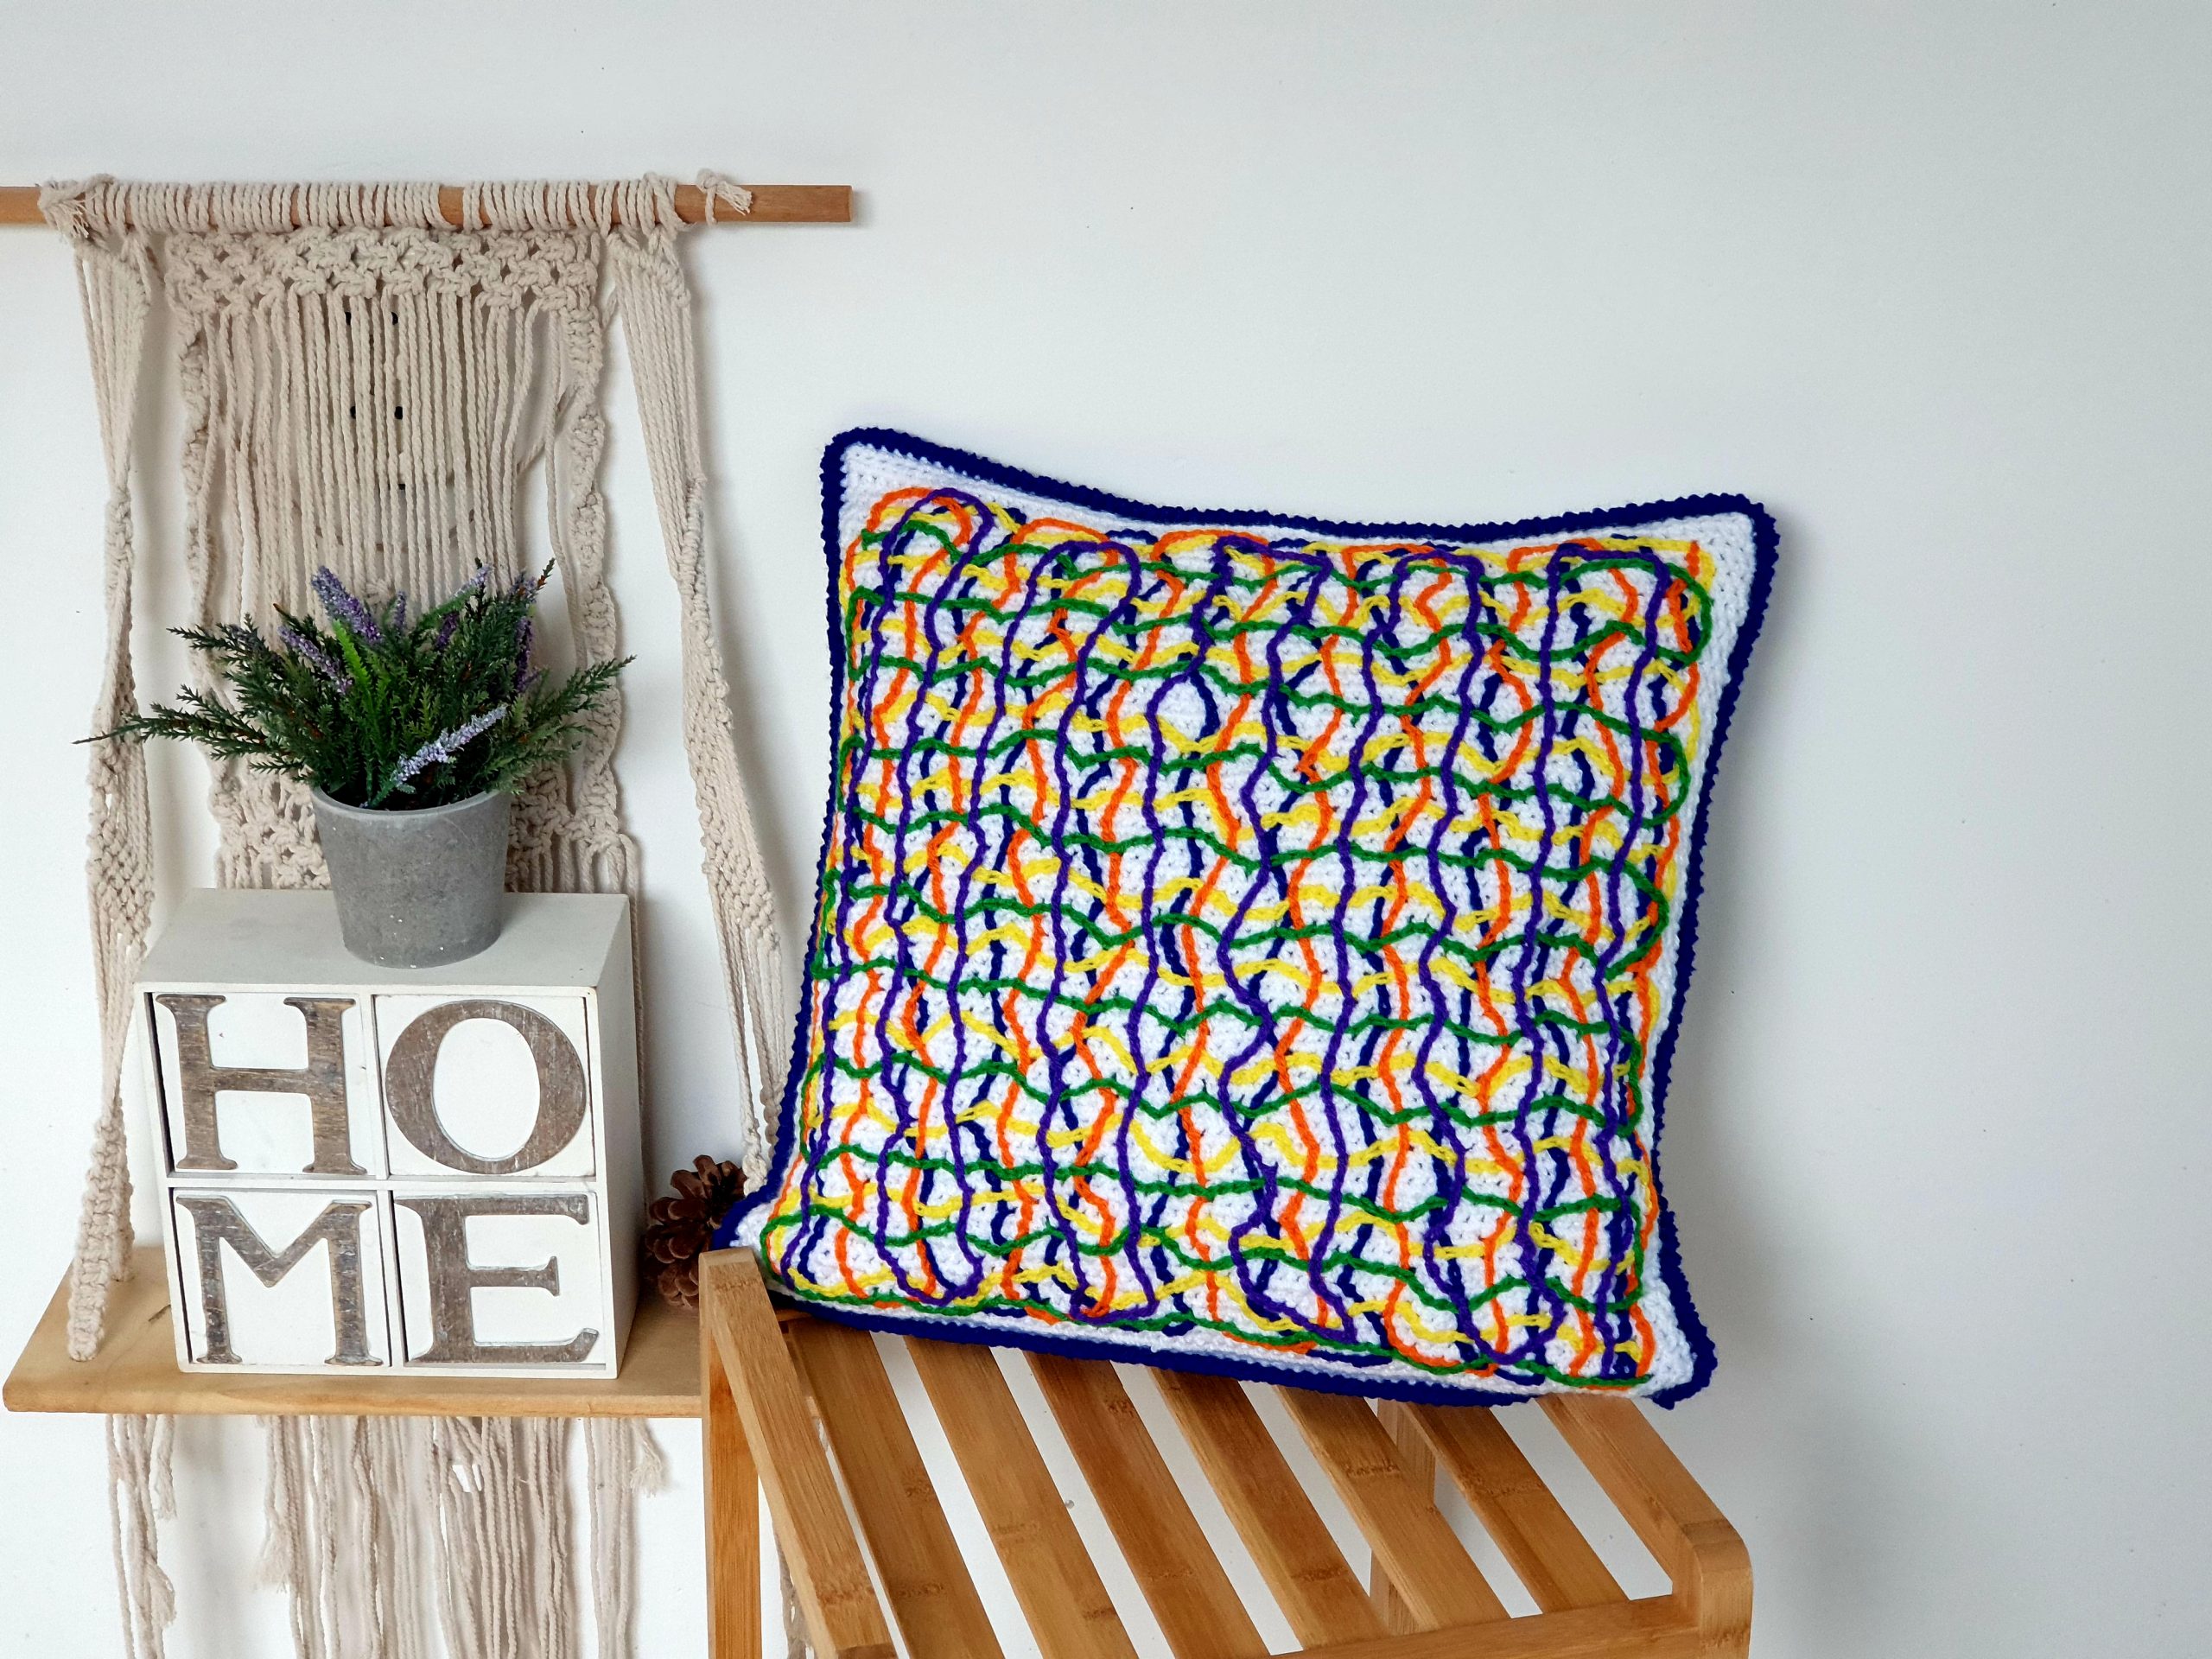
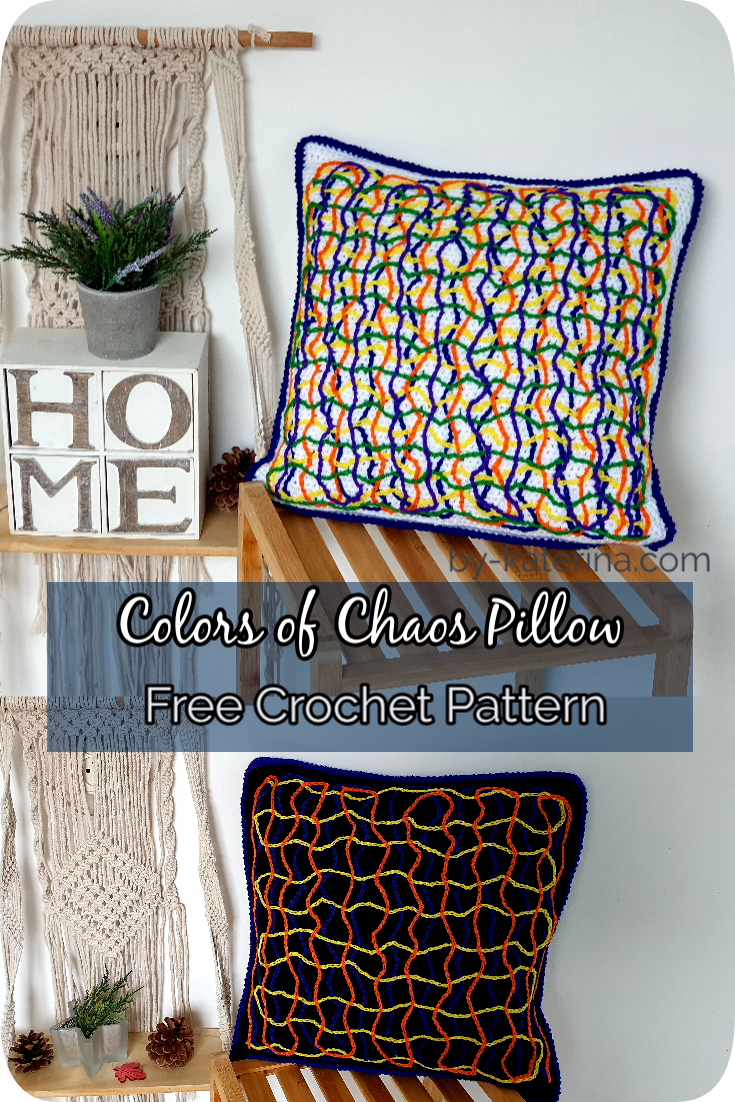
I designed this Colors of Chaos Pillow Cases last summer and the pattern was published in Simply Crochet Magazine, issue 92.
Back then, I had no idea about what 2020 will bring us and that all of us will be part of a World Wide “Chaos”. I can’t believe how the idea of this Pillow Cases design, which I had 1 year ago, fits perfectly the times we live in: to bring some color to our chaos.
You can Purchase the easy printable PDF version of this pattern here:
These Pillow Cases are so fun to make and I am sure that they will bring joy an happiness to any home. They are super easy to make and you can play with colors as you want. On the surface you can add one, or as many colors you want or you have left, because you can use any left over yarn for the slip stitch embroidery, because you won’t need that much.
But, let’s see what you will need and how the Color of Chaos Pillow is made
Materials you will need
- Category 3, Light weight yarn
- 4 mm crochet hook
- 4.5 mm crochet hook for slip stitch embroidery
- Inner cushion 40 x 40 cm
- Zipper 40 cm
- Yarn needle for wave in ends
- Scissors
Notes about design
This pattern requires techniques as half double crochet, slip stitch embroidery or surface crochet, twisted single crochet
The cushions are made from 2 identical sides, back and front. After finishing the cushion squares using the main color, a sl st embroidery is made on the front side using the contrasting color.
The surface crochet can be made using one single contrasting color or more. It’s perfect project if you have some left over yarn, because you won’t need much for this part of the design.
Final Measurements
Final measurements of the cushion are listed below.
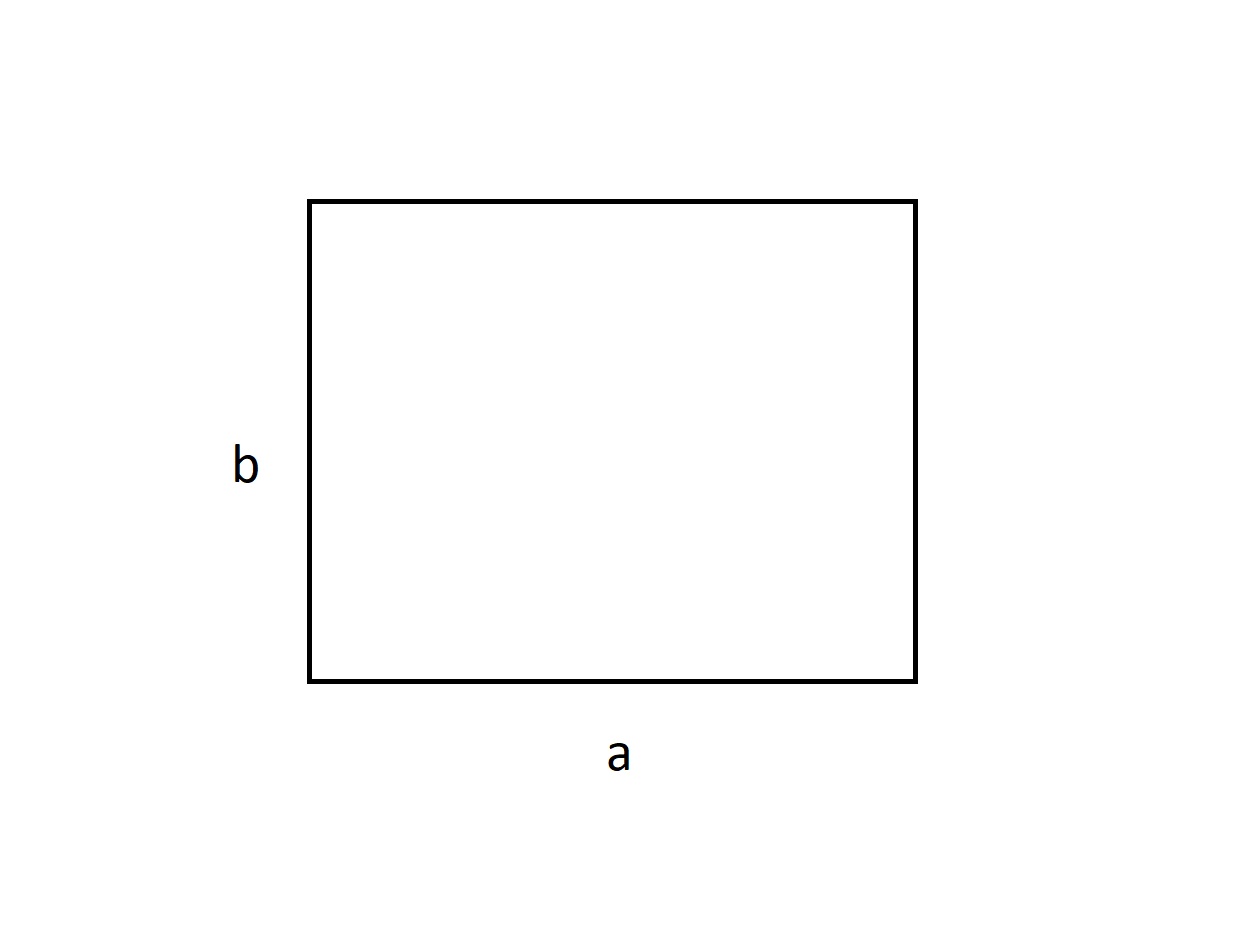
Width a: 41 cm
High b: 40 cm
*without edging
How much yarn do you need?
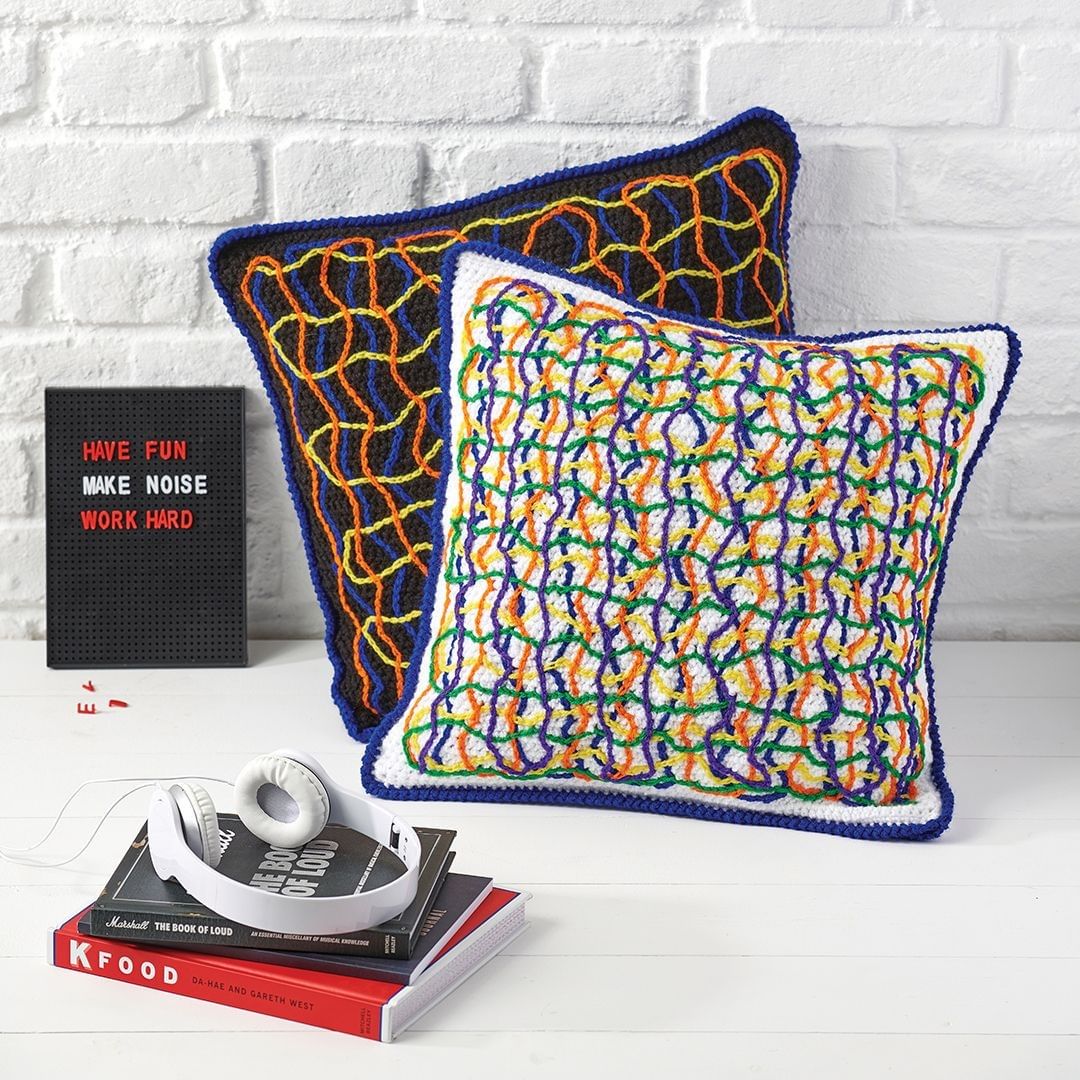
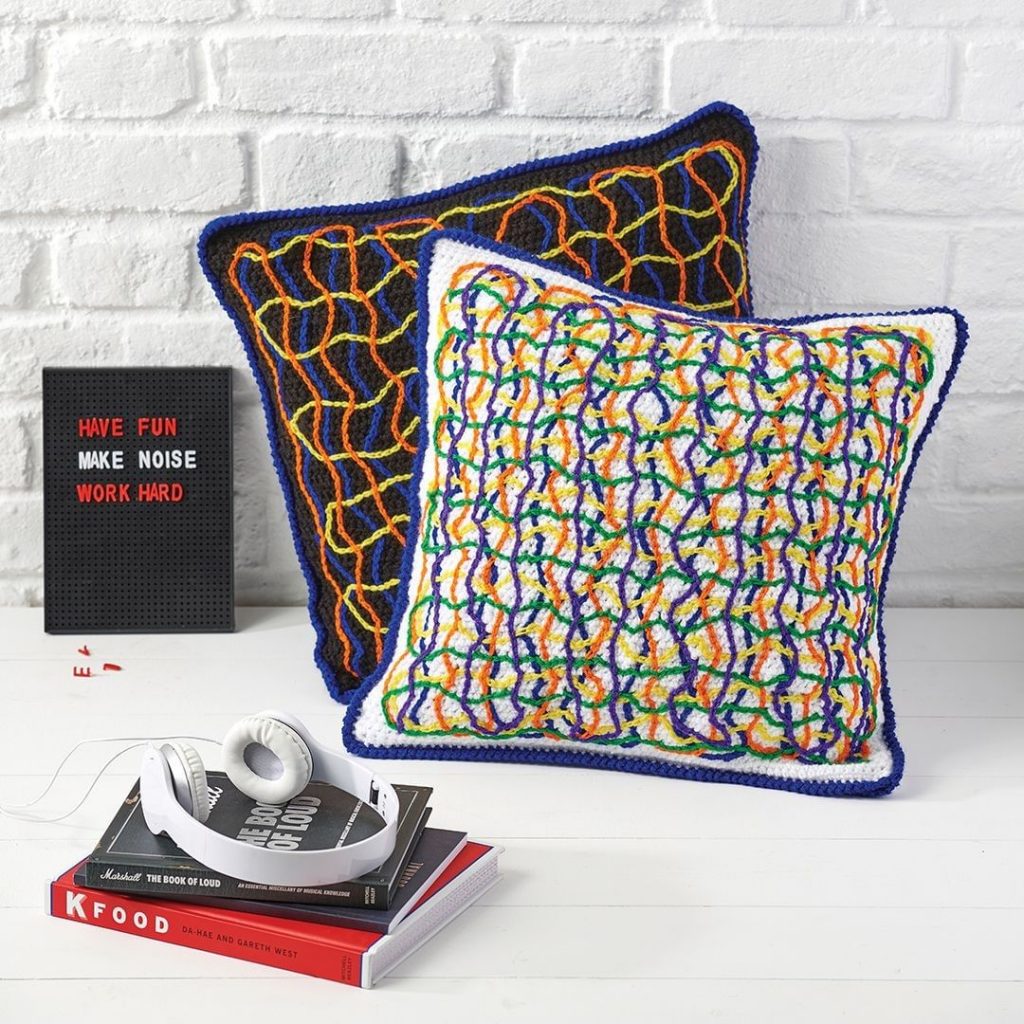
I made 2 cushions, one in main color white and one in main color black.
For both of them I used Scheepjes Color Crafter (100% Premium Acrylic), 2 balls for each cushion of main color white or black), less than 1ball of contrasting colors. For the cushion in main color white I used 5 contrasting colors: Blue, Yellow, Orange, Green and Purple
For the cushion in main color Black, I used 3 contrasting colors: Blue, Yellow, Orange
Abbreviations used in this pattern
- Ch – chain
- Sc – single crochet
- hdc – double crochet
- Tsc – twisted single crochet: : insert the hook in next available st, YO and pull out a loop, twist your hook clockwise, YO and pull it through both loops on your hook
- Ss – slip stitch
- R| – round
Gauge
14 sts and 15 rounds to measure 10 x 10 cm (4×4 in) in hdc made between sts, using 4 mm hook.
Slip stitch embroidery
Working on the surface of your work, keep the yarn under. Insert the hook through one space between sts and pull out a loop. Insert the hook in the next space, pull out a loop and pull it through the loop on the hook like making a chain st. Continue like this until you complete your desired pattern.
The sl st embroidery made on the surface of the front side is made free style. As guidance, you can alternate vertical lines using one contrasting color, with horizontal lines with the next color. The lines don’t have to be straight. The lines can be made at a 2 – 3 cm distance. You can create any shapes you want. Let your imagination work for you while you are pulling the yarn through.
Pattern Notes
Ch 2 at the beginning of each row doesn’t counts as first hdc.
You can Purchase the easy printable PDF version of this pattern here:
Instructions
Cushions
Start| Use one of the main color and ch 60
R1| Ch 2 sts more (will count as first hdc) and starting with the 4th st from the hook, make 1 hdc in each st to the end of the row. Ch 2 and turn
R2| Make 1 hdc between each st to the end of the row. At the end of the row you will have 59 sts. Work one last st in the turning chain. Ch 2 and turn
R3 – 58| Starting with row 3, work just between sts and repeat R2.
Edging
To finish the cushion square, make 1 sc in each st around. You will start the round from where your yarn is and go in each stitch around. On sides you will make 1 sc in each side hdc. In the sts from the corner make 3 sc to have a nice round corner.
Next, repeat the pattern for the second square of the cushion.
Surface Crochet (slip stitch embroidery)
After finishing both squares, take the front side and start making the sl st embroidery using as many contrasting color as you wish.
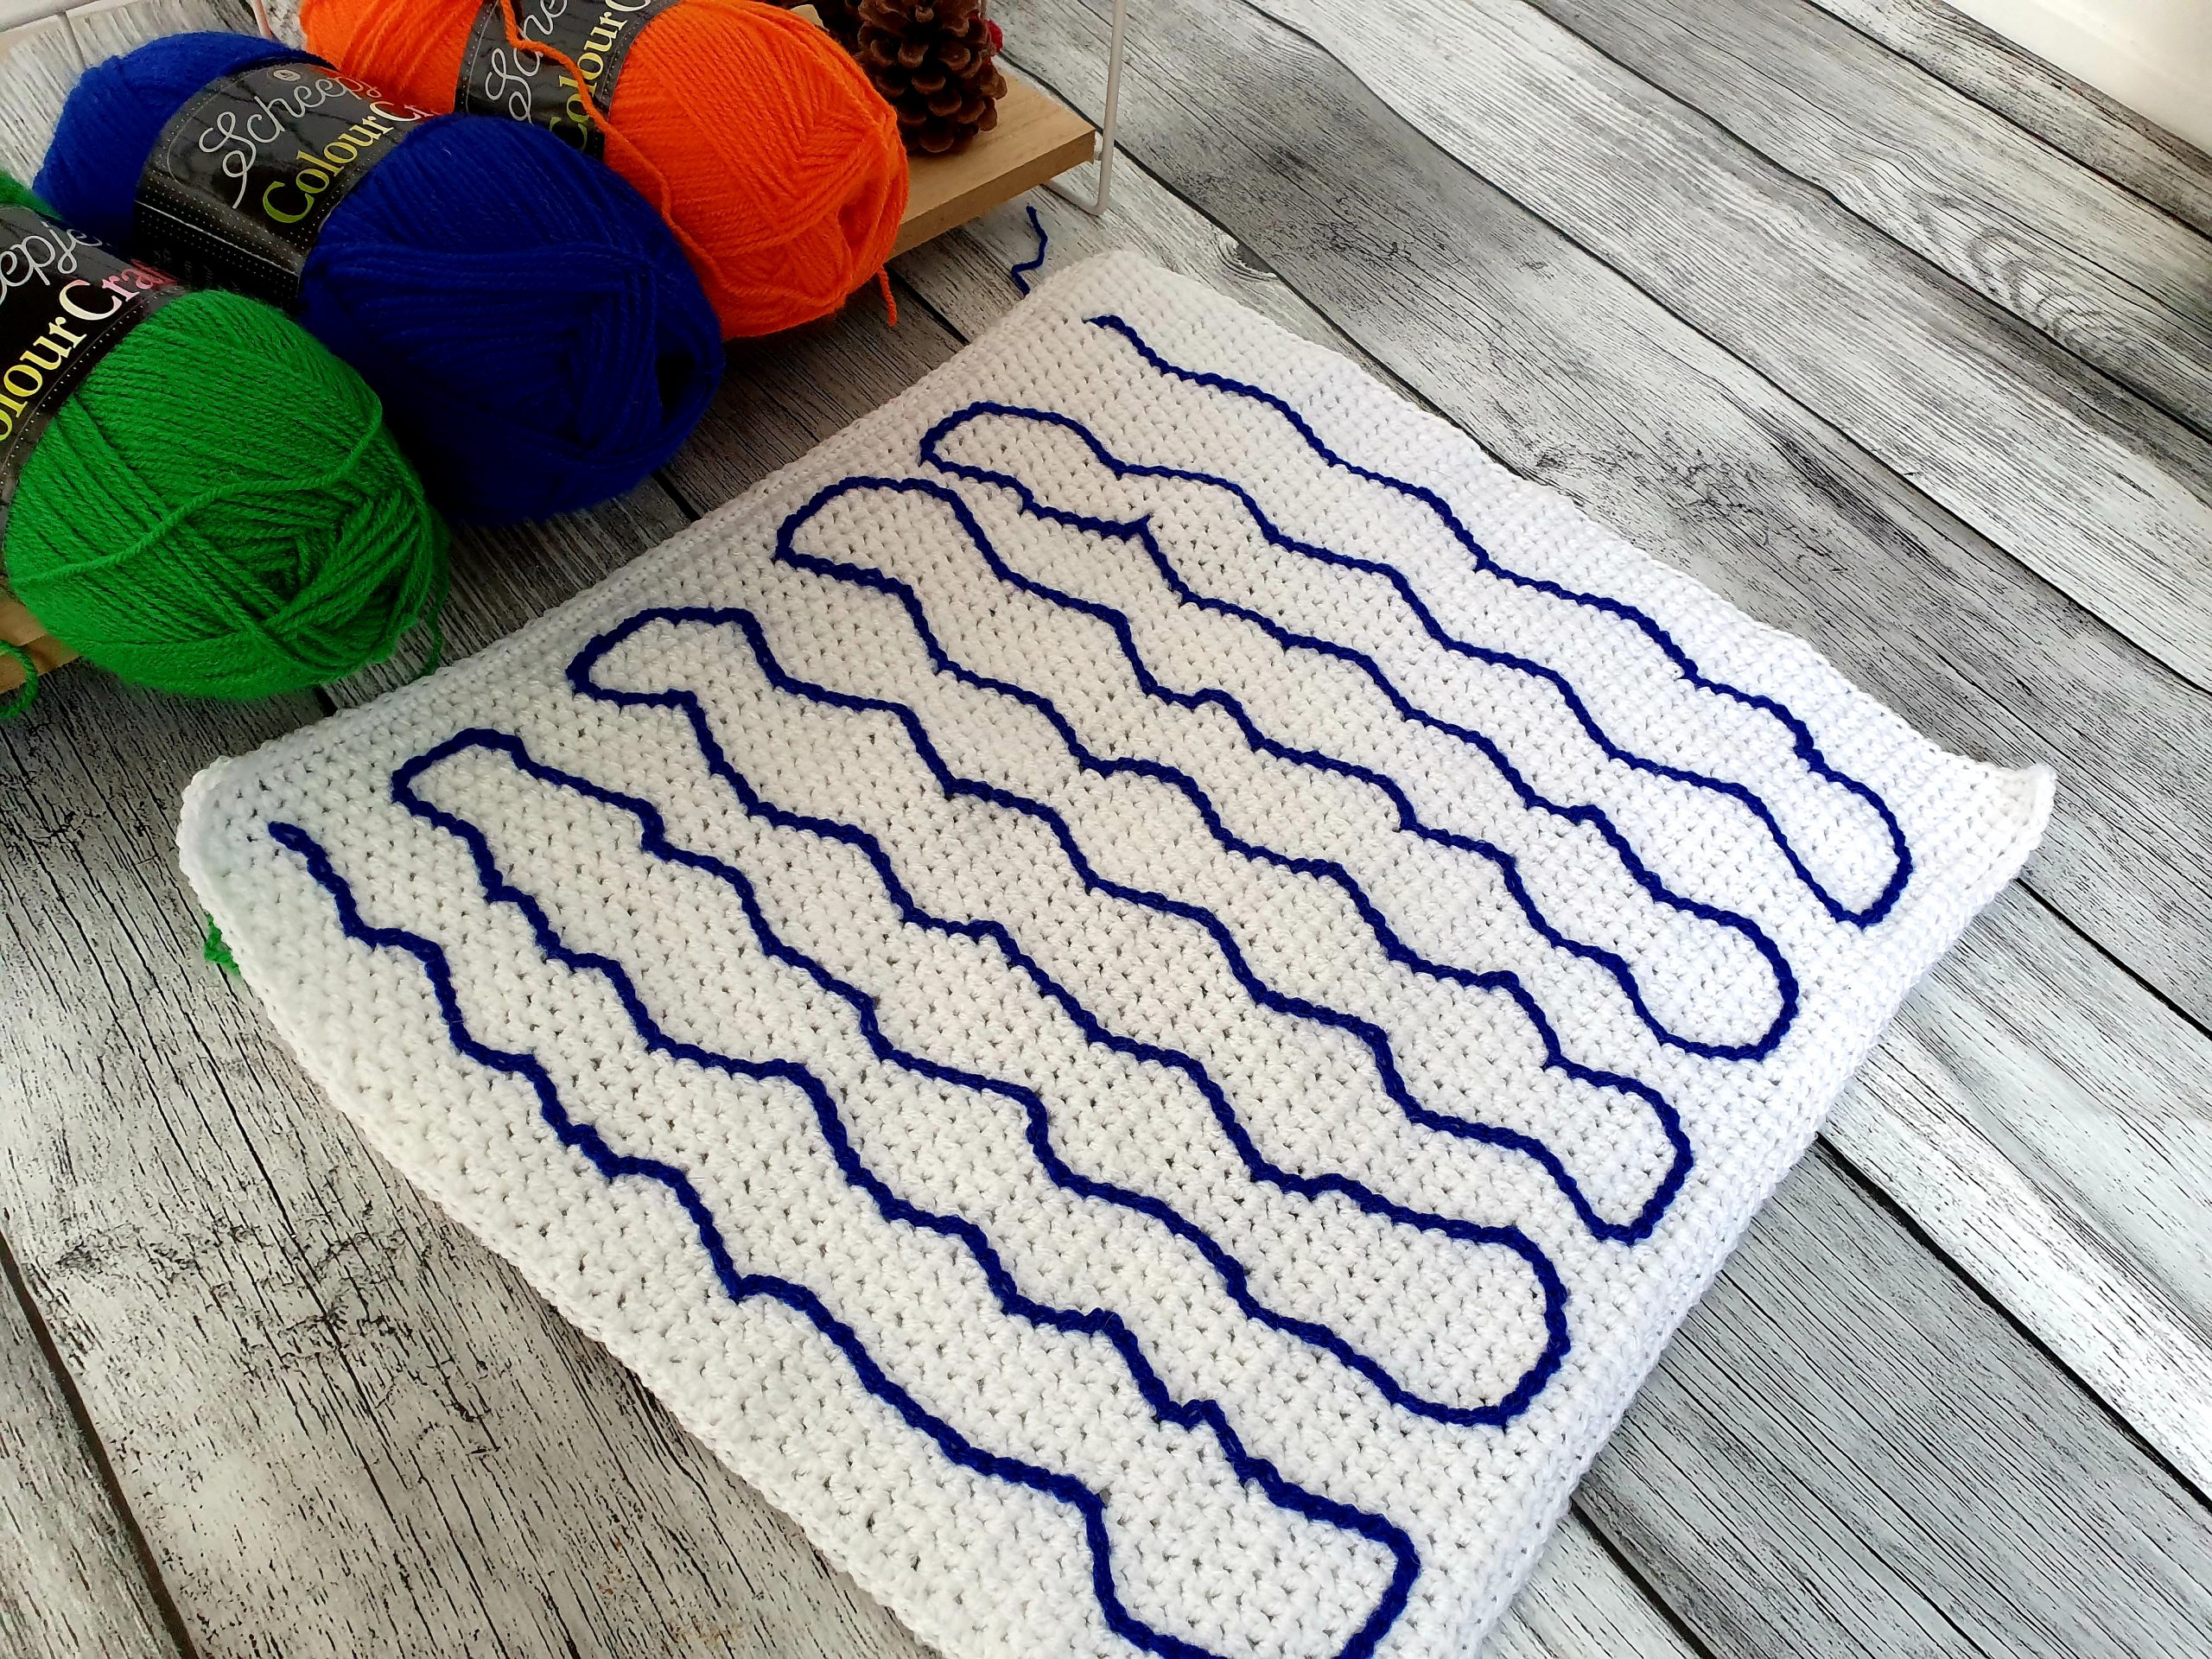
Start with first color Blue, from one corner. Let a few stitches from the bottom and from the margin.
We will work with this color vertical, from bottom to the top. Keep your yarn under, insert the hook and pull out a loop. Then insert the hook into the next st and pull out a loop, then pull it through the loop on your hook. Continue like this working up. You don’t have to keep a straight line. When you have a few sts left from the top margin, make a few sts to the left and then start working to the bottom, in the opposite direction.
Let 2 to 3 cm between lines and keep working until you complete the entire surface of the square. To finish, insert the hook from behind to front and pull the loop, make 1 ch and fasten off.
Next, take the second color, yellow and proceed the same, only that this time you will make the lines horizontally.
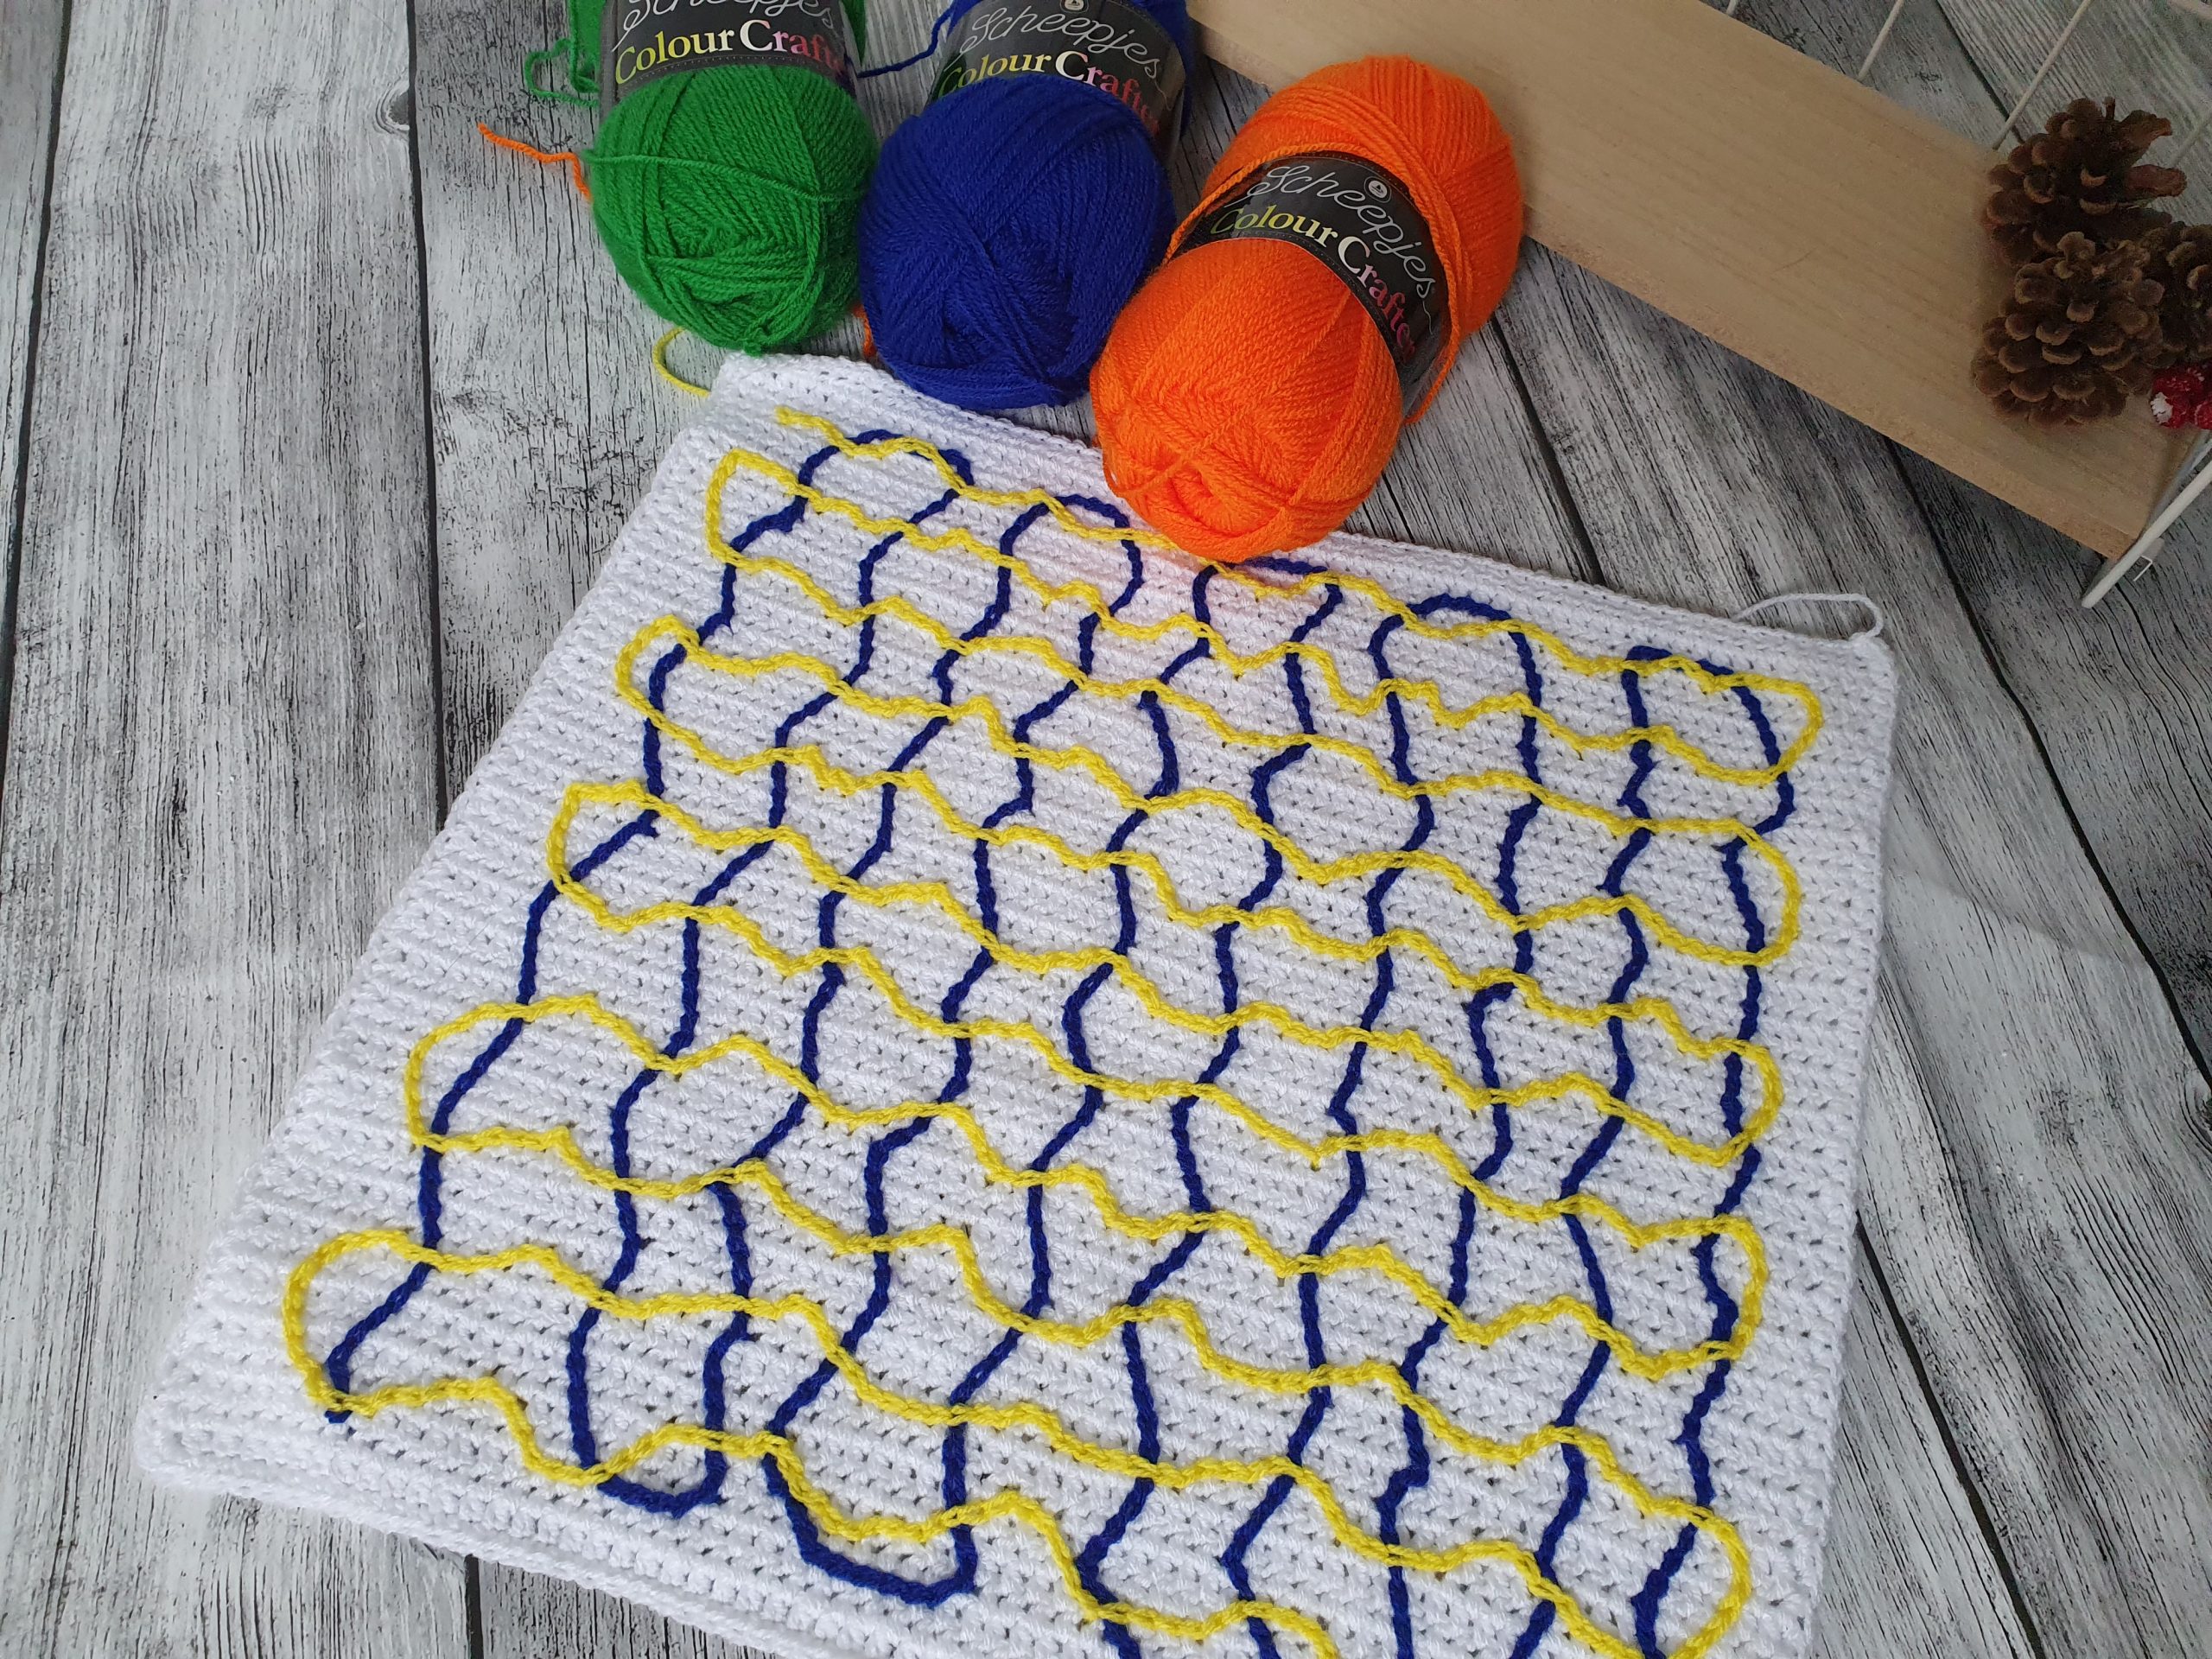
Work like this with as many colors as you want, until you are pleased with the result.
Assembling
Before assembling make sure you wave in all ends.
Overlay the 2 squares of the cushion on the WS (wrong side). We will join the squares on 3 sides, letting one side opened for the zipper.
Use one of the contrasting color or the main color. Start from the left corner working on the RS (right side). Insert the yarn, ch 1, and make 1 sc in each st of the next 3 sides of the square. When making the sc, insert the hook through both sides to join them together.
When you get to the right corner, ch 1 and turn. Make 1 sc in the first st and then 1 Twisted sc in each st of the next 3 sides of the square. Fasten off.

You can Purchase the easy printable PDF version of this pattern here:
To finish
Sew the zipper on the side left open. Use some pins to fix the zipper in proper position and then sew the zipper.
Next, add the same edging used to assemble both squares on each side of the zipper.
Wave in all ends, insert the inner cushion and done!




Comments are closed.