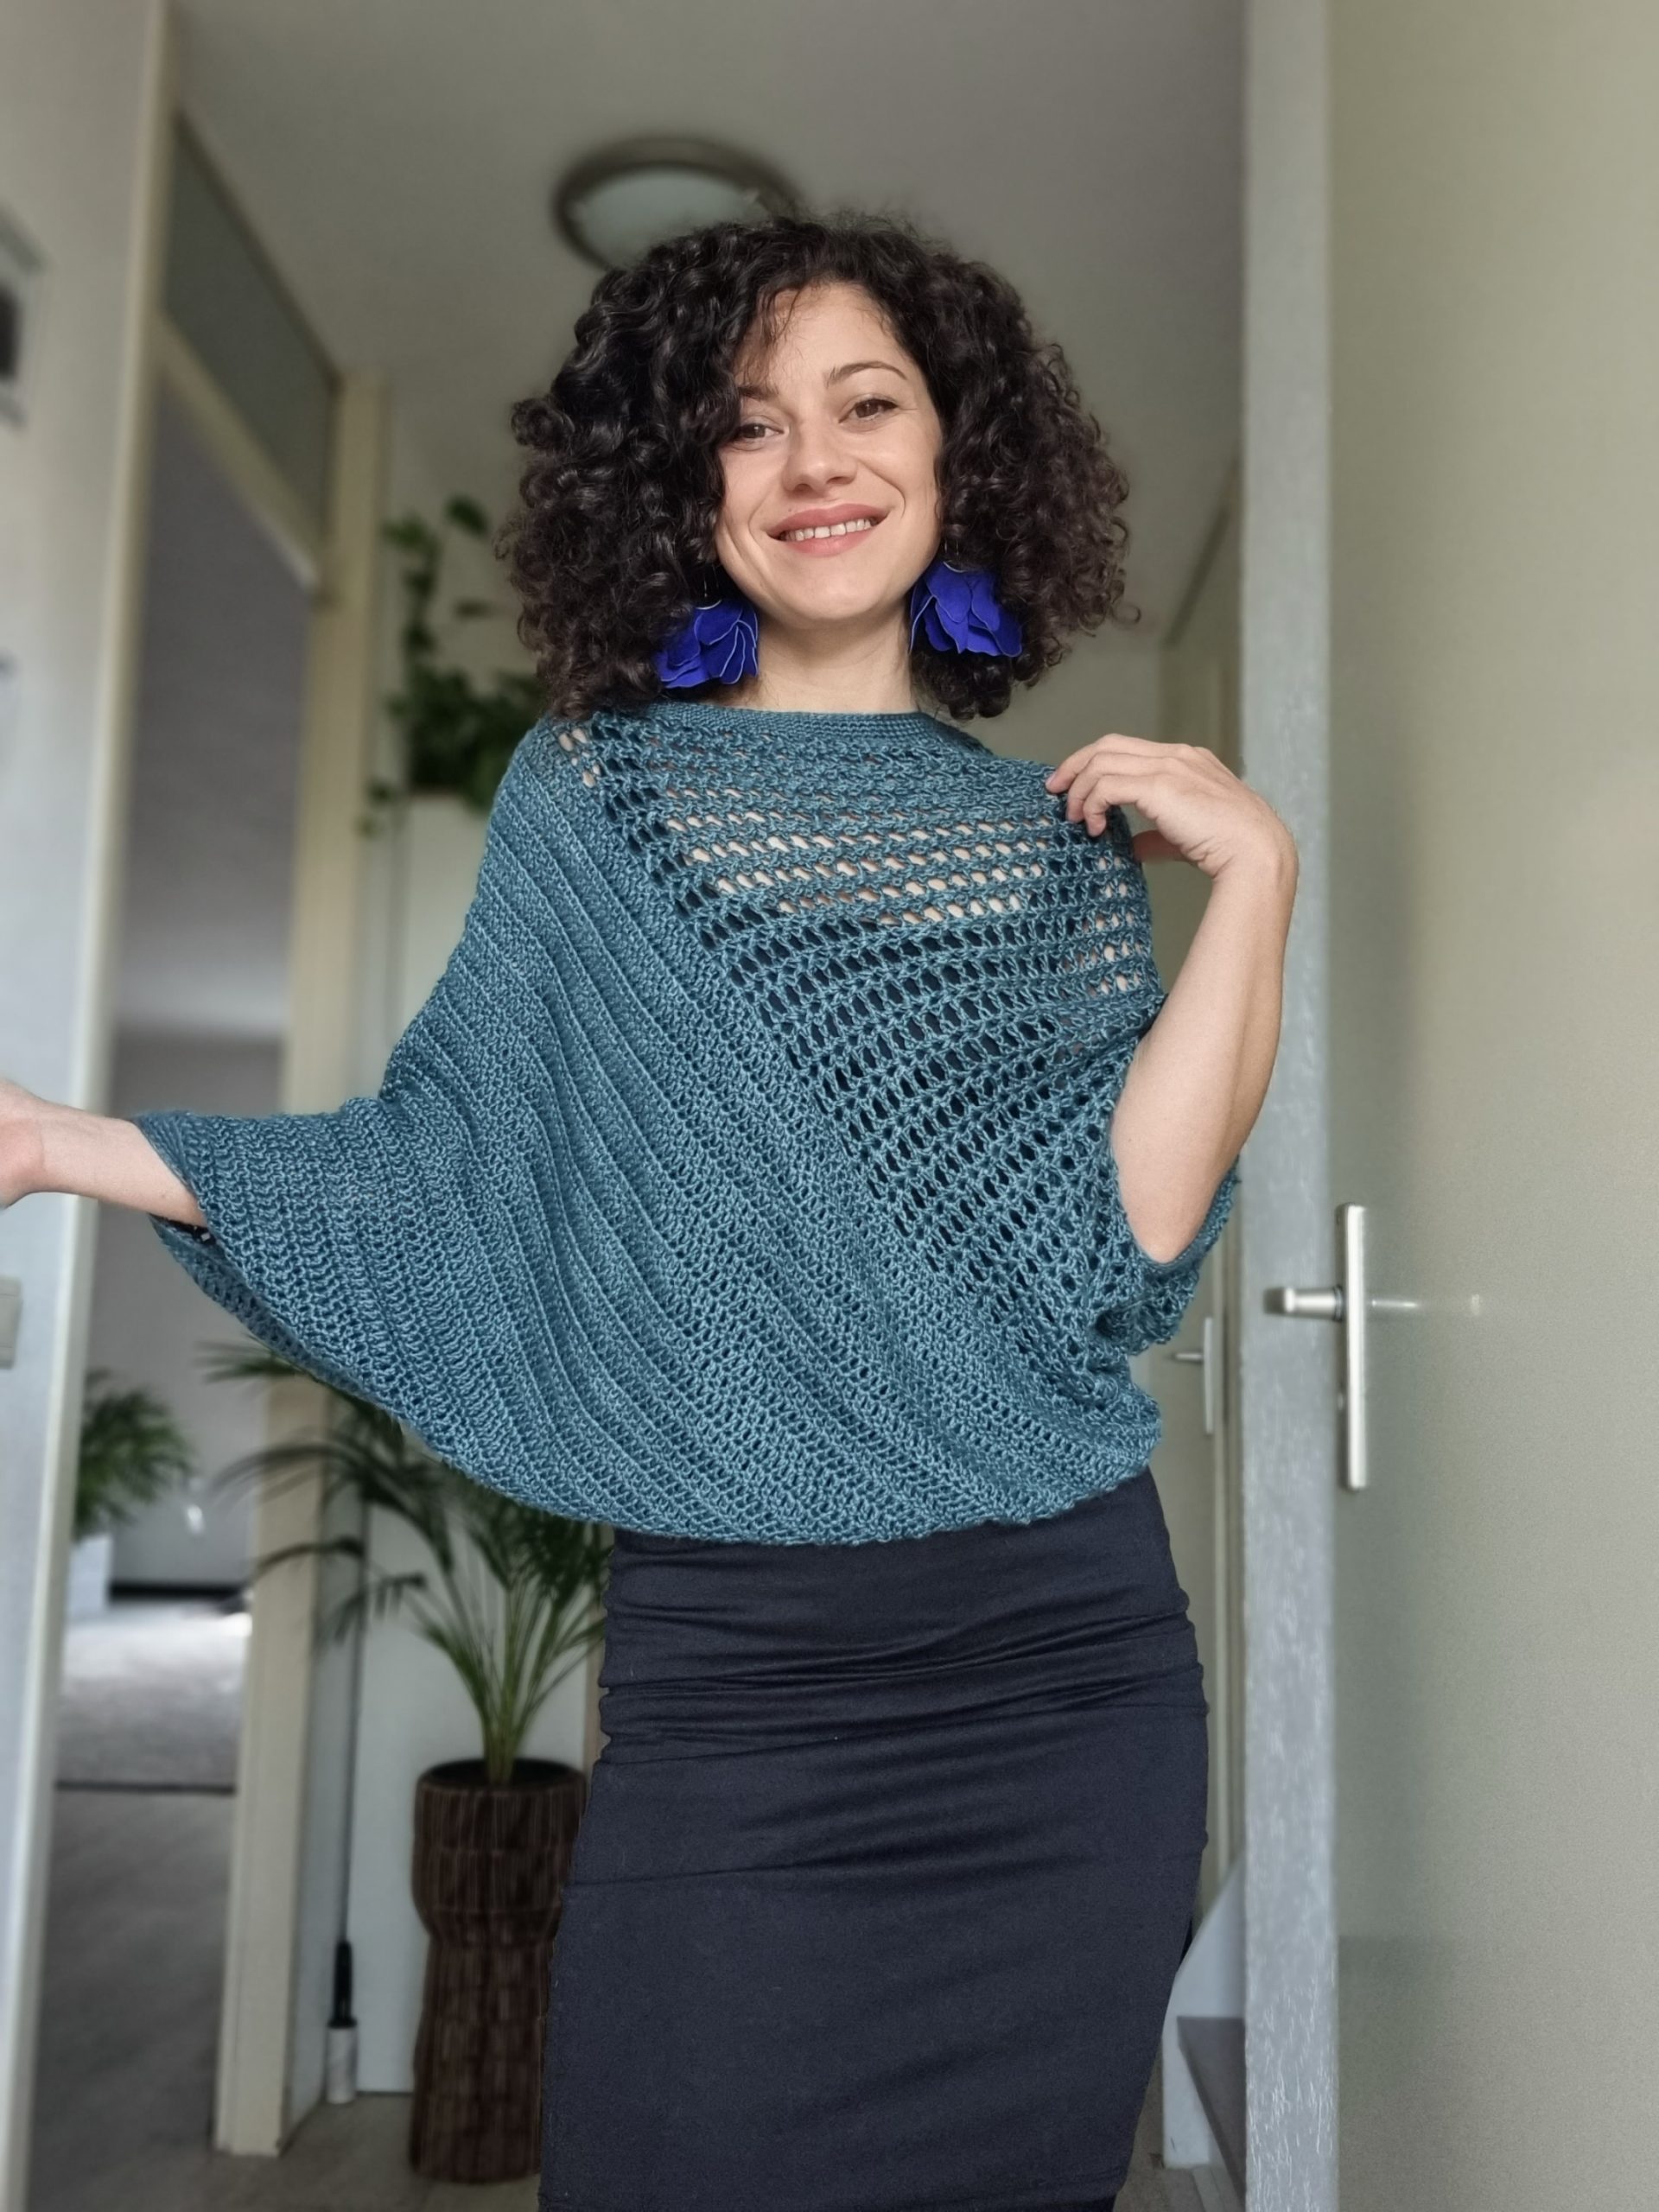
I was absolutely thrilled when Expression Fiber Arts generously offered to provide me with some of their stunning yarns for a remake of the Be Glam Poncho Blouse. This blouse holds a special place in my heart as I initially designed it in 2019. I used the Be Glam yarn by Durable Yarn in black with silver metallic accents, creating the perfect garment for New Year’s Eve.
As the years have passed, my journey in designing and pattern writing has deepened. I’m now eager to breathe new life into many of my earlier designs, each of which holds sentimental value for me. This creative process allows me to evolve my craft while cherishing the unique stories woven into each piece.
The PDF version of this pattern includes stitch charts. You can purchase the easily printable PDF pattern here:
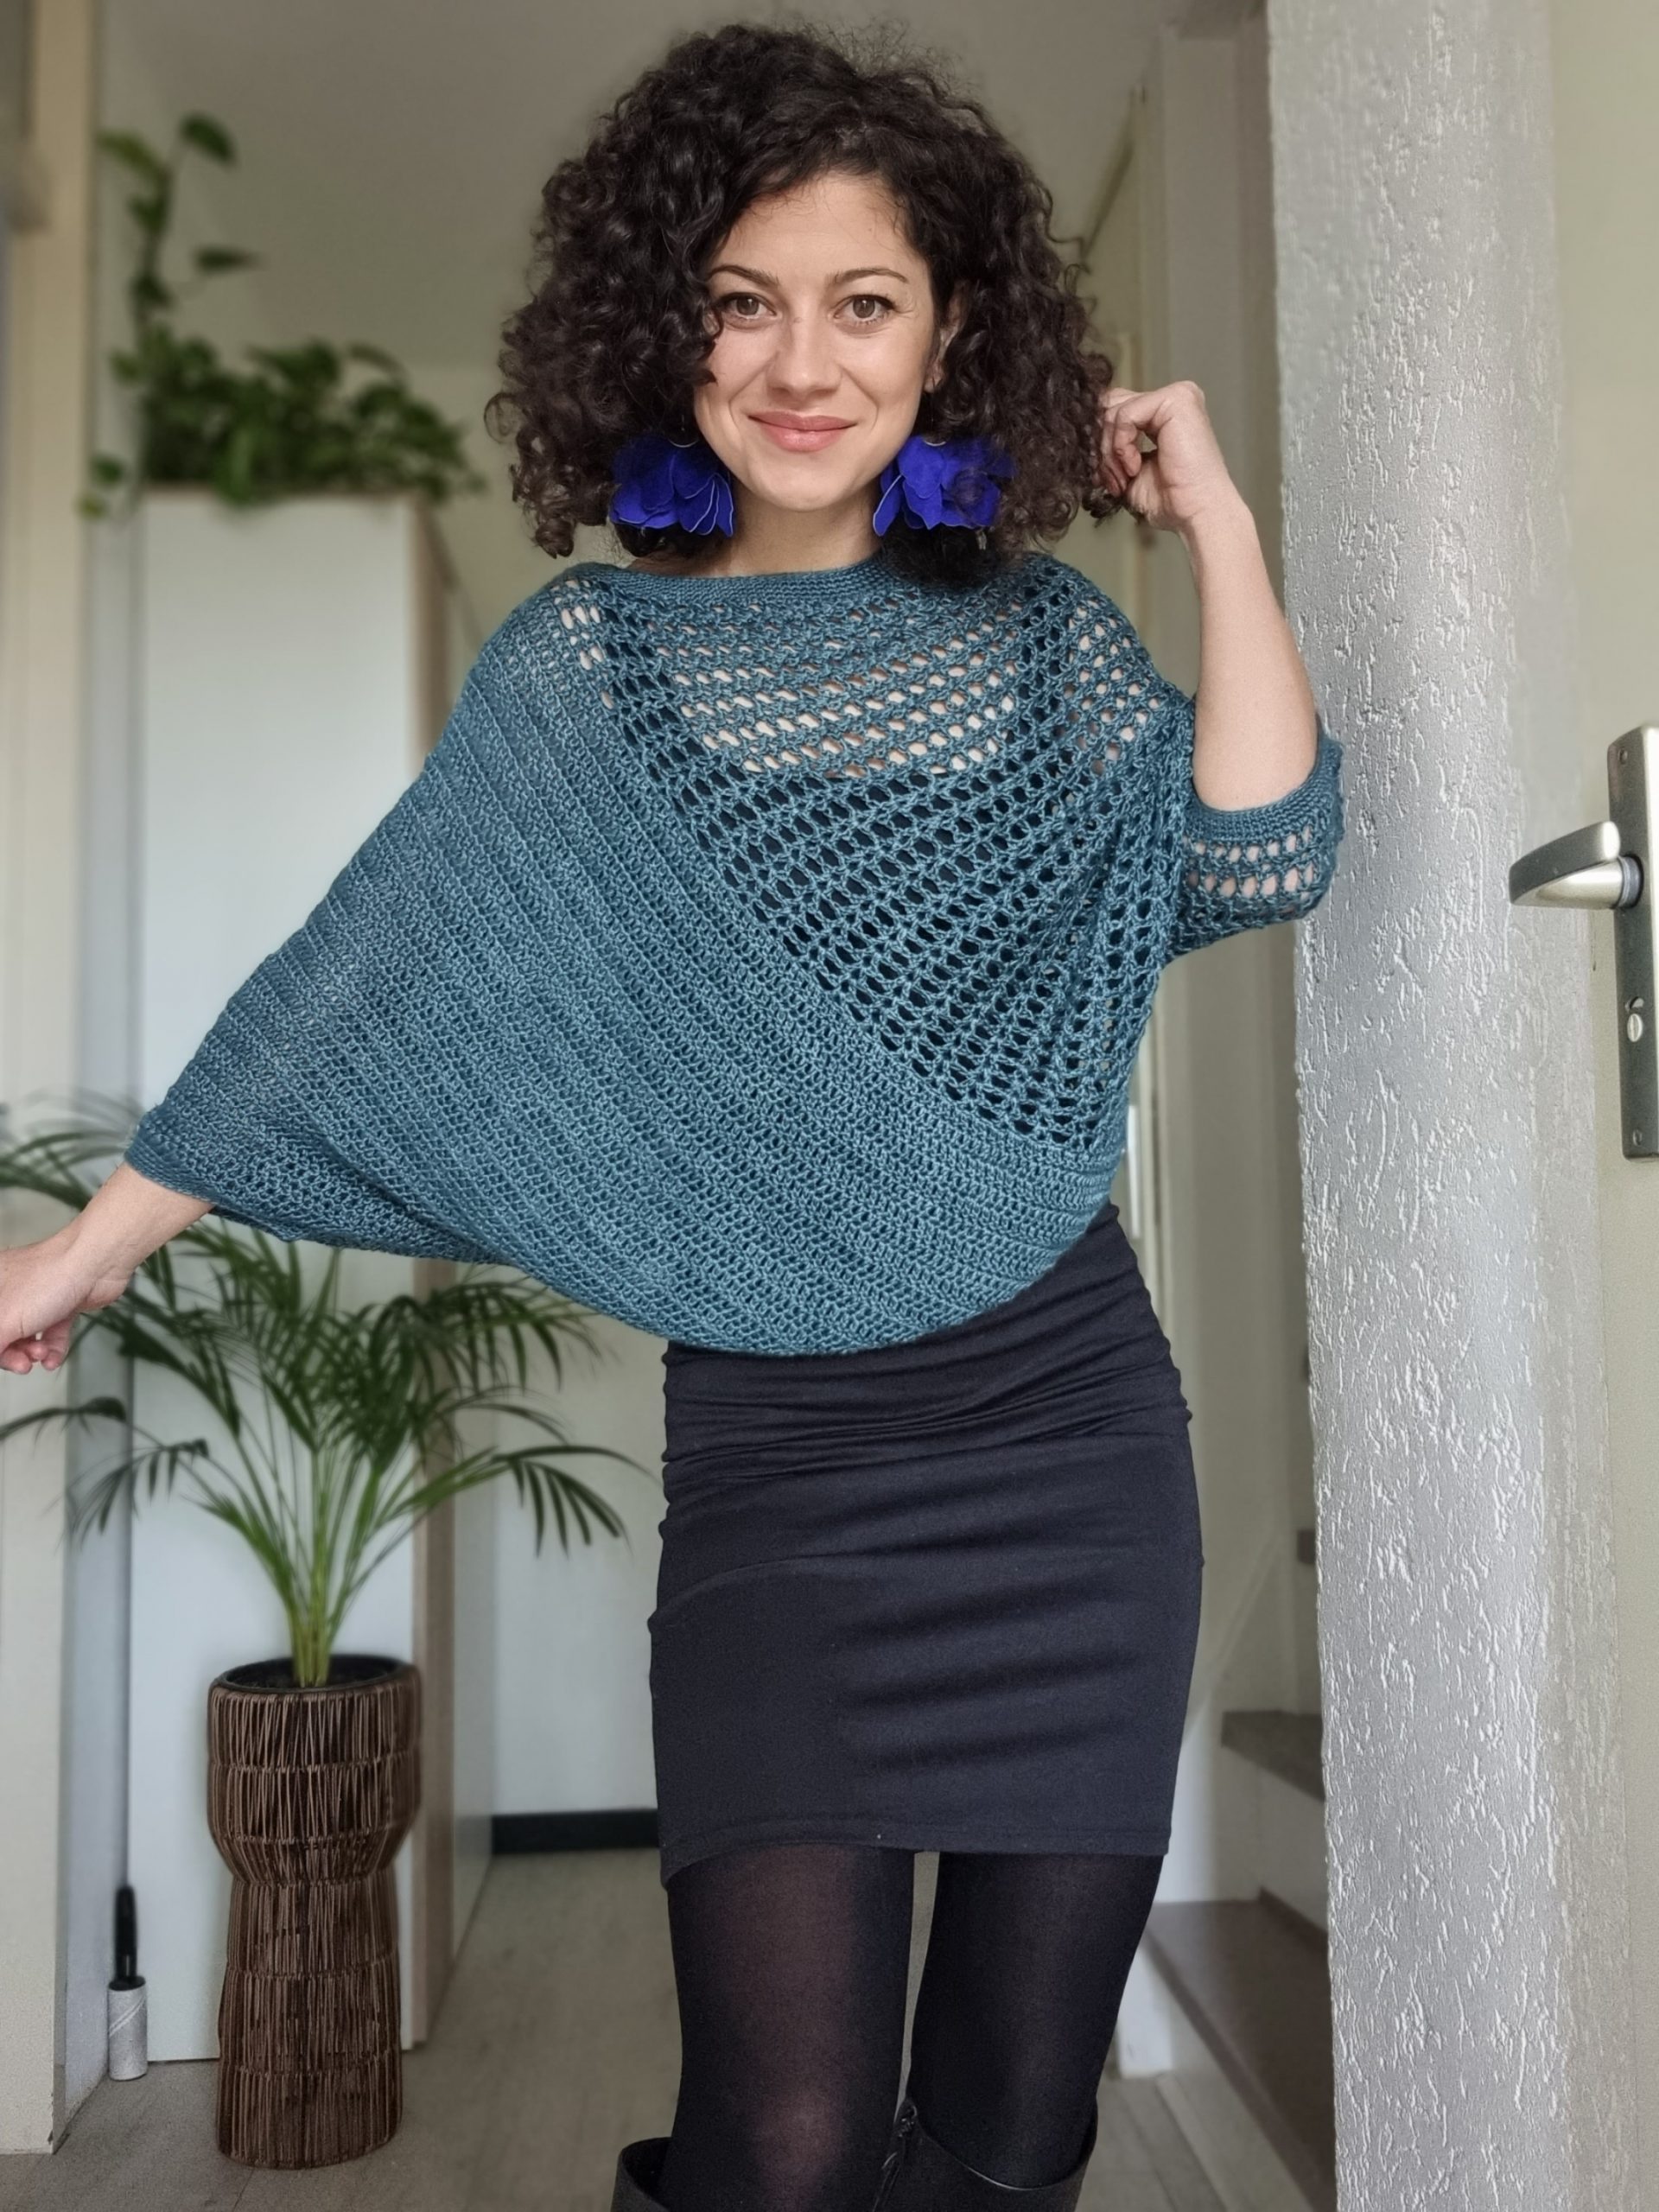
I know you can’t wait to see what you need and how to make the Be Glam Poncho Blouse, so let’s get started.
MATERIALS
• Yarn: DK Weight yarn (Size 3)
• Crochet Hook:
o 4.5 mm crochet hook
o 3.5 mm crochet hook for edges
• yarn needle for weaving in ends
• Stitch markers
• Scissors
NOTES ABOUT DESIGN
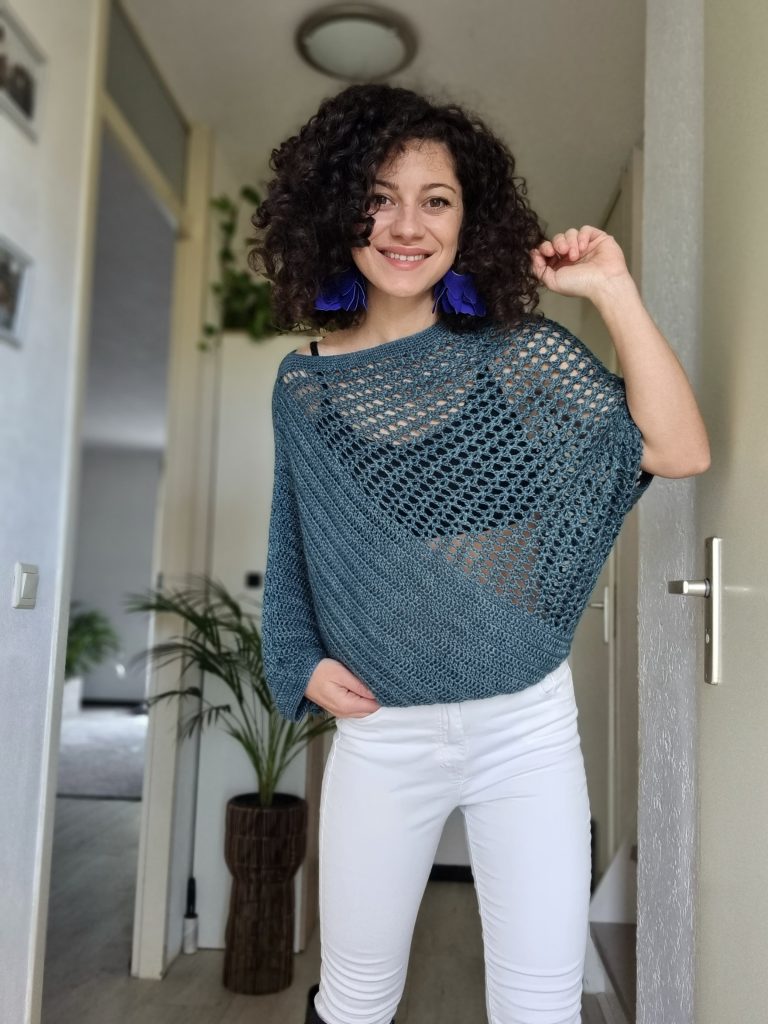
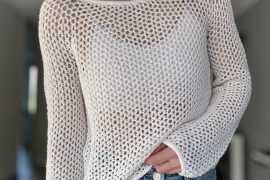
Introducing the Be Glam Poncho Blouse, a crochet design that redefines style and construction. This exquisite poncho blouse is made from two identical panels, thoughtfully designed to complement both the front and back of this fashionable garment.
The innovative pyramid construction is the hallmark of this design, offering a fresh and captivating twist to traditional crochet fashion.
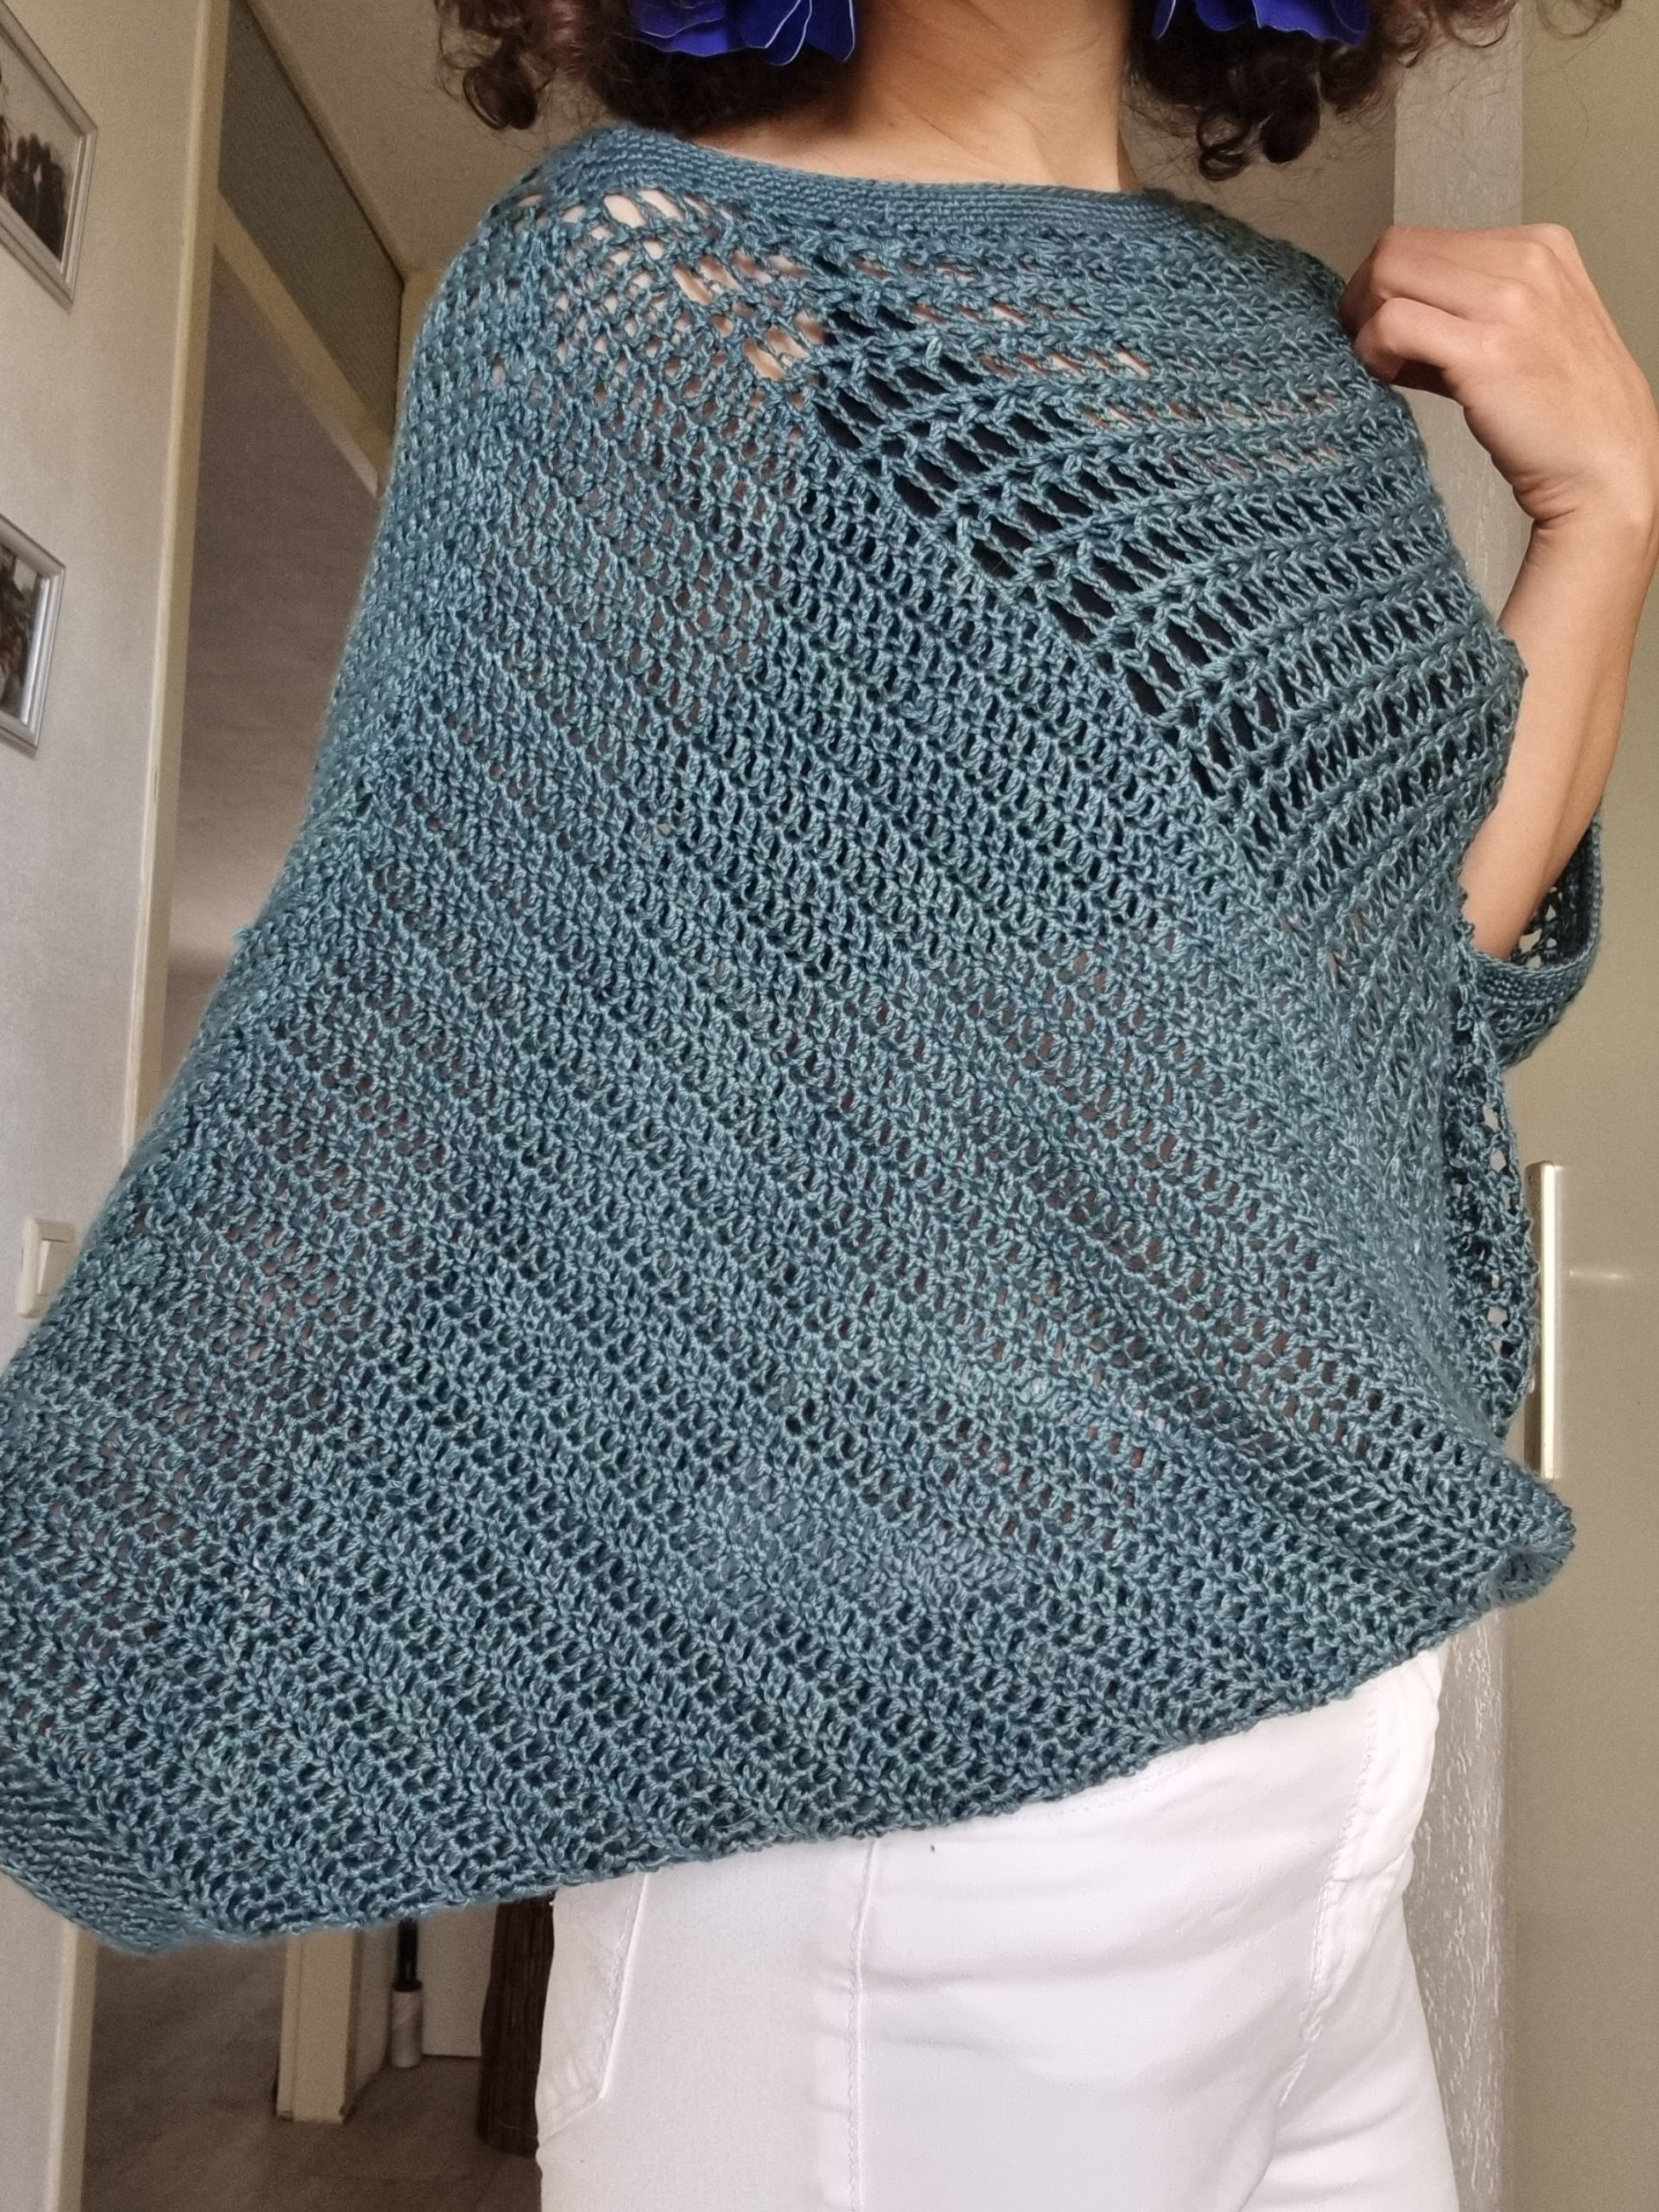
Each panel comprises two distinct sections, each flaunting its own intricate stitch pattern.
The combination of these stitch patterns not only adds visual interest but also enhances the texture and drape of the garment. The play of stitches creates an appealing interplay of light and shadow, making the Be Glam Poncho Blouse a true work of art.
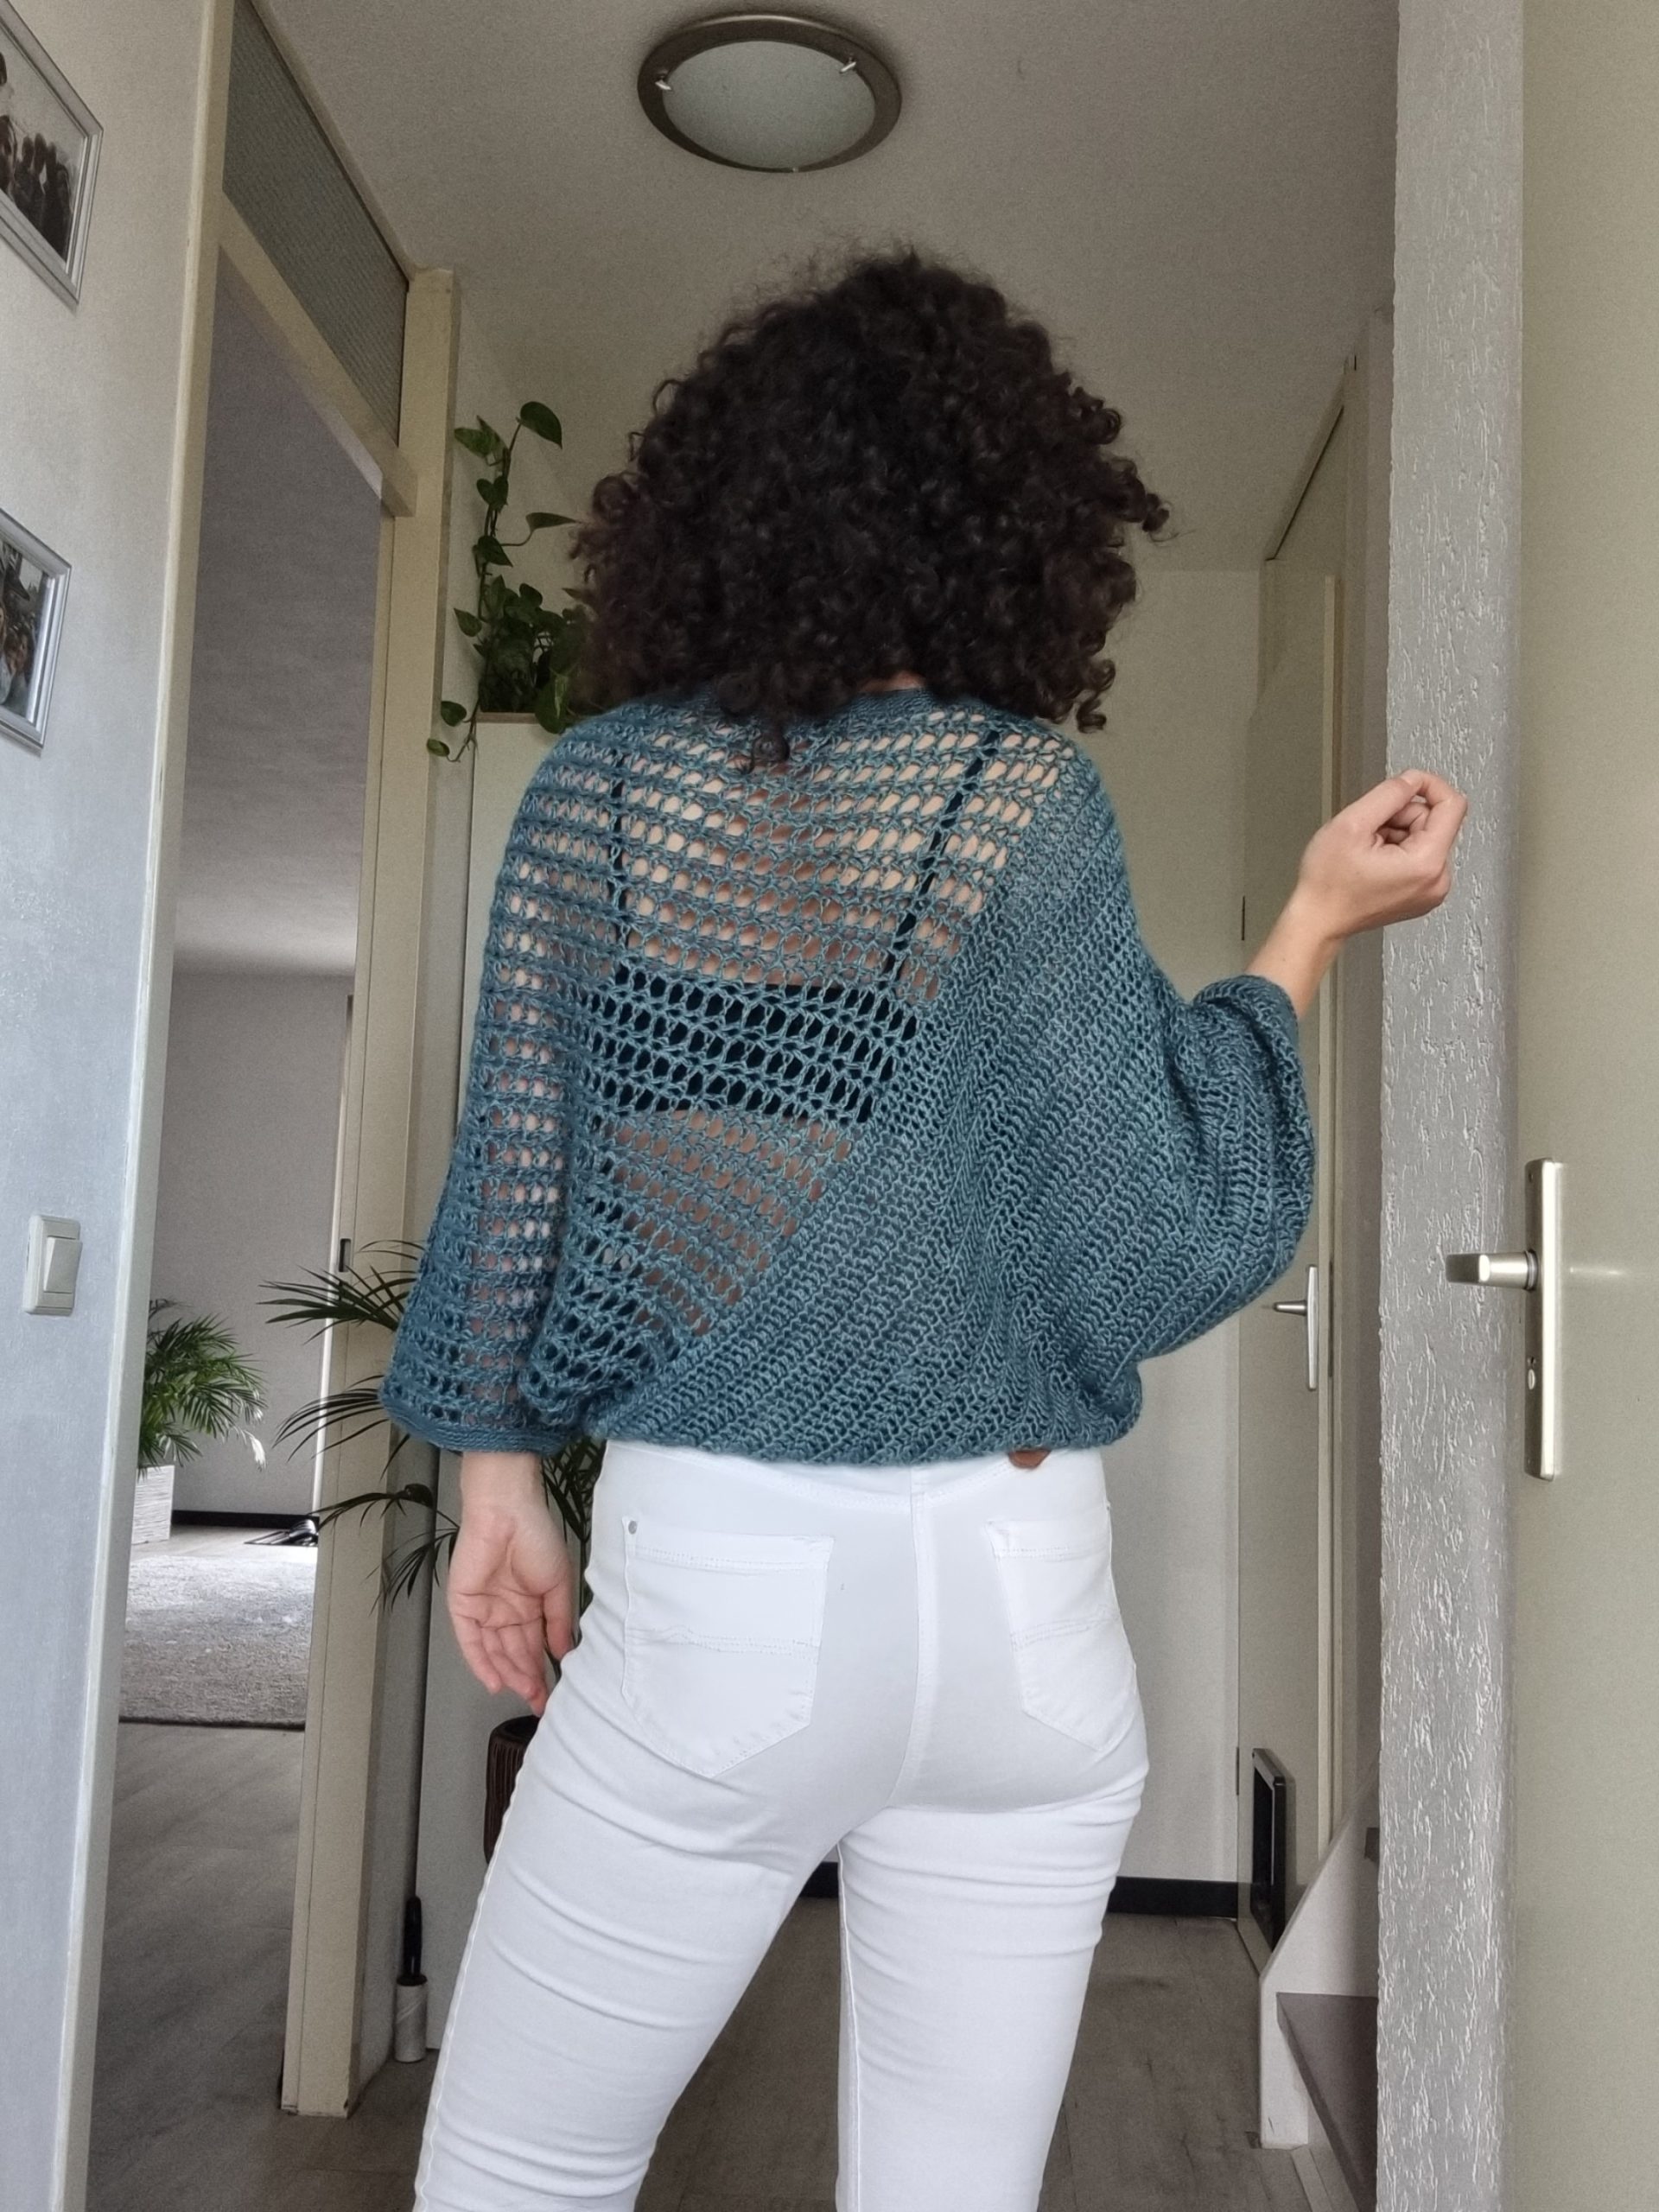
This versatile poncho blouse is suitable for various occasions. Whether paired with jeans for a casual outing or layered over a dress for a formal event, the Be Glam Poncho Blouse effortlessly combines comfort and style.
MEASUREMENTS AND SIZES

The PDF version of this pattern includes stitch charts. You can purchase the easily printable PDF pattern here:
The Be Glam Poncho Blouse Pattern is thoughtfully designed to cater to a wide range of sizes, with options available from Small all the way up to 5 Extra Large. To provide a helpful point of reference, our model stands at 5.5 feet tall and is wearing a size Small
Sleeve a: 51cm (56, 60, 64, 69, 76, 80, 84)
Neckline b: 25 cm (27, 30, 30, 32, 32, 34, 34)
Sleeve c: 41cm (45, 48, 53, 56, 61, 64, 67)
Cuff Width d: 15cm (16, 17, 17, 18, 21, 22, 23)
Bottom Hem Width e: 43cm (48, 53, 58, 63, 68, 73, 78)
YARN
I used Beacon DK by Expression Fiber Arts in color Torrent. Yarn Composition: 25% Baby Camel, 25% Mulberry Silk, 50% Lyocell. Each hank has 228 meters.
How much yarn do you need?
For each size you will need: 3 (4, 5, 5, 6, 6, 7, 7) hanks
680 (810, 940, 1040, 1180, 1350, 1490, 1590) meters
The PDF version of this pattern includes stitch charts. You can purchase the easily printable PDF pattern here:
ABBREVIATIONS
Ch – chain
Sc – single crochet
dc – double crochet
Vst – 1dc, 1ch, 1dc into the same st or space
Slst – slip stitch
St(s) – stitch(es)
R – rounds
** – repeated section.
TENSION
Using 4.5 mm crochet hook in:
Vst: 4.5 Vsts = 10 cm / 8.5 rows = 10 cm
Dc: 17sts = 10 cm / 7 rows = 8 cm
The Gauge is measured after blocking
STITCH PATTERN
The 2 stitch patterns used for the Be Glam Poncho Blouse are V stitch and double crochet.
For this particular design, the Vst is worked as follows;
Chain a multiple of 4+1 sts
R1: ch3, and start into the 6th ch, 1Vst, *1ch, skip the next 3sts, 1Vst in next; *rep. until you have 2sts left, 1ch, skip 1st, 1dc in the last st; 4ch and turn
R2: *1Vst in the 1ch-sp of the next Vst, 1ch; *rep to the end of the row, 1dc into the third ch; ch4 and turn;
Rep. R2 until the desired length
CONSTRUCTION
Each panel is divided into two distinctive sections, each showcasing its own stitch pattern. Section 2 is worked continuing Section 1. In this second section, we commence the decreases exclusively at one end. This technique not only lays the foundation for a flawlessly flat and straight bottom for the blouse but also defines and shapes the sleeves.
Furthermore, as you assemble the four openings of the blouse, you have the flexibility to tailor them to your personal preferences. By sewing fewer or more stitches, you can effortlessly customize the fit to suit your individual needs.

INSTRUCTION
PANEL (MAKE 2 FOR BACK AND FRONT)
Pattern Notes:
The panel is worked flat; turn after each row;
The panel construction is out of 2 sections: section 1 in Vsts and section 2 in dc;
3ch at the beggining of a row will count as a first dc.
Start: ch93 (101, 109, 117, 125, 137, 145, 153)
Section 1
R1: ch3, and start into the 6th ch, 1Vst, *1ch, skip the next 3sts, 1Vst in next; *rep. until you have 2sts left, 1ch, skip 1st, 1dc in the last st; 4ch and turn
R2: *1Vst in the 1ch-sp of the next Vst, 1ch; *rep to the end of the row, 1dc into the third ch; ch4 and turn;
Rep. R2 until you have: 28 (30, 32, 32, 34, 34, 36, 36) rows
Section 2
Notes:
– Upon completing the final row of Section 1, work 3ch and turn your work.
– In this section, we will initiate decreases exclusively at one end, which serves the dual purpose of establishing a flat,
straight bottom for the blouse and shaping the sleeve.
– The number of rows required for this section will vary depending on the size you’re making to achieve the desired measurements.
– Starting from the next row, we will begin the decreasing process. Please note that on the row where the decreases occur, the initial chain of 3 (ch3) will not count as your first double crochet (dc). Instead, consider the first double crochet you made at the beginning of the row as your first stitch.
– When it comes to decreasing at the end of a row, follow these steps to work a wide 2 dc together:
– Insert your hook into the next stitch.
– Yarn over and pull up a loop.
– Yarn over again and pass it through 2 loops on your hook.
– Skip the following stitch.
– Insert your hook into the next stitch.
– Yarn over, pull up a loop.
– Yarn over once more and pass it through 2 loops on your hook.
-Finally, yarn over and pass it through all the loops on your hook
Next row:
Start from where your yarn is;
R1: 1dc in each st to the end of the row; ch3 and turn
Total sts: 95 (103, 111, 119, 127, 139, 147, 155)
The PDF version of this pattern includes stitch charts. You can purchase the easily printable PDF pattern here:
Next row: ch3 (don’t make it if you already worked ch3 before turning your work), skip the next st, 1dc in next st, 1dc n each st to the end of the row; 3ch and turn
Sts: 93 (101, 109, 117, 125, 137, 145, 153)
Next row: 1dc in each st until you have 3sts left, wide dc2tog (see explanation above); 3ch and turn
Rep. last 2 rows until you have fors Section 2:
36 (39, 42, 46, 49, 53, 56, 59) rows
Notes:
You worked in total 35 (38, 41, 45, 48, 52, 55, 58) rows decreasing at one end. You decreased with 2sts per row and you should have left at the end of Section 2: 25 (27, 29, 29, 31, 35, 37, 39 ) sts
Fasten off. The panel is done. Repeat the pattern one more time for the second panel
ASSEMBLING
To assemble the pieces, follow these steps:
Note: for joining the Vsts pieces I used crochet hook and using chain sts and single crochet I’ve created a lace joining.
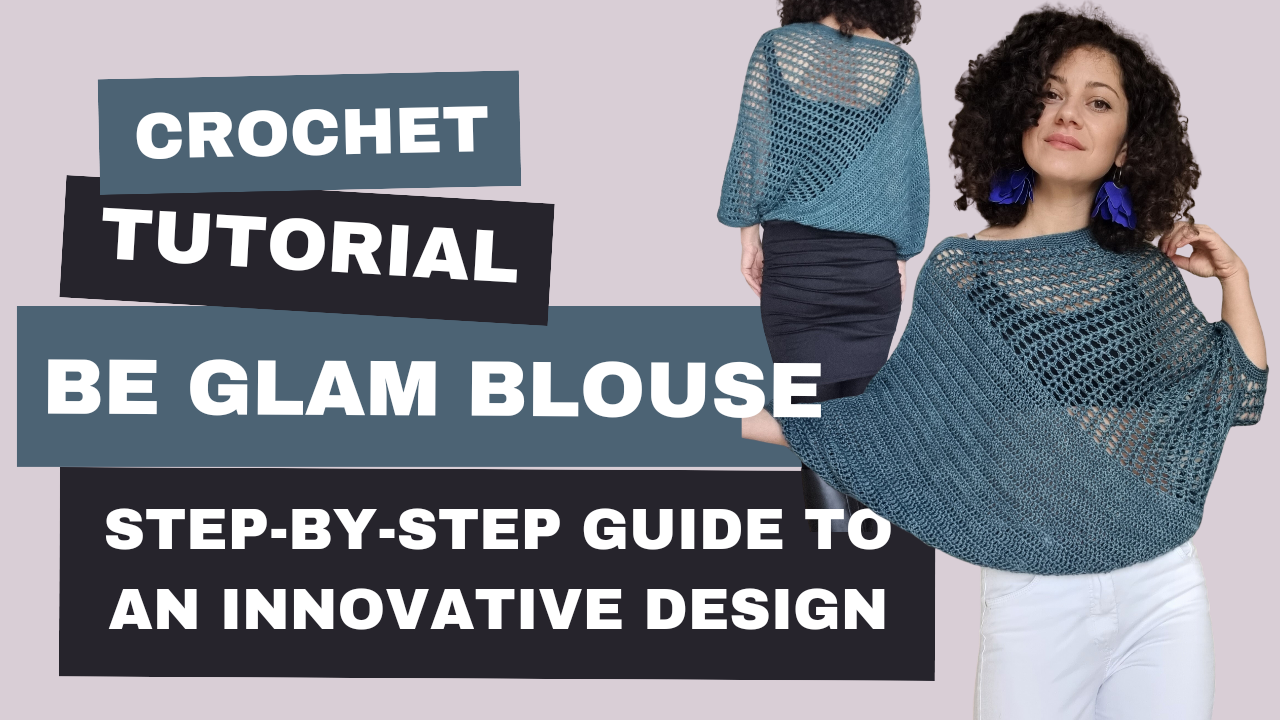
You can see the process in the video tutorial here:
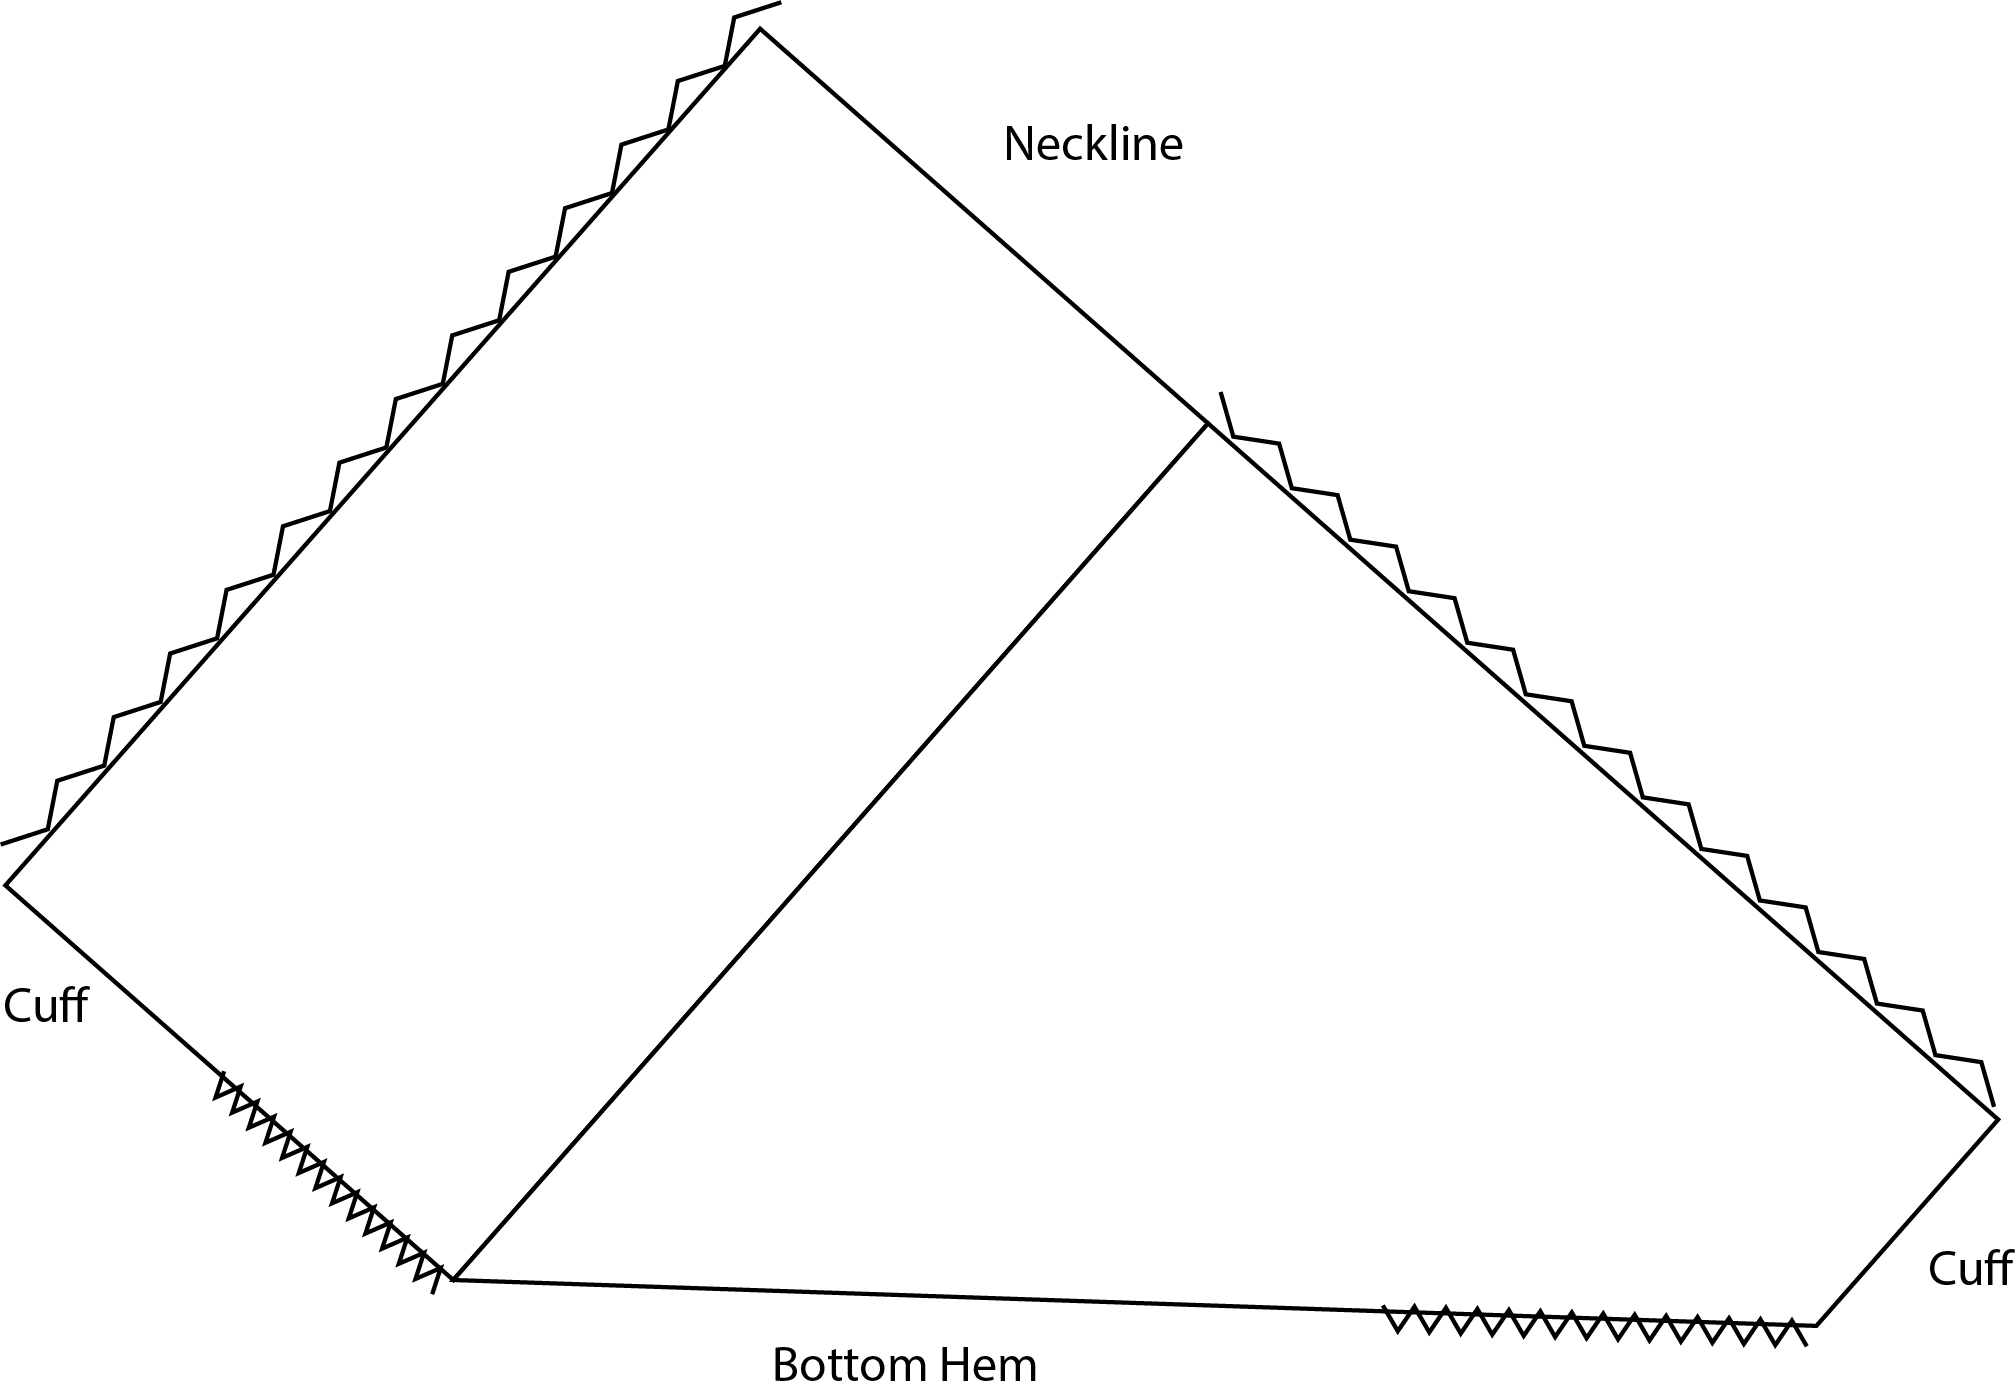
Start by sewing together the side edges of section 1.
Next, sew together the side edges of section 2, the edge without decreases. If you wish to adjust the neckline, you have the option to attach a few side rows from the first section at this point as well.
Mark the openings at the bottom and cuffs, then proceed to sew the segments located between the cuffs and the bottom hem together. This step will complete the assembly of your garment
Sts for cuff 1 (on Section 2): 25 (27, 29, 29, 31, 35, 37, 39)
Side rows cuff 2 (on Section 1): 13 (14, 15, 15, 16, 18, 19, 20)
Bottom hem side rows: 29 (32, 36, 39, 43, 46, 49, 53)
EDGING
Notes:
Be sure to add the edging around the cuffs, neckline, and the bottom hem for a polished finish.
We recommend using a 3.5 mm crochet hook for this project.
When working into the side rows, remember to crochet 2 single crochet stitches (2sc) in each side row.
On the neckline, decrease on each side where the sleeves’ seams are, by working 3 single crochet stitches together (3sc together).
Crochet 5 rounds in single crochet (sc) stitches, and complete the final round using slip stitches. If you prefer the last round of slip stitches to be less tight, feel free to switch to a larger hook size for that round.
TO FINISH
Weave in all ends and block to measurements.
I hope you enjoyed this pattern and can’t wait to see yours Be Glam Poncho Blouses.
The PDF version of this pattern includes stitch charts. You can purchase the easily printable PDF pattern here:



Comments are closed.