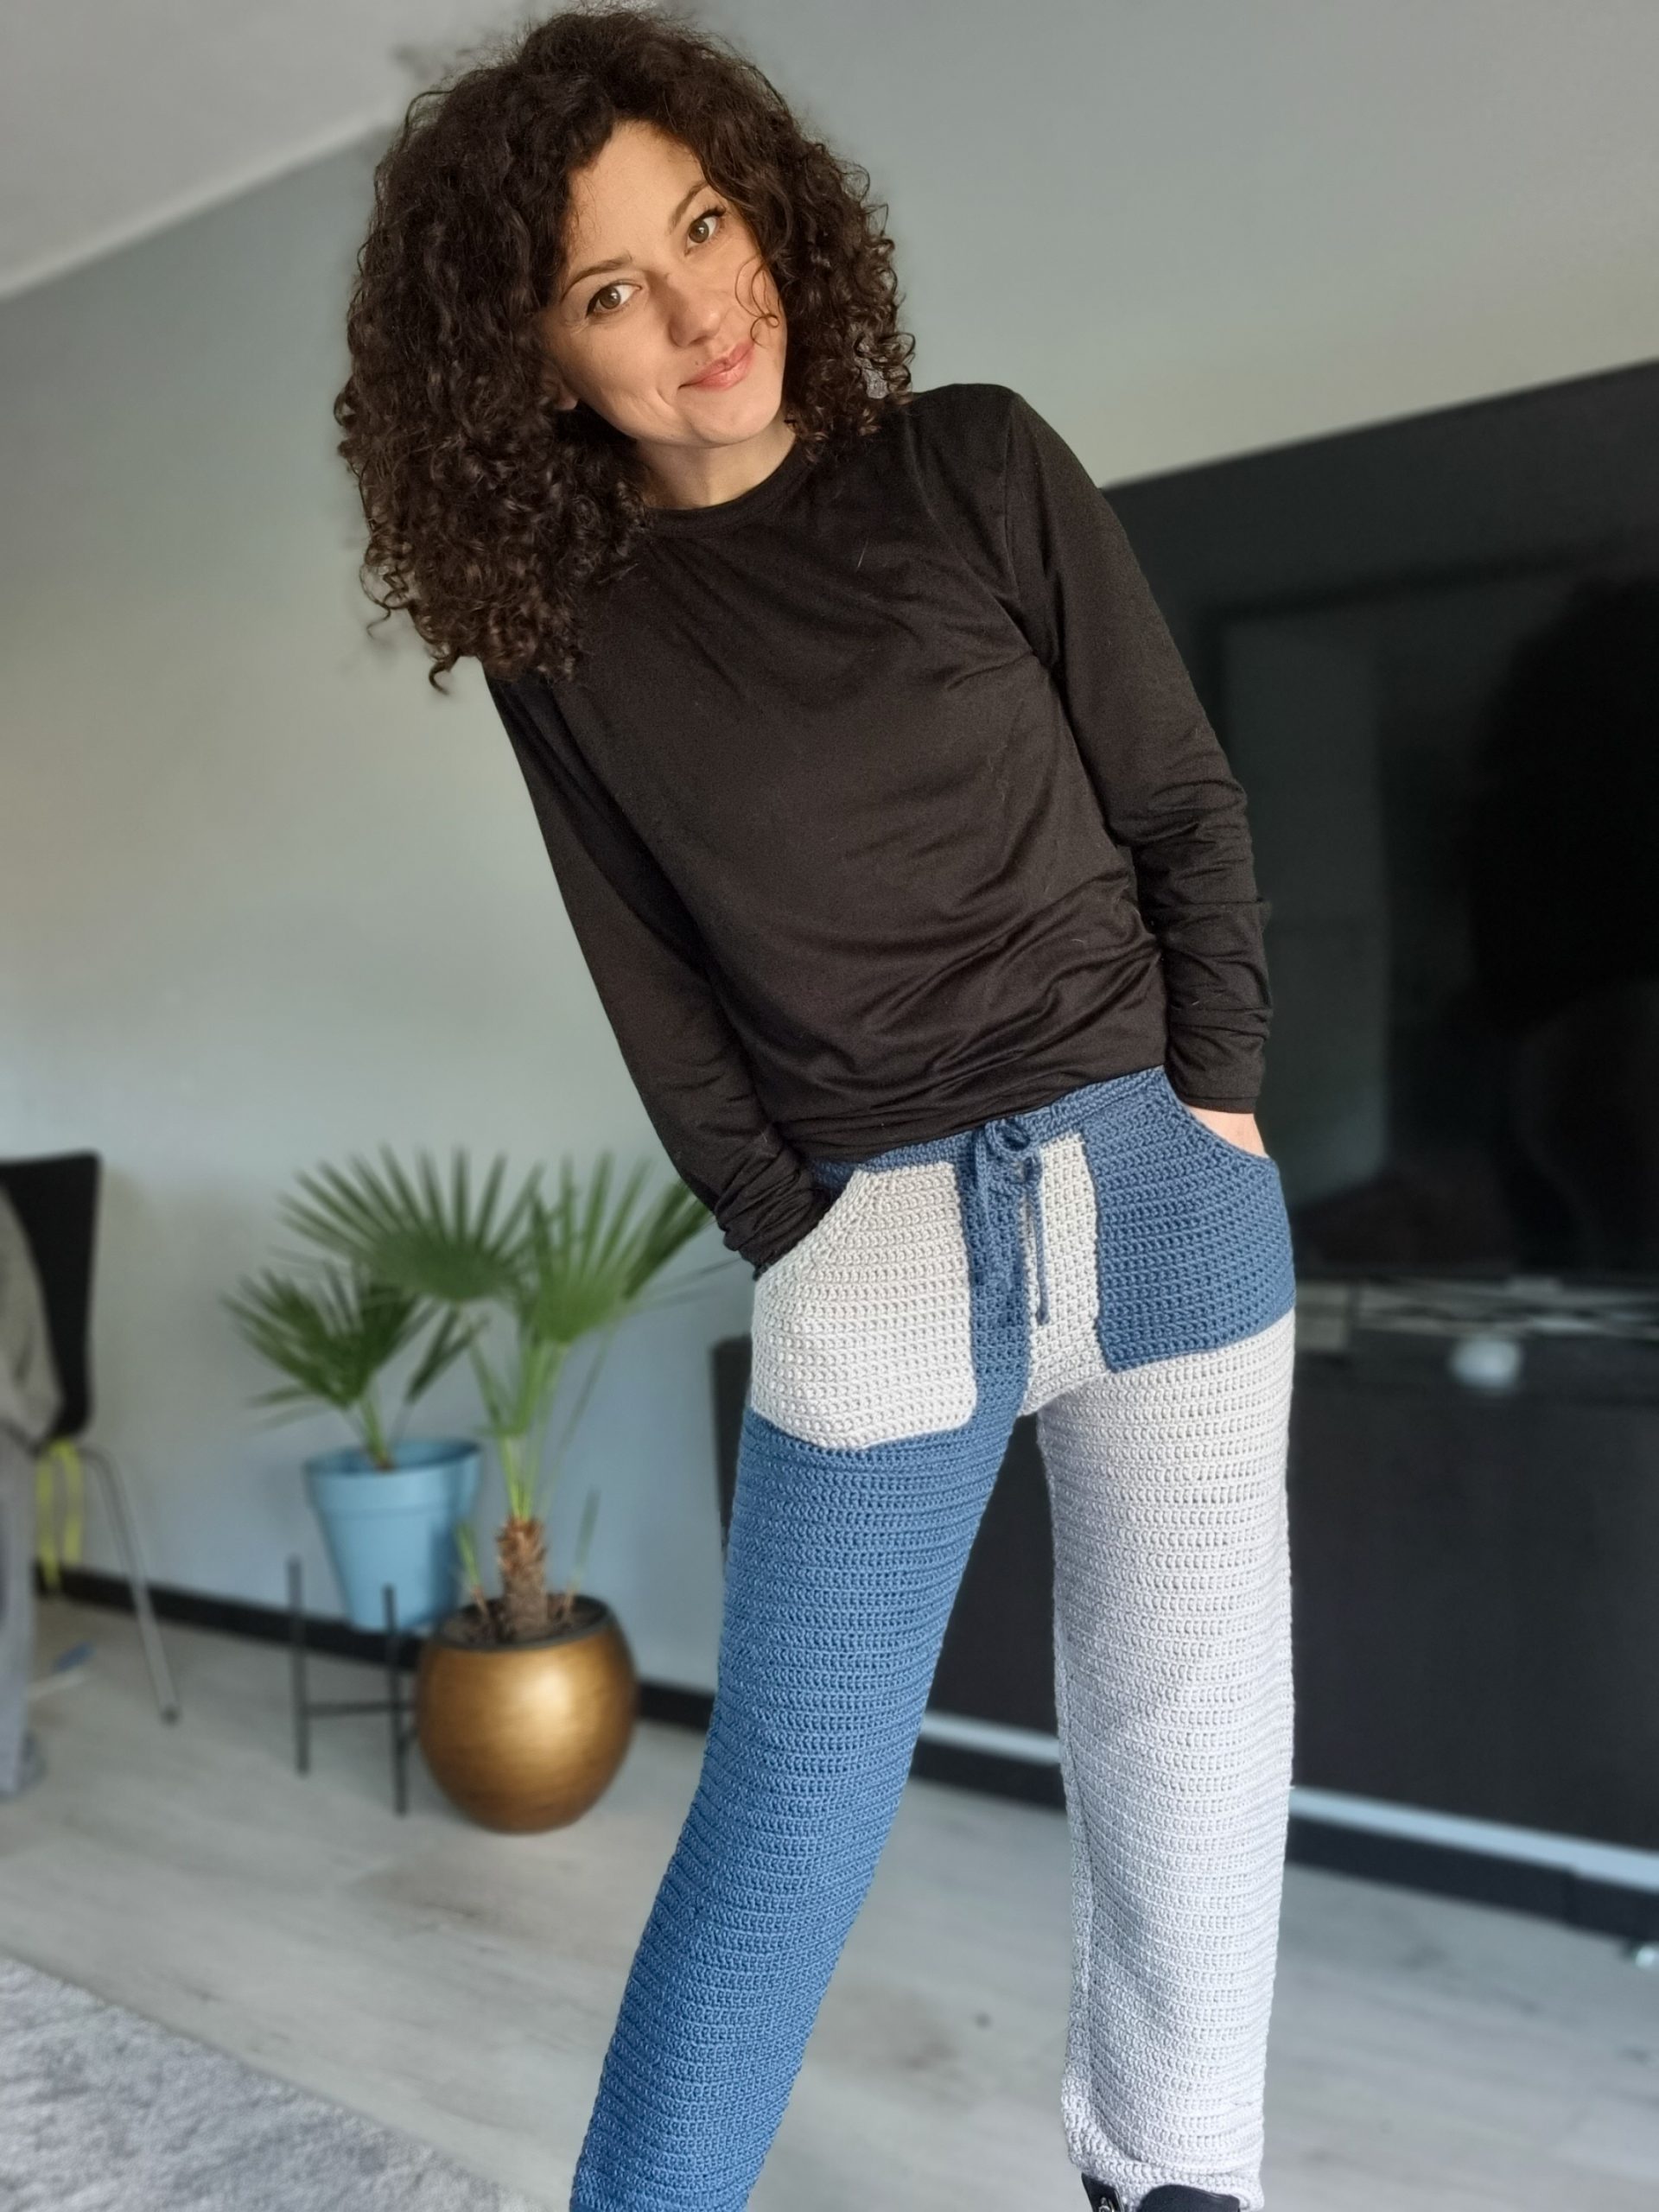
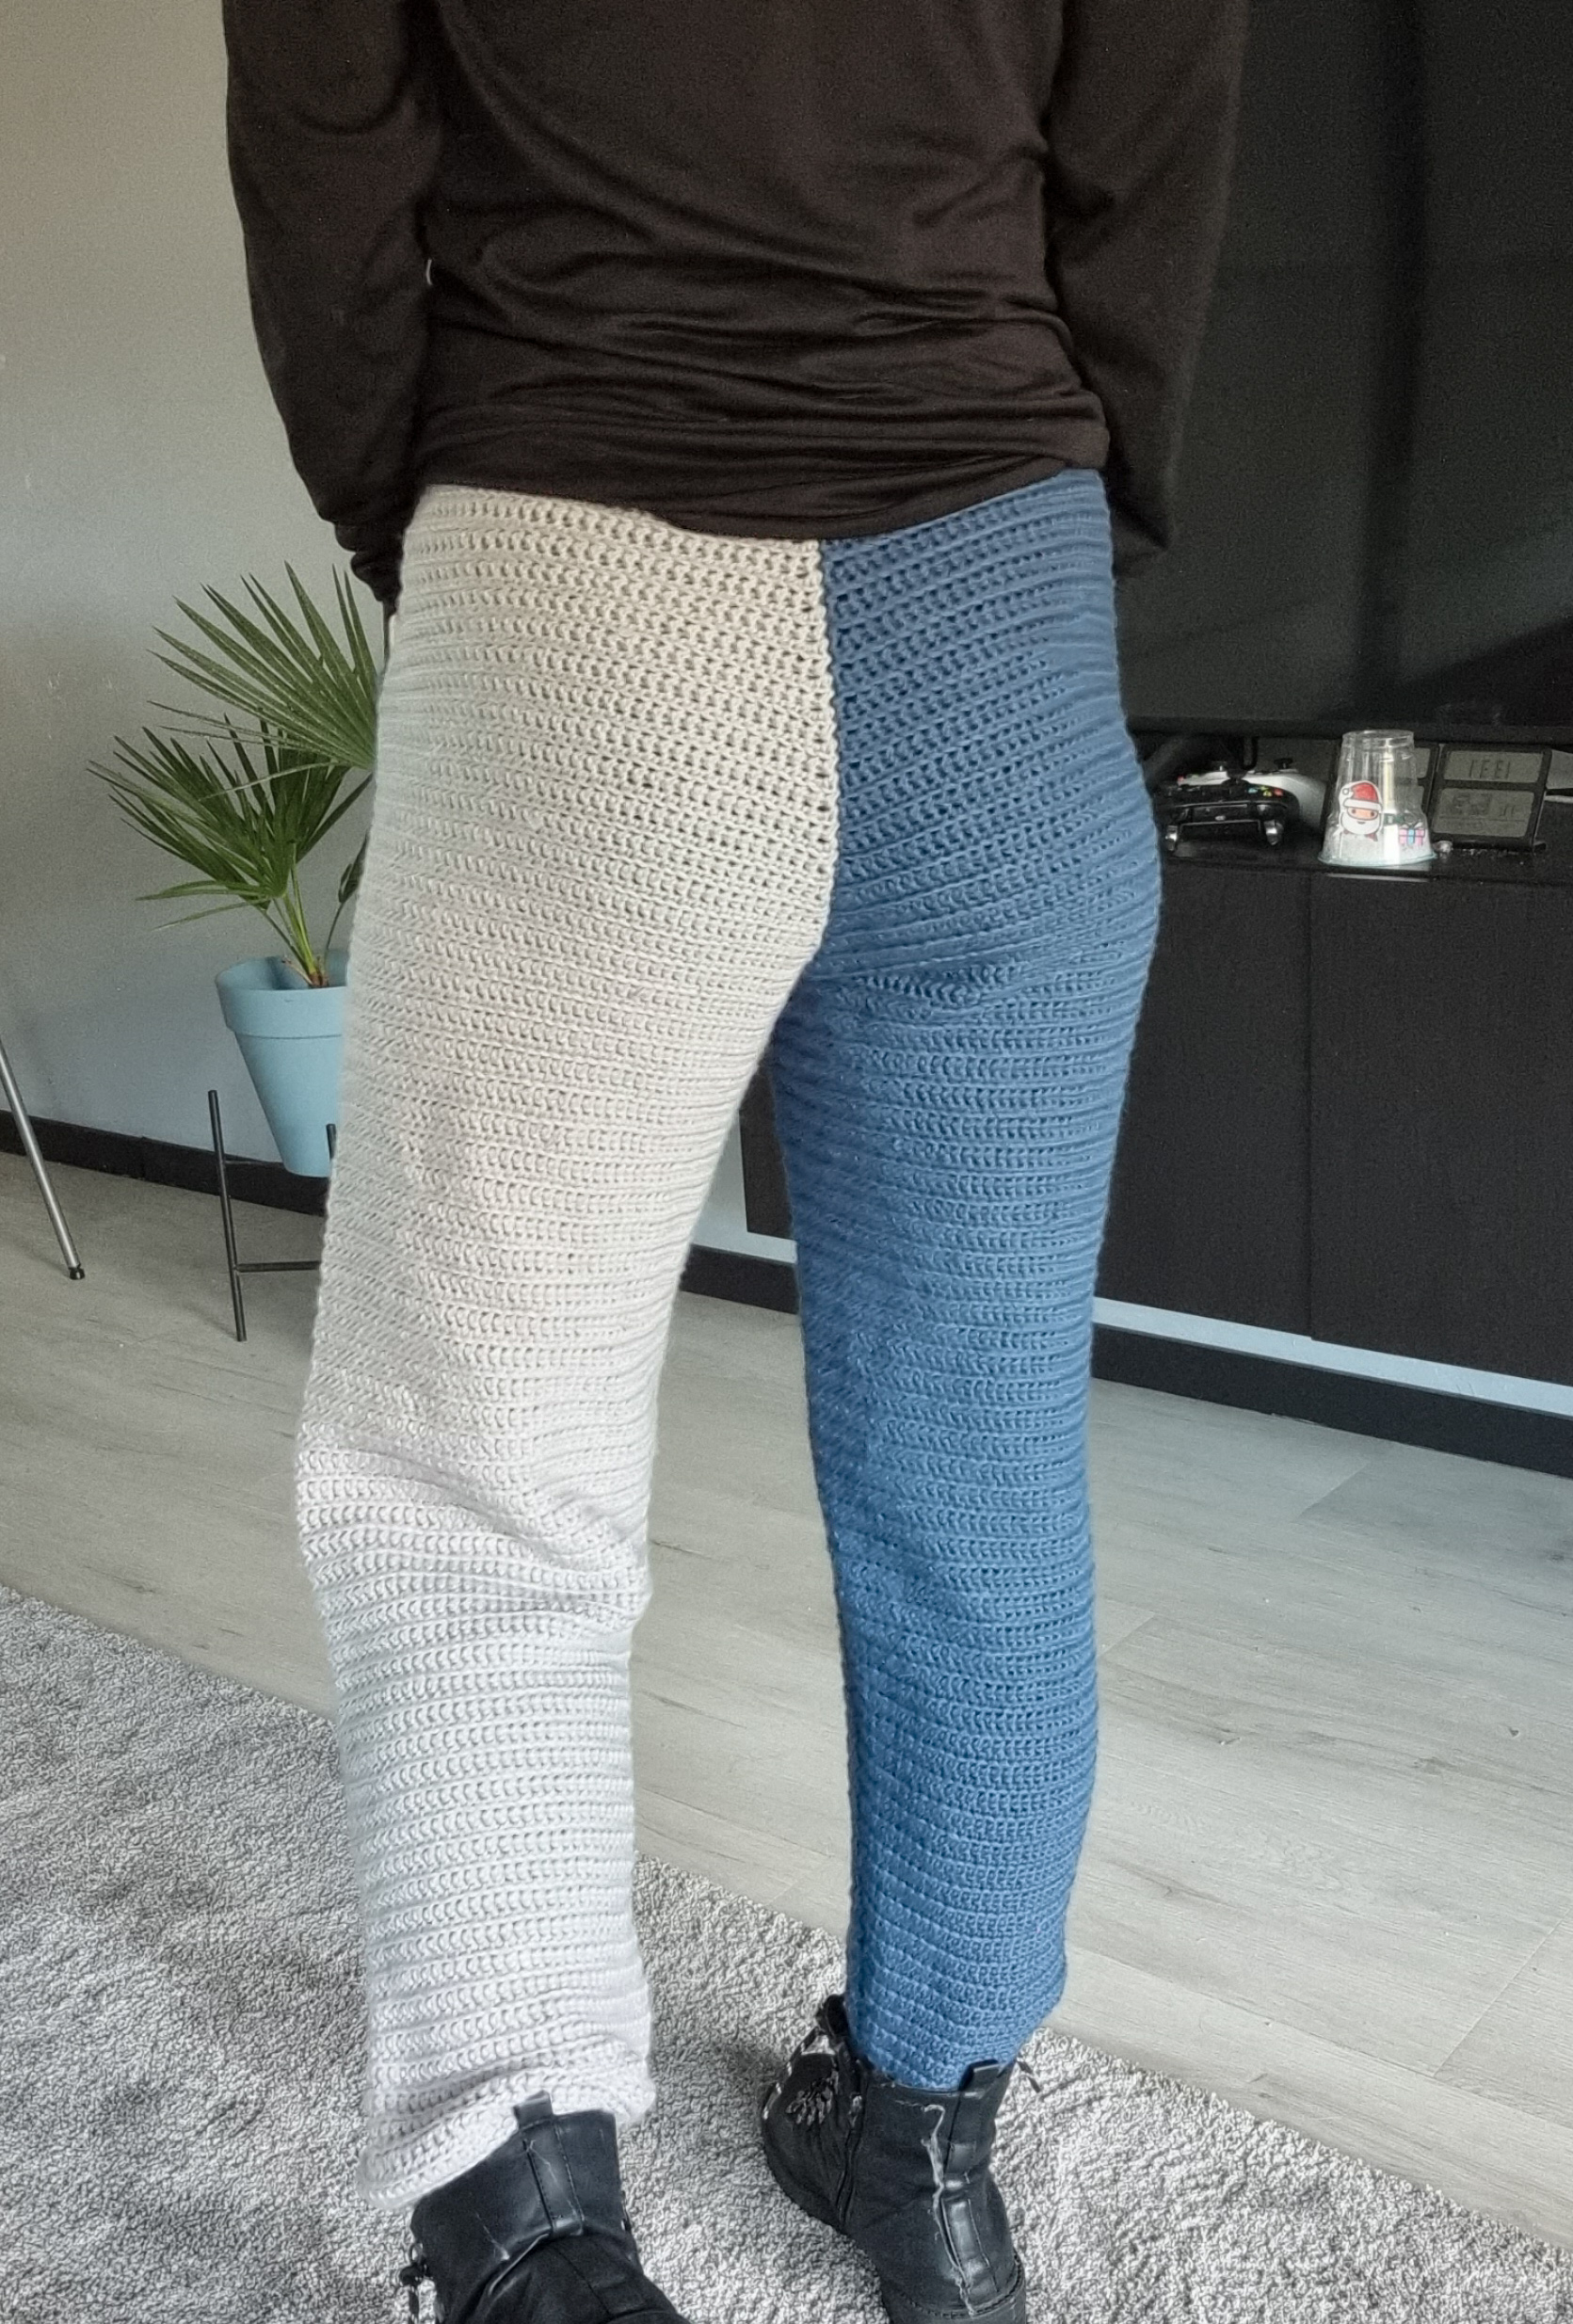
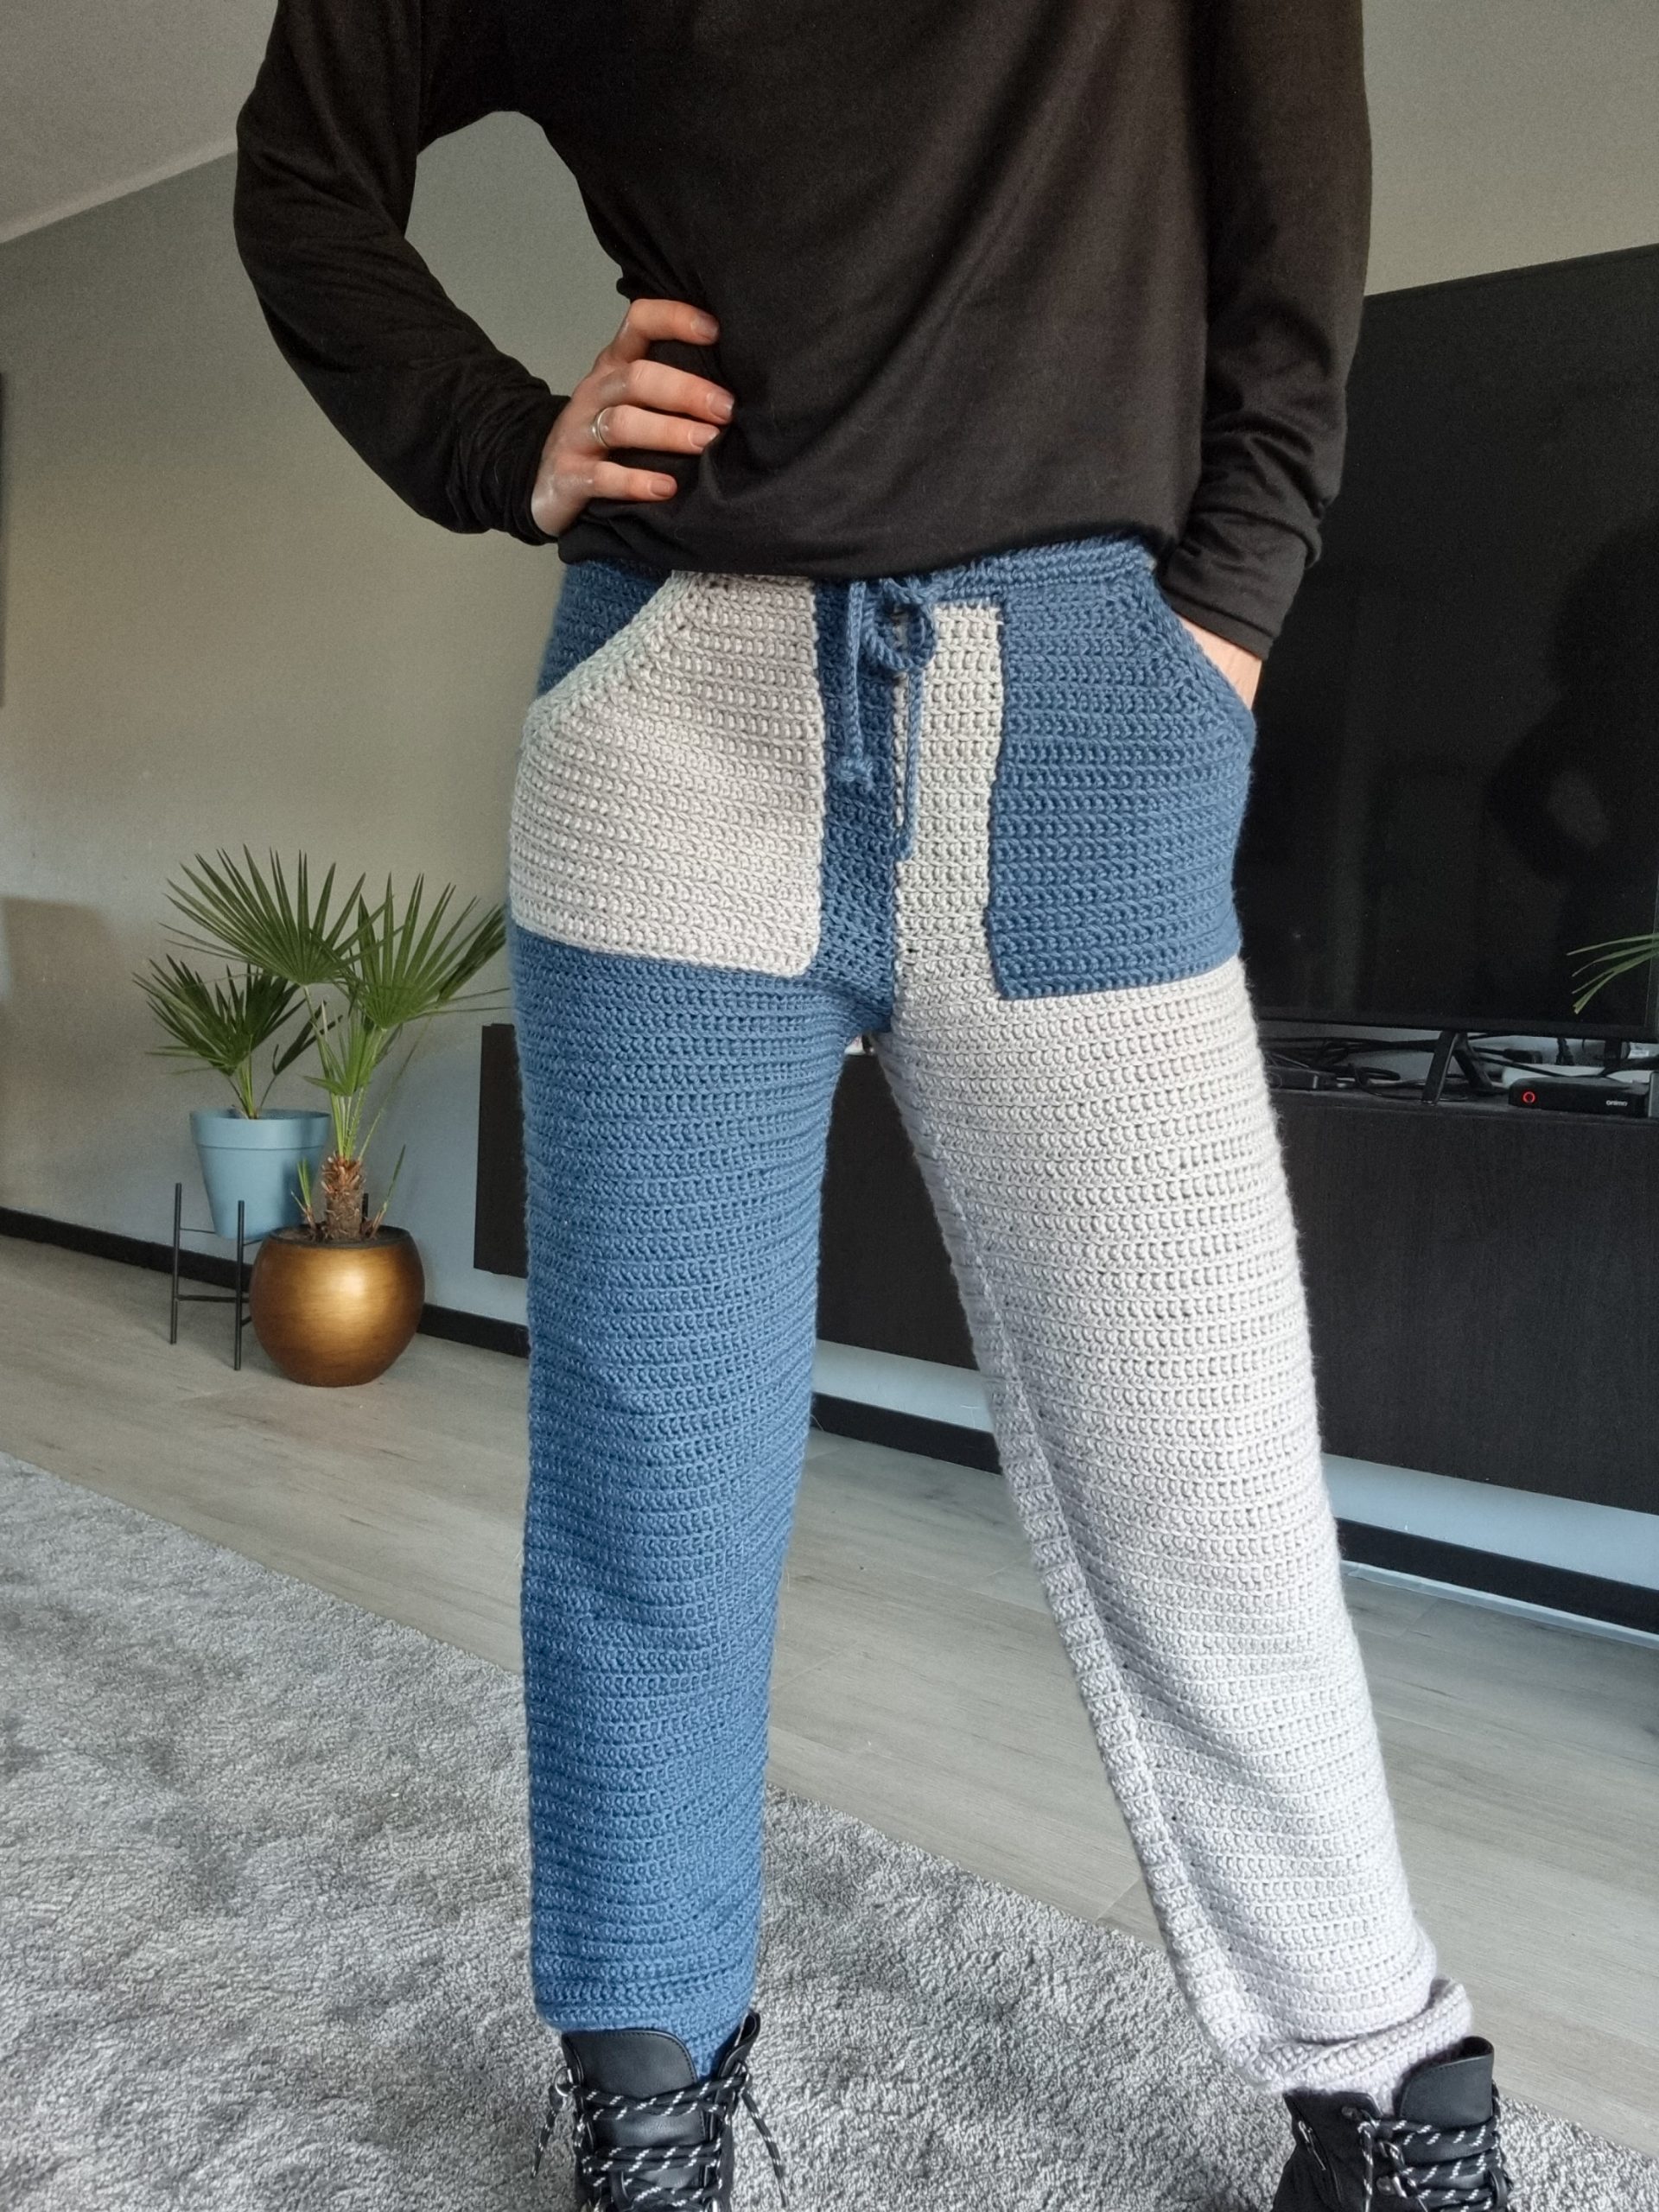
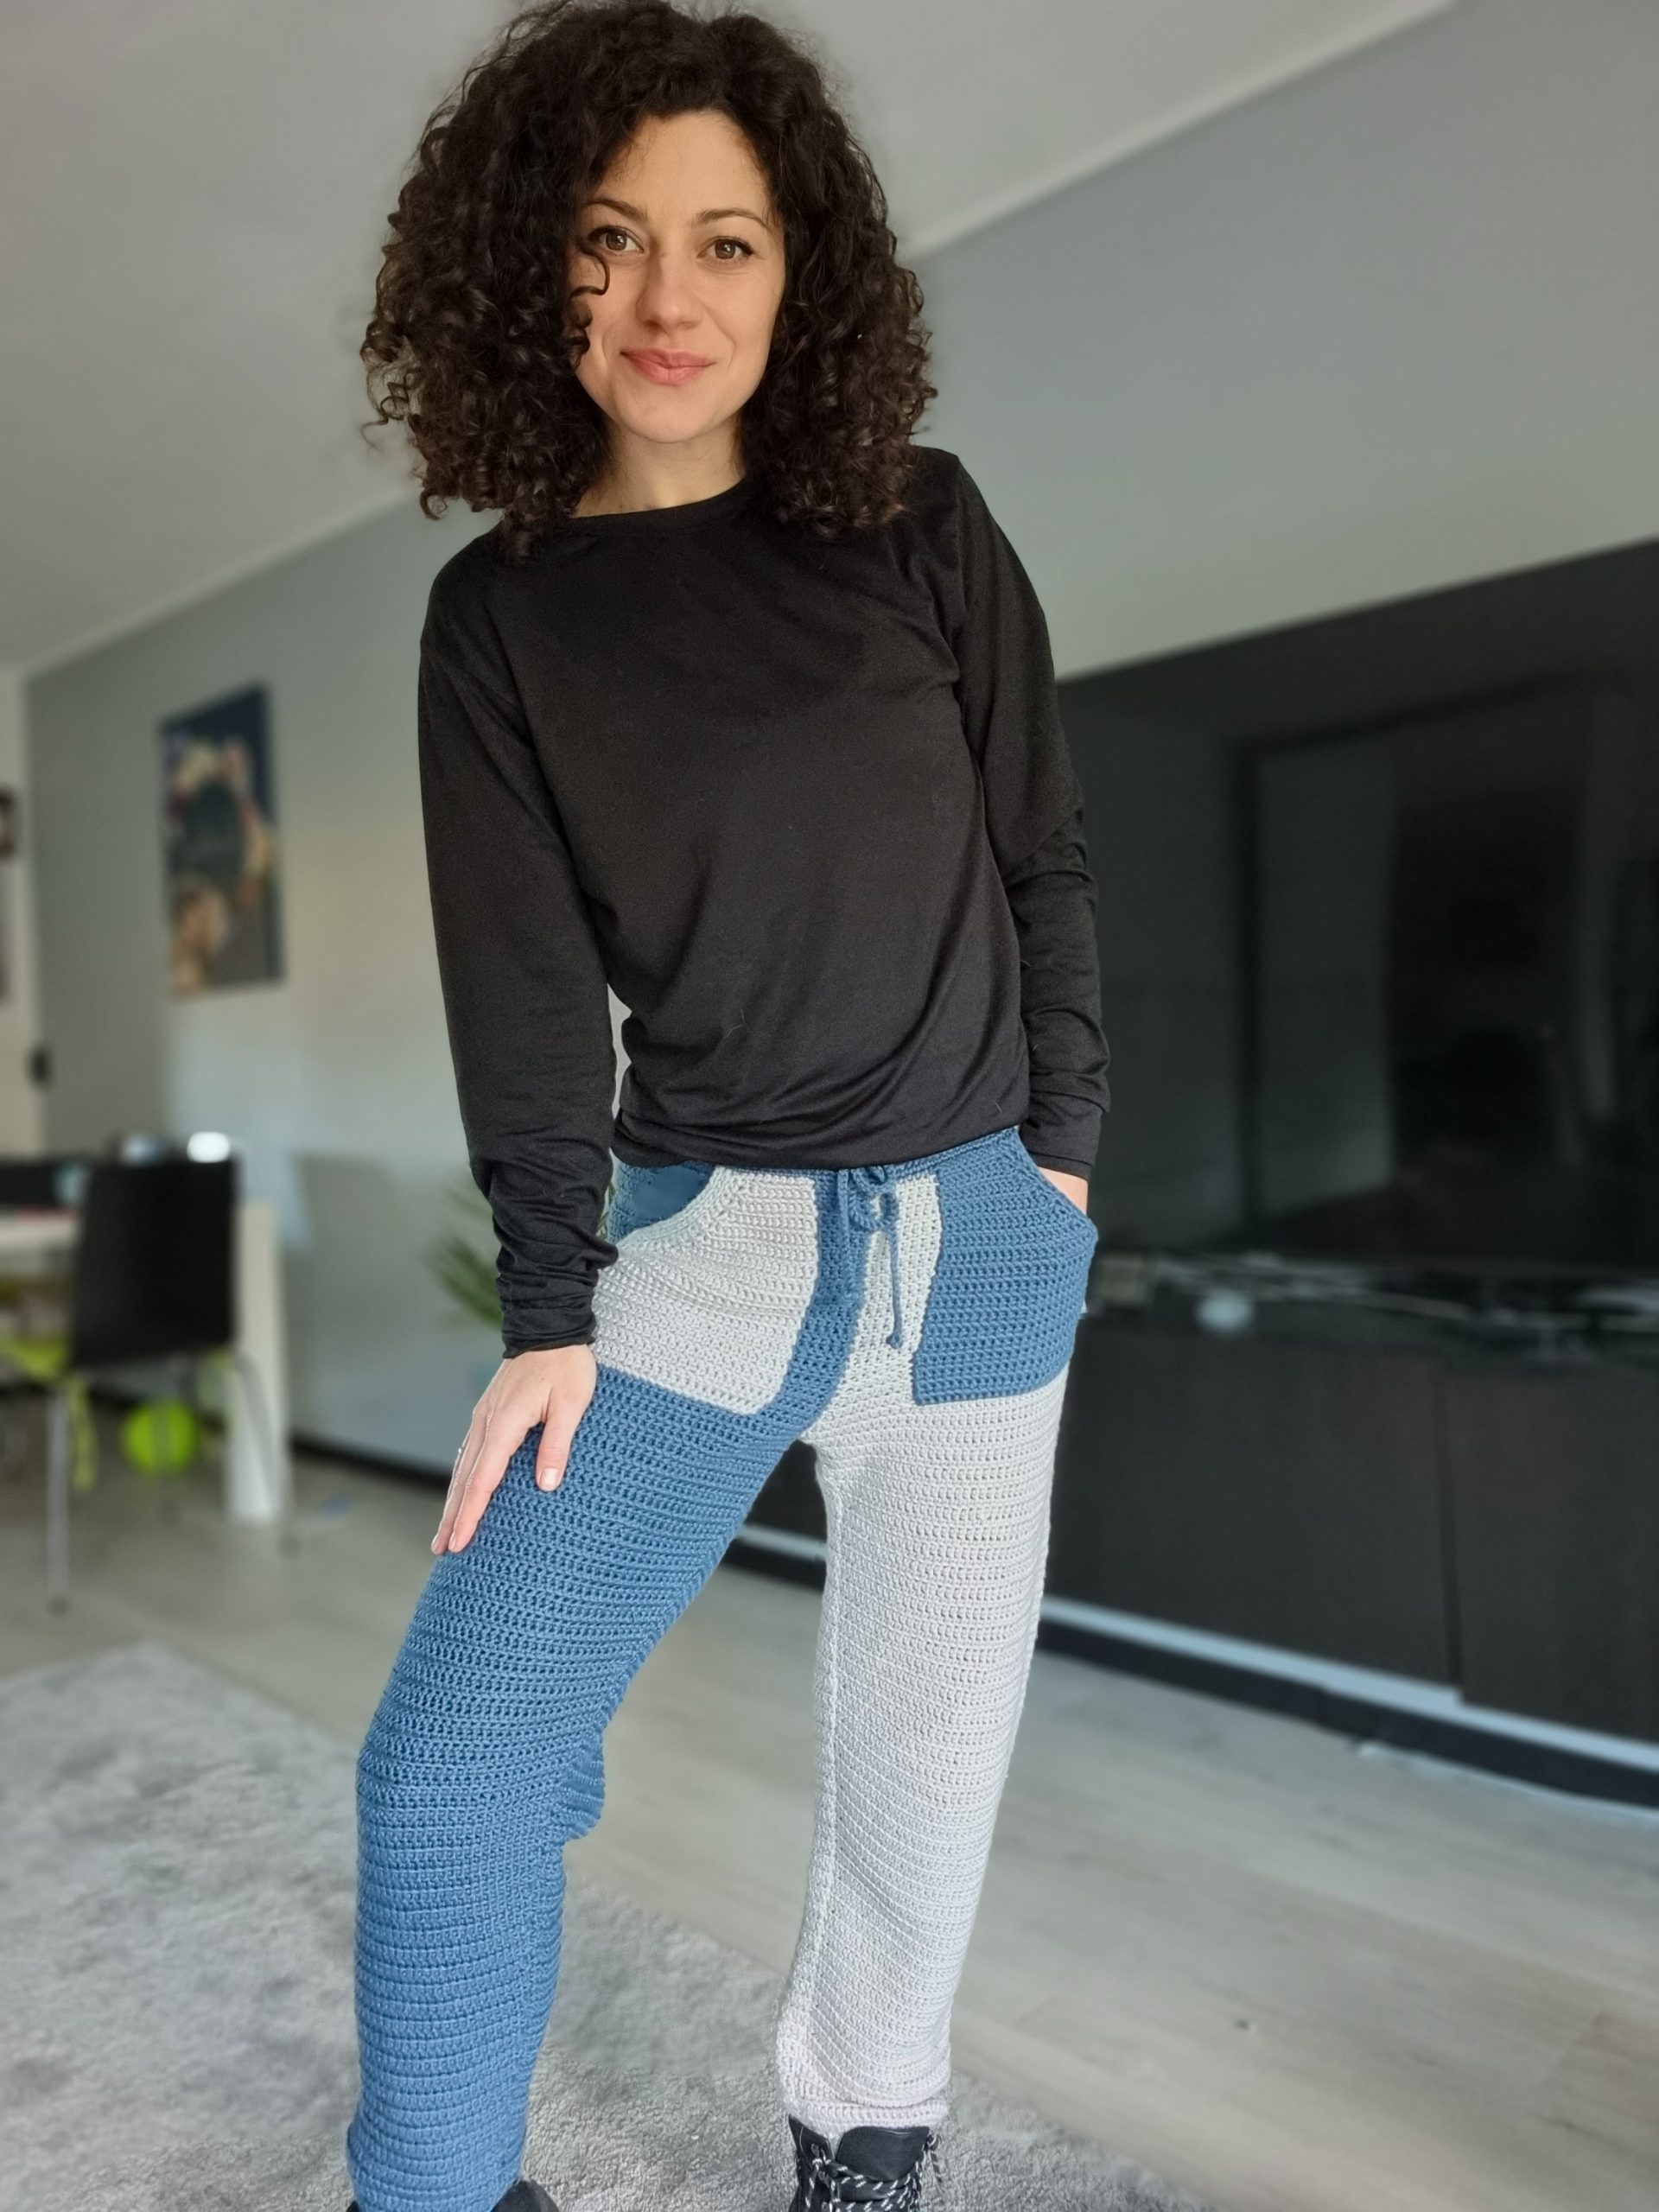
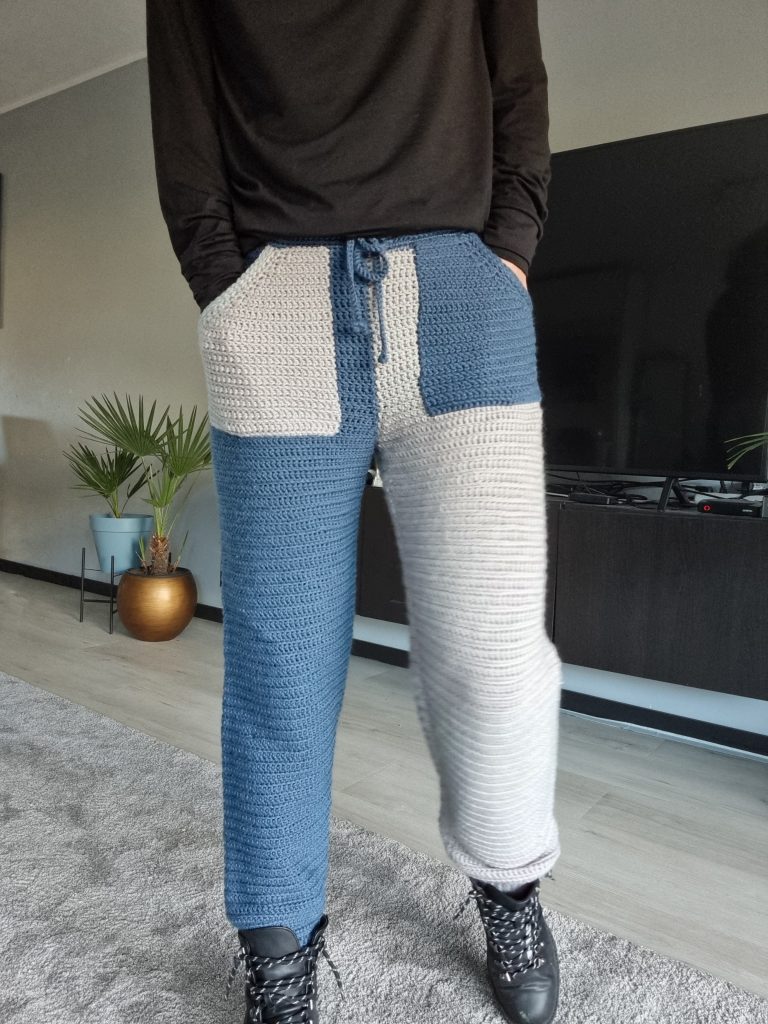
There’s been more than a year since I tried to publish the Thleisure Pants Pattern, and I am glad I can finally do it.
For some reason, I kept putting aside this project for various reasons. The most time-consuming of all was that I also wanted to make a video tutorial for this pattern. And after all, there will be no video tutorial. I am sad and disappointed because all the hard work was blown with such a small mistake or maybe more…
The story is long, but the main idea is that I lost the progress videos I made twice, and I didn’t have the energy and mood to start a third time to film everything.
So, this is it! No video tutorial this time, but you can use the Marble Shorts video tutorial as guidance, as the Athleisure Pants are a variation of the shorts version. At least that!
You can purchase the easily printable PDF version of this pattern here:
I hope you will like this pattern and you will try to make some crocheted pants.
MATERIALS
• Yarn: Sport weight yarn or DK (as long as you can get the gauge)
• Crochet Hook:
o 4 mm crochet hook
• yarn needle for weaving in ends
• Stitch markers
• Scissors
• 1cm elastic band with about 3-4 cm smaller length than the waist circumference
NOTES ABOUT DESIGN
This Athleisure Crochet Pants pattern features techniques such as short rows for a higher back, single crochet in front loop only, and increases.
The pants are worked in two identical pieces, stitched together at the end.
The waistband is worked after assembling around the shorts’ edge in the round. The waistband is doubled to insert the elastic band and the cord.

MEASUREMENTS AND SIZES
The Athleisure Pants Pattern is available in 8 sizes from S up to 5XL. The diagram above is represented one piece which represents half. Work 2 pieces to complete the pants.
Half Waist a: 43.5 cm (45, 46.5, 49, 51.5, 53.5, 56.5, 59)
Front Rise b: 25 cm (25, 25, 25.5, 25.5, 27, 27, 27)
Back Rise c: 29 cm (29, 29, 29.5, 29.5, 31, 31, 31)
*Half Hips d: 60 cm (61, 63, 66, 68, 71, 74)
Max. tight: 62 cm (64, 66, 70, 76, 81, 84, 90)
Length: 89 cm (89, 89, 90, 90, 92, 92, 92)
*These measurements are taken before assembling; after assembling, the approximate measurements are:
Waist: 78 cm (79, 84, 97, 91, 96, 101, 106)
Hips: 96 cm (98, 101, 105, 109, 114, 118, 123)
Use these measurements as a reference when picking the size. The Pants are designed with a positive ease of approximately 5cm around the hips.
How much yarn do you need?
I used Basic Merino from Katia Yarns, in colors 12 – Grey and 32 – Grey Blue. This yarn composition is 52% Merino super washed and 48% acrylic. One ball has 50 grams and is approximately 120 meters.
I used almost the same amount of each color.
For each size, you will approximate need in total: 1272 (1320, 1368, 1536, 1584, 1704, 1776, 2064) meters.
ABBREVIATIONS
Ch – chain
Sc – single crochet
scflo – single crochet front loop only
Slst – slip stitch
St(s) – stitch(es)
R – rounds
** – repeated section.
TENSION
Using 4 mm crochet hook in single crochet front loop only
16 sts = 10 cm
16 rows = 10 cm
You can purchase the easily printable PDF version of this pattern here:
STITCH PATTERN
The main stitch pattern is single crochet in the front loop only.
The waistband is worked in regular single crochet stitches.
PATTERN NOTES
Both pieces are worked flat. Turn after each row.
Work 1ch at the end of each row to raise the work
1ch does not count as the first single crochet
Work the increase into the second stitch and second to last stitch.
Work first and last st as a regular sc.
When working the short rows, work the bridge (passing from the first short section to the next one) as sc2tog: 1sc into the side of the last st and 1sc into the next st.
INSTRUCTIONS
Numbers for sizes M, L, XL, XXL, 3XL, 4XL, and 5XL are written between brackets. If not, the pattern applies to all sizes.
Both pieces are worked identically, from top to bottom.
Start: ch70 (72, 75, 78, 82, 86, 90, 95)
Short rows:
1ch, start in the second ch st.
R1: 1sc in next 17 (18, 18, 19, 20, 21, 22, 23) sts, 1ch, and turn.
R2: 1scflo in each st until the end of the row.
R3: 1scflo, in next 17 (18, 18, 19, 20, 21, 22, 23), 1sc in next 17 (18, 18, 19, 20, 21, 22, 23), 1ch and turn
R4: 1scflo in each st until the end of the row.
R5: 1scflo in next 34 (36, 36, 38, 40, 42, 44, 46) sts, 1sc in next 17 (18, 18, 19, 20, 21, 22, 23), 1ch and turn
R6: 1scflo in each st until the end of the row.
R7: 1scflo in next 51 (54, 54, 57, 60, 63, 66, 69) sts, 1sc in last 19 (18, 21, 21, 22, 23, 24, 26) sts, 1ch and turn
R8: 1scflo in each st until the end of the row.
R9: 1sc in first st, 2scflo in next st, 1scflo in each st until the end of the row.
R10:1scflo in each st until the end of the row.
Rep R9 and R10 until you have in total:
32 (32, 32, 34, 34, 36, 36, 36) rows
After completing this row, you should have
82 (84, 87, 91, 95, 100, 104, 109) sts.
Next row: 1sc in first st, 2scflo in next st, 1scflo in each of the next sts except the last 2, 2scflo in next st, 1sc in last st.
Rep. previous row until you have in total:
39 (39, 39, 41, 41, 43, 43, 43) rows.
After completing this row, you should have
96 (98, 101, 105, 109, 114, 118, 123) sts
At the end of the last row, ch 1 (1, 1, 3, 5, 6,6,8) sts and turn.
Next row: Size S, M, L
1scflo in each st until the end of the row, 10 (11, 11) fsc, 1ch, and turn.
Next row: sizes XL, XXL, 3XL, 4XL, and 5XL
Starting with the second ch st, 1sc in next 2 (4, 5,5,7) sts, 1scflo in each of the next sts until the end of the row, 11 (13, 14, 14, 15) fsc, 1ch and turn.
Next row: 1sc, 1scflo in each st, until the last one, 1sc in the last st.
Working on the length of the pants
There are a few variations that you can work with depending on your taste and how you want the pants to look.
For the length, I decided for this sample to decrease, but you can work the leg straight or even increase it for a flare look.
The pattern below is written with the same length for all sizes. I will give details on how to customize the length and how to calculate the decreases.
Before starting with the length, I do recommend following the assembly steps. This way, you can try the shorts on before and measure everything you need regarding the length.
Step 1 Measure the desired length and calculate how many rows you will need to complete that length ( according to your gauge)
Step 2: Measure the circumference that you will want the pants to have at the bottom (you should consider the ribbing as well; let it a bit wider as it will stretch with the ribbing) and calculate how many sts you will need;
Step 3: From the number of sts you have on the max tight, subtract the number at the bottom; the result will be the number of sts you need to decrease.
Step 4: because you will decrease with 2sts per row (one at the beginning and one at the end), divide the number of sts that you need to decrease by 2; the result will be the number of decreased rows.
You can purchase the easily printable PDF version of this pattern here:
Step 5: Divide the total number you need to make to complete the length by the number of decreased rows; the result will be the number of rows in a pattern repeat.
Example: I worked before starting to decrease 6 rows. Rows left from the length 84; the number of decreased rows 20 ( to decrease 40 sts); 84 / 20 = 4.2. So my repeated decrease pattern will be of 4 rows. I will make 1 decrease row, followed by 3 rows without decreasing.
Length
R1: 1sc, 1scflo in each st, except the last one, 1sc in last st;
R2 – R6: rep. R1
R7 (dec) : 1sc, scflo2tog, 1scflo in each st except the last 3, scflo2tog, 1sc in last st;
R8 – R10: rep. R1
Rep. R7 – R10 until you have a total of 90 rows.
Ribbing
ch11
R1: start in the second st and work 1ss ineach of the next 10sts, 1ss in the next 2sts of the edge; turn
R2: ssblo in each st to the end of the row; ch1 and turn
R3: ssblo in each st, 1ss in the next 2sts of the edge; turn
Rep. R2 and R3 until you complete the entire width.
ASSEMBLING
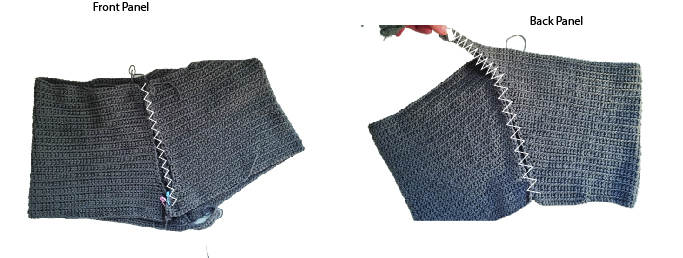
Fold both pieces in half and lay them next to the other in the mirror.
You now have the right and left sides of the pants.
Step 1: Stitch together the Front left side with the Front right side.
Step 2: Stitch the back left side with the back right side.
Step 3: Stitch the inside edge of the leg length.
WAISTBAND
Work for the waistband around the top edge.
Join the yarn in one stitch from the back.
R1: 1ch, 1sc in each st around. Close the round with slst in first sc.
R2 – R10: Rep. R1
Place the elastic band into the folded waistband.
Join the waistband edges with sl sts into the stitches of the last row and the 3rd loop of the stitches at the first row, using a smaller hook size (2.5 mm recommended)
CORD
Ch300, or 2.5 times your waist circumference.
Sl st into each of the ch sts.
POCKETS
Lay the pants facing the front panel.
To measure the length of the pocket, place your hand on the front panel, with your fingertips touching the waistband; count how many rows you have and write it down; this will be the length of the pocket.
To measure the width, leave approximately 5 sts from the edge and 5 sts from the middle seam and count the sts in between; this will be the number of sts for the pocket width.
Next: ch the required number of sts, according to your measurements, and work 1/3 of the number of rows in sc in the front loop only. For the other 2/3 number of rows, decrease 1st per row only on one side;
To finish the pockets work on the edge where you made the decreases, only a few rows in ss in the back loop; then sew the pockets on the front panels of the pants.
TO FINISH
Use a safety pin and insert the cord into the waistband.
Weave in all loose ends and block to measurements.
You can purchase the easily printable PDF version of this pattern here:



Comments are closed.