Updated July 2020
Whether you like it or not, size matters in crochet and knitting, too 😀
I know you want your crochet or knitted projects to look exactly like in the pictures and to fit well. All crochet or knitted pattern provides or should provide final measurements of the project and for you to make a specific size you have to make a gauge swatch.
I will be honest with you, that when I started to design crochet garments, I didn’t swatch at all and I was thinking about this gauge swatch like a waste of time and yarn.
Well, it’s not like this and a gauge swatch is super important, especially for garments and I started a while ago, not only to make a swatch gauge, but also to wet block it before start working on my design.

What is a crochet or knitted gauge swatch?
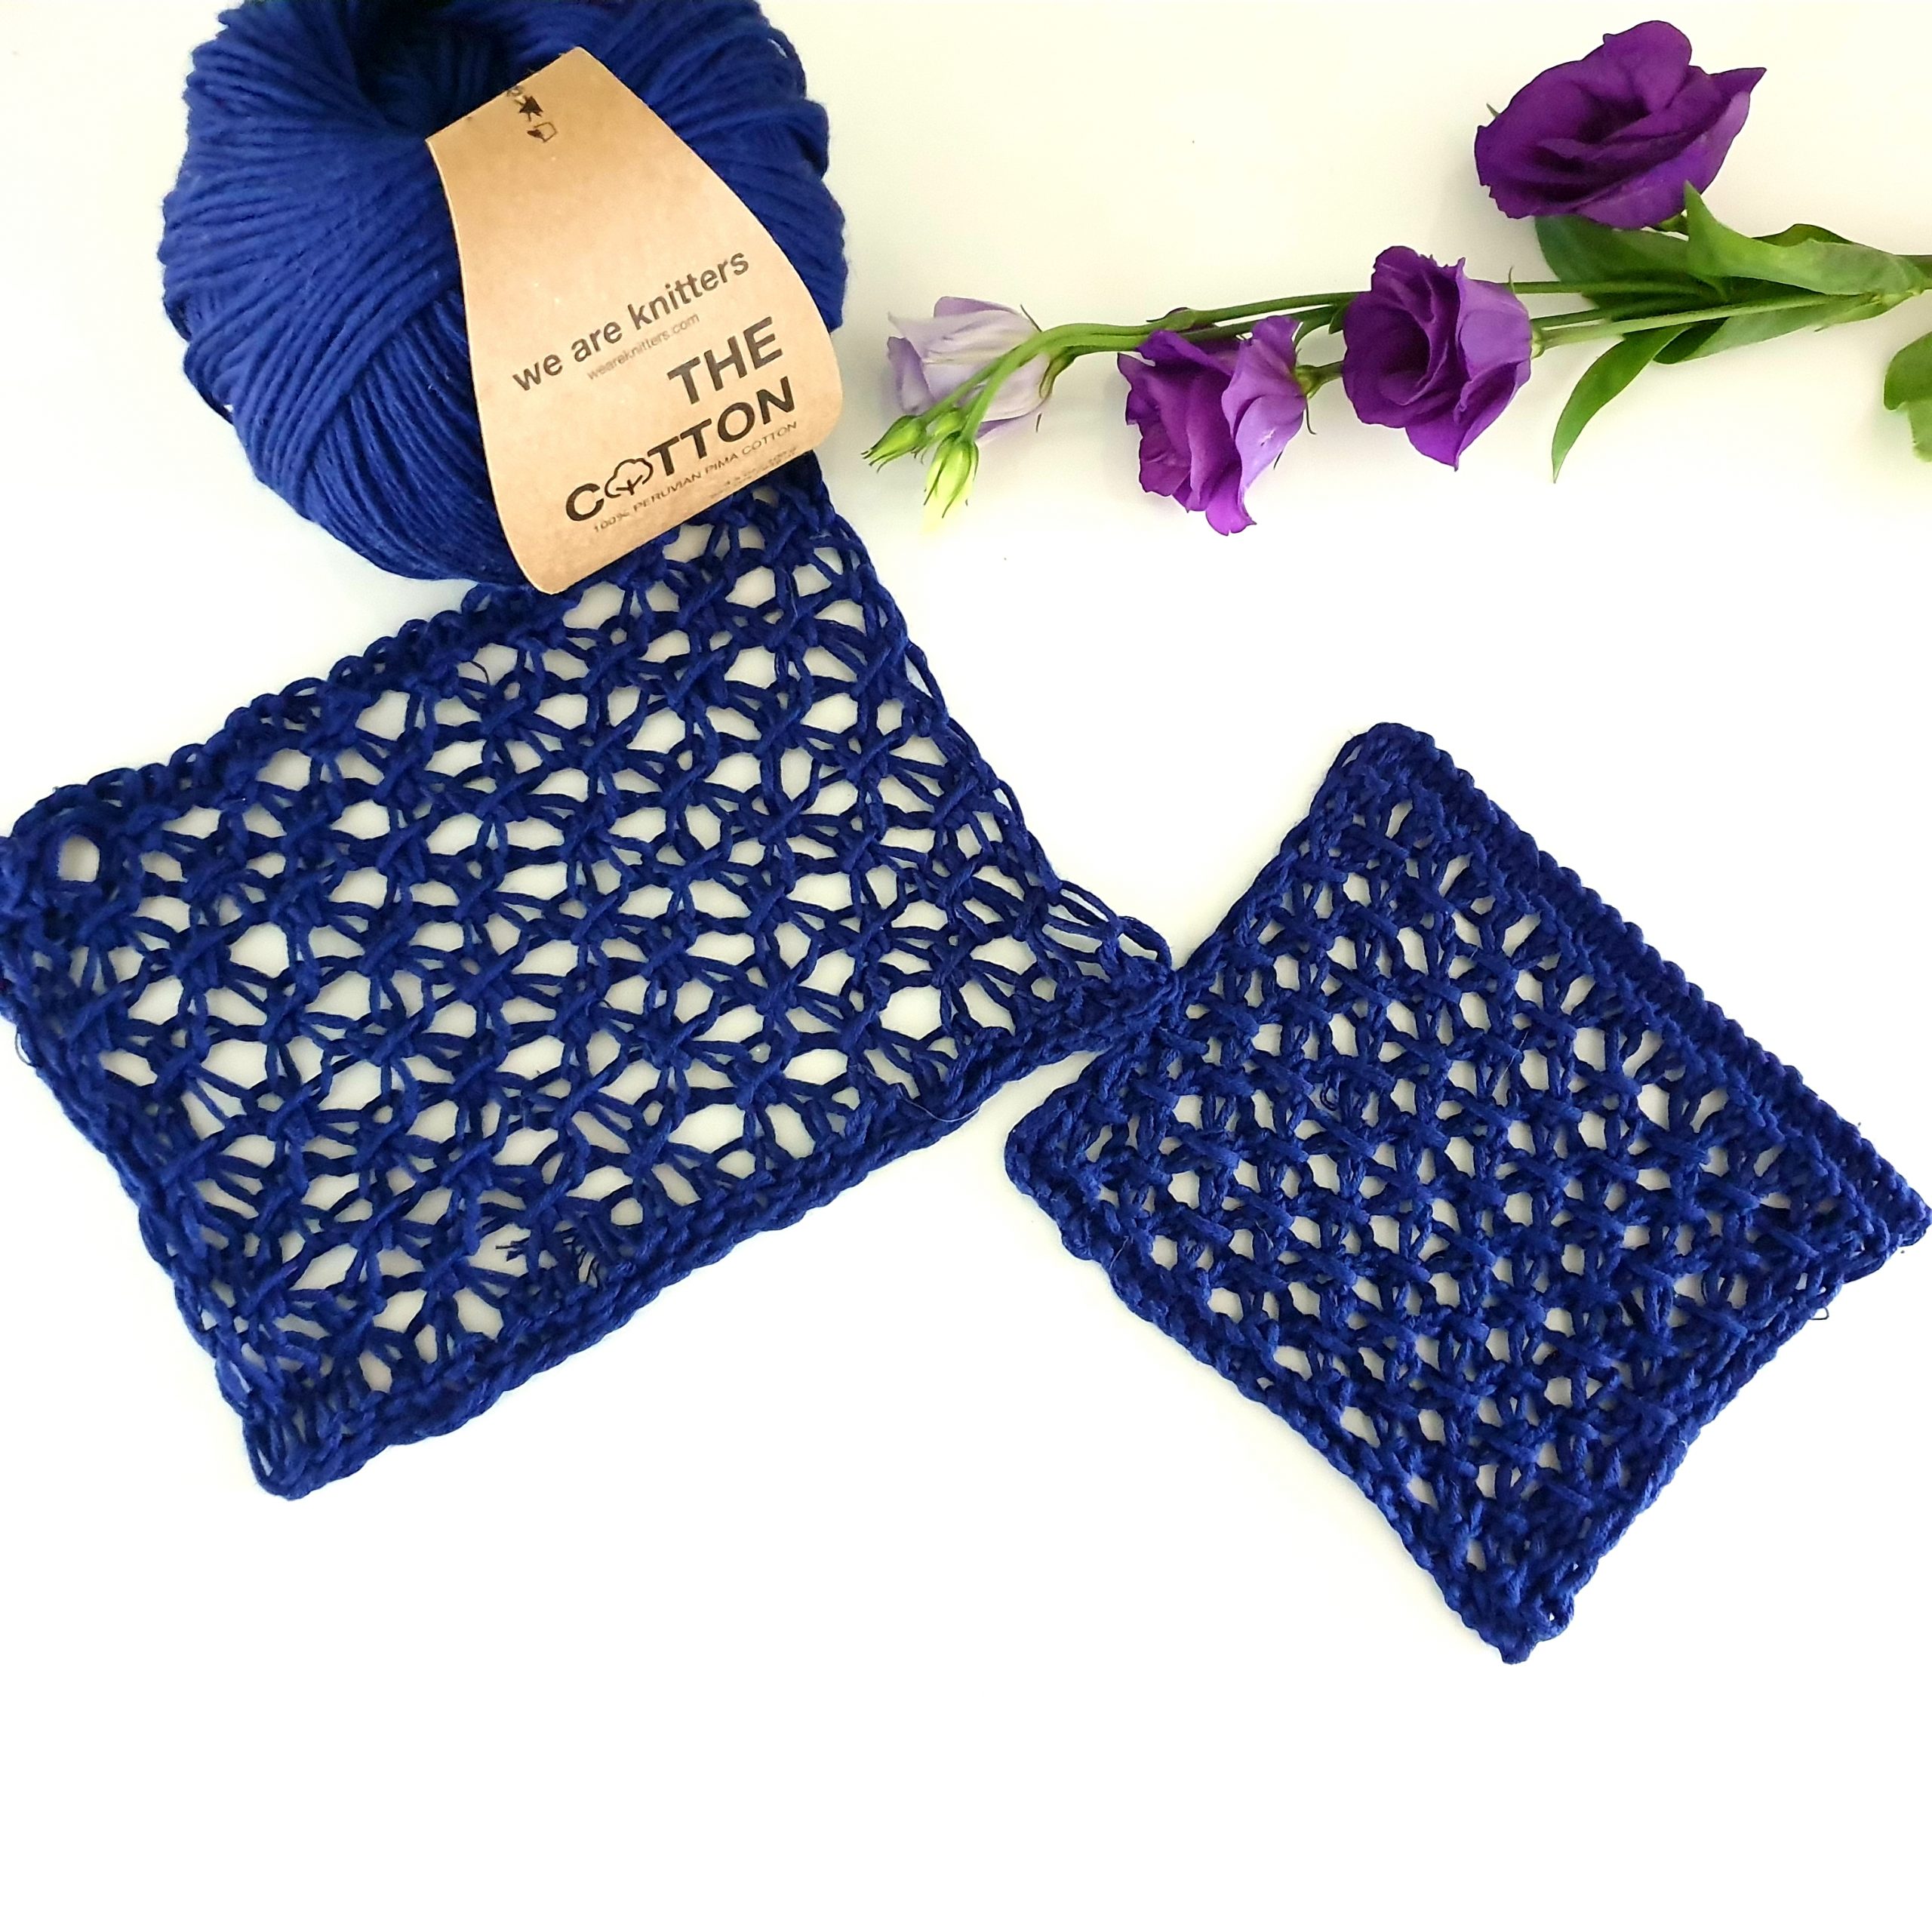
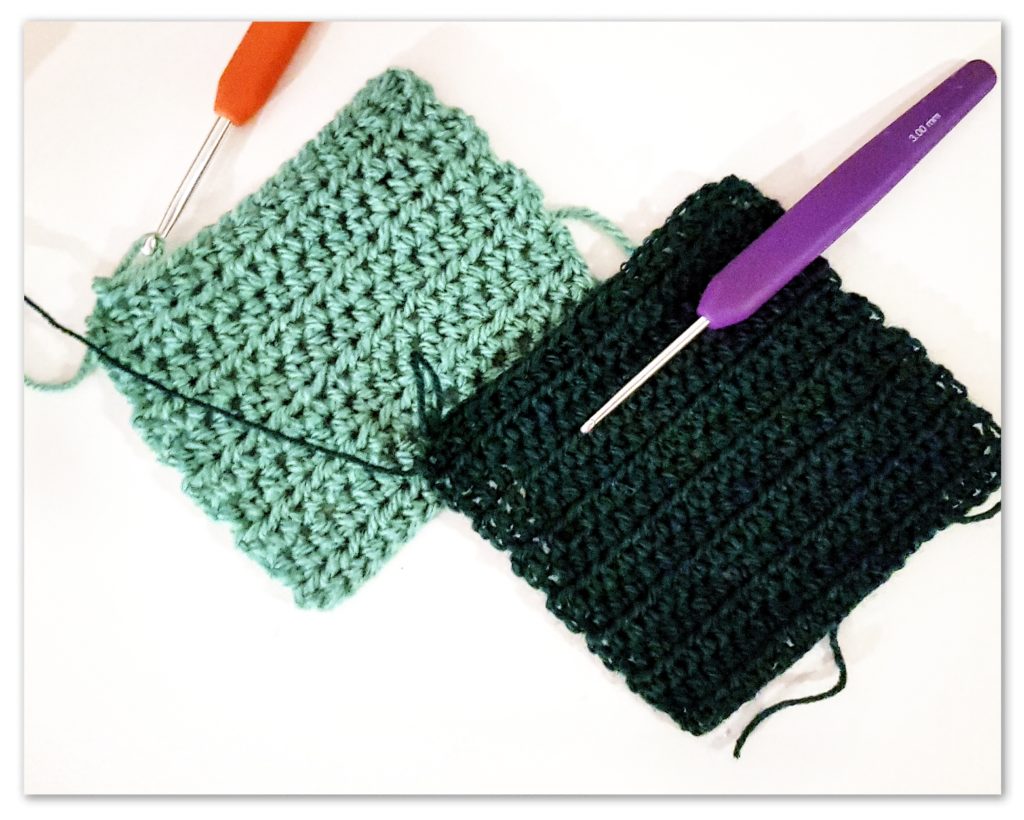
A gauge swatch is a square piece of fabric you crochet or knit in the main stitch pattern of a project you want to crochet or knit. After making the square you have to see what is the gauge.
The gauge is a measurement in stitches and rows or rounds, usually 10 cm long and 10 cm wide. To find your gauge you have to place a measuring tape your knitted or crocheted fabric and see how many stitches and rows you have in 10 cm.
Why it’s important to make a gauge swatch?
Everyone knits or crochets with different tension, more tightly or more loosely. If you are following a specific pattern you have to know if your tension is different or about the same as the person who designed the project.
If you have more stitches in 10 cm this means you crochet or knit tighter and if you have less stitches, this means you crochet more loosely.
If your gauge is different you need to change the hook size and make a swatch again until you get closer to the designer tension.
Now, if you are on designers side, you might know already that making a gauge swatch is a must, but if you are at the beginning, let me tell you how the gauge swatch will help you.
- knowing your gauge will help you figure it out with how many stitches to start your design. Instead of chaining 100 stitches and figure it out after a few rounds that you have to undo it because the fabric will be too big or too small, is better to work around 20 sts and 20 rows, and knowing from the start how many stitches you will need so the final project to have the desired measurements.
- it will help you with grading and make your pattern size inclusive
- will help you figure it how much yarn you will approximate need for your project. Knowing the length of yarn you used for the swatch (usually I measure the yarn used for a 10 cm row) it will be easy to calculate how much yarn you will need approximate need for the entire project.
I was telling you that lately after making a gauge swatch, I am wet blocking it. Why? Well, I want my crocheted or knitted garments to be wearable. This means, that after wearing it I need to wash it. Different fibers, might react differ after washing. If the fiber will stretch after washing , this means that the measurements won’t be the same and maybe you will need to make a smaller size in order to have the right fit.
In my opinion, now after years of designing the correct gauge swatch is the one after wet blocking.
Now, let’s get back to our gauge swatch when following a pattern.
There are patterns from all over the world and sometimes might be difficult to find the same yarn, or even same weight, but you love so much a design that you want to make it.
I had so many requests over the years from customers, to adjust a pattern to a specific yarn weight, and now I will share with you how I am doing that.
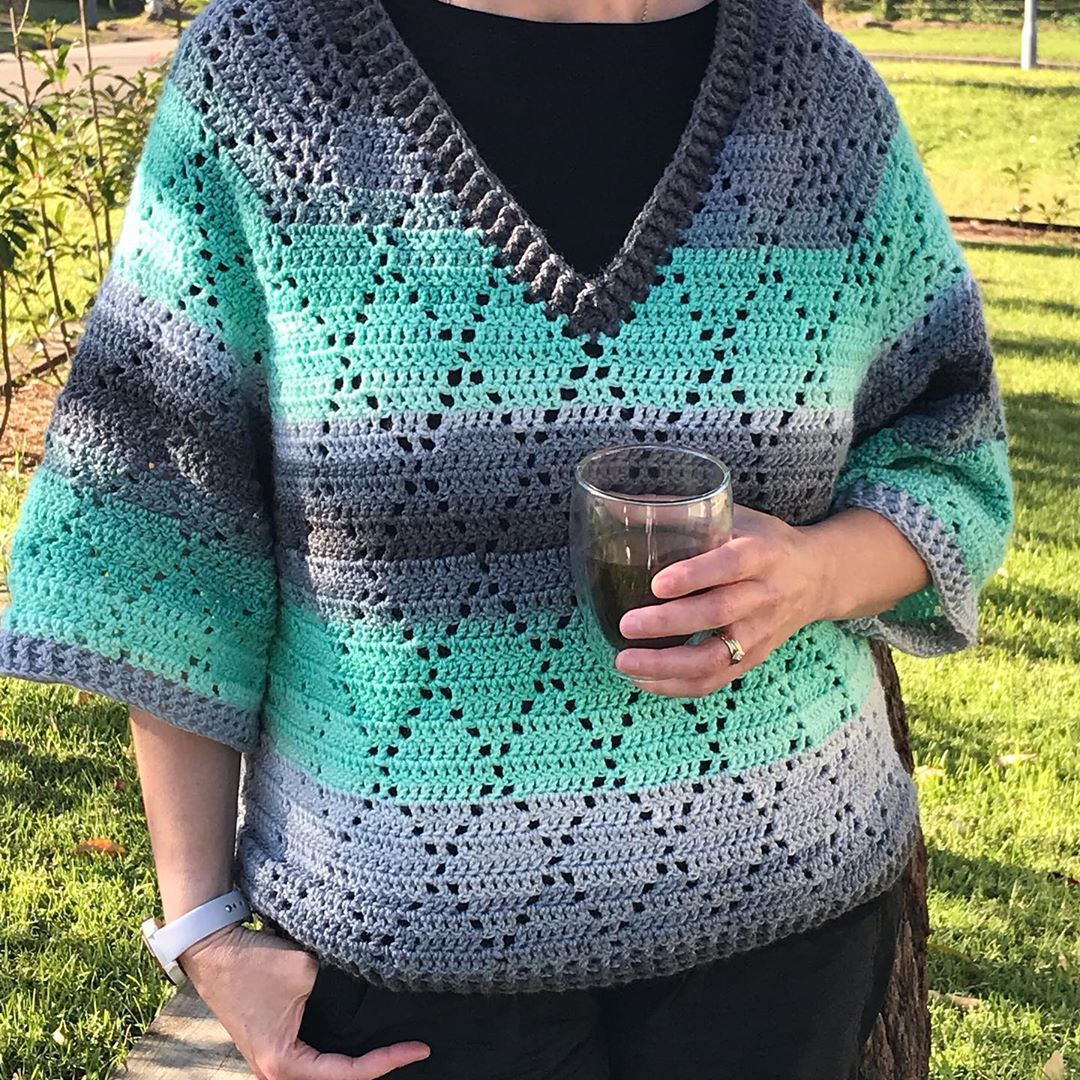
Like @catiee_liz who wanted to make the WAW Precious Sweater, but with a 8 ply, DK yarn instead of 5 ply, Sport weight yarn, as the pattern requires.
She wanted to follow size L, thinking that using a thicker yarn will end up wit a size XL which was what she needed. After making the math, using this simple method, turned out she had to follow the pattern for size M.
This simple method helped me and helped her to make the sweater in a different weight yarn, but with a great result.

For me as a designer is important to see as many people as possible, making my designs and I want them to be happy with the final result.
Also, I want them to feel comfortable and making everything with pleasure. Most of my designs use with fingering weight yarn, and I had a lot of customers asking to adjust the pattern for a thicker yarn, because their health doesn’t allow them to work with thinner yarn, or they cannot find easily fingering weight yarn or simply because they want to use what they already have.
Before going any further, I have to tell you that, adjusting a pattern for a different weight yarn, thicker or thinner is possible and you can do it by yourself, but you have to know that the final project won’t look exactly the same (different drape, different texture…) You won’t know until you try it.
*all the numbers below are just for example.
Now, let’s say that you want to make a sweater following a specific pattern. The designer used a fingering weight yarn and a 3.5 mm crochet hook.
The gauge is 20 sts and 16 rows in half double crochet for a 10 cm square.
You love the sweater so much and you want to make it, but you have only worsted yarn and your beloved hook size is 5 mm. What you should do?
You should do a gauge swatch first. You have 13 sts and 9 rows in a 10 cm square worked in half double crochet.

Get your pen and a piece of paper because now is about math :).
Let’s see the difference between the 2 gauges.
Divide the number of stitches from your gauge to the number of stitches from the pattern’s gauge. Proceed the same with the number of rows.
13 : 20 = 0.65
9 : 16 = 0.56
We will apply this difference all over we have information about the number of stitches or rows in the pattern.
For example:
The back panel of the sweater in our size has 58 cm and the pattern says to chain 116
116 * 0.65 = 75.4 – you can round it to 76 sts to start with. And this will be your foundation chain according to your gauge.
If I chain 76 sts, I will have a 58 cm back panel width? We know from the gauge swatch that we have 13 sts in 10 cm. This means that my back panel of 76 sts will have 76 * 10 / 13 = 58.46 which is with less then half a cm more then the width we need, so it’s perfect 😁
Next, the pattern says to work 90 rows for the back panel and you will need to work according to your gauge 90 *0.56 = 50.4 and you can round it to 50.
So instead of getting frustrated that you don’t have or you can’t use, or simply you don’t feel comfortable working with the same weight yarn as the pattern requires, use this method and make it your way!
I hope you found this info useful, you will use this method in your maker Journey!
.

