For a long time I wanted to use Crochet for upcycle some old clothes. I loved this upcycle idea since I was a kid and I was using my mom old clothes to make something for myself. Back then I didn’t use crochet, but I found out that crochet can be a great idea to give a new life to something old.
The idea of this t-shirt makeover, came when I was working on the Deity Wall Hanger video tutorial. I made 2 for the video tutorial purpose. Because I had one left, I had to use it somehow.
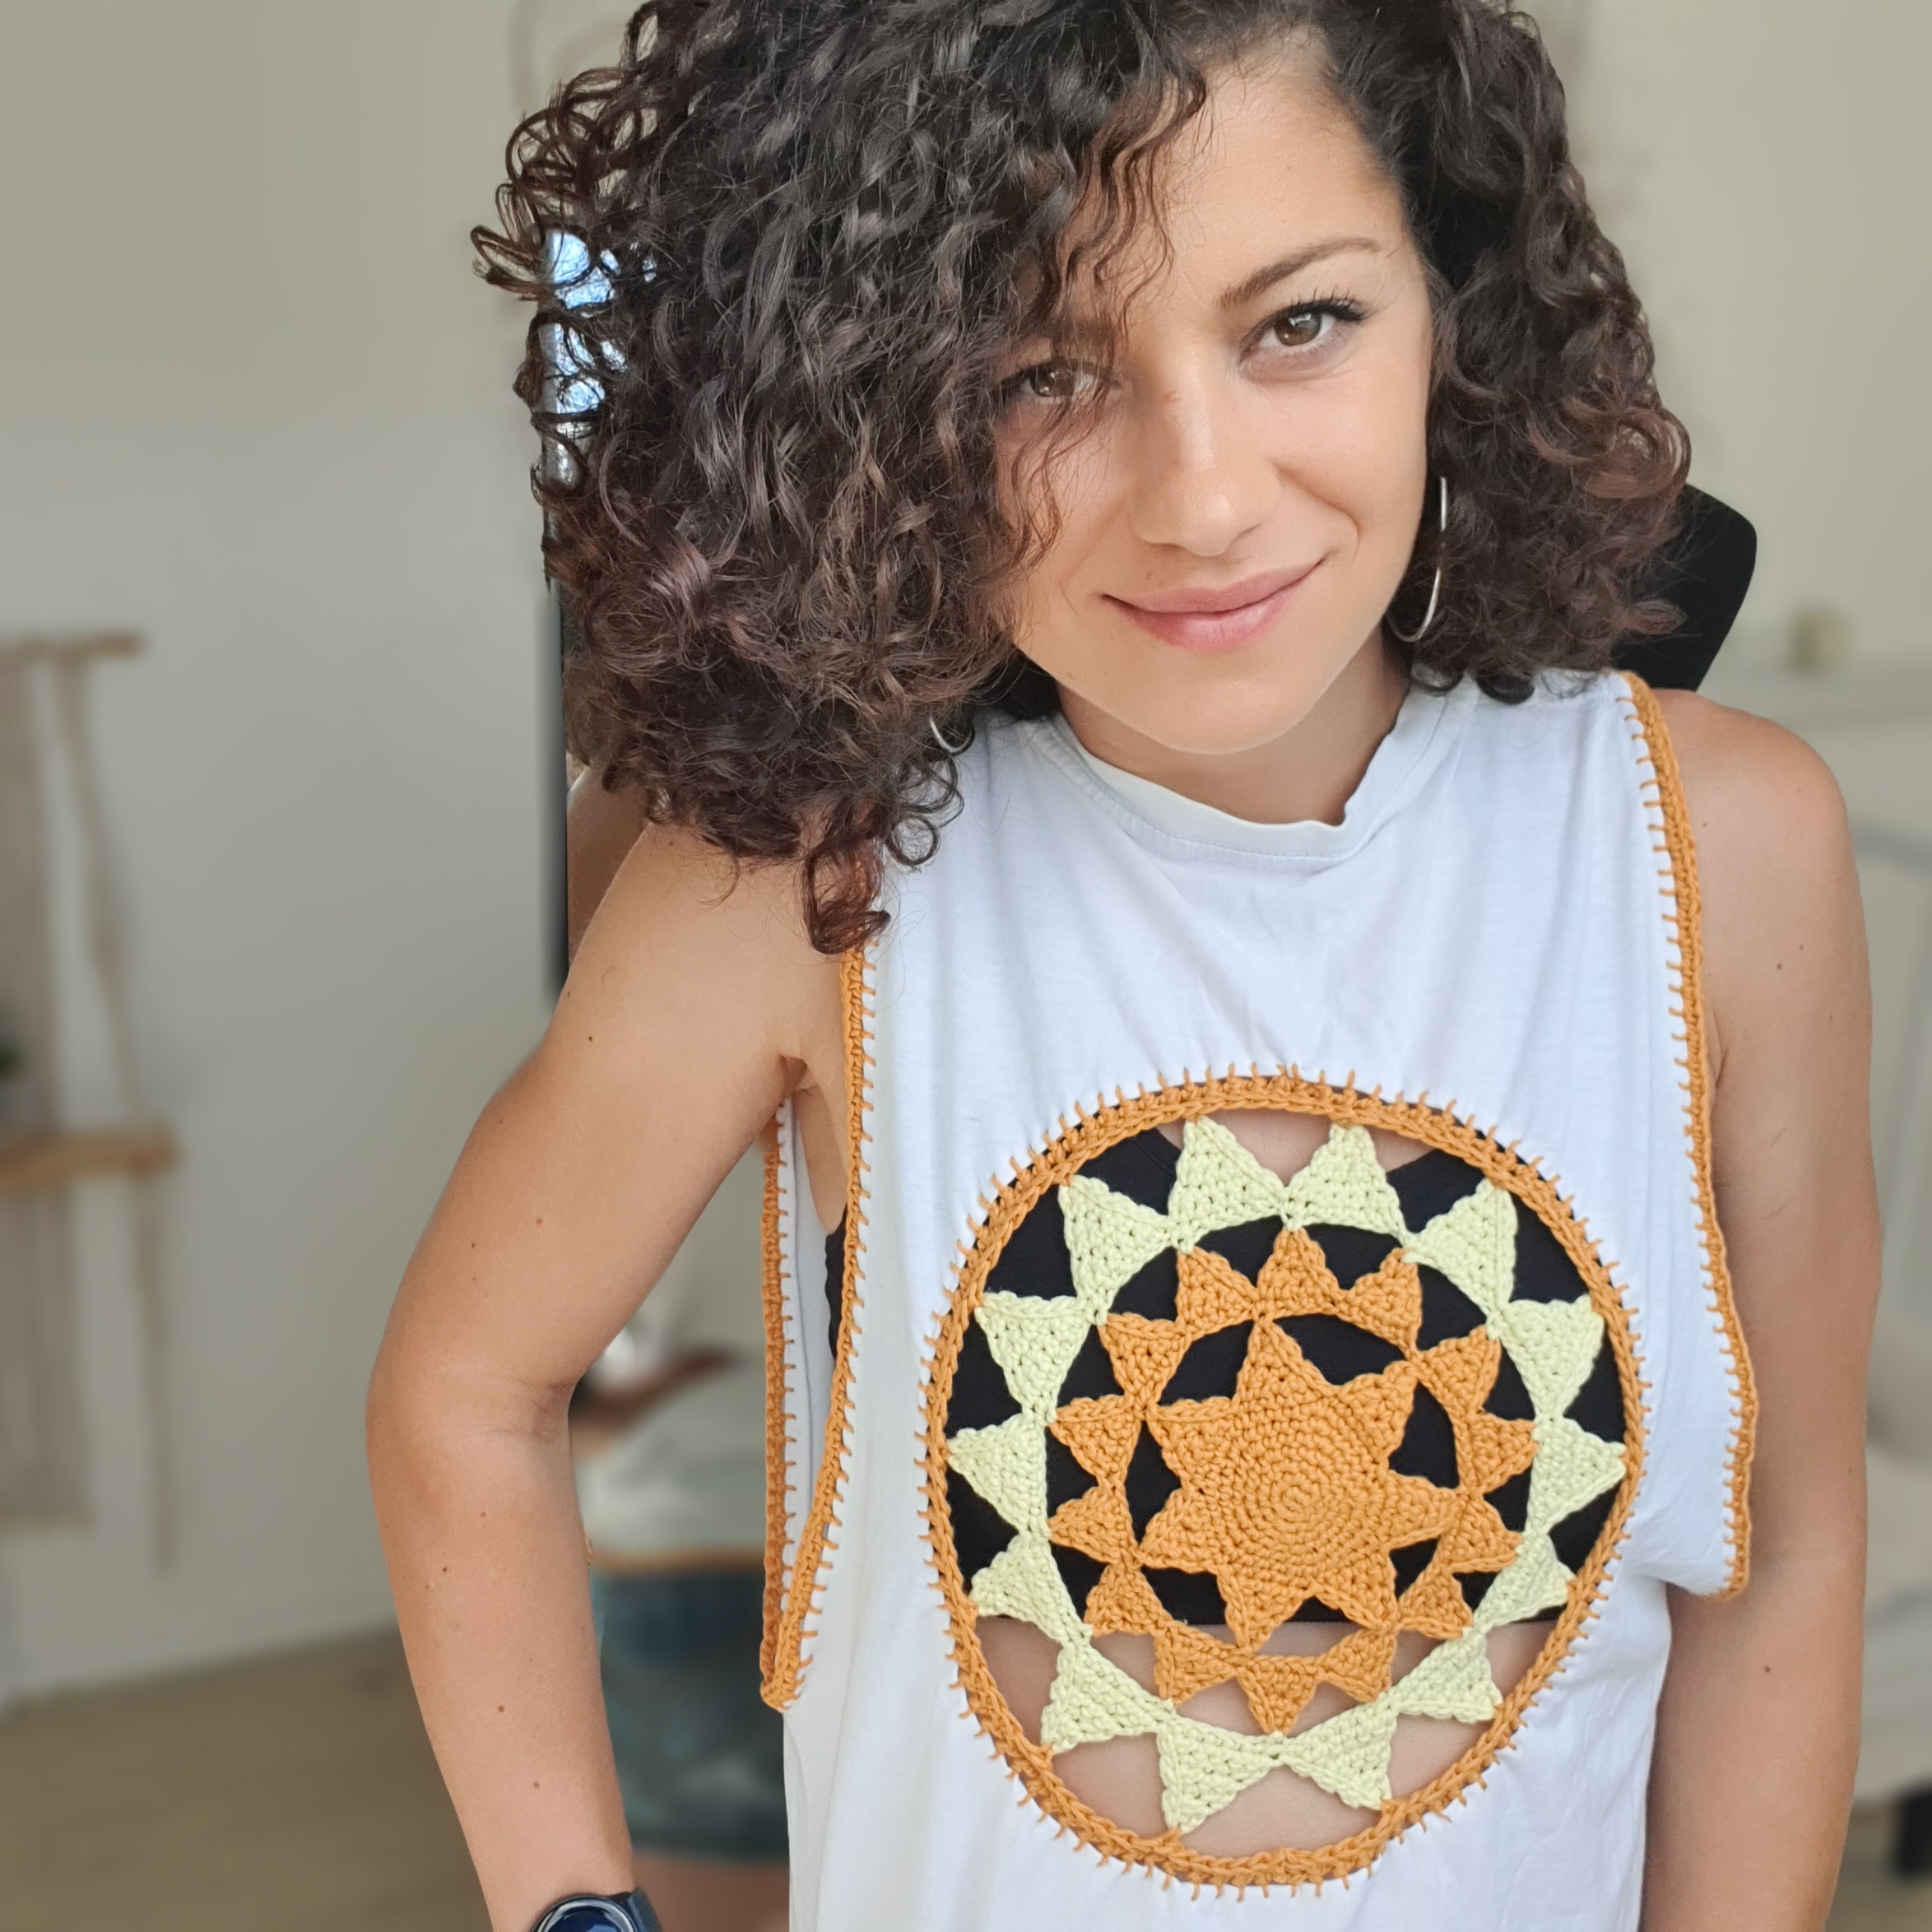
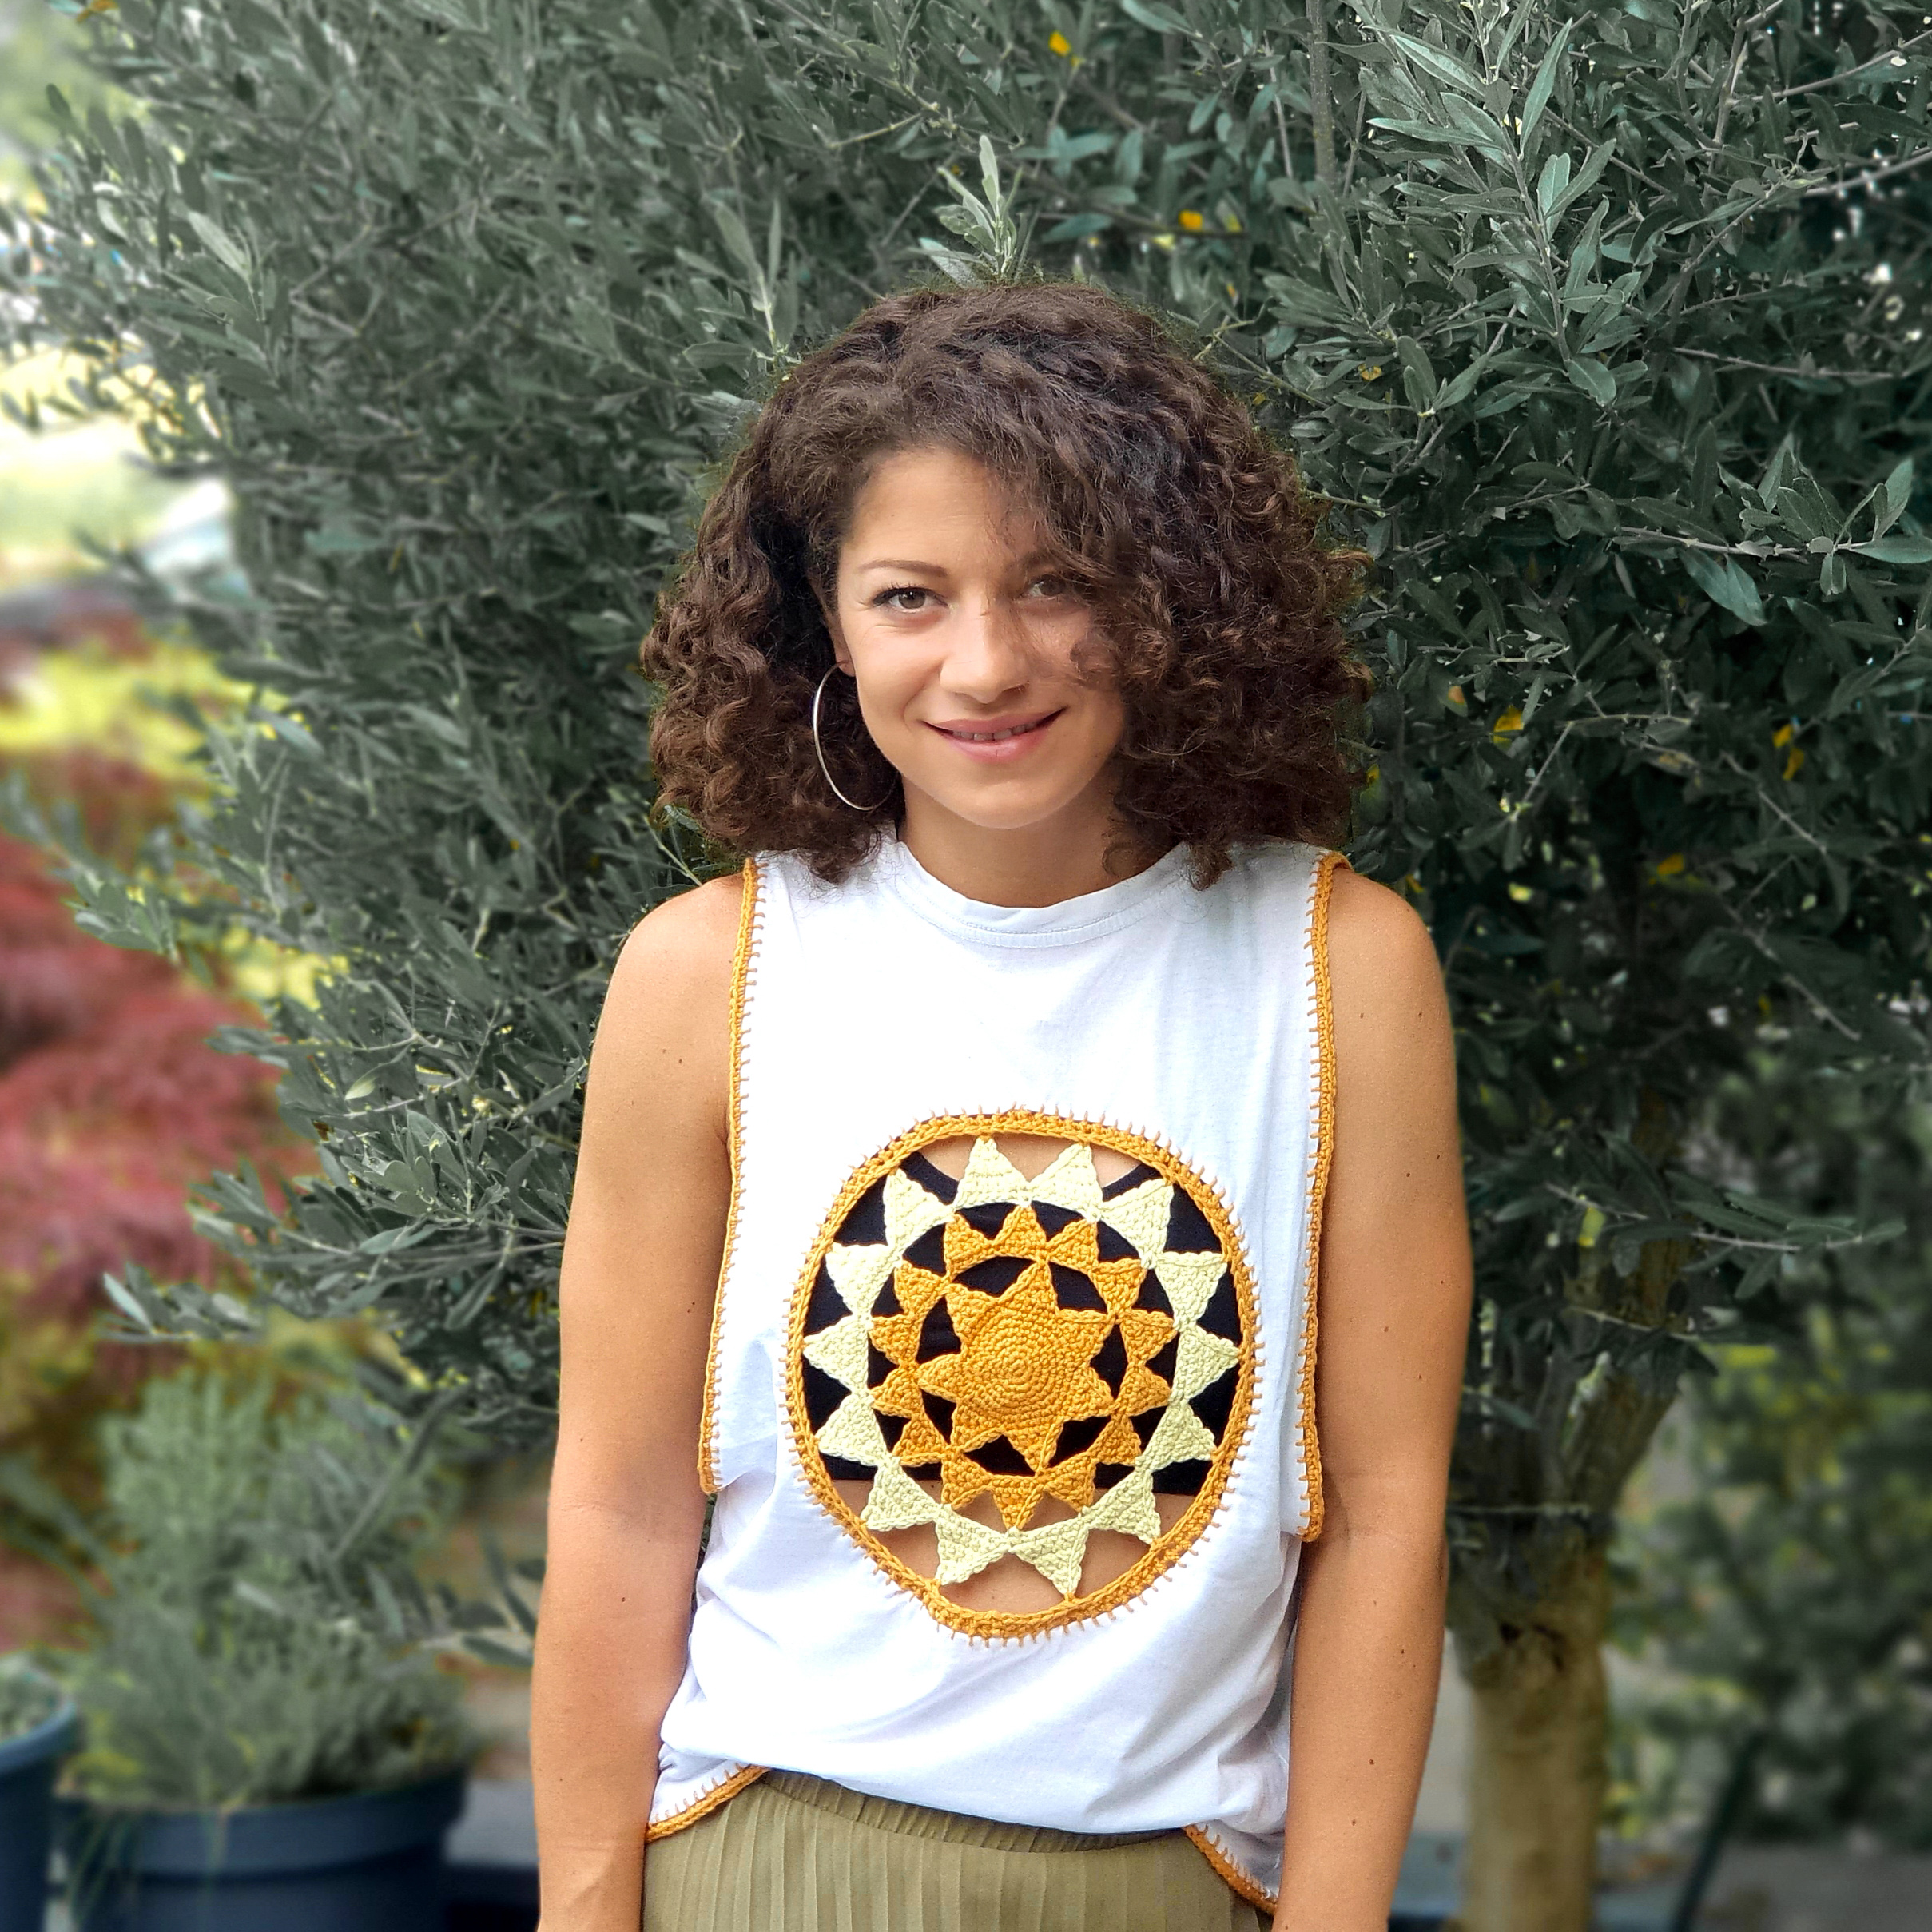
I think it ended up pretty well and half a day of work worth it.
Before starting to make this top, you will need to crochet first the “sun”. You can find acfull written pattern in my “Deity Wall Hanger Crochet Pattern” blog post. Use that pattern to make first the sun and then come back here for the t-shirt makeover.
Materials you will need
- Yarn
- fingering weight yarn in 2 colors of your choice – I used Fair Cotton by Katia in colors Mustard and Light Yellow. You will need less then 1 ball of each color for the entire project..
- Crochet Hook
- 3.5 mm ( E US size)
- an old t-shirt ( the one I used it was a men t-shirt size M); you can use any t-shirt that is a bit larger then your actual size
- Optional: a tank or top to use it as a pattern for shaping the t-shirt;
- scissors
- tapestry needle with a big hole to fit the yarn through it
- marker
Abbreviations used in this tutorial
st – stitch
sc – single crochet
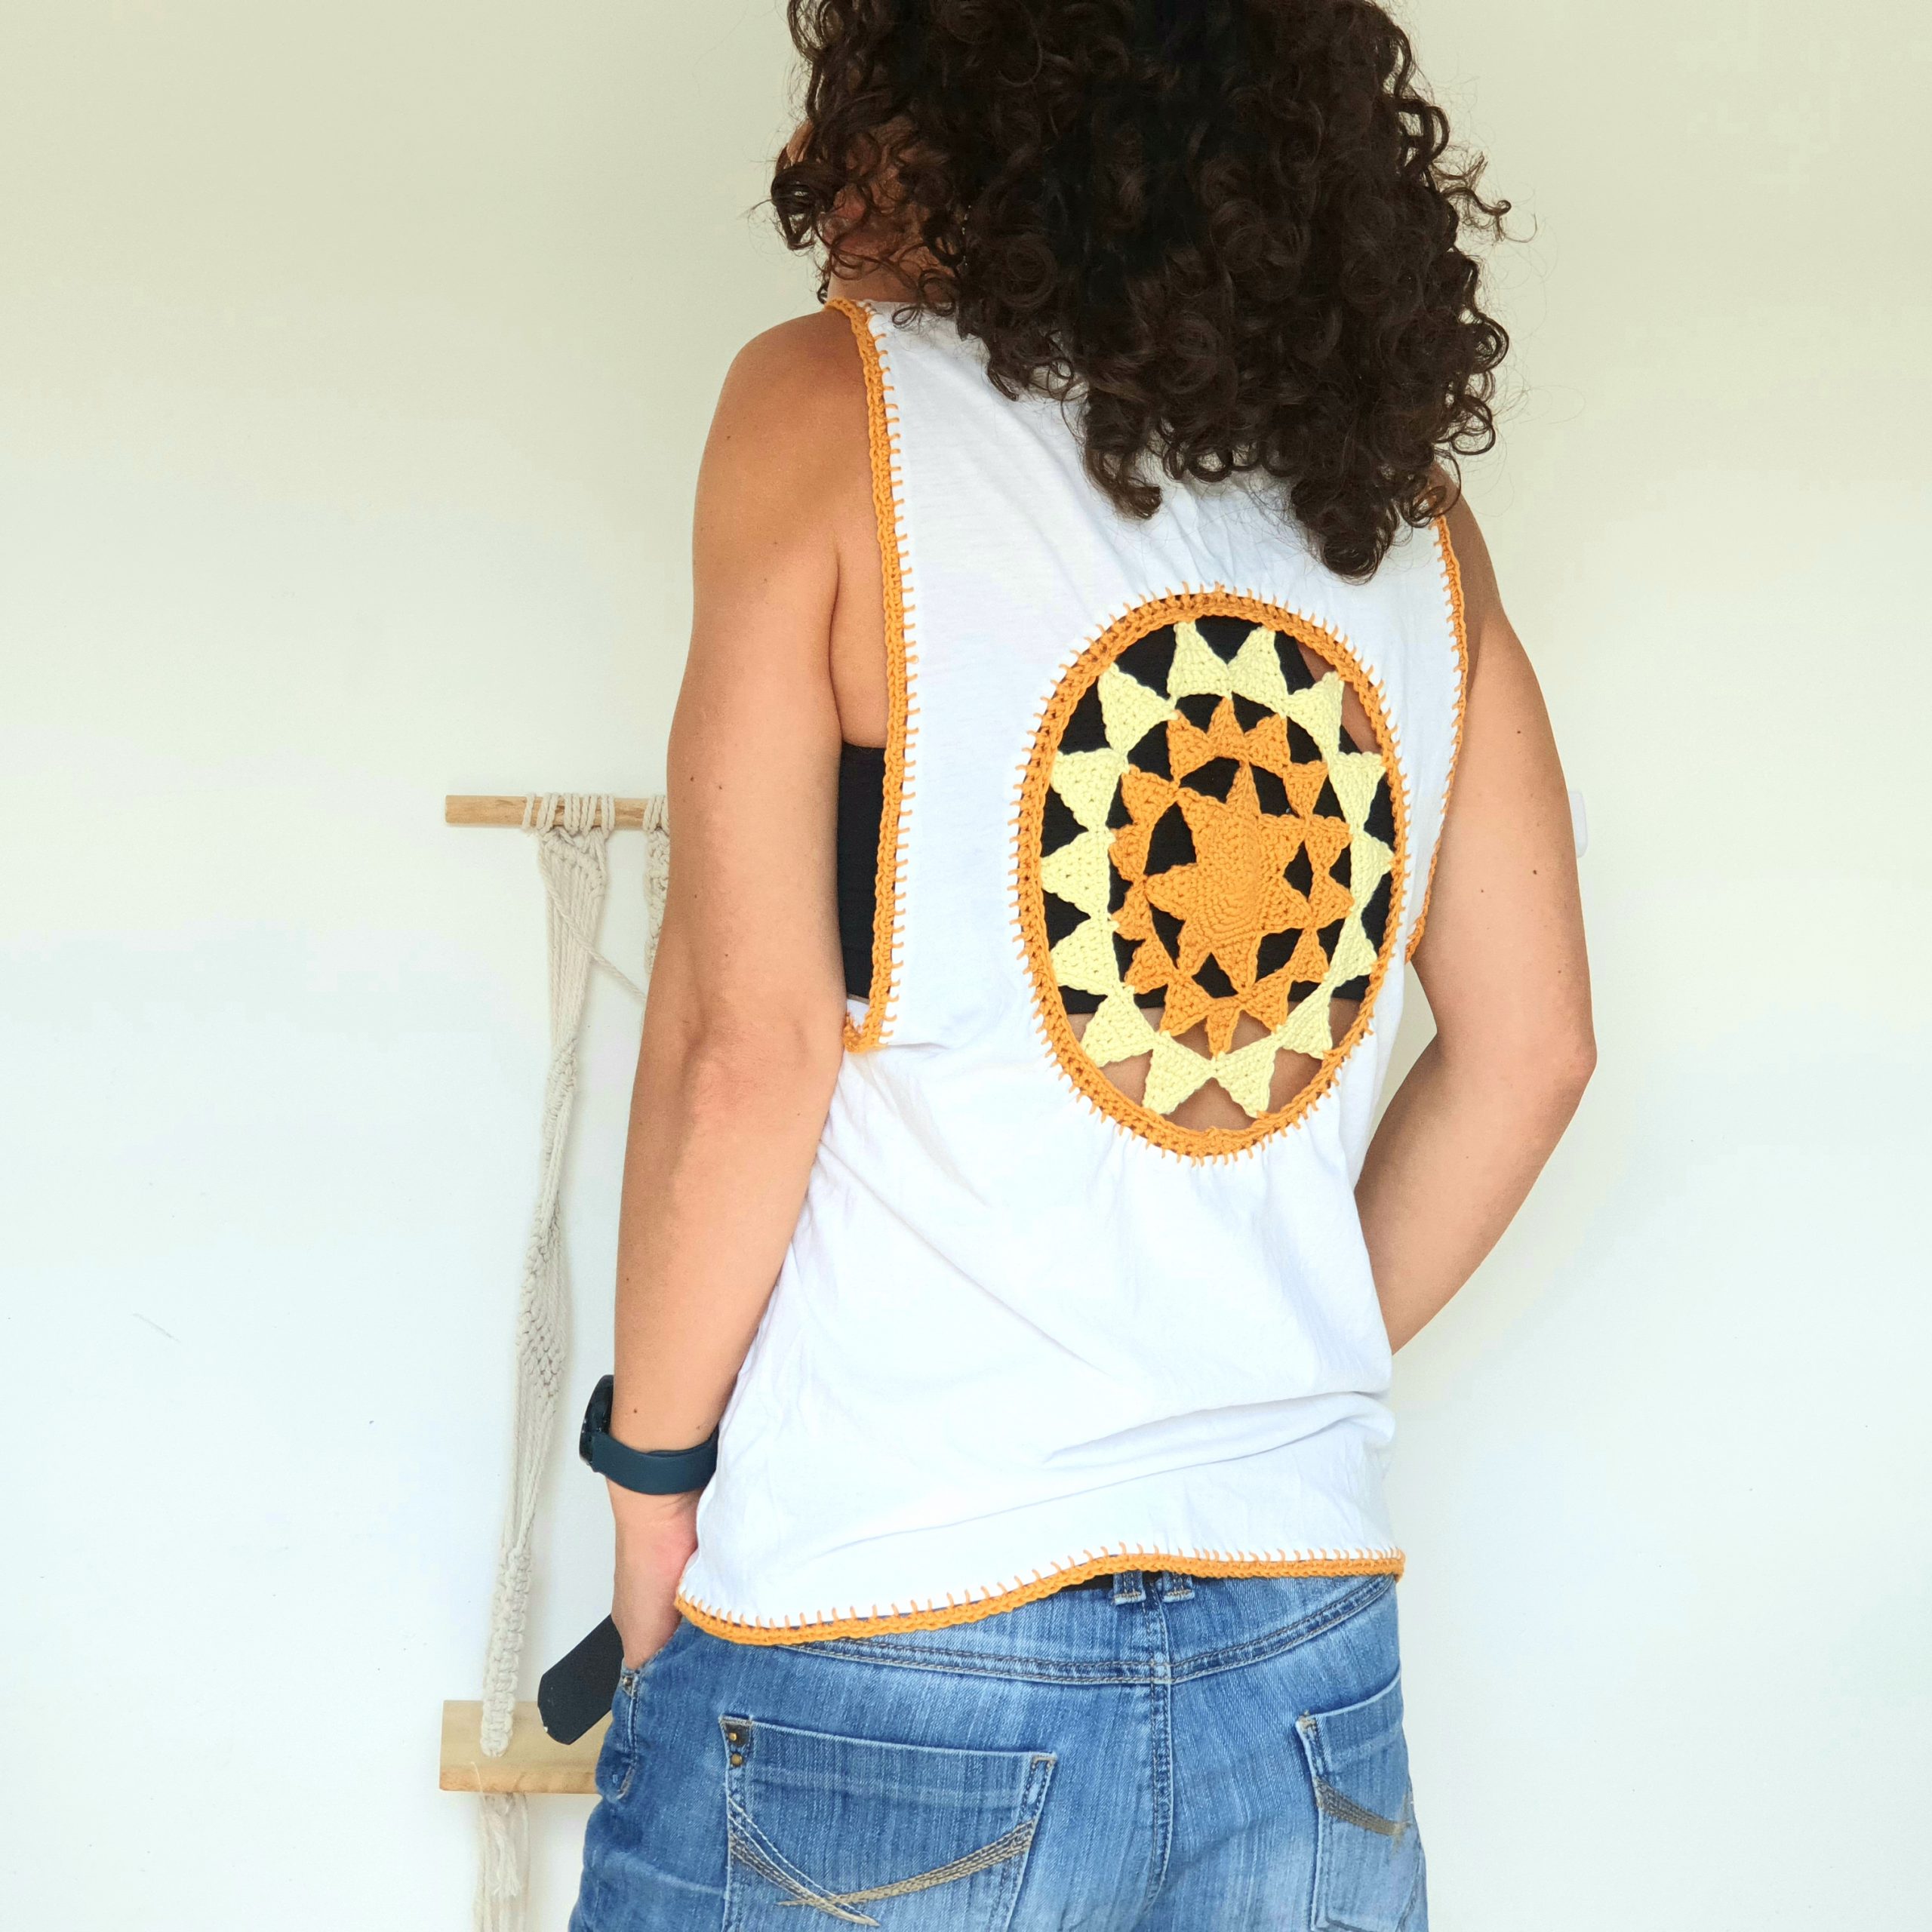
If you have all the materials and you already crocheted the sun motif that we are using, then we are ready to start.
Step 1
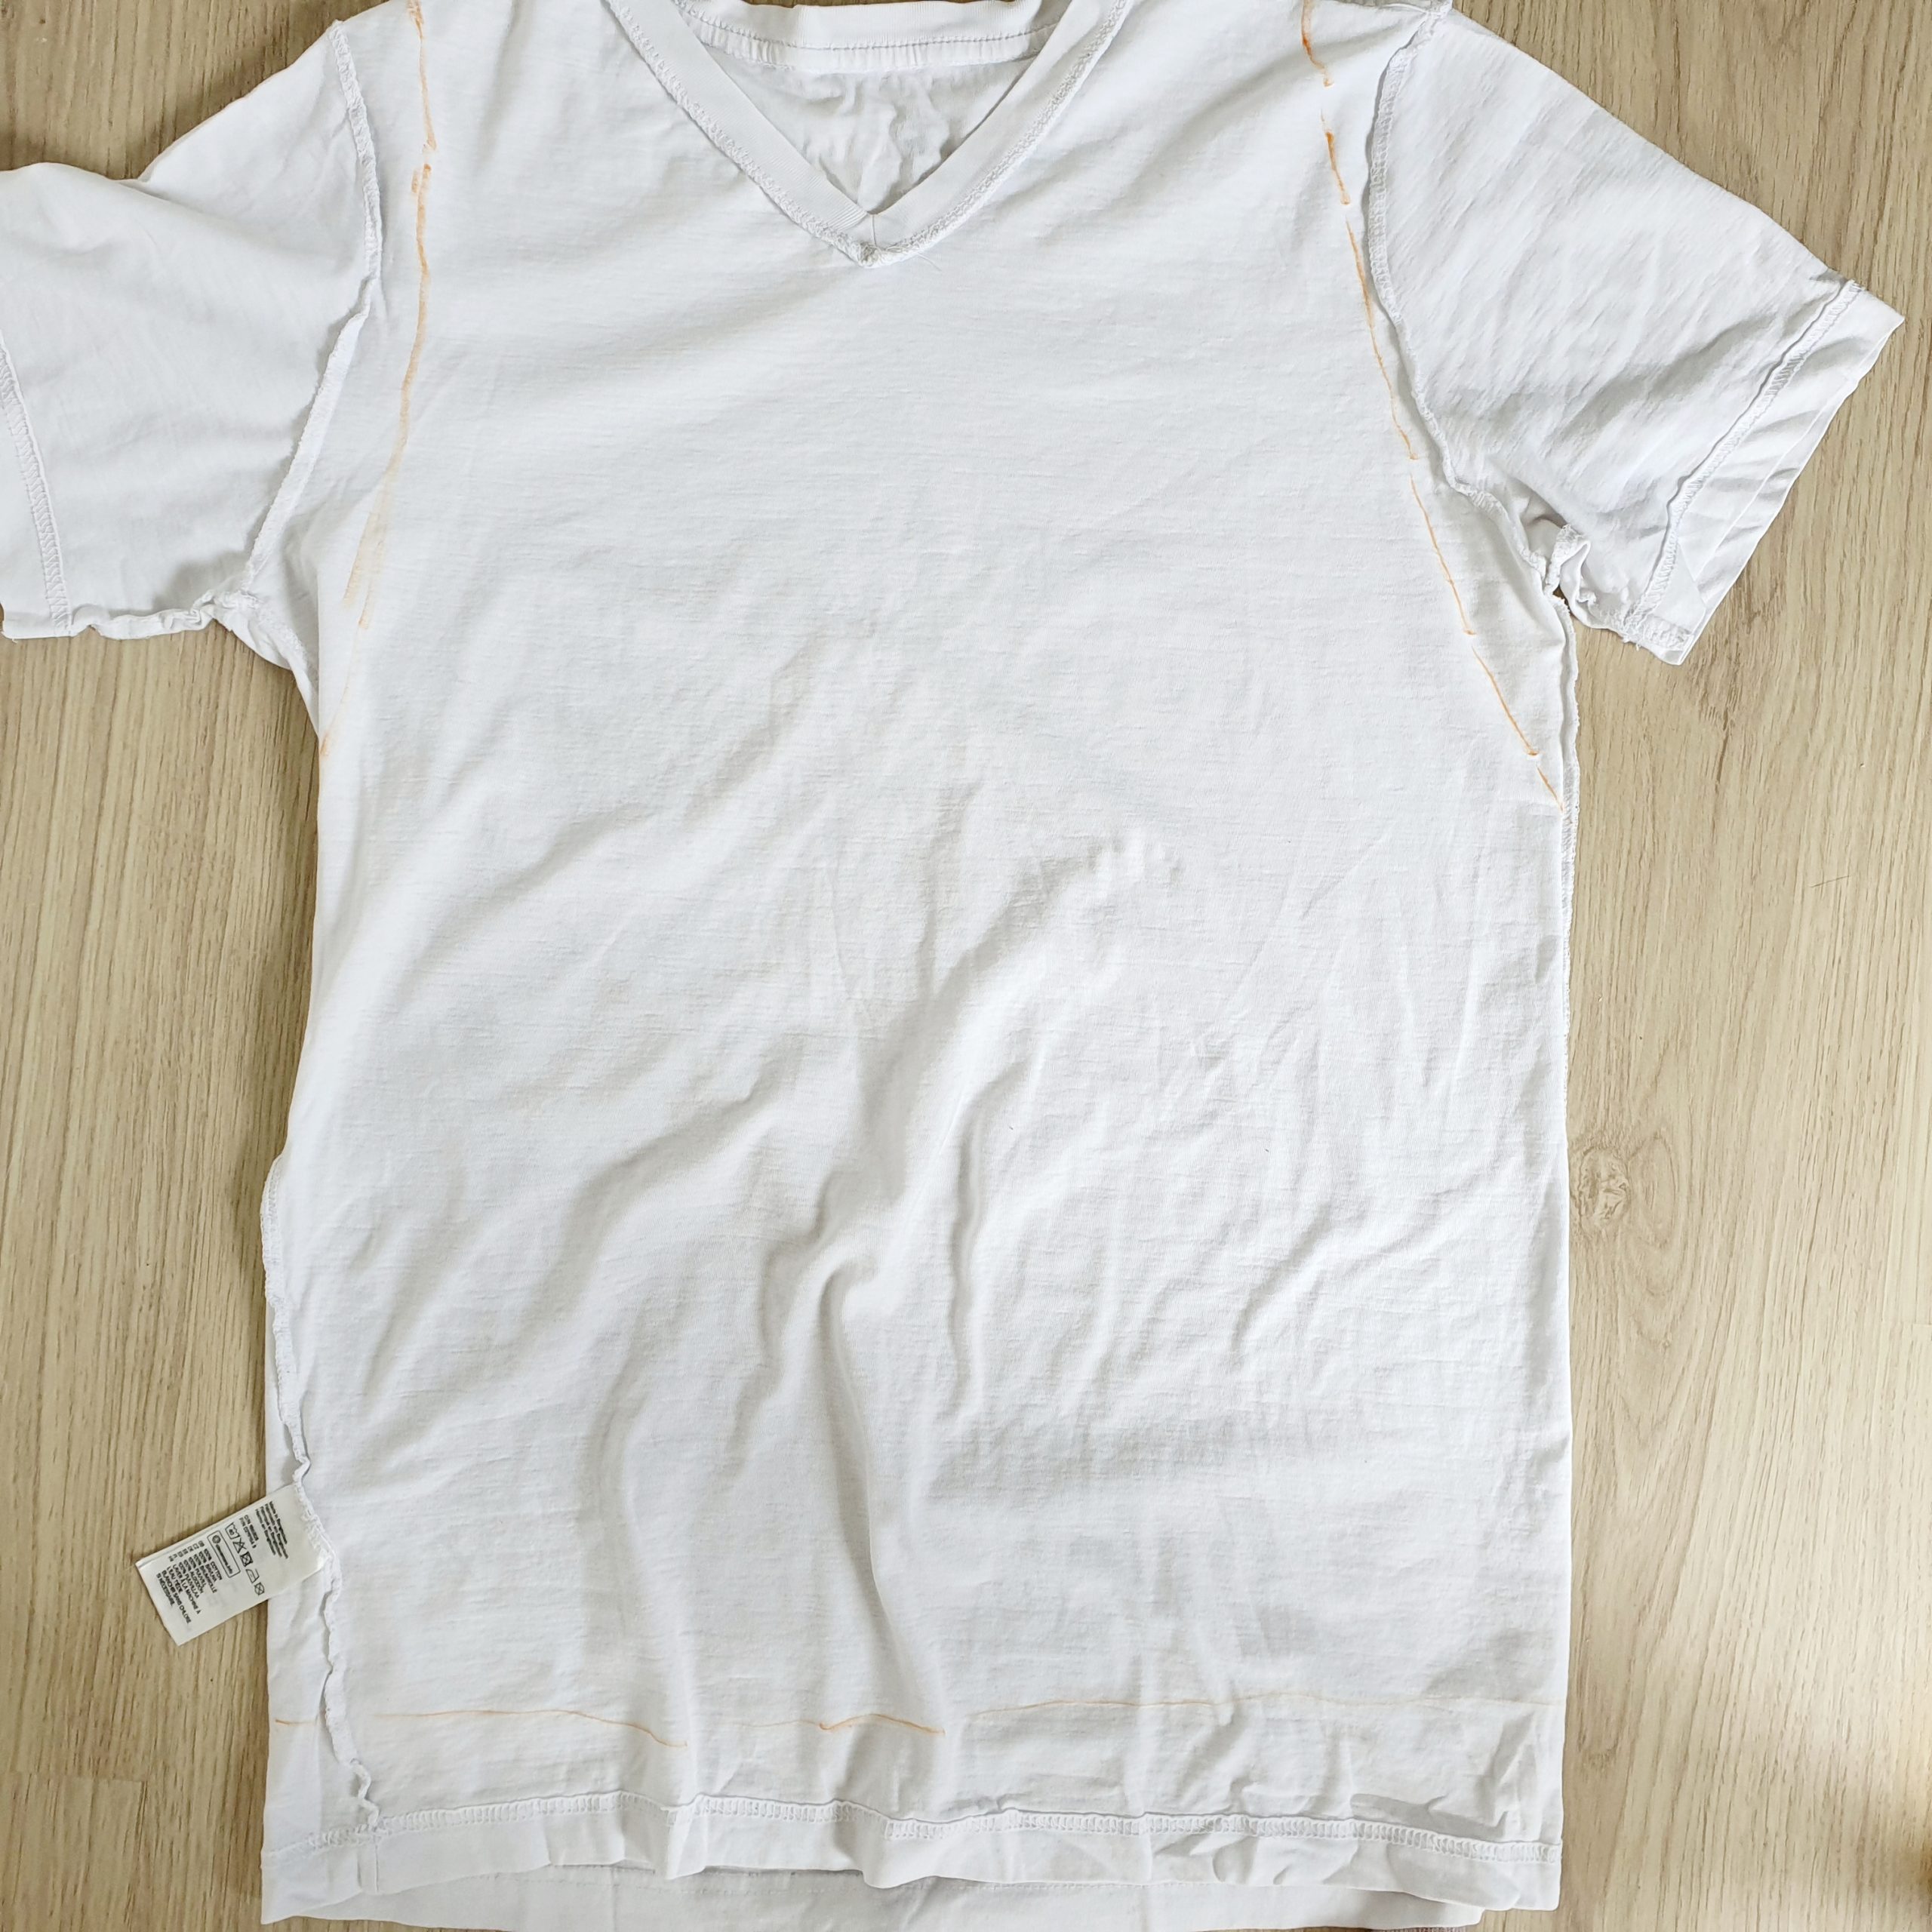
Place the t-shirt with inside out, facing the front panel. Put the top are you using as a stencil and place it over the t-shirt. Use a marker and draw the outlines. I draw only the armholes and bottom hem, but if you want, you can draw an outline for the neckline too.
 Step 2
Following the outlines cut and shape your top.
Step 3
Lay the top also with the inside out, facing the front panel or back panel, depending where you want to place the crocheted motif
Place the sun over in the desired position and draw an outline.
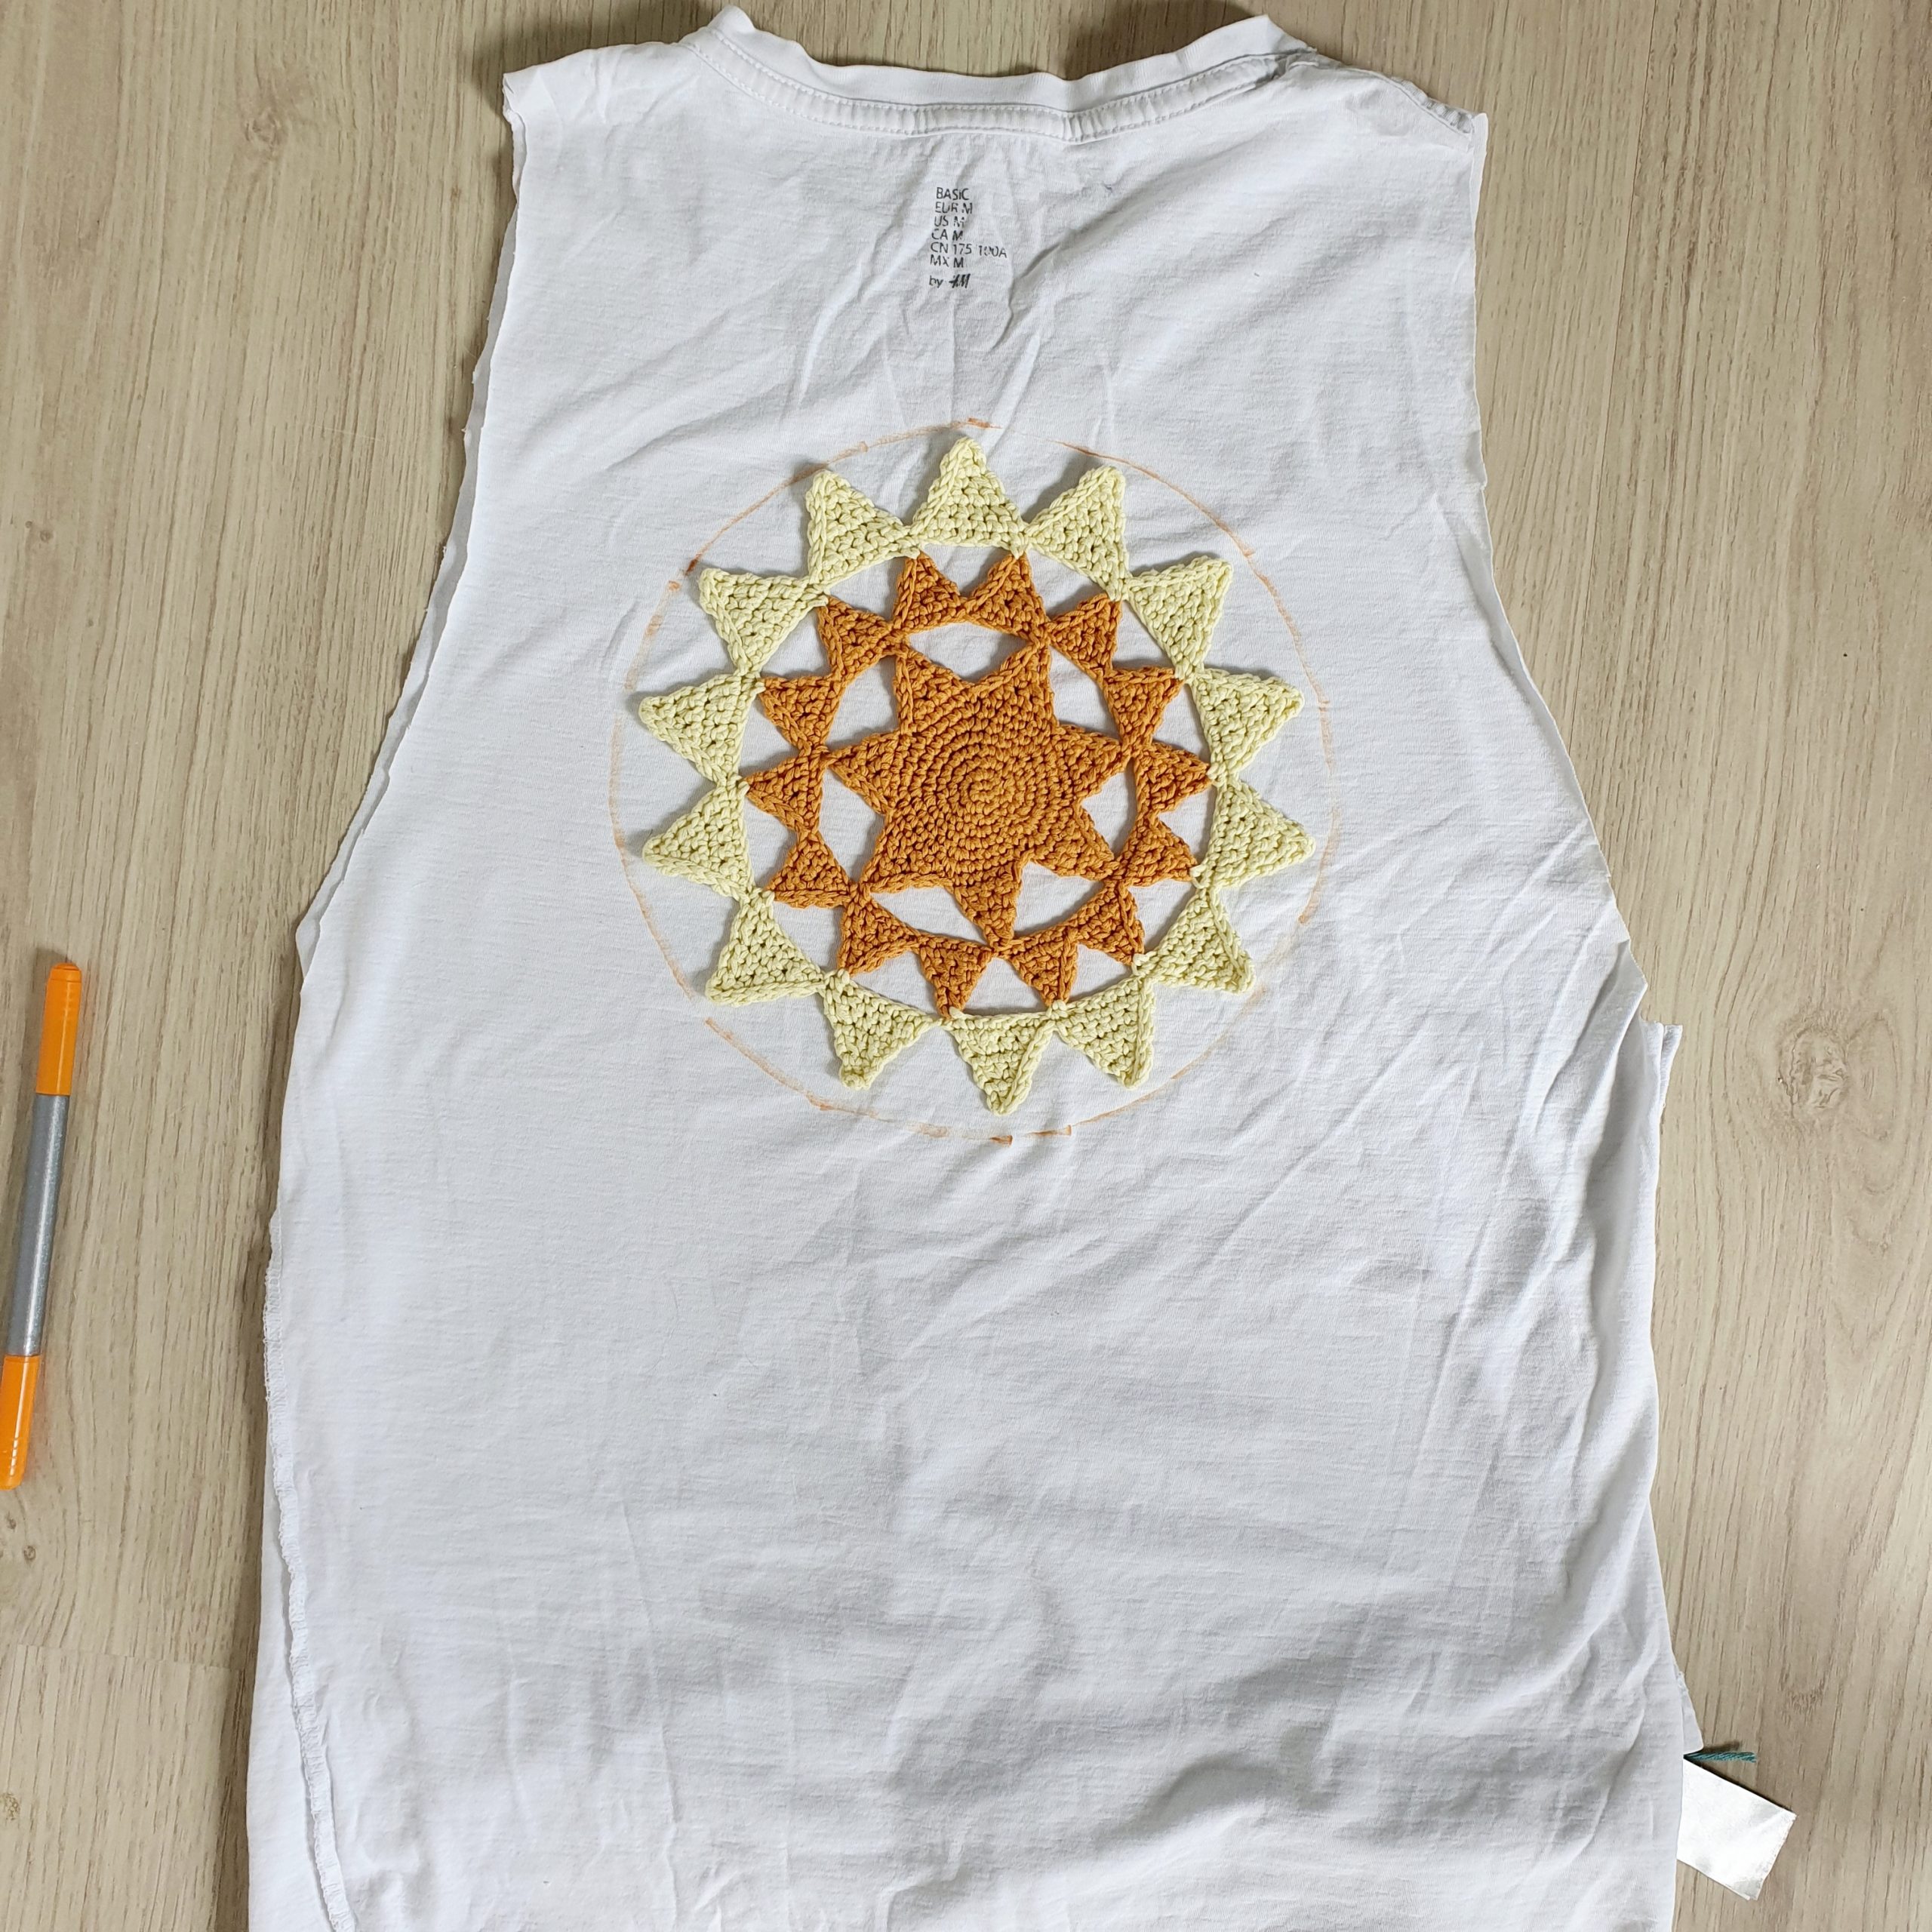 Use scissors and cut the circle.
Step 4
Take the needle and the yarn color you will want to use for the edging and using the blanket stitch sew the edge of the circle. Fold the fabric edge around 5 mm and start making the blanket stitch at 5 mm distance.
In case you don’t know how to make the embroidery blanket stitch, I found a detailed and easy to follow tutorial here
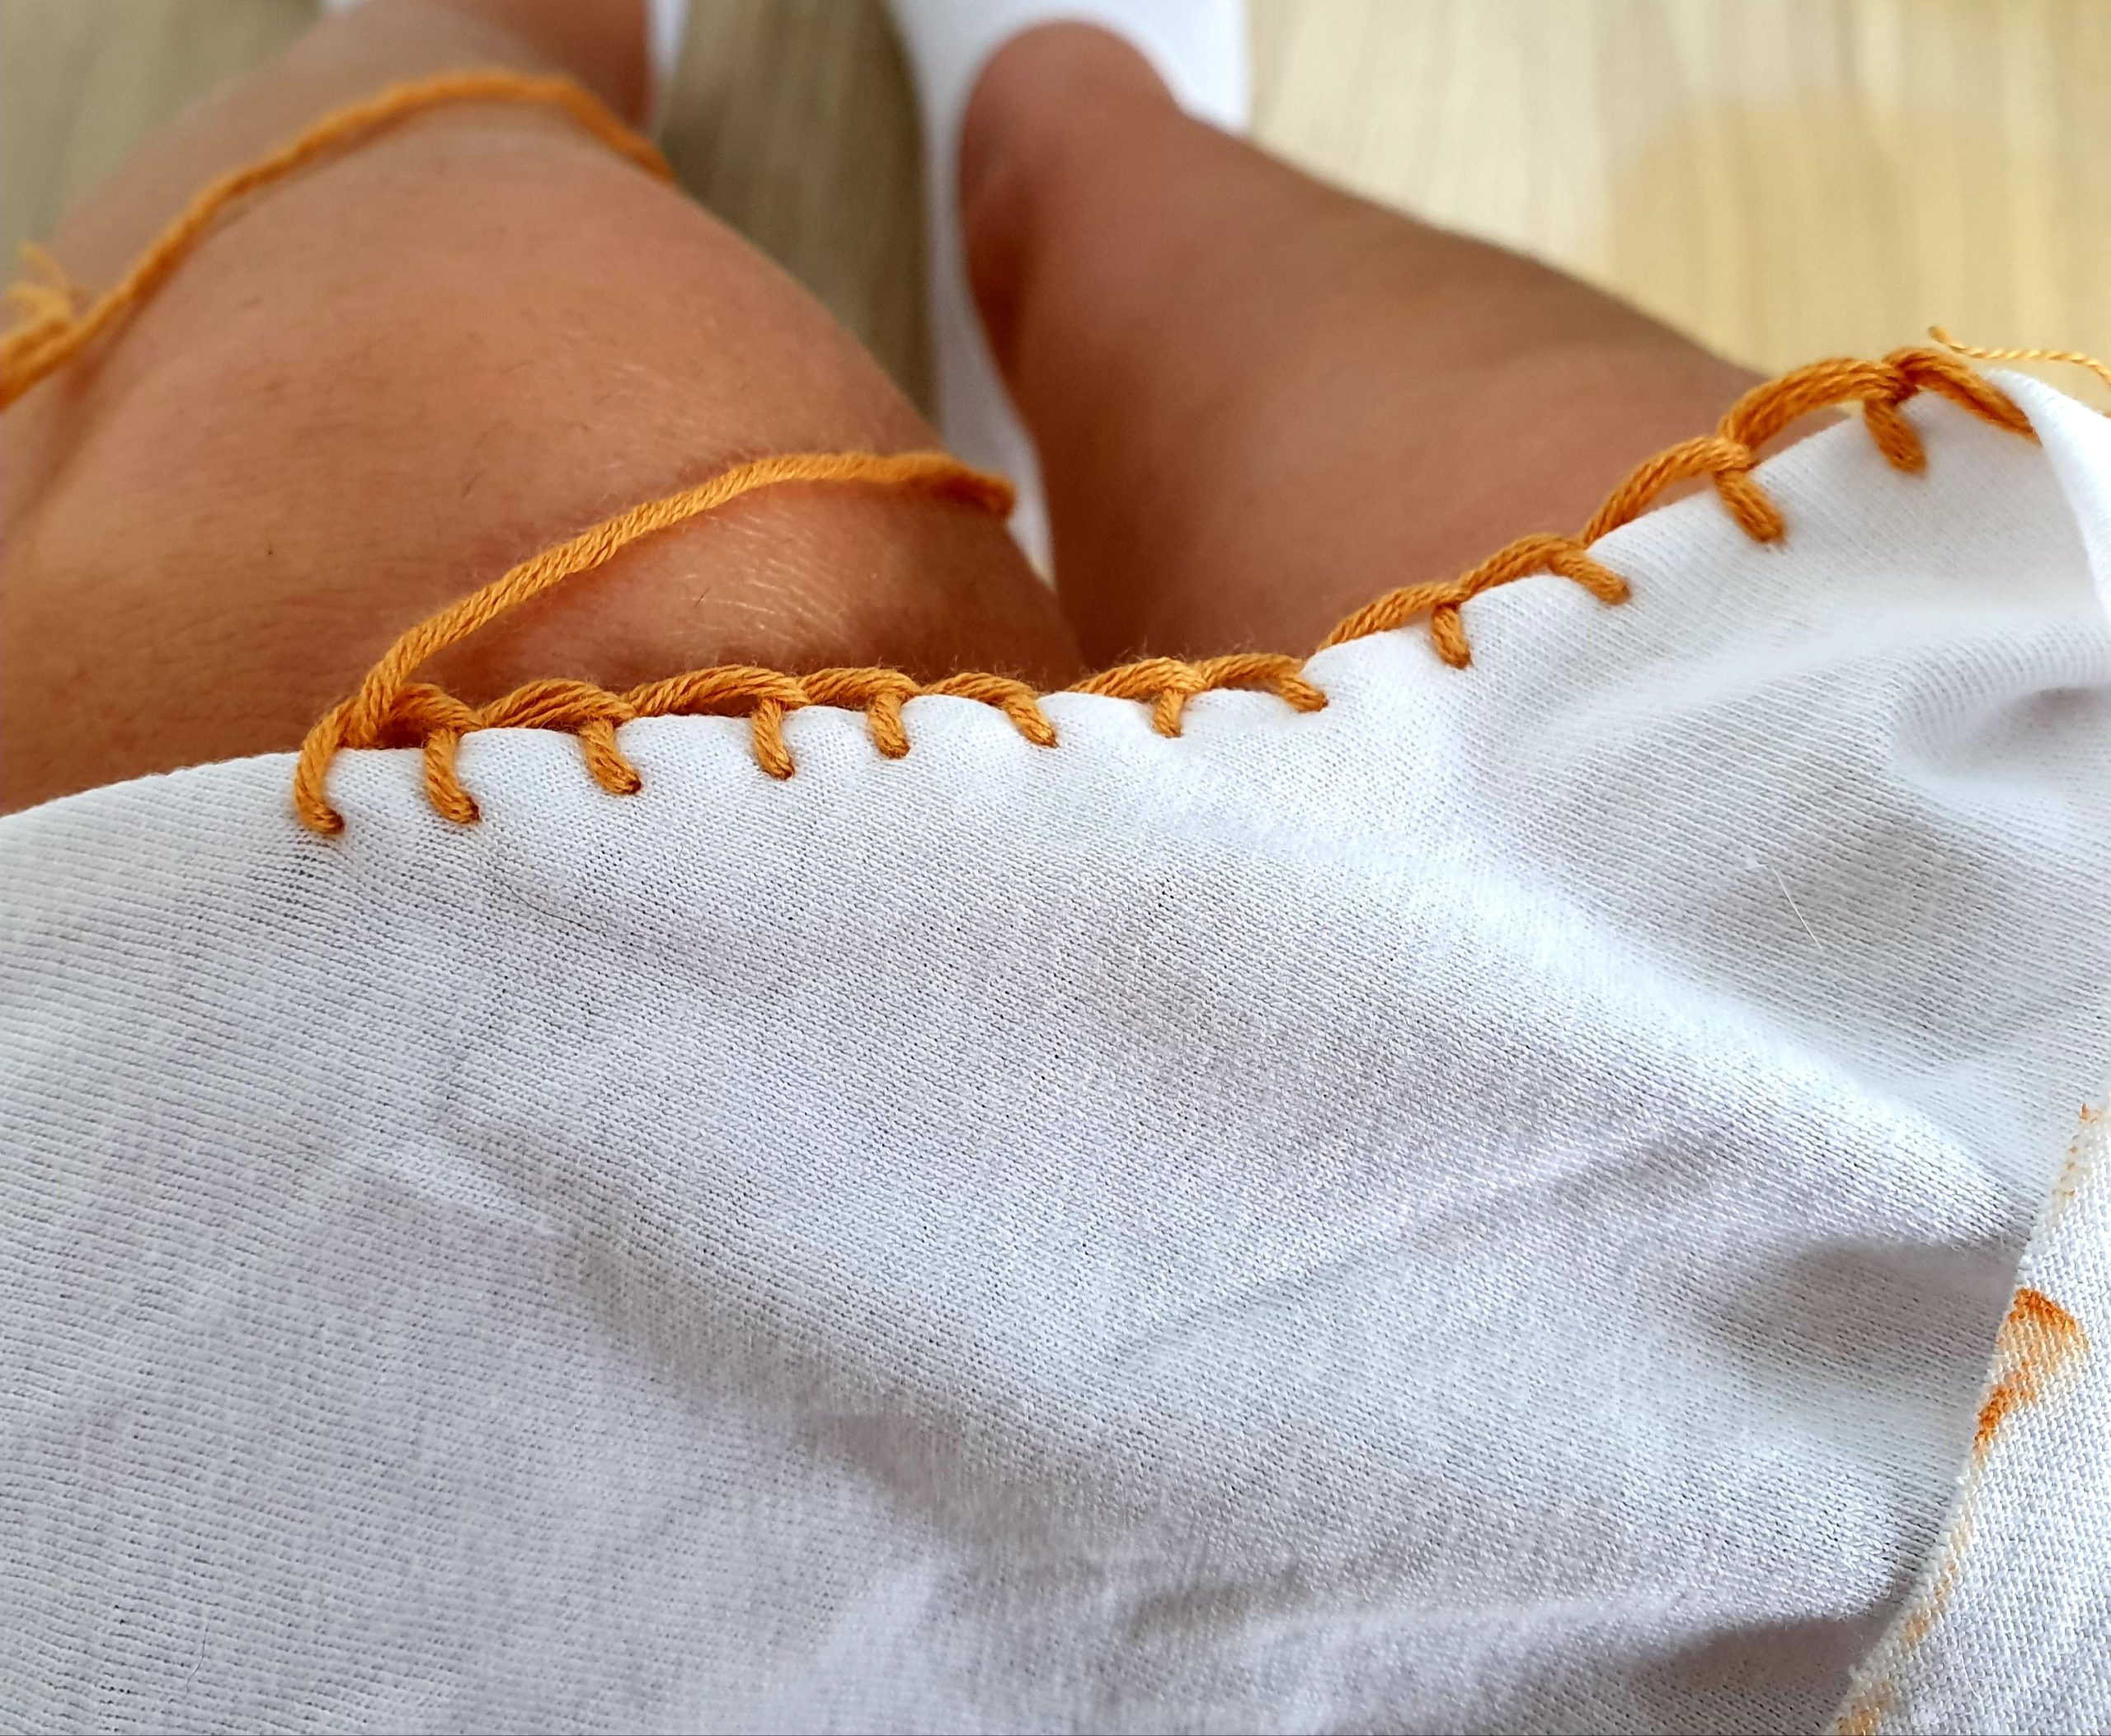 Pay attention not to make the stitches too tight.
At the end, your circle will look something like this
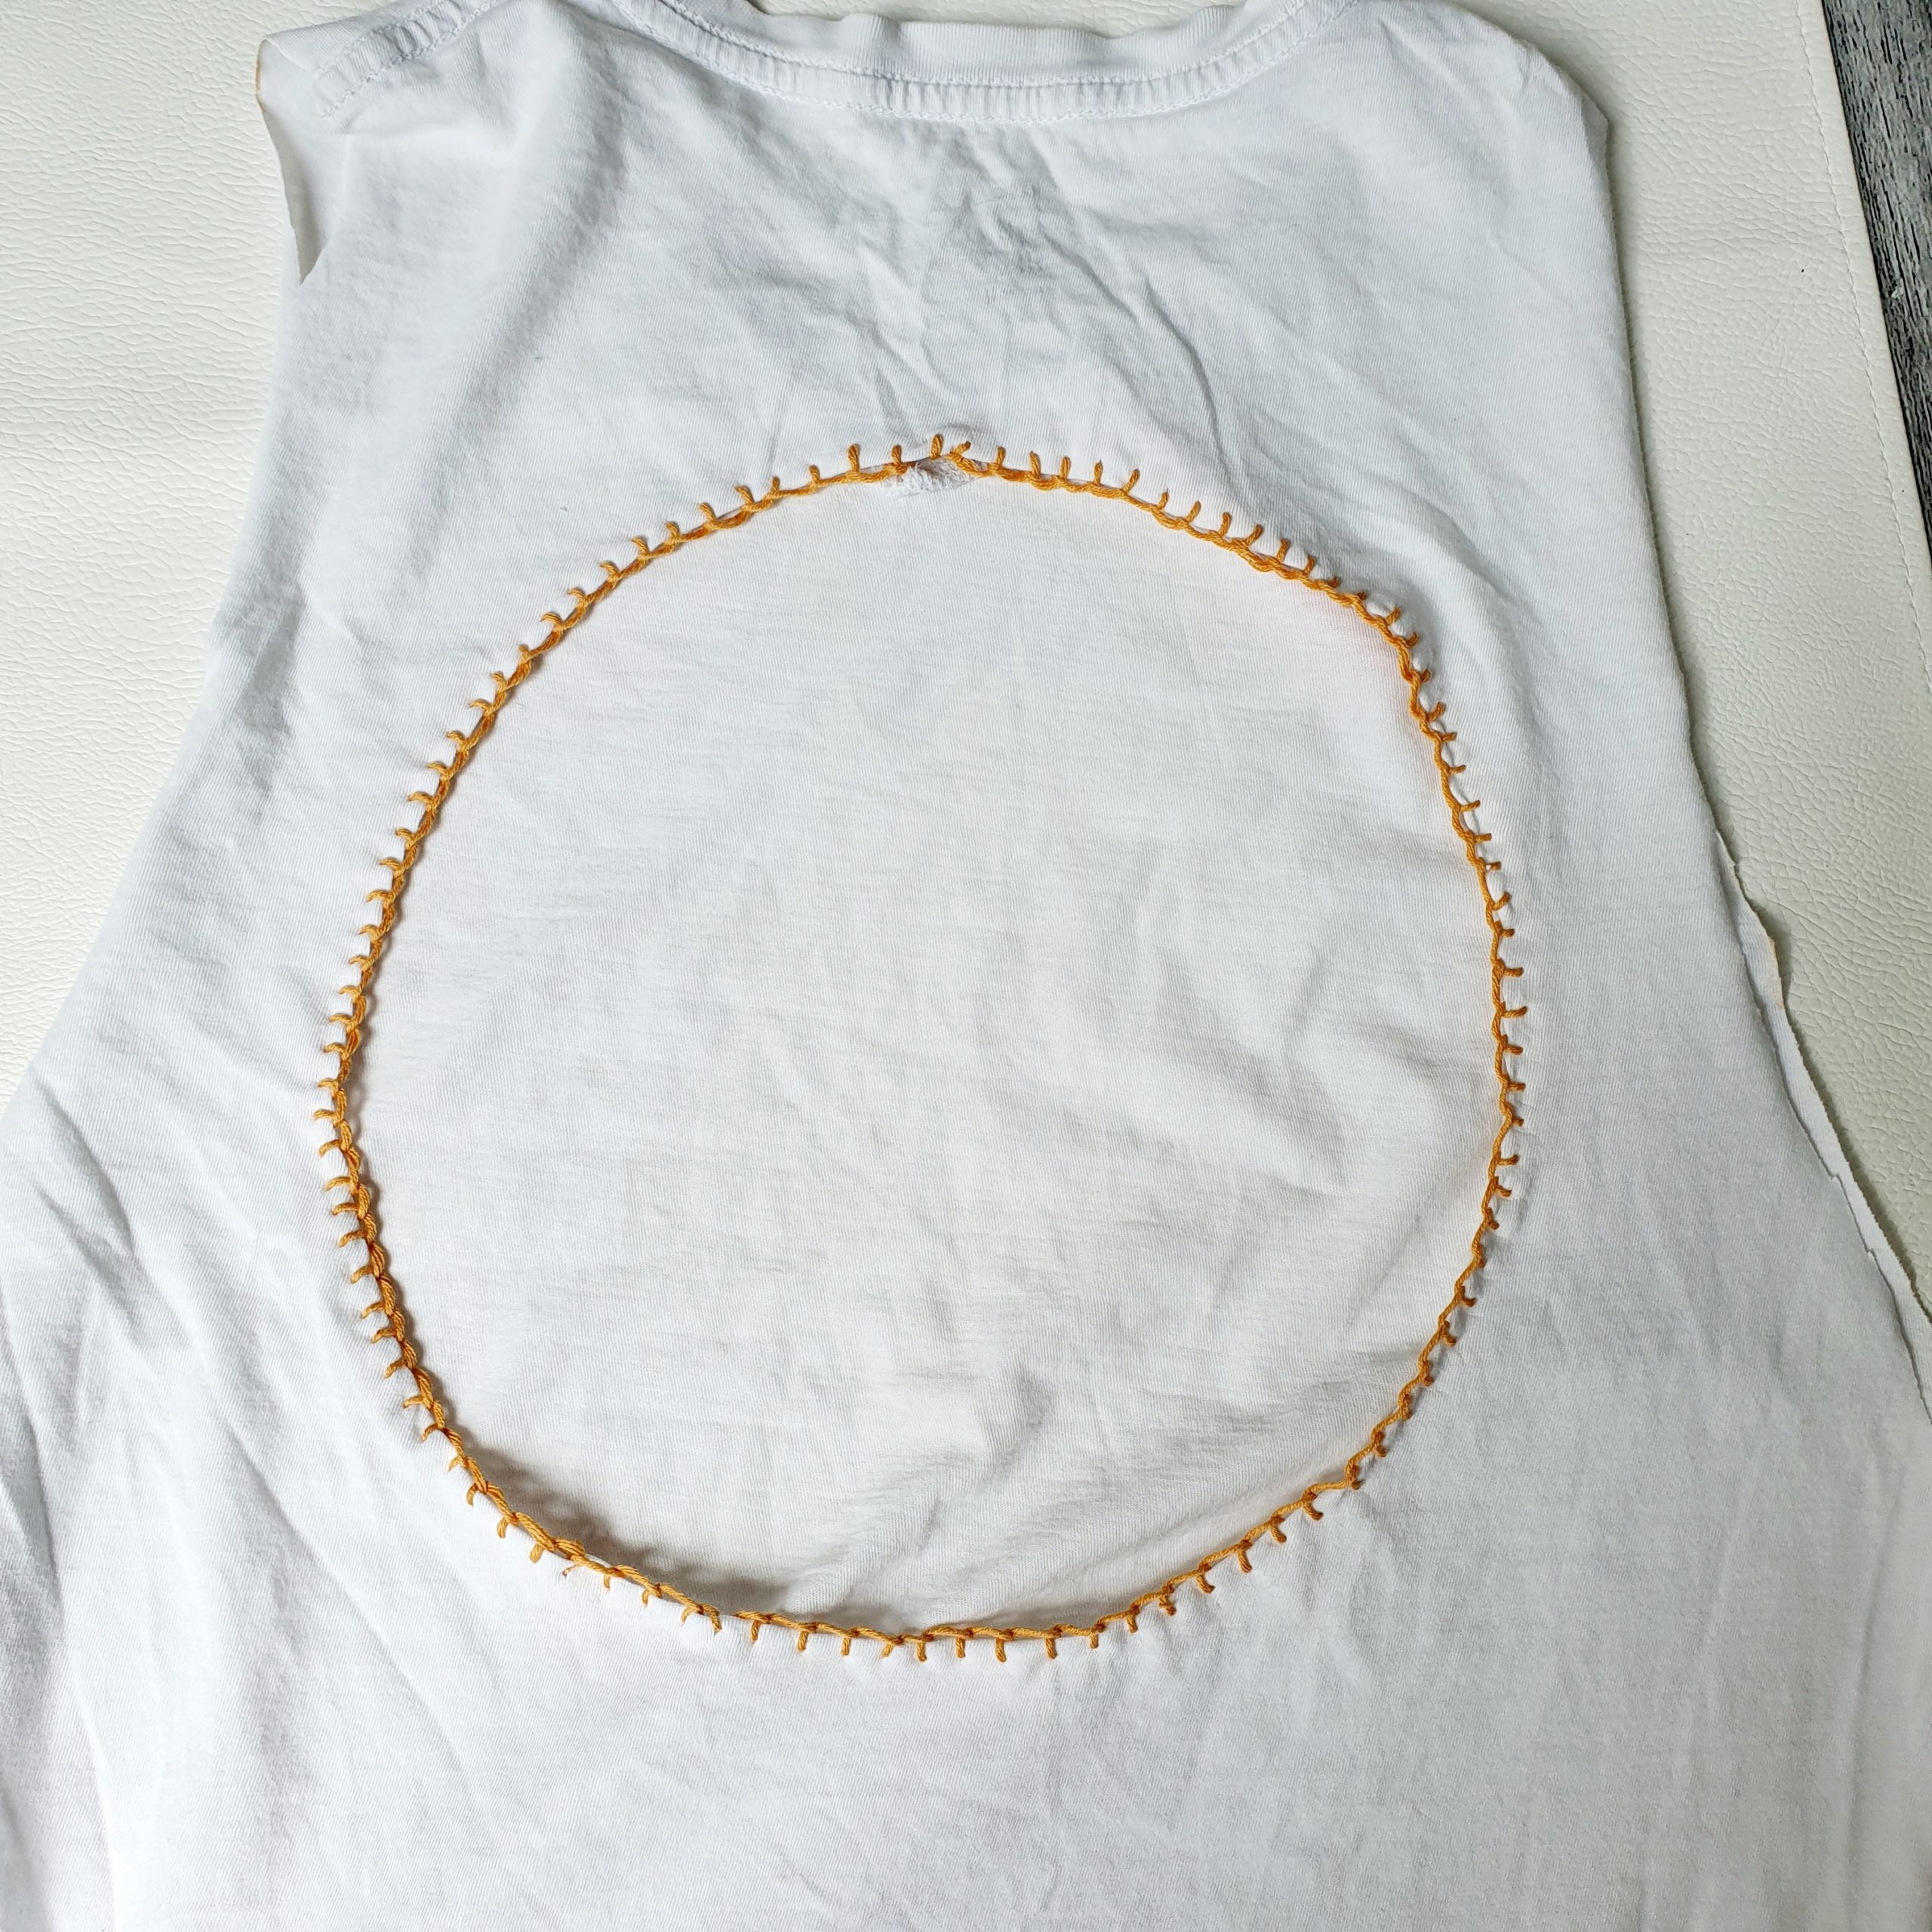
I end up having 196 sts. If you don’t have the same number of sts you can adjust this at the next step.
Step 5
Now, it’s crochet time 🙂
At the end of this crochet round you will need to have 98 sts.
Because I had 196 blanket stitches, it was easy, just to work 2 single crochet together to end up with 98.
You don’t need exactly 98 sts, You will need to have a multiple of 14 sts, because the crocheted sun has 14 corners which will need to be joined.
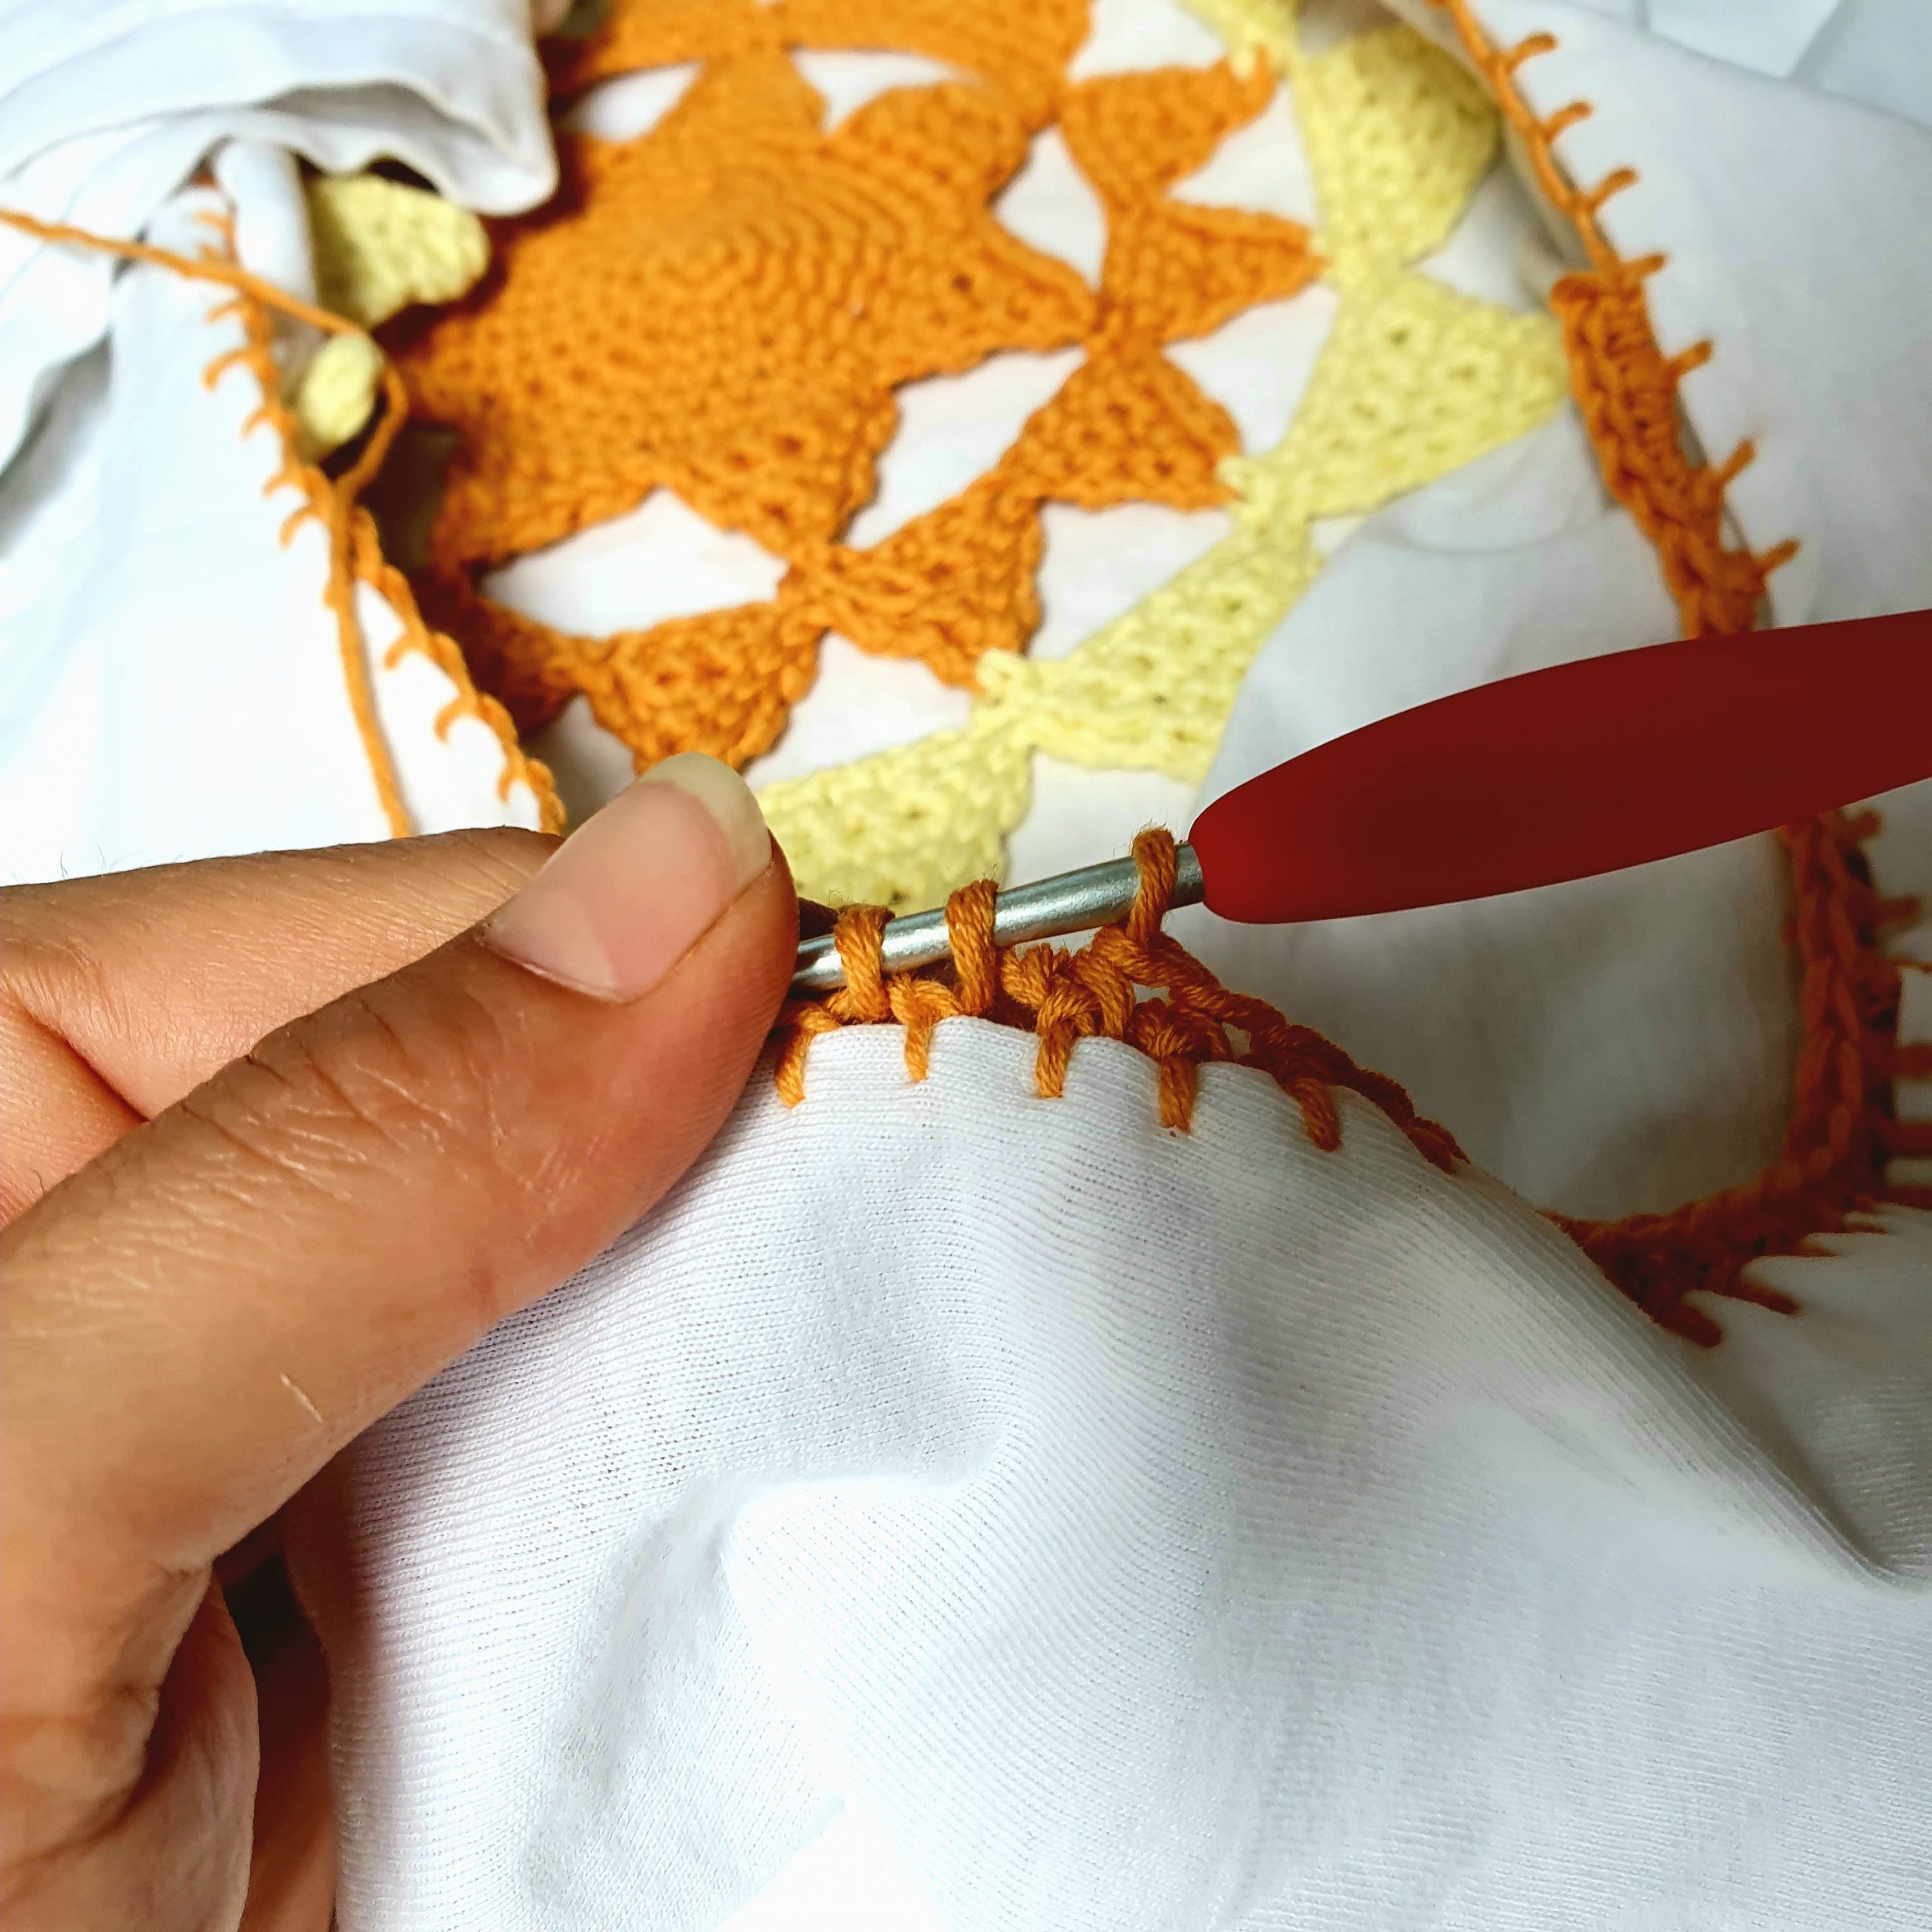
Make a slip knot, insert the hook in one stitch, yarn over, and pull out a loop, insert the hook into the next st, yarn over and pull out a loop, yarn over and pull the yarn through all 3 loops on your hook. Repeat for the entire round.
Step 6
Place the crocheted sun in the middle of your circle hole.
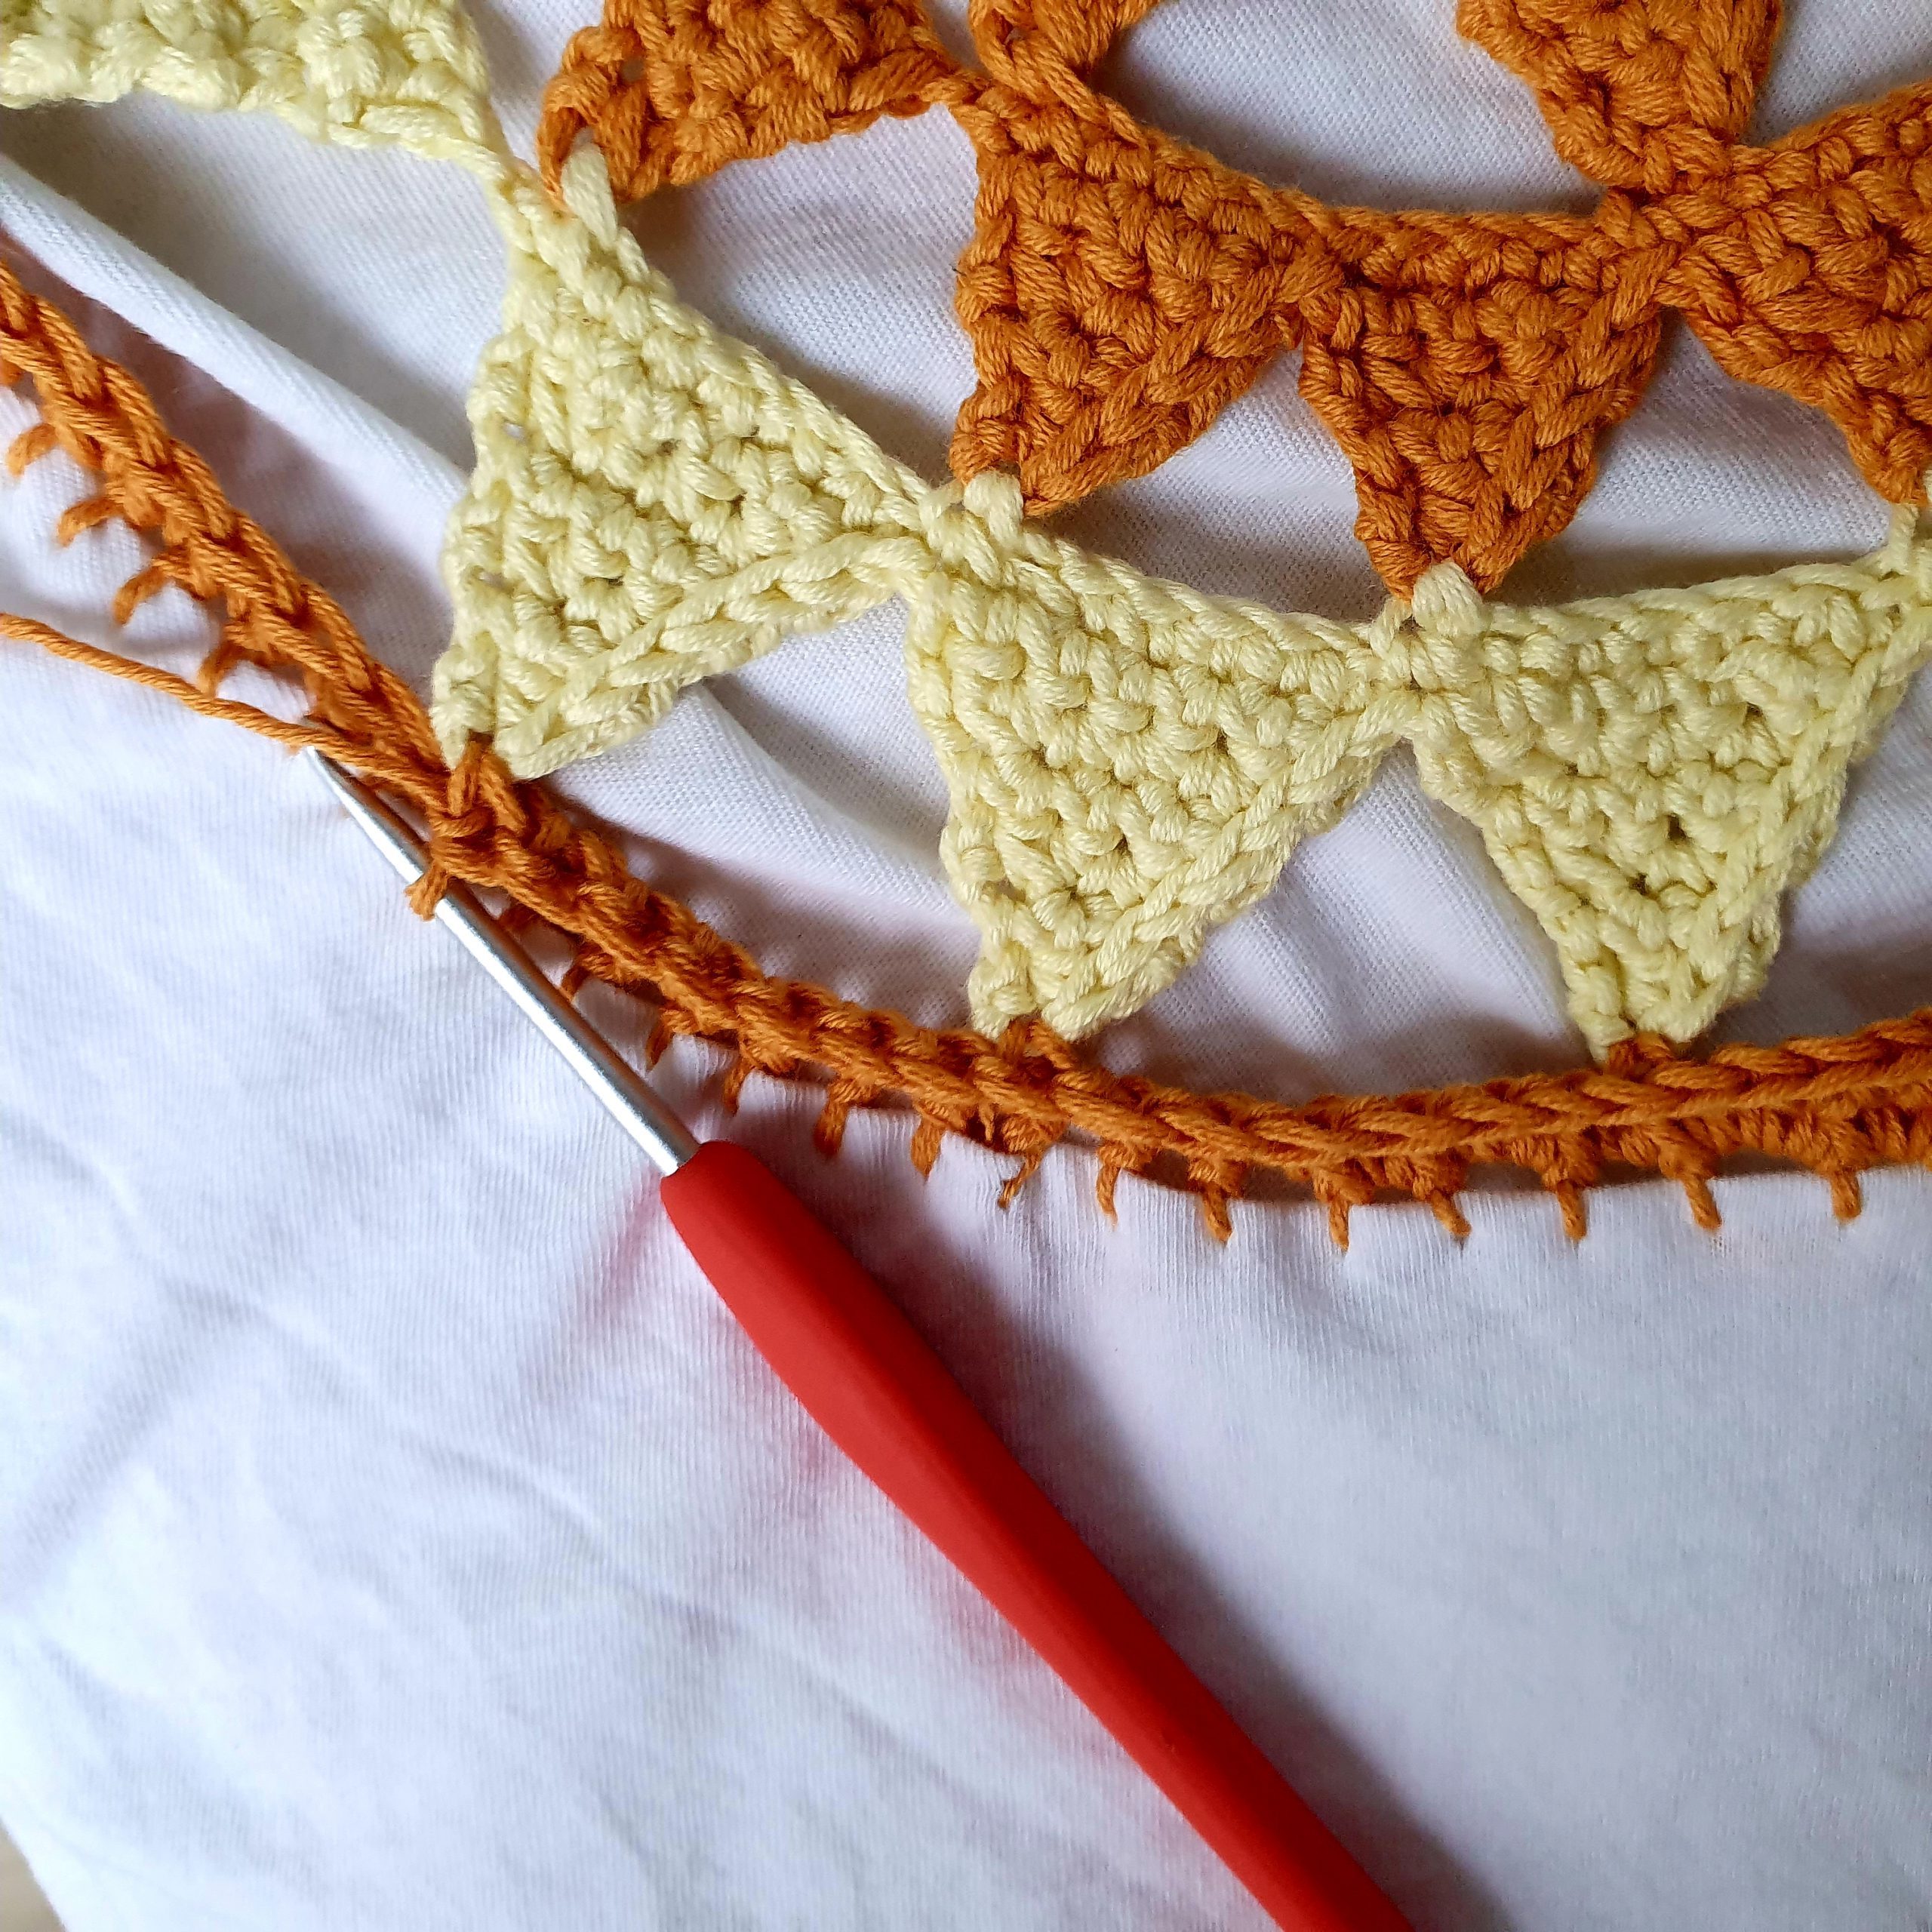
From where your yarn is, ch 1, 1 sc in the same st, 1 sc in next 5 sts;* insert the hook into the next st and in the top st of the crocheted sun corner, yarn over and pull it through both sts, yarn over and pull the yarn through both loops on your hook (first join), 1 sc in next 6 sts. * Repeat to the end of the round, joining all the corners of the sun.
Fasten off.
Armhole Edging and Bottom Hem edging
Notes
for the armhole, start from the armpit.
For the bottom hem start from one side.
Step 1
Repeat Step 4 from the circle and make the blanket stitch.
Step 2
With the crochet hook
Make a slip knot and insert the hook in first stitch, make 1 sc, *2 sc in next st, 1 sc in next st. * Repeat to the end of the round.
Fasten off.
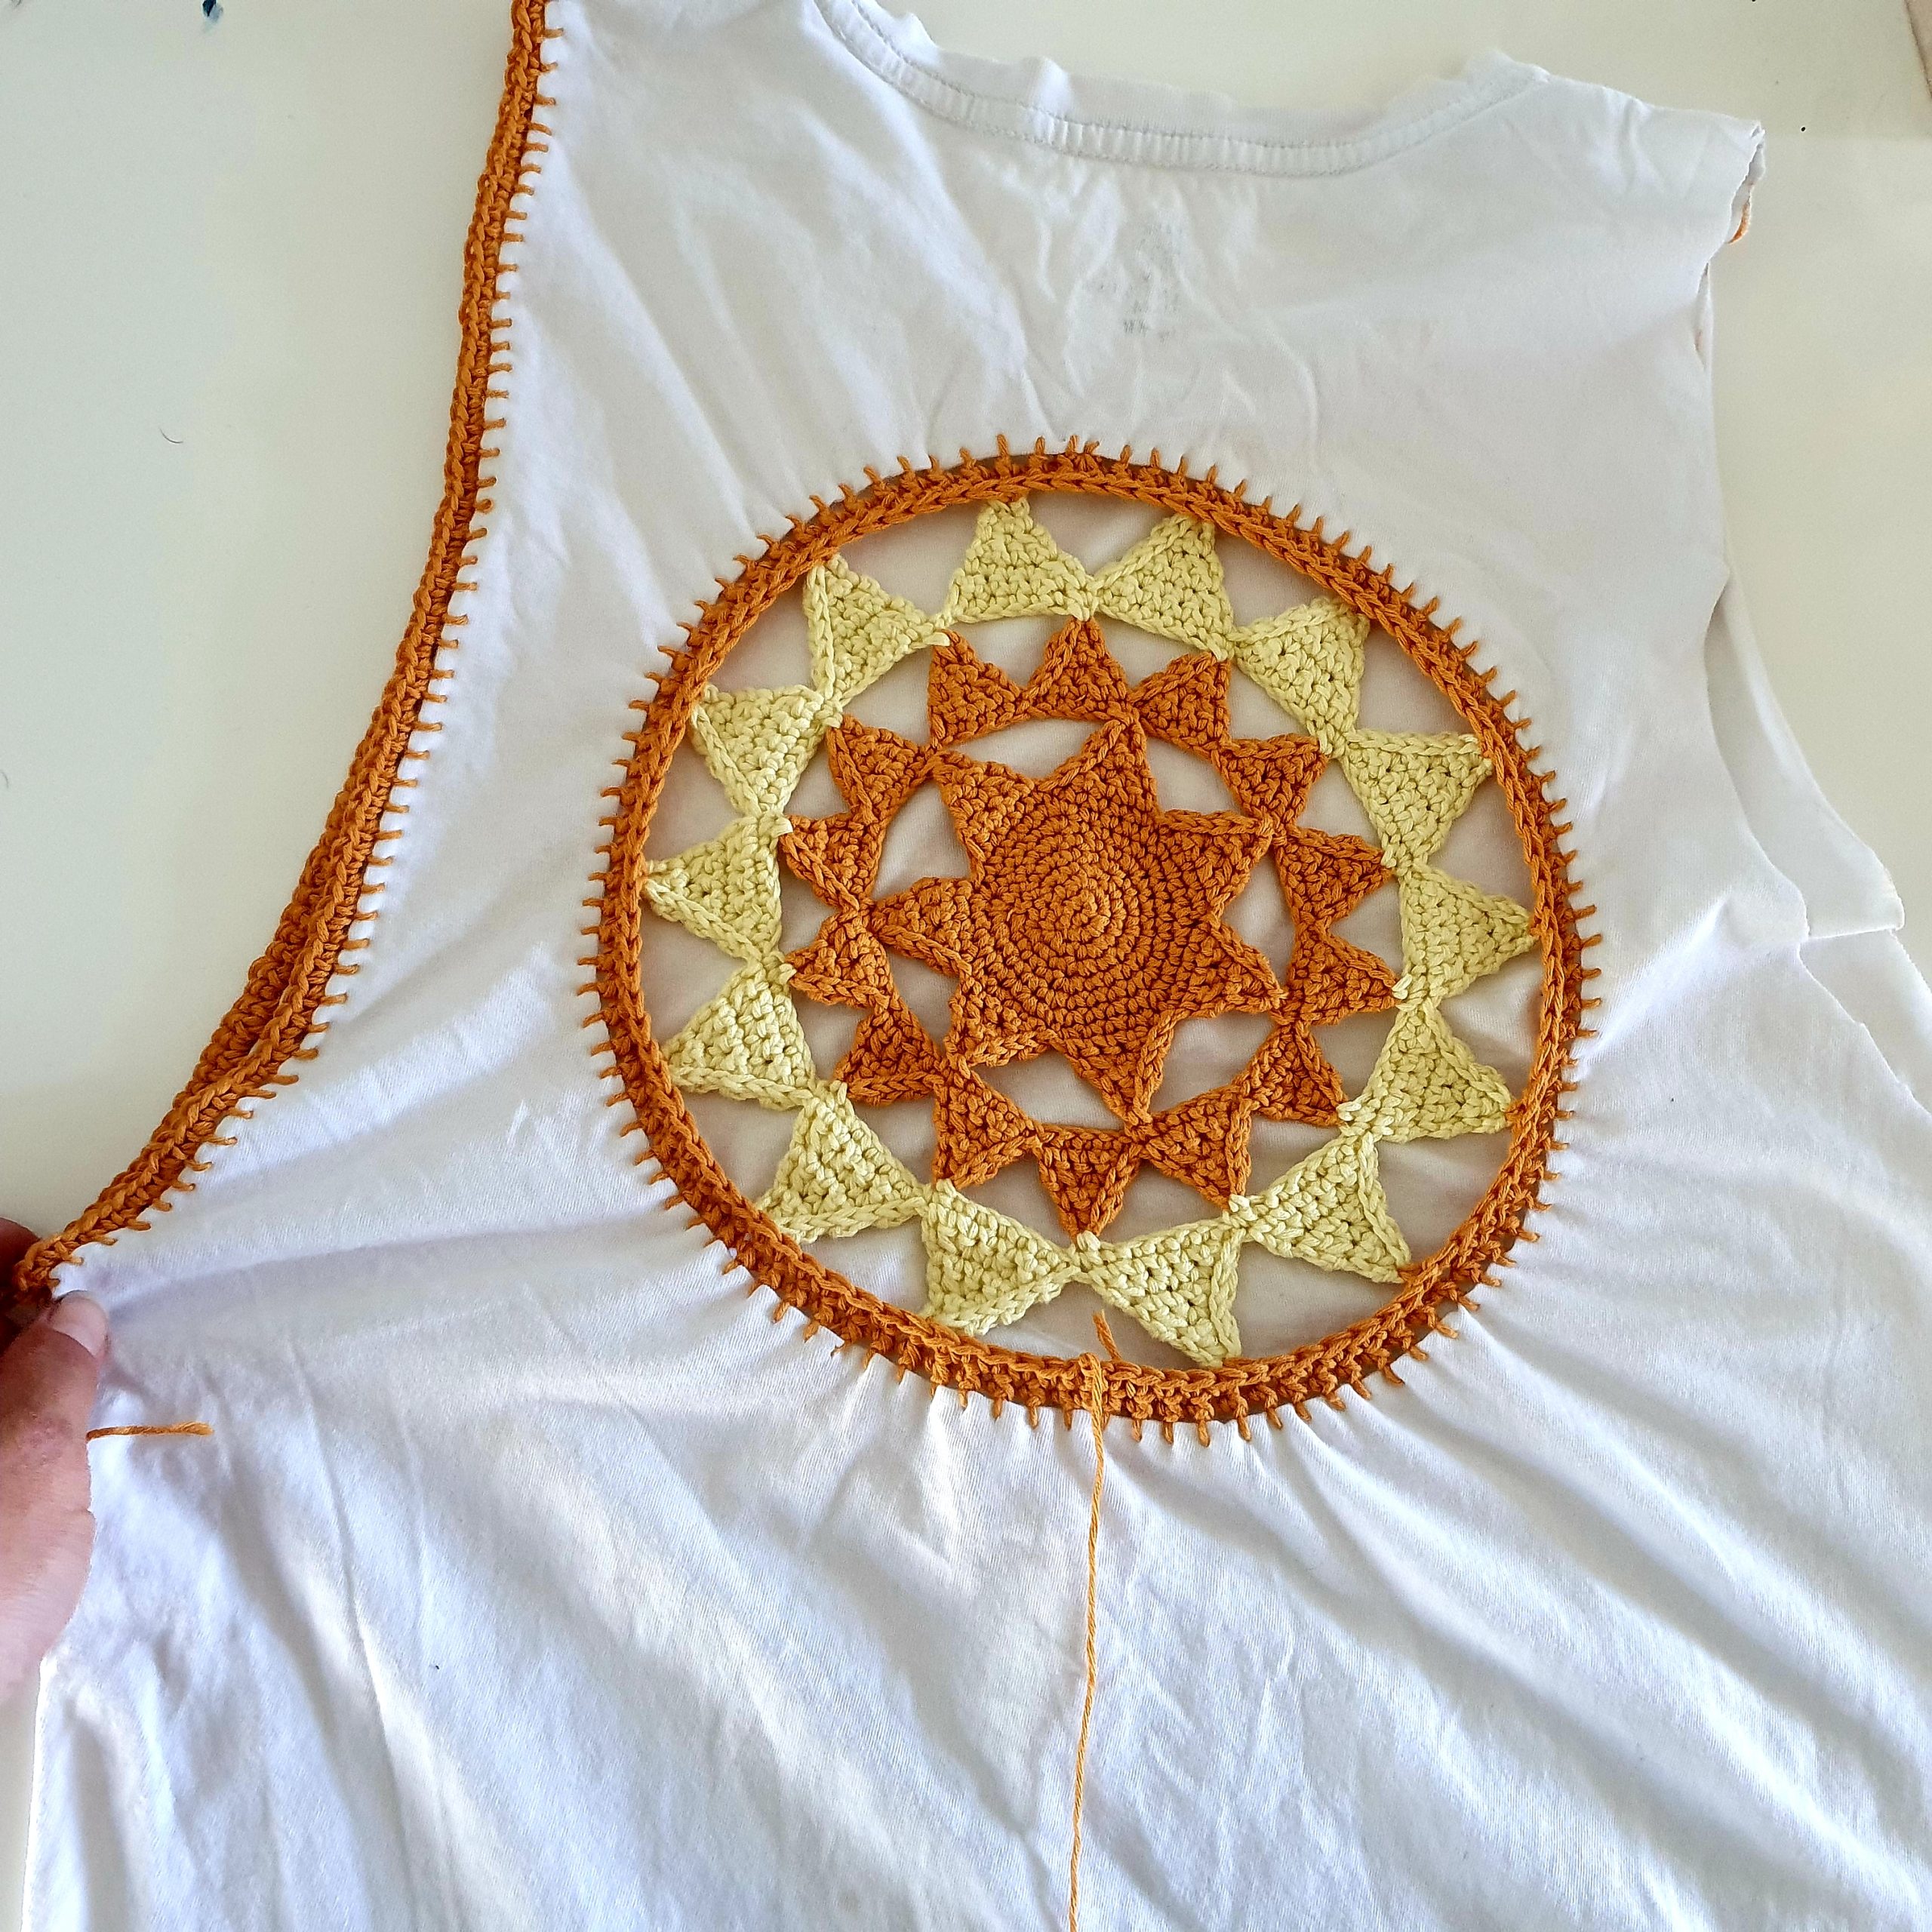
Repeat the same pattern for the other armhole and for the bottom hem.
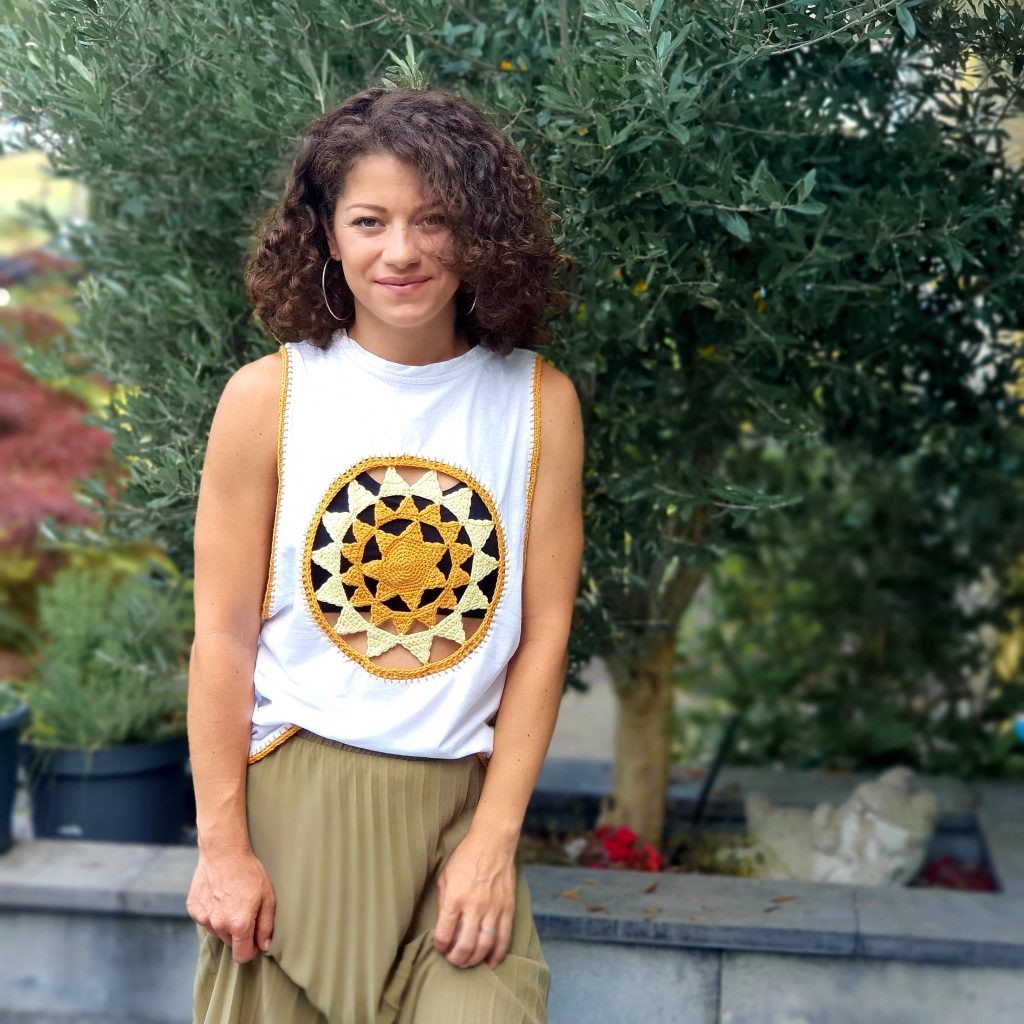
After finishing the edging the top is done. You can now wear it and have a nice old, but new tank top for the rest of the summer.
I hope you enjoyed this tutorial and you will try to make a top like this. It’s a nice project with a really satisfying result.





2 Comments
You skills are truly amazing! I look forward to your emails because I know when I click on your link, I’m going to see extraordinary talent! This is mind blowing. I can’t wait to try it for me and my baby girl.
Thank you so, so much! I appreciate every word and each of them give me the perfect bust to keep creating!