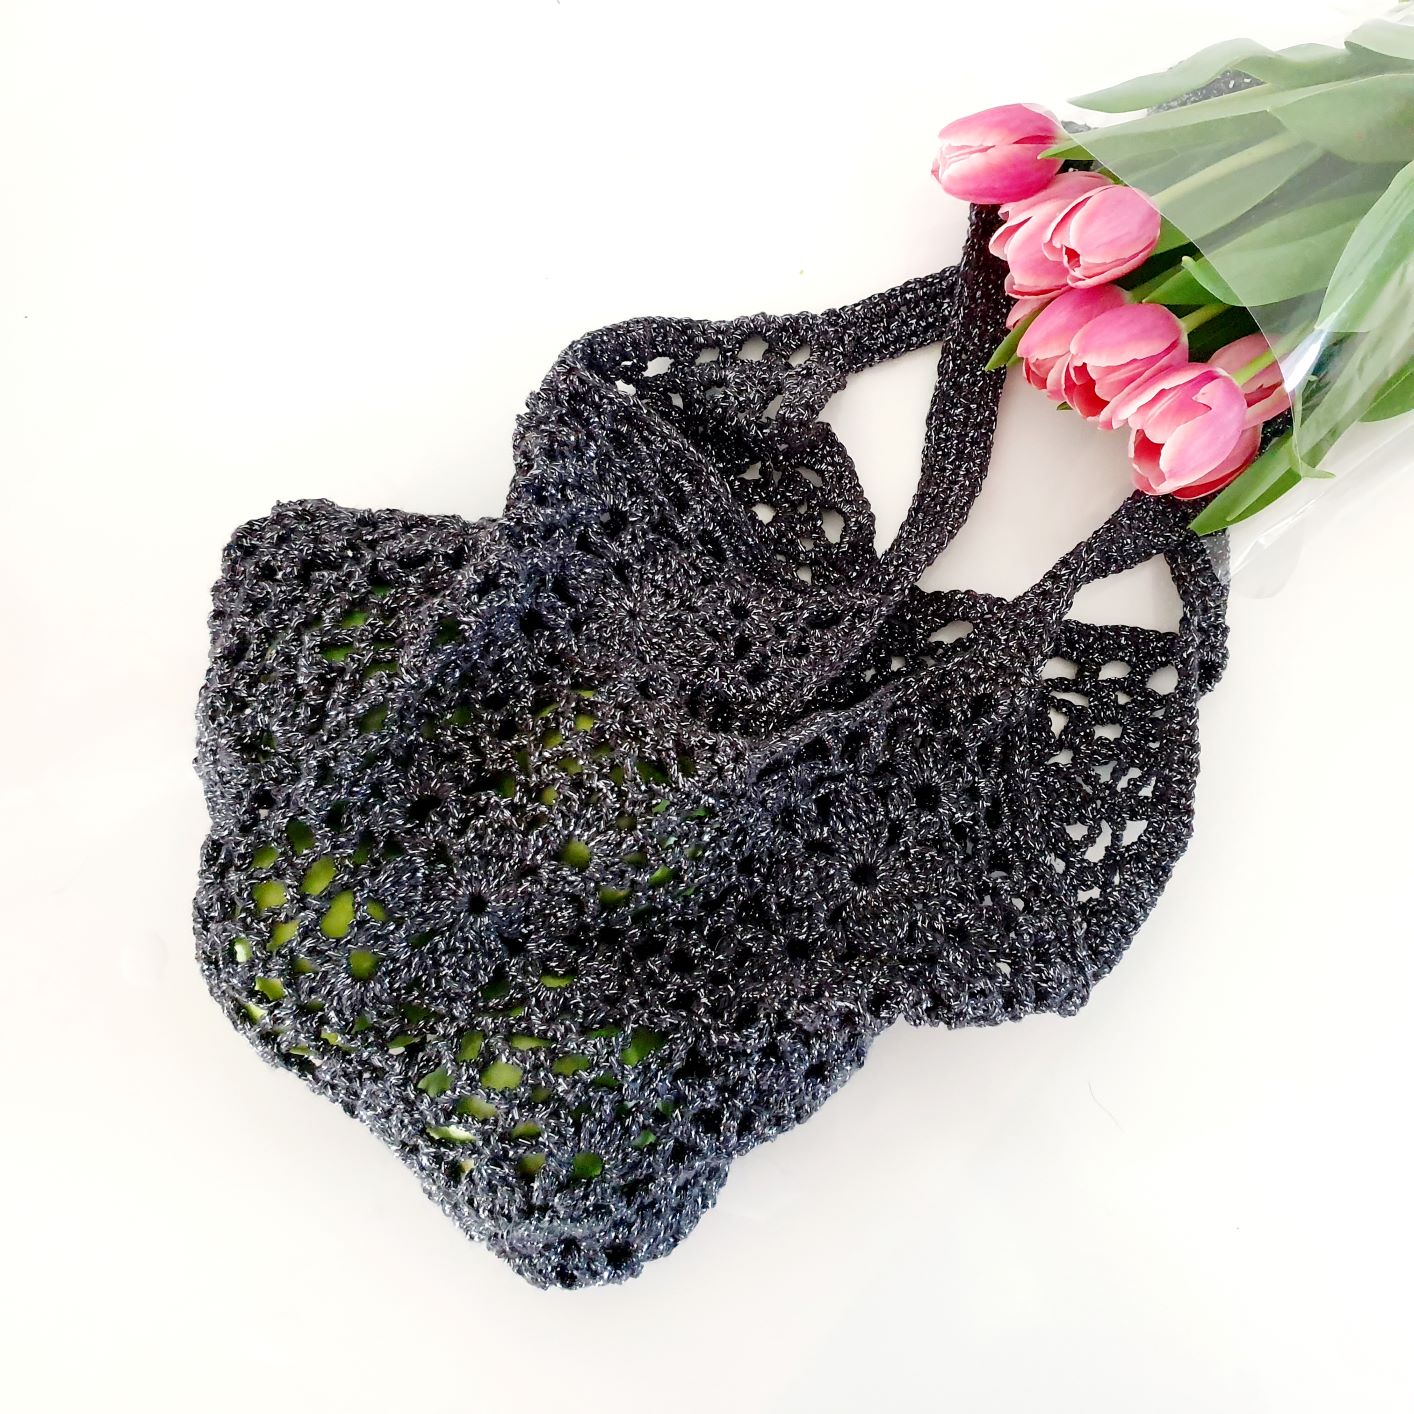
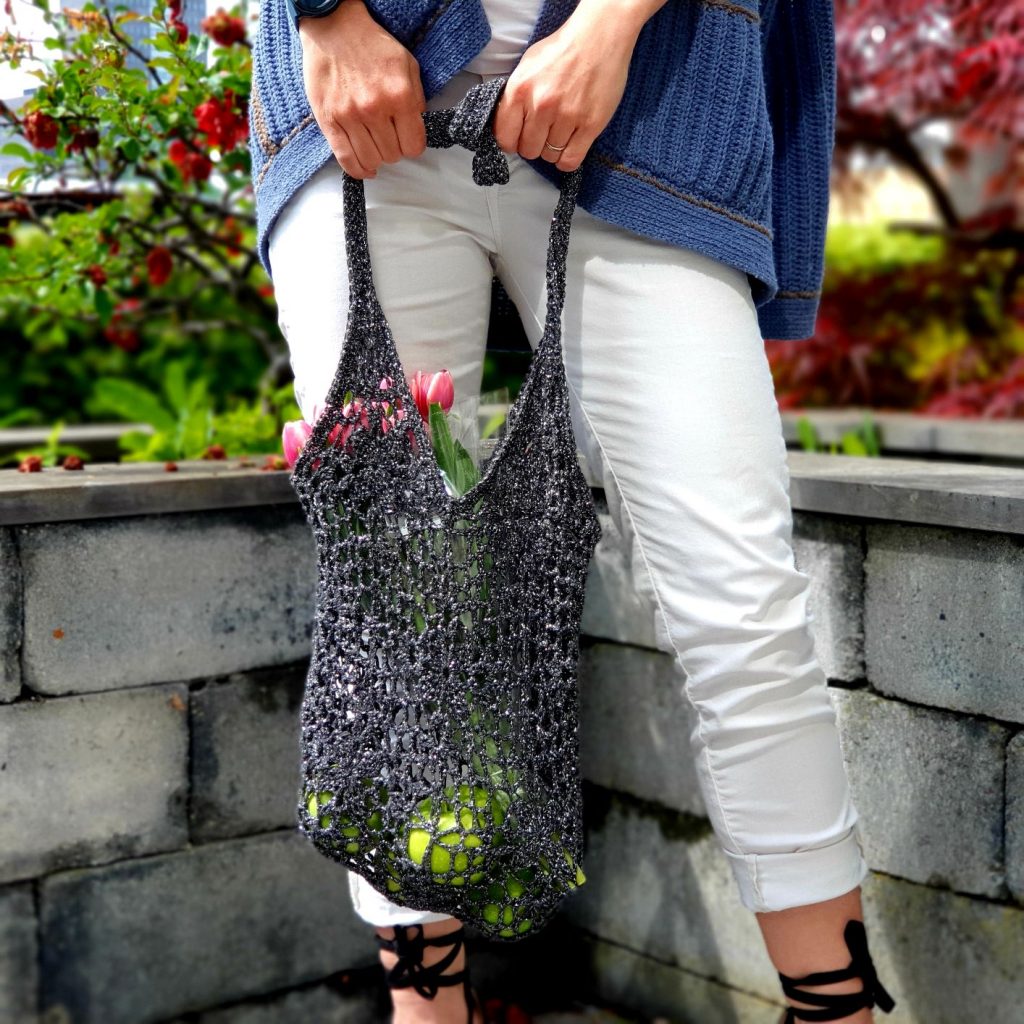
I had in mind making this Shining Bloom Market Bag since last year!! Now, after making this one, I am happy I didn’t, because I used a different yarn than planned initial and I am more than pleased with the end result.
The more complicated thing and time consuming for me as a designer is grading a pattern. That’s why from time to time I try to help my brain and give it a break with some accessories or some other design than garments.
You can Purchase the easy printable PDF version of this pattern here:
Even if this wasn’t an easy pattern to write, with all diagrams and trying to explain each step, at least I didn’t have the math :).
But let’s see what you will need and how to make this Shining Bloom Market bag.
Materials you will need
- Category 3, Light weight yarn
- 4.5 mm crochet hook
- Yarn needle for wave in ends
- Scissors
Notes about design
This pattern requires techniques as single crochet, double crochet, chain stitches and double crochet stitches worked in groups of 2 or 4.
The bag is worked up from squares which are joined as we go.
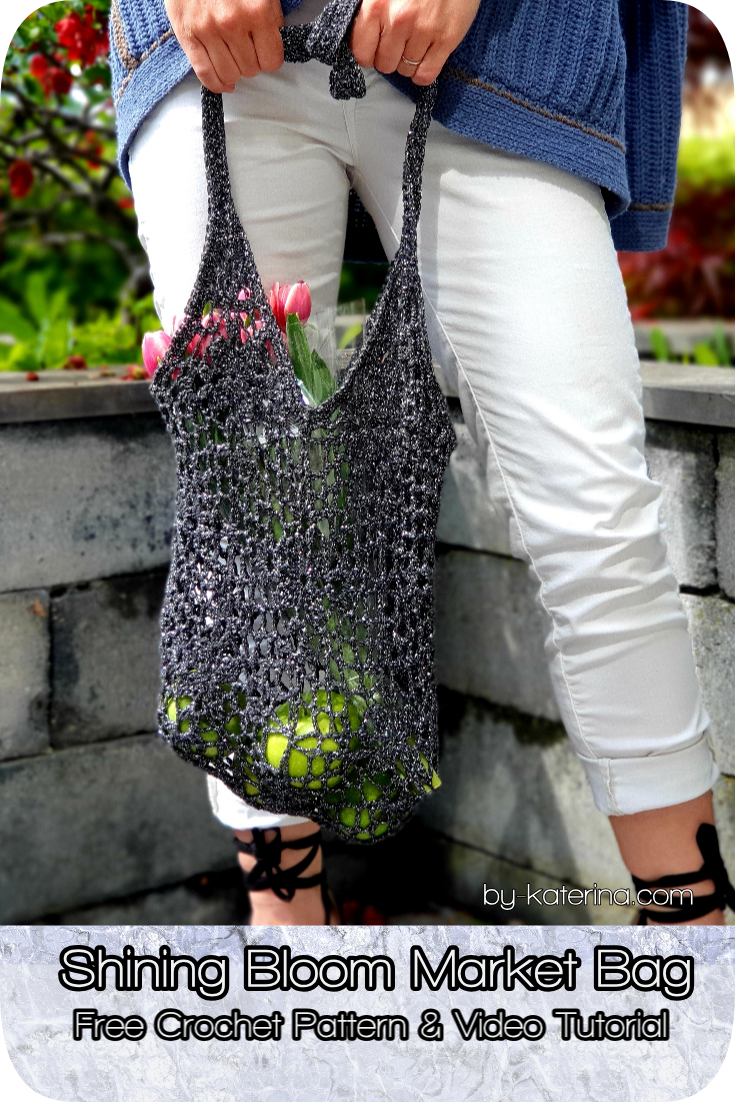
At the end the bag’s straps are added.
The bag can be worked in any yarn weight you want. Using a thinner yarn will result a smaller bag and using a thicker yarn you will have in the end a bigger bag.
Final Measurements
Final measurements of the bag are listed below.
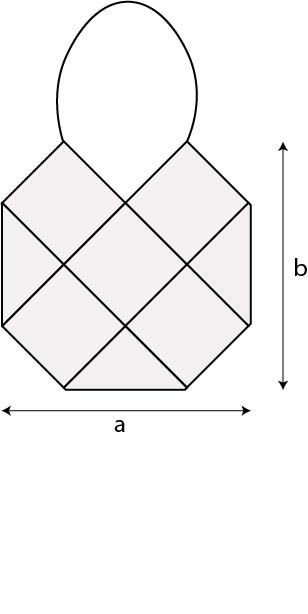
Width a: 32 cm
High b: 34 cm
How much yarn do you need?
For this bag I used Durable Glam by Durable Yarn. Each skein has 50 grams and approximate 130 m.
To complete the bag you will need almost 3 skeins.
Abbreviations used in this pattern
- Ch – chain
- Sc – single crochet
- dc – double crochet
- 2 dc group – work 2 dc in the same space and close together
- 3 dc group – work 3 dc, each in one stitch and close them together
- 4 dc group – work 4 dc, each in one stitch and close them together
- St(s) – stitch (es)
- Ss – slip stitch
- Sp – space
- R| – round
You can Purchase the easy printable PDF version of this pattern here:
Gauge
1 square measures 15 cm in diagonal
About the stitch pattern
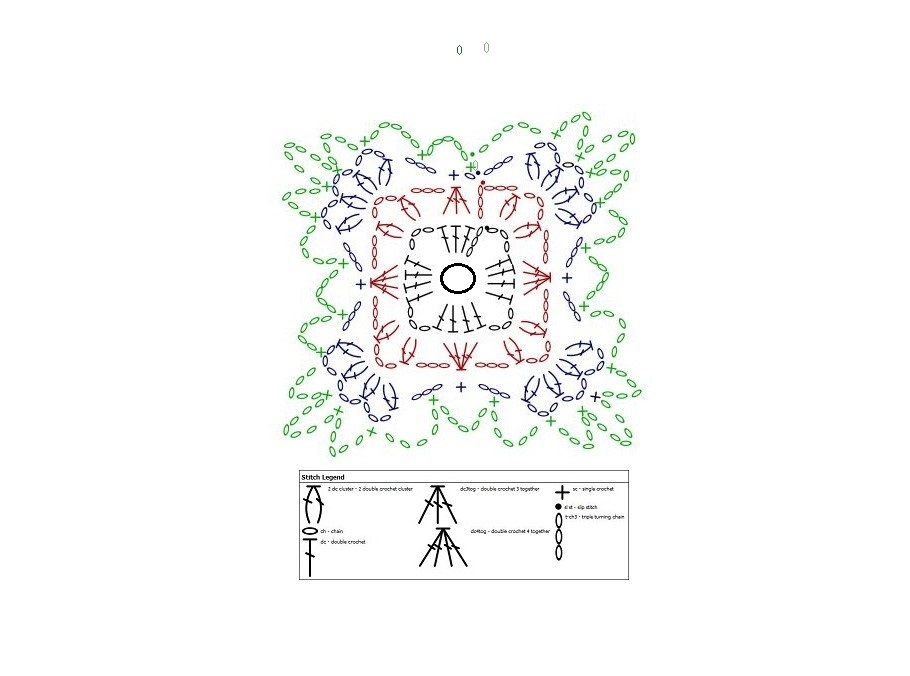
Each square has 4 rounds and each round has a different stitch pattern.
Below you can find the stitch chart for one square:
Pattern Notes
Ch 3 at the beginning of each round counts as first dc.
End each round with a ss
All the rounds are worked only on the right side.
Ch 1 at the beginning of a round which starts with a sc stitch doesn’t count as first st.
Instructions
We will start working the squares for the front side of the bag.
On the front side you will have in total 8 squares, placed like in the diagram below.
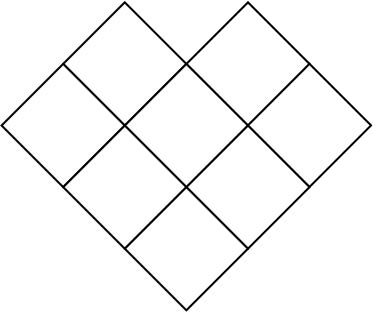
The 2 sides squares and the bottom one will be fold in half and half of them will be on the back side of the bag.
Start| Make a magic ring
R1| 3 ch sts, 3 dc, 3 ch sts, *4 dc, 3 ch st. *Repeat 3 times. Ss with the 3rd st of the starting ch.
R2| 3 ch sts, 3 dc group, 3 ch sts, (2dc group, 3 ch sts, 2 dc group) in the 3 ch-sp, 3 ch sts, *4dc group, 3 ch sts, 2dc group, 3 ch sts, 2 dc group) in the 3 ch-sp, 3 ch sts. *Repeat 3 times. Ss with the 3rd st of the starting ch.
R3| 1 ch st, 1 sc in the same st, 3 ch sts, in the 3 ch-sp from the corner:[2 dc group, (3 ch st, 2 dc group) 3 times], 3 ch sts, *1 sc in the 4 dc group, 3 ch st, in the 3 ch-sp from the corner:[2 dc group, (3 ch st, 2 dc group) 3 times], 3 ch sts. *Repeat 3 times
R4| 1 ch st, 1 sc, 5 ch st, 1 sc in the next 3 ch st – sp, 5 ch st, 1 sc in the next 3 ch – sp, 5 ch st, 1 sc in the corner, in the corner: (7 ch st, 1 sc ), *5 ch sts, [1 sc in the next 3 ch sts – sp, 5 ch sts] repeat 4 times to the corner; in the corner: (1 sc, 7 ch sts, 1 sc).*Repeat on all sides of the square. Finish the round with 5 ch st, 1 sc in the next 3 ch sts- sp, 5 ch sts and join with the 1st sc.
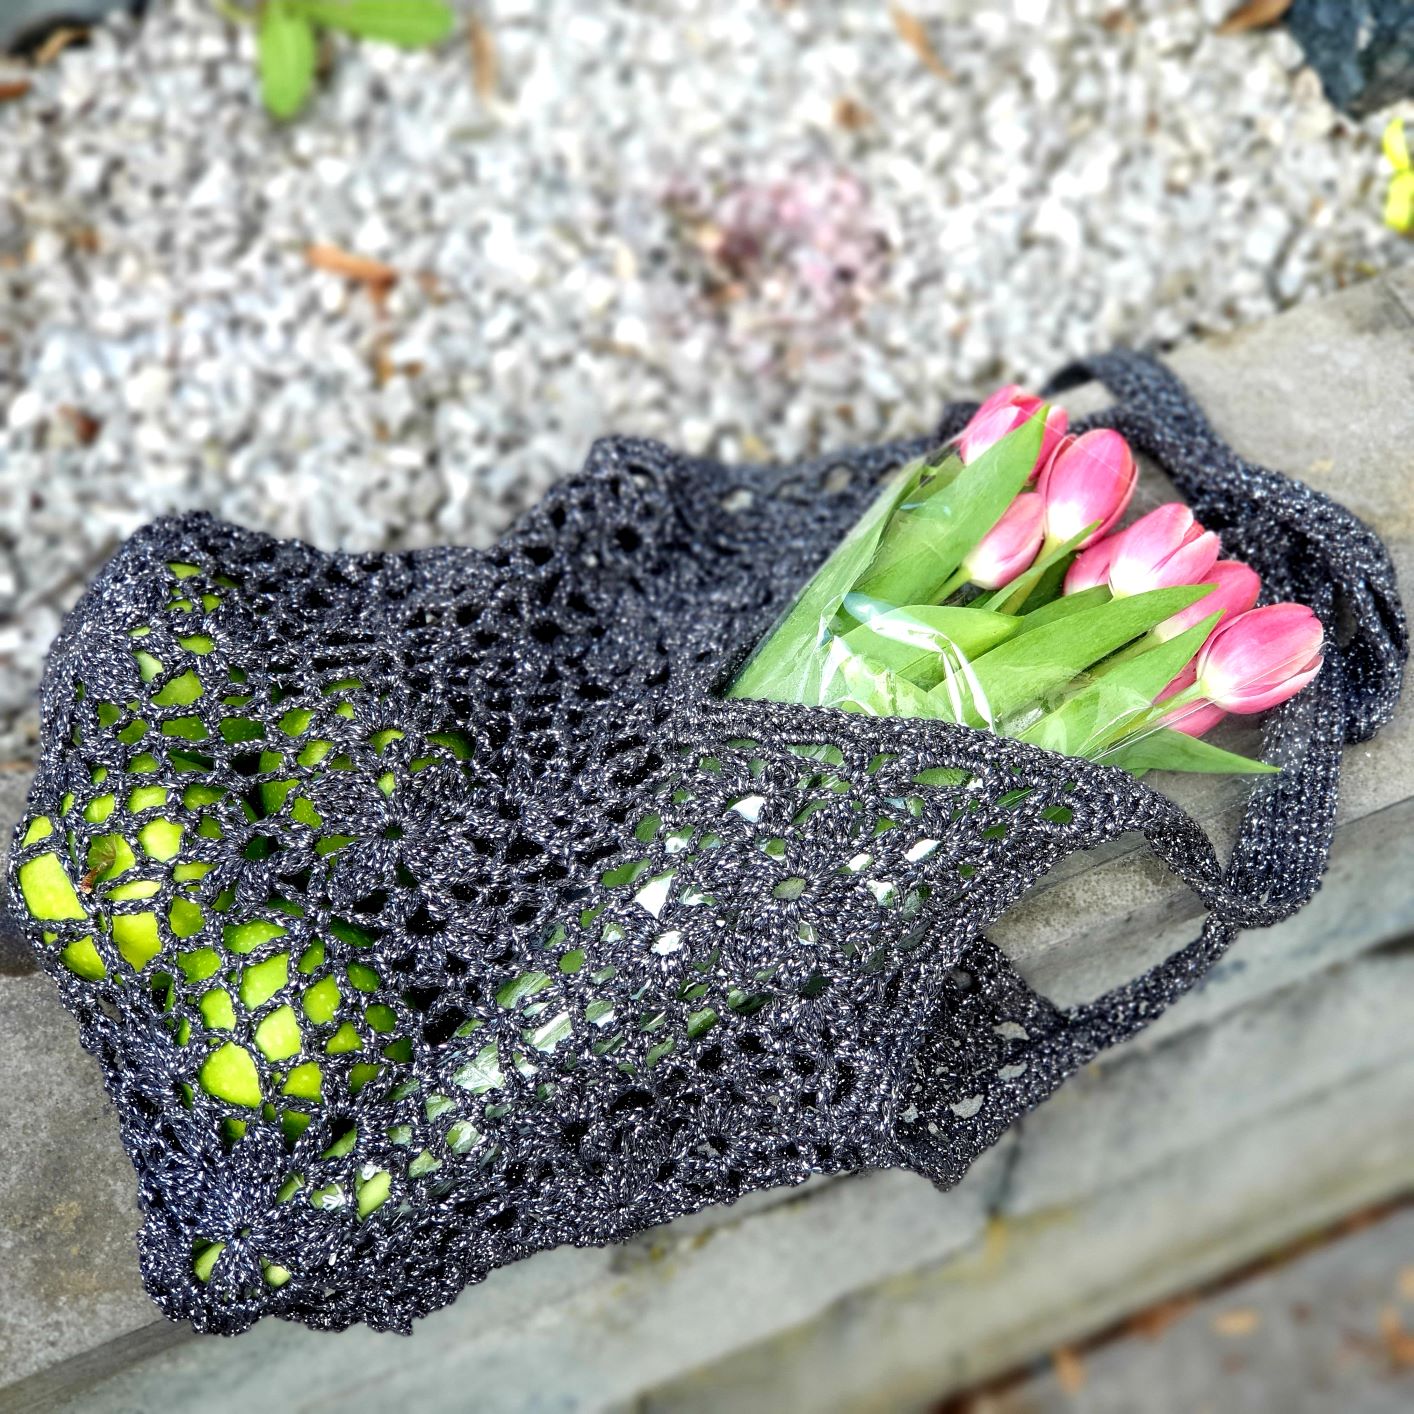
This was the first square. With the next ones you will have to work up to round 3. The 4th round will be worked while joining it with the others squares.
You will start assemble the front side of the bag, following the diagram above. Start with the first 2 squares on the top.
Second square will be joined only in one corner. The others you will have to join them in one complete side, or 2 or even 3.
You can Purchase the easy printable PDF version of this pattern here:
Let’s see how we are joining the squares:
Make the first 3 rounds of the square B. Begin the round 4 but only until you get to the corner. In the 3 chain space from the corner chain 3 (instead of 7).
Grab the square A, and join B with A corner with 1 sc (make sure that A is on the wrong side). Ch 3 and make another sc in the same ch 3 space of the corner of square B.
On the second square, after joining the corner you will have to continue working the round 4 as usual.
When you will have to join 2 squares on an entire side or even 2 or 3 you will have to proceed like this:
Make the first 3 rounds of the square C. Begin the round 4 but only until you get to the corner. In the 3 chain space from the corner chain 3 (instead of 7).
Grab the square B, and join C with B corner with 1 sc . Ch 3 and make another sc in the same ch 3 space on the corner of square C.
Ch 2 and join with one sc with the next ch 3 apace of square B.
Ch 2, 1 sc in the next 3 ch space of square C.
And continue like this until the next corner. On the corner proceed the same as on the first corner.
Continue in the same way if you have to join the current square with another square side. After you finish joining, complete the round 4.
Continue like this until you joined all 8 squares needed for the front side of the bag.
On the back side of the back you will have to add only 5 squares following the diagram below:
The gray half squares, are the ones you made on the front side, so on the back side you will have to add only 5 squares (the red ones) following the diagram above.
Top edging
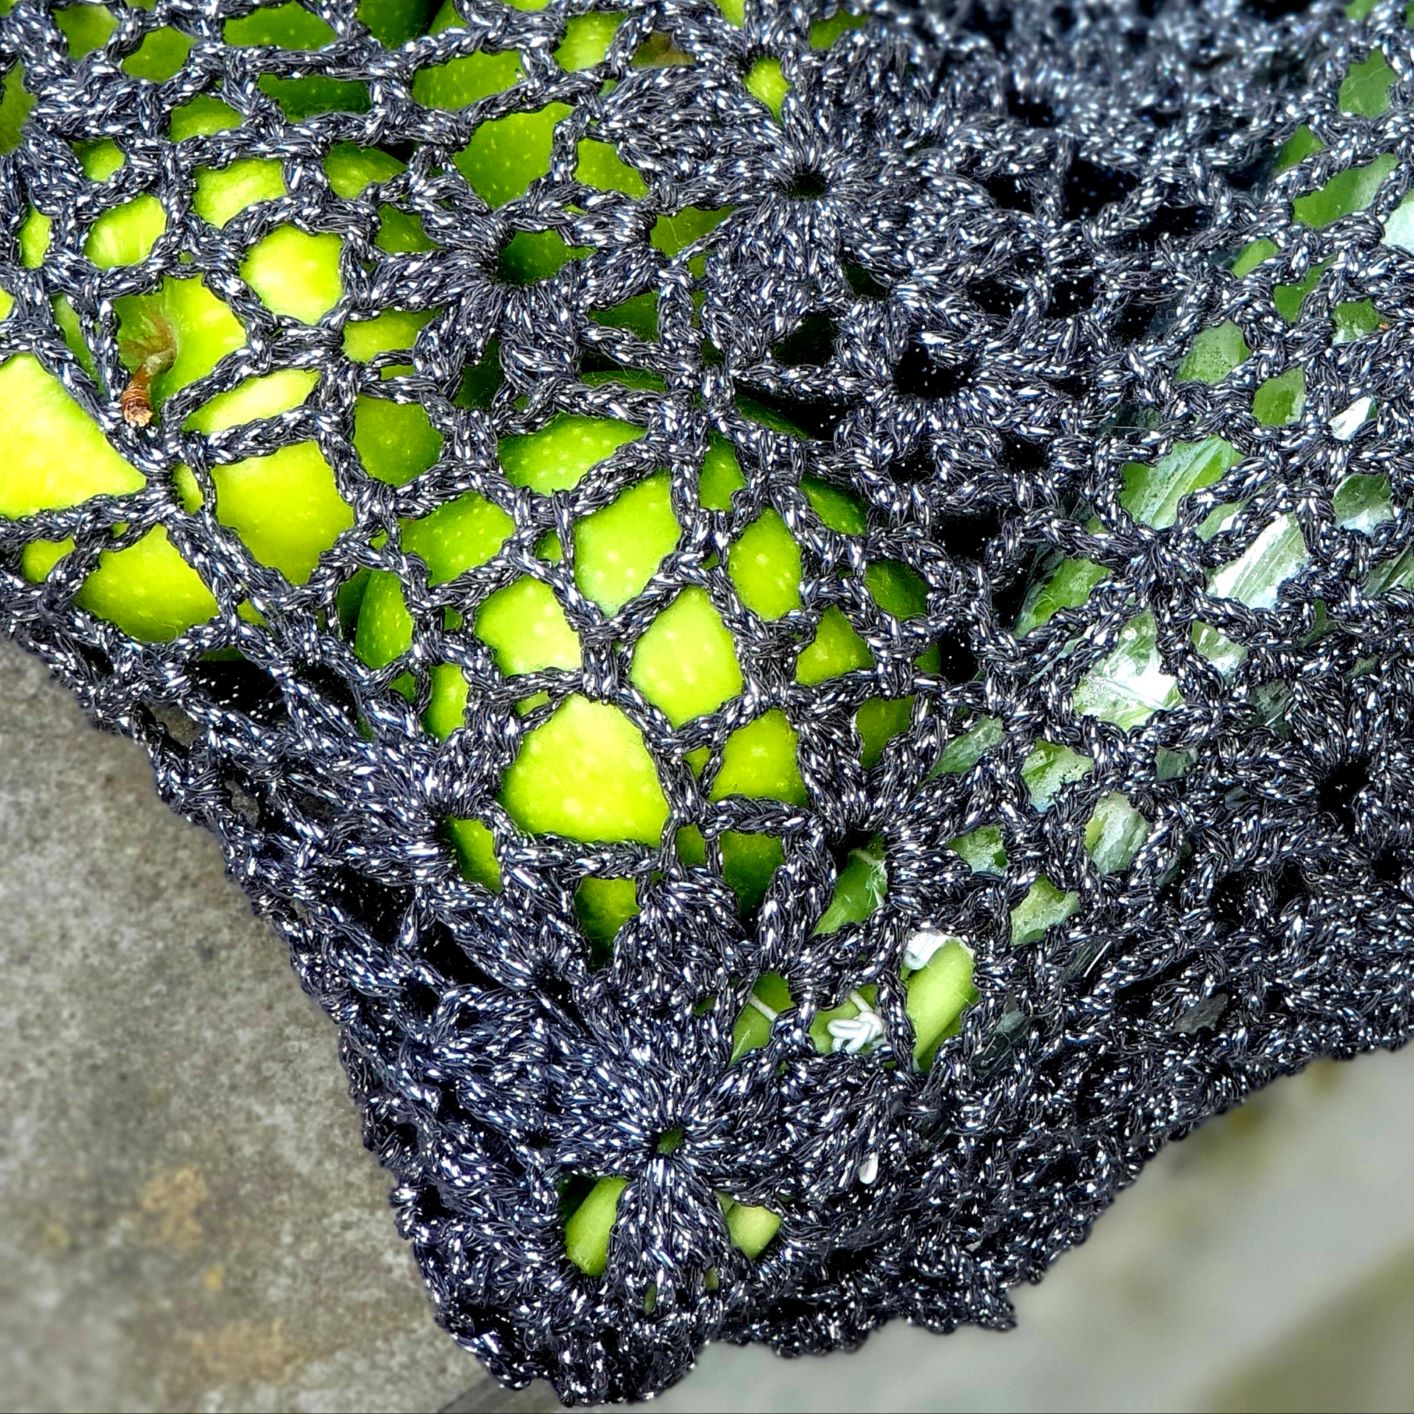
After joining all the squares and you have now a bag shape, we will make a top border.
We will use sc stitches, all around the top.
Join the yarn on one side of one square and make sc in each ch space. If you have a 5 ch space for example, you will make 4 sc. The last sc from the current ch space and the first one from the next ch space are worked together like a decrease.
When you get to a “valley”, where 2 squares are joined in corners, make a 3 sc decrease, working 3 sc together: 1st sc will be the last st of one corner, 2nd one wil be in the sc st made for joining and the 3rd one will be the 1st sc of the next corner space.
On the 2nd round of the border, make 1 sc in each sc, and a 3 sc decrease in each “valley”.
Fasten off.
Bag straps
Make 2, one on the front side and one for the wrong side.
One bag strap is worked from the right top corner to the left top corner.
Mark 6 sts on the top corners.
R1| Join the yarn in the first inside st. Ch 70 sts, or as many sts as you want depending on the desired length. Join with a ss with the inside st of the other side. Make another ss into the next st and turn.
R2| 1 sc in each st, join with a ss into the next 2 sts and turn
R3| Repeat R2
R4| Repeat R2
Fasten off.
Repeat the same for the second strap.
To Finish
Wave in all ends and block if needed.
You can find a full video tutorial here



Comments are closed.