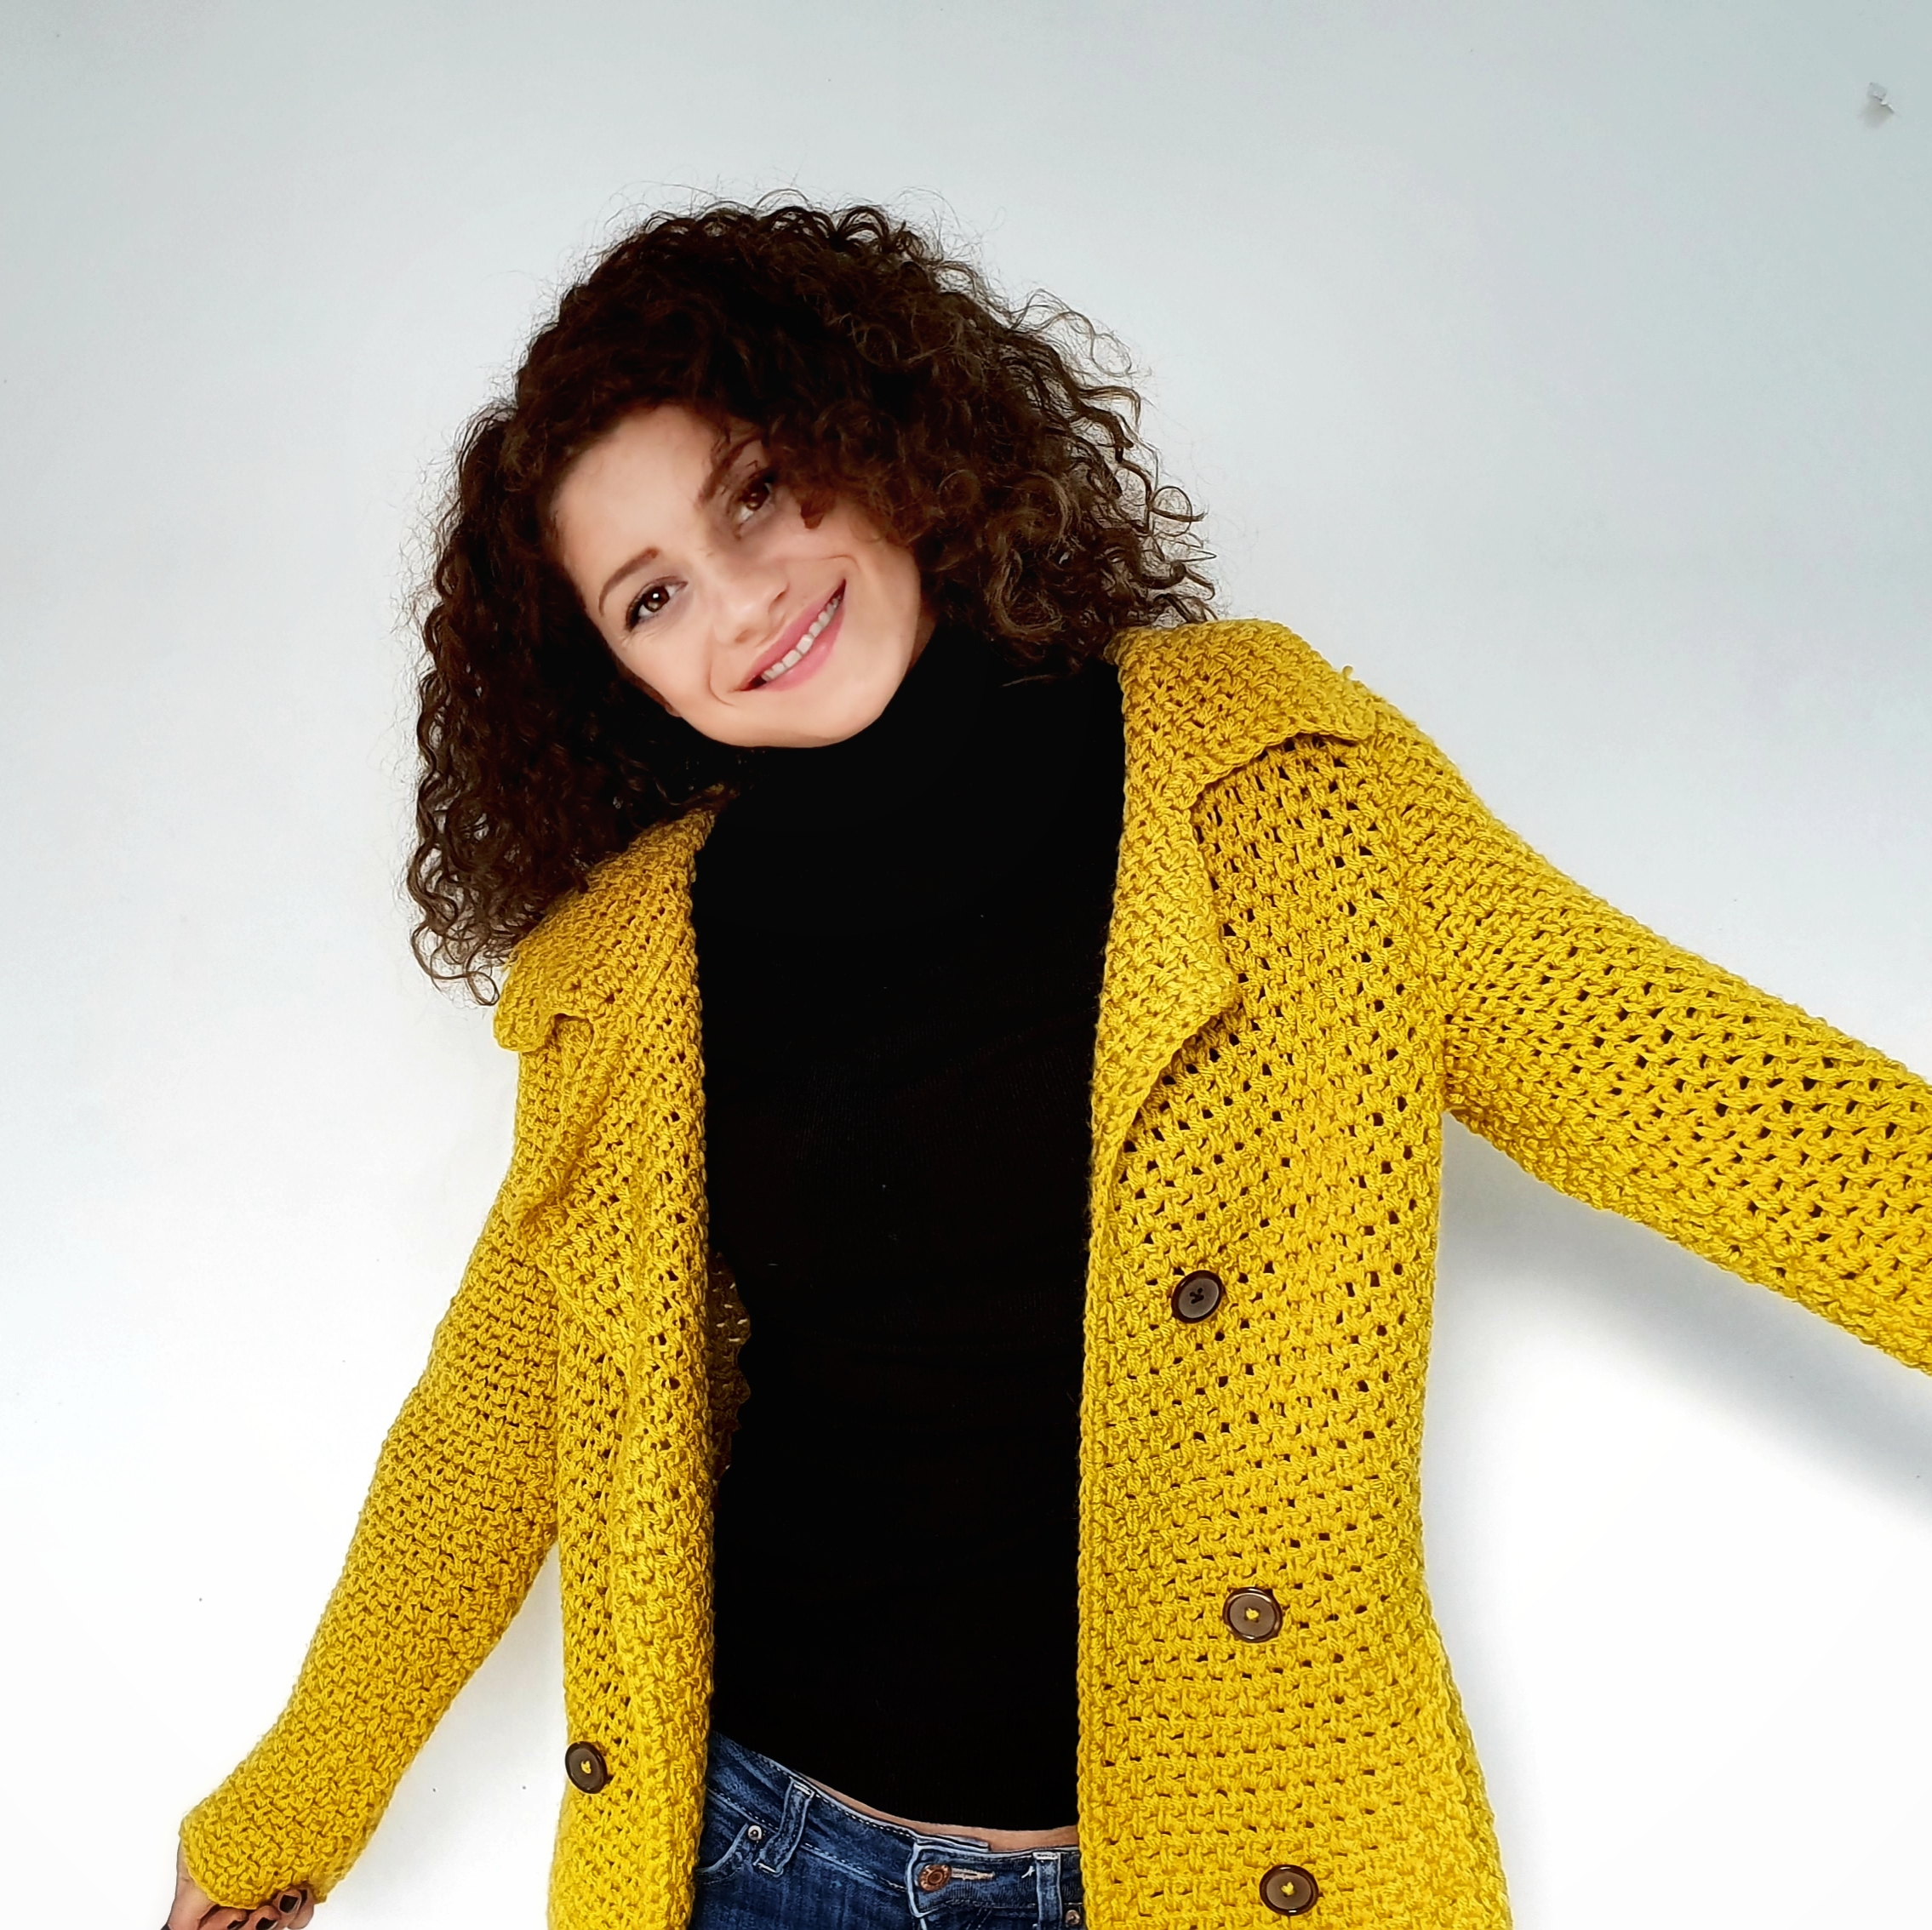
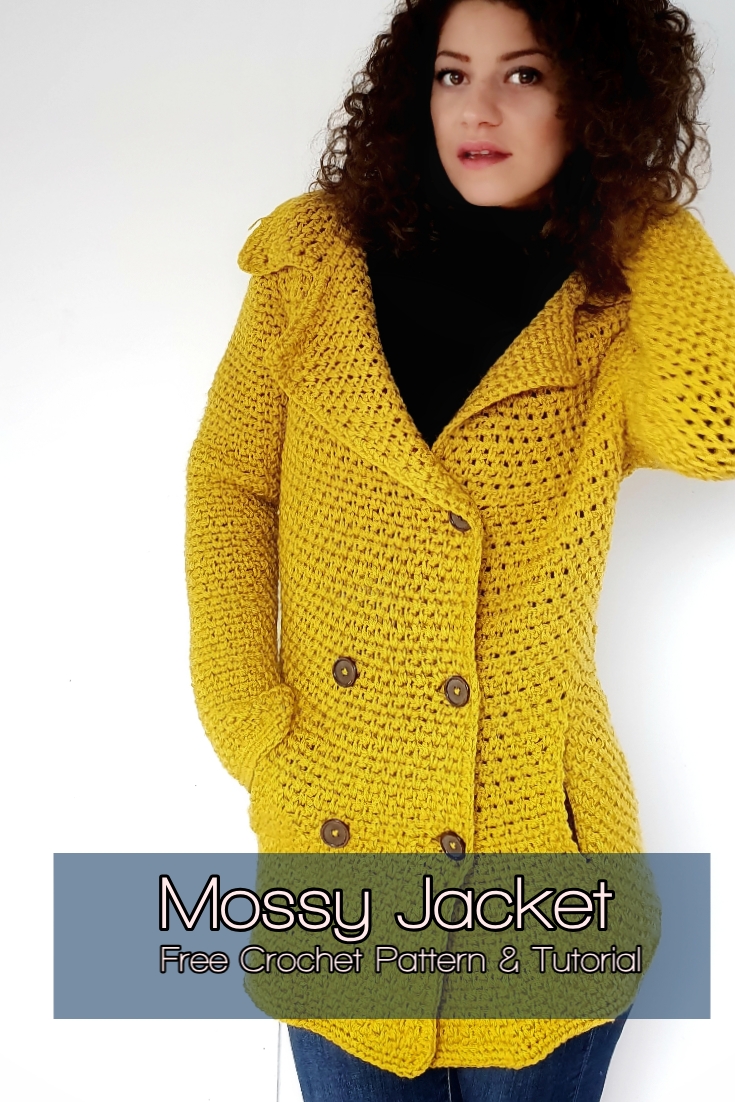
My lovely Mossy Jacket had to be updated as a pattern and as a design so here we are with the Mossy Jacket Pattern Remake.
I really love this Jacket so much and I wear it a lot since I made it back in 2017. Is one of my first designs.
You can purchase the add free, easy printable, instant download PDF version of this pattern here:
If you already purchased the old version of this pattern, please send me an e-mail at contact@by-katerina.com and I will send you the new version. Thanks!
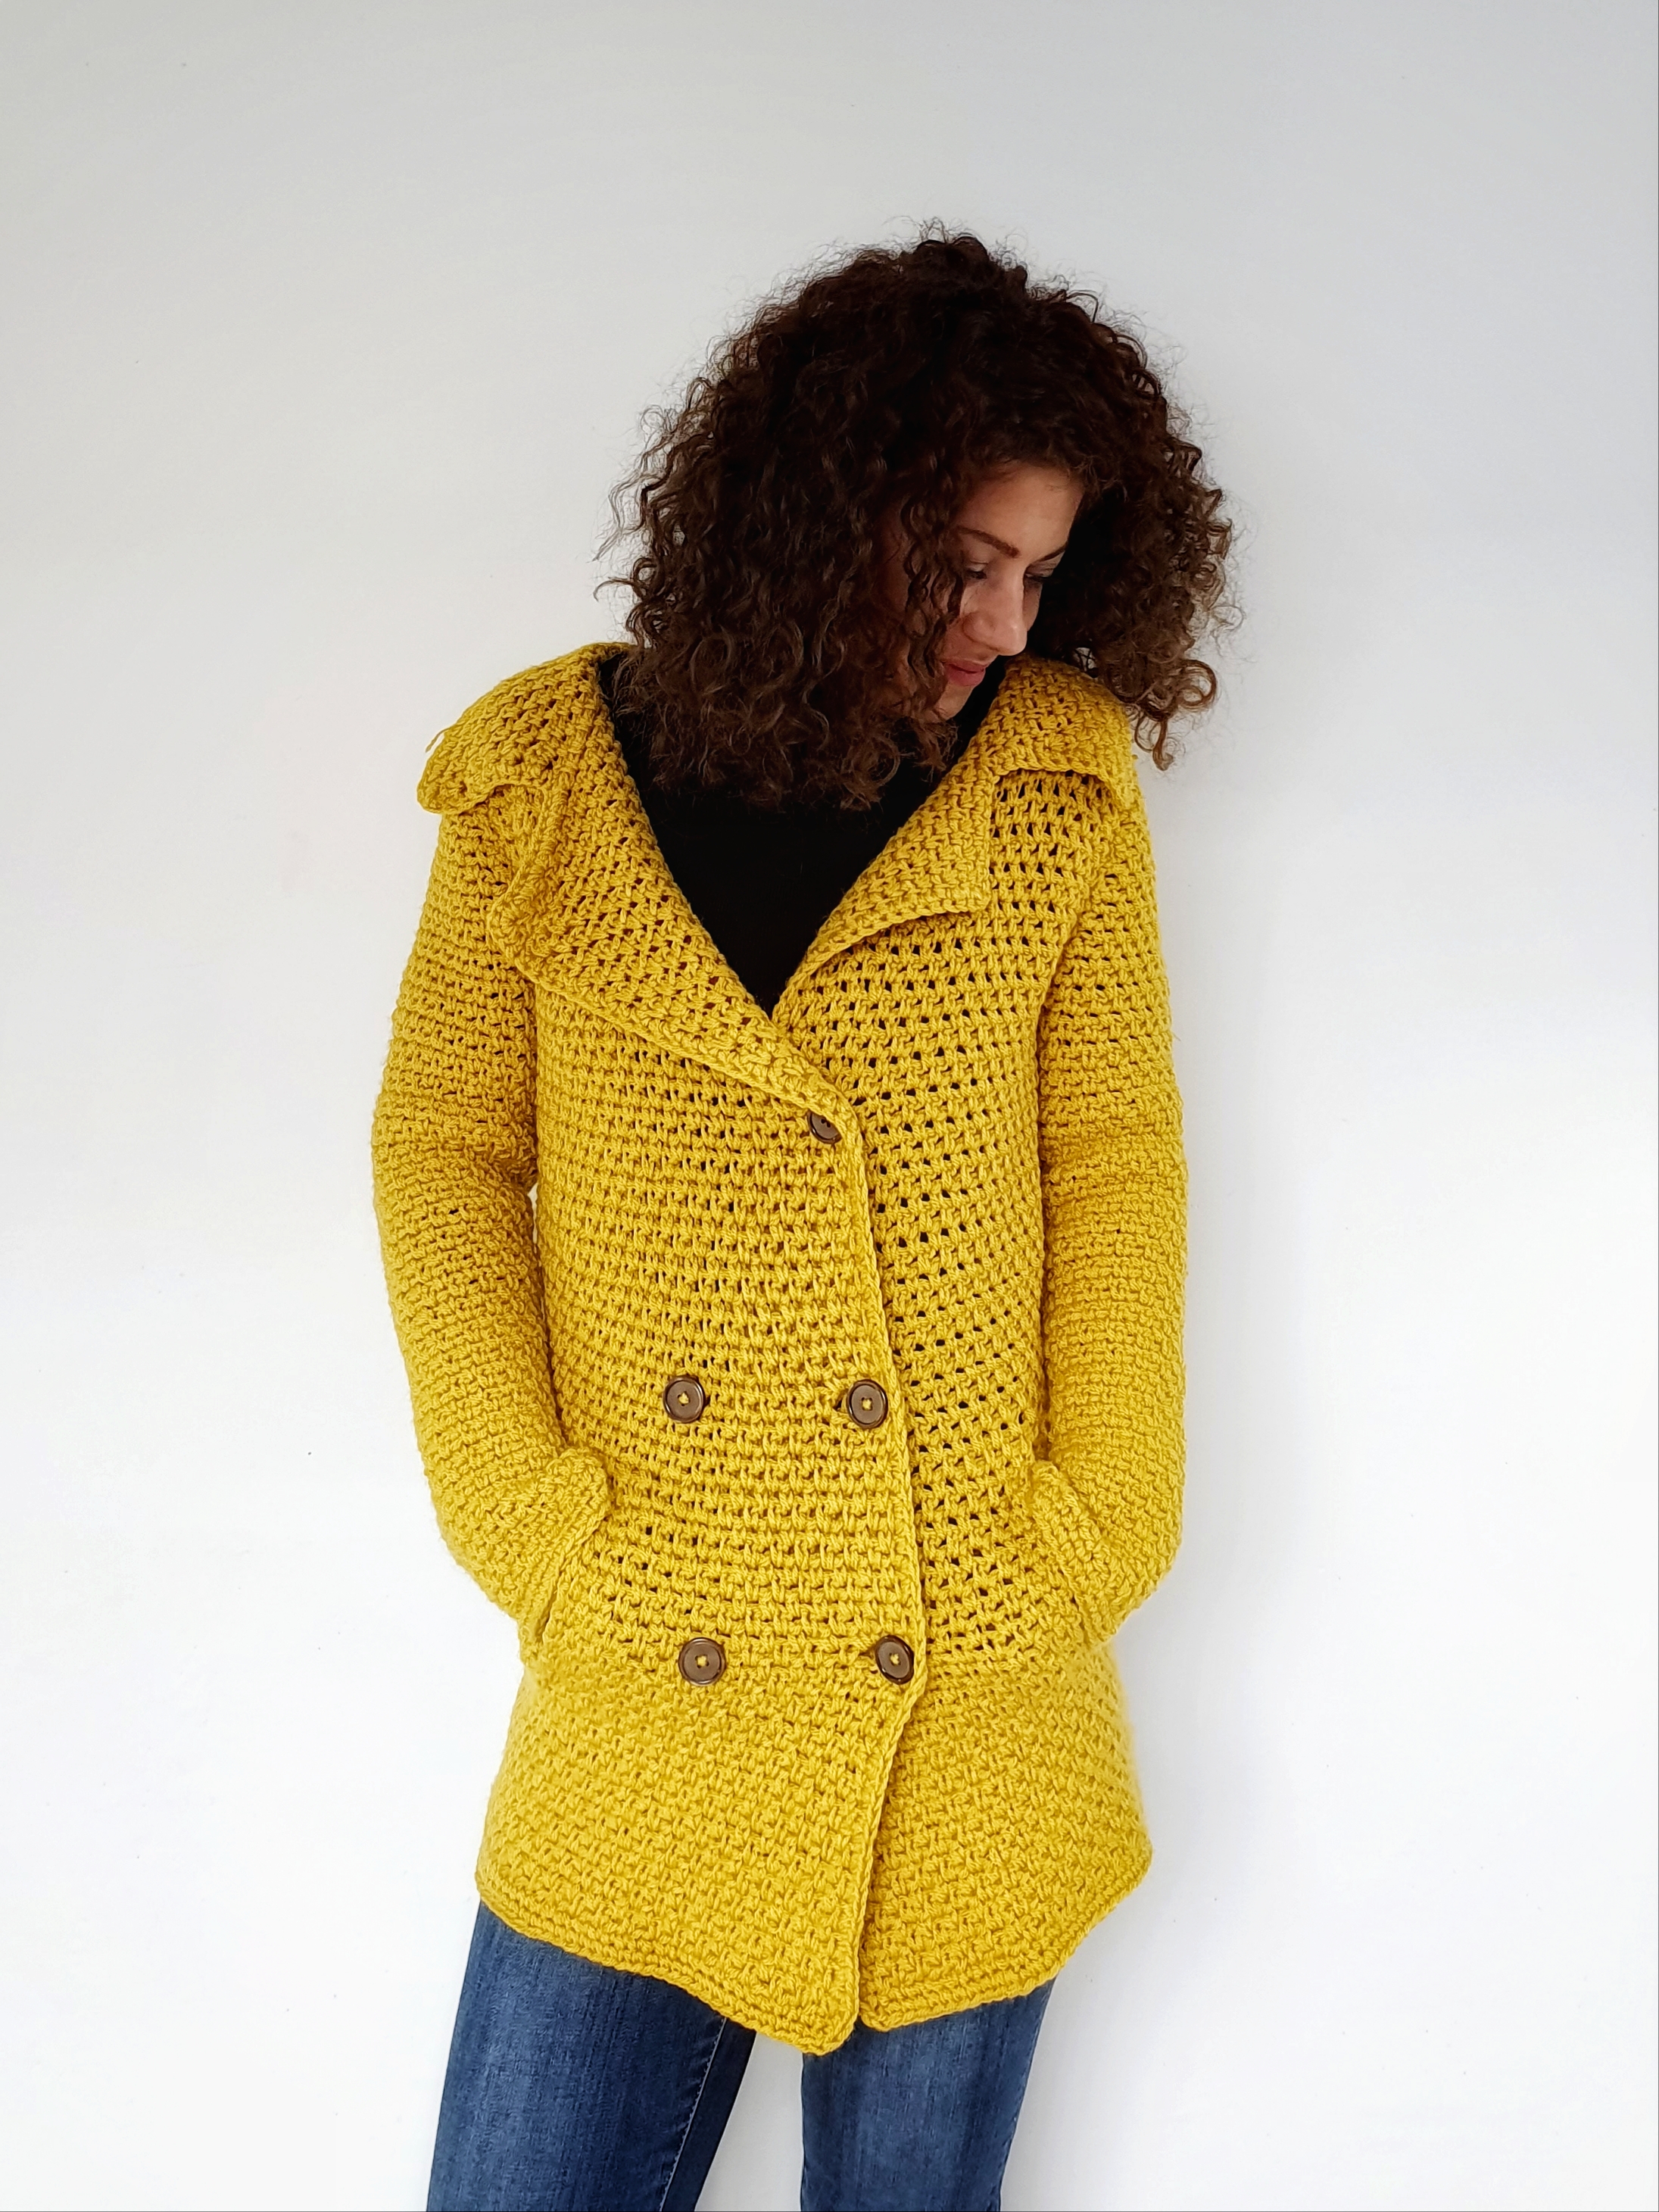
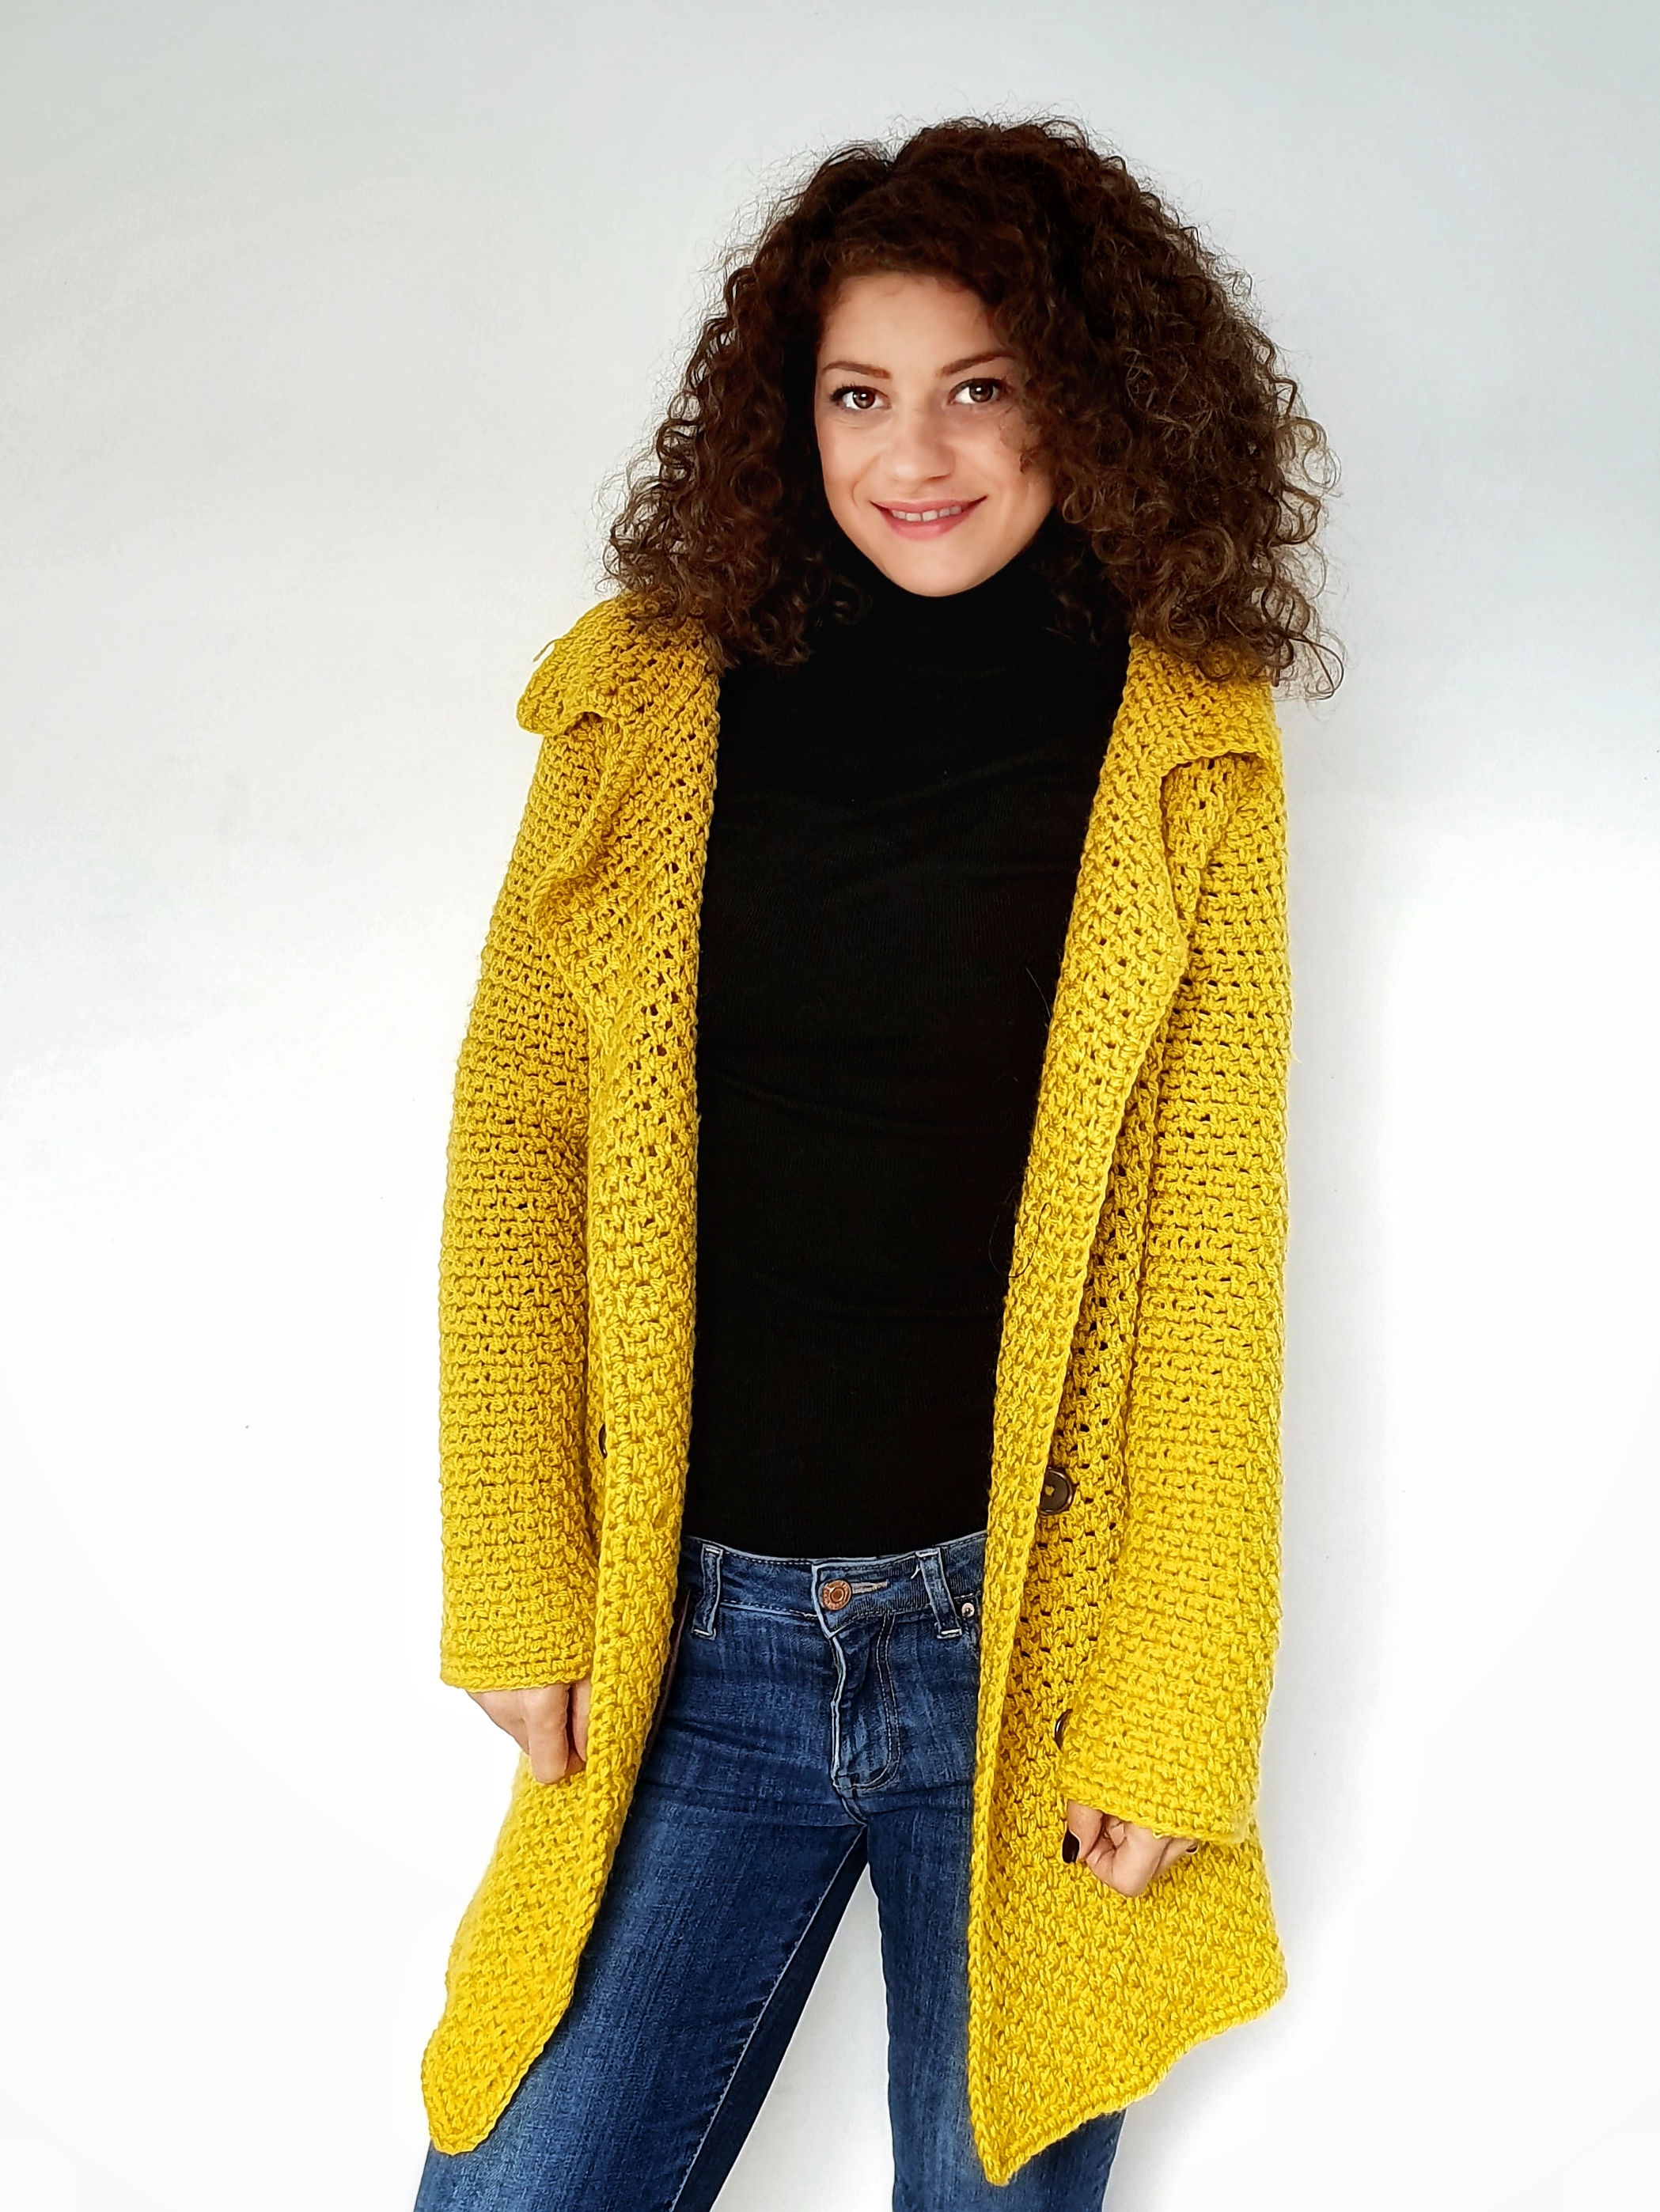
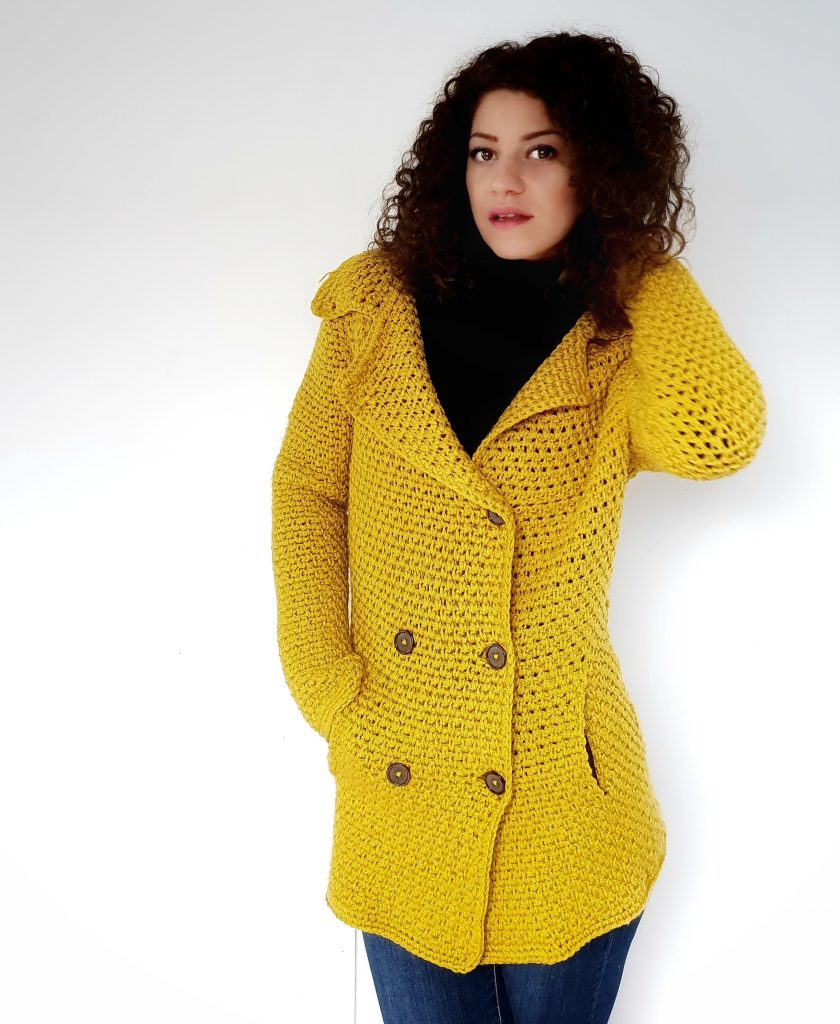
Can you imagine that all photos with me wearing this Mossy Jacket are made now, 2 years after making it? Well, yes…and all started because one of the makers asked me if I have some photos with someone wearing the Jacket, because in the previous pattern I have only photos with the jacket lying on the floor.
Because I still had the Jacket, I said, Ok let’s make some photo because they might be helpful. After seeing those photos I said that this Jacket deserves an upgrade, because it’s looking so great and there might be makers who will want to try to makes this.
And this is how the idea of “Pattern Remake” series came to life.

Materials you will need
- Yarn
- Category 3, DK weigh Yarn (we will work using 2 strands of yarn at ones)
- Needle
5.5 mm crochet hook (US I size)
- You will need a yarn needle for assembling and to hide the ends
- 6 buttons (I used 2 cm diameter buttons)
- Scissors
Pattern notes
This Mossy Jacket has a closer fit and is shaped around waist. If you want it easier to make you can work the same width around waist and adjust the waist of the jacket with the buttons placement.
The construction of the jacket is simple. We will work the 5 panels, 1 for back, 2 for front and sleeves and then sew the pieces together. To finish we will add a collar and buttons
The pattern is available in 5 sizes, from Small to 2X large and is written in US terms.
All the measurements are in centimeters unless the pattern specified something else.
Final measurements
The Jacket is designed with a closer fit.
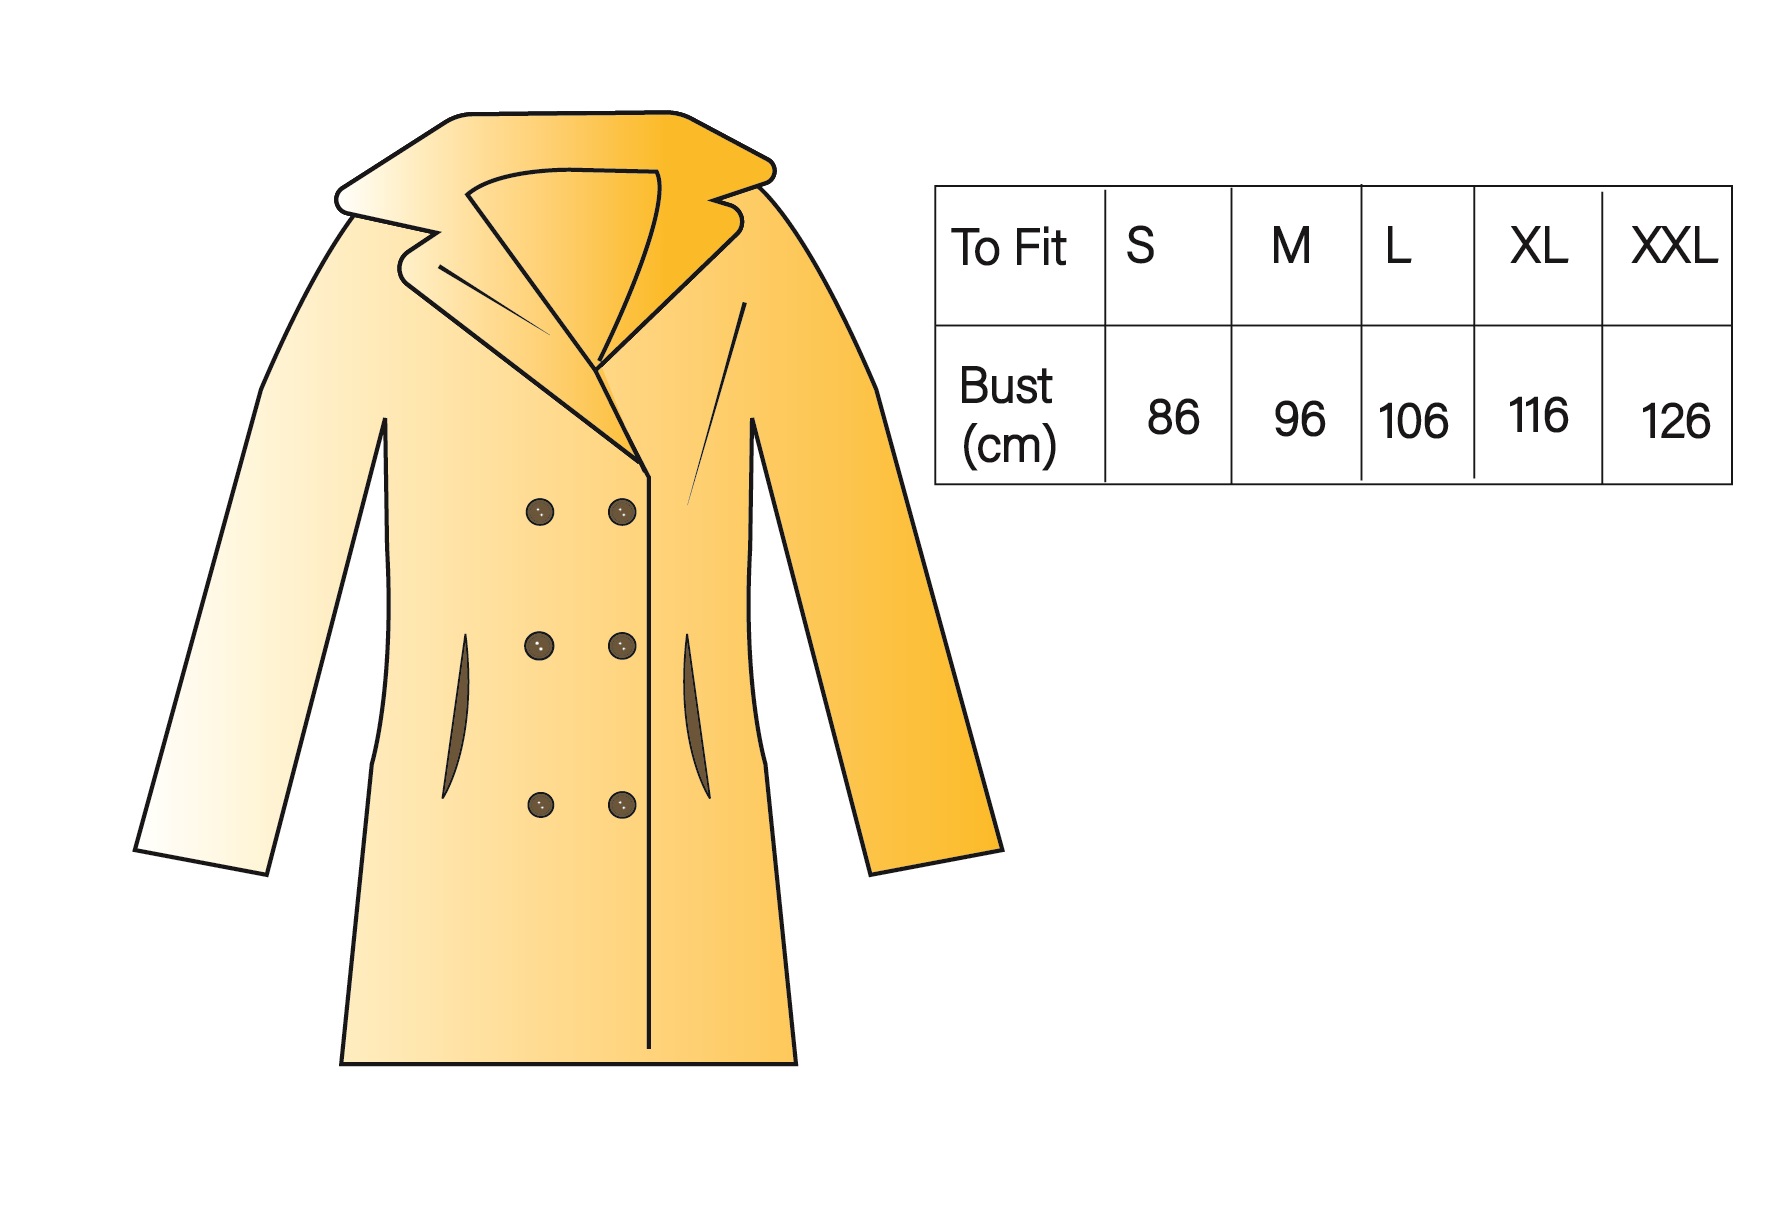
The final measurements of the back panel are listed in the diagram below. The measurement for the front panels are half of the back panel plus 9 cm to overlap.
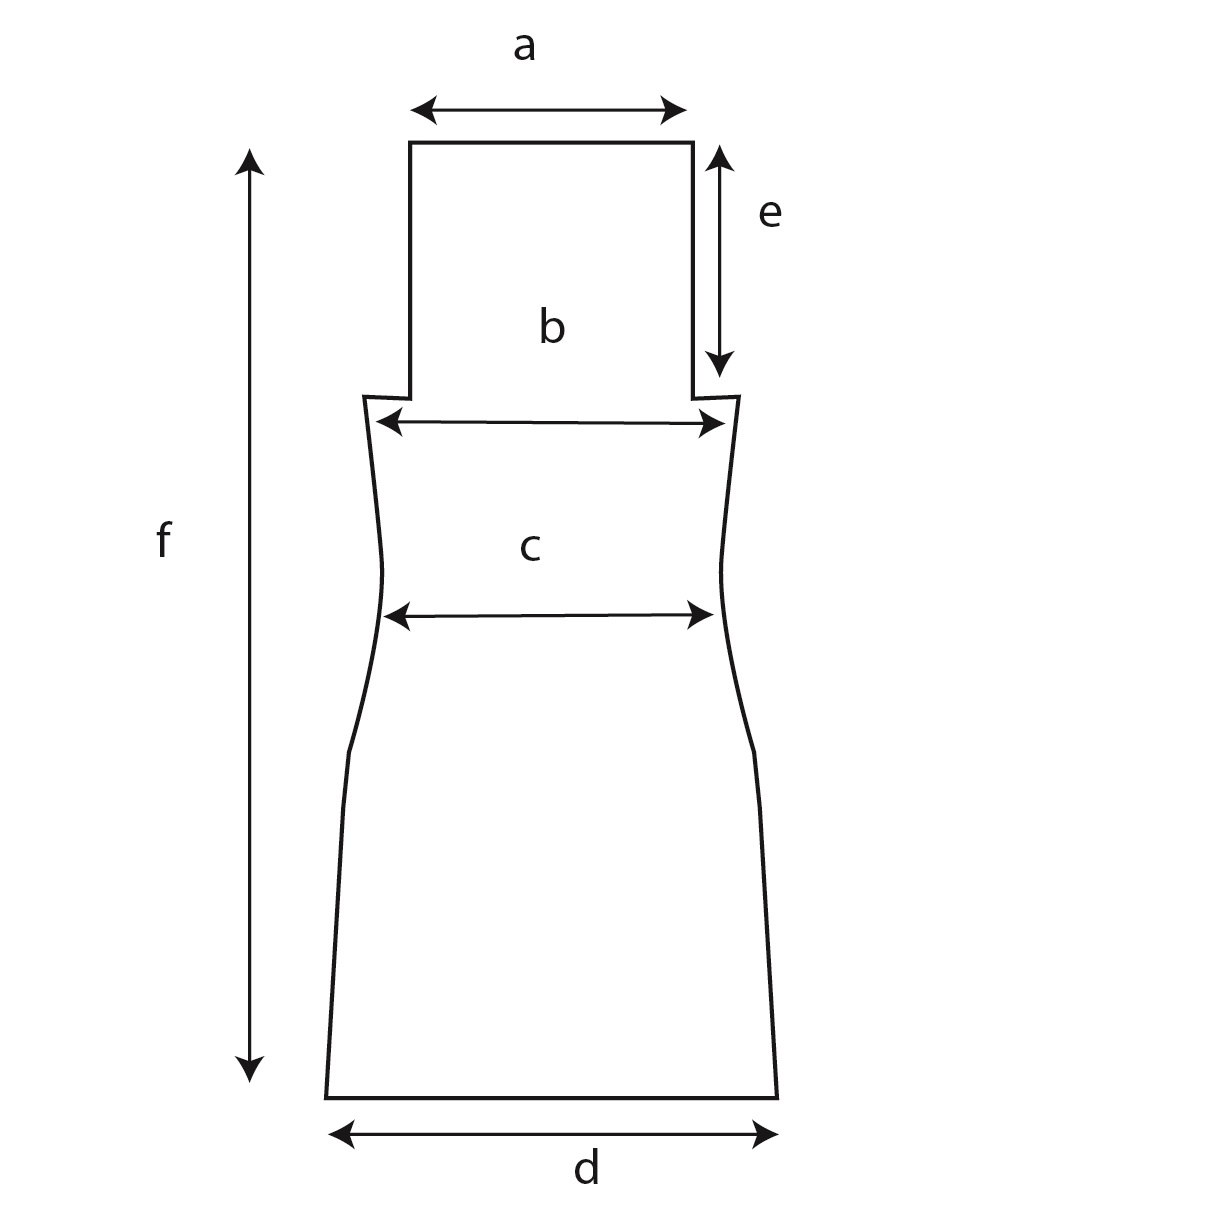
Cross Back a: 38 cm (42, 44, 44, 46)
Bust Width b: 43 cm (48, 53, 58, 62)
Waist Width c: 38 cm (42, 47, 52, 57)
Hips Width d: 48 cm (53, 58, 63, 68)
Armhole Depth e: 19 cm (20, 22, 24, 25)
How much yarn do you need?
For this pattern I used Stylecraft Special DK in color Mustard which is 100 % premium acrylic. One skein has 100 grams and 295 meters. The jacket is worked using 2 strands of yarn at ones.
For each size you will approximate need:

About the stitch pattern.
This Mossy Jacket is worked entirely in Moss Stitch or Linen Stitch
Abbreviations used in this pattern
- Ch – chain
- Sc – Single crochet
- St(s) – stitch(es)
- Dec – Decrease (sc2tog – 2 sc worked together)
- Inc – make 1 sc in the first st. do not skip it
Gauge
13 sts – 10 cm (4”)
13 rows – 10 cm (4”)
*in linen stitch
You can purchase the add free, easy printable, instant download PDF version of this pattern here:
If you already purchased the old version of this pattern, please send me an e-mail at contact@by-katerina.com and I will send you the new version. Thanks!
Pattern
To make this pattern easy to understand and to adjust according to your own measurements, the instructions for the back panel are given by sections. Each section will start from row 1. At the end of the panel you will find the total number of rows.
Back Panel (Hips)
Start with the foundation ch.
- S – 62 sts
- M – 70 sts
- L – 76 sts
- XL – 82 sts
- XXL – 88 sts
For all sizes
Row 1
Ch 1 more, and starting with second st 1 sc in each st to the end of the row. Ch 2 and turn.
Row 2
Skip the first sc, 1 sc in next, [ ch 1, skip 1, 1 sc in next]. Finish the row with ch 1, skip 1 and 1 sc in the last st. Ch 2 and turn.
Row 3
Skip first sc, [1 sc in next ch 1 space, ch 1]. Repeat the section between [ ] to the end of the row. Finish the row with 1 sc in the 2nd st of the turning ch. Ch 2 and turn.
Rows 4 – 20
Repeat row 3.
*if you want that the Mossy Jacket to be longer you can work more rows on the hips section of the back panel.
After working the first 20 rows we will strat with the waist section.
Back Panel (waist)
We will start decreasing to shape the waist. Start the row with ch 1, instead of ch 2, because we wil start with a dec.
Row 1
1 dec (sc2tog in first 2 sts), then continue with linen stitch to the end of the row. Ch 1 and turn.
Next, repeat round 1, until you get to the waist width or until you have in total for the waist section:
- S – 12 rows
- M – 16 rows
- L – 14 rows
- XL – 14 rows
- XXl – 14 rows
To complete the high waist of the back panel we will continue working next few rows without decreasing.
Before starting the next row, ch 2 as turning chain.
Row 13 (17, 15, 15, 15)
Skip first sc cluster, 1 sc in the next ch 1 space, ch 1, skip the next sc, 1 sc in next space. Continue with linen stitch to the end of the row. Ch 2 and turn.
Row 14 (18, 16, 16, 16)
Skip 1st sc, 1 sc in next space, ch 1, skip next sc, 1 sc in next. Continue to the end of the row. Ch 2 and turn.
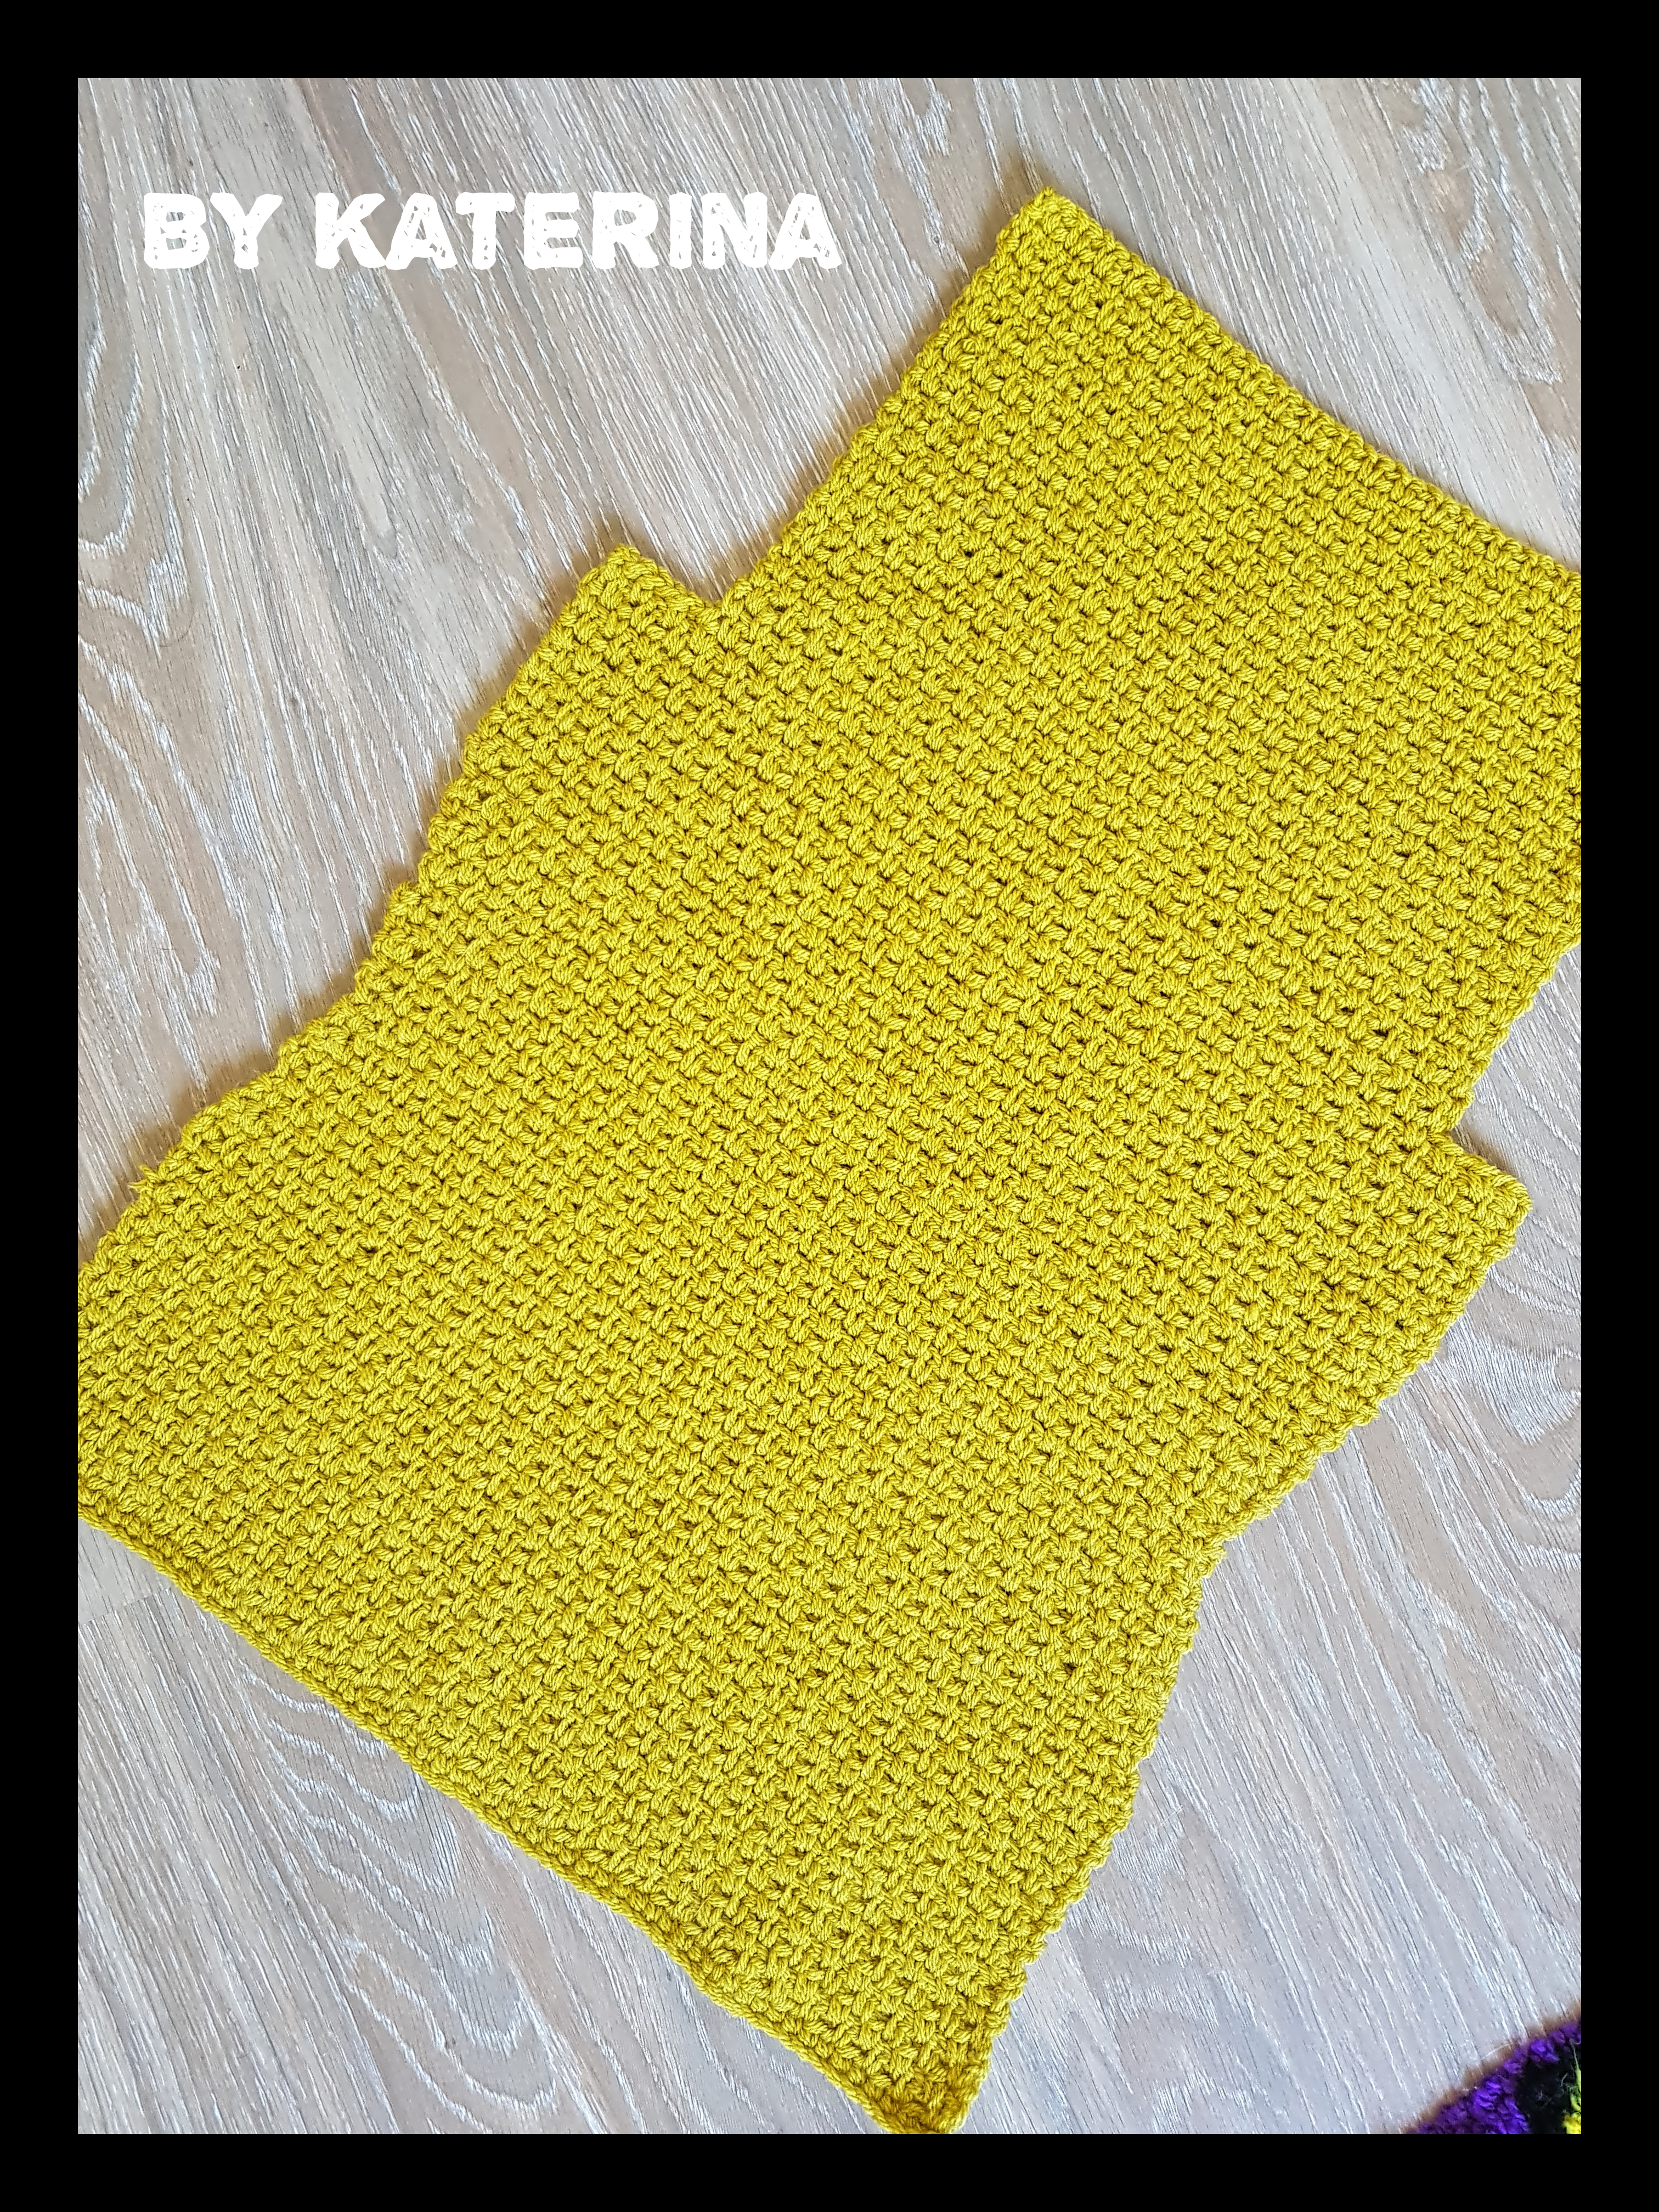
Back Panel (Bust)
Next, we will have to start increasing, to get to the Bust width.
Row 1
1 sc in the first st (with ch 1 from the turning ch, we made an inc), ch 1, skip next sc, 1 sc in next space and repeat to the end of the row. Ch 2 and turn.
Row 2
Repeat row 1.
Row 3
Skip 1st sc (no increase on thi row), 1 sc in next space, ch 1, skip next sc, 1 sc in next space. Continue to the end of the row. Ch 2 and turn.
Next, repeat rows 1 to 3 until you get to the bust width or until you have in total:
- S – 18 rows
- M – 24 rows
- L – 21 rows
- XL – 21 Rows
- XXL – 18 rows
Next, we will continue without increasing until we will gets to the desired length to the armhole or:
- S – 12 more rows
- M – 2 more rows
- L – 7 more rows
- XL – 7 more rows
- XXL – 10 more rows
You will have in total for the bust section of the back panel:
- S – 30 rows
- M – 26 rows
- L – 28 rows
- XL – 28 rows
- XXL – 28 rows
Back Panel (cross back)
Numbers for sizes Medium, Large, 1X Large and 2X Large are written between brackets
Row 1
Slip first 4 (4, 6, 8, 8) sts, ch 2, skip next sc, 1 sc in next space, ch 1, skip next sc, 1 sc in next space. Continue until you have left 4 (4, 6, 8, 8) sts at the end of the row. Ch 2 and turn.
Row 2
Skip first sc, 1 sc in next space, ch 1, skip next sc, 1 sc in next space. Repeat to the end of the row. Ch 2 and turn.
Repeat row 2 until you have in total:
- S – 25 rows
- M – 26 rows
- L – 29 rows
- XL – 31 rows
- XXL – 33 rows
After completing the Cross back section, the back panel is done. At the end you shoul have in total:
- S – 89 rows
- M – 90 rows
- L – 93 rows
- XL – 95 rows
- XXL – 97 rows
Front Panel Left
For the front panels, the pattern is similar with the back. We will shape the front panels as well, so when we put everyting together to have the same shape on back and on front of the jacket.
To have a view on how the front panels have to look, fold the back panel in half. The button line of the front panels will be overlapping and that’s why the front panels will be wider then half of the back panel.
Also we will have pockets, so we will have to pay attention on this detail as well.
Foundation Chain
- S – 41 sts
- M – 46 sts
- L – 48 sts
- XL – 52 sts
- XXL – 54 sts
Row 1
ch 2 more sts, and starting with 3rd st, 1 sc, ch 1, skip 1, 1 sc in next. Repeat to the end of the row. Ch 2 and turn.
Row 2
Skip first sc, 1 sc in next space, ch 1, skip next sc, 1 sc in next space. Repeat to the end of the row. Ch 2 and turn.
Rows 3 – 17
Repeat row 2.
Next, we will make the pocket opening. So, for the next few rows we will work the front panel in 2 different pieces. To be easier we will call it A and B.
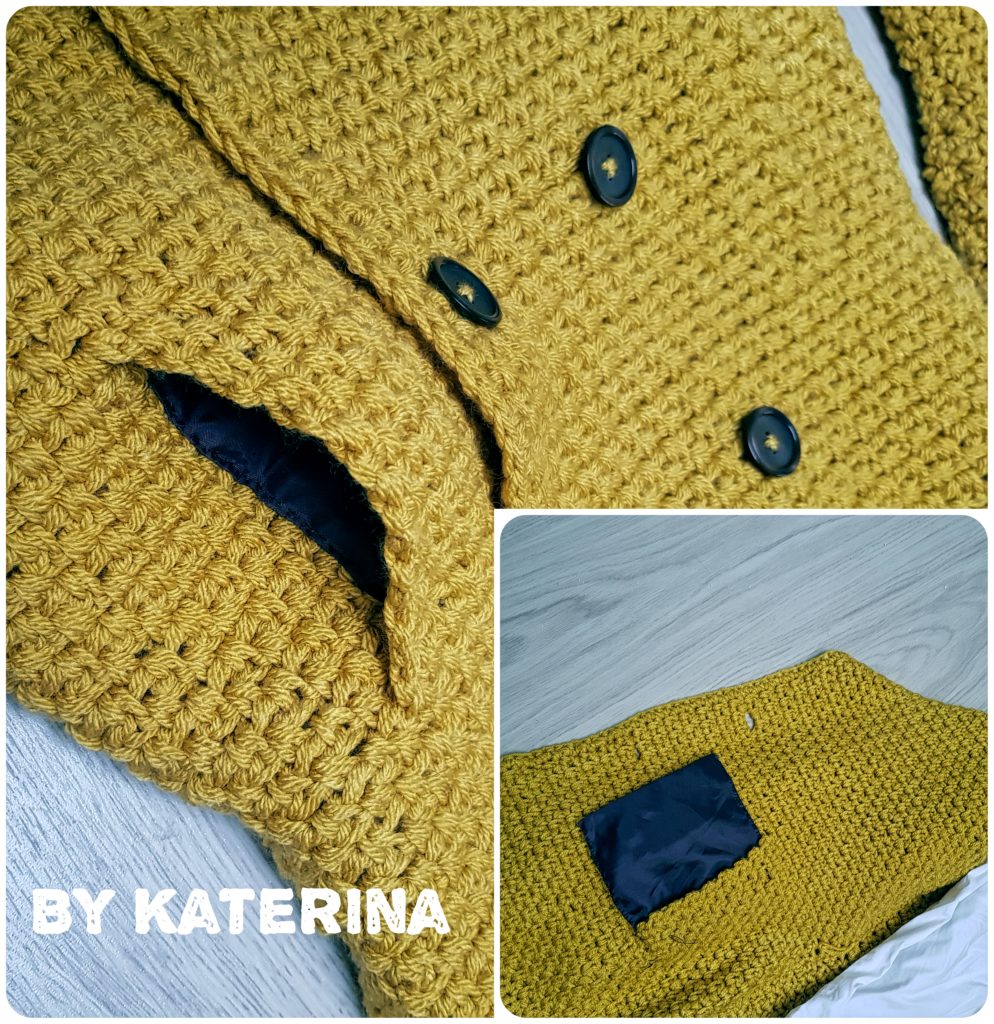
Row 18 A
Skip the first sc, 1 sc in next space, ch 1, skip next sc, 1 sc in next. Repeat the stitch pattern for 14 sts, then ch 7 and turn.
Row 19 A
Starting with 3rd st, 1 sc, ch 1, skip 1, 1 sc in next. Continue until the end of the exra chain. In the last st you will have 1 sc, then ch 1, skip the next sc, 1 sc in next space. Continue with linen stitch to the end of the row.
Rows 20 A – 21 A
Work linen stitch in the section A sts only.
Next, we will start decresing to shape the waist of the back panel. The high waist will have the same numbers of rows as for the back panel. Because we have to decrease in only one side, we won’t decrease at the beginning of each row.
Before each row with decrease, the turning ch will be ch 1.
Row 22 A
Start with a dec (same as you did on the back panel), continue with the linen st to the end of the row. Ch 2 and turn.
Row 23 A
Skip the first scm 1 sc in next ch 1 space, ch 1, skip next sc, 1 sc in next spece. Repeat to the end of the row. Ch 1 and turn.
Continue to alternate 1 row without dec and 1 row with 1 dec at the beginning of the row until you will have in total:
- S – 32 rows
- M – 36 rows
- L – 34 rows
- XL – 34 rows
- XXL – 34 rows
After we’ve done decreasing for the waist, we are done with the pocket high as well and is time to work the section B of the front panel and then to conect them and continue working the rest.
Row 18 B
Remember that before making the chain extention of the pocket on section A, we worked the linen stitch into the first 14 sts. Now, join the yarn into st, 15 and start the row from there.
Ch 2, skip next sc, 1 sc in next space, ch 1, skip next sc, 1 sc in next space. Repeat to the end of the row. Ch 2 and turn.
*numbers for sizes Medium, Large, 1X large and 2X Large are written between brackets)
Rows 19 B – 32 B (19 B – 36 B, 19 B – 34 B, 19 B – 34 B, 19 B – 34 B)
Repeat row 18 B.
Now we are done with section B as well and on the next row we will join the 2 sections and start working in one single piece until we will finish the front panel.
Row 33 (37, 35, 35, 35 )
Skip first sc, 1 sc in next space, ch 1, skip next sc, 1 sc in the next space. When you get to the overlaping sts, pass the hook trhough both sides, to join them, then continue with the pattern to the end of the row.
Row 34 (38, 36, 36, 36)
Skip first sc, 1 sc in next space, ch 1, skip next sc, 1 sc in next space. Continue to the end of the row. Ch 2 and turn.
Rows 33, 34 ware the 2 rows that we made on the back panel as well, after decreasing to shape waist.
Next, we will start increasing for the bust width. We will increase only in one side, for the exact same number of rows as we did on the back panel. Because we are increasing only in one side the pattern will be: 1 row with inc, 2 without.
Row 35 (39, 37, 37, 37)
This row will be without inc, so work the linen st to the end of the row.
Row 36 (40, 38, 38, 38)
1 sc in the first st (we are not skipping the first st to make the inc), ch 1, 1 sc in the next space, ch 1, skip the next sc, 1 sc in next. Repeat to the end of the row. Ch 2 and turn.
Row 37 (41, 39, 39, 39 )
Skip the first sc, 1 sc in next space, ch 1, skip the next sc, 1 sc in next space. Continuw to the end of the row.
Row 38 (42, 40, 40, 40)
Repeat previous row.
Next, last 3 rows (1 with inc, 2 without) until you have in total:
- S – 52 rows
- M – 62 rows
- L – 57 rows
- XL – 57 rows
- XXL – 54 rows
Next we will work the next rows to the armpit without increasing:
- S – 12 more rows
- M – 2 more rows
- L – 7 more rows
- XL – 7 more rows
- XXL – 10 more rows
We will have in total from the hem to the armpit:
- S – 64 rows
- M – 64 rows
- L – 64 rows
- XL – 64 rows
- XXL – 64 rows
Next, we will decrease at the end of the next row for the armhole
Row 65
Start the row as usual and work yhe linen stitch until you have left:
- S – 4 sts
- M – 4 sts
- L – 6 sts
- XL – 8 sts
- XXL – 8 sts
Ch 2 and turn
Next, continue with linen stitch until you will have in total:
- S – 84 rows
- M – 85 rows
- L – 88 rows
- XL – 90 rows
- XXL – 92 rows
For the last 4 rows to complete the length of the front panel we will work just 11 sts on the armhole edge, on the shoulders area.
For the second front panel you can follow the same pattern as for the left one only that when joining after pocket you will face the wrong side. Because the linen stitch is looking the same on both sides we can do that. Otherwise you will have to repeat the pattern but in mirror.
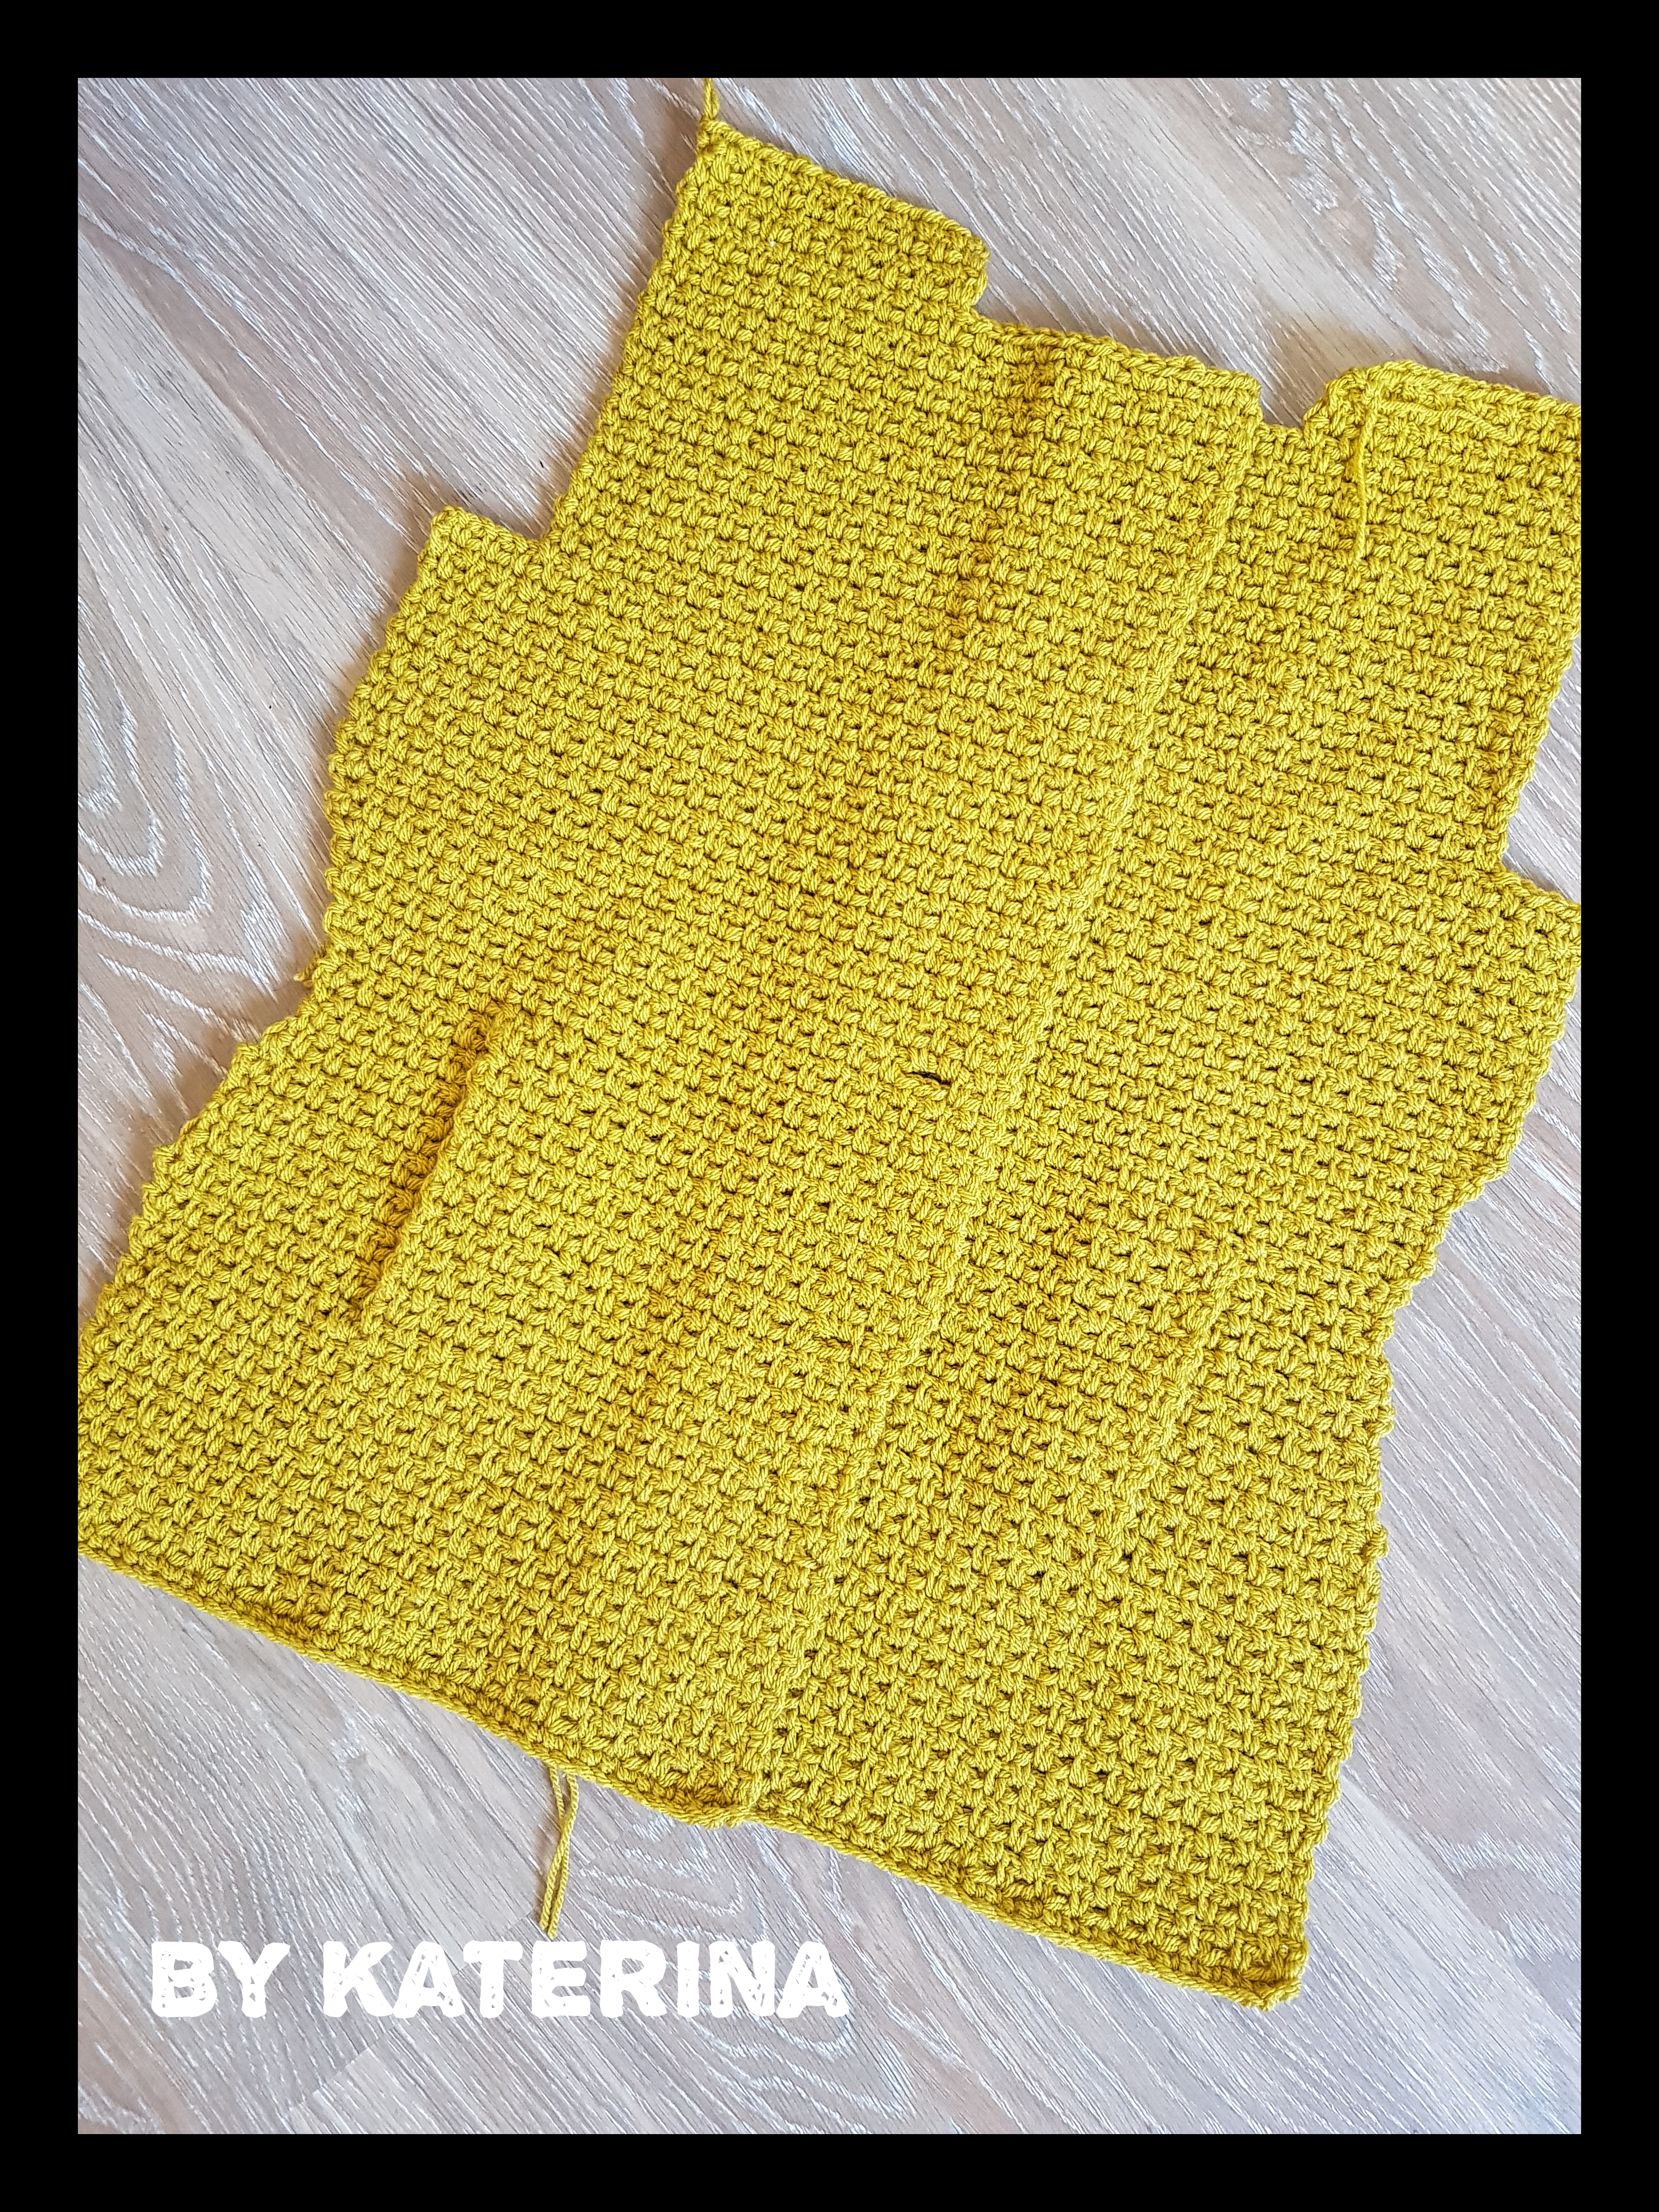
Also on this side you will have to make the button holes (or you can make them on the left side as well). Make 3 button holes starting with row 30 and then at every 14 rows. Keep 3 sts from the edge and then ch 2 and skip 2.
Sleeves
Foundation chain:
S -30 sts
M – 32 sts
L – 34 sts
XL – 38 sts
XXL – 44 sts
Rows 1
ch 2 more sts and starting with 3rd st, 1 sc, ch 1, skip 1, 1 sc in next. Repeat tot the end of the row. Ch 2 and turn.
Row 2
Skip 1st sc, 1 sc in next space, ch 1, skip next sc, 1 sc in next space. Repeat to the end of the row. Ch 2 and turn.
Row 3 – 20
Repeat row 2.
Row 21
1 sc in 1st st ( with 1 ch from turnic ch 2, 1 inc), ch 1, 1 sc in next space, ch 1, skip next sc, 1 sc in next space. Repeat to the end of the row. Ch 2 and turn.
Row 22
Repeat row 21
Row 23
Skip 1st sc, 1 sc in next space, ch 1, skip next sc, 1 sc in next space. Repeat to the end of the row. Ch 2 and turn.
Row 24
Repeat row 23.
Next, repeat rows 21 to 24 until you will have in total 44 rows.
Next continue without increasing a few more rows to get to the length to underarm:
- S – 9 more rows
- M – 9 more rows
- L – 12 more rows
- XL – 12 more rows
- XXL – 14 more rows
From the sleeve hem to underarm you will have in total:
- S – 53 rows
- M – 53 rows
- L – 56 rows
- XL – 56 rows
- XXL – 58 rows
Next we will decrease on each side with the same numer of sts as we did for back and front panels.
*numbers for sizes Medium, Large, 1X Large and 2X Large are written between brackets.
Row 54 (54, 57, 57, 59)
Slip 4 (4, 6, 8, 8, ) sts, ch 2, skip next sc, 1 sc in next space, ch 1, skip next sc, 1 sc in next space. Repeat until you have 4 (4, 6, 8, 8, ) sts left. Ch 1 and turn
Next, we will start to decrease at the beginning of each row.
Row 55 (55, 58, 58, 60)
1 dec (sc2tog in first 2 sts), ch 1, skip next sc, 1 sc in next space. Repeat to the end of the row. Ch 1 and turn.
Repeat previous row for:
- S – 13 more rows
- M – 14 more rows
- L – 16 more rows
- XL – 17 more rows
- XXL – 18 more rows
You will have in total for the sleeve
- S – 68 rows
- M – 69 rows
- L – 74 rows
- XL – 75 rows
- XXL – 78 rows
One sleeve is now done and you will have to repeat the pattern for the second one
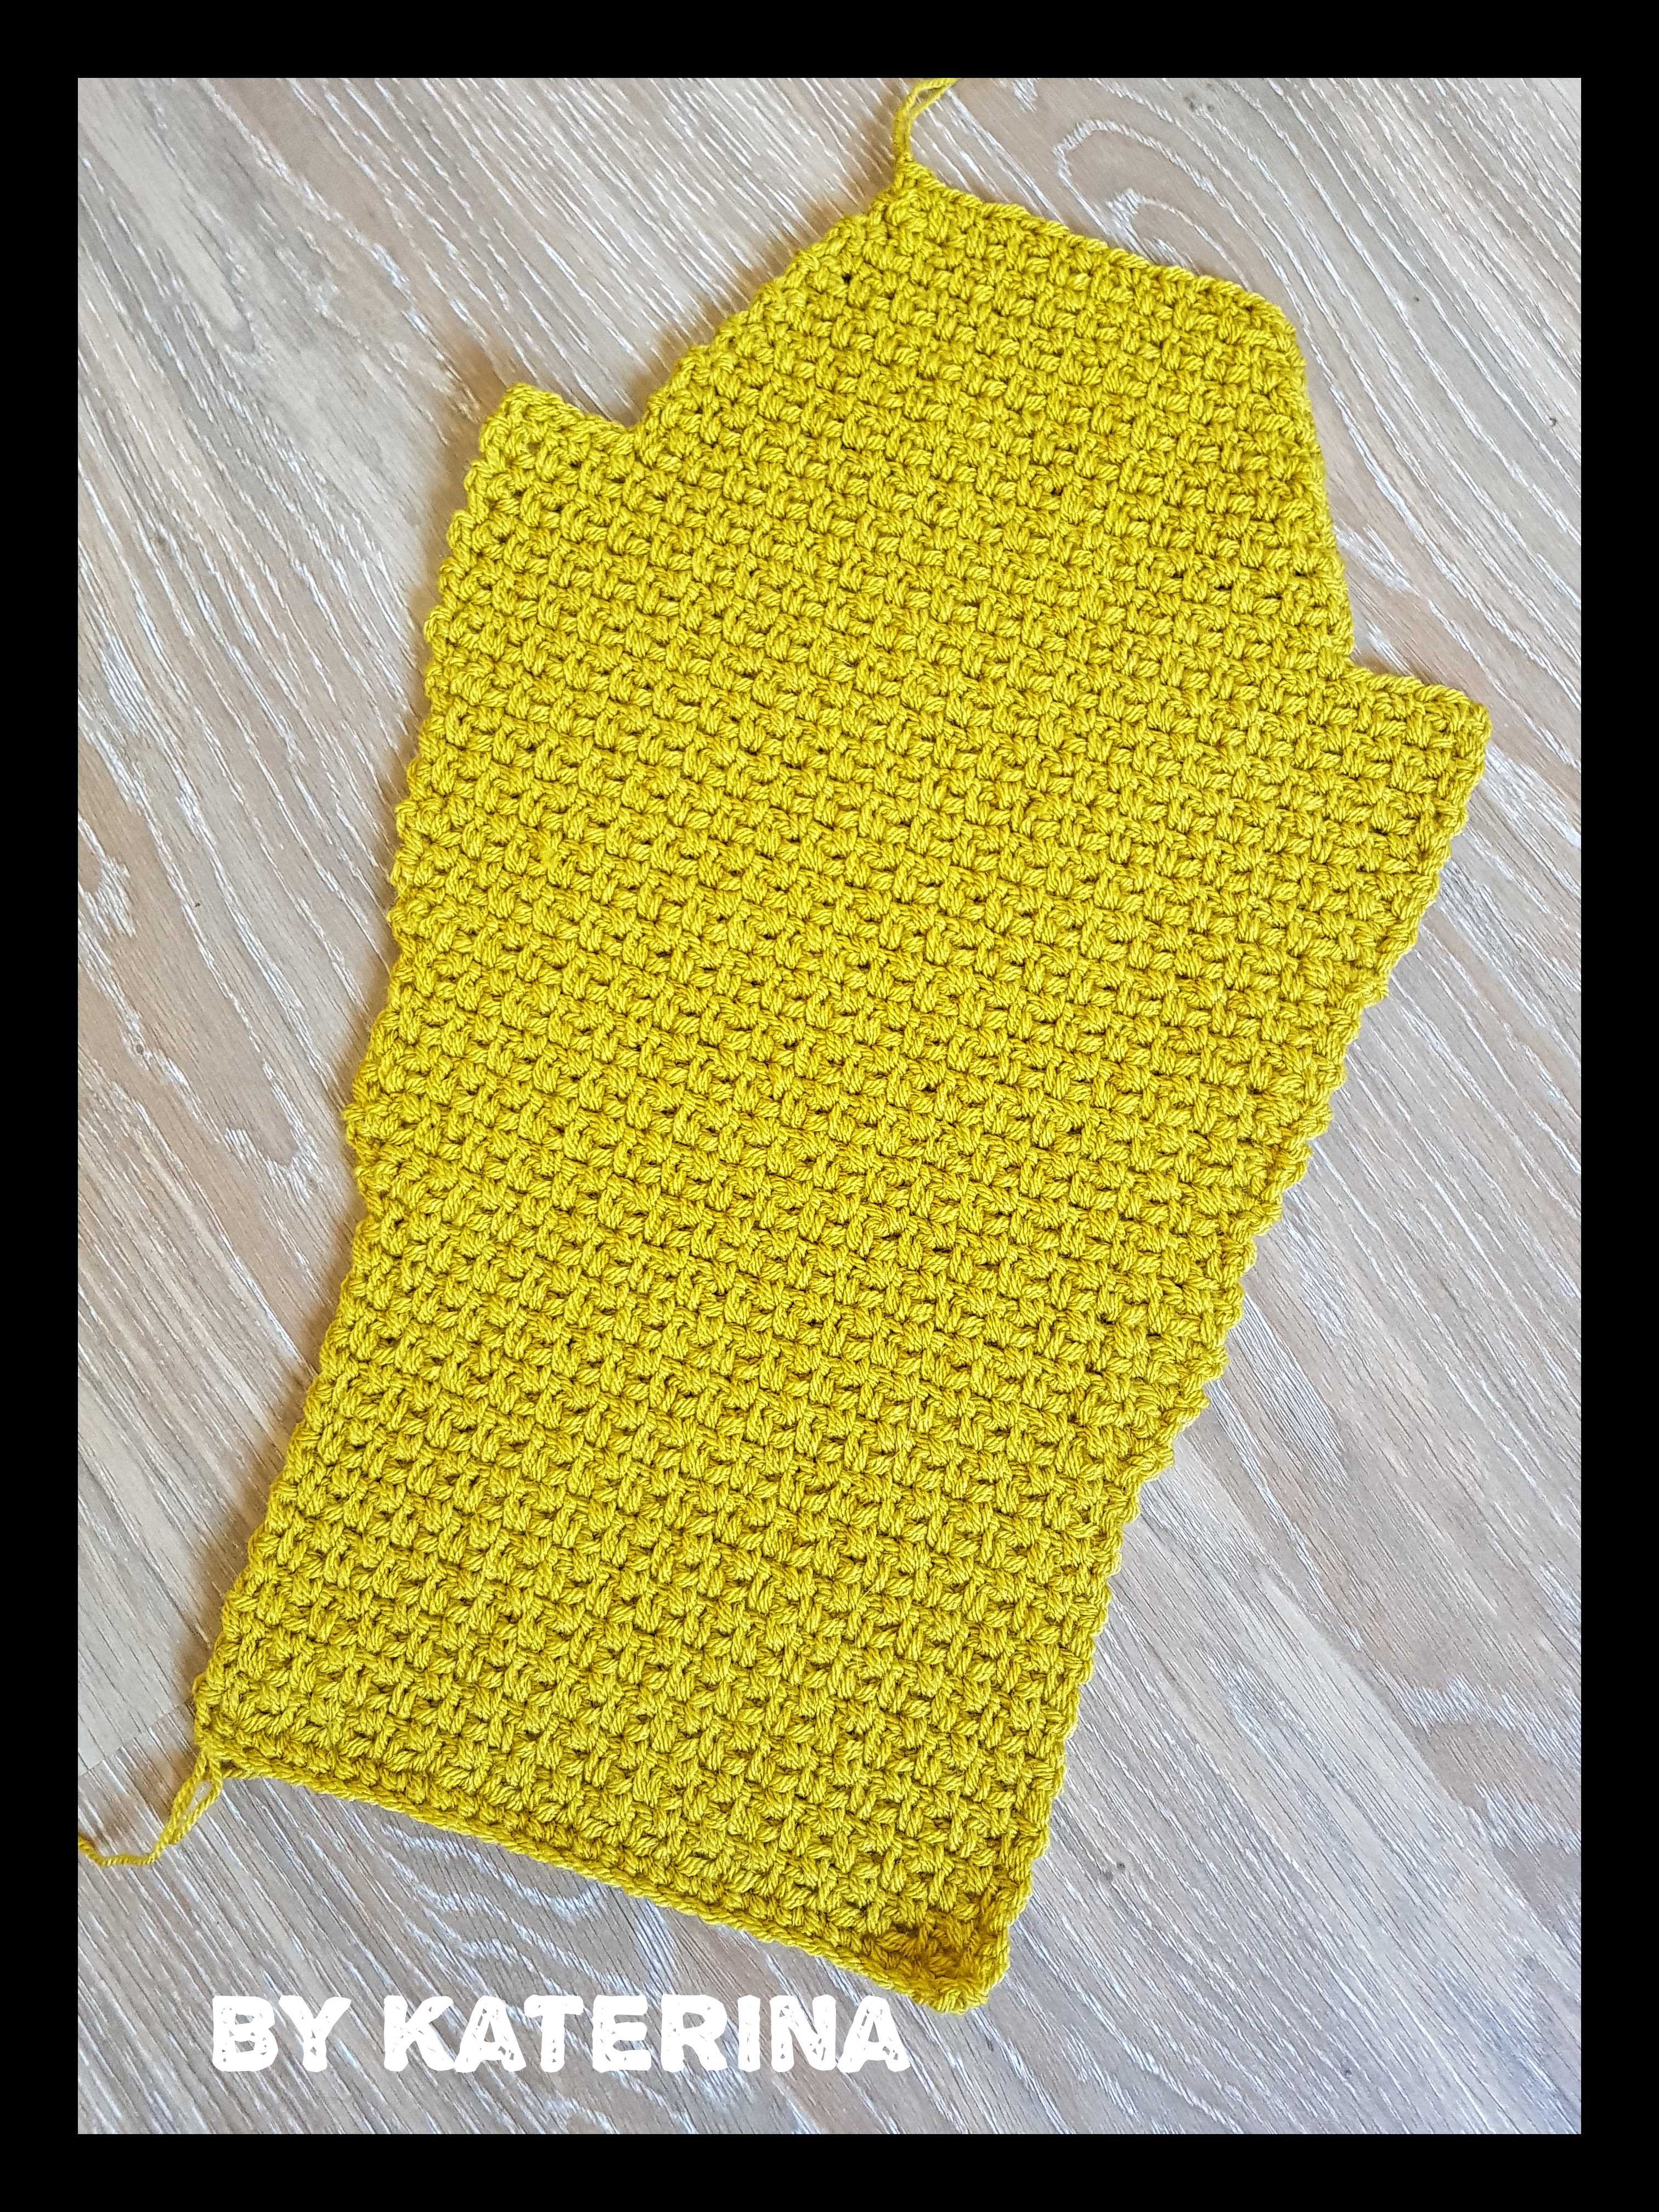
Assembling
First we will join back and front panel in shoulders area. Then join them on the sides, from underarm to hem.
In the end join the sleeves.
Collar
After assembling the Jacket we can now make the collar.
Face the jacket with right side outside.
Row 1
Skip the first 12 sts of the neck line and join the yarn in the 13 st. Ch 2, skip next sc, 1 sc in next space, ch 1, skip next st, 1 sc in next. Repeat the pattern until you have 12 sts left. Ch 2 and turn
Row 2
Repeat row 1.
Row 3
1 sc in the first st (with 1 ch from the turning ch is 1 inc), ch 1, 1 sc in the next space, ch 1, skip 1, 1 sc in the next space. Continue to the end of the row. Ch 2 anf turn.
Rows 4 – 11
Repeat row 3. Fasten off.
To finish
Wave in all ends, sew buttons and optional you can make 1 round in single crochet as edging, or you can choose other stitch pattern instead.
You can purchase the add free, easy printable, instant download PDF version of this pattern here:
If you already purchased the old version of this pattern, please send me an e-mail at contact@by-katerina.com and I will send you the new version. Thanks!



Comments are closed.