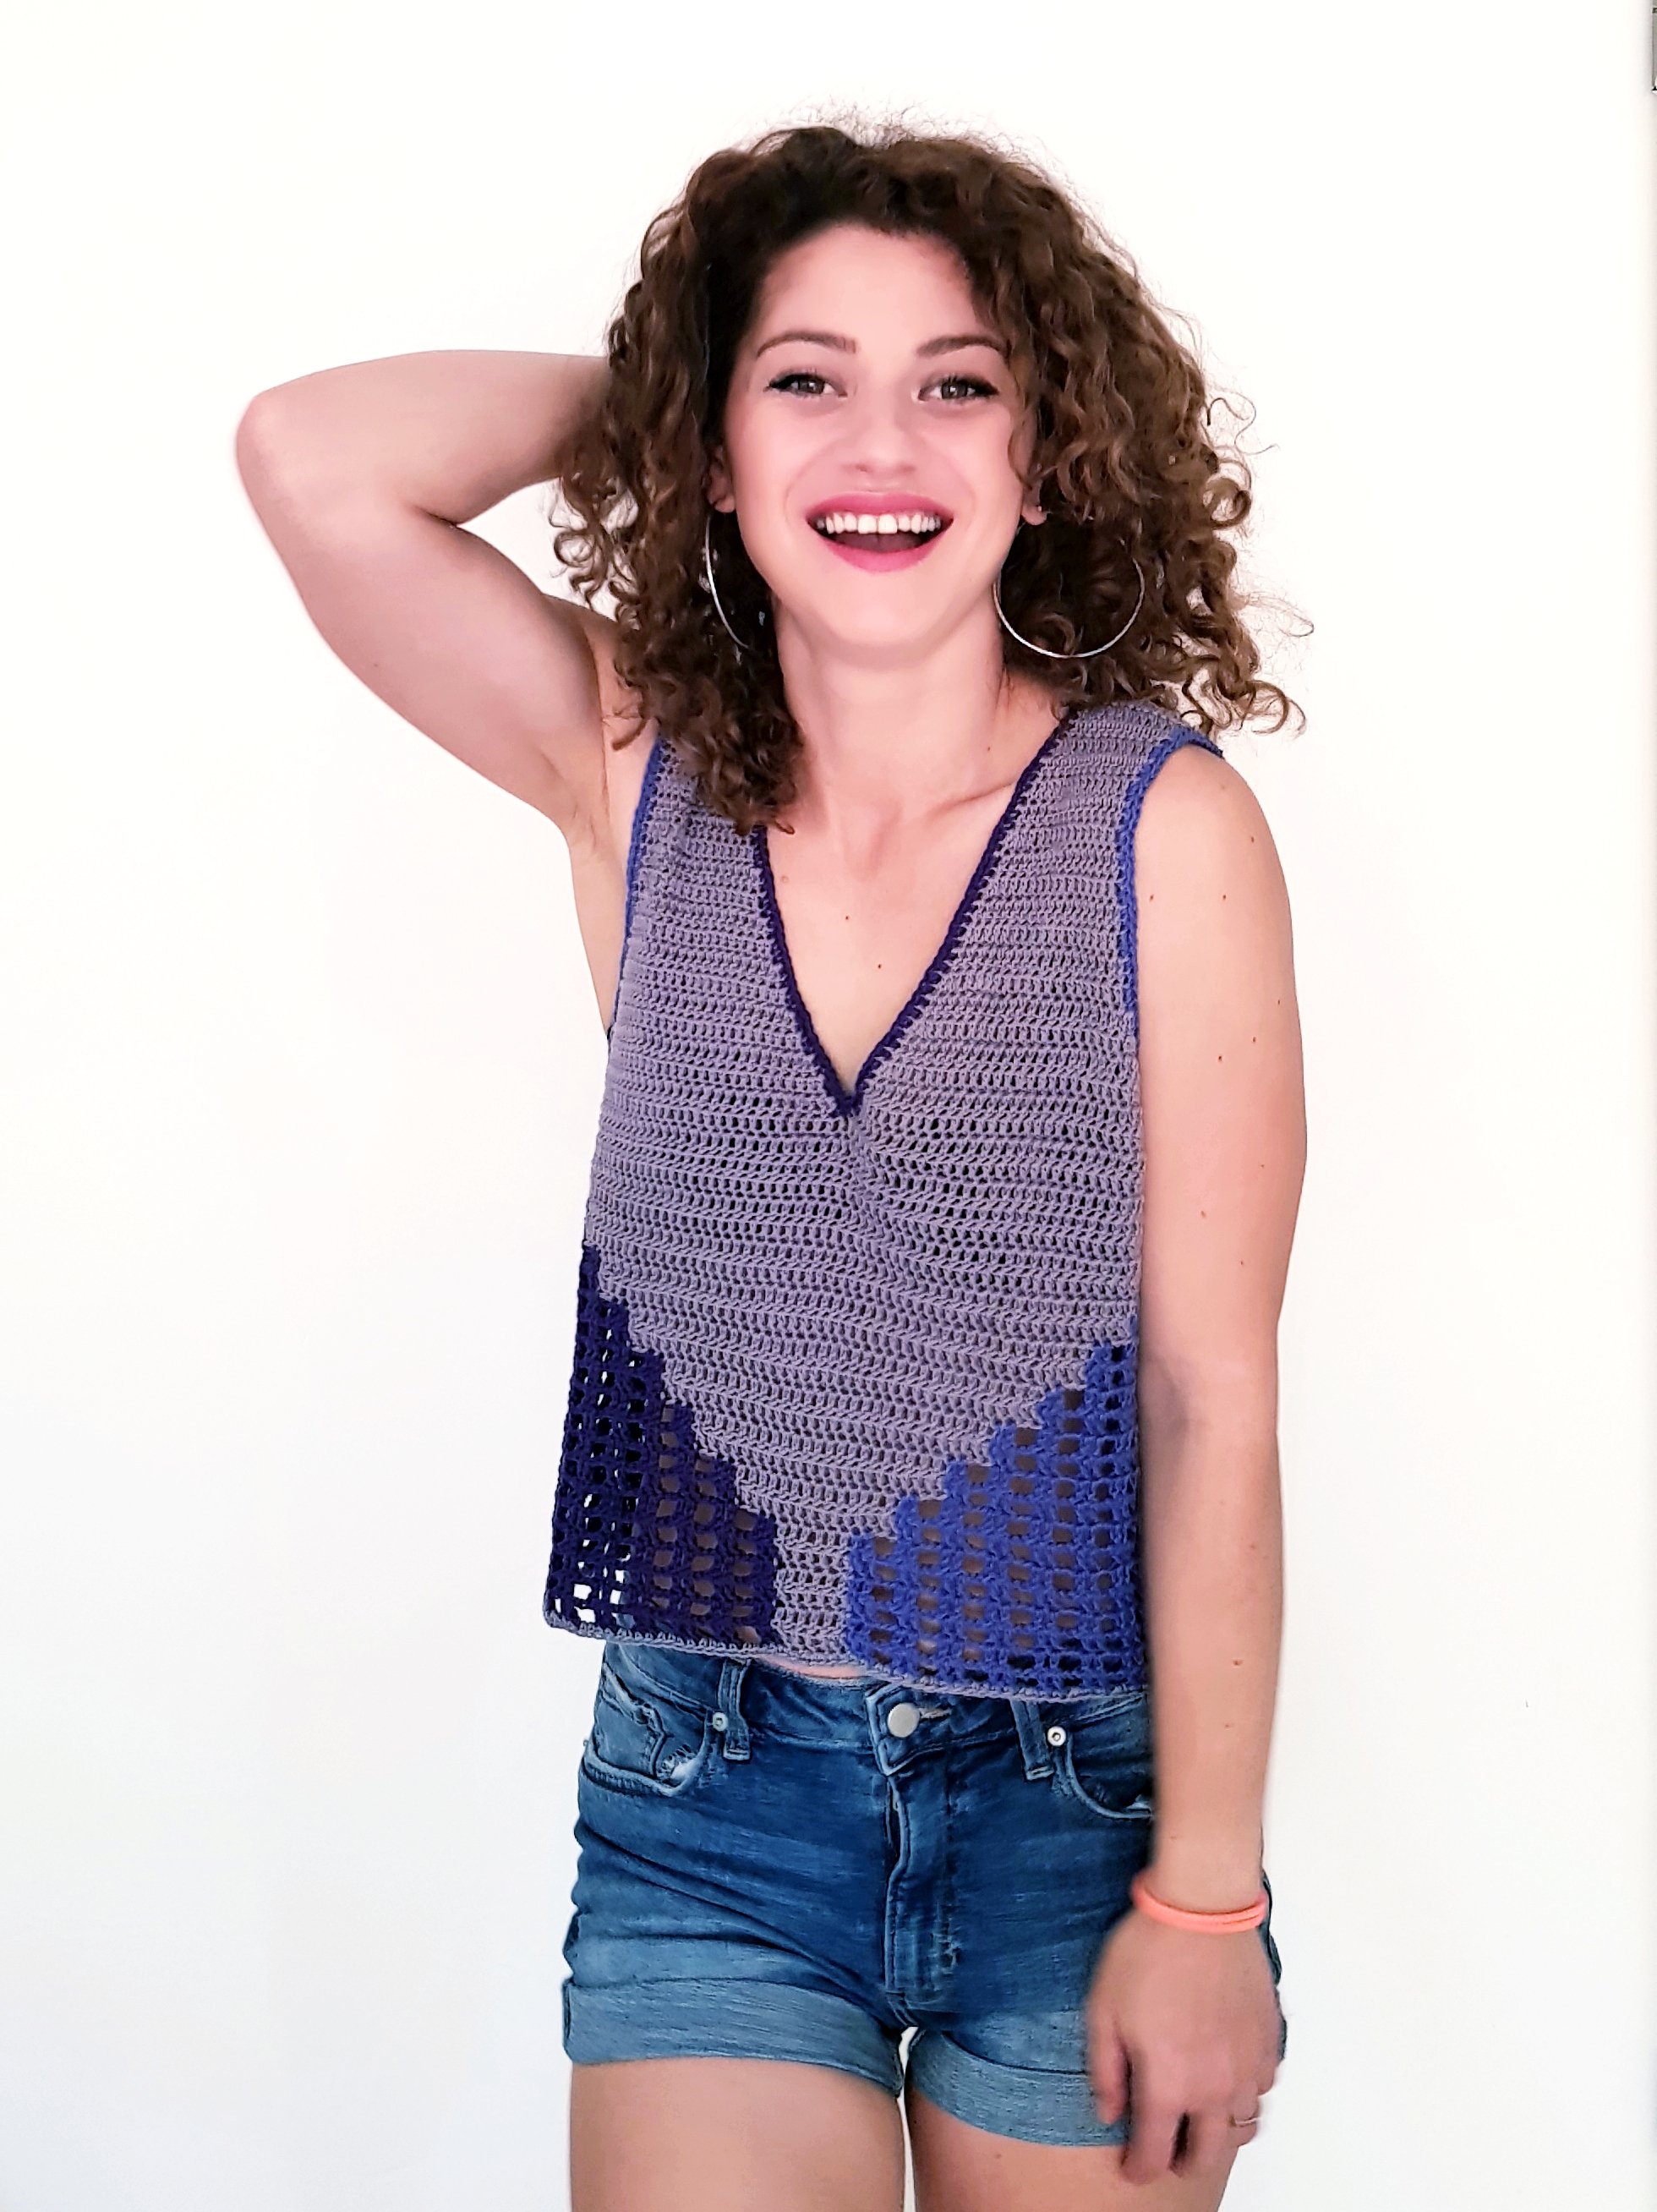
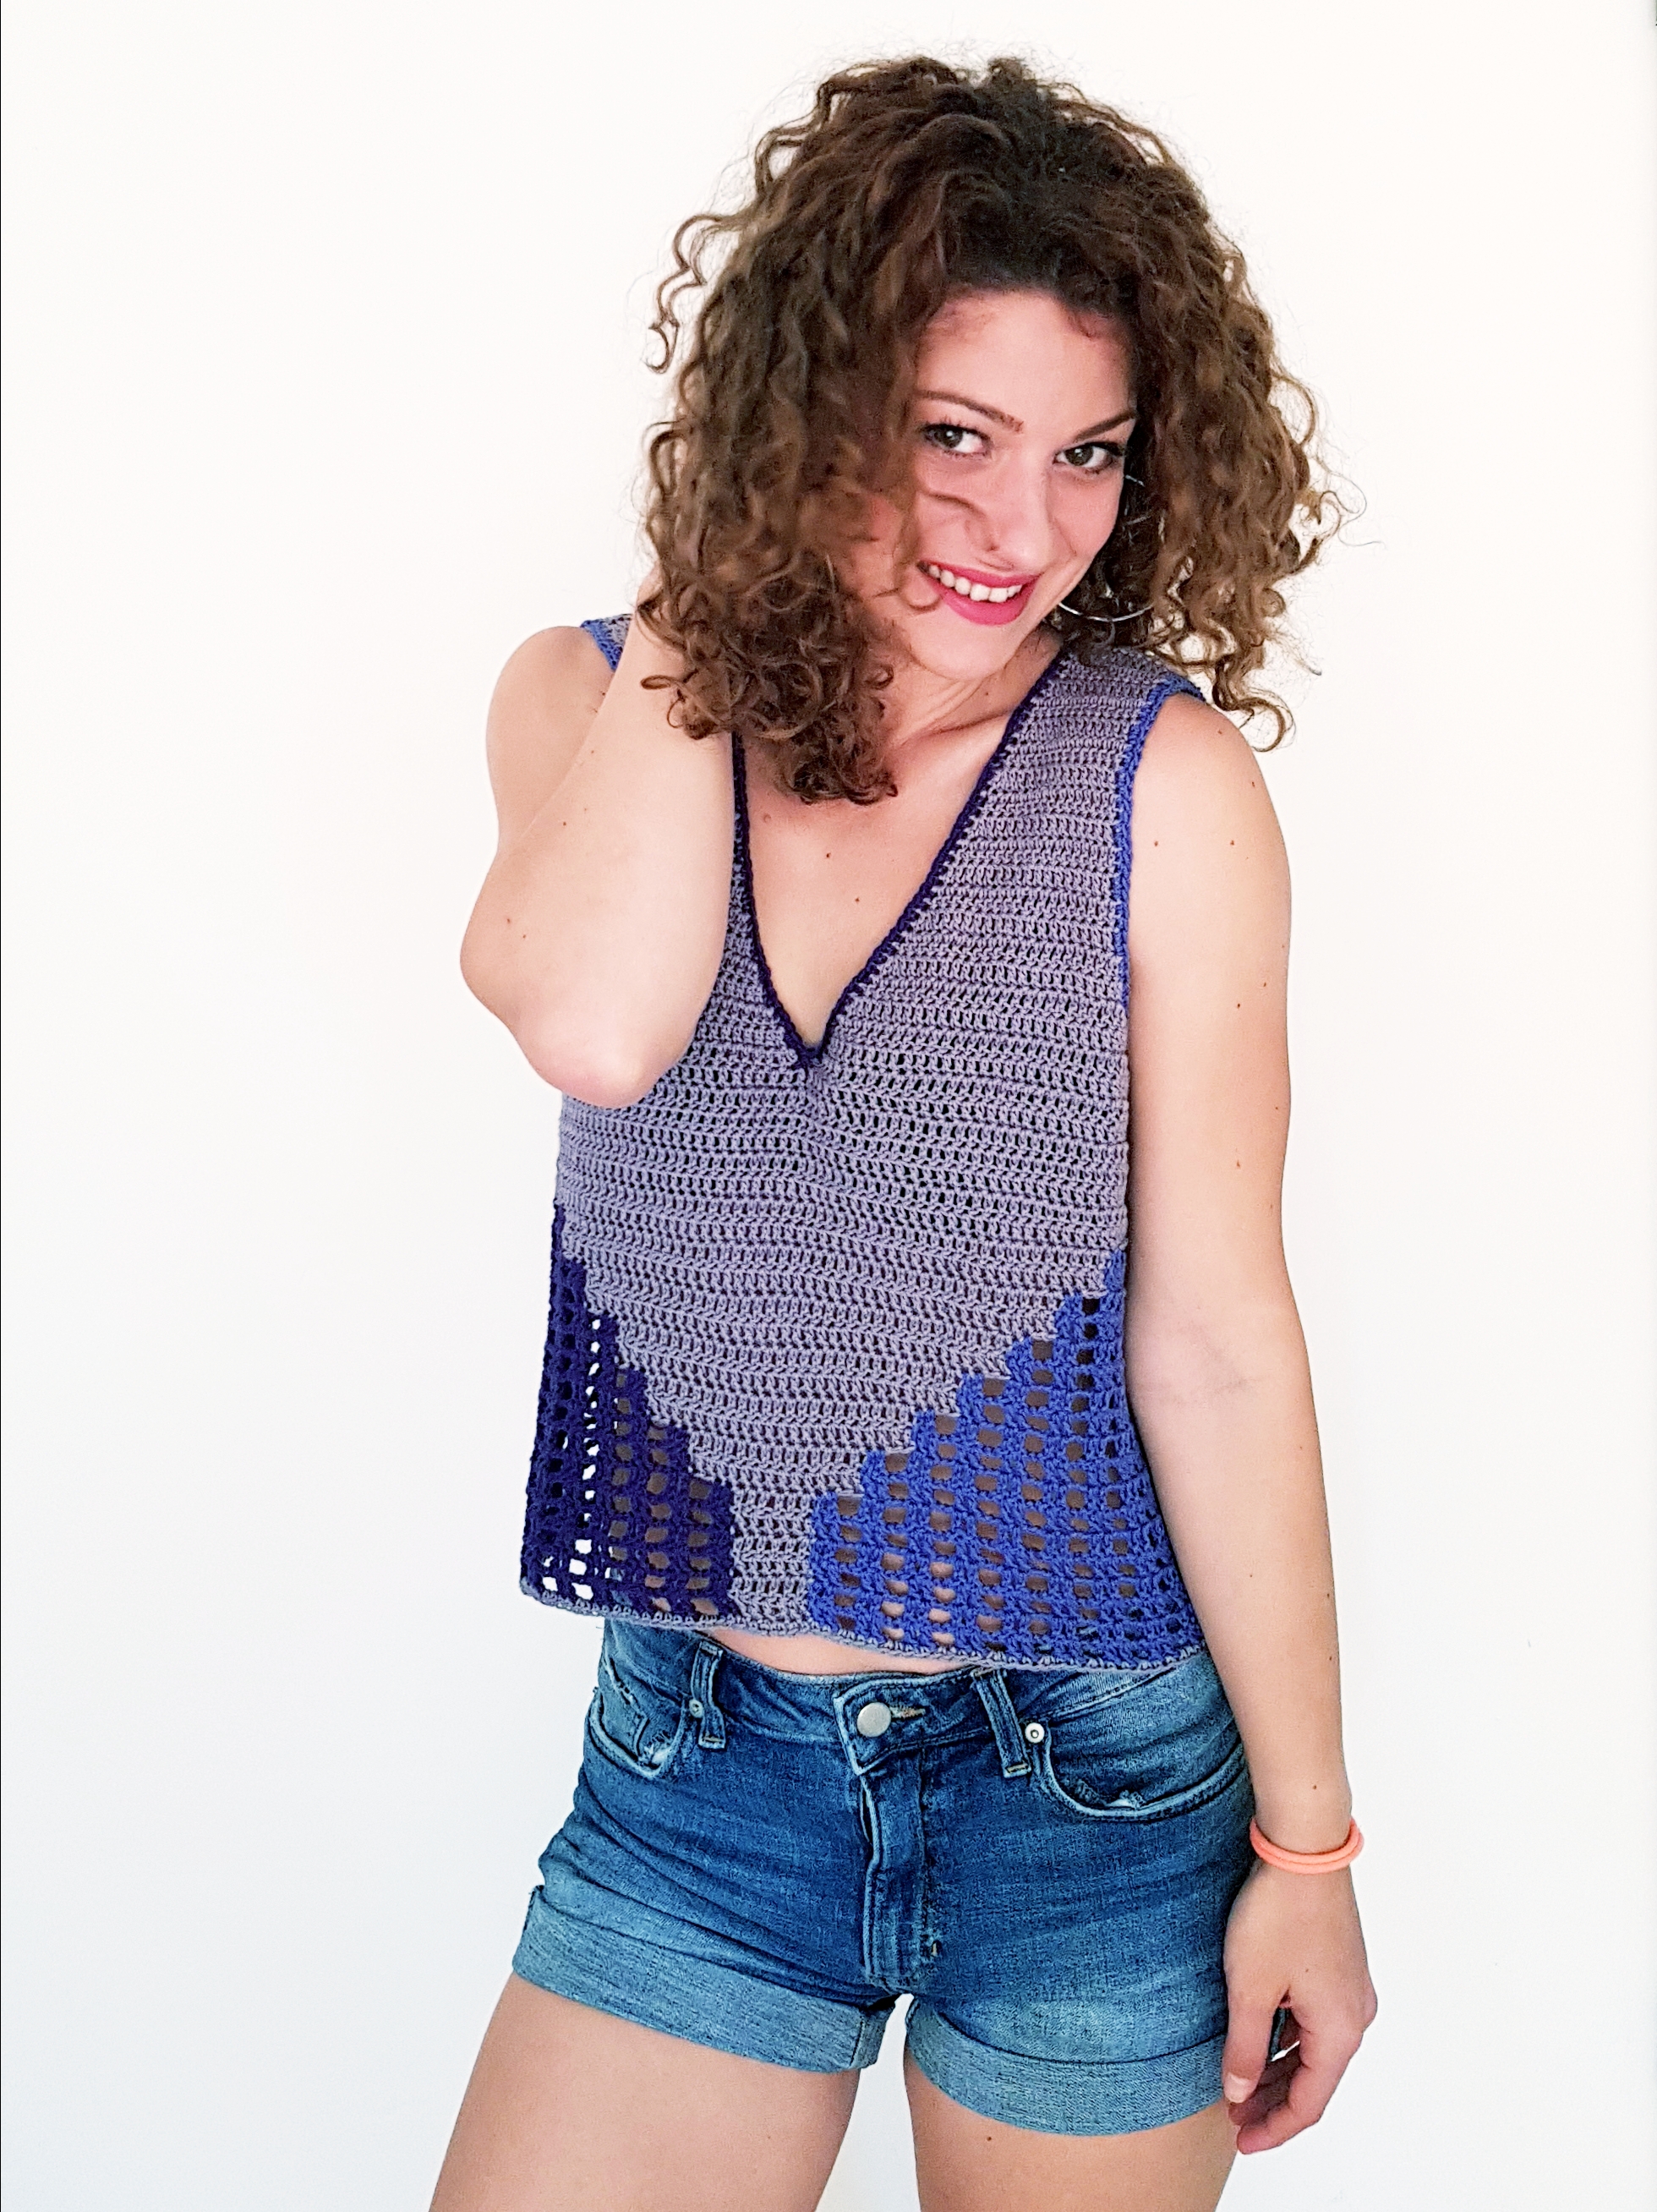
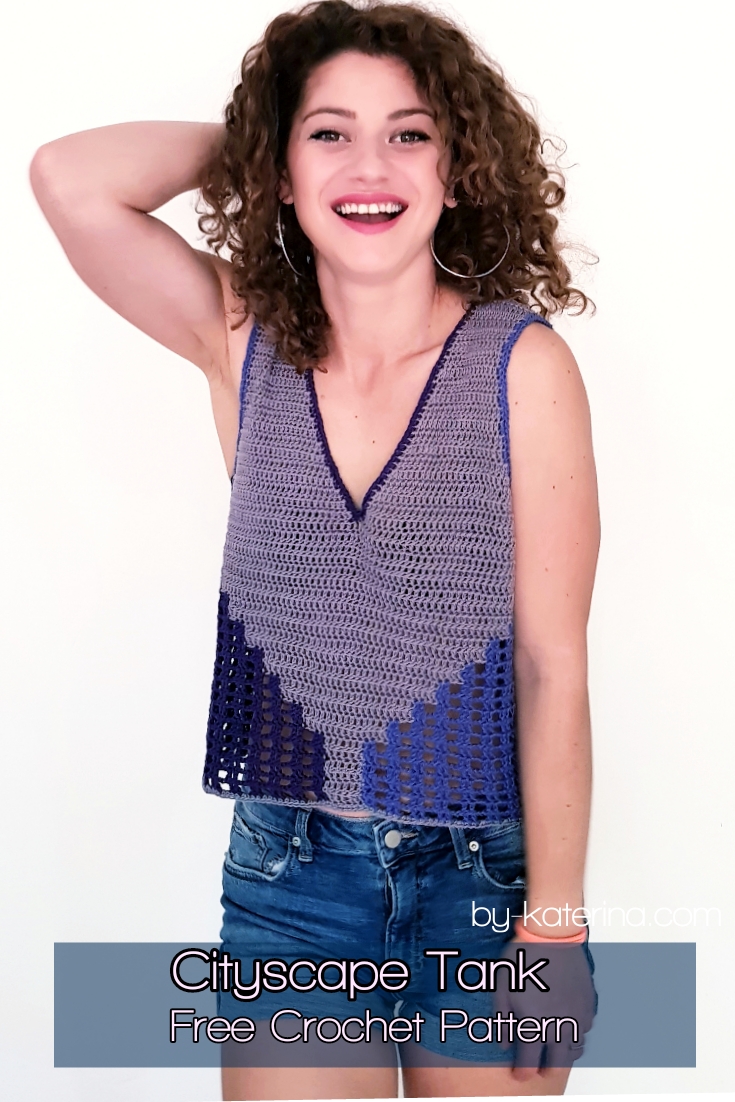
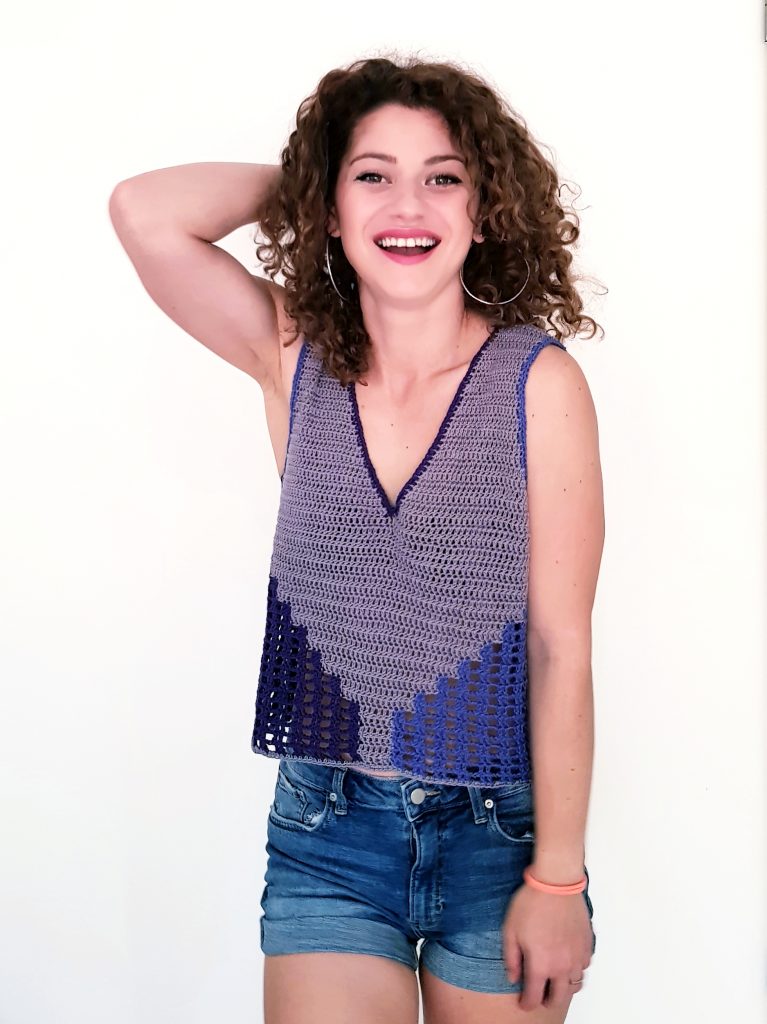
The idea of this Cityscape tank came into my mind when I was trying to use some left over yarn. I only needed less then one skein of 50 grams of each color, so it was a great deal.
I didn’t thought too much about the design. I only new that I wanted to make a short tank to wear in the summer and everything, color work, shape, came while I was working on it.
Maybe because I didn’t planed this design too much, I didn’t had a name ( well I had one but didn’t liked it). So I made a call on my Instagram account and I realized how bad I am on choosing names. All of them ware amazing, perfect match, and I wasn’t thinking on any of them.
I chose Cityscape Tank, because I am already with my mind in vacation ( which is coming soooooon) and when I saw this name, for a second or maybe more I was there. So, that’s why this name was a winner.
But, thanks again for all the suggestions. I’m thinking to save all those names and just start making something having the name first. All of them ware great.
Pentru Postarea in limba Romana , click aici
You can purchase the add free, easy printable, instant download pdf version of this pattern here:
About Design
This top is worked top down, working first the shoulder straps, then join them in front, after making the V neck and then we will continue to increase on sides until we get to the desired width to fit our bust circumference.
The top part of the back and front sides are worked in the same way. After finishing these parts we will join them and then continue to work circular on the length of the top.
After one round after joining we will start the color work using intarsia technique. We will have to use different skeins or balls of yarn for each section of color.
Materials You will need:
- Yarn
Fingering, 4 ply, size 1
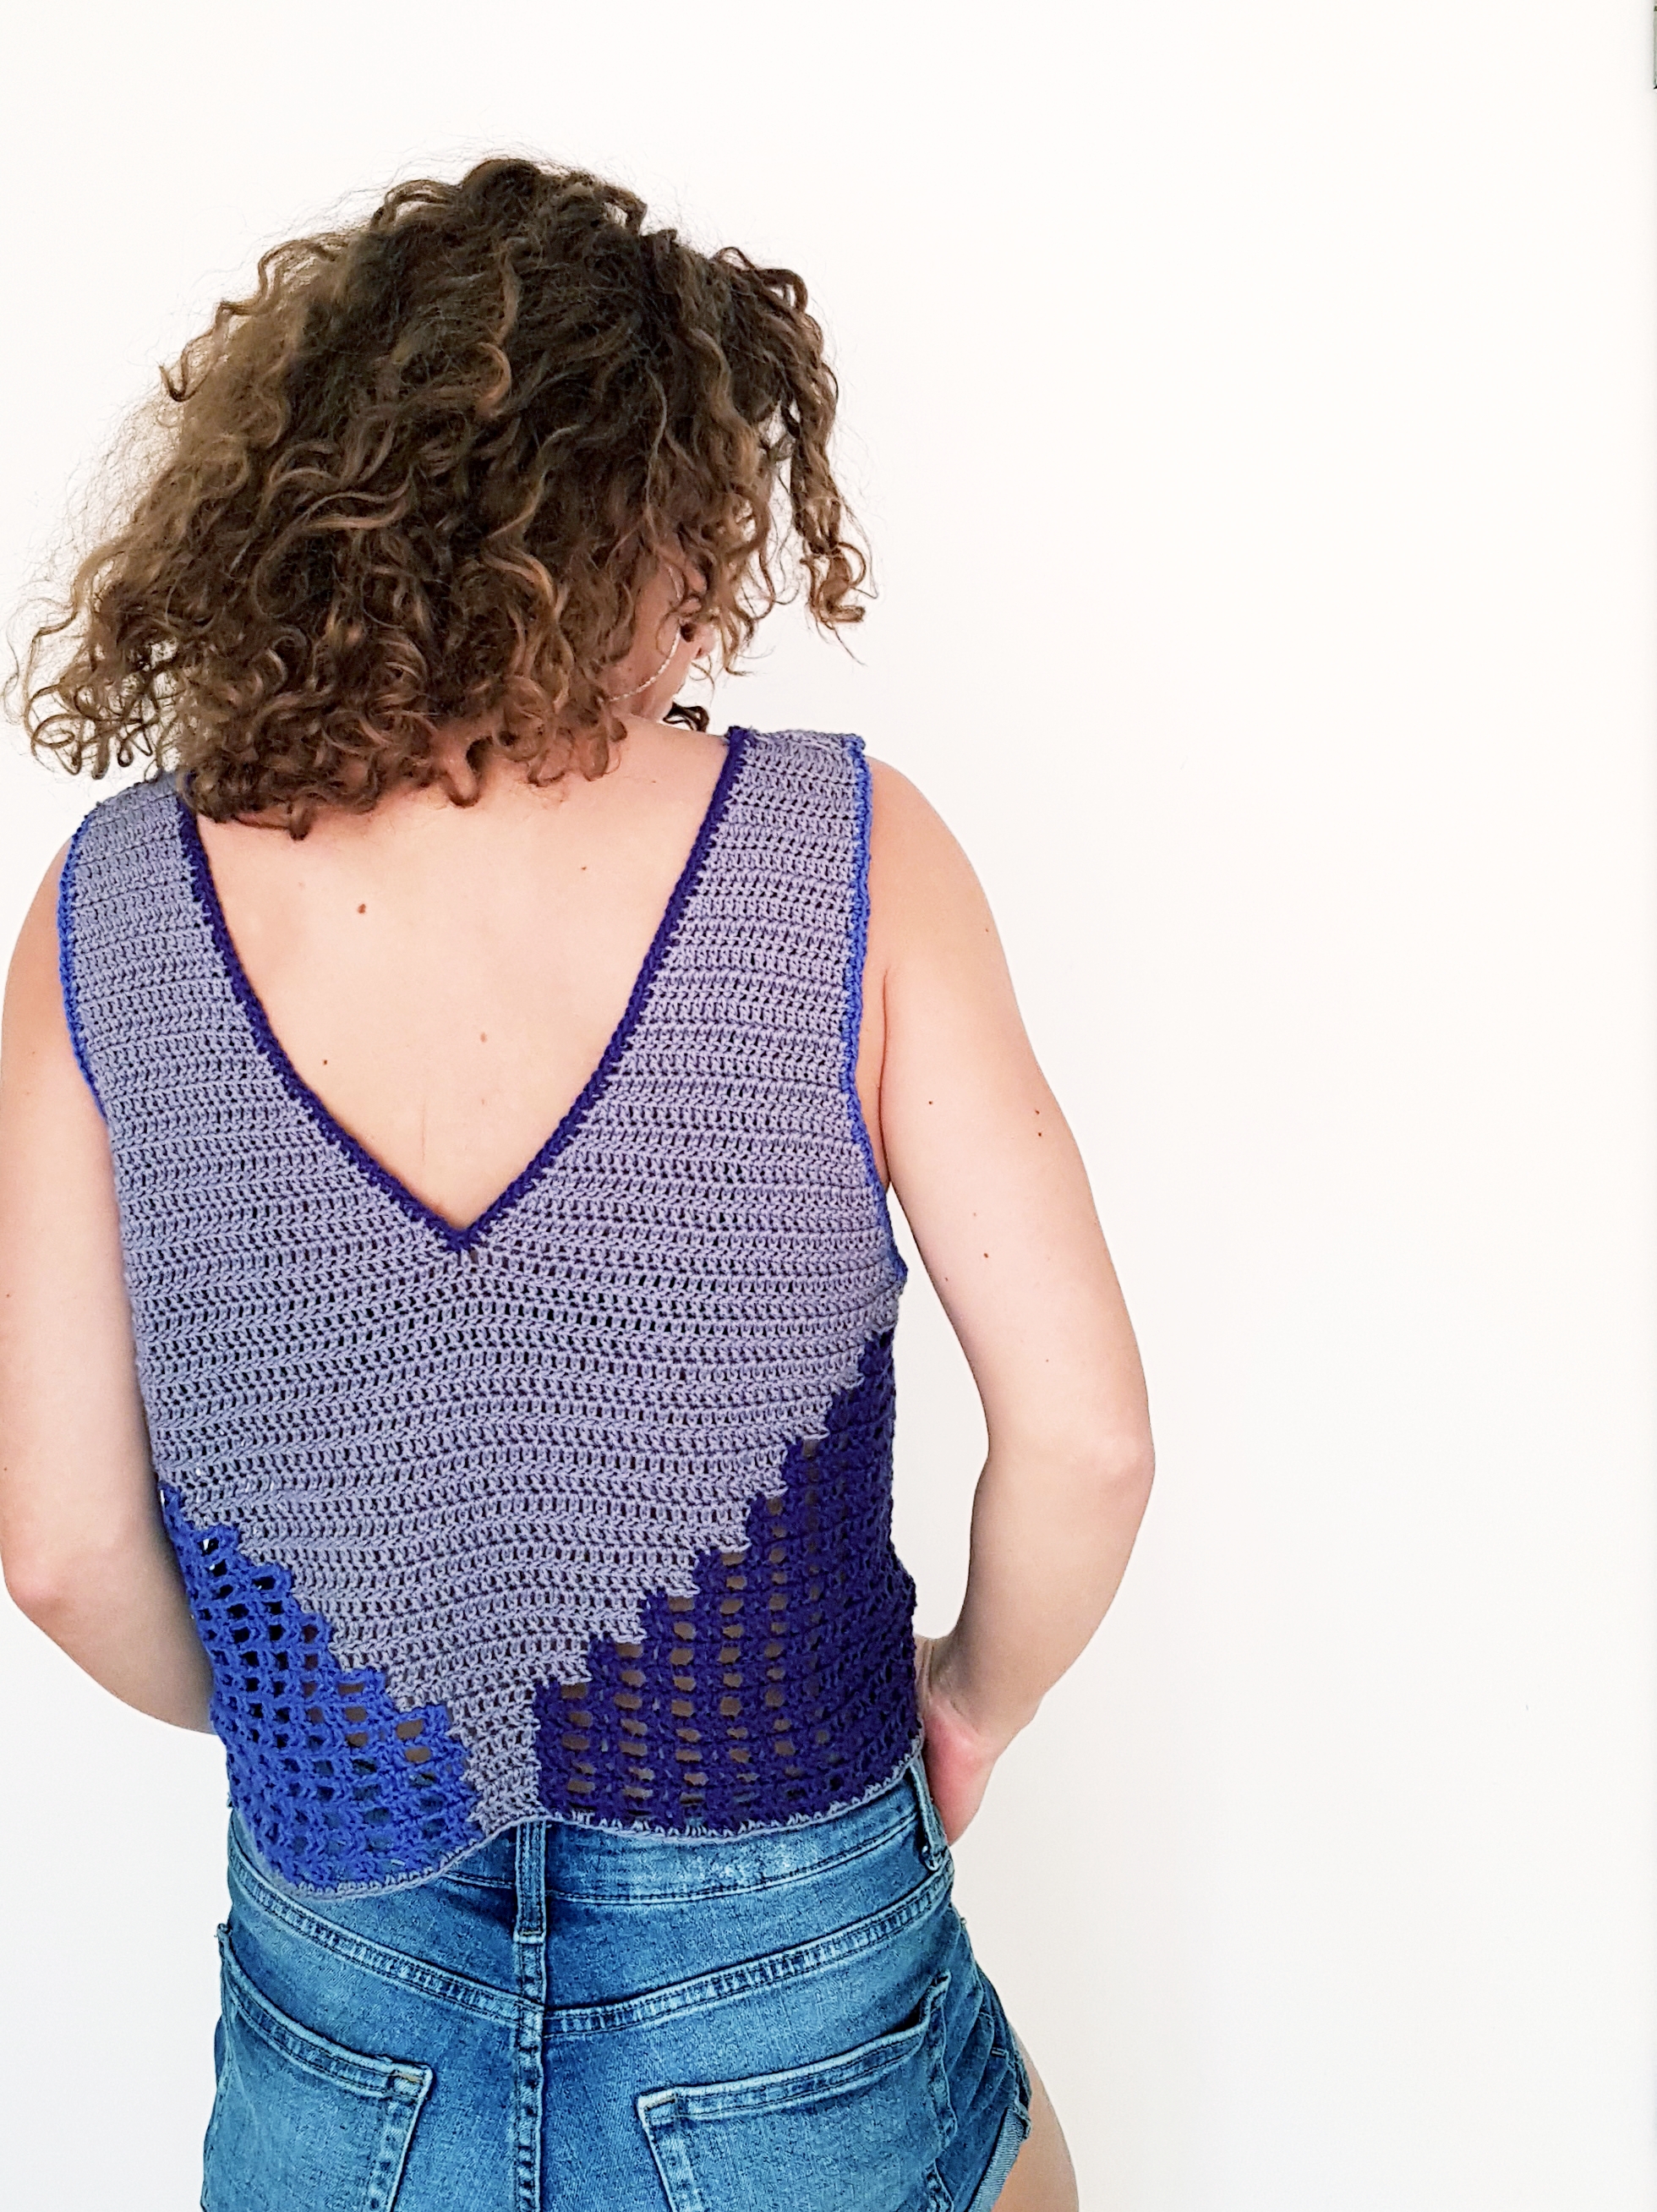
I used Cotton Rainbow and Cotton Kings Cone 500 from Hobbii, But you can use any same weight yarn.
For the main color I used Cotton Kings cone 500 in color Lilac and for the 2 contrasting color I used Cotton Rainbow in color Dark Purple and Levander.
Have to tell you that cotton kings 8/4 cotton can be found in skeins of 50 grams as well. I just had some left over from my Levanda Shirt and I said to use this one.
- Crochet Hook
3.5 mm ( size E) crochet hook
- Tapestry needle
- Scissors
- Stitch markers
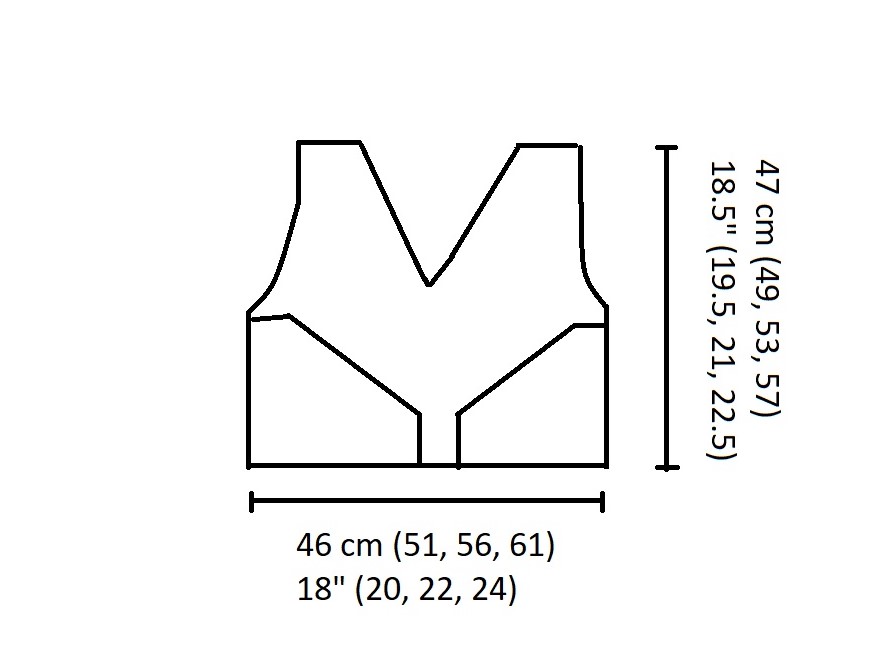
Final measurements
Cityscape Tank has a closer fit, with a positive ease of 6 cm over the bust circumference. If you want to make it wider you can just size up or add a few more rounds after joining the back and front.
Also, the top has a waist length. If you want it longer you can just work a few more rounds on the length.
Below you can find the diagram with final measurements for each size.
How much yarn do I need?
This pattern is available in 4 sizes: Small, Medium, Large and 1 X large and is written in US terms
For each size you will need:
S – 110 grams, 380 m ( 1 skein of each color )
M – 125 grams, 420 m ( 1 skein of each color )
L – 135 grams, 450 m ( 1 skein of each color )
XL – .145 grams, 490 m ( 1 skein of each color )
*if you want to make it longer you will need some more yarn.
*if you are using 3 different color, the main color you should divided in 2 to have a different ball of yarn for each section of color
You can purchase the add free, easy printable, instant download pdf version of this pattern here:
About the stitch pattern
The main stitch pattern for the Purple Stairs Top is double crochet. We will use for the “stairs” a window pattern made with , 2 dc, ch 2, skip 2, 2 dc.
A bit later in the pattern we will have a stitch chart with how the color work is made.
Abbreviations used in this pattern:
- ch – chain
- sc – single crochet
- dc – double crochet
- sl st – slip stitch
- st (s) – stitch (es)
- Inc – increase (2 dc in th same st)
Gauge
- 17 dc = 10 cm (4″)
- 10 rows = 10 cm (4″)
And I think we are done with all details and we can start.
Pattern notes
*Ch 3 at the beginning of the row, counts as first dc.
*When working in circular rounds for the length, turn after each rounds, we will work on the right and wrong side as well.
Back and Front side
We will start with one shoulder strap. The pattern is the same for both of them. Only that for a few rounds on one we will increase at the beginning of the row and for the other one we will increase at the end.
For all sizes
*the pattern is written for right shoulder strap. For the left one you will have to follow the same pattern, only that starting with row 6 you will increase at the end of the round instead of beginning.
Ch 12
Row 1: Ch 3 and starting with 5th st, 1 dc in each st, ch 3 and turn
Row 2: 1 dc in each stitch. Ch 3 and turn
Rows 3-5: Repeat row 2
Row 6: 1 inc in first st( you have the ch 3 you will make 1 more dc in the same st), 1 dc in the next st to the end of the row. Ch 3 and turn
Row 7: 1 dc in each st, ch 3 and turn
Rows 8-15: repeat rows 6 and 7
Row 16: 1 inc, 1 dc in each st, 1 inc in the 3rd st of the turning chain (with this row we will start increasing at the beginning and at the end of the row as well.
Row 17 – 23: Repeat row 16
Now the right shoulder is done. You will have to repeat the pattern for the other one. Follow the same pattern, only that starting with row 6 until row 15, when we increase only on one side you should increase at the end of the row. You can repeat the pattern in the same way, but you will have to put one on the wrong side when assembling, which is not a big deal because the stitches are the same on both sides.
Row 24
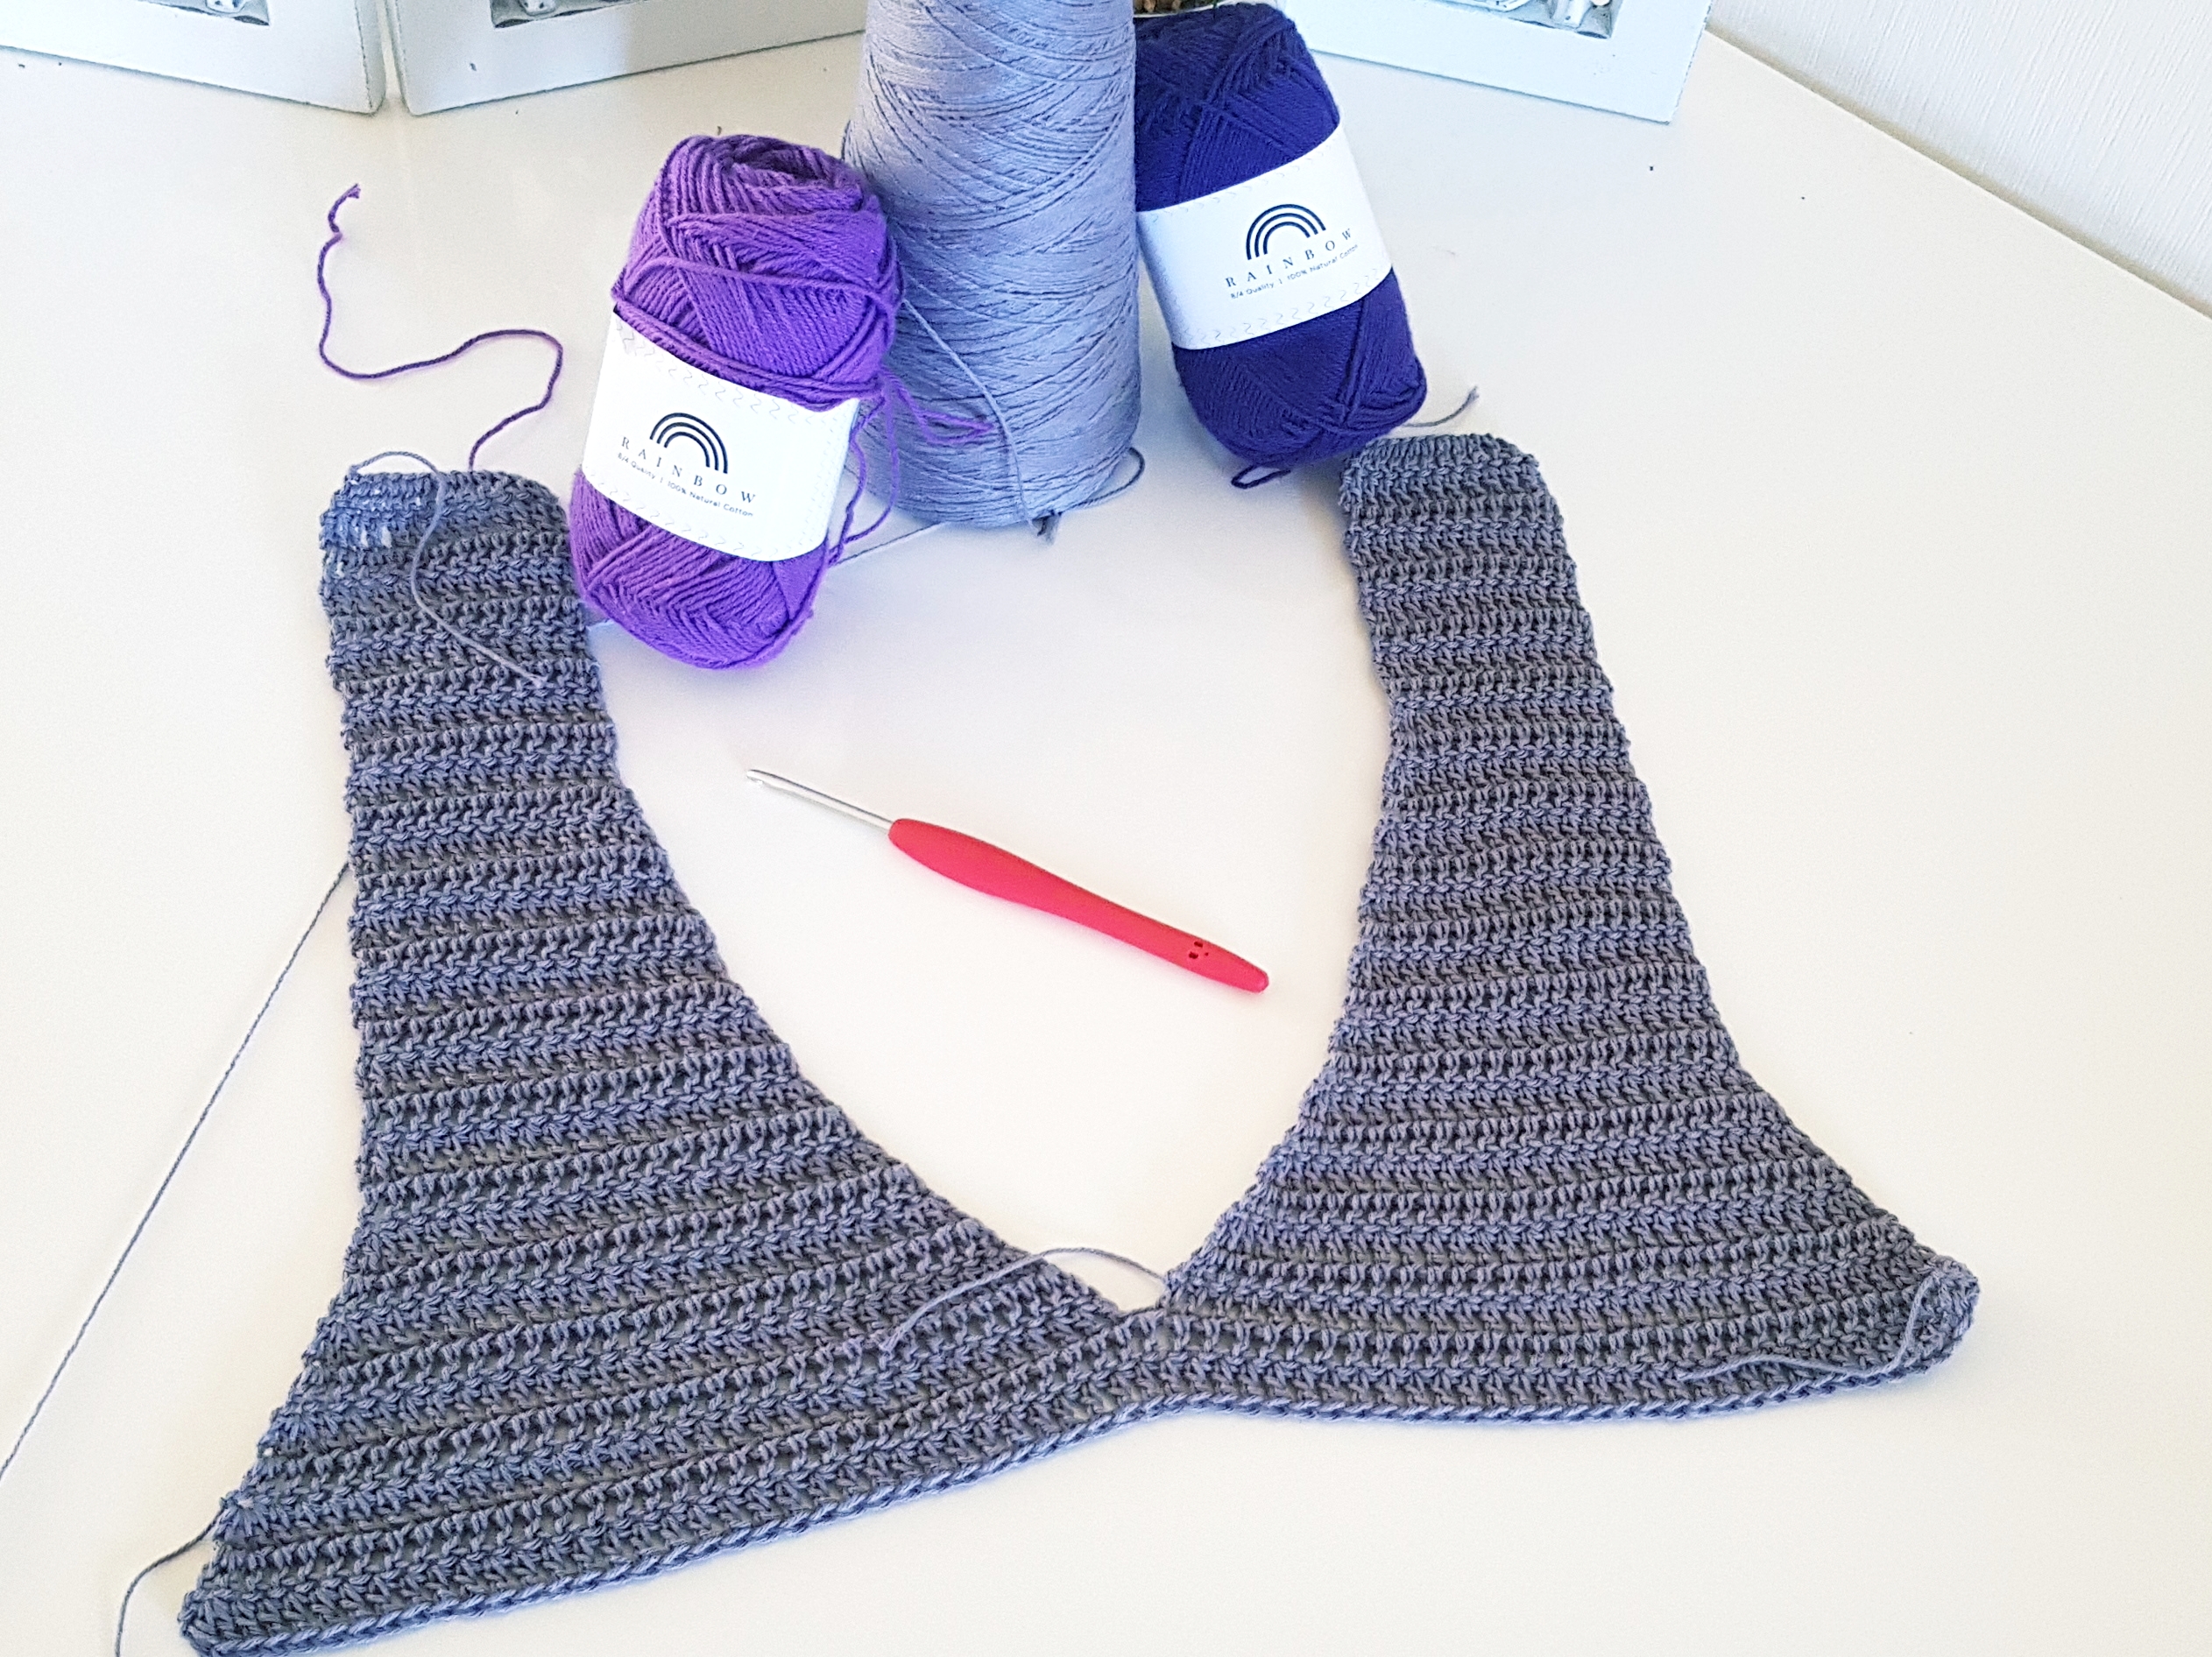
We will join now the 2 parts. Use a stitch marker to join the stitches and be easier to hold both pieces together. Make sure you are working on the wrong side.
1 inc (you have the ch 3 and you will make 1 more dc in the same st), 1 dc in each of the next sts of the side you are working one. Continue with the other side, making one 1 dc in the first st and 1 dc in the next sts, 1 inc in the 3rd stitch of the turning chain. Ch 3 and turn
Row 25
1 inc, 1 dc in each st, 1 inc in the 3rd st of the starting chain.
Repeat row 25:
- S – 1 more row
- M – 3 more rows
- L – 7 more rows
- XL – 11 more rows
And the top part of the front side is done. Now repeat the same pattern for the back side.
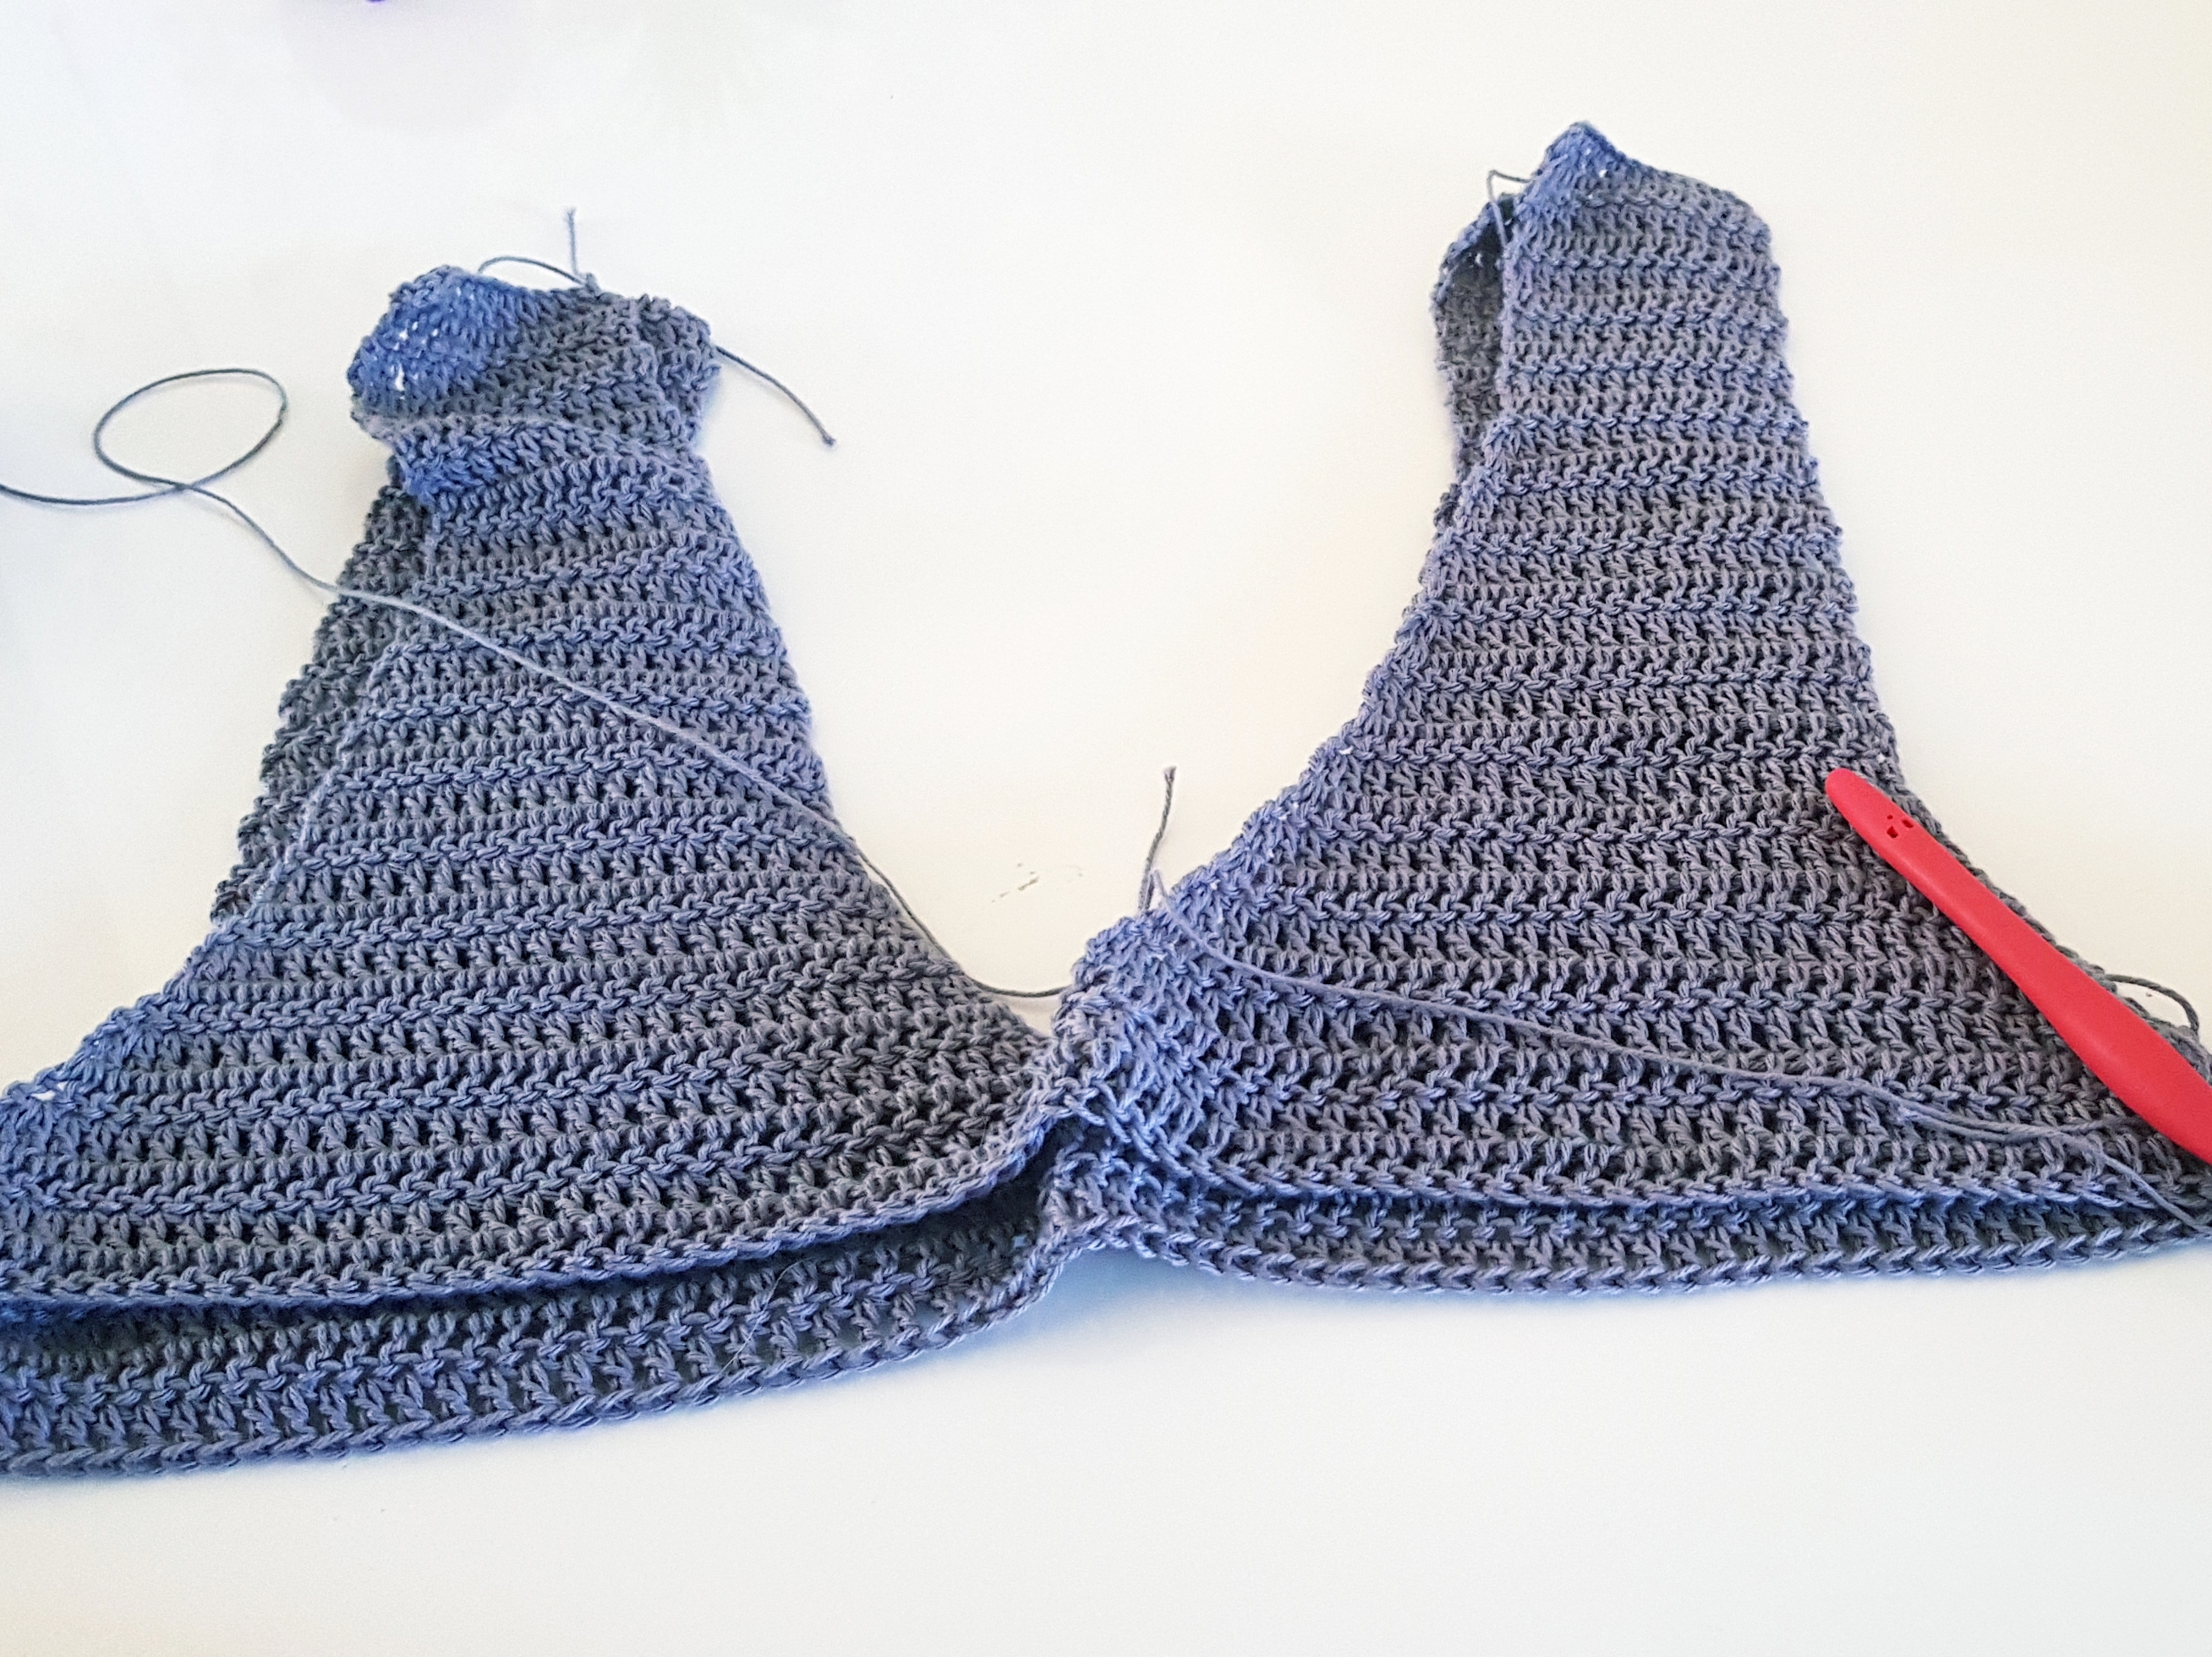
After having both sides done, take a tapestry needle and sew the straps on shoulders.
After this step we will start working on the body of the top and the first round will be the joining round.
Body
Round 1
Start the round from where your yarn is.
Ch 3 and turn. 1 dc in each stitch until you get to the last stitch of the side you are working on, make 1 dc in the last st, ch 12 and then make 1 dc in the first st of the other side. Continue with 1 dc in each st until you will get to the end. Ch 12 and join with a sl st with 3rd st of the turning chain. Ch 3 and turn
Round 2
1 dc in each st around. Sl st with the 3rd st of the starting chain. Cut the yarn
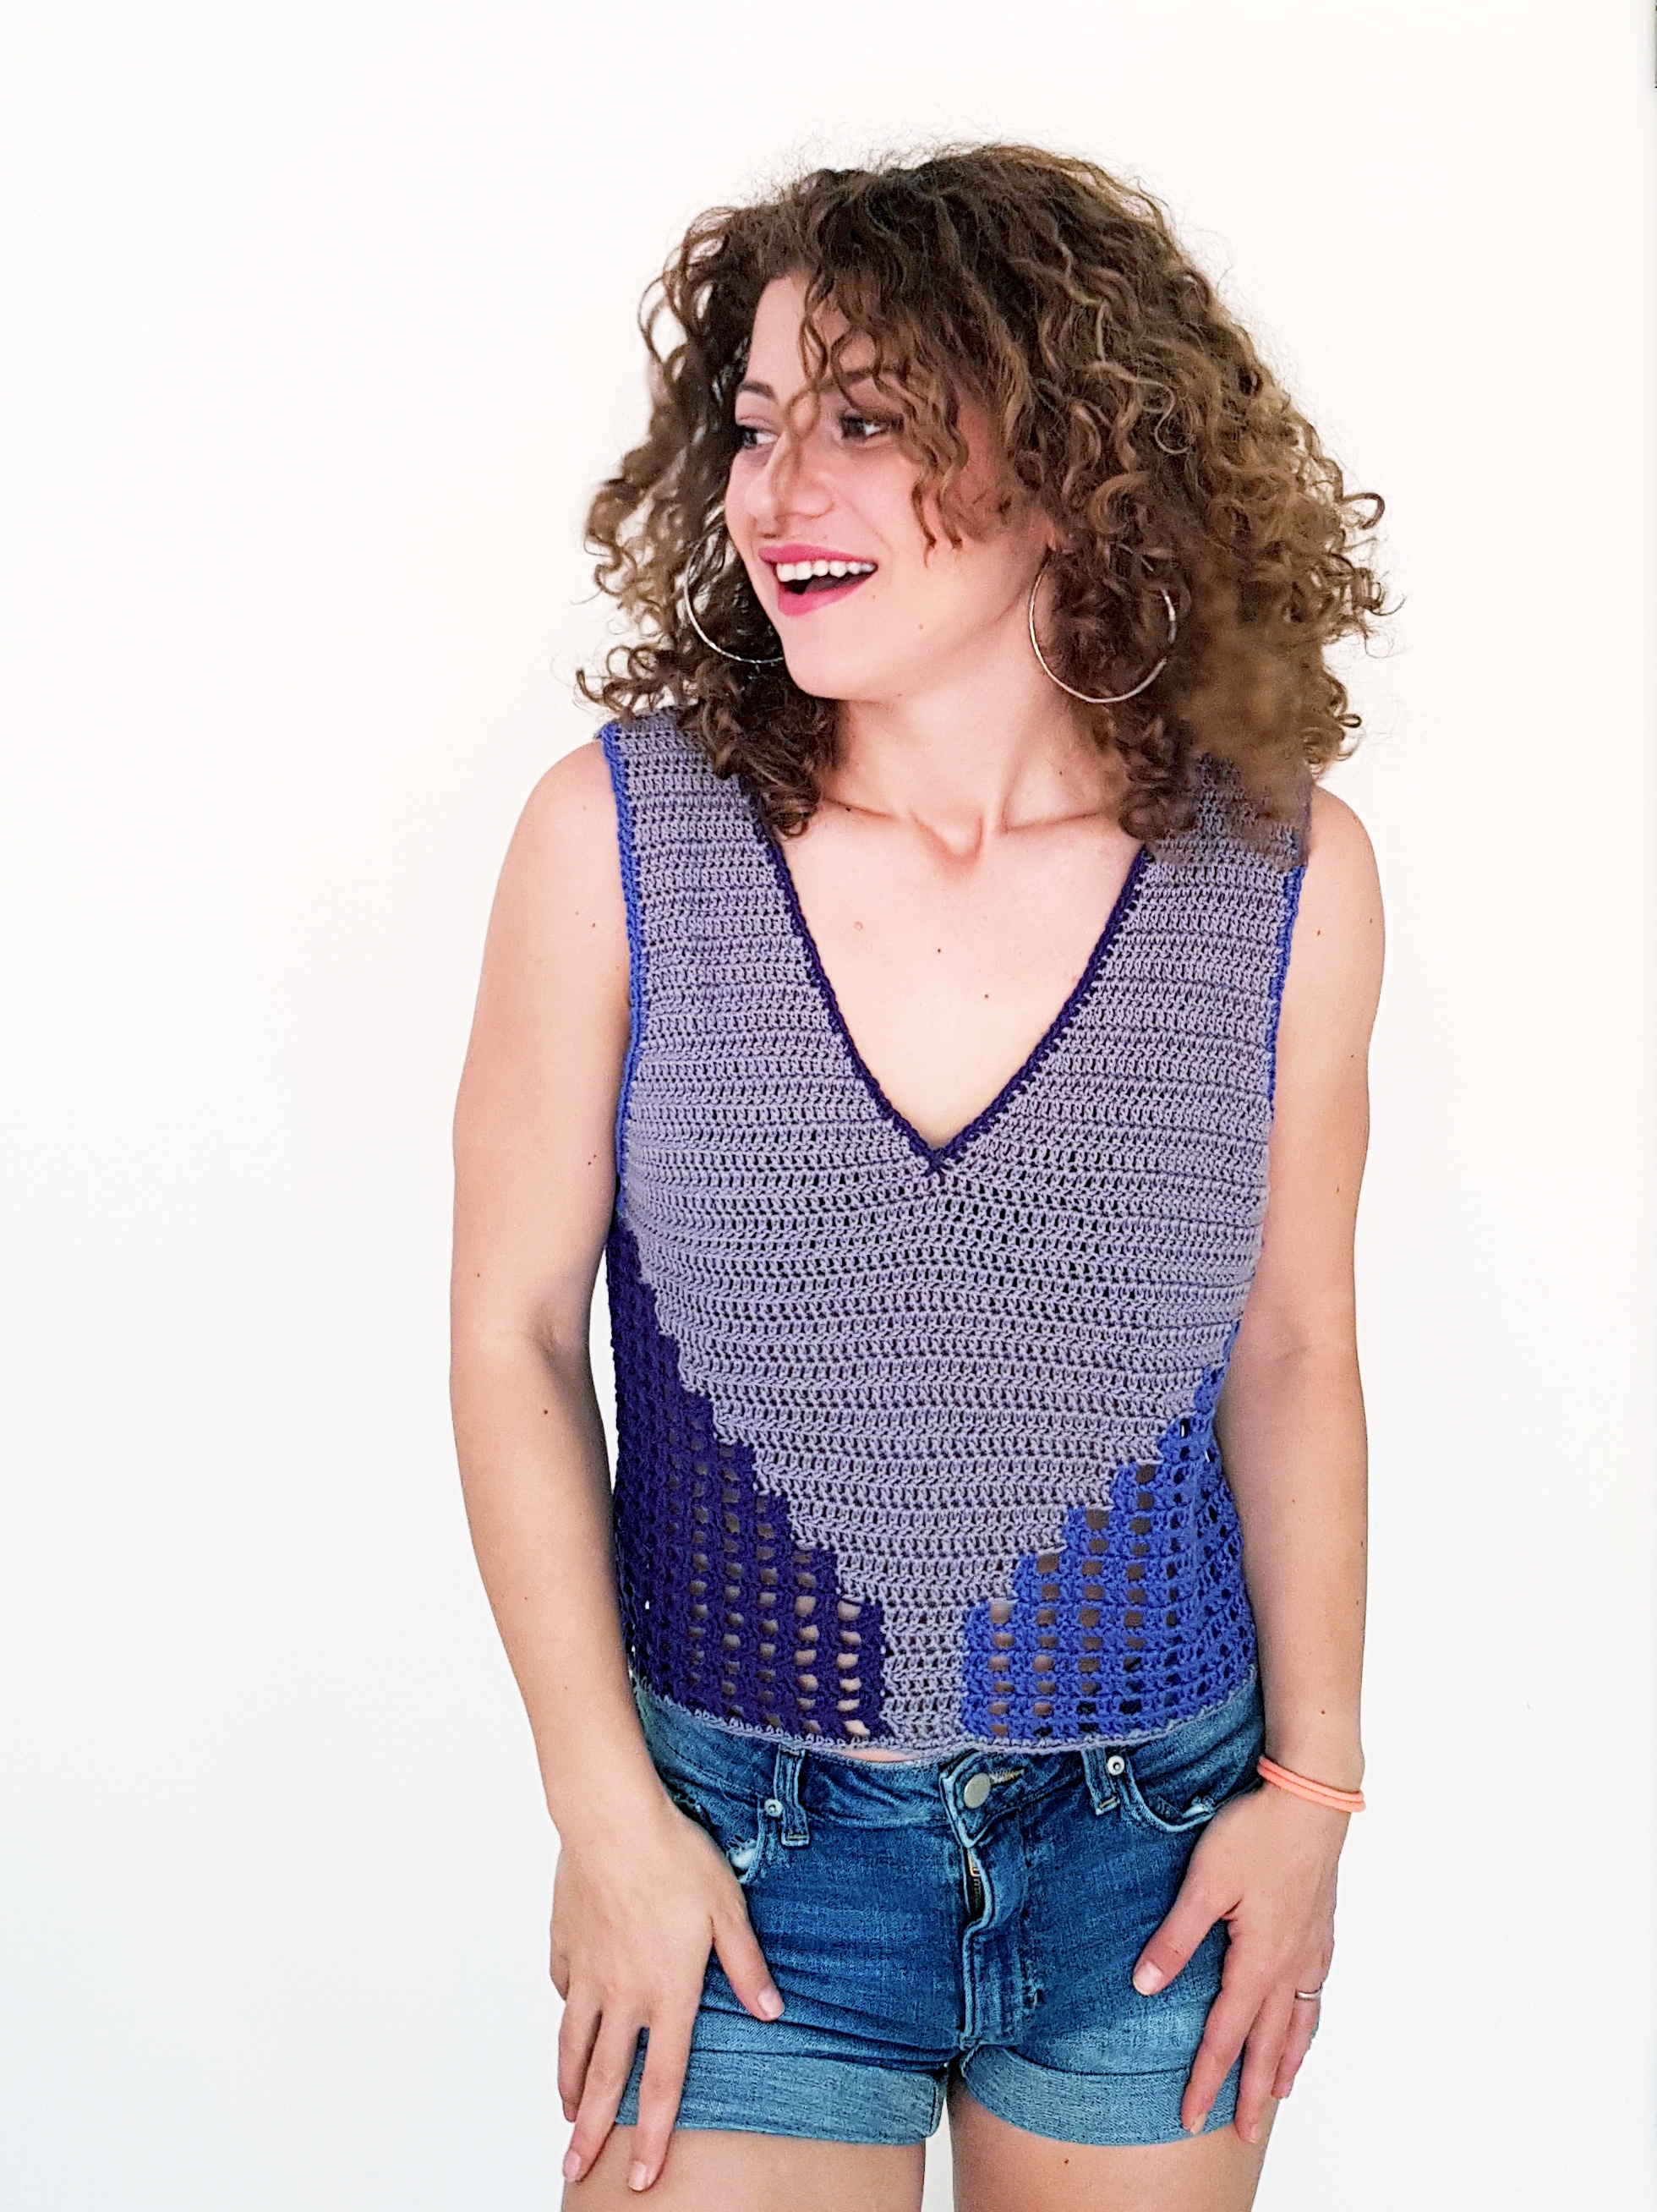
Starting with round 3 we will start “building the stairs”. So we will introduce the 2 contrasting colors.
First we will use 4 stitch markers to mark from where the color work will start.
Count from the 12 sts you have at the armpit 4 sts to the left and 6 sts to the right on both sides and put a st marker in each of the 4 sts.
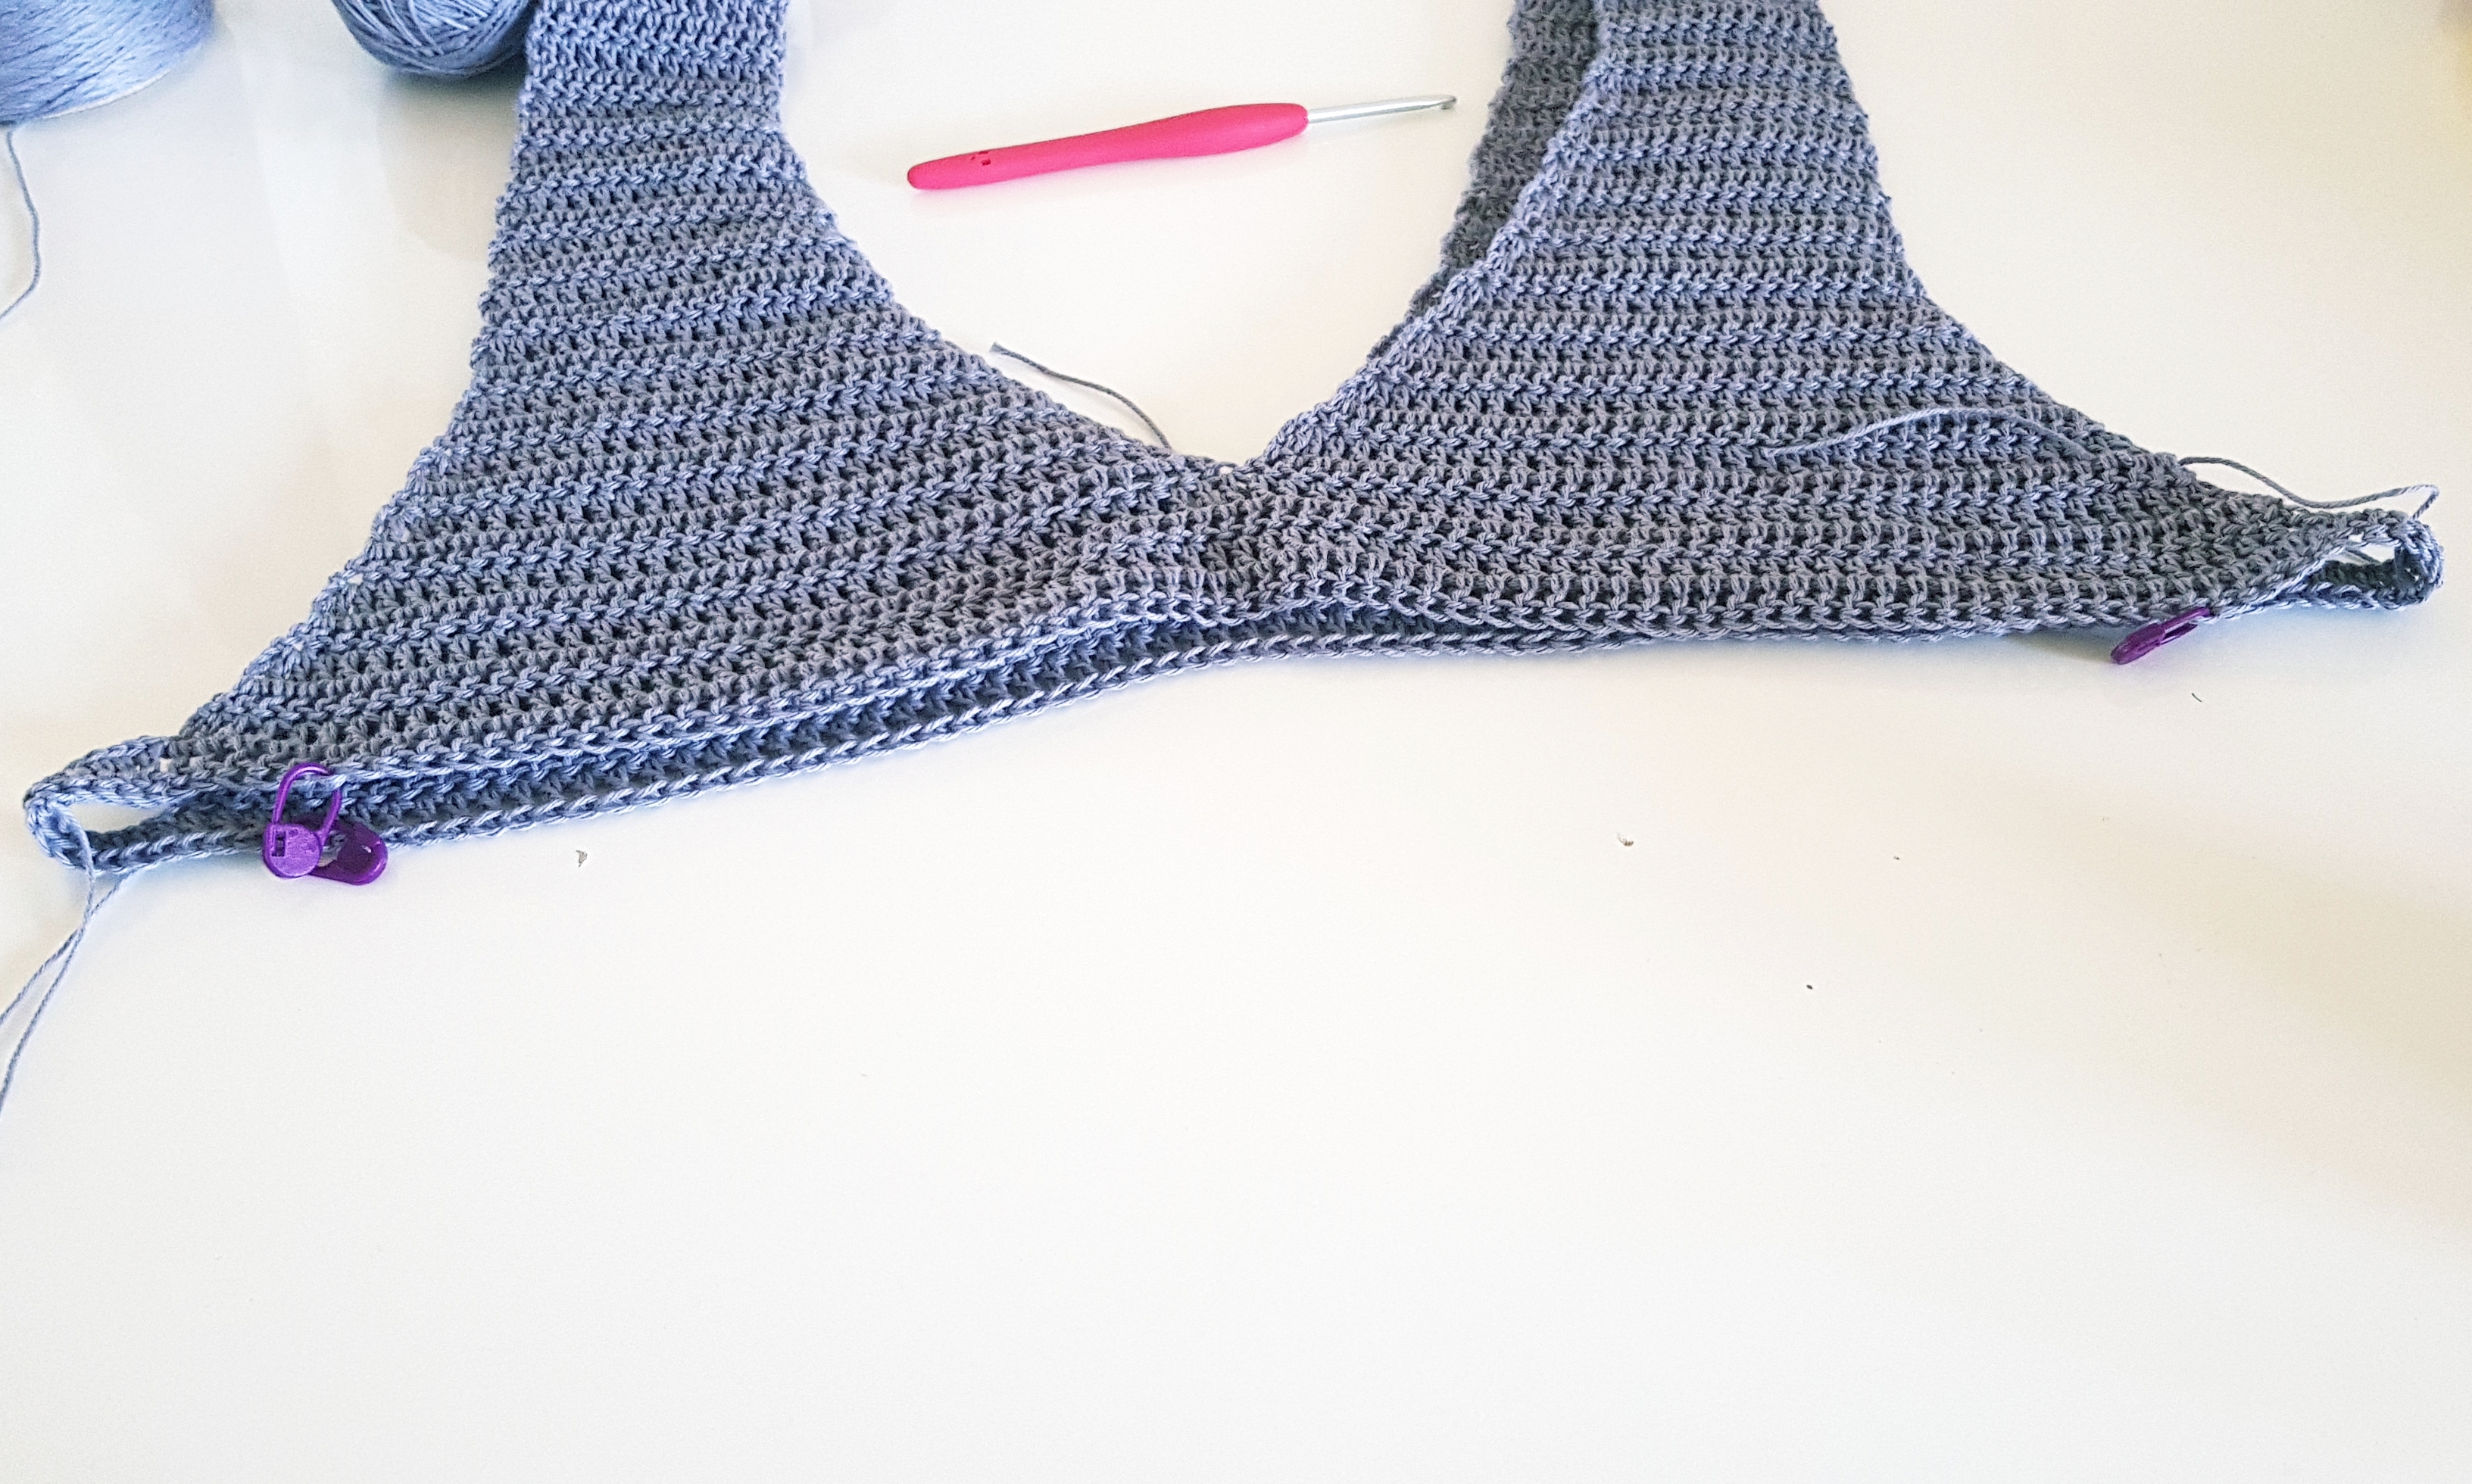
From now on we will name the colors in the pattern: A fo the main color, B for one contrasting color and C the other one.
Before staring the 3rd round, make sure you have one skein or ball of yarn for each section of color. You will have 4 different balls or skeins.
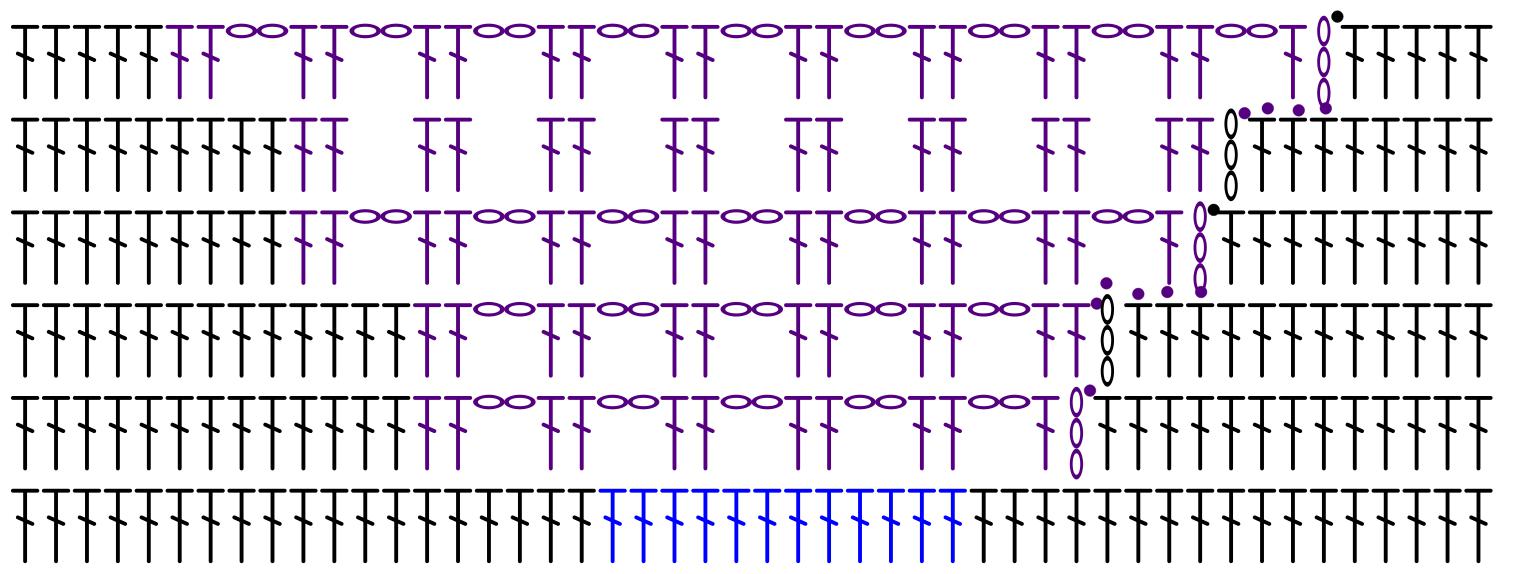
Below you will also find a stitch chart with how the rounds are beginning when working with colors. I represented in the chart only the side with color where the rows are beginning because on the opposite side you will easily figure it out about the pattern.
Round 3
*Make sure you are working on the wrong side, and join the yarn B in the marked st.
*when changing the color, finish the last dc of previous color with the next one.
Ch 3, 1 dc in next, [ch 2, skip 2, 1 dc in next 2] repeat 5 times, change to A, 1 dc in each st until the next st marker, change to C, 1 dc in next 2, [ch 2, skip 2. 1 dc in next 2] 5 times, change to A, 1 dc in each st to the end of the round. Sl st and turn.
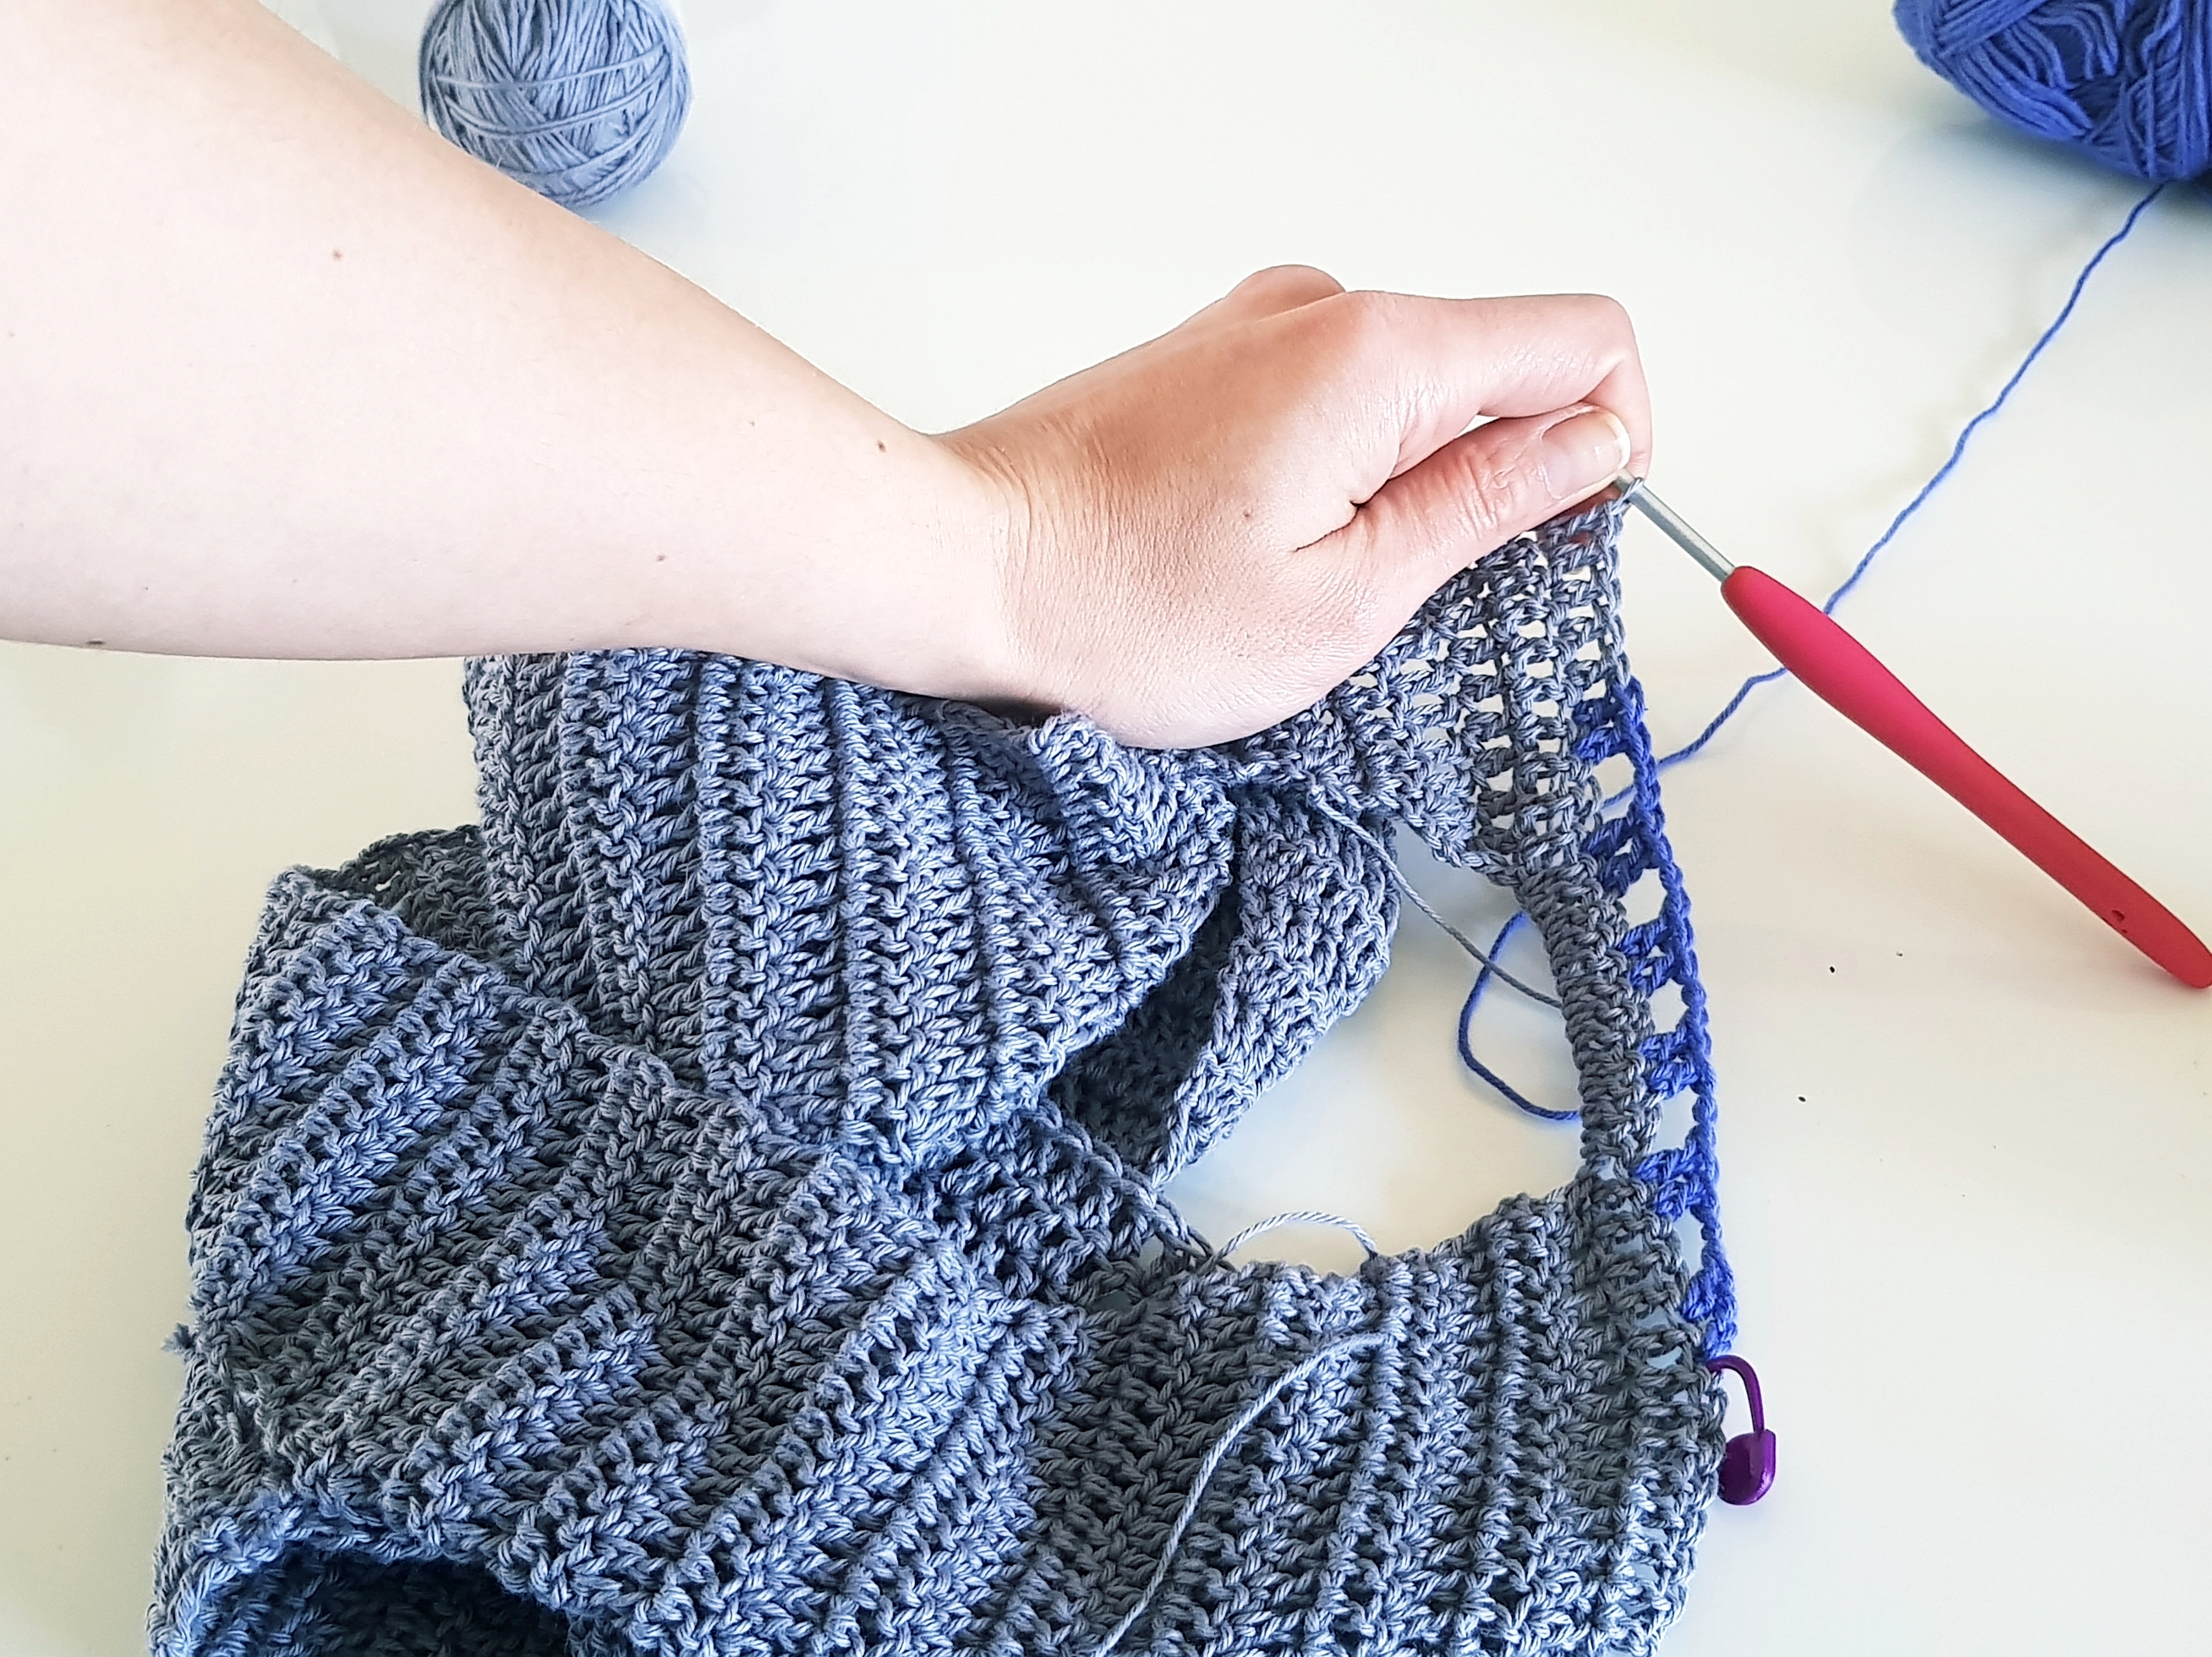
Round 4
1 sl st to start the row on the top of color A dc, Ch 3, 1 dc in each of the next color A sts, change to C, 1 dc in next 2, [ch 2, skip 2, 1 dc in next 2] repeat 5 times, change to A, 1 dc in each of color A sts, change to B, 1 dc in next 2, [ch 2, skip 2, 1 dc in next 2] repeat 5 times and sl st with the 3rd st of the starting chain.
We will increase now the number of sts worked in colors. So befor tuning, sl st 4 (1st is the ch 3 and 3 more; to have 4 sts from the color A) and then ch 3 and turn
Round 5
1 dc in next, [ch 2, skip 2, 1 dc in next 2] repeat 7 times (you will work with color B for more sts in the other side too), chnge to A, 1 dc in next sts until you have 4 sts left in color A, change with C, 1 dc in next 2 [ch 2, skip 2, 1 dc in next 2] Repeat 7 times, change to A and work 1 dc to the end of the round. Join with a sl st
Round 6
1 sl st to start the row on the top of color A dc, Ch 3, 1 dc in each of the next color A sts, change to C, 1 dc in next 2, [ch 2, skip 2, 1 dc in next 2] repeat 7 times, change to A, 1 dc in each of color A sts, change to B, 1 dc in next 2, [ch 2, skip 2, 1 dc in next 2] repeat 7 times and sl st with the 3rd st of the starting chain.
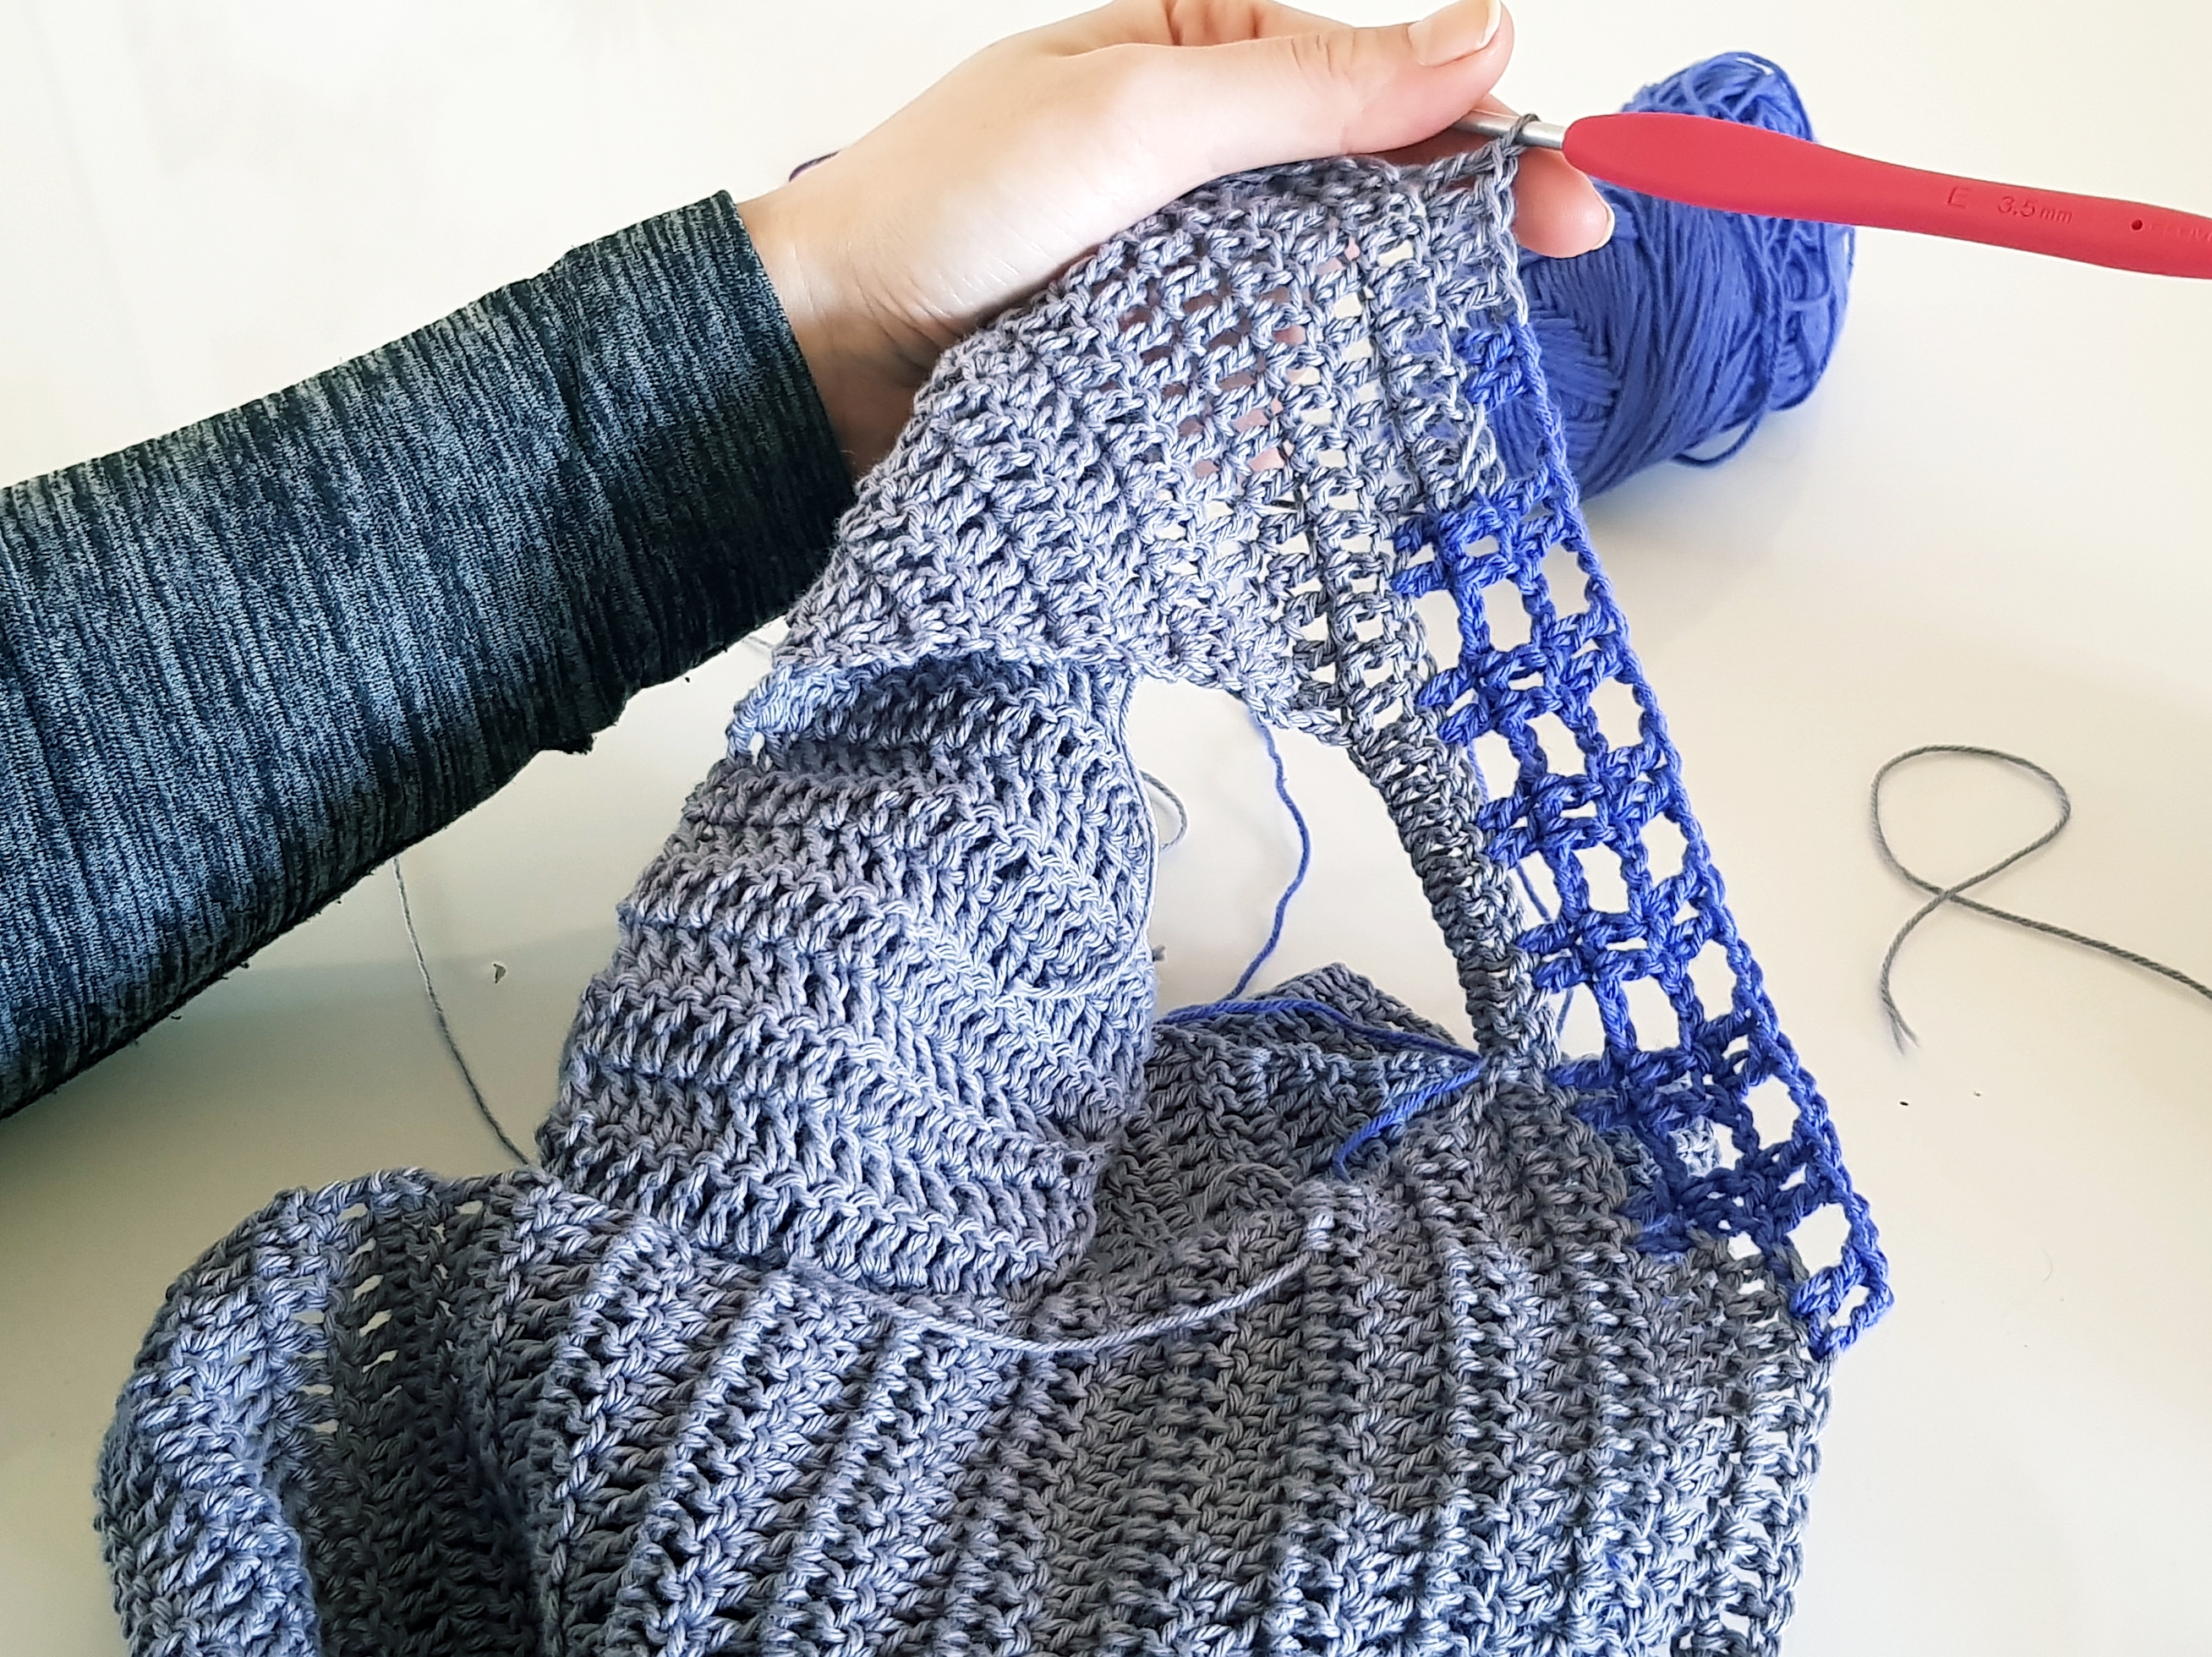
As you can see round 6 is the same as round 4, only that instead of 5 repeats we have 7.
You will see that round 7 will be the same as round 5, only that instead of 7 repeats we will have 9
So basically starting with round 6 you will have to repeat rounds 4 and 5 only that you will add one more section repeat to the pattern in contrasting colors.
Row 18 was the last row where I was increasing the number of stitches worked in colors B and C. At row 18 I had 19 repeats.
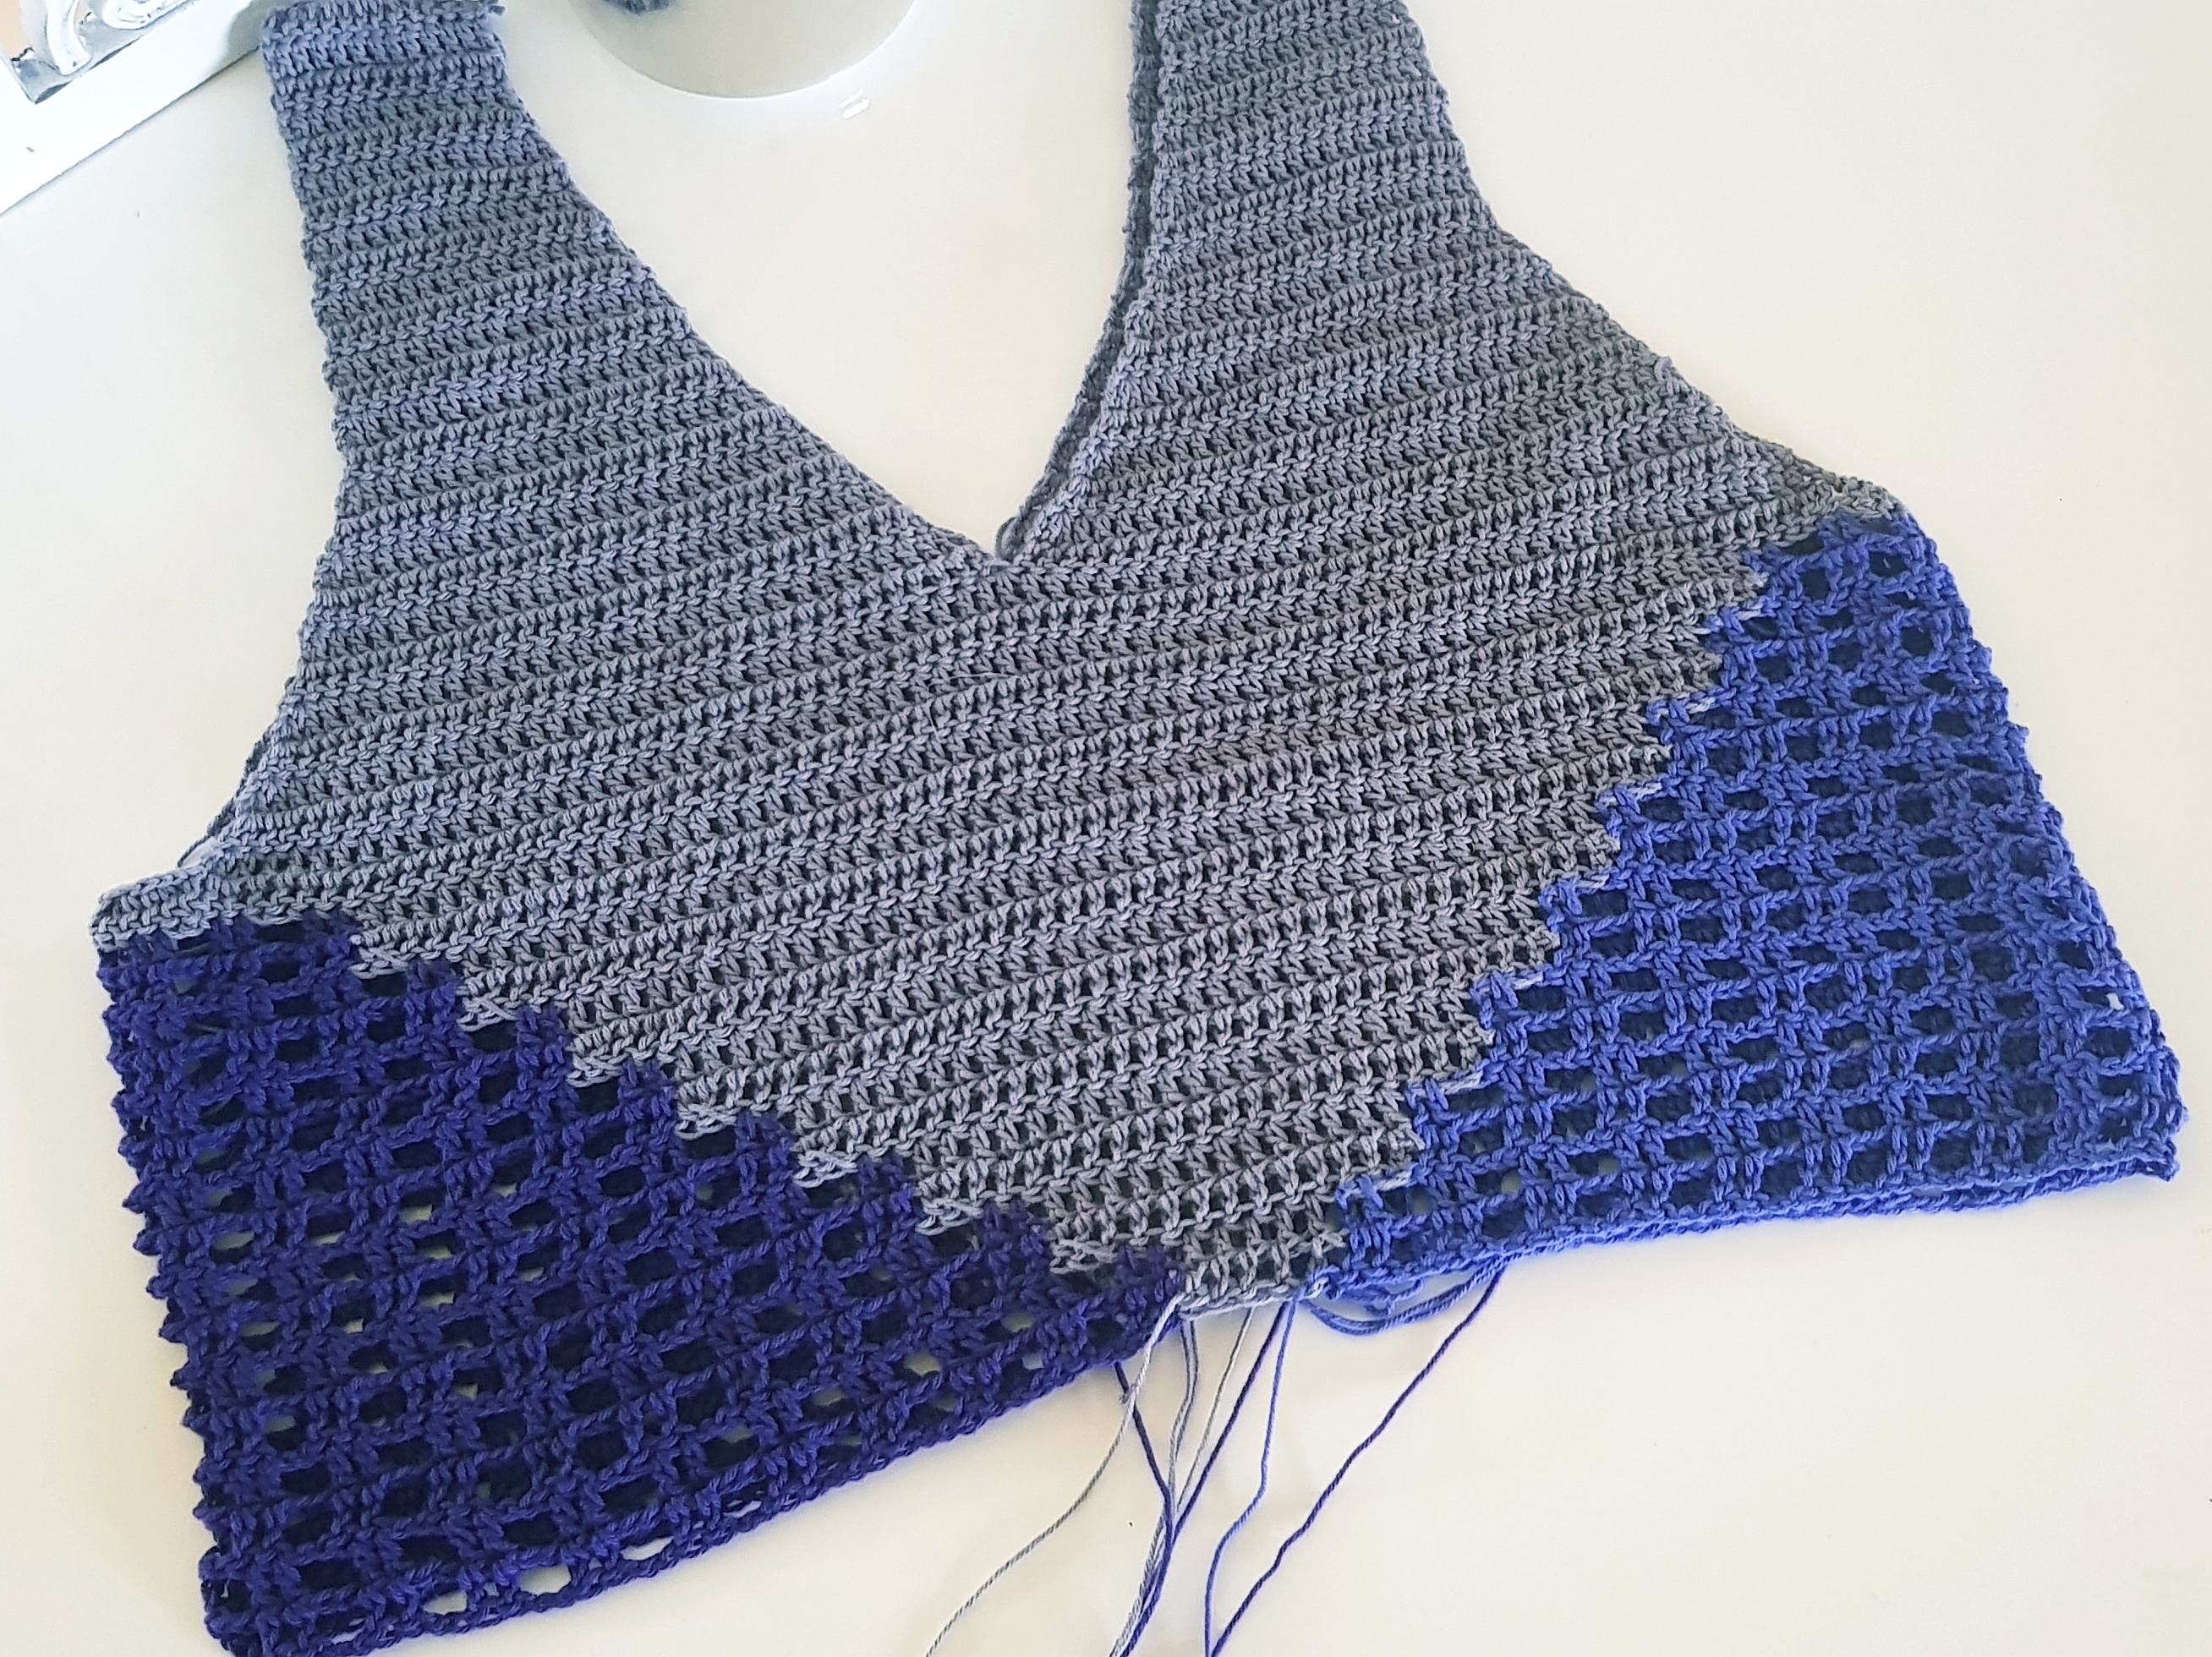
After making the 18 rounds I continued with 5 more rounds just by repeating round 4 with 19 pattern section repeats.
If you want your Cityscape Tank longer you can continue working more rounds until you will get to the desired length.
Take into consideration, that for bigger sizes you will have more color A sts between colors B and C, so if you want you can continue “adding stairs” after row 18.
To complete the look I just made a border in sc all around the top.
And done! Hope you liked this pattern also and can’t wait to share with you other ones.
You can purchase the add free, easy printable, instant download pdf version of this pattern here:
Happy Crochet!!!



Comments are closed.