I found knitting so relaxing and I love to have a knitting project all the time in hand, whenever I need to have a break from my crochet project which I found them more challenging.
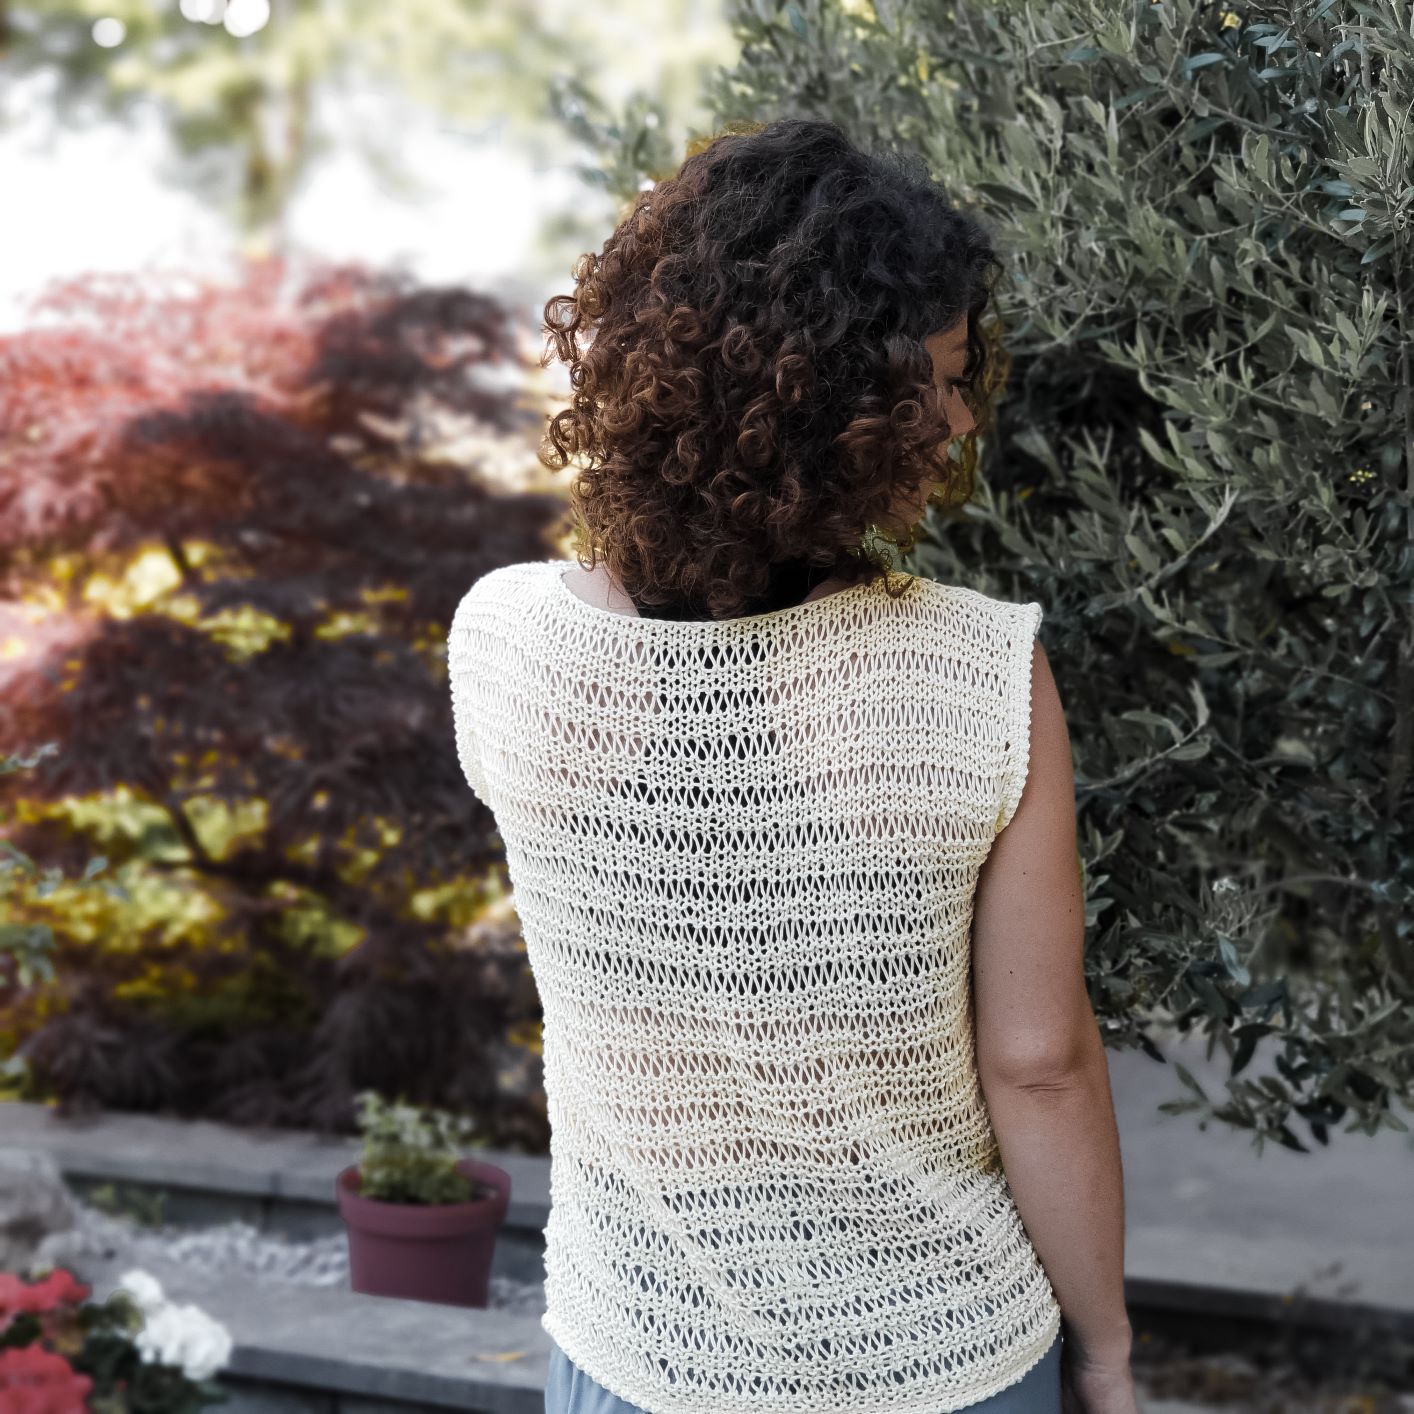
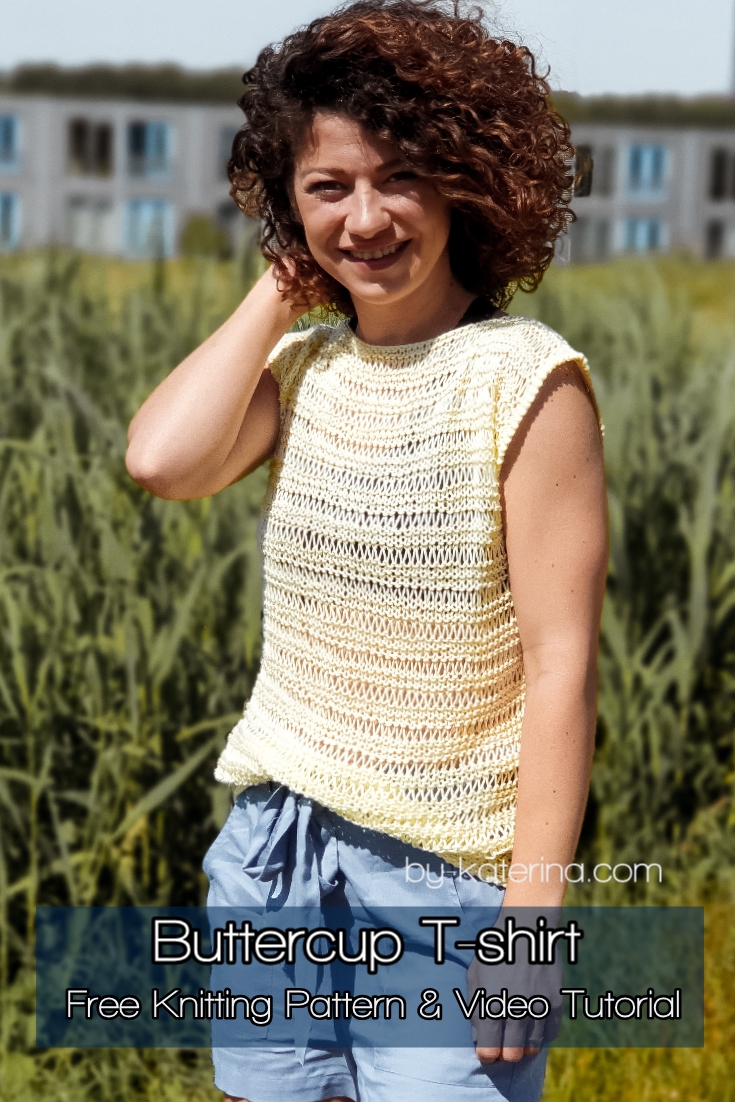
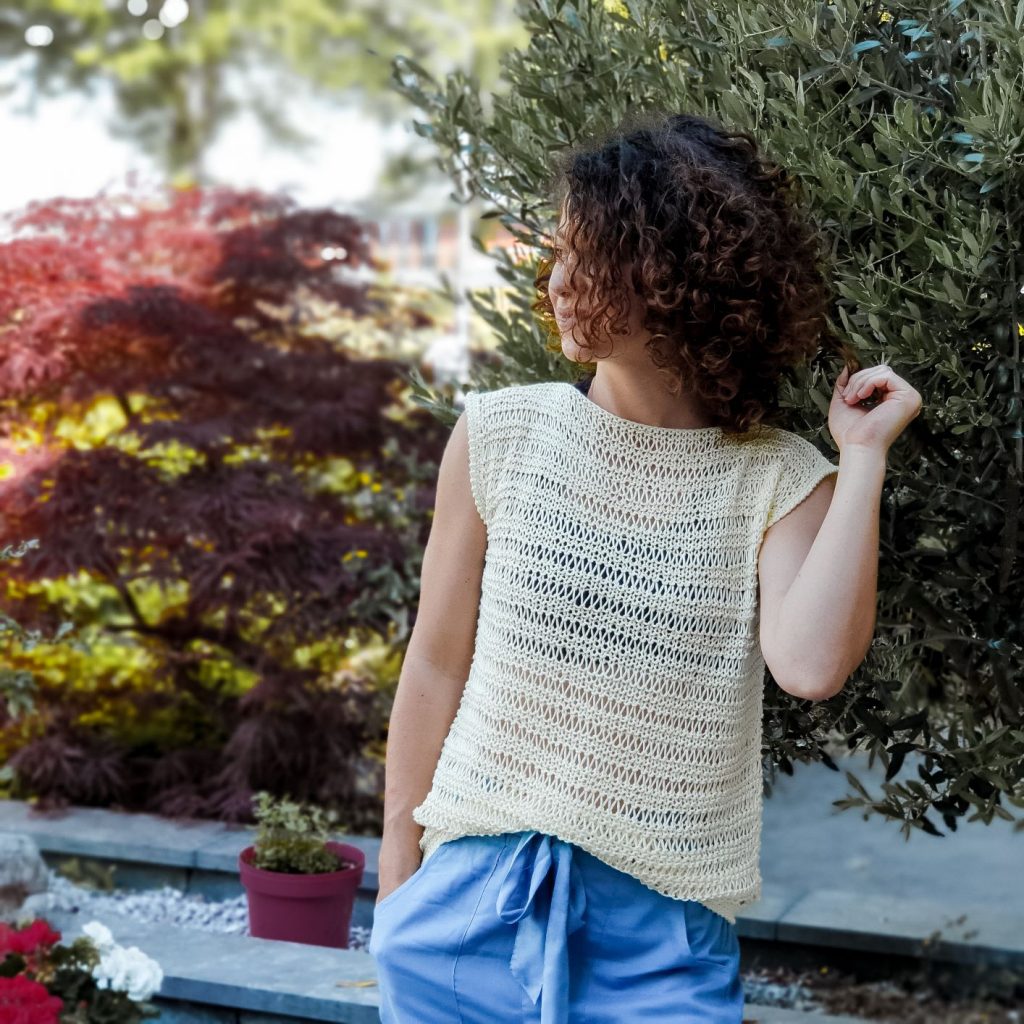
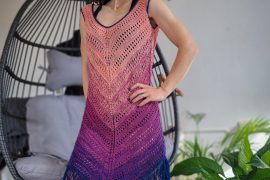
I am really happy with my new Buttercup T-shirt. I love how light and airy it is and all, with such a simple pattern.
The yarn it’s really amzing. I used SeaCell Cotton by Katia. Below is Katia’s message from product description page and I couldn’t agree more that it’s the most soft cotton yarn that I ever tried.
“SeaCell Cotton is a yarn composed of 100% biodegradable matter and seaweed which are collected in a sustainable manner thanks to an innovative and totally ecological process. With SeaCell Cotton you can knit or crochet soft and comfortable garments. In addition, the yarn is beneficial for your skin because it contains high levels of antioxidants, vitamins, amino acids and minerals in the seaweed.”
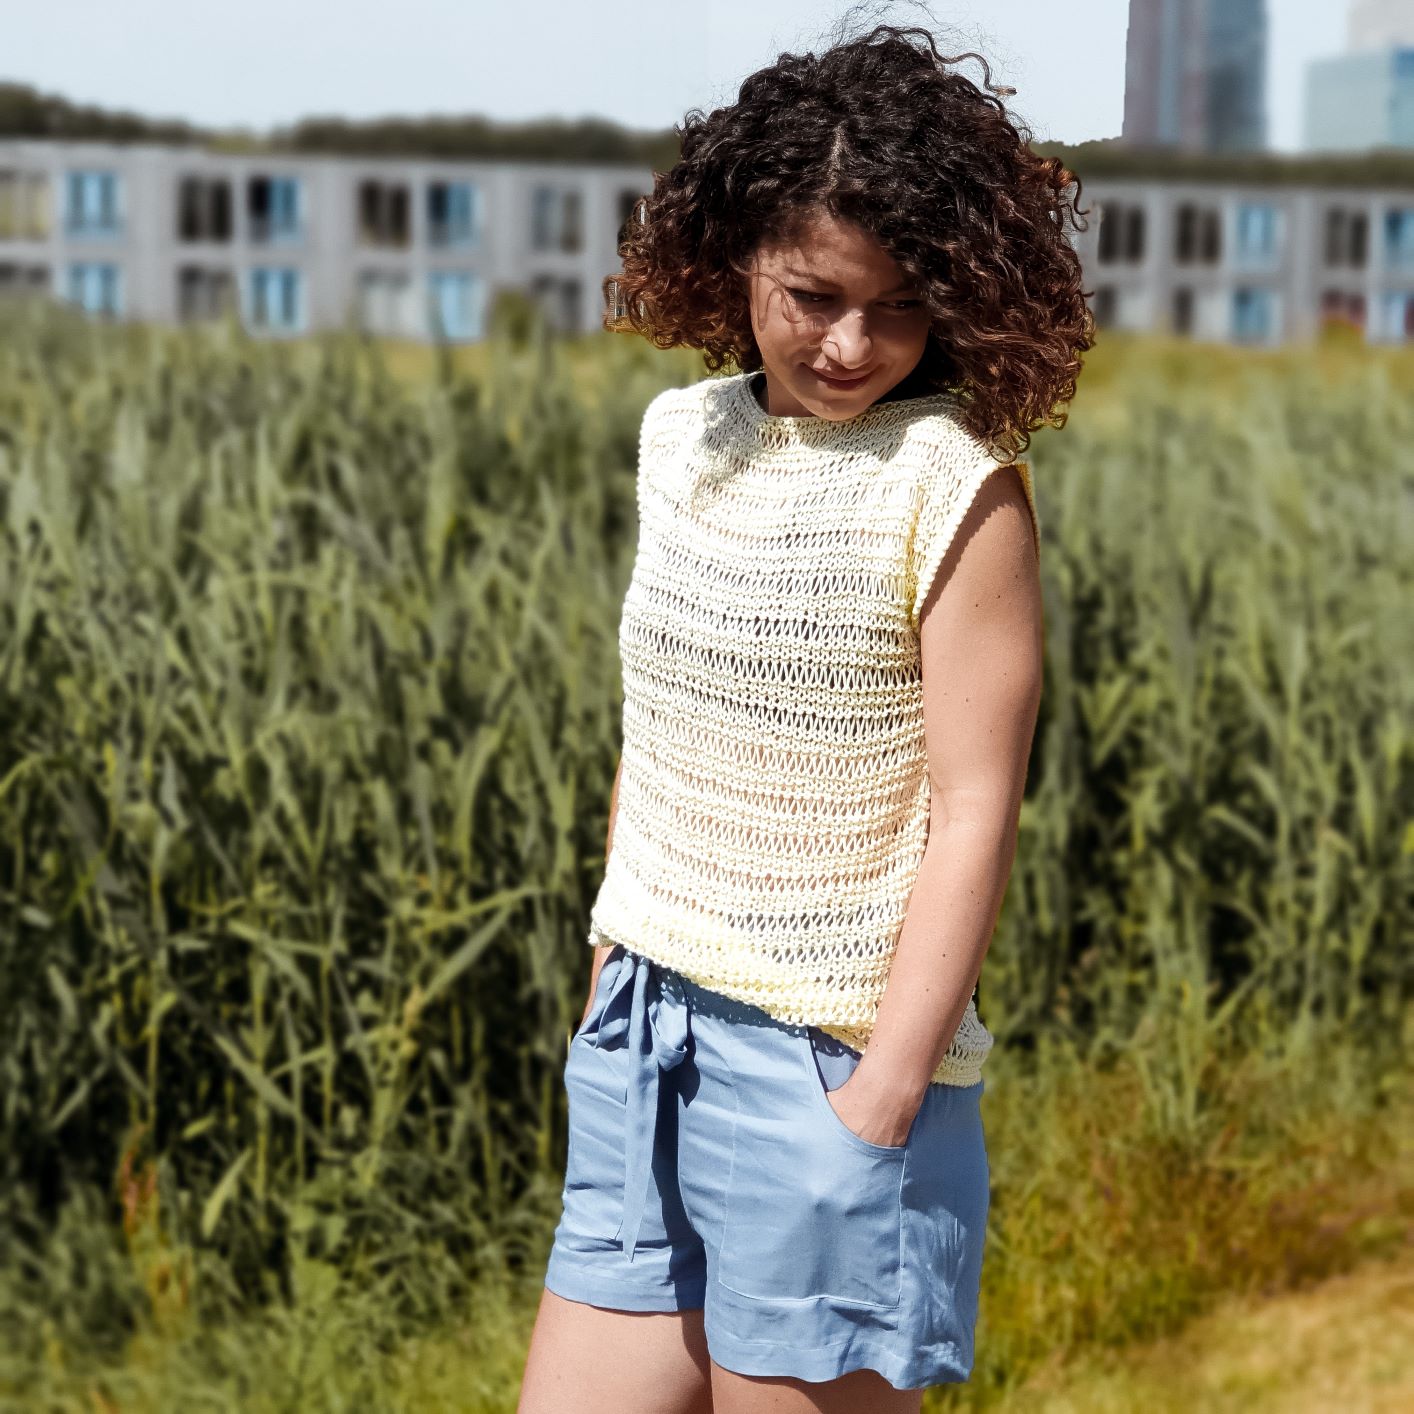
You can Purchase the easy printable PDF version of this pattern here:
Let’s see, what else we will need for this Buttercup T-shirt and how to make it:
Materials you will need
- Category 3, DK, light weight yarn
- 5.5 mm needles (I used circular, but the t-shirt is worked flat so other type of needles can be used)
- 5 mm crochet hook for binding off (optional)
- 4 mm crochet hook for edging
- Stitch markers
- Yarn needle for wave in ends
- Scissors
Notes about design
This pattern requires techniques as knit stitch and drop stitches.
The t-shirt construction is from 2 identical panels, assemble together.
Final Measurements
Final measurements of the t-shirt are listed below. All measurements are in centimetres and taken after blocking.
The pattern is available in 8 sizes, from S up to 5XL.
The numbers for sizes M, L, XL, 2XL, 3XL, 4XL and 5XL are written between brackets.
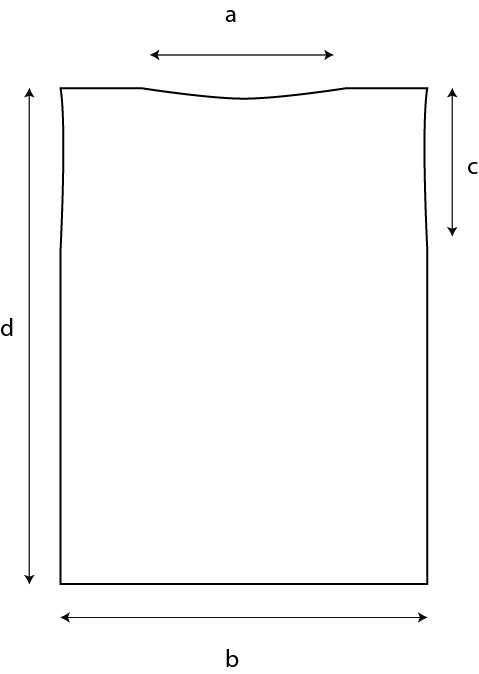
Neck Line a: 26 cm (27, 27, 39, 29, 31, 31, 32)
Bust width b: 50 cm (55, 60, 65, 70, 75, 80, 85)
Armhole Depth c: 21 cm (24, 24, 27, 27, 30, 30, 30)
Length d: 54 cm (57, 57, 60, 60, 63, 63, 63)
These measurements will fit:
| To Fit | S | M | L | XL | 2XL | 3XL | 4XL | 5XL |
| Bust | 86 | 96 | 106 | 116 | 126 | 136 | 146 | 156 |
How much yarn do you need?
I used for this Buttercup T-shirt, SeaCell Cotton by Katia Yarns. Each ball of yarn has 50 grams and approximate 120 m.
For each size you will approximate need
| SeaCell | S | M | L | XL | 2XL | 3XL | 4XL | 5XL |
| 50g/120m | 4 | 5 | 5 | 6 | 6 | 7 | 7 | 8 |
Abbreviation used in the pattern
- K – knit stitch
- YO – yarn over
- Sc – single crochet
- Tsc – twisted single crochet: insert the hook in next available st, YO and pull out a loop, twist your hook clockwise, YO and pull it through both loops on your hook
- St (s) – stitch (es)
- ** – repeated section
- R| – row/round
Gauge
Before blocking
14 sts = 10 cm (in garter stitch)
15 rows = 8 cm ([3 rows in garter stitch + 1 row k1, YO, k1 + 1 row k1, drop 1, k 1] x 3)
After blocking
12 sts = 10 cm
15 rows = 9 cm
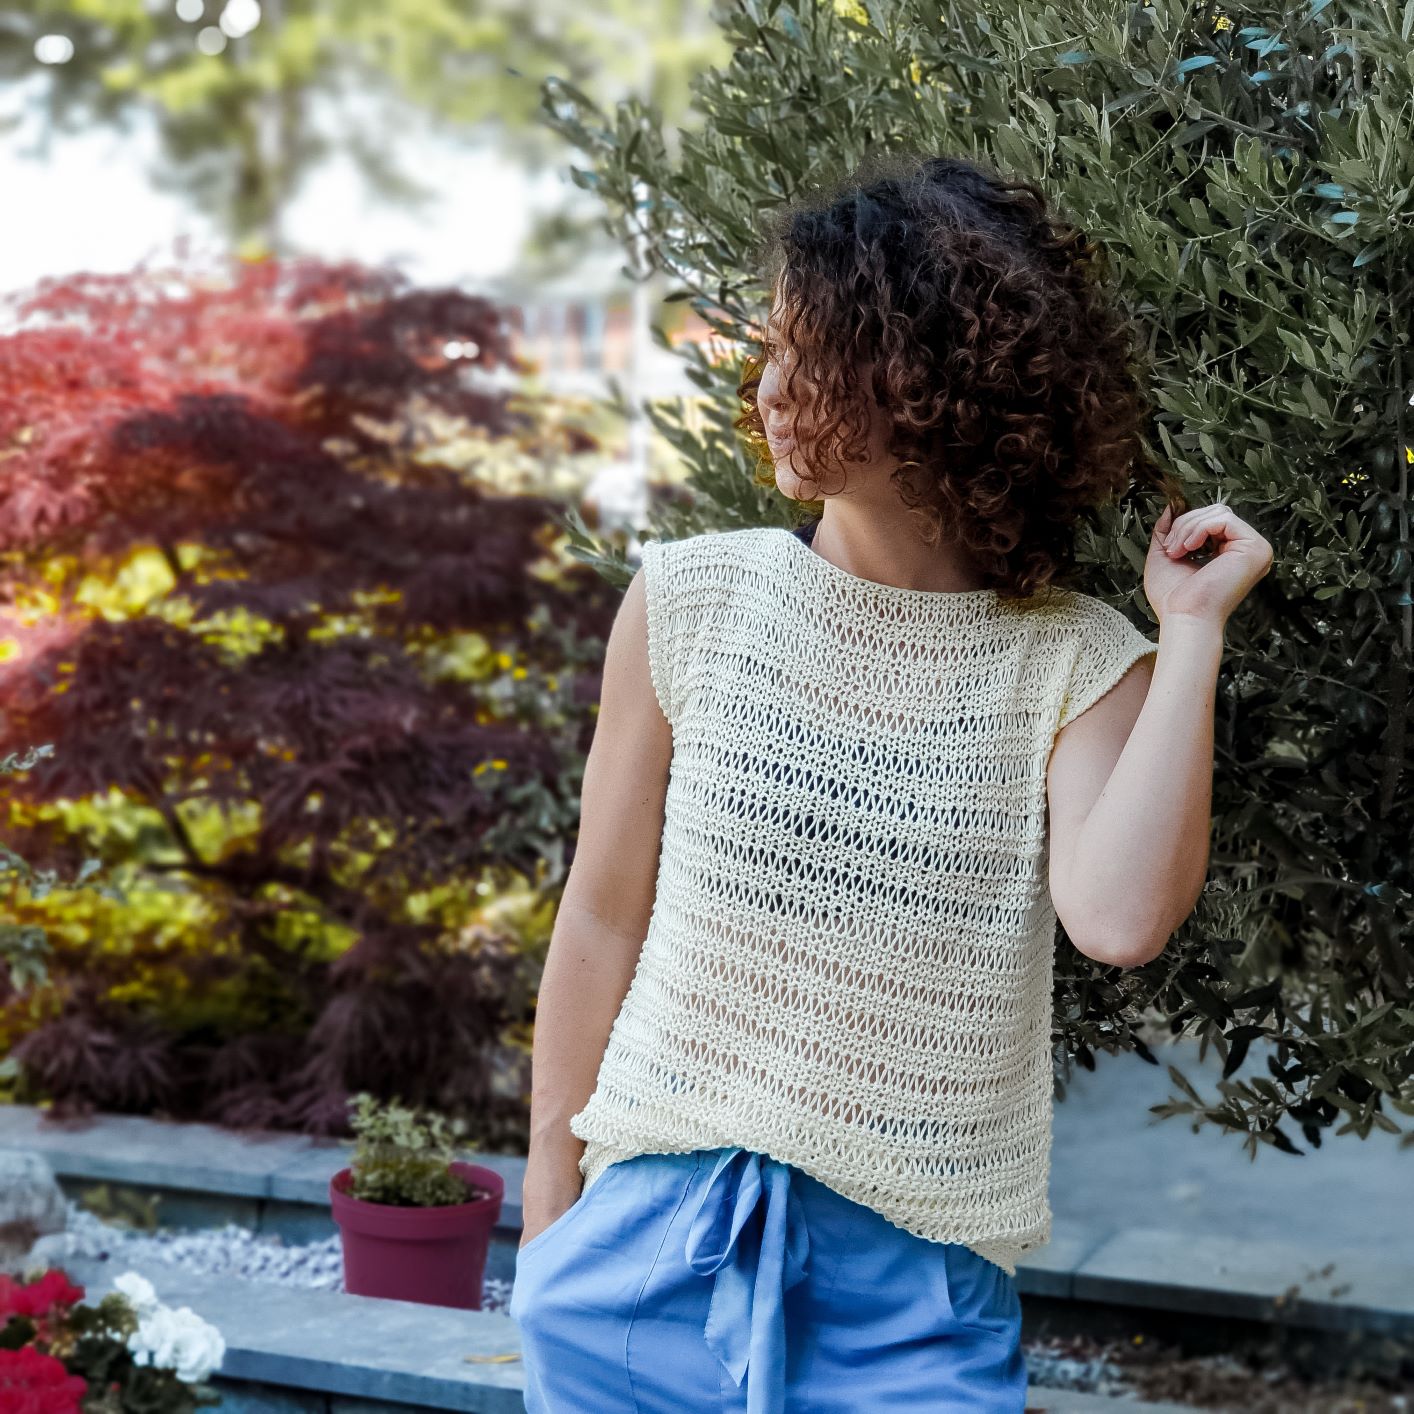
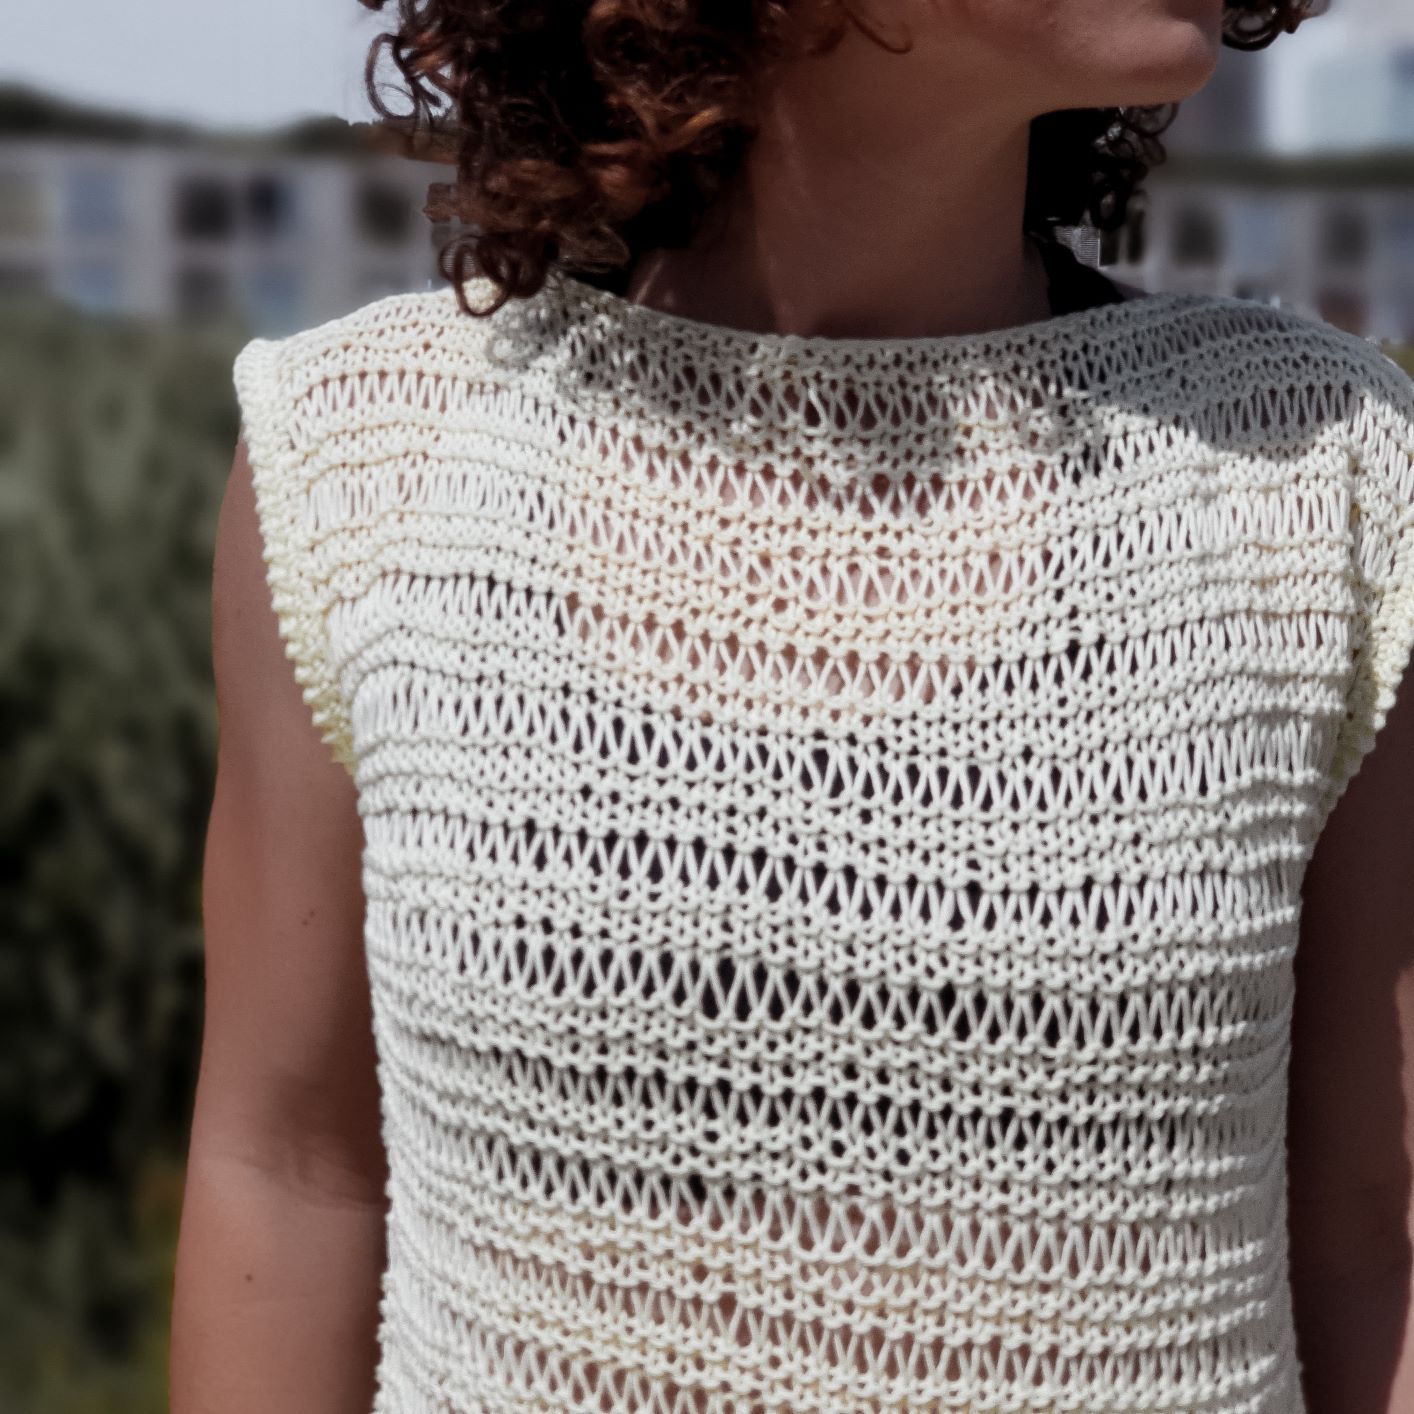
About Knitting drop stitch pattern
R1 – R3| k all stitches
R4| *k1, YO 1, K1. * Repeat to the end of the row
R5| *k1, drop 1, k1 *Repeat to the end of the row.
Repeat R1 – R5 to the desired length
Notes about the pattern
Because we are working with bigger size needles with drop sts, the fabric will expand after blocking
Before starting, make a swatch and see how the fiber/yarn you are using behaves after blocking.
In case you don’t get to the same gauge as mine, cast on as many sts as you need to get to the width measurements and work as many rows as you need to get to the length measurements listed above.
You can Purchase the easy printable PDF version of this pattern here:
Instructions
Numbers for sizes M, L, XL, 2XL, 3XL, 4XL and 5XL are written between brackets. If not, the pattern applies for all sizes.
Front panel (follow the same pattern for the back panel)
Start| cast on (60, 66, 72, 78, 84, 90, 96, 102) sts
R1| k all sts to the end of the row. Turn
R2| k all sts to the end of the row. Turn
R3 – R4| Repeat R2
R5| *k1, YO 1, K1. * Repeat to the end of the row. Turn
R6| *k1, drop 1 st, k1. *Repeat to the end of the row.
Repeat R2-R6| until you have the desired length or until you have in total 94 (99, 99, 104, 104,109, 109, 109) rows
*Tip| to be easier to track your rows count, you can count only the segment with higher stitches (from the drop stitch pattern). You should have 18 (19, 19, 20, 20, 21, 21, 21) segments and the panel ends with 3 rows in garter stitch.
Bind off
For binding off, you can use any method you find easier. I used a 5 mm crochet hook as right needle.
Slip the first st, *k1, and pull the loop through the loop on your hook. *Repeat for all stitches.
Repeat the same pattern for the back panel.
Assembling
Before assembling, use stitch markers to mark the neck line and the armholes.
Neck line: 34 (36, 36, 38, 38, 40, 40, 40) sts
For armholes count the drop stitches row
Armhole: 6 (7, 7, 8, 8, 9, 9, 9) drop stitches rows.
After marking these sections, follow the diagram below and sew the shoulders and the sides.
Edging
The edging is crocheted using a 4 mm crochet hook.
Work the edge for armholes and bottom.
When working in knitted side rows, depending on your tension, work 2 sts in each knitted side row and 3 sts in the drop stitches rows, or as many stitches as you need to get to a neat result.
Work in rounds. Slip stitch with 1st sc after each round.
Start each round with 1 ch st.
1 ch st doesn’t count as 1st sc.
R1| on right side: 1 sc in each st around.
R2| Repeat R1
R3| on the wrong side: 1 sc in the 1st st, 1 Tsc in each stitch around. Fasten off.
Repeat the same pattern for both armholes and bottom.
To finish
Wave in all ends and block to measurements.
You can find a video tutorial here:


Comments are closed.