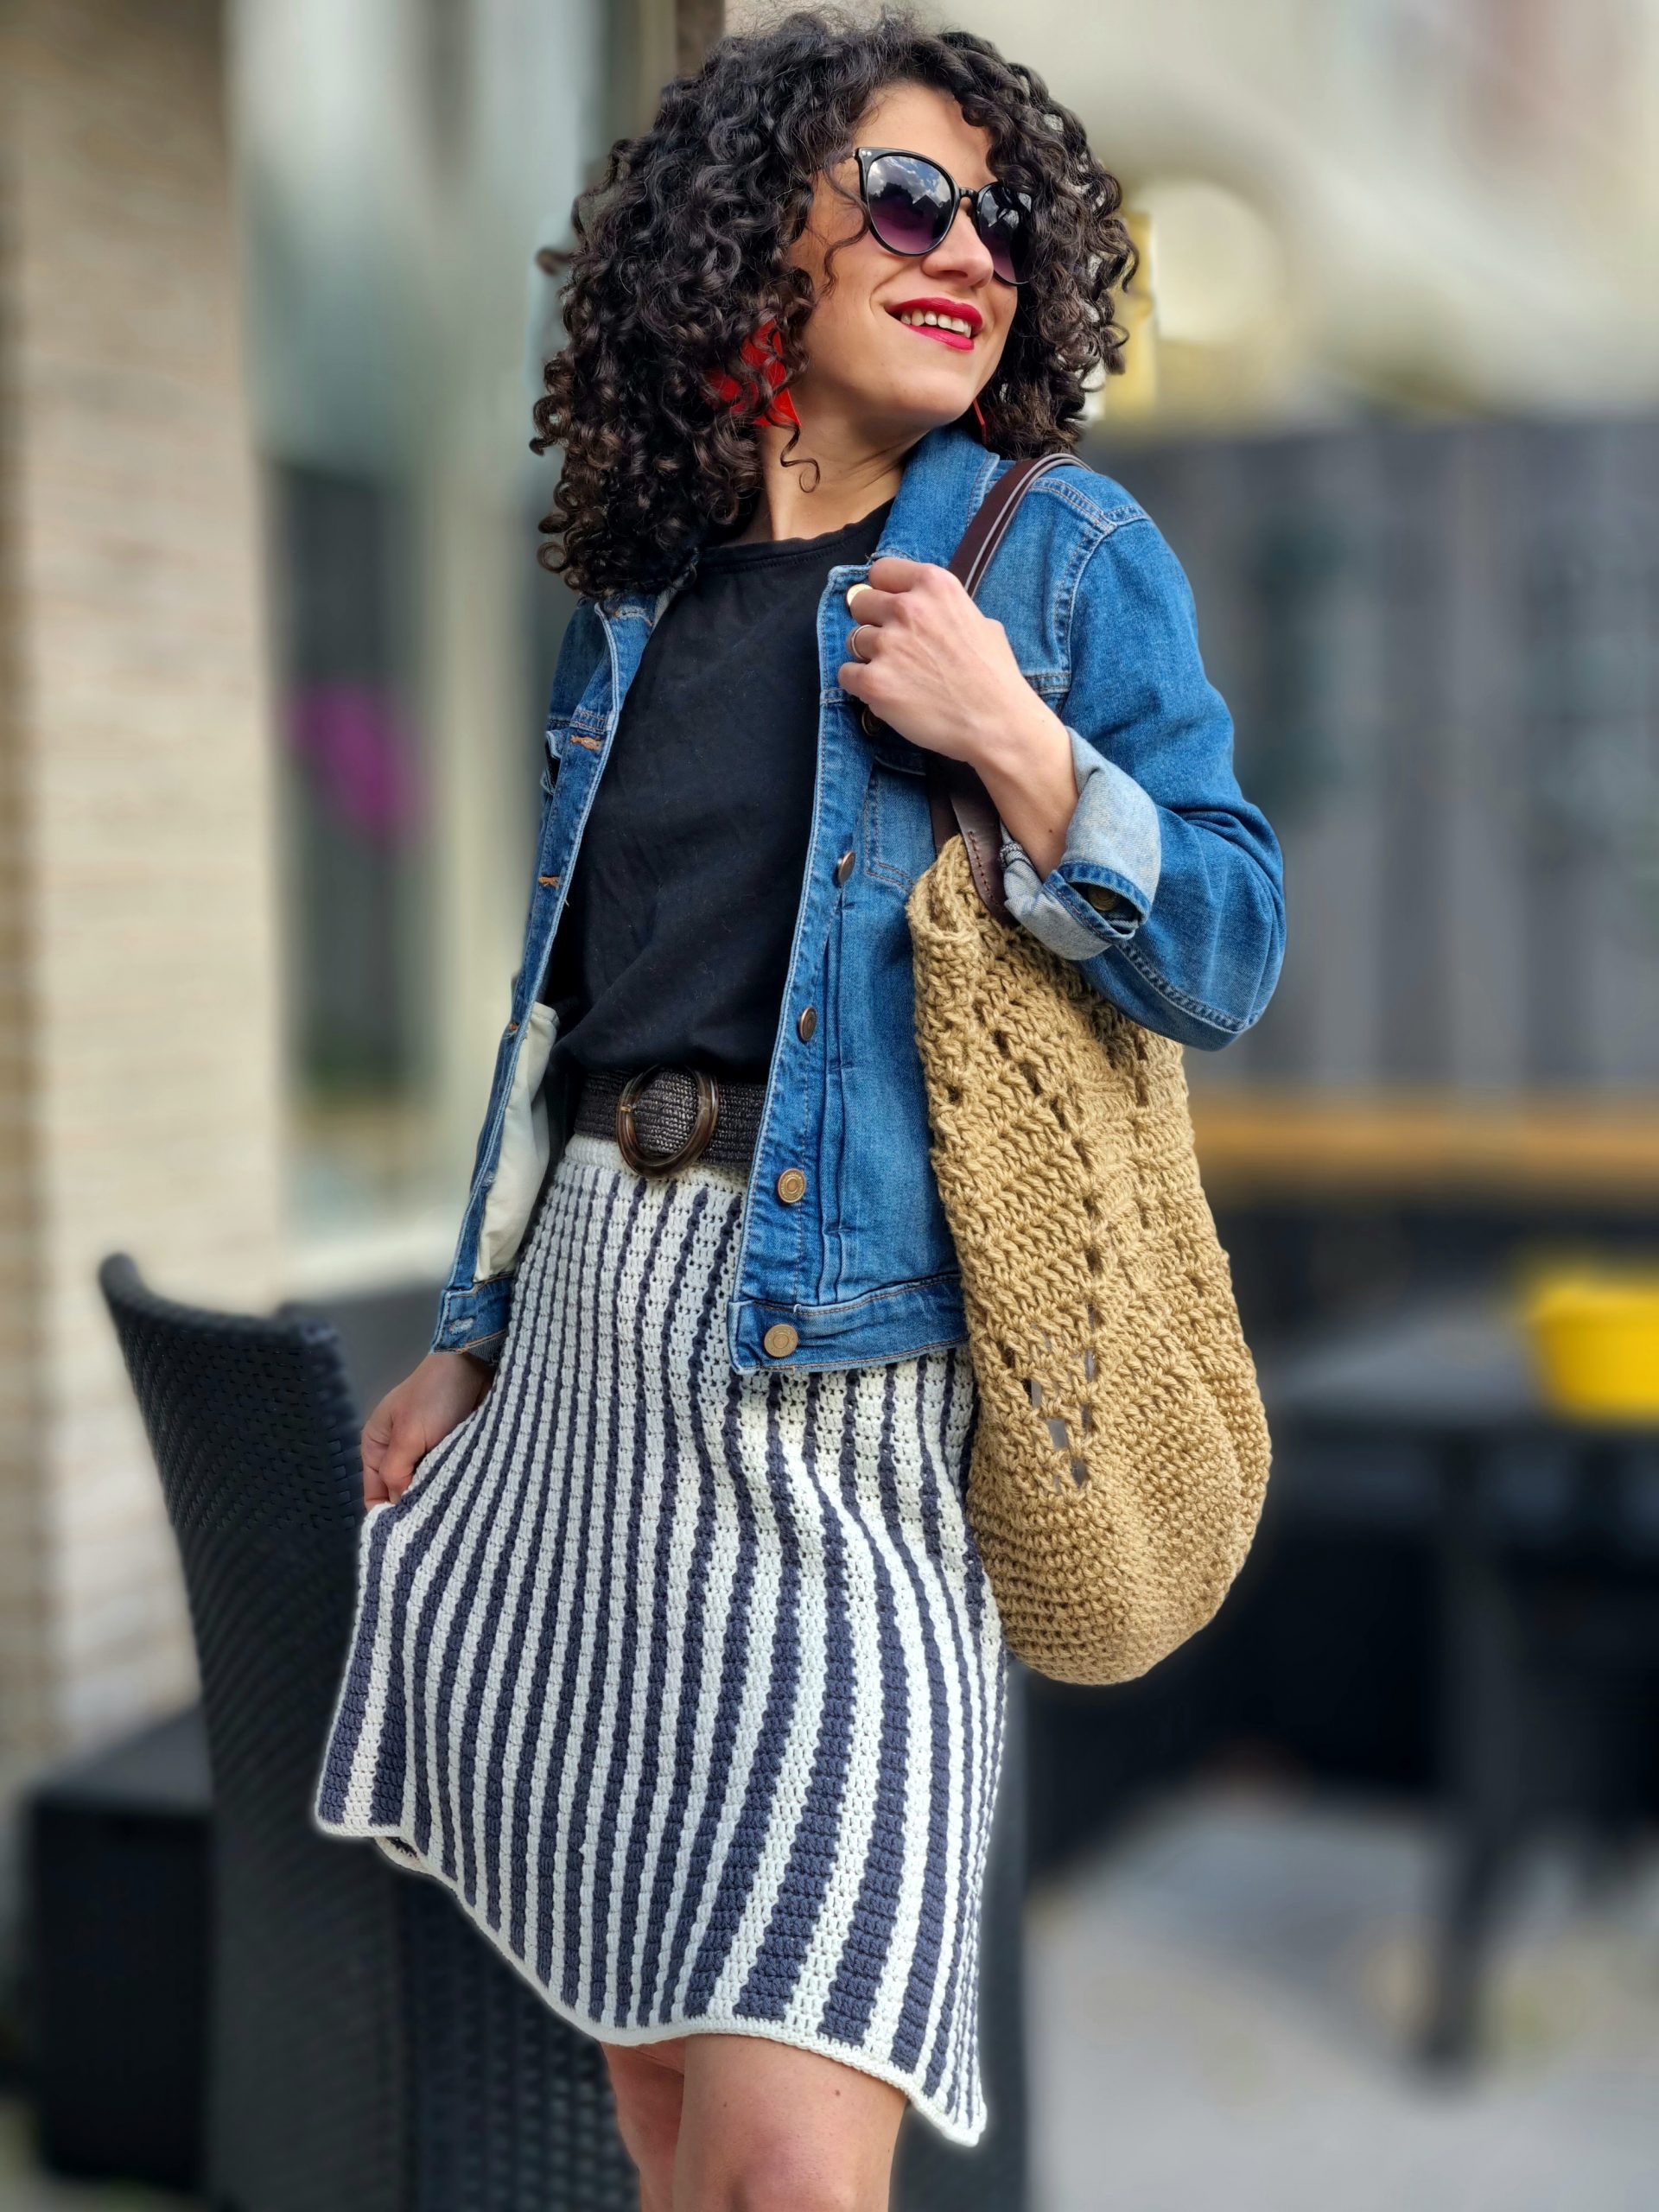
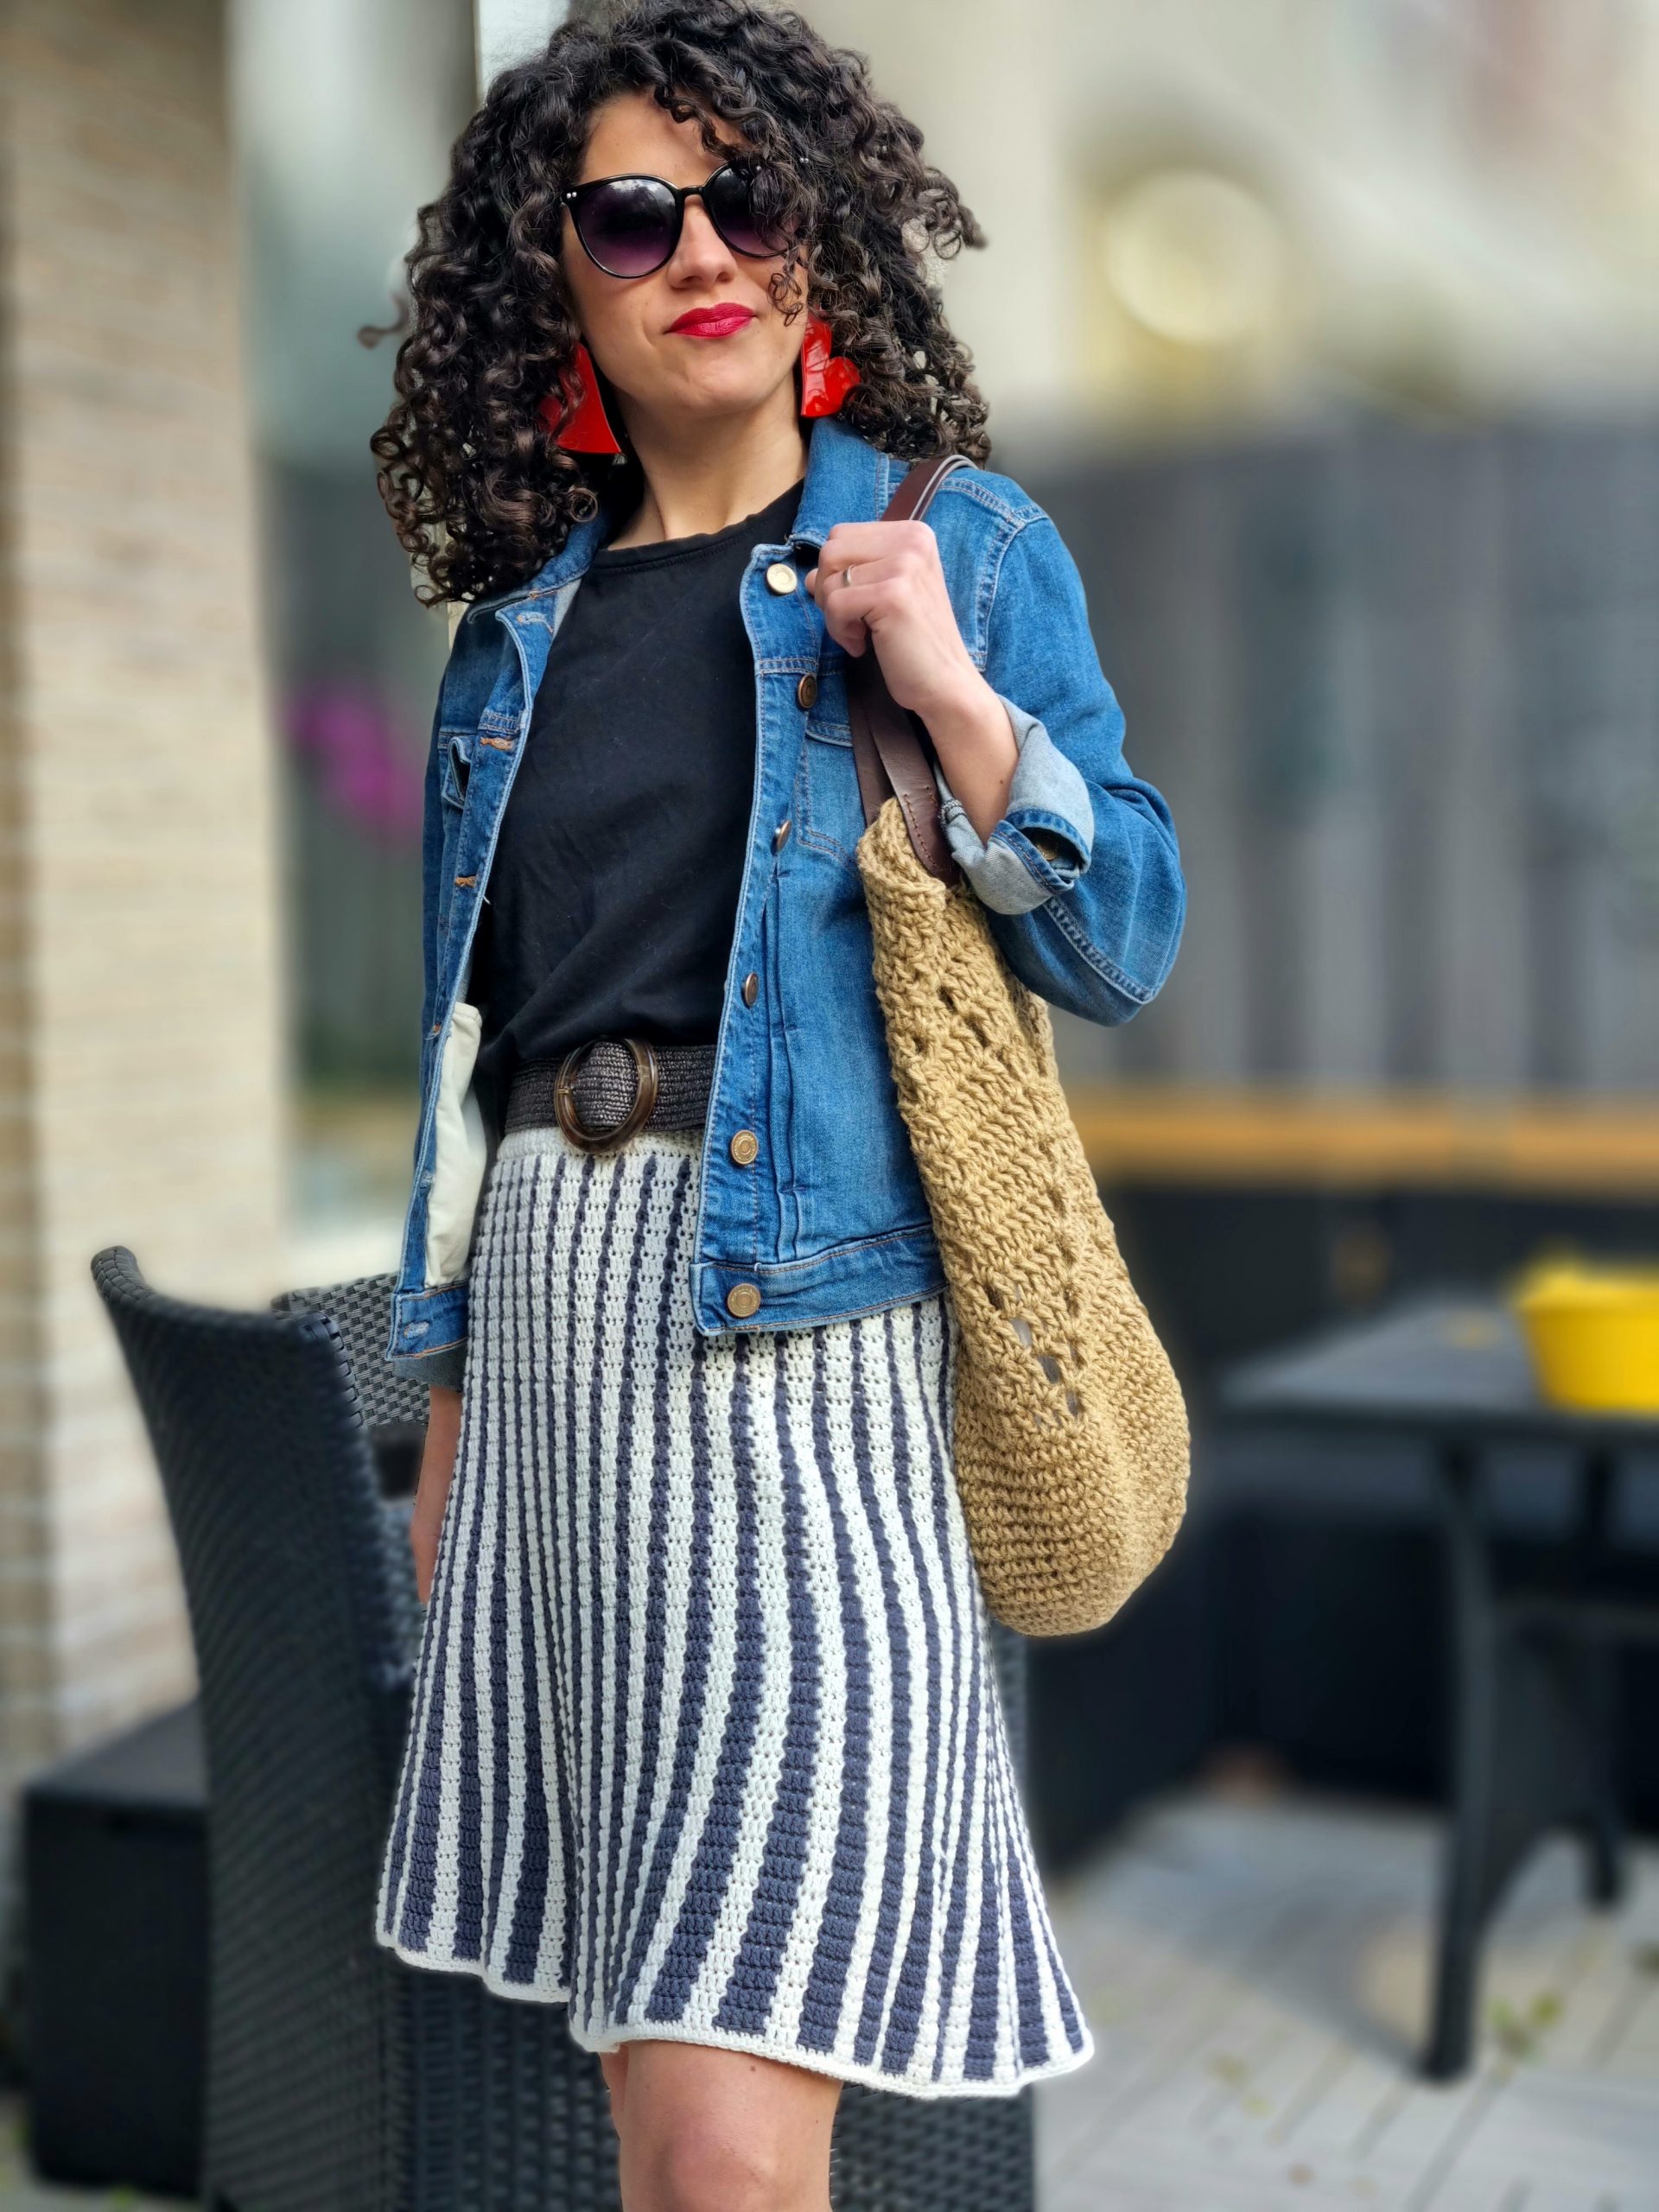
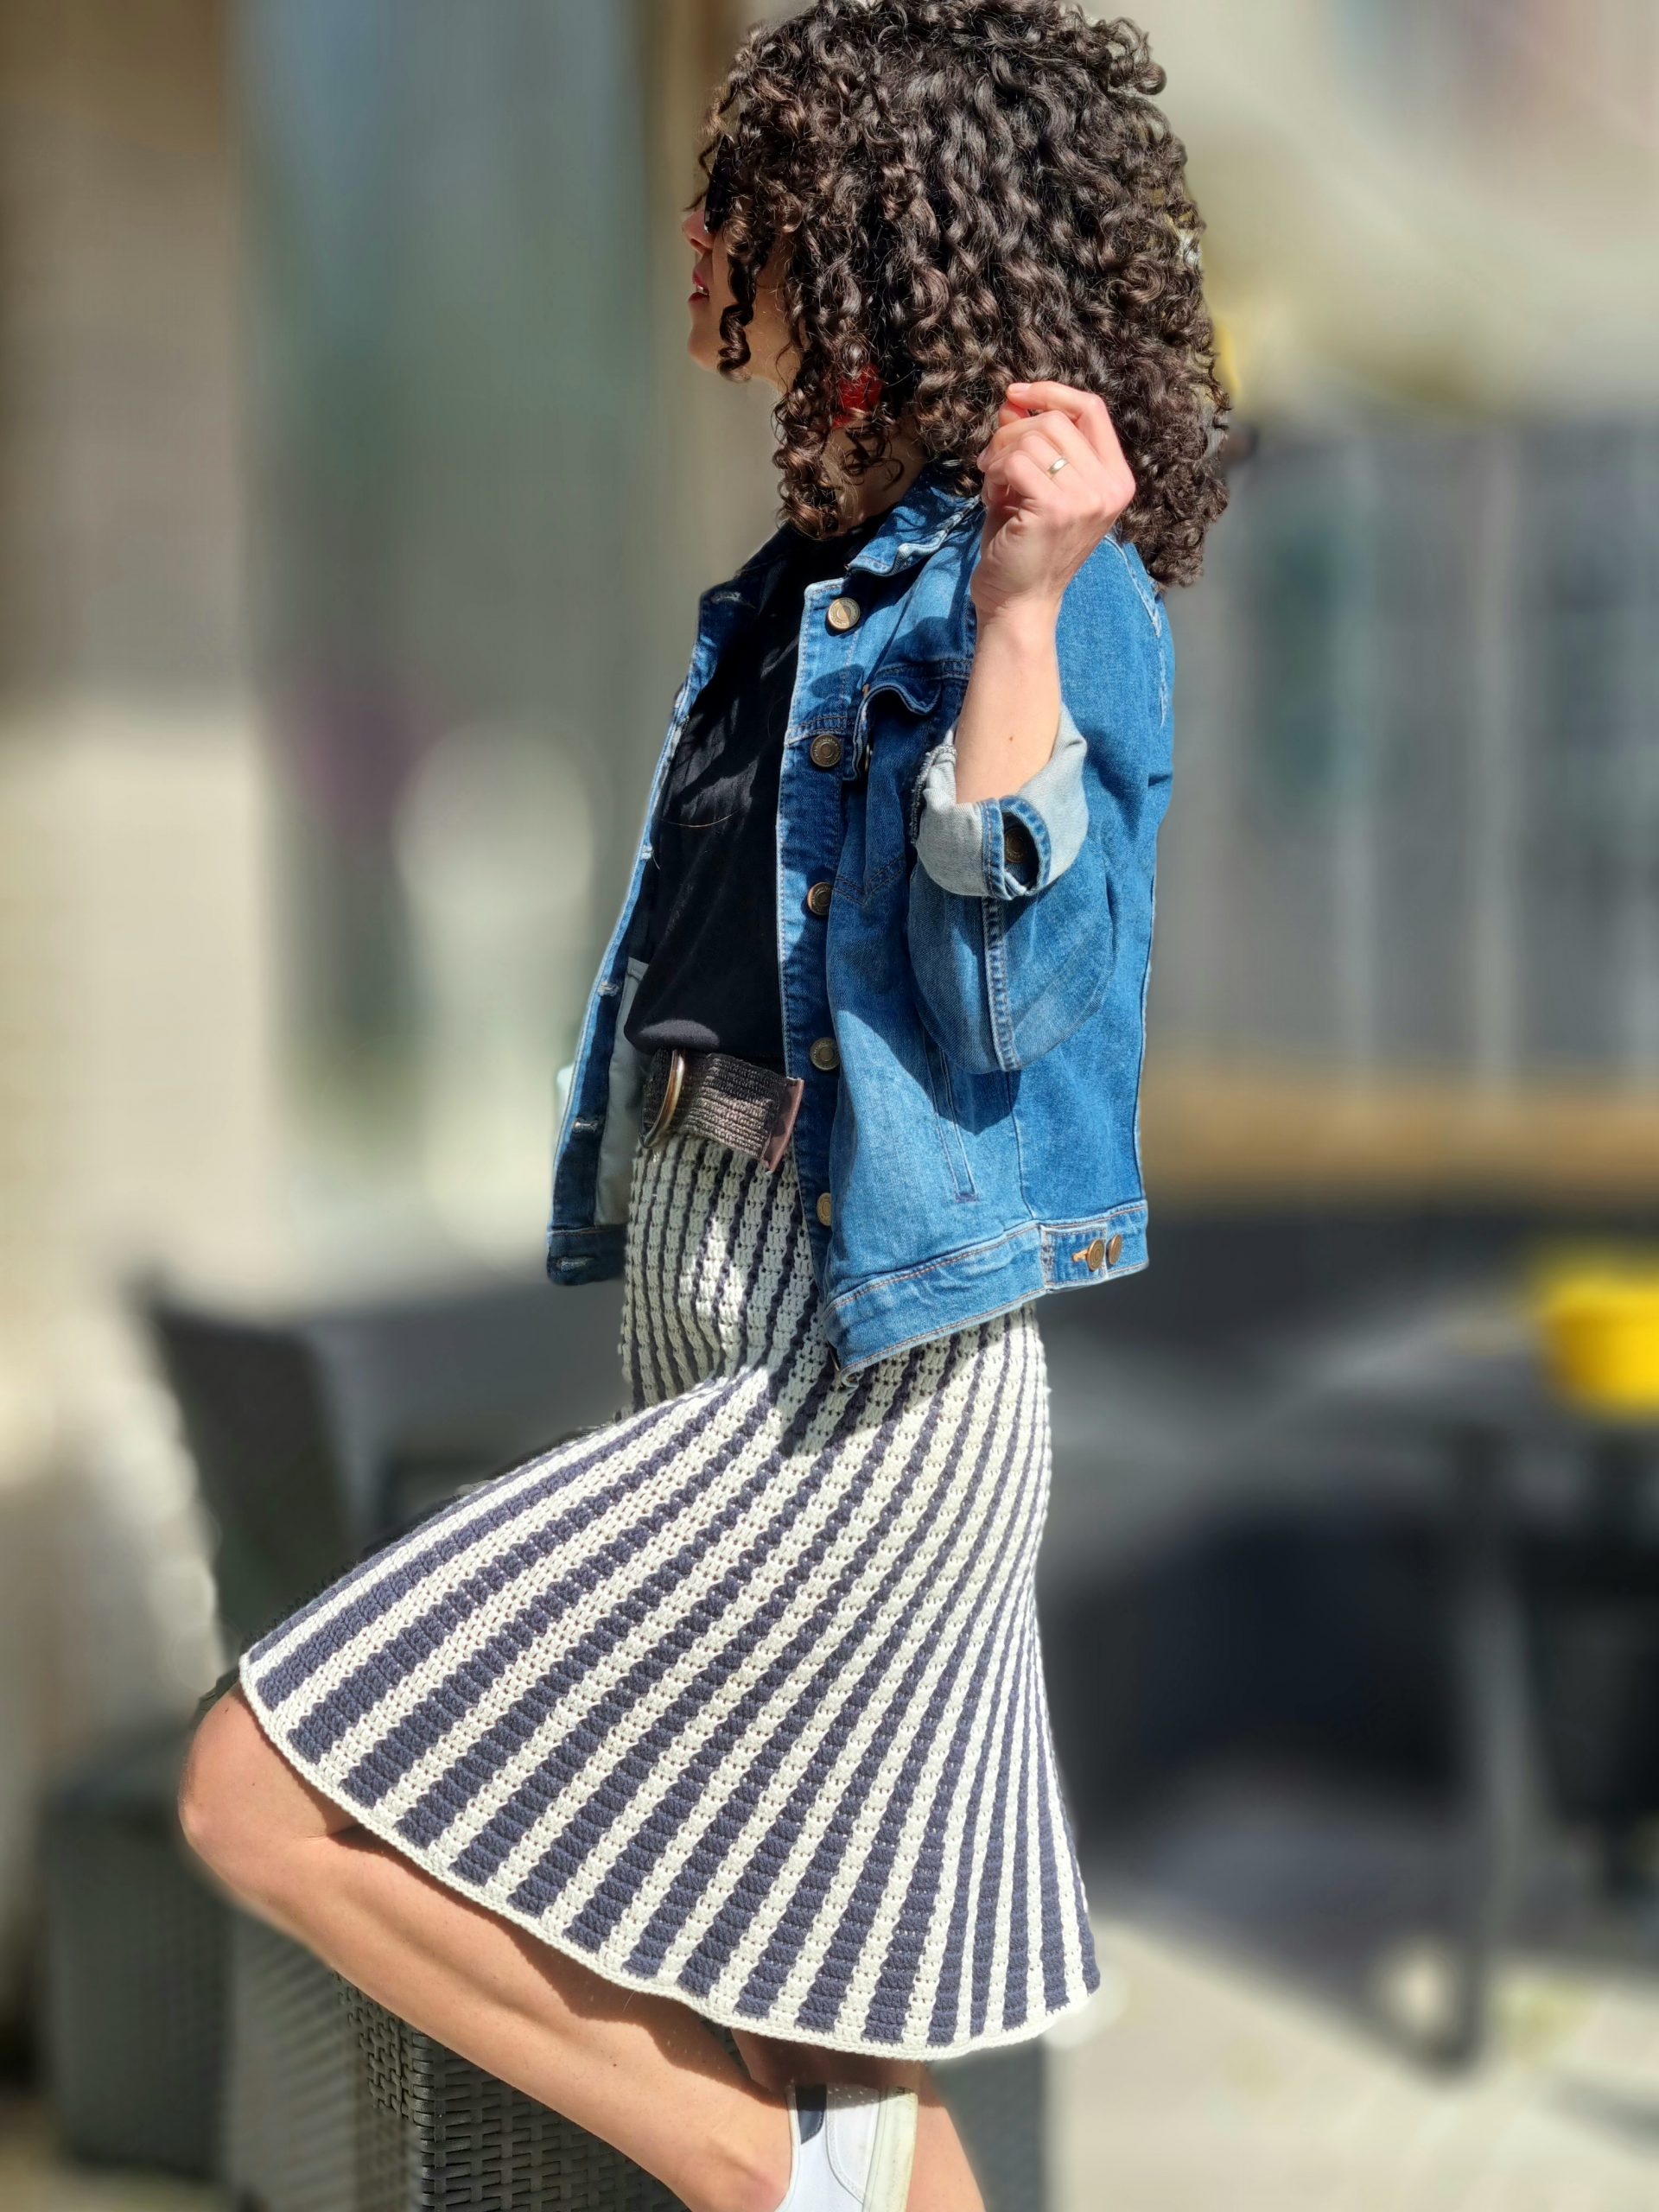
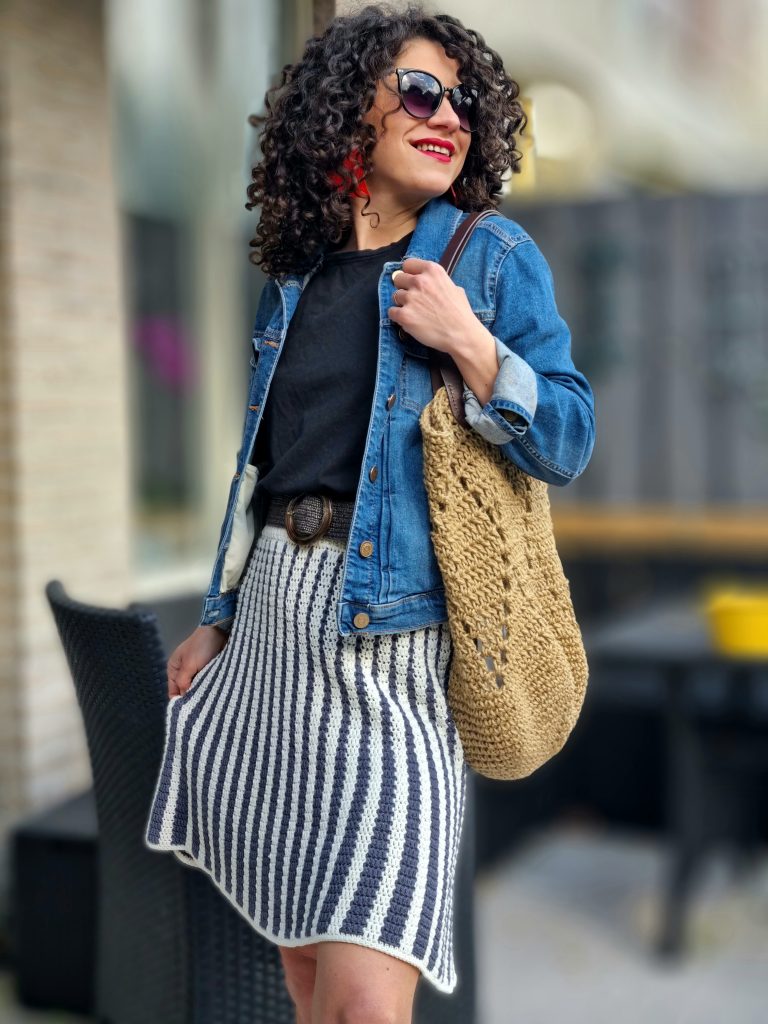
I was super excited when I began working on the Sensu Skirt back in December! The idea for this design popped into my head after stumbling upon a similar skirt online. The one I saw wasn’t crocheted or knitted; it was actually made out of fabric. However, I was determined to put my crochet skills to the test and recreate that pattern using yarn. I couldn’t wait to see if I could bring my vision to life!
Everything was going great until I faced the challenge of choosing a name for this design. The only thing that popped into my mind was “zebra,” but I envisioned this skirt in a variety of color combinations and didn’t want to name it solely based on the colors of this sample. Fortunately, this community has been incredibly supportive, and when I reached out for name suggestions, I was overwhelmed with hundreds of gorgeous ideas.
You can purchase the easily printable PDF pattern here at the links below. The PDF contains stitch charts, also.
“Sensu Skirt” was the name suggested by storpuman_smyckar, meaning “folded fan” in Japanese. I loved it from the first time I saw it.
Ok! I am done with the back story and ready to share how you can make the Sensu Skirt.
MATERIALS
• Yarn: Size 2, Fine (Sport) weight yarn
• Crochet Hook:
o 4 mm crochet hook
• yarn needle for weaving in ends
• Scissors
• 2cm wide elastic band (it should be around 5-7cm shorter than the waist circ)
NOTES ABOUT DESIGN
The Sensu Skirt has a top-down construction.
Start with the waist ribbing and then work in the round using the mosaic crochet technique and an increased pattern to make it flared.
MEASUREMENTS AND SIZES
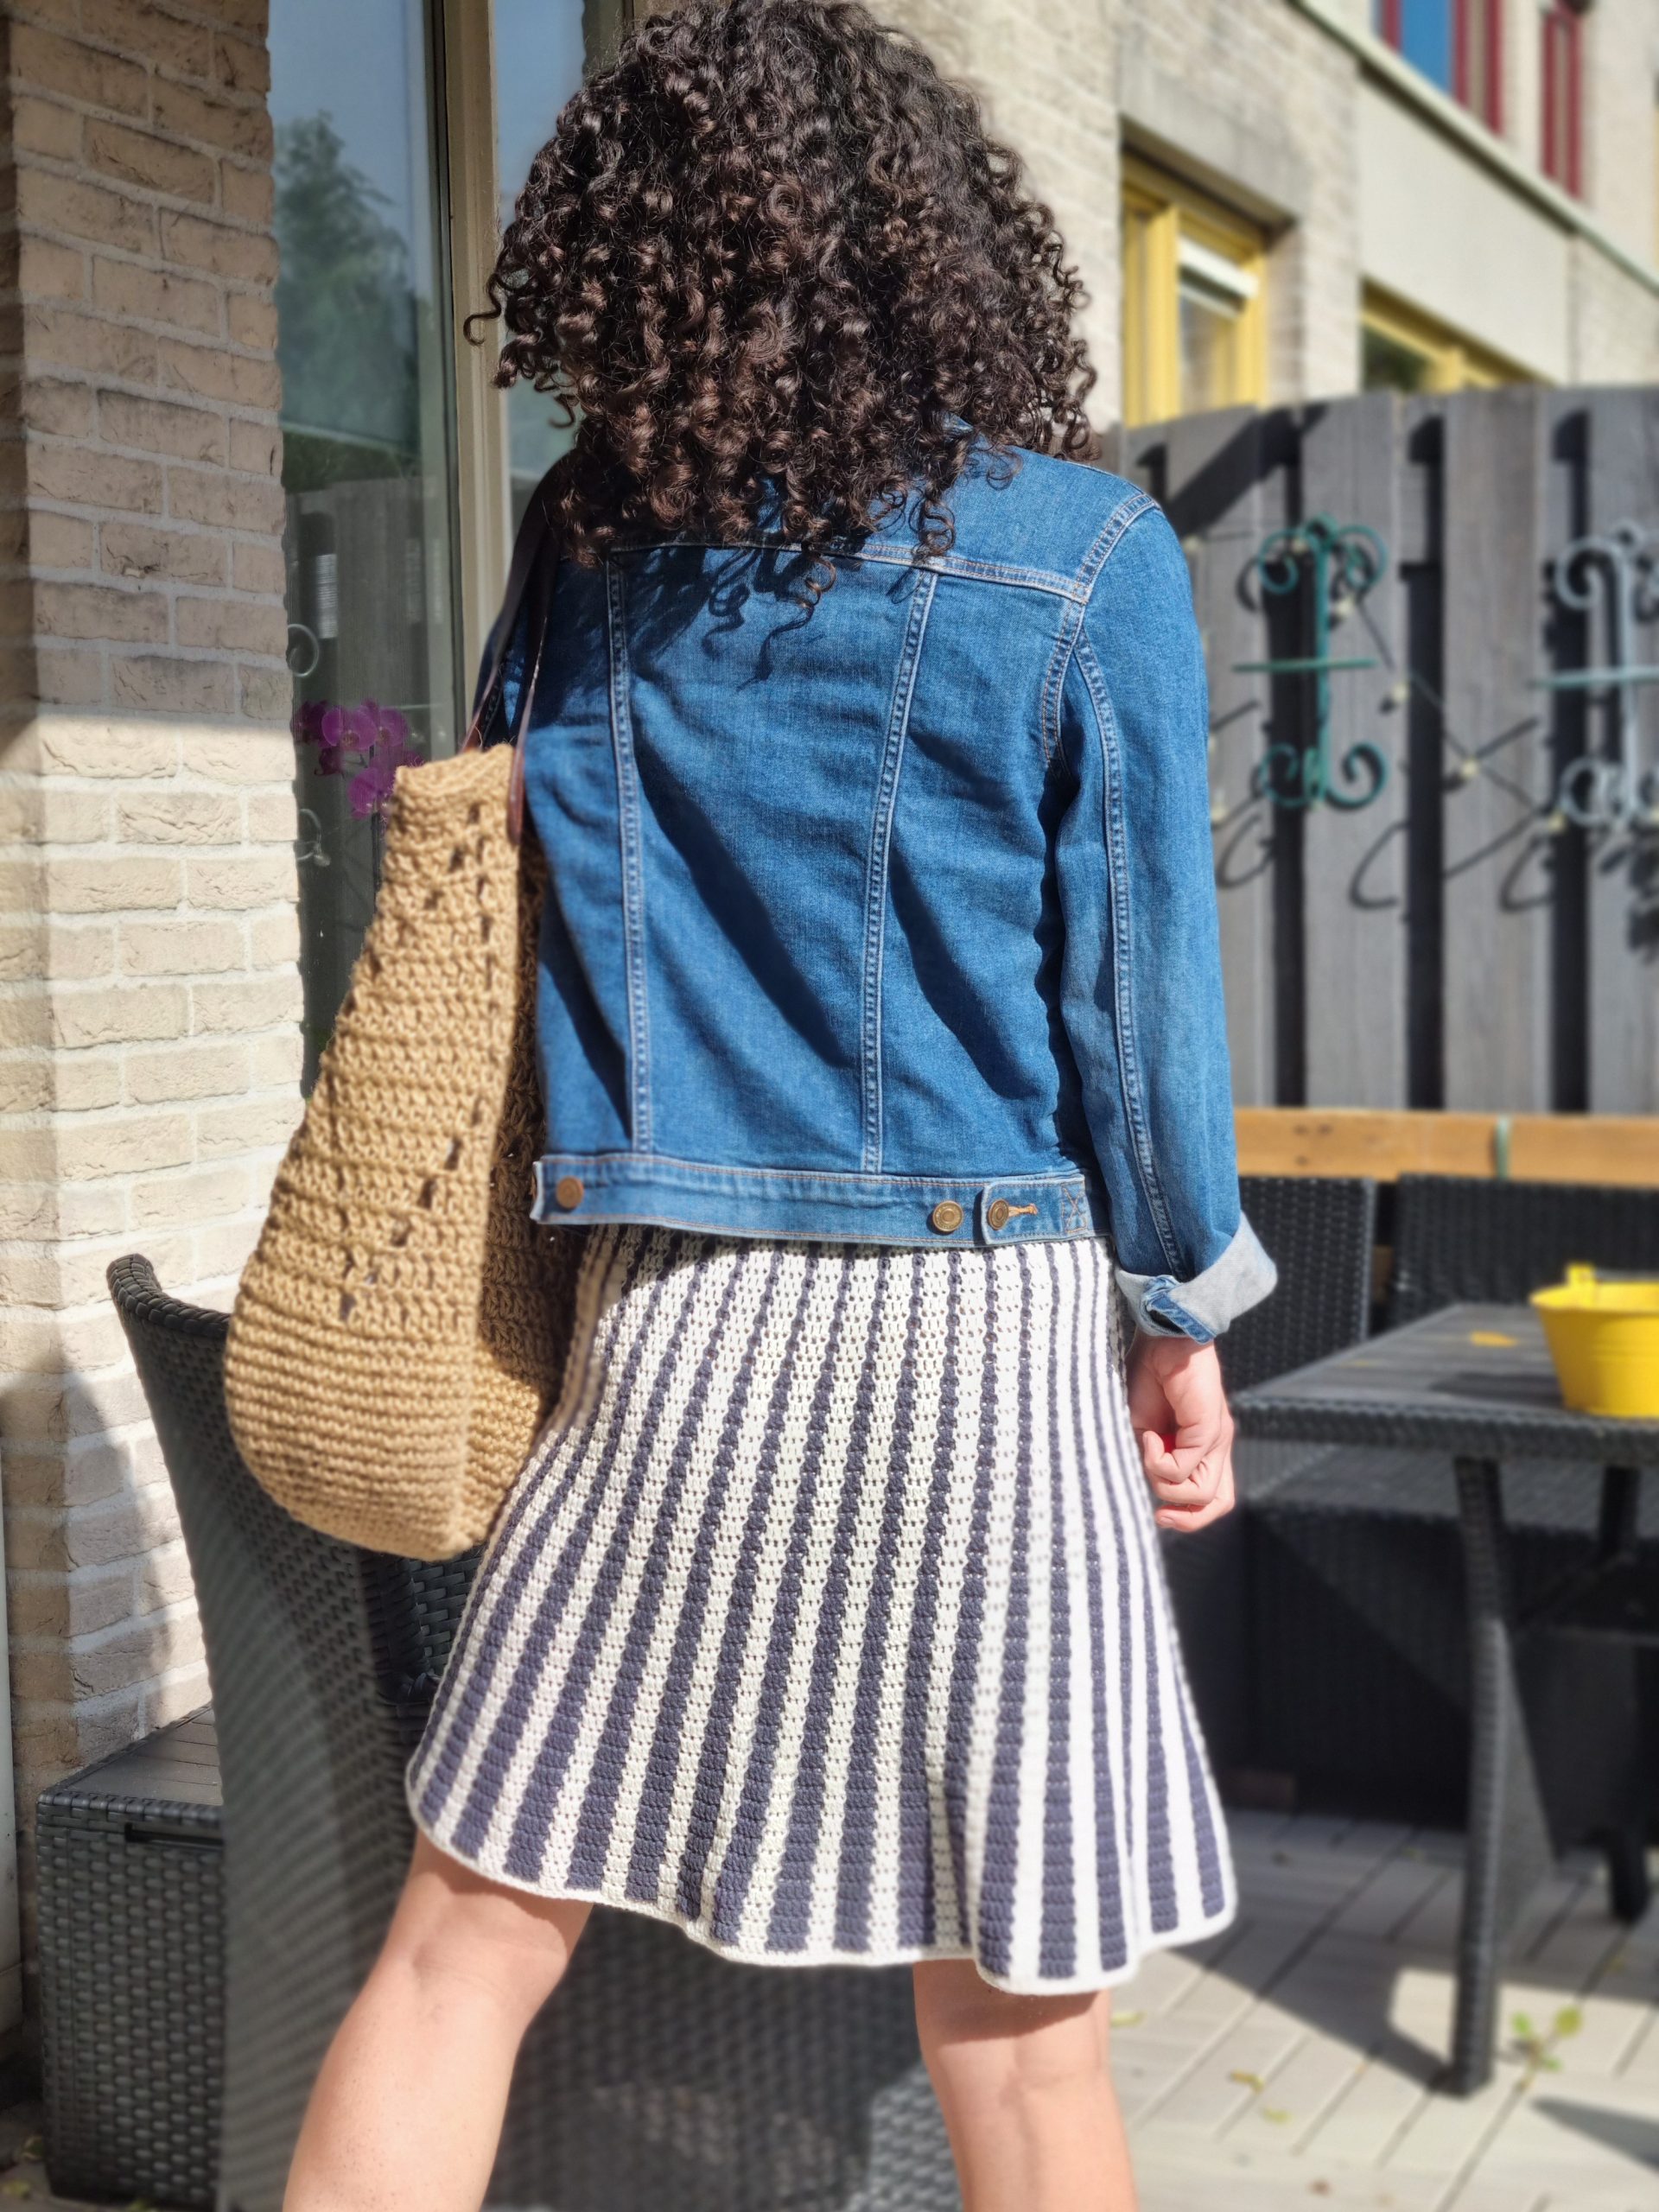
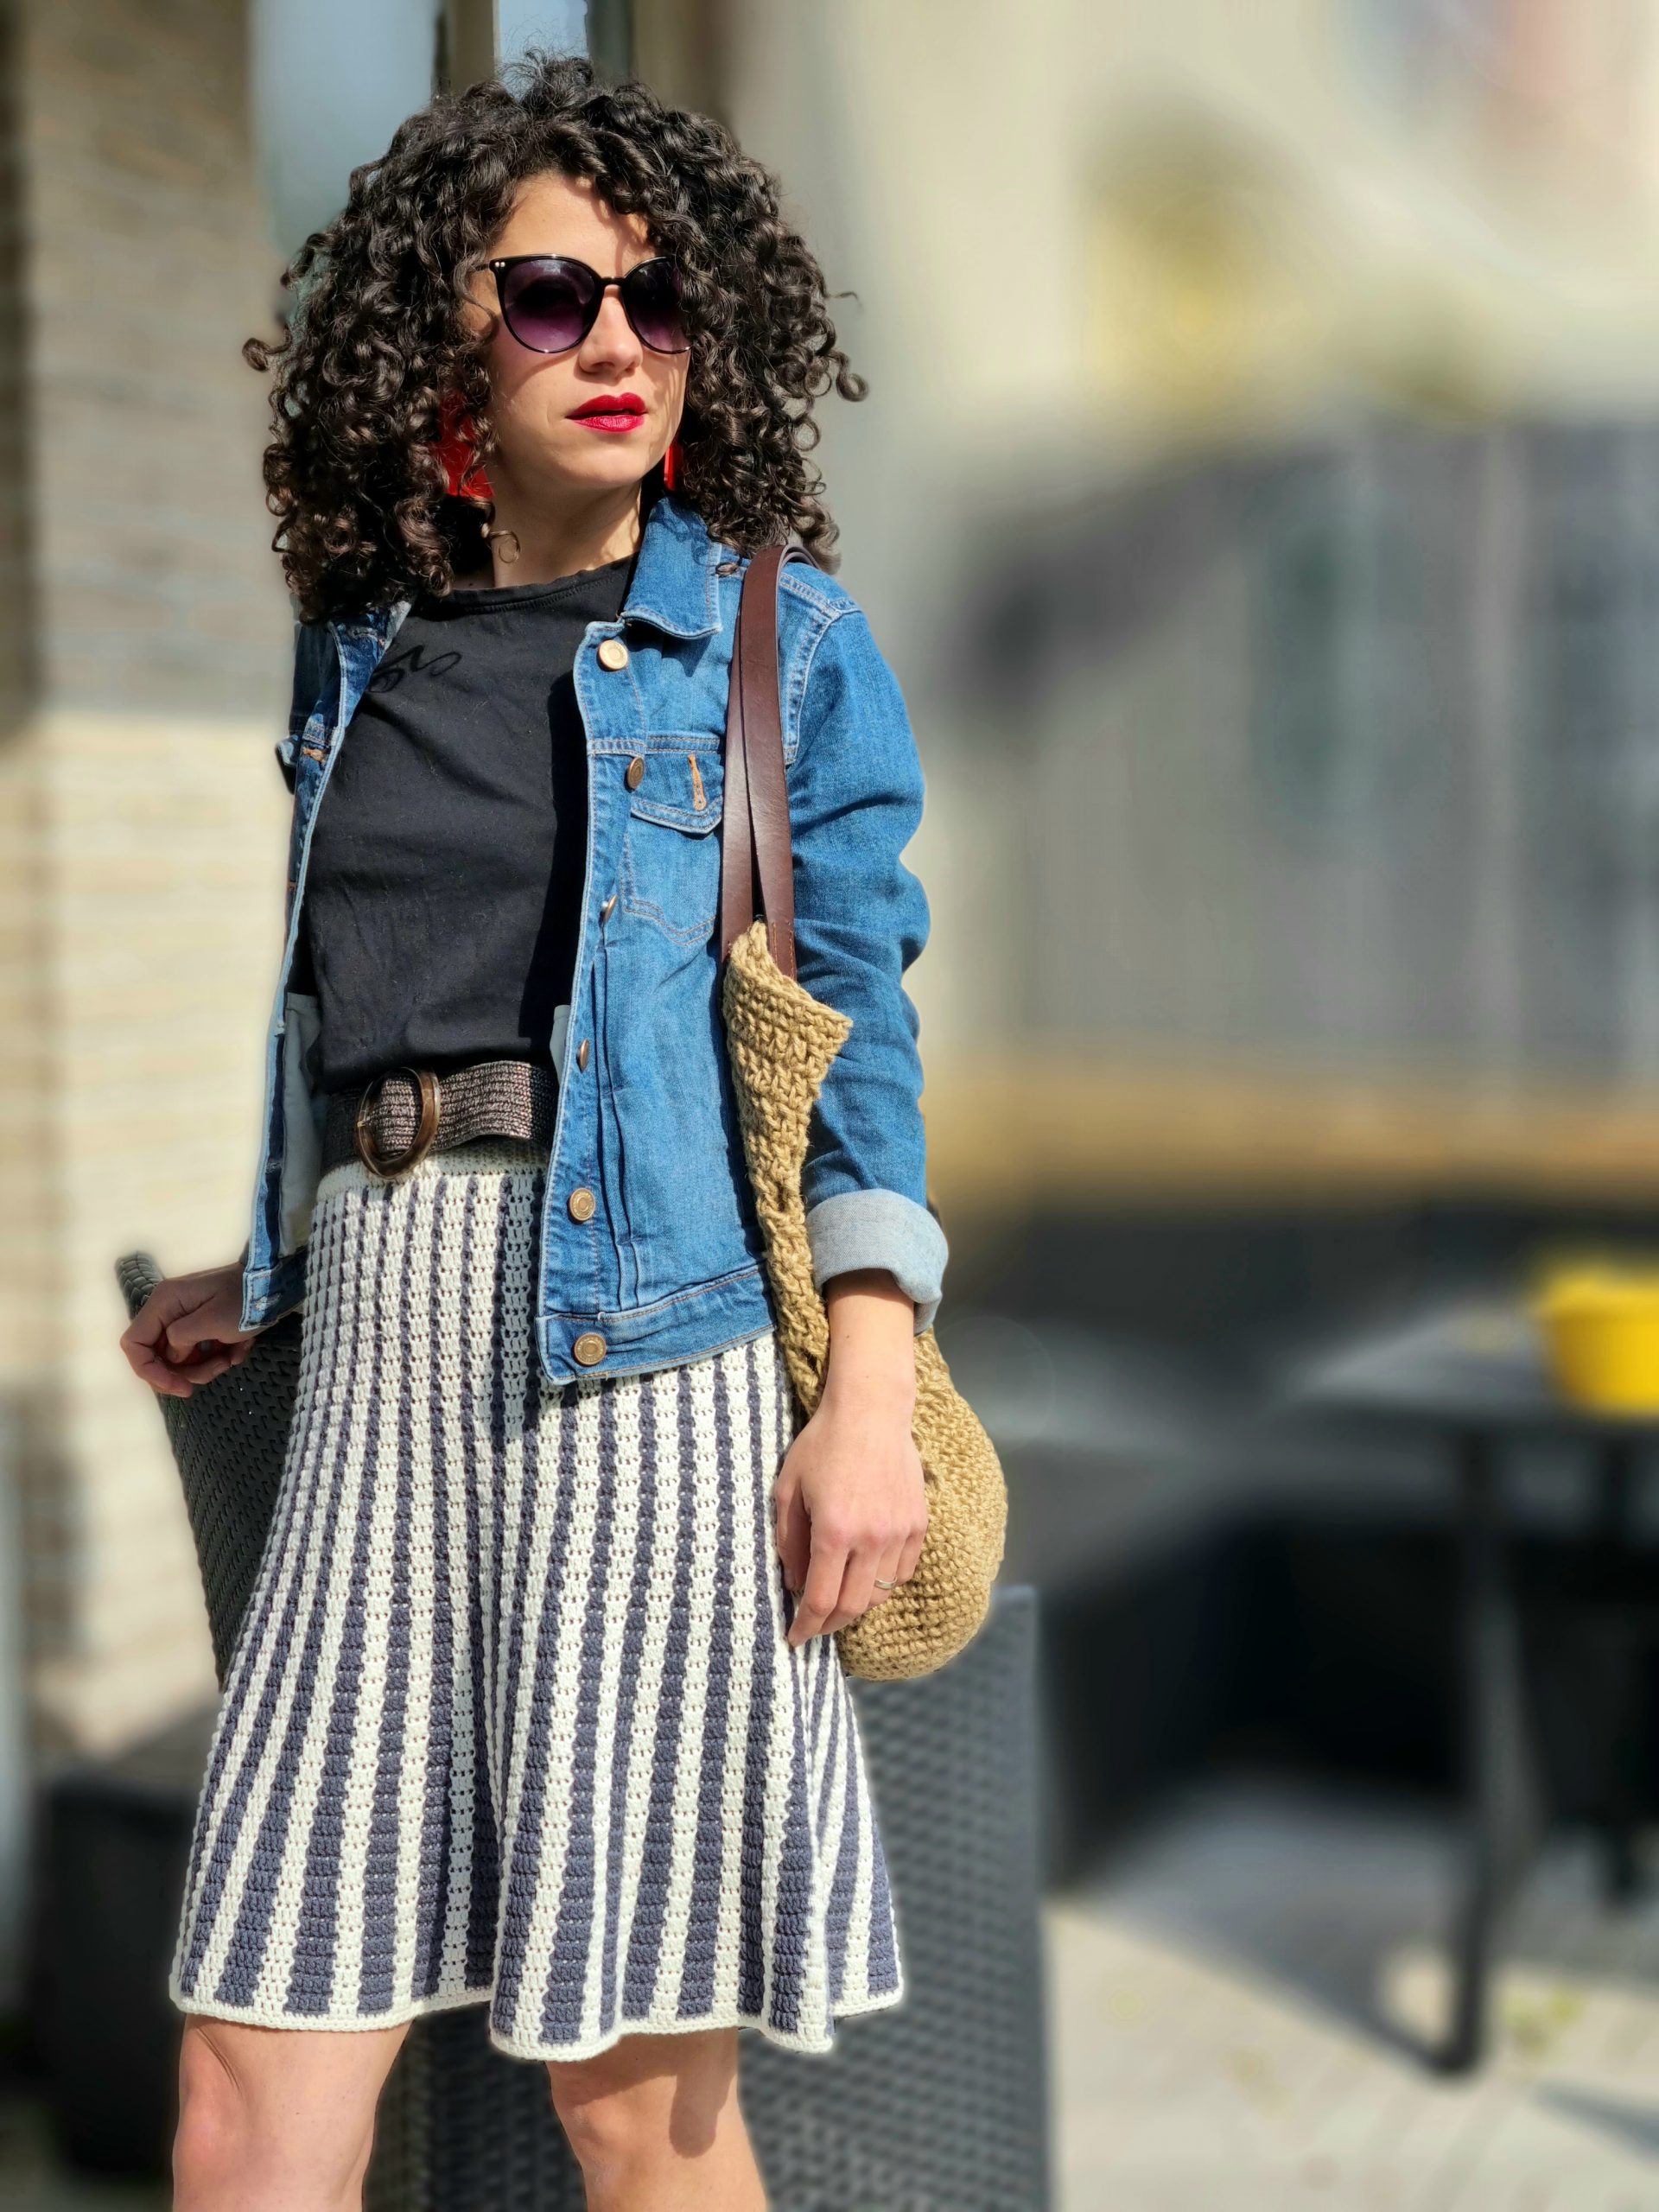
The Sensu Skirt Pattern is available in 8 sizes, from S up to 5X Large. The model is 168 cm tall, with a 90 cm hip circumference, and wears a size Small.
The numbers are written below as follows: S (M, L, XL) ( 2XL, 3XL, 4XL, 5XL);
All the measurements use as reference Standard Body Measurements by ASTM International.
The Sensu Skirt Pattern is easily adjustable, and you will find indications on how to customize the pattern so that the skirt fits your Body.

Final Measurements of the Sensi Skirt
Waist circ a: 63 cm (71, 78, 86) (94, 102, 109, 117)
Hips circ. b: 103 cm (115, 128, 140) (153, 165, 178, 190)
Bottom Circ. c: 144 cm (161, 179, 196), (214, 231, 249, 266)
Length d: 44 cm (44, 44, 44) (44, 44, 44, 44)
*The measurements for the waist are taken without stretching; as a reference, the model’s actual waist circ. is 73 cm, and the skirt ribbing is smaller by about 10 cm;
How much Yarn you will need
For the Sensu Skirt, I used: Rainbow Bamboo by Hobbii Yarn; Yarn composition: 60% bamboo viscose, 40% cotton; Each ball has 100 grams and are approximately 250 meters (246 yards)
Colors 02 – Natural White and 06 – Steel Grey
For each size, you will approximately need:
Color A (Natural White): 695 (773, 856, 935) (1019, 1098, 1182, 1261) meters
Color B (Steel Grey): 585 (655, 730, 801) (877,948, 1024, 1095) meters
ABBREVIATIONS
Ch – chain
Sc – single crochet
Sssblo – slip stitch back loop
dc – double crochet
ss – slip stitch
St(s) – stitch(es)
R – round
** – repeated section.
TENSION
Using 4mm crochet hook in the Ribbing Stitch Pattern (ssblo)
10sts = 4cm
26 rows = 10cm
Using a 4 mm crochet hook in mosaic st pattern (counting only the surface sts)
20sts = 10cm
10 rounds = 10cm
Using a 4mm crochet hook in dc, worked flat:
16sts = 10 cm
8.5 rows = 10cm
You can purchase the easily printable PDF pattern here at the links below. The PDF contains stitch charts, also.
STITCH PATTERN AND TECHNIQUES
OVERLAY MOSAIC CROCHET
The Sensu Skirt pattern employs the innovative overlay mosaic crochet technique, where the design is exclusively worked from the front side, using two contrasting colors, A and B, and each row alternates between the two. This method is ideal for round designs as it obviates the need for yarn breaks. Switching between colors is accomplished simply by dropping the current color and picking the other one.
The color pattern of the Sensu Skirt is uncomplicated, made even easier with the mosaic crochet technique, which eliminates the need for color changes within the same round.
The mosaic pattern is created by working all single crochet (SC) stitches into the top-back loops of the same row and dropping down all double crochet (DC) stitches into the front loops of the row below of the same color. This is where the term “overlay” comes from. The DC stitches cover up the SC stitches from the previous row, allowing you to overlay different colors.
When working on a mosaic crochet pattern, it is important to understand and know how to read a mosaic crochet chart. Within the PDF version of this pattern, you will find small mosaic crochet charts representing the section repeated in one round and the rounds repeated until the next increase.
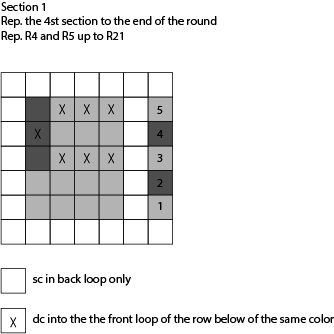
You can see above how the stitch chart looks like
Here are a few things that you will need to know:
1. The numbered columns on the right sides of the chart are color-coded with the color you will be using for the entire row, either A or B.
2. The color boxes in the chart only show you where the dc stitches will drop and give you an idea of how the rows will look like, but remember you don’t have to change the colors within the same round;
INVISIBLE SLIP STITCH
To close each round, use an invisible slip stitch.
Step 1: remove the crochet hook from the working loop;
Step 2: Insert the hook through the back loop of the first st, from back to front;
Step 3: Insert the hook through the working loop and pass the loop through the back loop of the first st;
CHANGING COLORS
After closing the round, with the invisible slip stitch explained above, take the following color to be used and pass it through the working loop; you now have the new working color yarn on the hook; pull the previous color strand and drop it until the next round;
STARTING THE ROUND
After changing the colors, start the next round by working the first st as the pattern requires (either a back loop sc or a front loop dc), without any additional chain.
You can purchase the easily printable PDF pattern here at the links below. The PDF contains stitch charts, also.
HOW TO ADJUST THE SENSU SKIRT PATTERN SO IT CAN FIT YOUR BODY
Step 1: measure the most prominent part of your body; it doesn’t matter if it is the waist or hips;
Use these measurements as a reference for the starting chain;
Step 2: Make a gauge swatch, but using the mosaic crochet stitch so that you will have a better view of the final fabric; you can make this swatch flat and without cutting the yarn after each row; You can see in the video tutorial here, how you can do it.
Step3: the starting chain should be between 5 – 10 cm smaller than the circumference of the most prominent part if this is the hips area and 5 -10 cm bigger if it is the waist area; for example, the model hips circumference is 90 cm, and the starting chain of the sample is 82 cm.
Step 4: having the starting chain required length, transform it into sts according to your gauge;
Step 5: approximate the number of sts to have a multiple of 4.
If the starting chain is bigger than your waist circumference, this will be adjusted with the elastic band.
HOW TO ADJUST THE SENSU SKIRT LENGTH
I divided the length of the skirt into 4 sections. At the end of each section, I did the increases. Each section has 40 rounds or 20 surface rounds.
The most critical section is the one between the waist and hips (mostly if the hips circ. is the most prominent part). If your body shape requires this first section to be smaller, meaning you need fewer rounds before the first increase, you can make the first round of increases sooner.
If you want the skirt to be more flared, you can divide the length into more sections and keep increasing on the last round of each section.
The idea is to divide the skirt’s length into sections of rounds so the stripes have a nice pattern; the exception is when you only want to adjust the section between the waist and hips.
PATTERN NOTES
– read carefully the STITCH PATTERN AND TECHNIQUES section, where you will find the information about mosaic crochet, how to close and start the rounds, and how to change colors;
– in the instructions below, color A represents the Natural White color on the sample, and color B is the Steel Grey Color.
– the increases are always made on a color B round.
– always work the increases into the last st of a section repeat;
– for the sample, the waistband is worked in a slip stitch in the back loop only pattern; you can change it to a different pattern even if the gauge is different; the waist will be adjusted with the elastic band;
-change the color at every round;
INSTRUCTIONS
The numbers are written in the pattern below, S (M, L, XL) ( 2XL, 3XL, 4XL, 5XL) unless the numbers apply for all the sizes.
WAISTBAND RIBBING
Using color A
Start: ch21
R1: start into the second st, 1ss in each st until the end of the row; 1ch and turn;
*tip: place an st marker into the first and last st of this row; it will be helpful when folding and starting joining the folded waistband
R2: 1ssblo in each st to the end of the row, 1ch, and turn
Rep. R2 until you have 164 (184, 204, 224) ( 244, 264, 284, 304) rows
join the ends using slip stitches to make a circle.
Prepare the elastic band;
– I recommend using a wide elastic band because it will hold better the weight of the skirt;
– The elastic band length has to be shorter than your waist, and it depends on how stretchy the elastic is;
– For reference, the model’s actual waist measurement is 73cm, and the elastic band length is 54 cm. It is important to feel comfortable around your waist.
– Sew the ends of the elastic band
Fold the ribbing in half and insert the elastic band inside the fold;
Use a single crochet stitch to join the edges; insert the hook into the corresponding row through both sides.
At the end of the joining round, you should have the same number of sc as the number of rows you worked for the waistband ribbing: 164 (184, 204, 224) ( 244, 264, 284, 304) sc.
You can purchase the easily printable PDF pattern here at the links below. The PDF contains stitch charts, also.
SKIRT
Change to color B
– When the written pattern says to work 1dc, work the dc into the front loops of the row below of the same color;
Change to color B
R2: Set up round: 1scblo in each st around;
Change to color A
R3: *1dc in next 3sts, 1scblo in next st; *rep. to the end of the round;
Change to color B
R4: *1scblo in next 3sts, 1dc; *rep. to the end of the round;
Change to color A
R5: rep. R3
Rep. R4 and R5 until you have 21 or 10 rounds if counting only the surface rounds.
Change to color B
R22 (inc, round): *1scblo in next 3sts, 2dc in the next st; *rep. until the end of the round;
R23: *1dc in next 3sts, 1scblo in next 2sts; *rep until the end of the round
Rep. R22 and R23 until R41
Change to color B
R42 (inc, round): *1scblo in next 3sts, 1dc in next st, 2dc in the next st; *rep. until the end of the round;
R43: *1dc in next 3sts, 1scblo in next 3sts; *rep until the end of the round
Rep. R42 and R43 until R61
Change to color B
R62 (inc, round): *1scblo in next 3sts, 1dc in next 2sts, 2dc in the next st; *rep. until the end of the round;
R63: *1dc in next 3sts, 1scblo in next 4sts; *rep until the end of the round
Rep. R62 and R63 until R81
R82: using color A, 1sc in each st around.
TO FINISH
Weave in all looser ends and block to measurements.
And done! You did an amazing job, and now you have a beautiful skirt!
You can find a helpful video tutorial here.
You can purchase the easily printable PDF pattern here at the links below. The PDF contains stitch charts, also.


Comments are closed.