Tag

crochet for babies

Browsing

The Pumpkin Sweater had to be posted last week, but I was super busy trying to finish some other projects that I had, that I didn’t have time to write.

But here it is:  an easy and super fun pattern.

I enjoyed making it and I hope you will try it.

Pentru postarea in limba romana, click aici
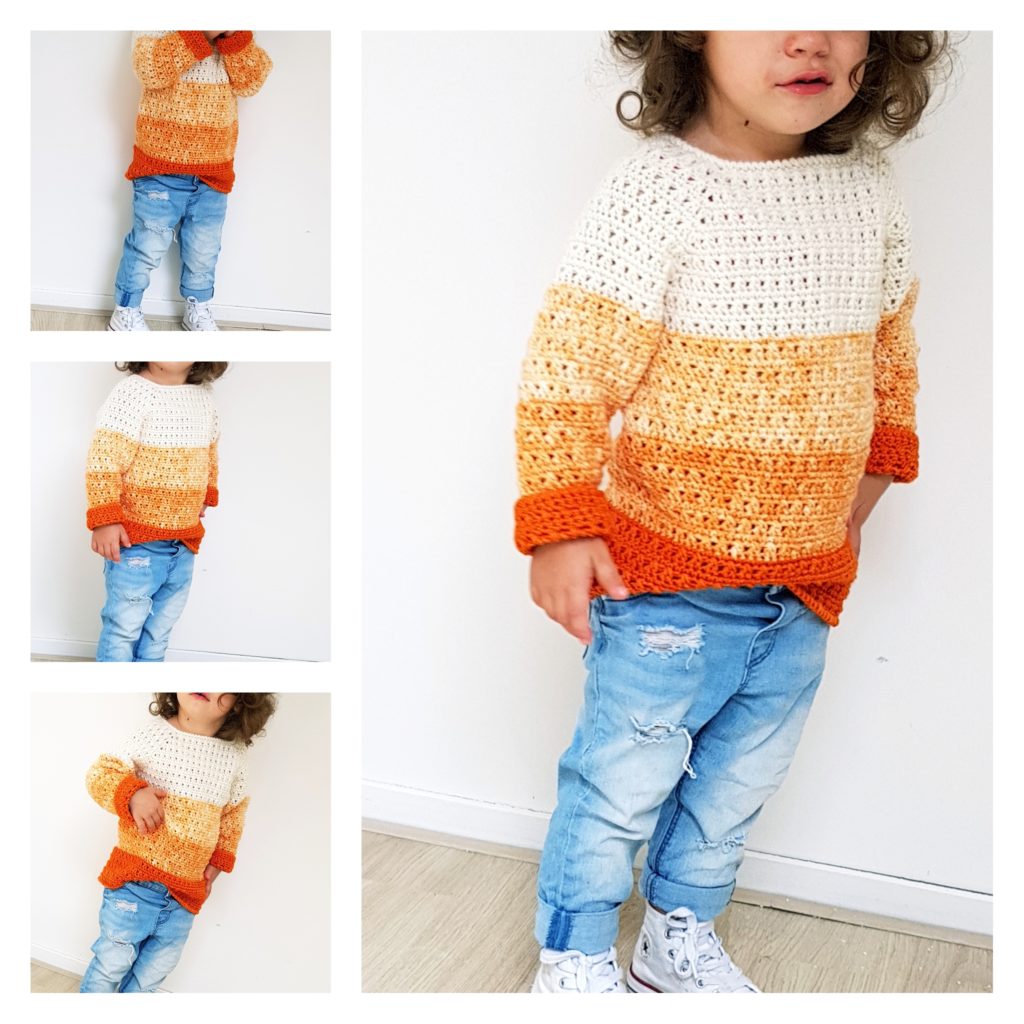
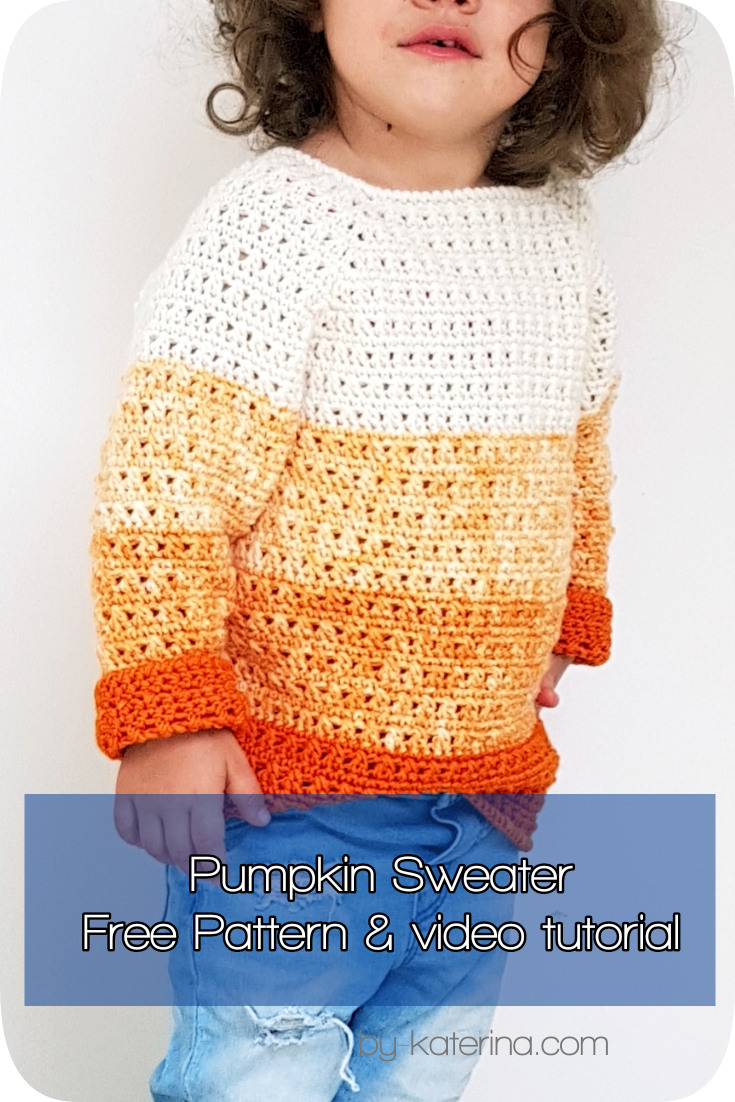
The Pumpkin Sweater Free Pattern and video tutorial

You can purchase the easy printable add-free pdf pattern from here

The idea of this Pumpkin Sweater came after I bought this beautiful Merino wool yarn which came in 4 skeins of 50 grams each (160 m) with a beautiful degrade. The Yarn is from hobbii.com and is called Mayflowers Merino the collection.

picture from hobbii.com

You can find there some beautiful colors.

This particular yarn is light and according with the weight is a fingering 4 ply yarn, but according with the thickness, I would say that is closer to a DK, worsted yarn.

So,  a DK worsted yarn might work too for this pattern. If you want to obtain the degrade, you can work with a thinner yarn, choosing two colors and working with 2 strands of yarn, using for the middle part, one strand of one color and one strand of the other.

The pattern is for sizes from 6 months up to 4-5 years and is wrote in US terms.

The total amount of yarn you will need for each size is:

  • 6 months – 140 gr/ 430 m/ 470 yds
  • 12 – 18 months – 160 gr / 510 m / 560 yds
  • 2 – 3 years – 170 gr / 545 m / 590 yds
  • 4 – 5 years – 200 gr / 630 m / 690 yds

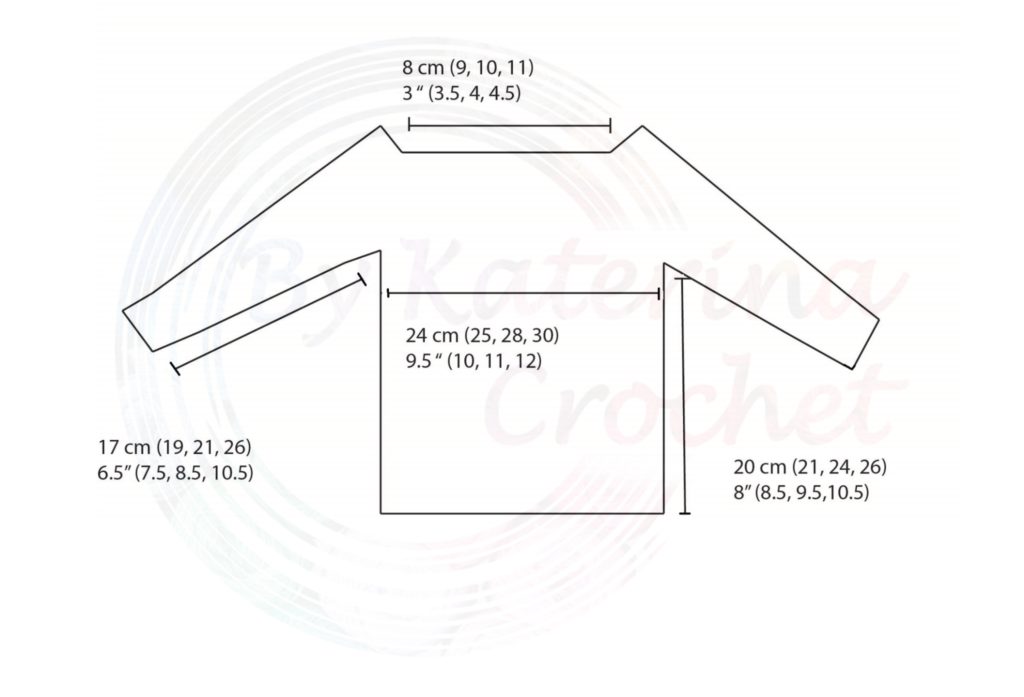
The final dimensions of the Pumpkin Sweater are in the diagram bellow:
About the design

The Pumpkin sweater is a raglan sweater worked from top to bottom.

Starting with a yoke and then separating the sleeves from the body of the sweater. Then working the sleeves and body individually.

I liked working with raglan because no assembly is needed.


You might also like:
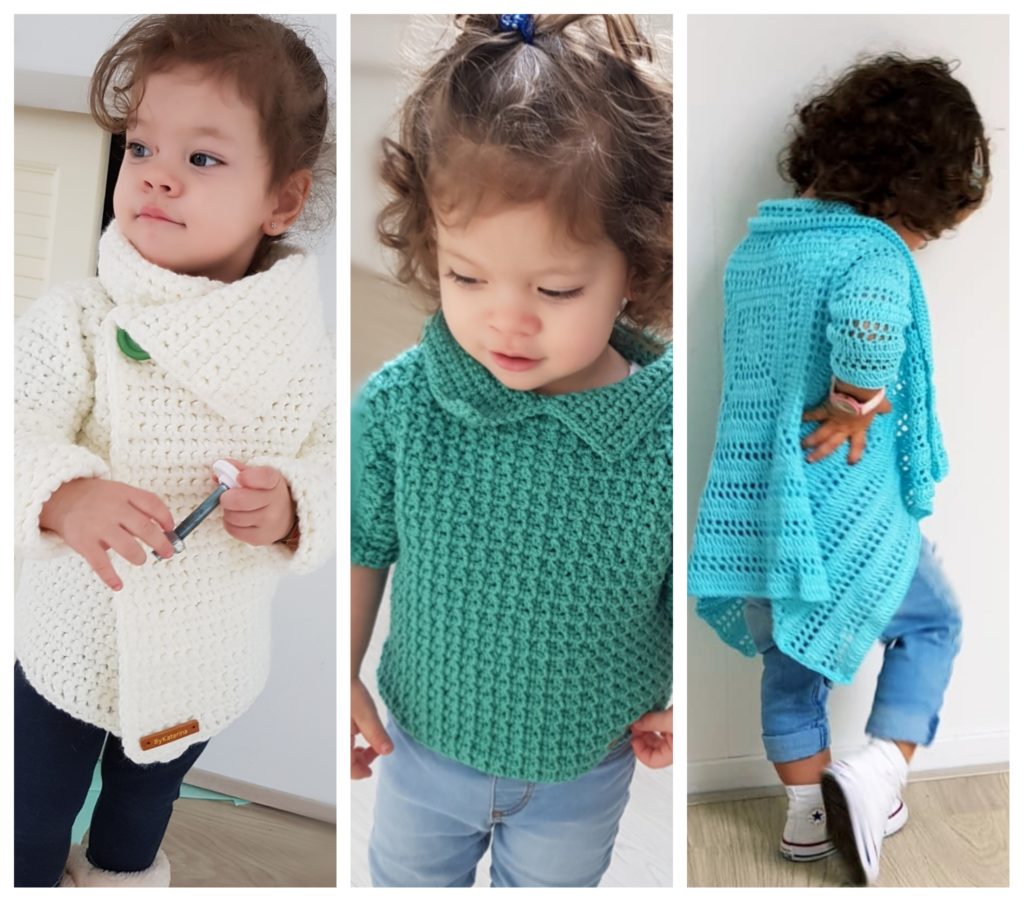
  1. Snowdrop Cardigan; 2. Mini Fancy Sweater 

3. Blue-Sky Cadi

The stitch that I used is the Cross Stitch. I alternate one round in single crochet and one in double crochet cross stitch.

Here is the stitch chart and the beginning of the yoke:
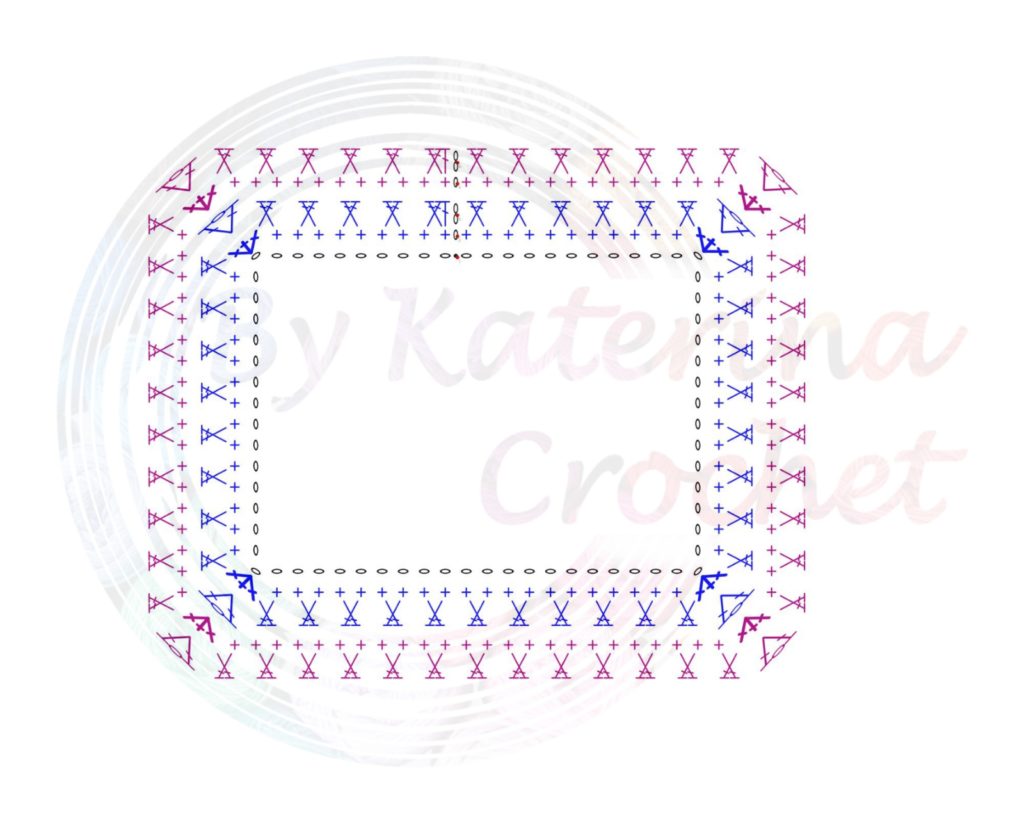
Pumpkin sweater stitch pattern chart

So, the first round will be in single crochet and the second in double crochet cross stitch.

For all the sweater we will only repeat these 2 rounds.

Cross stitch

Skip one stitch and make 1 dc in the next. Then go back and make 1 dc in the stitch that you skipped.

Abbreviation used in this pattern

Ch – chain

Sc – single crochet

Dc – double crochet

dc cross – double crochet cross stitch

St(s) – stitch (es)

Sl st – slip stitch

Inc – Increase (3 sc in the same st on the round in sc or 1 dc, ch 1, 1 dc on the round in dc cross)

Dec – decrease

Gauge

9 dc cross = 10 cm (4″)

18 sc = 10 cm (4″)

12 rows ( 1 sc and 1 dc cross) = 10 cm (4″)
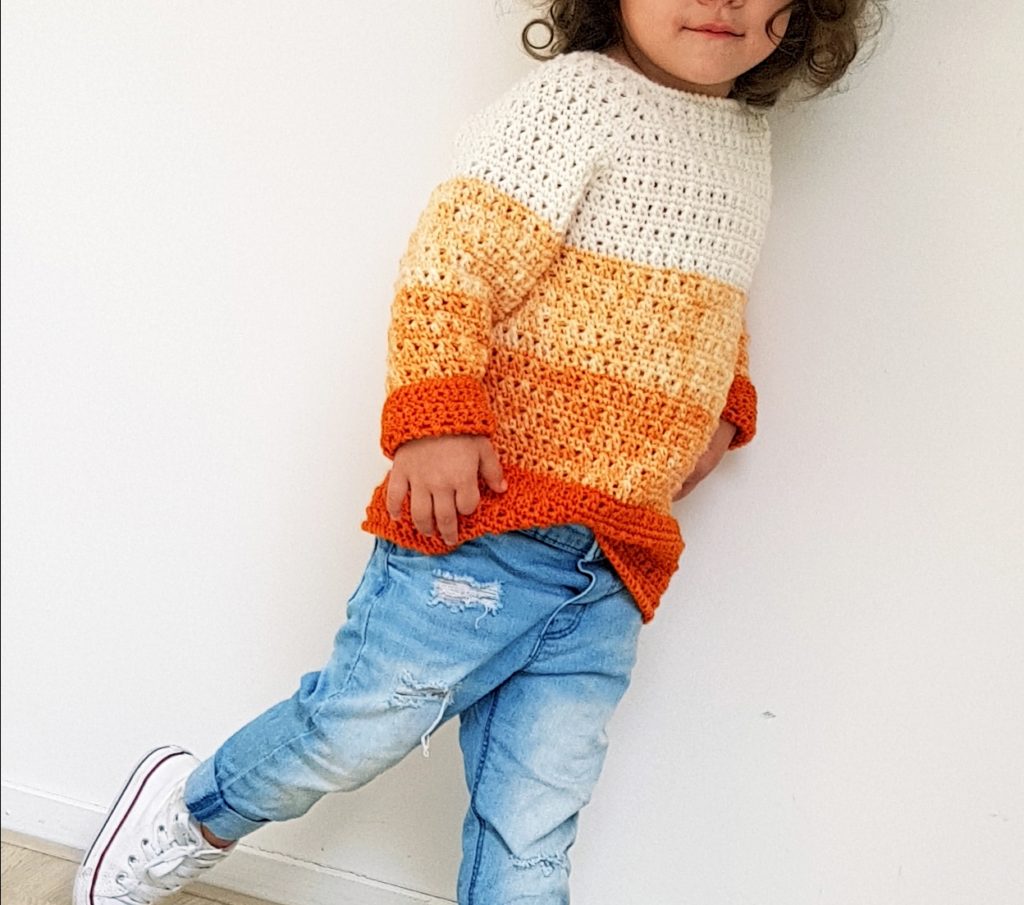
the pumpkin sweater

You can purchase the easy printable add-free pdf pattern from here

Now with all these things being said we can start the Pumpkin Sweater.

First the foundation chain:

  • 6 month – 56 sts
  • 12 – 18 months – 64 sts
  • 2 – 3 years – 72 sts
  • 4 – 5 years – 80 sts

Join with sl st.

Round 1

For this round the number of sts for sizes 12 – 18 months, 2-3 years and 4-5 years are wrote between brackets.

Ch 1, 1 sc in the same st  1 sc in the next 7 (8, 9, 10) sts, 1 inc in the next (3 sc in the same st).

Continue with 1 sc in the next 10 (12, 14, 16) sts, 1 inc in the next st, 1 sc in the next 16 (18, 20, 22) sts, 1 inc in the next, 1 sc in the next 10 (12, 14, 16) sts, 1 inc in the next, 1 sc in the last 8 (9, 10, 11) sts.

Sl st to join.

To be more easy to know where to increase on the next round, put a stitch marker in the second st of the increase.

Round 2

Ch 2, 1 dc in the same stitch, dc cross to the marked st, 1 inc ( 1 dc, ch 1, 1 dc) in the marked st.

Continue with the dc cross to the next corner ( next marked st) and here make another inc.

Continue like this to the end of the round and join with a sl st with the 1st dc.
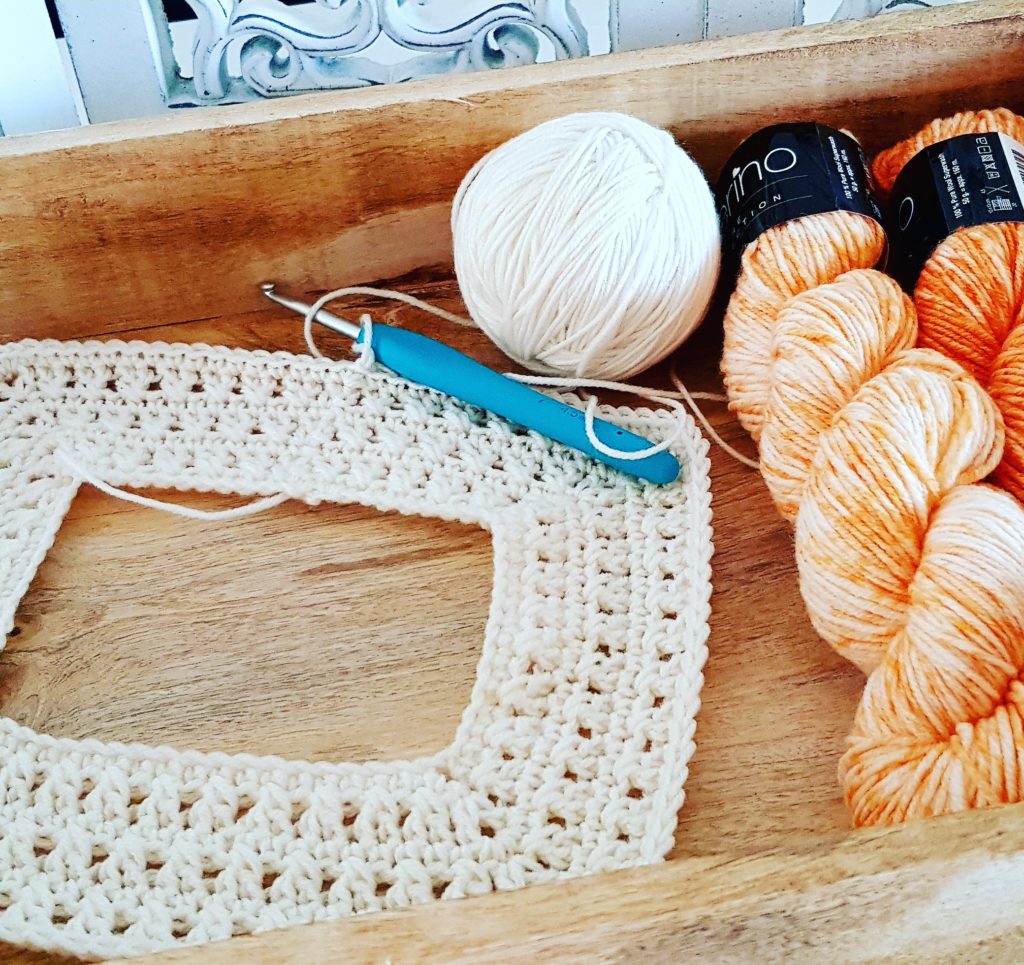
Pumpkin Sweater

We will repeat to alternate these 2 rounds until we finished the yoke and have in total:

6 months – 16 rounds

12 – 18 months – 16 rounds

2-3 years – 16 rounds

4-5 years – 18 rounds

On the next round we will separate the sleeves from the body of the pumpkin sweater.
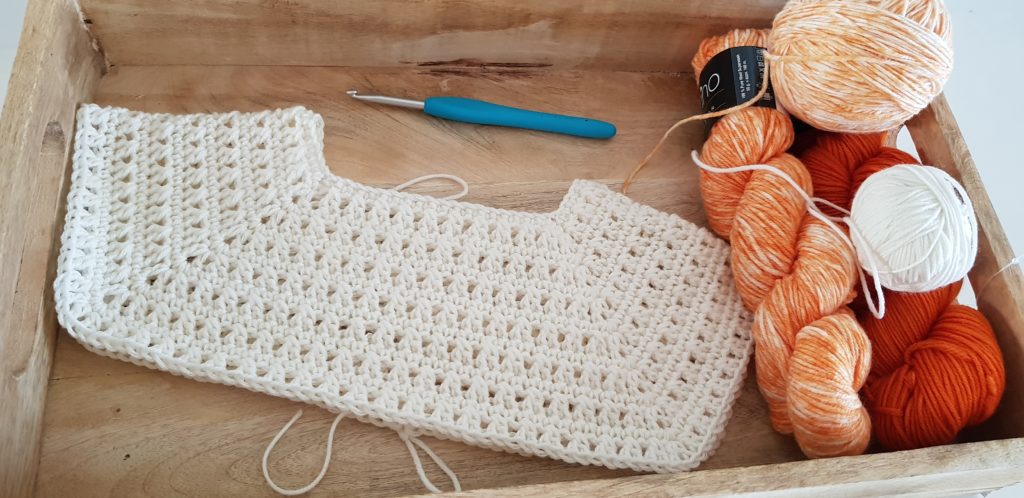
Pumpkin sweater the yoke

You can purchase the easy printable add-free pdf pattern from here

We will start the round as normal and working 1 sc in each st until the first corner.

To make the join we will make 2 sc together, one in the fist corner, then skip the sts for the sleeve and make the second sc in the second corner.

Yarn over and pull the yarn trough all loops on the hook.

At this round I changed the color with the second one.
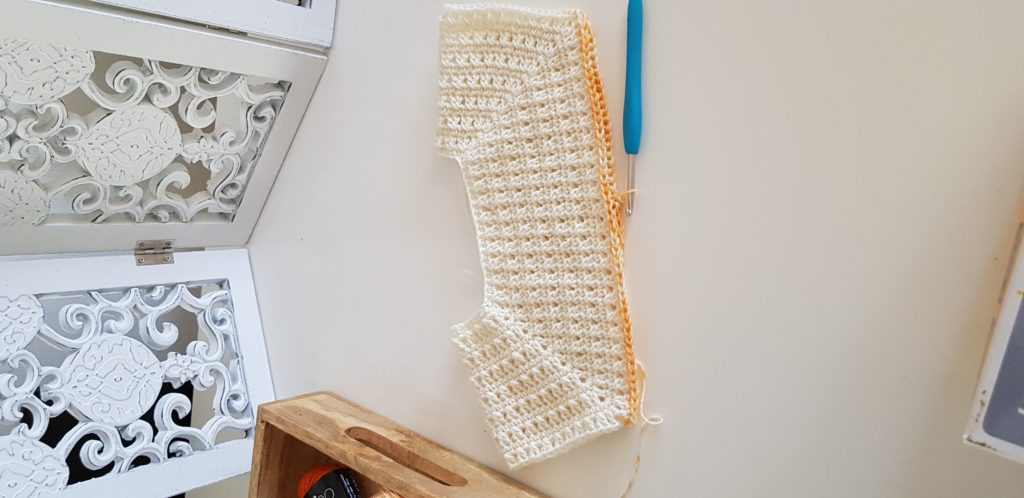
pumpkin sweater separating round

Now we will continue to work on the body of the Pumpkin Sweater until you have in total (counting from the armpit to the bottom):

6 months – 24 rounds

12 – 18 months – 26 rounds

2 – 3 years – 30 rounds

4 – 5 years – 32 rounds.

Having 3 more colors, I just divided the number of rounds at 3, and worked the same number of rounds with each color.

Sleeves

Round 1

Starting from the armpit, join the yarn and make 1 sc in each st around.

Make sure that you have an even number of sts because you will need that on the dc cross round.

If you don’t have, just make 1 sc more to get to an even number.

Round 2

Ch 2, 1 dc in the same st, dc cross to the end of the round. Join with a sl st.

Round 3

Ch 1, 1 sc in the same st, 1 dec ( sc2tog), 1 sc in each st until you have 2 sts left, 1 dec in these 2 sts. Sl st to join.

Repeat round 2 and 3 until you have in total

6 months – 14 rounds

12 – 18 months – 14 rounds

2 – 3 years – 20 rounds

4 – 5 years – 20 rounds

Then continue to alternate one round in sc and one round in dc cross, without decreasing:

6 months – 6 more rounds

12 – 18 months – 8 more rounds

2 – 3 years – 6 more rounds

4- 5 years – 8 more rounds.

And 1 sleeve is done. For the colors I used the same pattern as for the body of the Pumpkin Sweater, only that with the last color I made less rounds because the sleeve is shorter.

Repeat the same pattern for the second sleeve and the Pumpkin Sweater is done.
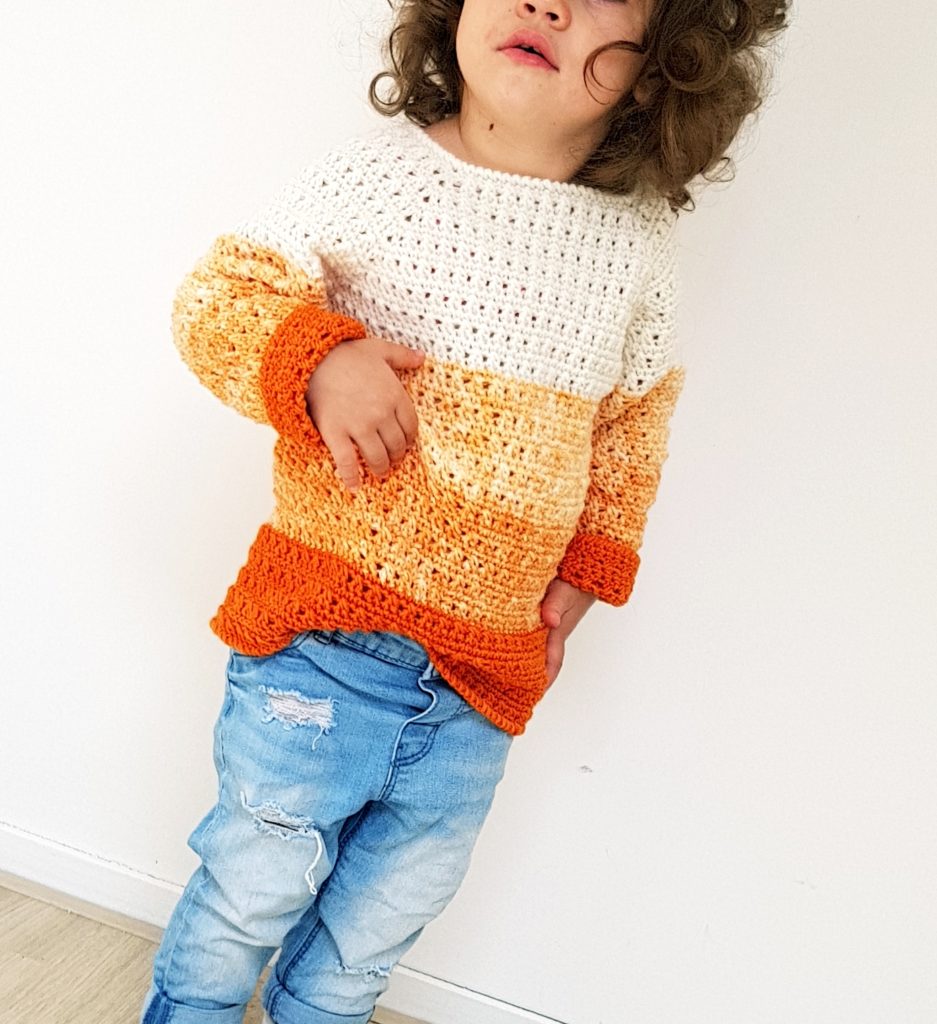
Pumpkin Sweater

You can purchase the easy printable add-free pdf pattern from here

For the border I used “twisted single crochet” st. You can see how is done in the video tutorial bellow.

Hope you will love this pattern as I do and to try it.

https://ro.pinterest.com/katerina6795/free-crochet-patterns/
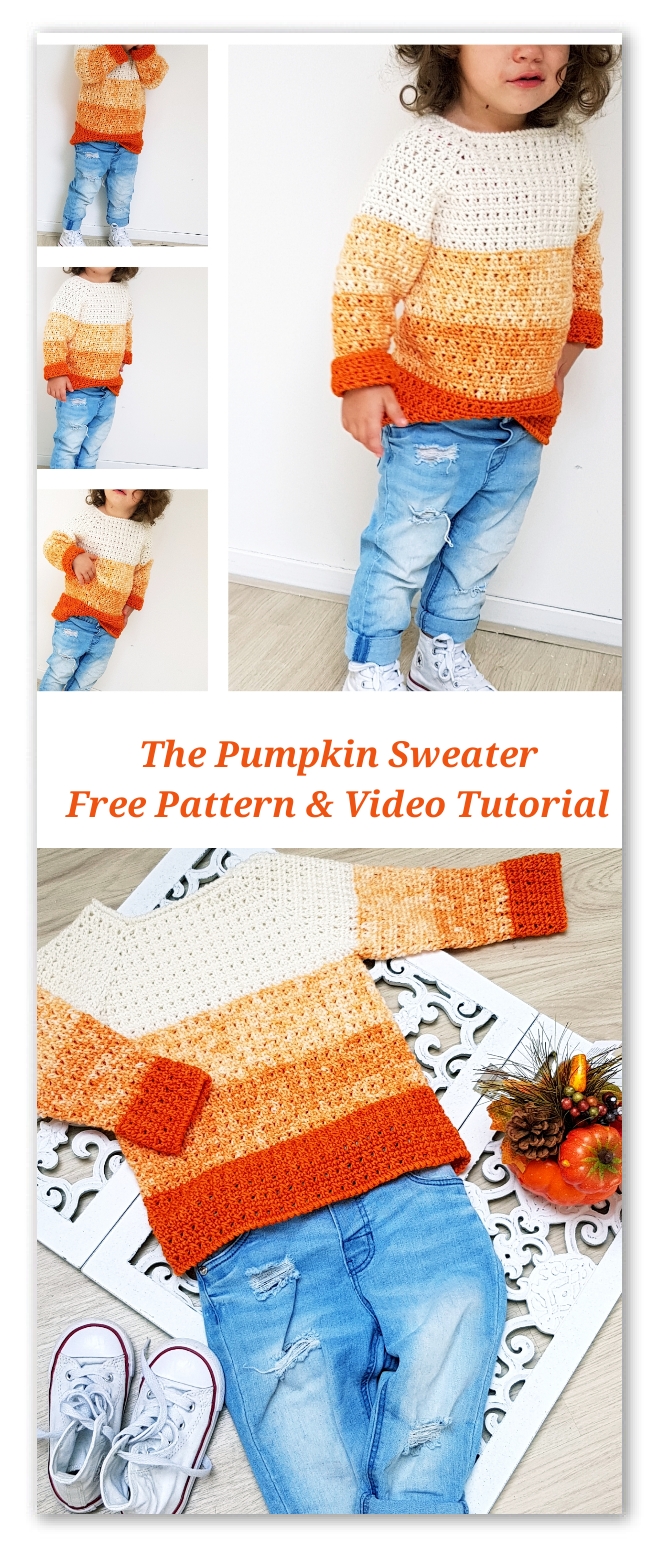
The Pumpkin Sweater. Free pattern with stitch chart, diagram and video tutorial. For sizes from 6 months to 4-5 years

Pumpkin Sweater. Free Pattern & Video Tutorial


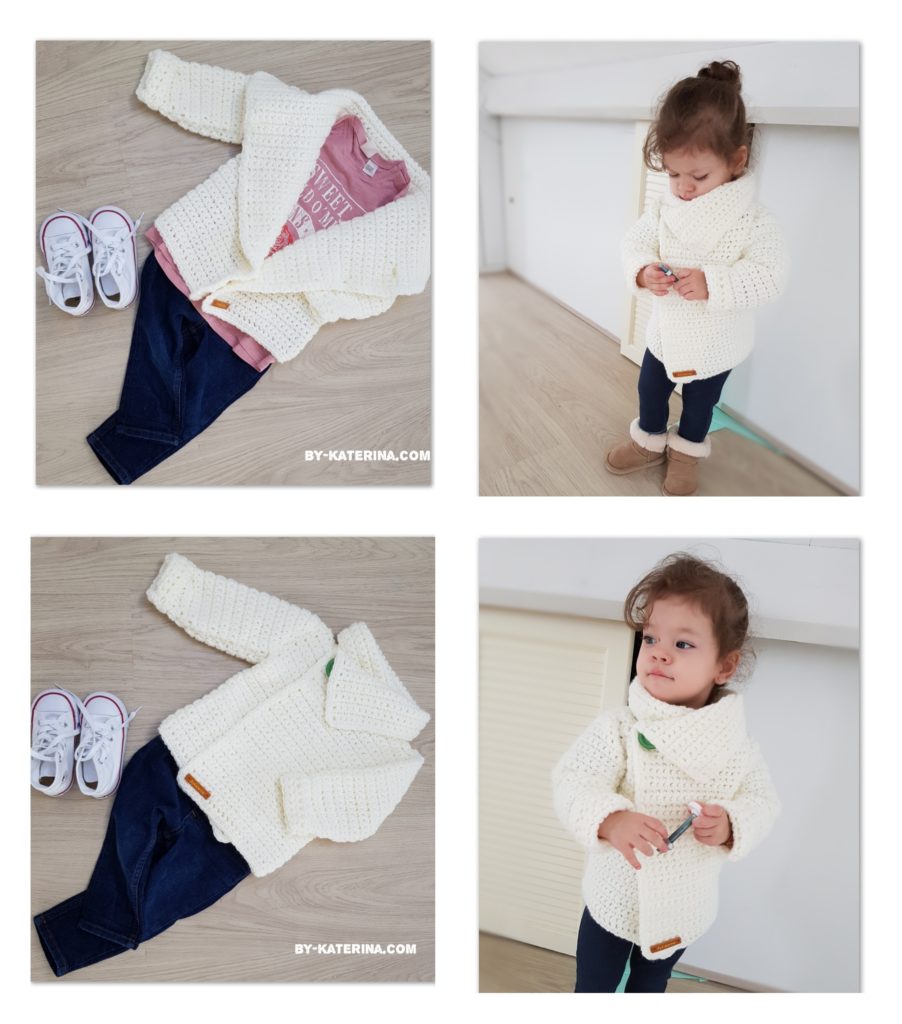
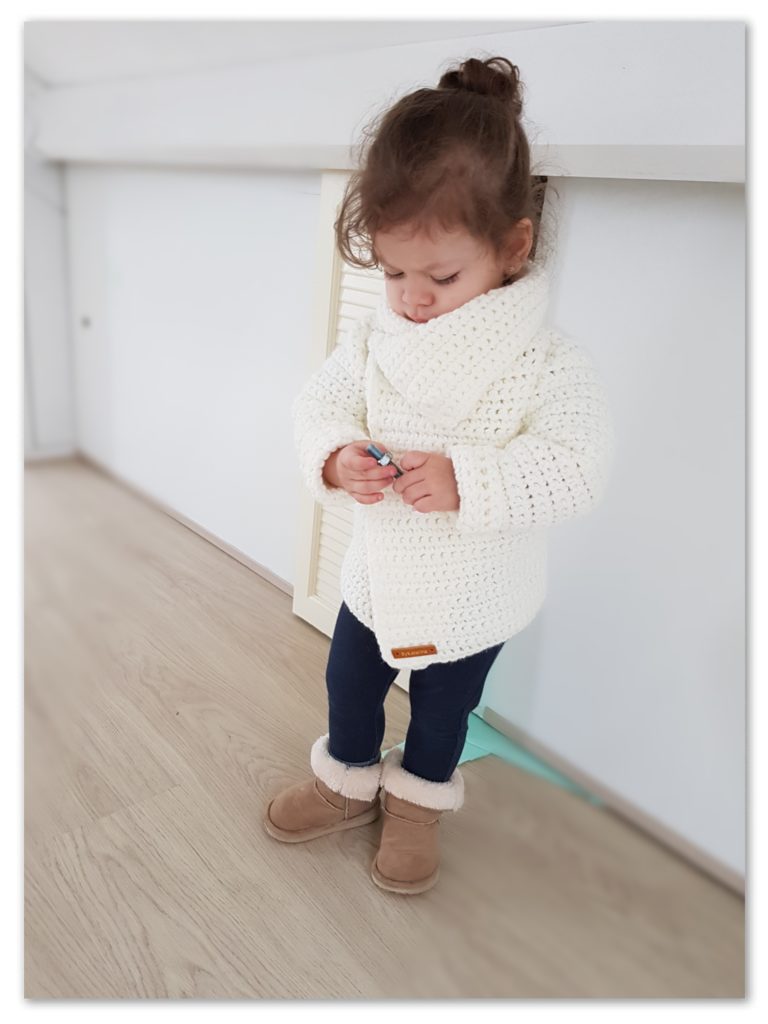
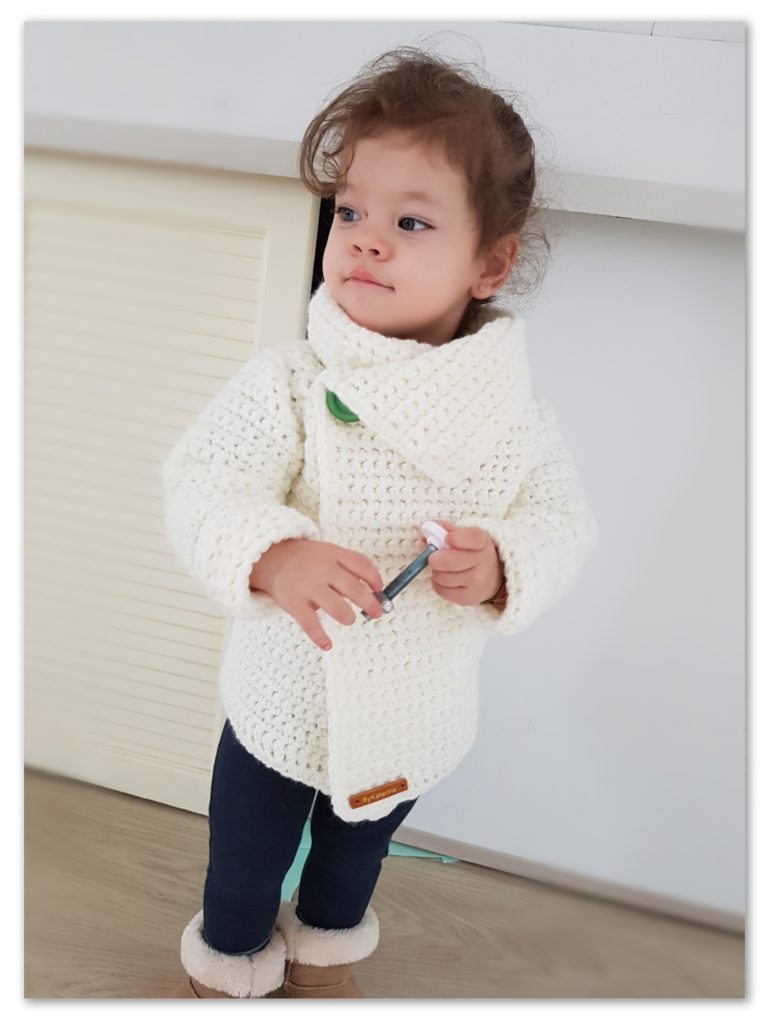
Today I want to show you the super easy Snowdrop Cardigan that I made for my daughter. Is super easy even if you are a beginner. If you want to start your crochet adventure in the garments area, this can be your perfect project.

Well I am with my mind at spring with all her beauties and freshness, maybe that’s why I named this cardigan Snowdrop. If it was December, it could be named Snowflake as well, all white and so smooth.

Pentru postarea in limba romana, click aici

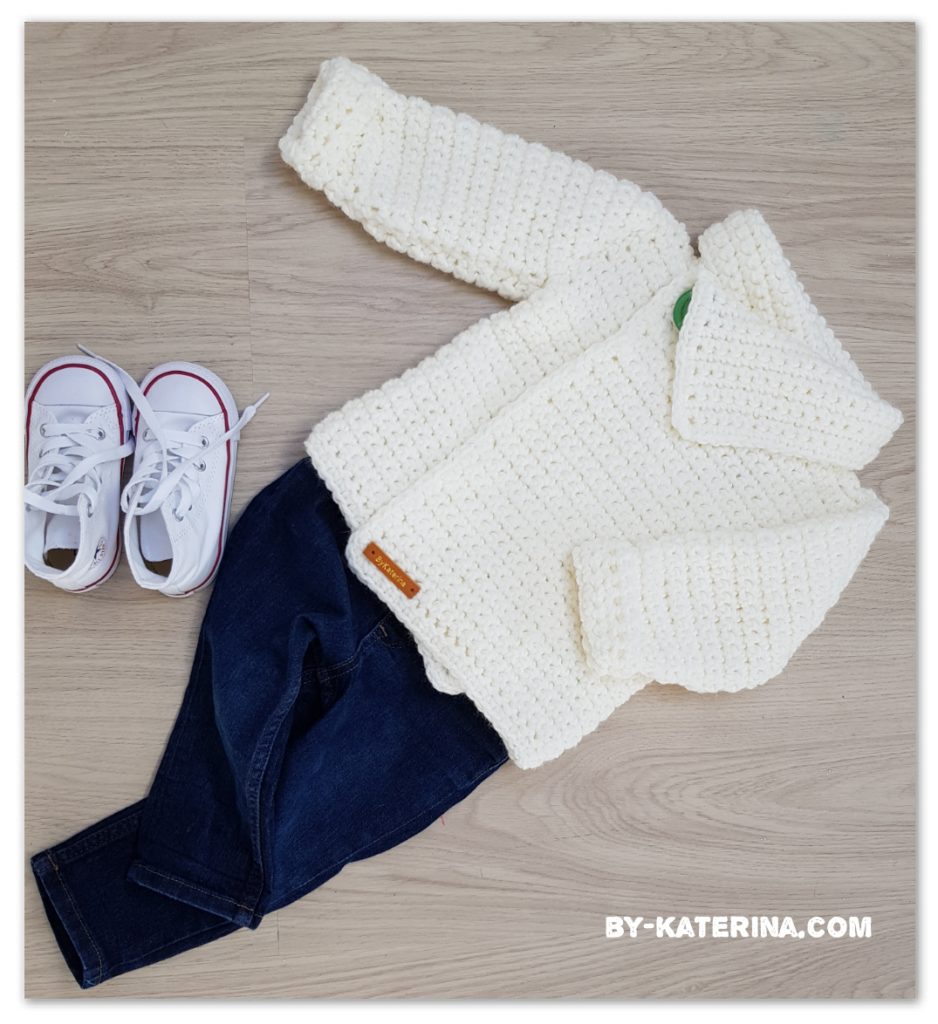
snowdrop cardigan

You can purchase the easy printable pdf version of this pattern here.

This pattern is for sizes from 2 to 10 years and all the cardigan is worked in single crochet.

Materials you will need:

  • Chunky Yarn ( I used Katia Alaska color white)

For each size you will approximate need:

snowdrop cardigan yardage

Some yarn suggestions:


  • 6 mm crochet hook ( J-10 US Size)
  • Schissors
  • Yarn needle
  • stitch markers
  • 1 button ( 2.5 cm diameter)

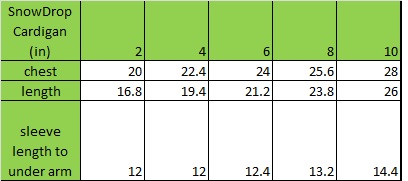
The final dimensions of Snowdrop Cardigan for each size are:

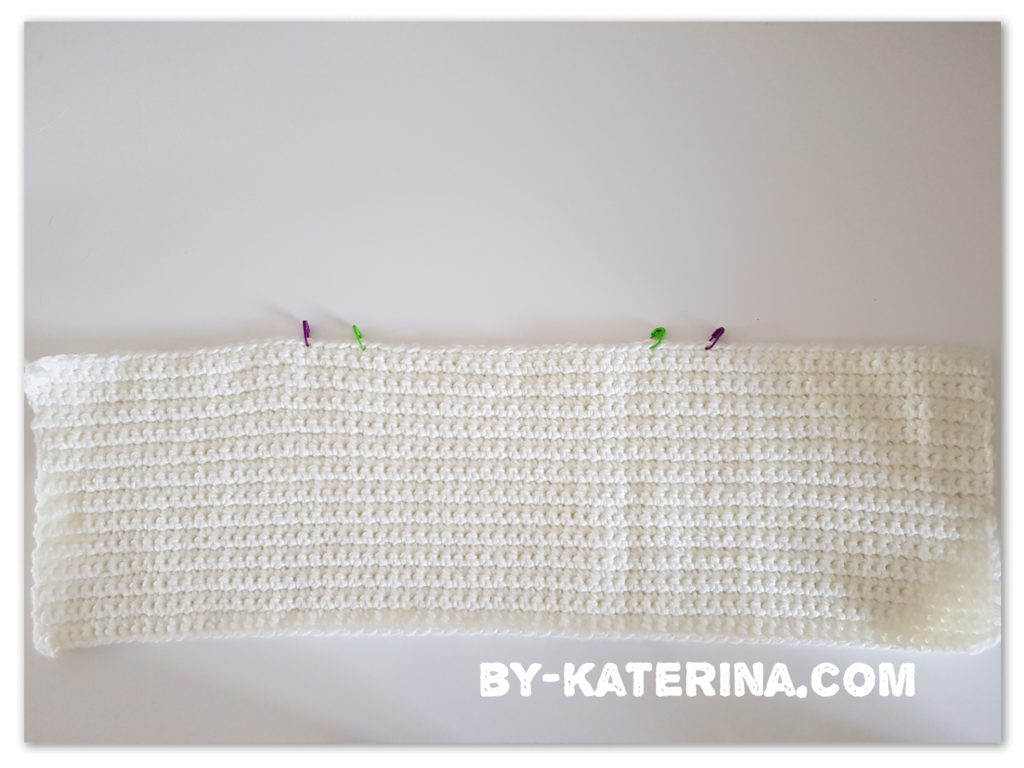
I worked this cardigan from bottom to the top, beginning with back side and front sides in one single piece, then at the armpit I split the cardigan in 3 pieces and worked each piece separately.

Gauge

10 sc – 10 cm (4″)

11 rows – 10 cm (4″)

Abbreviations used in this pattern:

To begin make a foundation in Fdc or make a regular ch then 1 row with 1 sc in each stitch. For each size you will have:

  • 2 years – 72 st(s)
  • 4 years – 78 st(s)
  • 6 years – 86 st(s)
  • 8 years – 92 st(s)
  • 10 years – 100 st(s)

Row 1

1 sc in each stitch across

  • Rows 2- 26 (2 years)
  • Rows 2– 30 (4 years),
  • Rows 2- 34 (6 years),
  • Rows 2- 38 (8 years),
  • Rows 2- 42 (10 years)
Repeat row 1.
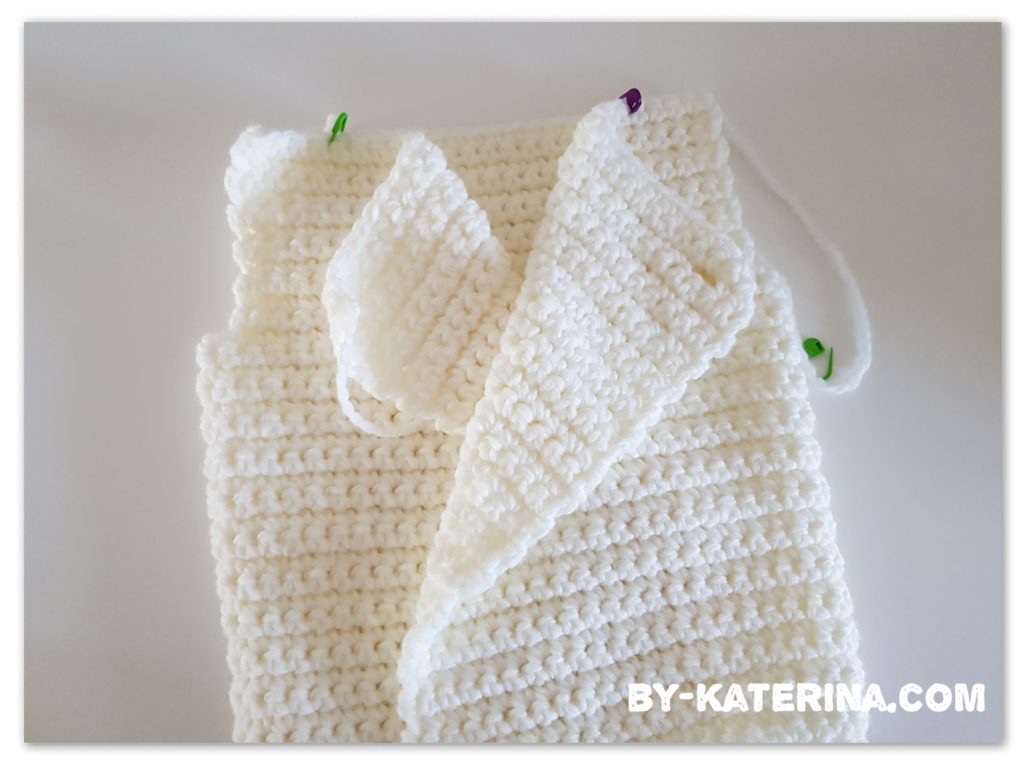
Now we are at the armpit and we have to split the entire part worked until now in 3 pieces and to leave some stitches for the arm hole.
Snowdrop Cardigan part 1
We will use some stitch markers.
We will count stitches for the front left side, arm hole, back side and front right side.
The back side and the front sides have the same number of stitches.
  • 2 years – 22 sts for the front sides and for the back side (count 22 sts, put a stitch marker in the stitch 22), 3 sts for the arm hole
  • 4 years – 24 sts for front sides and back side, 3 sts for each arm hole
  • 6 years – 26 sts for the front sides and back side and 4 sts for arm hole
  • 8 years – 28 sts for front sides and back side, 4 sts for the arm hole
  • 10 years – 30 sts for the fron sides and back side, 5 sts for the arm hole.
Now we will work the 3 parts separately with 1 sc in each stitch for:
  • 2 years – 12 rows
  • 4 years – 14 rows
  • 6 years – 14 rows
  • 8 years – 16 rows
  • 10 years – 17 rows

On the right front side, when we have 2 more rows to make, we will do one button hole (ch 2, skip 2 sts)

After finishing all 3 parts we can sew the shoulders.

  • 2 years – 4 sts in each side
  • 4 years – 4 sts
  • 6 years – 5 sts
  • 8 years – 5 sts
  • 10 years – 6 sts

Snowdrop cardigan part 2

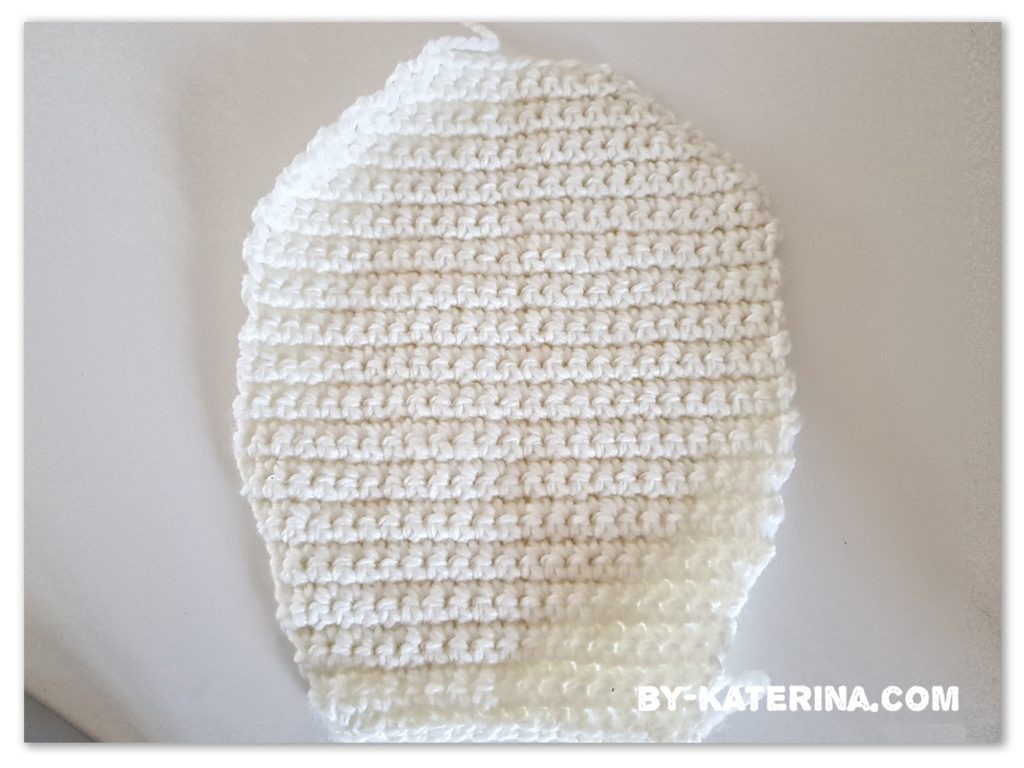
Ok, the main part of the Snowdrop Cardigan is done. Now let’s make the sleeves.

Sleeve

Begin with a foundation in Fsc, or make a regular chain then one row in single crochet.

  • 2 years – 16 Fsc ( or chain 16)
  • 4 years – 17 Fsc
  • 6 years – 18 Fsc
  • 8 years – 18 Fsc
  • 10 years – 19 Fsc

Row 1

For all sizes

1 sc in each stitch across, ch 1 and turn

Row 2

1 increase in first stitch ( 2 sc in the same stitch), 1 sc in each stitch across, ch 1 and turn

Row 3

Repeat row 2

Row 4

1 sc in each stitch across

We will continue increasing

2 years, 4 years, 6 years

Rows 5 – 13 

Repeat rows 2,3 and 4

8 Years, 10 years

Rows 5 – 16

Repeat rows 2,3 and 4

After finished increasing we will continue with 1 sc in each stitch across for:

  • 2 years – 13 more rows ( 26 rows in total)
  • 4 years – 13 more rows ( 26 rows in total)
  • 6 years – 14 more rows ( 27 rows in total)
  • 8 years – 13 more rows (29 rows in total)
  • 10 years – 16 more rows ( 32 rows in total)

Now is time to decrease for the arm hole depth. We will decrease (2 sc together) with1 st at the beginning and at the end of each row, for:

  • 2 years – 7 rows
  • 4 years – 8 rows
  • 6 years – 8 rows
  • 8 years – 9 rows
  • 10 years – 10 rows

After finishing decreasing the sleeve is done. Repeat the pattern for the other sleeve.

snowdrop cardigan part 3

Now, sew the sleeves with the cardigan.

Collar

Insert the hook and yarn in the first stitch of the front side and make 1 sc in each stitch across the neck line. Repeat this first row for:

2 years – 11 more rows (12 rows in total for the collar)

  • 4 years – 13 more rows
  • 6 years – 13 more rows
  • 8 years – 15 more rows
  • 10 years – 16 more rows

This was the last part of the Snowdrop Cardigan. You can now make a border in single crochet if you want, just to add the final touch. Also sew the button and done. You’ve made a beautiful cardigan.

My daughter loves it and she is so Fancy and cute in it….like a Snowdrop 🙂

Snowdrop cardigan

You can purchase the easy printable pdf version of this pattern here.

snowdrop cardigan

Hope you liked this pattern also.

The video tutorial is bellow.

Follow my Free Patterns board on Pinterest to find out more modern and easy crochet patterns

Enjoy crochet! xoxoSnowDrop Cardigan. Free Pattern & Video Tutorial

https://ro.pinterest.com/katerina6795/free-crochet-patterns/