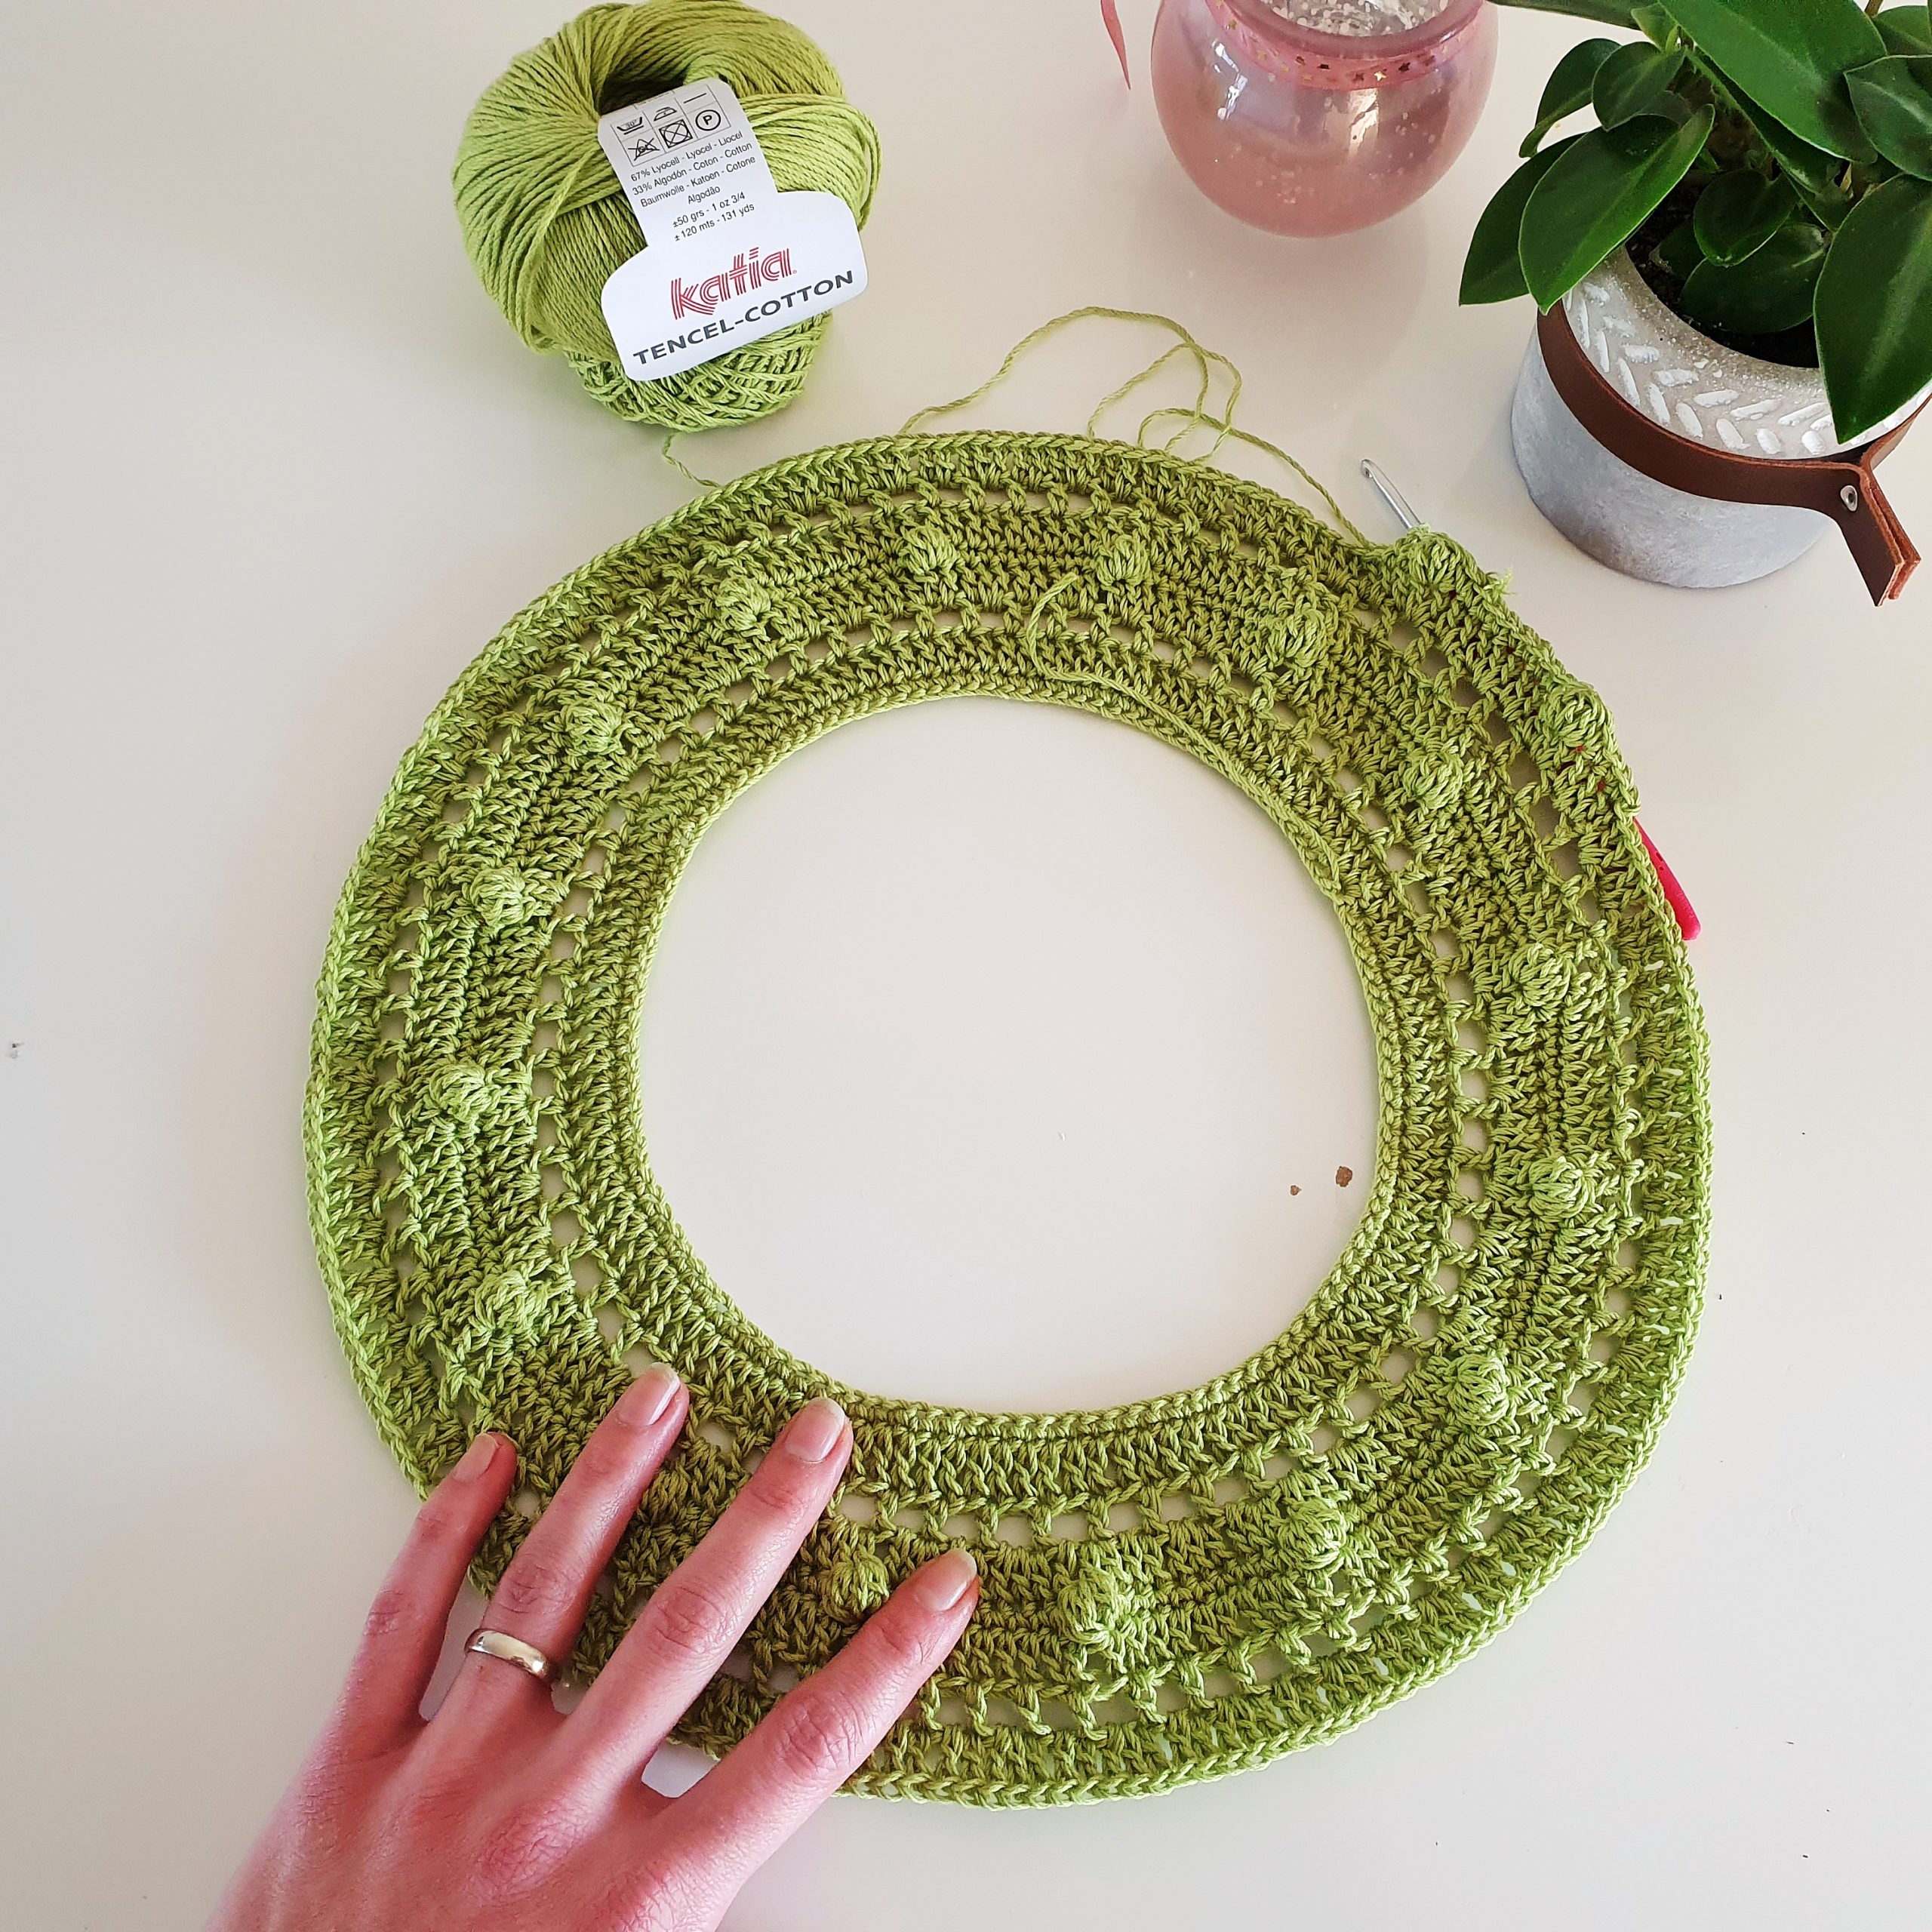
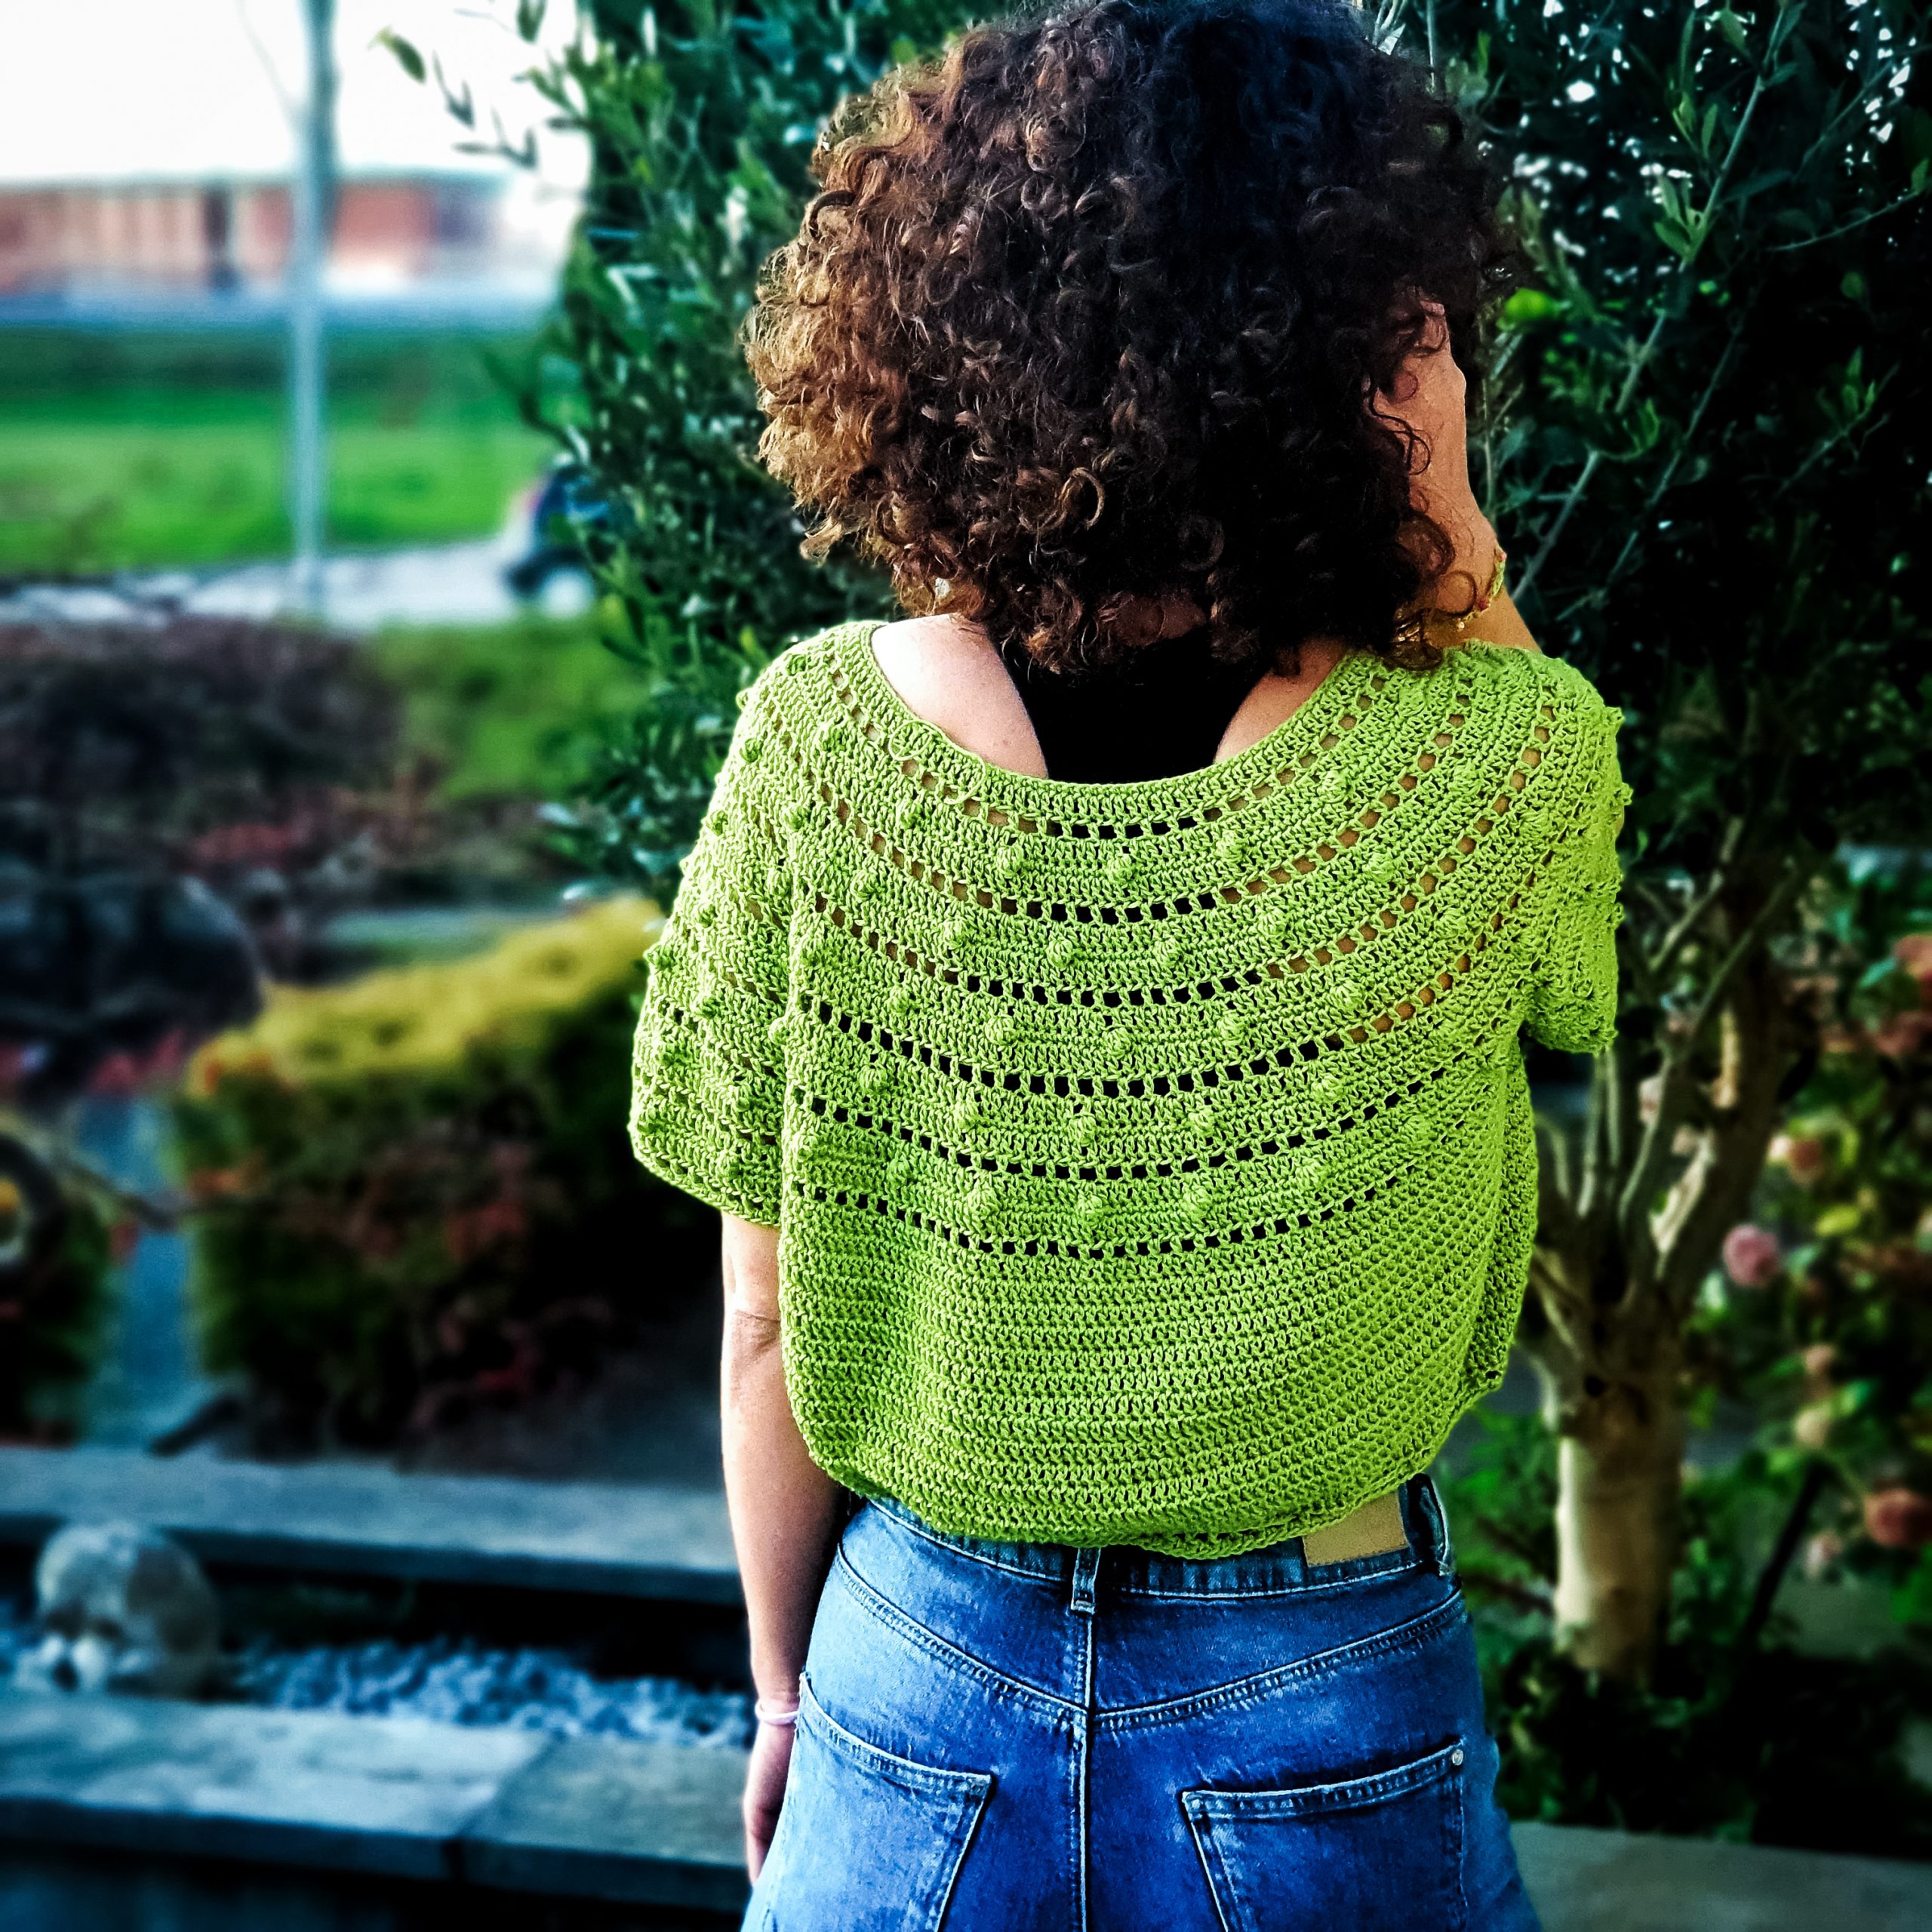
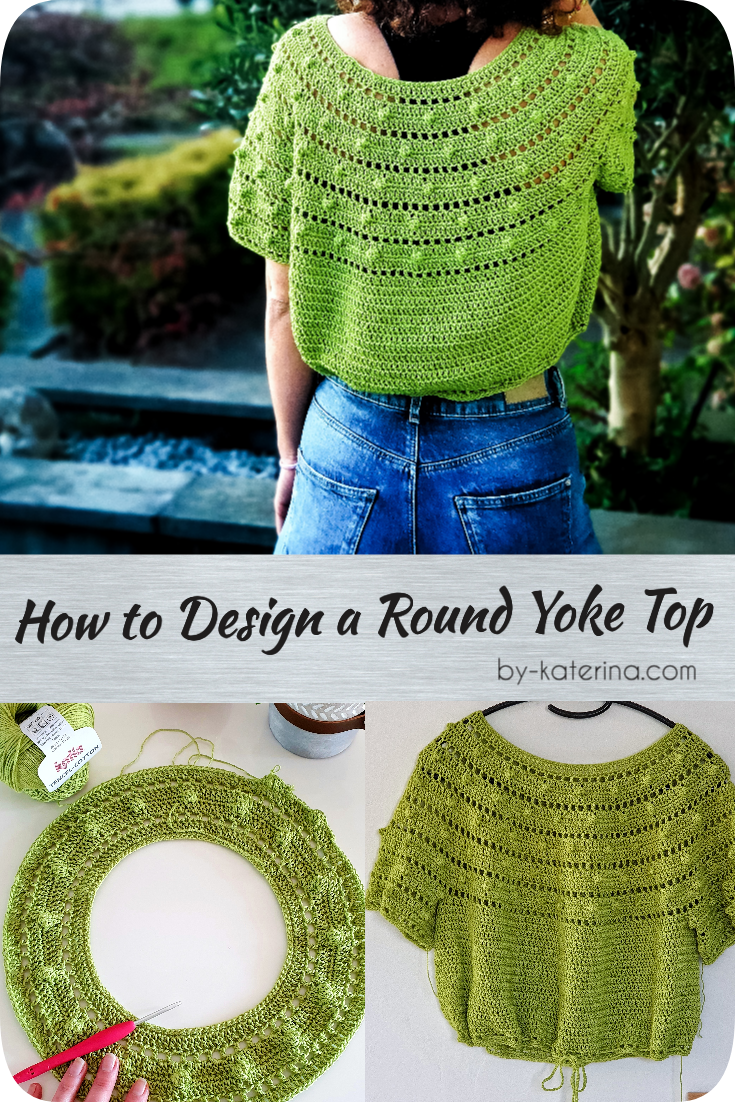
I am so happy that I finally can share with you the method I am using when I want to design a round yoke top garment.
First I wanted to add all this information in my Raw Green Tee pattern which I recently finished, but then I realized that it’s a lot of information and maybe not all of you will need it.
So after all, a new section is live on my website and I hope you are happy with it: Designers’ Corner. I will try to share in this section many things that I’ve learned since I started this Journey and you are welcome to give me any suggestions on what should I include in this section and what to post next.
This method will help you to design your own round yoke top, which can be a t-shirt, sweater or other piece of garment that can be designed using this method.
This is how I design my own round yoke garments and there are a few math calculations behind. To see if it will work for you, you will have to test it.
All examples in this learning material are for EU size Small, but you can use this method for any size.

In this material you will learn:
- How to measure your body
- About positive and negative ease
- The importance of the swatch
- How to calculate the number of stitches you need to get to the measurements
- How to establish your own increase pattern to get to the needed number of stitches
How to measure your body and what body parts to measure
The first step when designing a garment it’s taking the right measurements.
We will refer in this material to a round yoke top.
This technique is used to work top-down sweaters, tops, cardigans etc…
When working a top-down garment, the length can be easily adjusted while you are working on it. The most important part is the yoke, which gives us the fit of the final garment.
When working a top-down upper body garment using a round yoke, you start with a certain amount of stitches for the neck and then increasing until your garment will fit bust and sleeves.
Let’s start with the beginning, the neck of the garment.
The first thing to pay attention it’s that the neck hole will have to fit you head circumference. The head circumference will be your reference. Then, if you want a larger neck hole, maybe you will want to make one shoulder blouse, you will have to measure neck width.
Using a measuring tape, measure the neck width, depending on how wide you want the neck line of your garment to be.
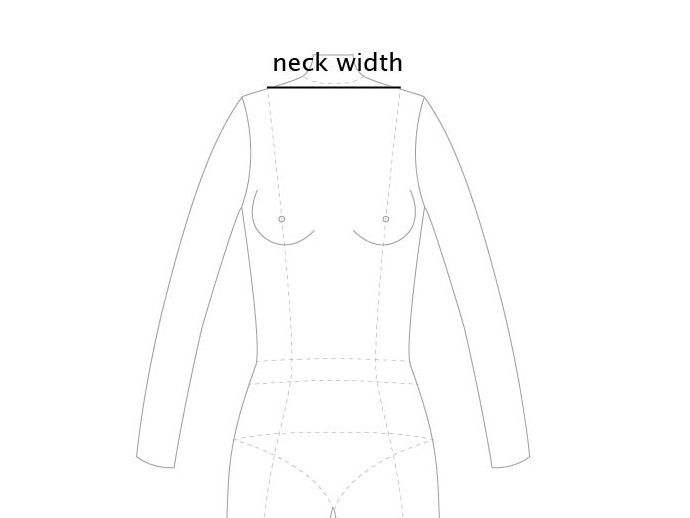
Usually for size Small I am using about 20 cm for the neck width.
Next, having the neck width we will calculate the neck hole circumference.
Neck hole circumference has 4 sections:
- Front neck width
- Back neck width
- Left shoulder
- Right Shoulder
Front and back width are equal, also the shoulders section.
Usually, I am counting the shoulder section as half of the beck or front width.
To put everything in a math formula we will have:
Neck Hole Circ = Front neck width + Back Neck Width + Left Shoulder + Right Shoulder
We measured already our Front neck width and we establish that is equal with the Back neck width. We also said that one shoulder section will be half of the front neck width.
This means that we will have:
Neck Hole Circ. = 20 cm + 20 cm + 10 + 10
So our Neck Hole Circ. Will be 60 cm
Now that we have the starting point of our round yoke which is the Neck Hole Circ, let’s see what to measure to get to the end of the yoke.
The next measurements you will have to take are:
- Bust Circumference
- Upper Arm Circumference
- Arm hole depth
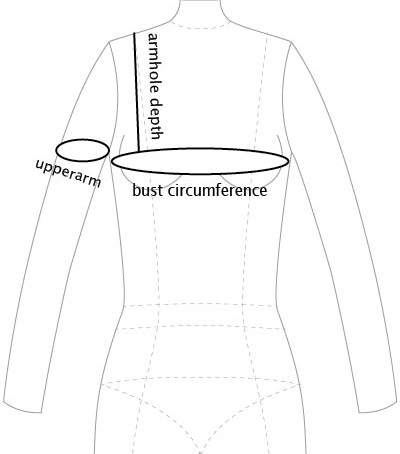
The results after measurements on Size Small are
- Bust Circumference – 86 cm
- Upper arm Circumference – 26 cm
- Armhole Depth – 18 cm
About positive and negative ease
What is ease of a garment?
Ease is the amount of room a garment allows the wearer beyond the measurements of their body.
In other words, the ease is what we add (positive ease) or subtract (negative ease) from our measurements to get to the final measurements of the garment.
The most used is the positive ease. You can use negative ease, if you want that the final garment will have a closer fit, and you know that the final fabric it’s stretchy.
In our example we are using positive ease, so we will talk more about this type of ease.
The positive ease is establish accordingly with how you will want your final garment to fit.
*you can use one of your sweaters or t-shirts and measure for example the bust width. See how many cm you have over your bust width and that will be the positive ease that you can use for your design.
In the example that we have I added as a positive ease 14 cm over the Bust circumference.
For the upper arm circumference I added less, about 9 cm.
For the armhole depth I added 2 cm.
So now, our final measurements of the garment, after adding the ease are:
- Bust circumference: 100 cm
- Upper arm circumference: 35 cm
- Armhole depth – 20 cm
At this point we have all the measurements we need to start to work on our yoke:
- Neck Hole Circ. – 60 cm
- Bust Circ. – 100 cm
- Upper arm Circ – 35 cm
- Armhole Depth – 20 cm
The importance of the swatch
We have now all this measurement, but we have to transform them in stitches and rows.
The only way to do this, in a most accurate manner, is to make a swatch. The most relevant swatch is a square of 10 cm wide and 10 cm high. In this way you will have enough stitches and rows to make a proper gauge. Your tension might change while working, that’s why is important to work several stitches and rows to make sure that your swatch will have almost the same gauge for your entire garment.
In my example I am using a pattern of 4 rows, each row with a different stitch pattern. It doesn’t matter which stitch pattern you are using, the result will be the same.
The example stitch pattern is:
1 round: double crochet
1 round: *9 single crochet, 1 bobble stitch. *repeated to the end of the round
1 round: double crochet
1 round: *1 double crochet, chain 1, skip 1. Repeated to the end of the round.
I made a swatch of 10 cm/ 10 cm, but I measured for my gauge just 4 rounds which are repeated in my pattern.
After making the swatch I had the next results:
20 stitches = 10 cm
4 rows in the stitch pattern = 3.6 cm
Now, that we have this values, let’s see how we will use them to our measurements:
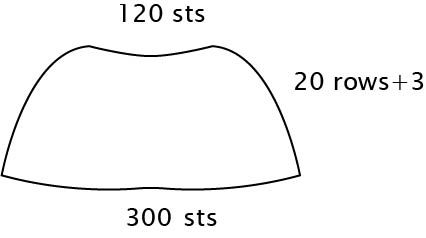
For Neck hole Circ we need 60 cm. Knowing that in 10 cm we have 20 stitches, this means that we will need to start with 20 sts x 60 cm/10 cm = 120 stitches.
In the same way we will calculate how many sts we will need for Bust Circ. and Upper arm circ. and we will have 200 sts for Bust circ. and 70 stitches for upper arm.
After finishing the yoke we will need 340 stitches.
For the armhole depth: after 5 pattern repeats we will have 5 x 3.6 = 18 cm. To get to our measurements we need 2 more cm and I added 1 round in single crochet, 1 round in double crochet and 1 round in mesh stitch (1 dc, ch 1, skip 1).
So, for the yoke we will have in total 20 rounds in the stitch pattern (5 x 4) + 3 more rounds.
When working a yoke garment you have to consider if you want to add some armpit stitches.
Armpit stitches are recommended almost every times so the garment to have an anatomical shape and to be comfortable when wearing.
If your design has a dipper armhole depth (more rounds on the yoke) this extra armpit chain is not mandatory.
In our example, I added 10 extra stitches at the armpit.
When adding armpit stitches, that number of stitches is added to each section: back, front and sleeves.
Let’s see how many stitches we need for each section when finishing the yoke, before adding the armpit chain stitches.
As we calculated before we need for bust circ. 200 stitches which means, 100 stitches for front width and 100 stitches for back width.
So, before adding the armpit chain we will need for back width 100 – 10 = 90 sts. The same for the front width.
For upper arm, we calculated 70 sts for each. So, before adding the armpit chain we need 70 – 10 = 60 sts.
To summarize, after finishing the yoke and before adding the armpit chain, we will need
Front width – 90 sts
Back width – 90 sts
Upper arm x 2 – 60 x 2 = 120 stitches
So, at the end of our yoke we will need 90 + 90 +120 = 300 stitches.
Increase Pattern
We are now in the last phase of our yoke design: Increase pattern.
You know the number of stitches you have to start with, the number of stitches you need to get to after finishing the yoke and in how many rounds.
If you are using a simple stitch pattern, for example double crochet, the easiest way to find out which will be the increase pattern is:
You need 300 sts, this means that you need to increase with 300 – 120 = 180 sts in 20 rounds (not counting the first 3 rounds)
180 sts / 20 rounds = 9 sts/ round. So you have to increase with 9 sts per round.
You have to know that you don’t have to increase on each round. Spread the number of stitches you have to increase in the number of rounds you have to work.
For example you can choose to increase on one round of 4. This means in 20 rows you will have 20/4=5 rounds on which you will increase.
180 sts/ 5 rounds = 36 sts to increase per round.
Let’s see in our example:
We have 5 pattern repeats of 4 round each. We will increase only in the round in double crochet made after the round in mesh stitch.
I spread the 180 sts like this.
1st pattern repeat: *2dc, 1 Inc. * Repeated to the end of the rounds. This means 120 sts / 3 = 40 sts.
So, after 1st pattern repeat I increased with 40 sts and I have 160 sts in total and 140 sts more to increase
2nd pattern repeat: *3 dc, 1 inc. Repeated to the end of the round. I Increased with 160 / 4 = 40 sts. I have in total 200 sts and 100 more sts to increase
3rd pattern repeat: *9 dc, 1 inc, I increased with 200/ 10 = 20 sts. I have in total 220 sts and 80 more sts to increase
4th pattern repeat: 10 dc, 1 Inc, I increased with 220 / 11 = 20 sts. I have in total 240 sts and 60 sts more to increase.
5th pattern repeat:* 3 dc, 1 Inc. I increased with 240 / 4 = 60 sts. I have in total 300 sts and no more sts to increase.
So, the main idea is to spread the number of sts that you need to increase with, along the number of rounds that you need to make.
I could kept and repeat the same pattern increase in all increasing rounds, but having different pattern increase per round, the increases will be less visible.
This is just an example. The main idea is to find a pattern increase that will help you to add the needed number of stitches in the needed number of rounds.
Now, that the yoke is done, you can continue and divide it into sleeves and body and then continue with the length of the blouse, top or sweater and also the sleeves.


5 Comments
Thank you for sharing your knowledge. It is simple to understand. Wish you great day.
Hi, keterina. I really appreciate your work and your generosity. Thank you for so much.
Thank you too!! I am grateful when people appreciate it 🙂
Dear Katerina,
first I want to wish you Happy birthday 🙂
Moreover I thank you for having shared this very useful information. They are very clear 🙂
I’m stuck on a line, where you say
“After finishing the yoke we will need 340 stitches.”
final number of stitches =(beginning stitches)+ (stitches for the bust) + ( stitches fo the arm) =120 st + 200 st + 70 st =390 st
Thank you in advance for your answer 🙂
Hi and sorry for my late response.
So glad you found these info useful!
You don’t have to start the starting sts, because they are included in the bust and sleeves already (yoke finish sts = starting sts + increasing sts)
So, we need 340 sts: 200 for bust and 70 for each sleeve, which is 200 sts + 70 sts x 2 = 340 sts
Hope I helped you!
Thanks!