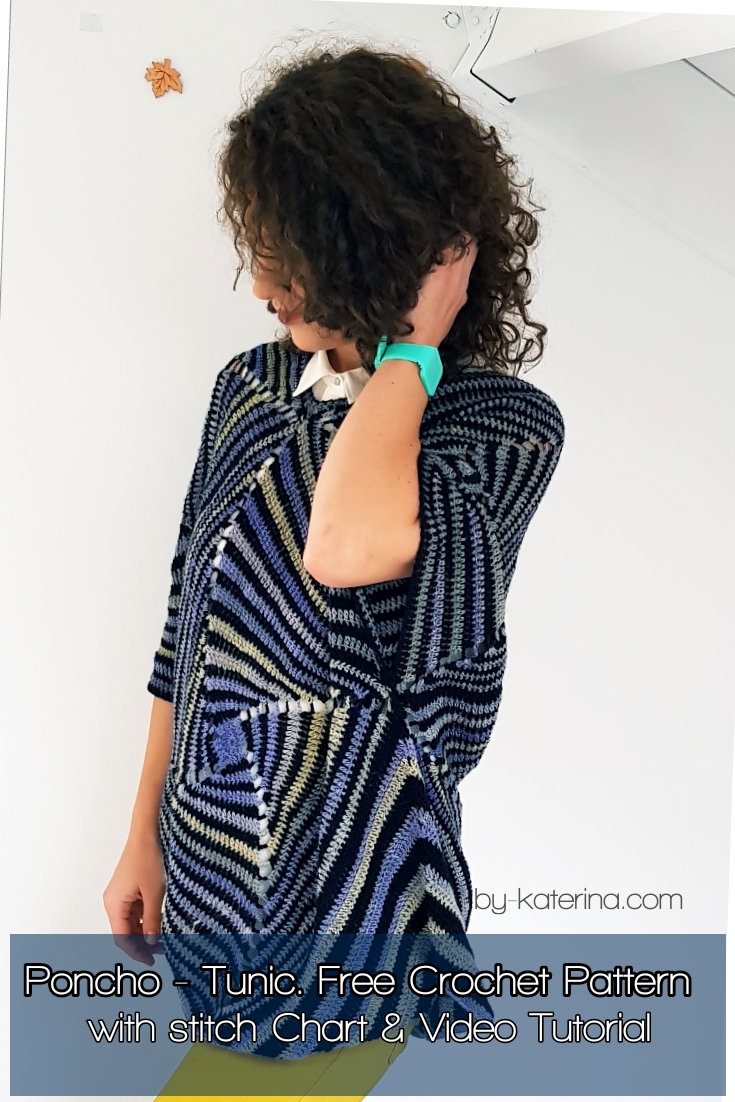
This Poncho-Tunic is a project that I started some time ago, but with all Christmas Gifts that I had to make I putted aside for a while. But now was time for it and I said that is time to make it known and to share with you how you can do it.
Pentru postarea in limba romana click aici
or
About Design
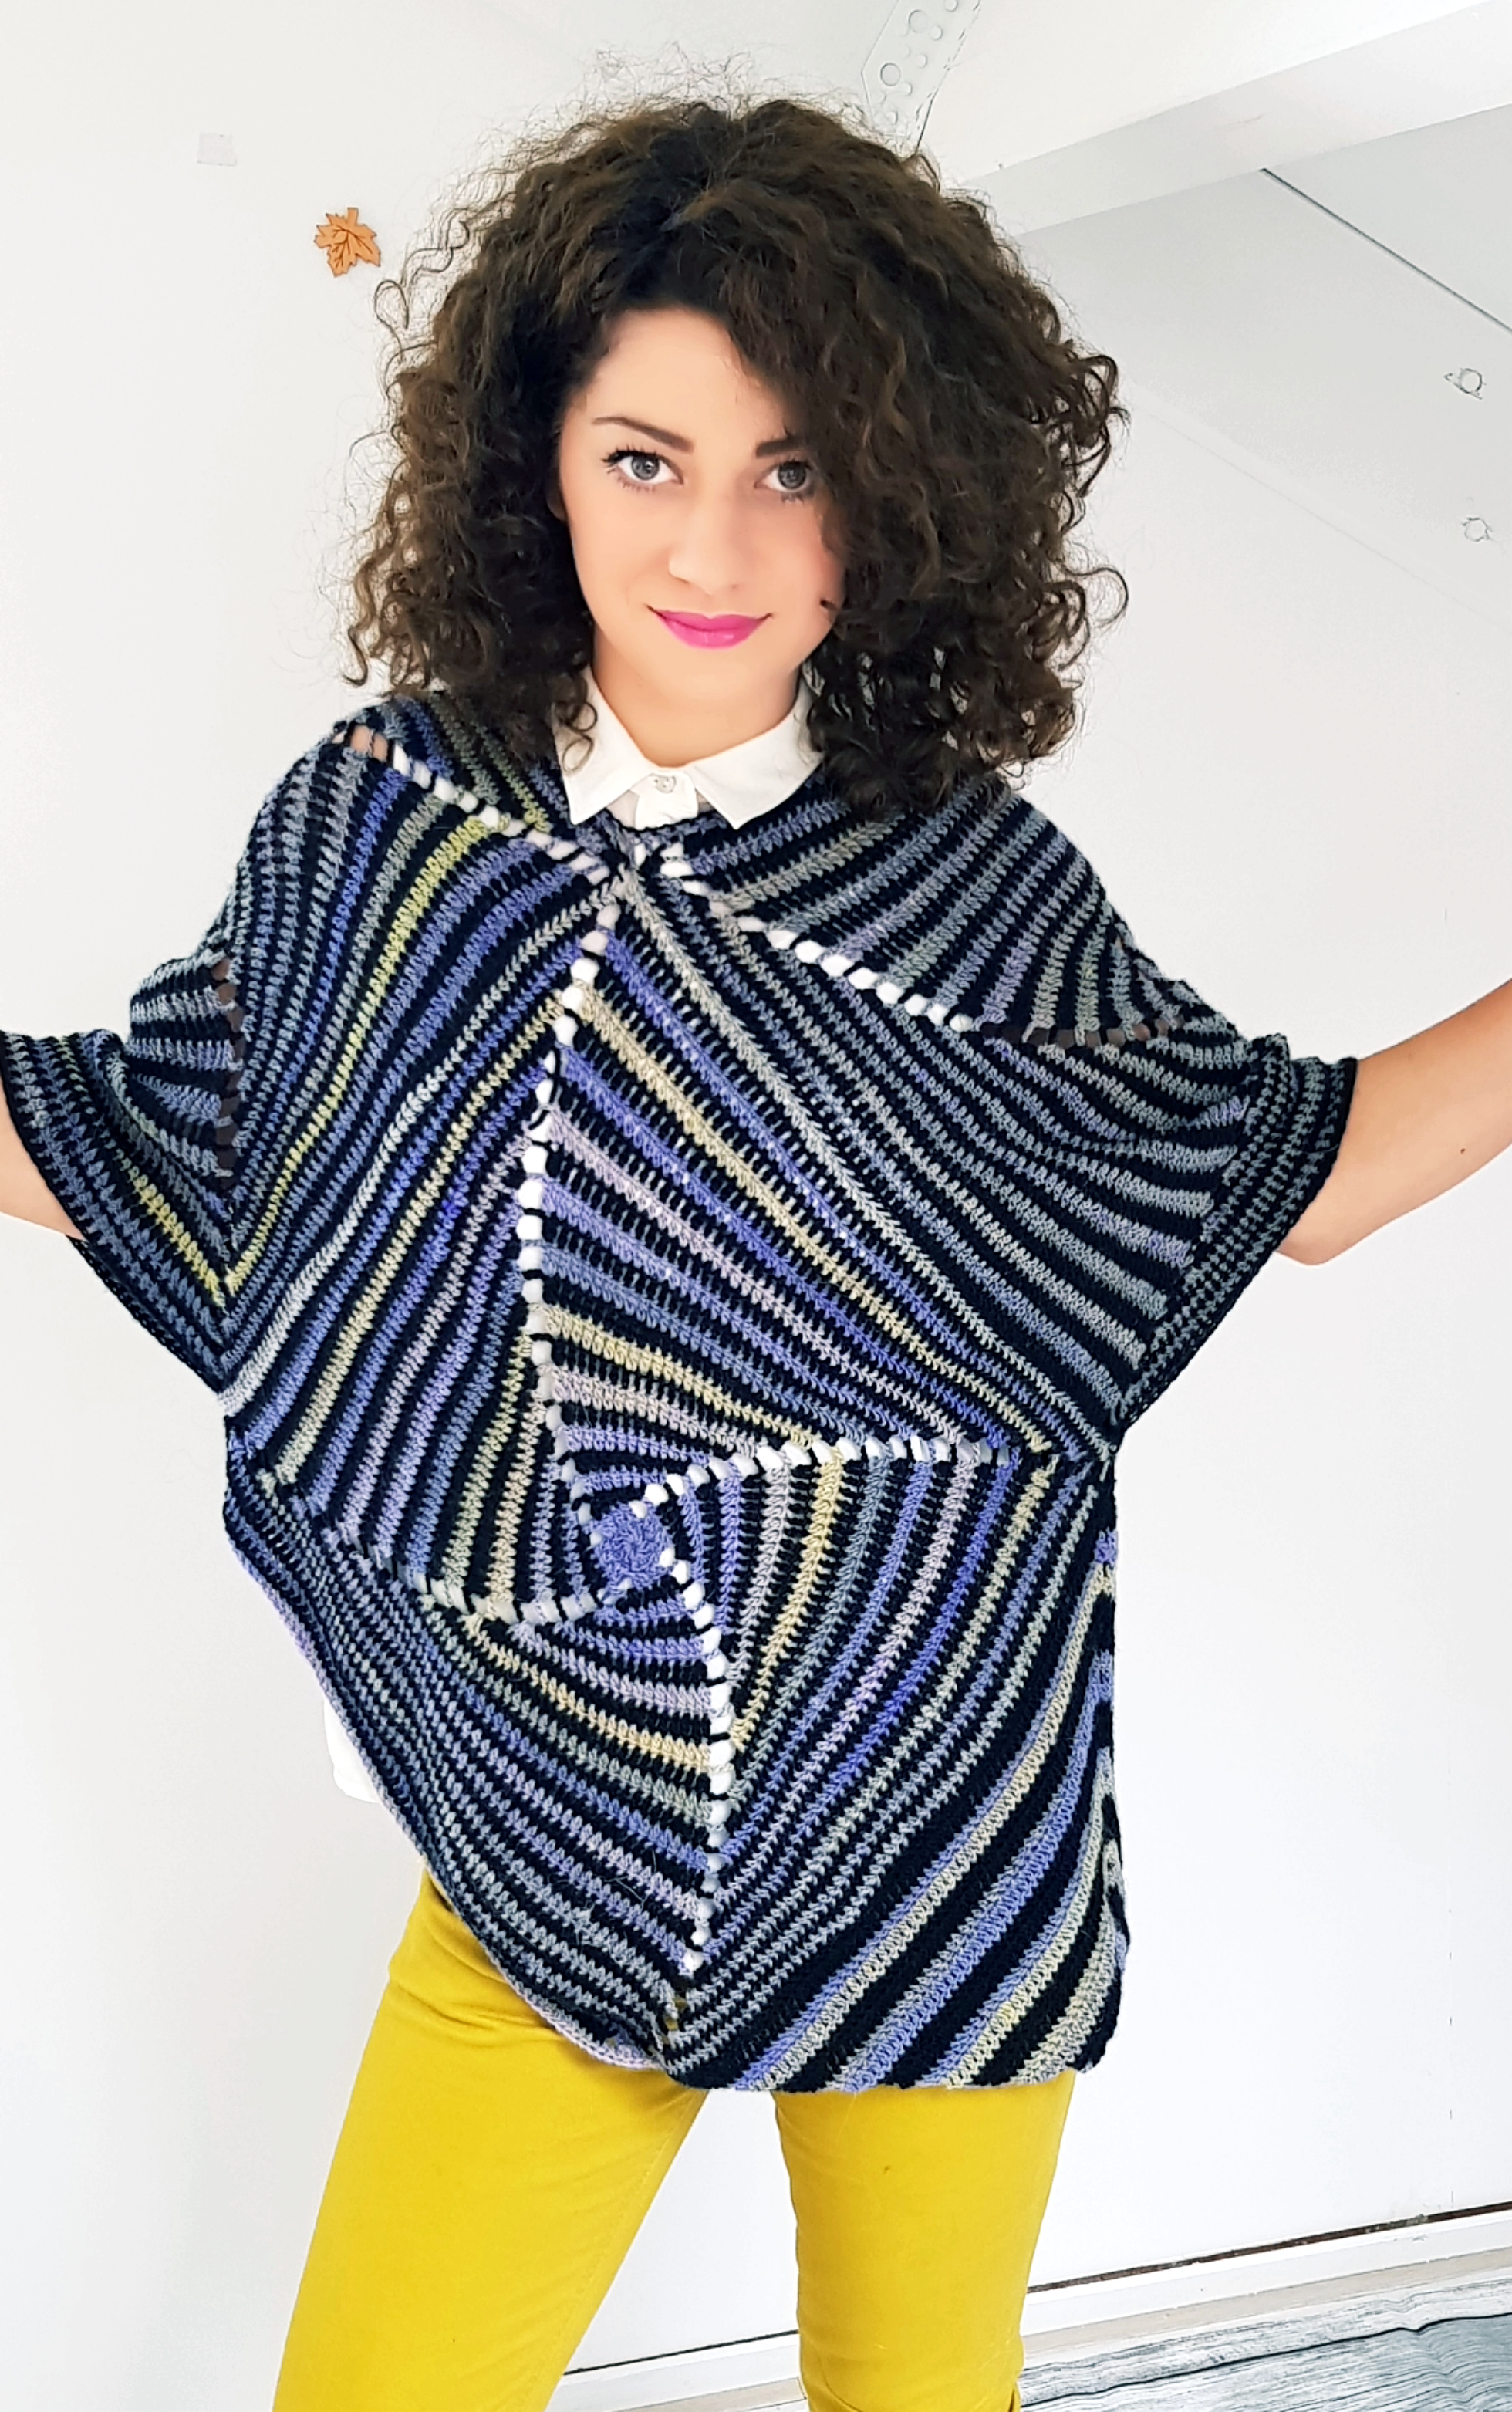
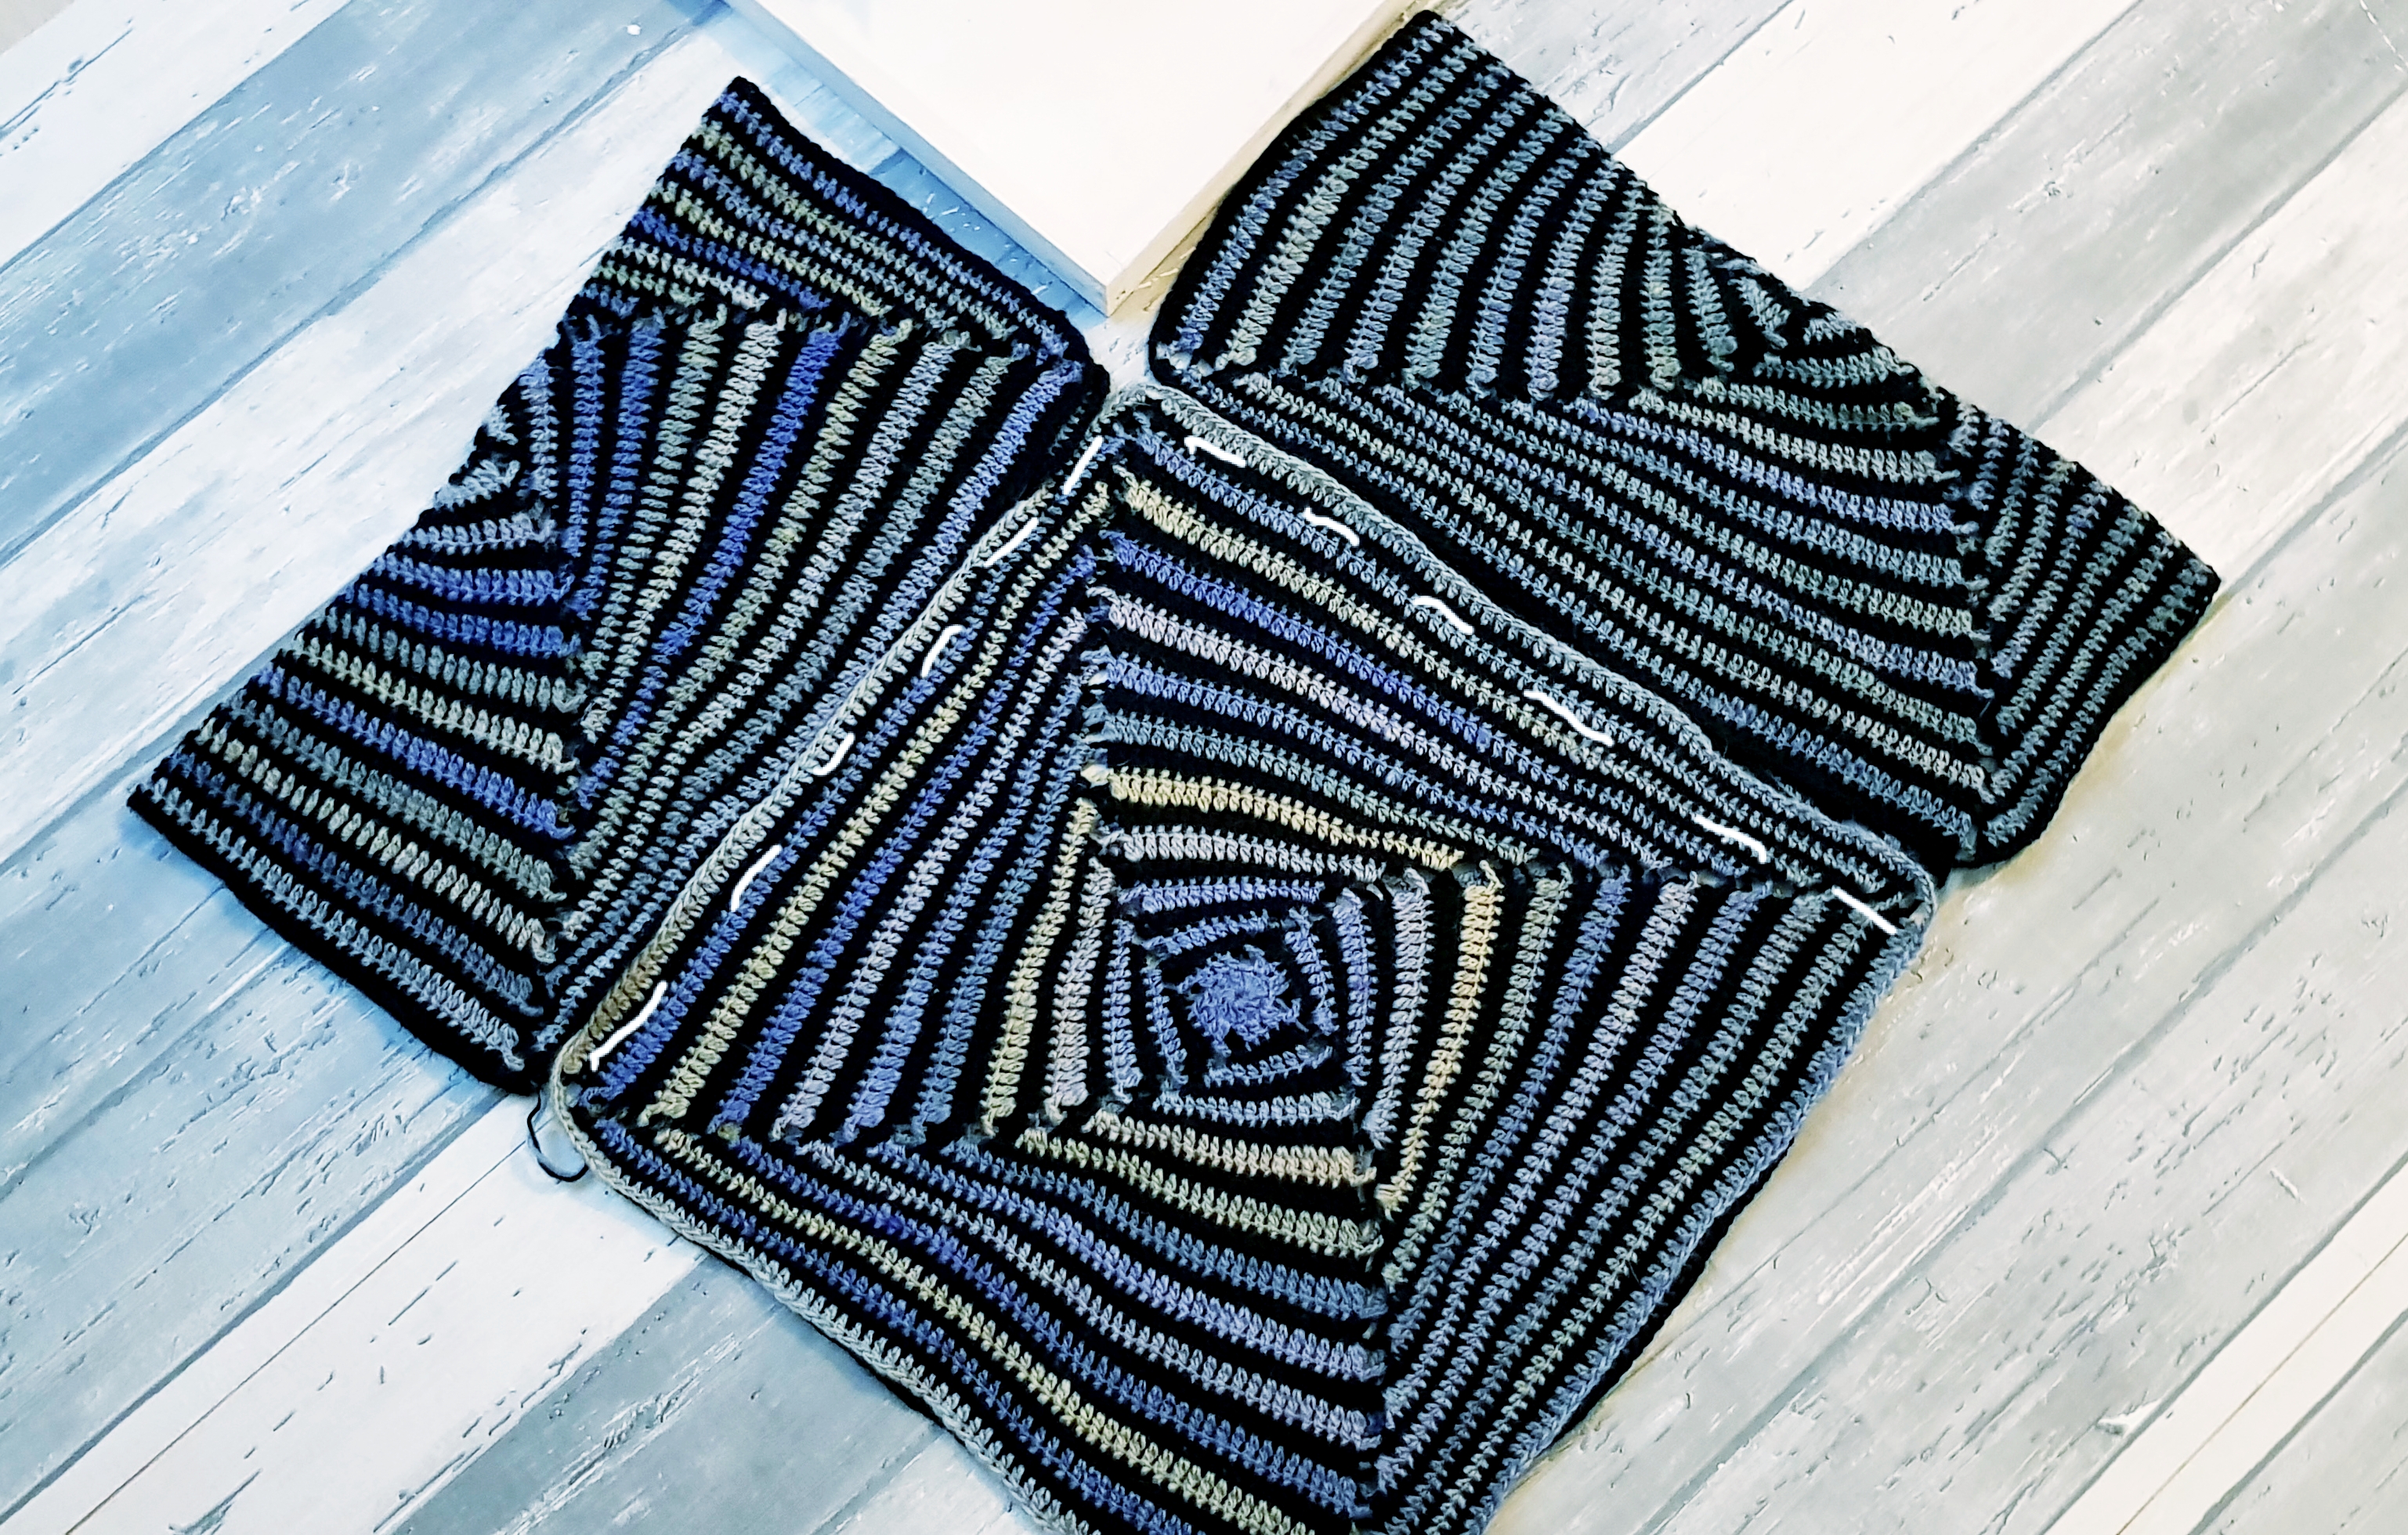
How you might probably notice from the photo, this Poncho-tunic is made from 4 identical squares, that we will assemble to form this poncho shape. Because I didn’t wanted this garment to be a usual 4 squares poncho, I made a straight bottom on one side and let one as it was after assembling. If you want you can make the both sides edges straight. I let it like this because I wanted an asymmetrical shape.
So, all we will have to do is to make 4 identical squares, assemble them, and then add the side.
About materials you will need
- Yarn
I used Scheepjes Our Tribe. Is a light fingering, 3 ply yarn in the lace category, but since I used a bigger hook then recommended, you can use also a 4 ply, fingering yarn as long as you get to the gauge.
1 skein has 100 grams and 450 meters
More, you can use any yarn you want with a proper hook size, because what is important is to have the squares with the proper size so the Poncho-Tunic to fit you, but we will talk more about this in the pattern
- Crochet hook
3.5 mm ( E US size)
- tapestry needle
- scissors
This pattern is available for sizes from S to XXL.
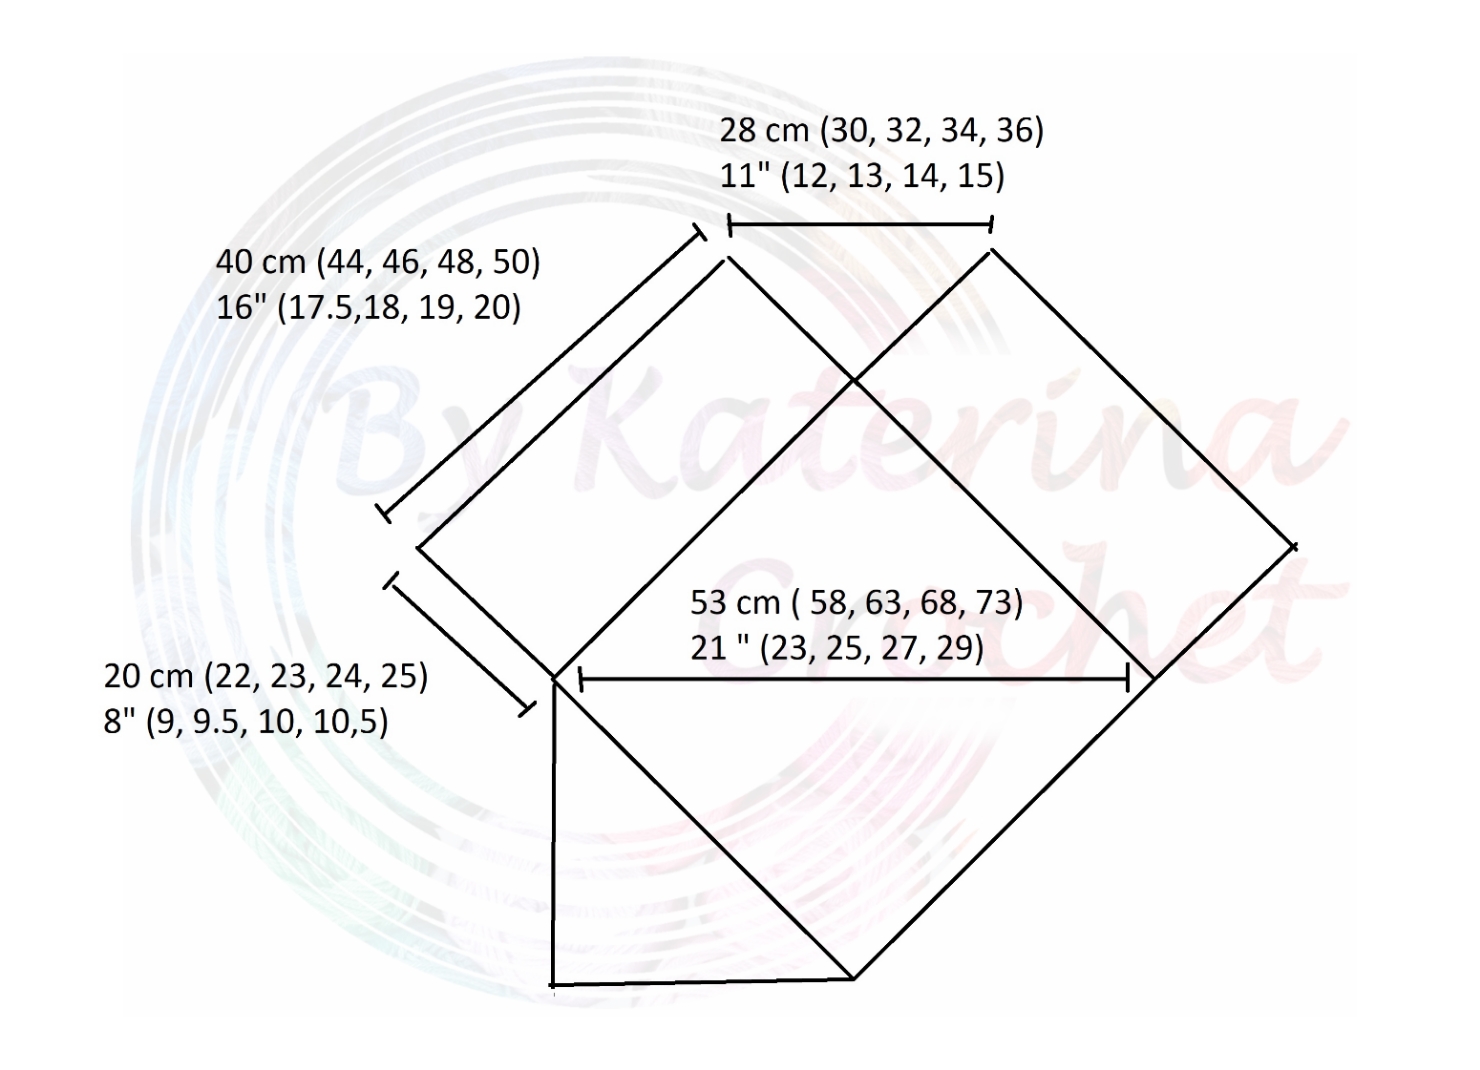
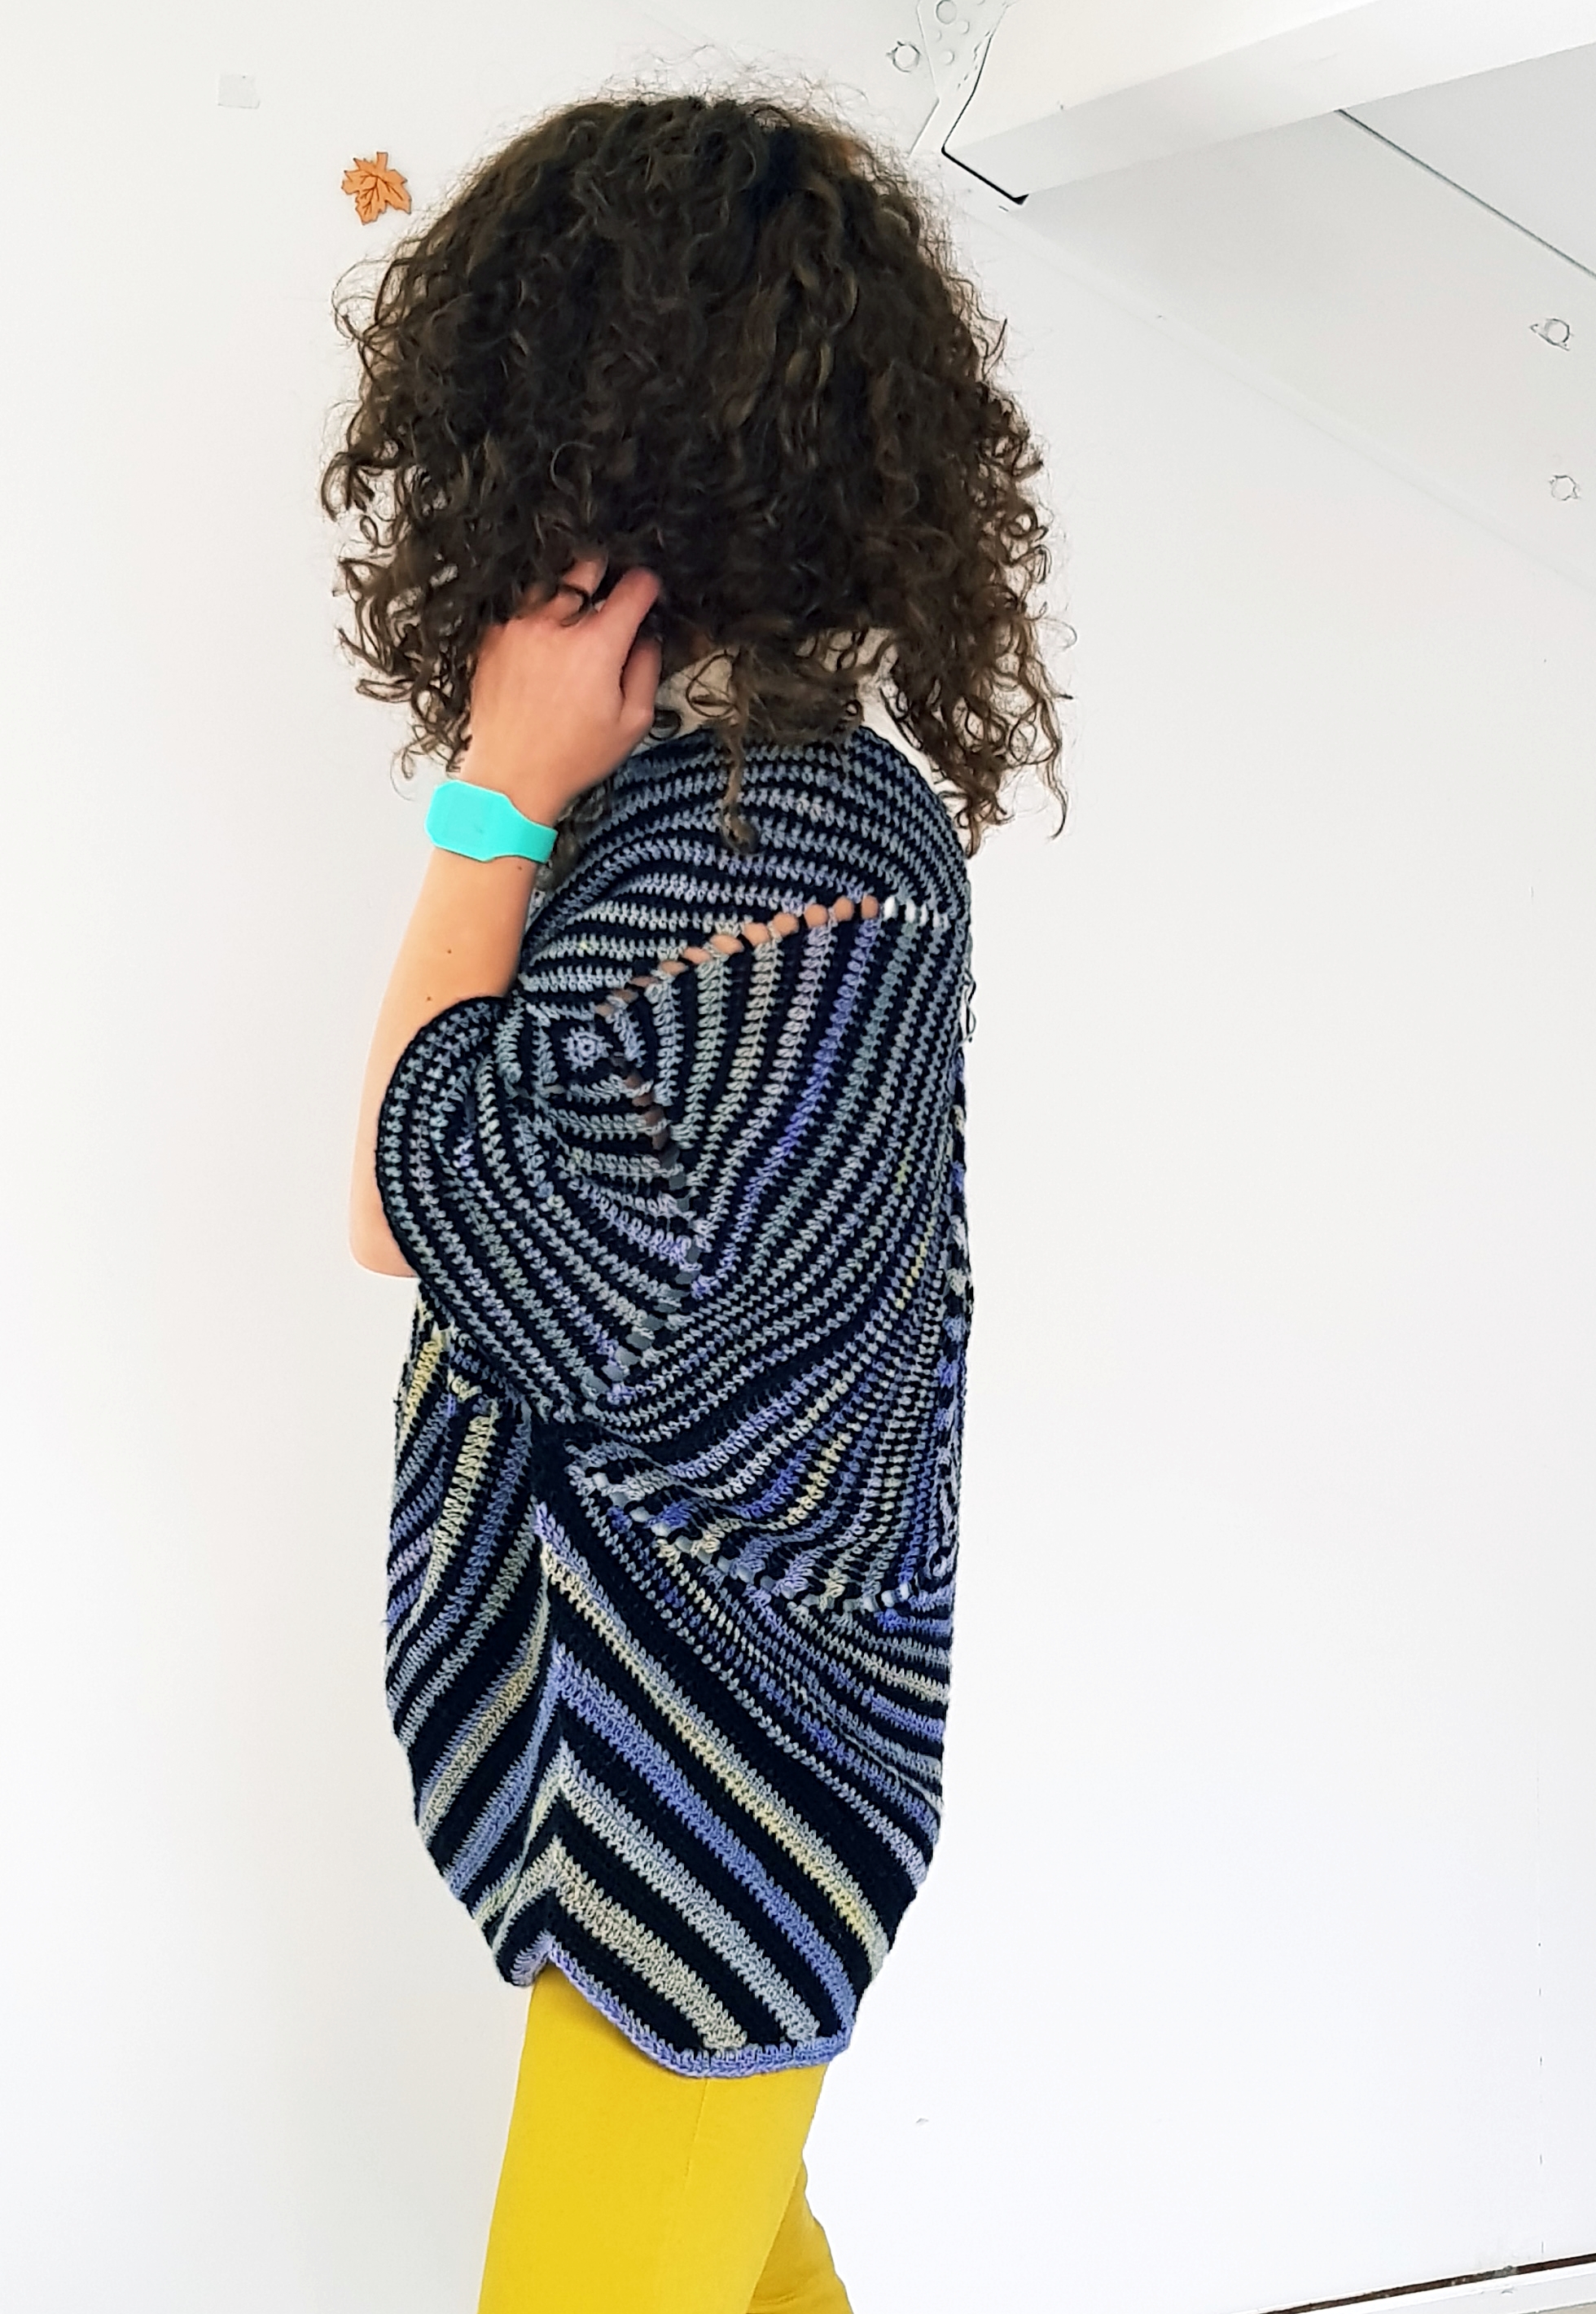
This Poncho-Tunic is designed with a positive ease of 20 cm of the standard bust circumference. For reference, the model wears S size and has 86 cm Bust circumference.
To decide which size to make, check the final measurements in the diagram bellow.
Approximate how much yarn do you need
S – 350 grams/1470 m/1602 yds
M – 380 grams / 1580 m/ 1720 yds
L – 400 grams / 1680 m/ 1830 yds
XL – 430 grams / 1800 m / 1960 yds
XXL – 460 grams / 1930 m / 21010 yds
About the stitches you will have to now
The square is worked using 3 different basic stitches
- half double crochet (hdc)
- double crochet (dc)
- Triple crochet (trc)
We will also use
- chain (ch)
- slip stitch (sl st)
Other abbreviations used in the pattern
- st (s) – Stitch (es)
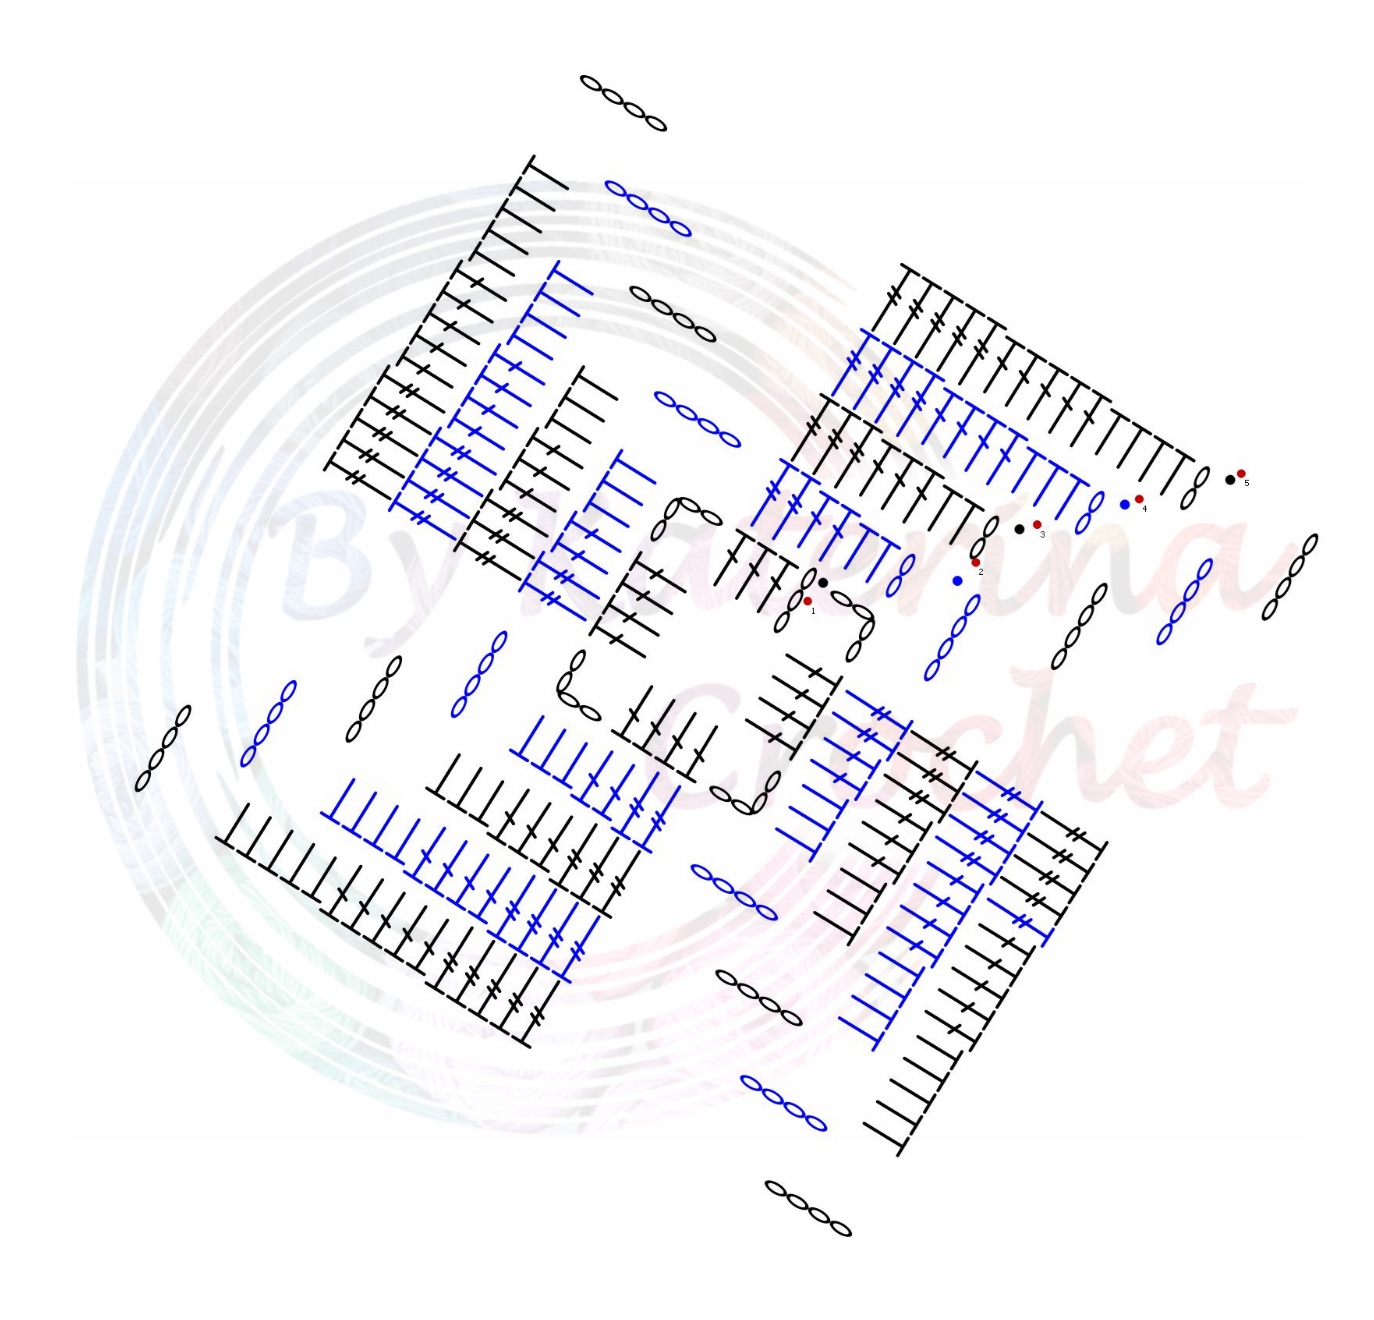
Bellow you can find a crochet chart with the first rounds of the square
Gauge
8 rows (measured in diagonal) – 10 cm (4″)
17 dc – 10 cm (4 “)
And with all these details being said, we are ready to start making this beautiful Poncho-Tunic.
Start with a magic ring.
Ch 3 and make 11 dc inside the ring. Sl st with the 3rd st of the starting chain.
Round 1
ch3, [1 dc in the next 3 sts, ch 4, 1 dc in the same st with the previous dc,] repeat this section to the end of the round. Finish the round with ch 4 and sl st with the 3rd st of the starting chain.
Round 2
*Tip: starting with this round you can count the ch 2 as a first hdc, but I recommend not to, because it will be easier to join with a 1st hdc than with the second st of the starting chain.
ch 2, go back to the previous ch 4, and make 3 hdc in the ch 4 space, 1 dc in the next 2 sts, 1 trc in the next 2, ch 4 [ 3 hdc in the ch 4 space, 1 dc in the next 2 sts, 1 trc in the next 2].
Repeat the section between [ ] to the end of the round, ending the round with ch 4 and sl st with the first hdc.
Round 3
Ch 2, 2 hdc in the previous ch 4 space, 1 hdc in the next st (on the top of the first hdc from the previous round), 1 dc in the next 3 sts, 1 trc in the next 3 [ch 4, 2 hdc in the ch 4 space, 1 hdc in the next, 1 dc in the next 3 sts, 1 trc in the next 3]
Repeat the section between [ ] to the end of the round, ending the round with ch 4 and sl st with first hdc.
Round 4
Ch 2, 3 hdc in the previous ch 4 space, 1 hdc in the next st, 1 dc in the next 4 sts, 1 trc in the next 4 sts, [ch 4, 3 hdc in the ch 4 space, 1 hdc in next, 1 dc in next 4 sts, 1 trc in next 4 sts].
Repeat the section between [ ] to the end of the round ending the round with ch 4 and sl st with first hdc.
Round 5
Ch 2, 3 hdc in the previous ch 4 space, 1 hdc in next 2, 1 dc in next 5 sts, 1 trc in next 5, [ch 4, 3 hdc in the ch 4 space, 1 hdc in next 2 sts, 1 dc in next 5 sts, 1 trc in next 5 sts].
Repeat the section between [ ] to the end of the round ending the round with ch 4 and sl st with first hdc.
See how the pattern works? from now on, with each round we will add one more stitch of each kind.
For example on round 6 we will have 6 hdc, 6 dc and 6 trc and always 3 hdc in the ch 4 space.
We will continue to add with each round, one more stitch of each kind until we will get to the end of the square.
*Tips
- If you don’t like to count sts, have in mind that first dc has to be on the top of the hdc before the last one, and first trc has to be on the top of the last dc.
- If you are working with other type of yarn and your gauge is different, you can make the square as big as you need. The diagonal of the square has to be half of the desired bust circumference.
For each size you will have in total for a square:
S – 23 rounds ( 23 sts of each kind on one side of the square)
M – 25 rounds ( 25 sts of each kind on one side of the square)
L – 27 rounds ( 27 sts of each kind on one side of the square)
XL – 29 rounds ( 29 sts of each kind on one side of the square)
XXL – 31 rounds ( 31 sts of each kind on one side of the square)
After finishing one square you will have to make 4. After that, depending on what kind of yarn you are using, you might need to block them before assembling.

Assembling
Fold 2 squares in half and lay them with one corner next to each other, to form a triangle between them. These 2 squares will be the sleeves.
In the space between them put the 2 other squares, one over the other. These 2 will be the front side and the back side.
Then sew the squares together.
or
Now, you have a poncho. If you want you can let it like this. Is gorgeous in this way too 🙂
If you want to continue to transform this poncho in tunic, continue reading the pattern.
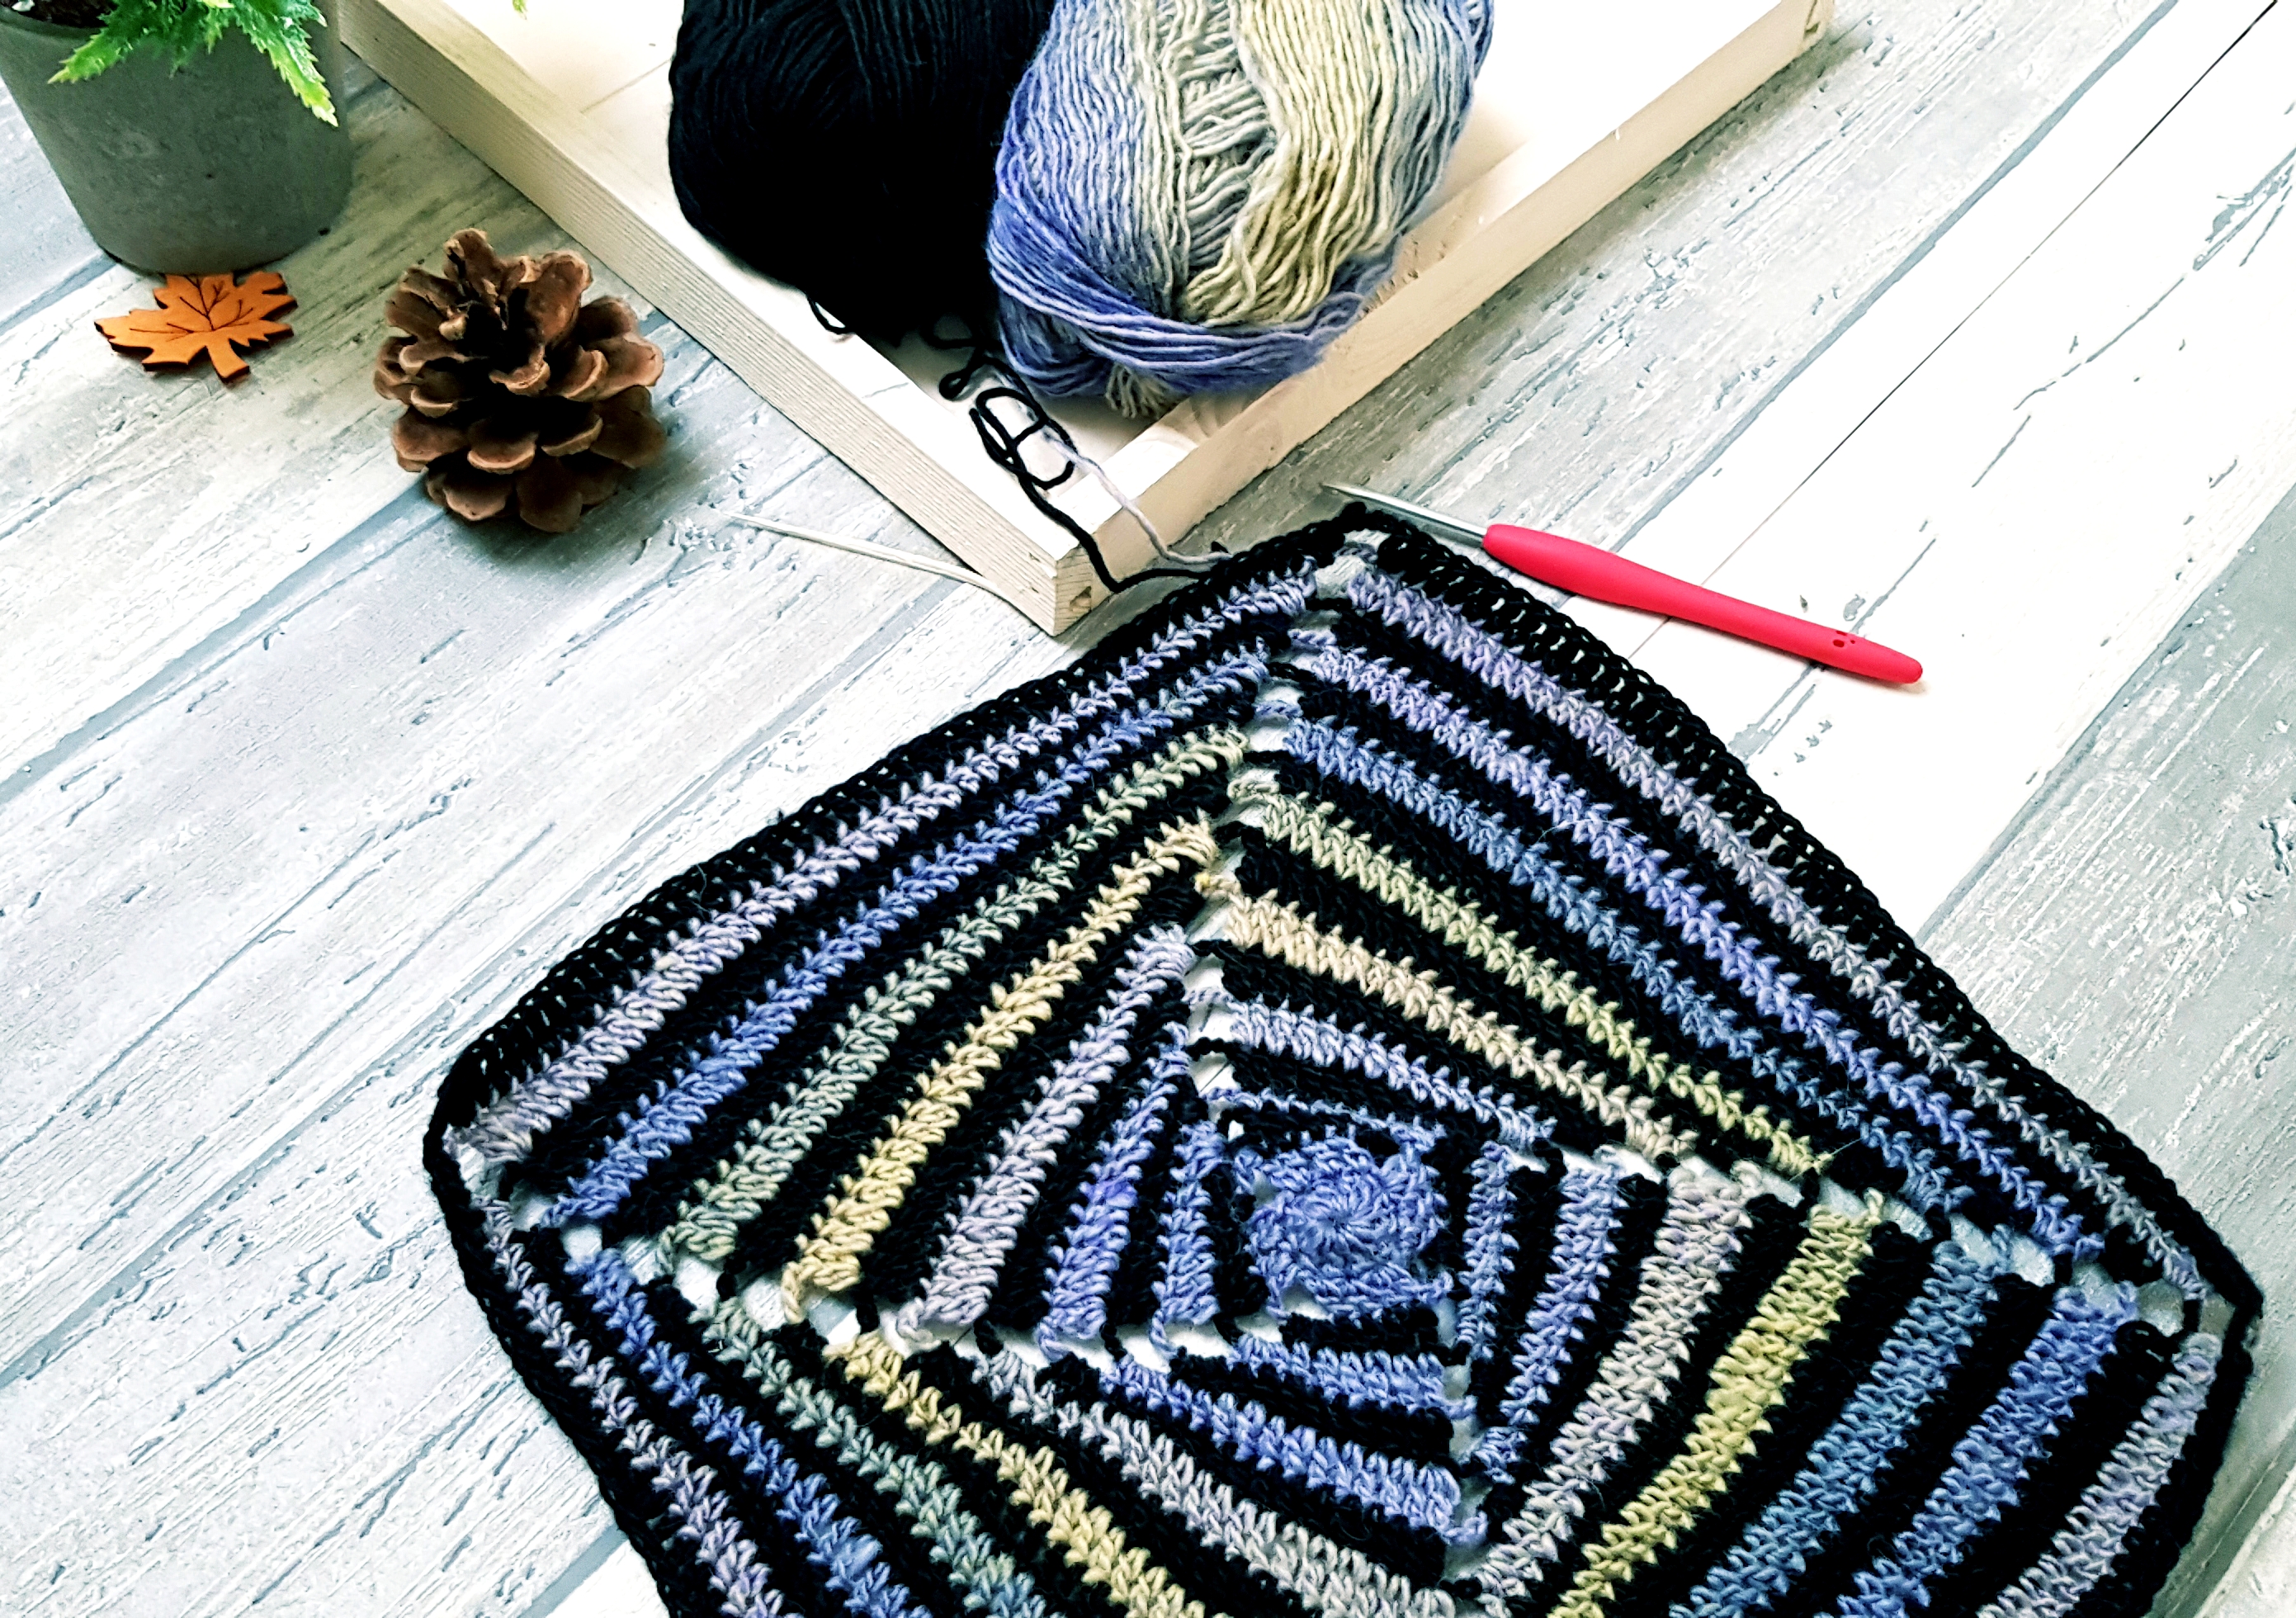
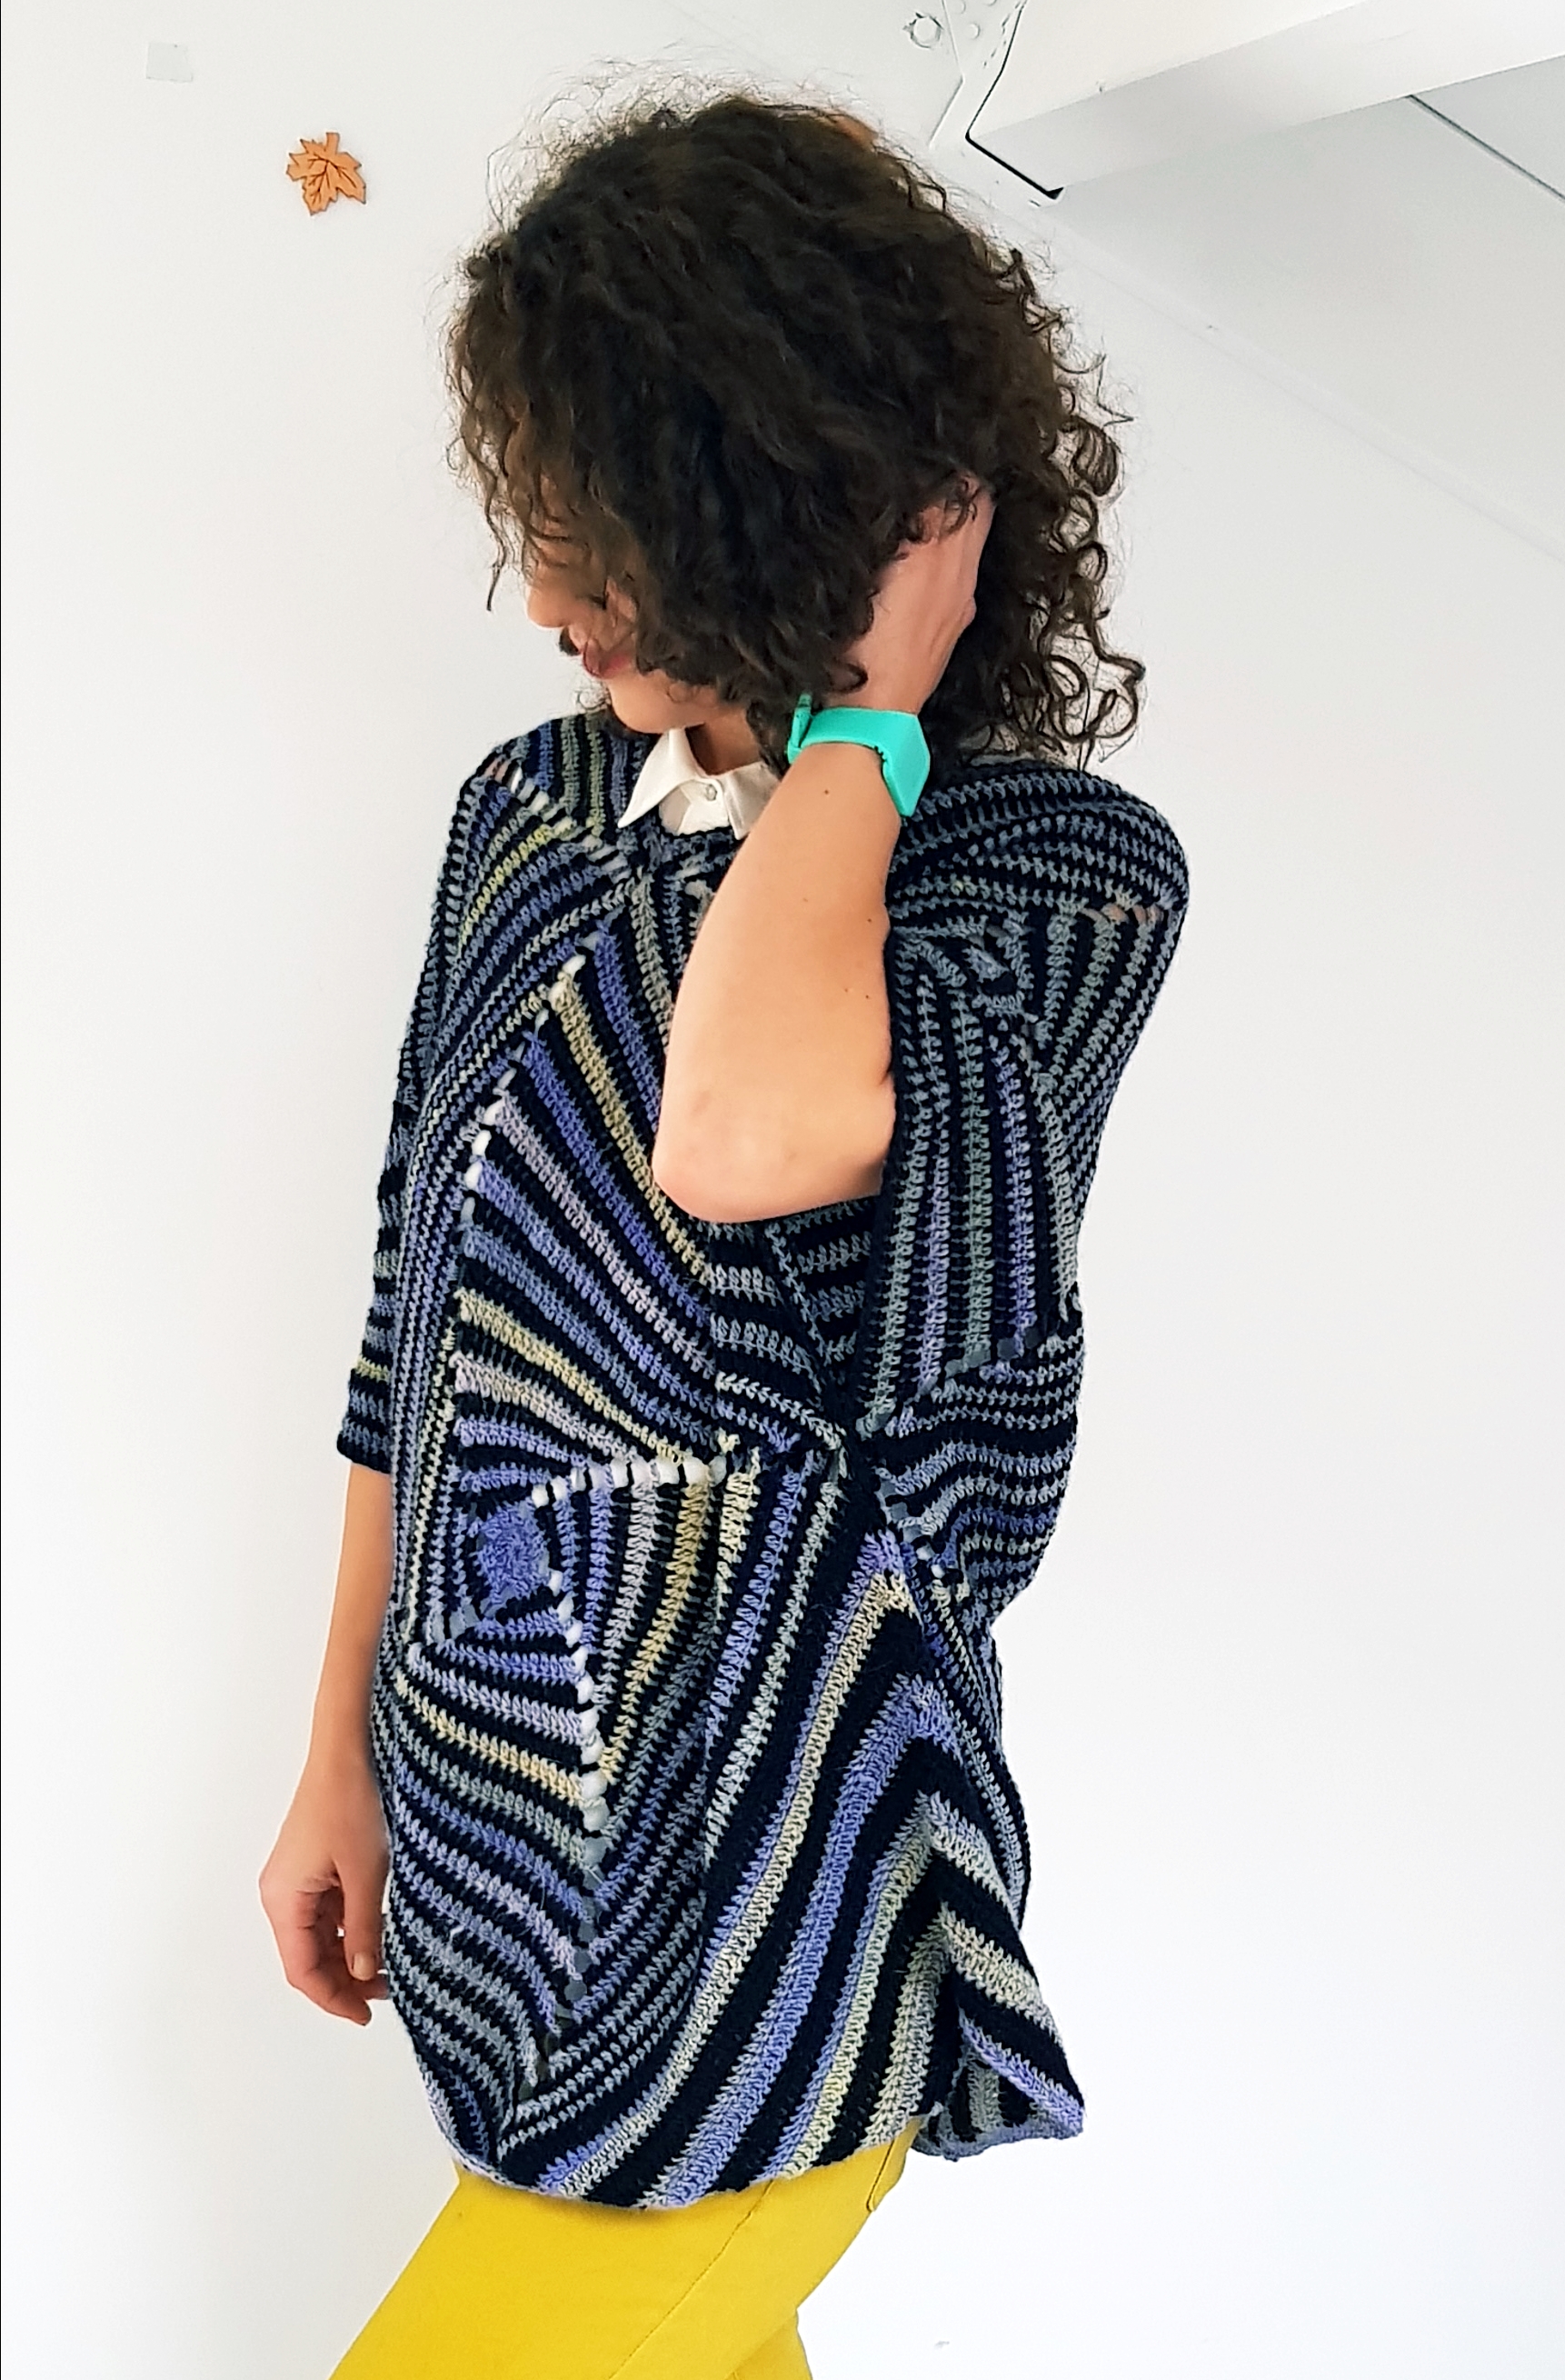
You can see in the picture above, that on one side I made a few rounds, working a ripple stitch, to make a straight bottom and to fill the side hole made from the square shape.
Let’s see how we will do that.
Our row will start from one corner, back or front depending if you are left or right-handed and it will end in the opposite corner of the back side or front, depending with which side you started.
Insert the hook and yarn in the first st. You will have a ch 4 there. Insert the yarn and hook into the ch 4 and make 4 dc. We will work this rows only in dc. I change the pattern a little bit and I switched the colors at every 2 rows, but you can keep the same pattern and work one row with each color.
Row 1
1 dc in each st until you get to the ch 4 space (that is where back side square and the front side square are joined together), make 2 dc in the ch 4 space and then skip and make 2 more dc in the 4 ch space of the other square.
Continue with 1 dc in each st until you get to the end of the row ( the opposite corner of the other panel). ch 3 and turn. Ch 3 count as a first st
Row 2
Skip the second st, make 1 dc in 3rd. Continue with one dc in each st until you have 2 sts left on this side (before middle). Skip 3 sts and make 1 dc in next (it will be the 1st dc made on the other side. Continue with 1 dc in each st until you have 2 sts left. Skip the next stitch and make 1 dc in the last st.
Repeat row 2 until you have only 3 sts left or until you want to stop.
And this is how you can straight the side edge of the poncho. If you want you can repeat the pattern on the other side too.
or
And this was it.
You can work on the sleeves if you want them longer or you can add a collar also.
If you consider that the collar is too large you can make a few rows just to make it smaller. I made one row on the collar with 1 dc, skip one and one more with 1 twisted sc in each st.
If it’s something that needs to be clarified, you will find a video tutorial bellow and hope it will help. If not, please leave a reply with the questions you have. I will be more than happy to answer and to guide you to make this Poncho-Tunic.
https://nl.pinterest.com/katerina6795/free-crochet-patterns/


2 Comments
Love this! What a great variation on the usual ponchos ?
Thanks! I like it too ??